Stay tuned!
Easy Peasy Vintage Valentine Wreath
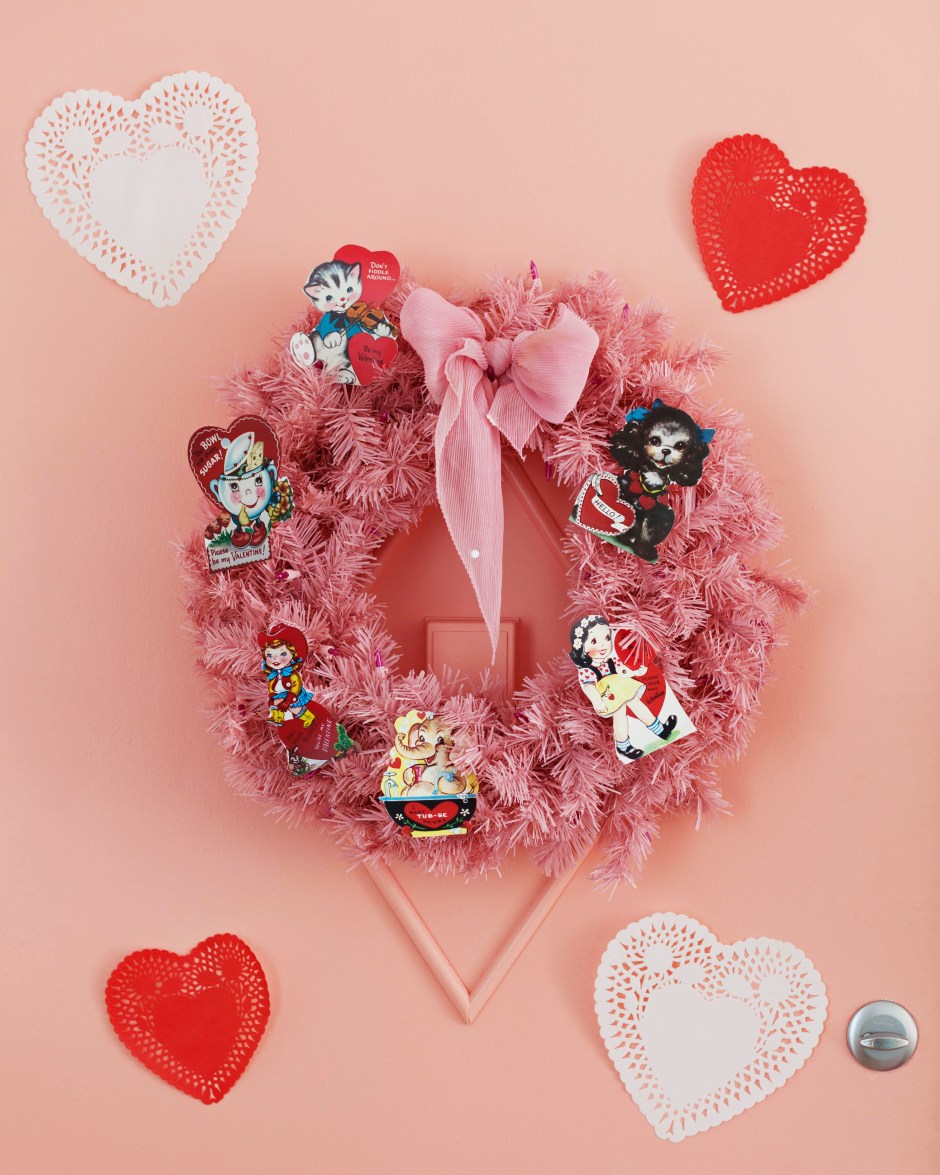
Happy Valentine’s Day, sweeties! I’ve teamed up with Treetopia to make this cute and colorful vintage valentine wreath and I think you’ll love it.
All you need is a wreath in the color of your choice (I used Treetopia’s Pretty in Pink wreath) and a few vintage valentines. If you don’t have any true vintage valentines, you can find images of some to print online.
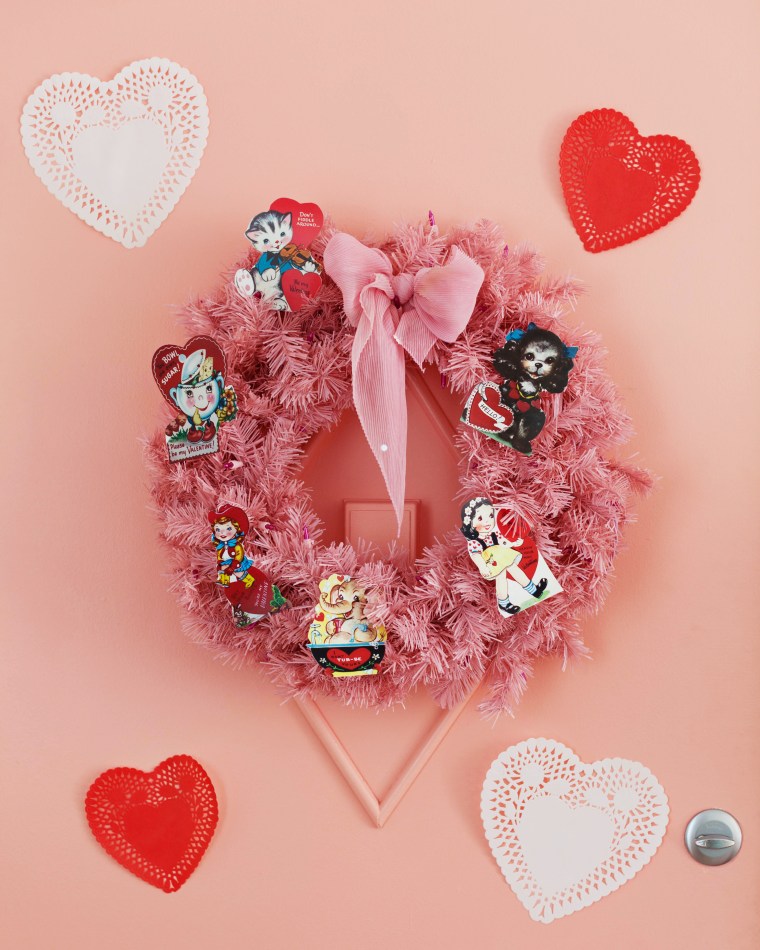
Just use some double sided tape to stick them directly onto the wreath. Add a bow and voila! Easy peasy.
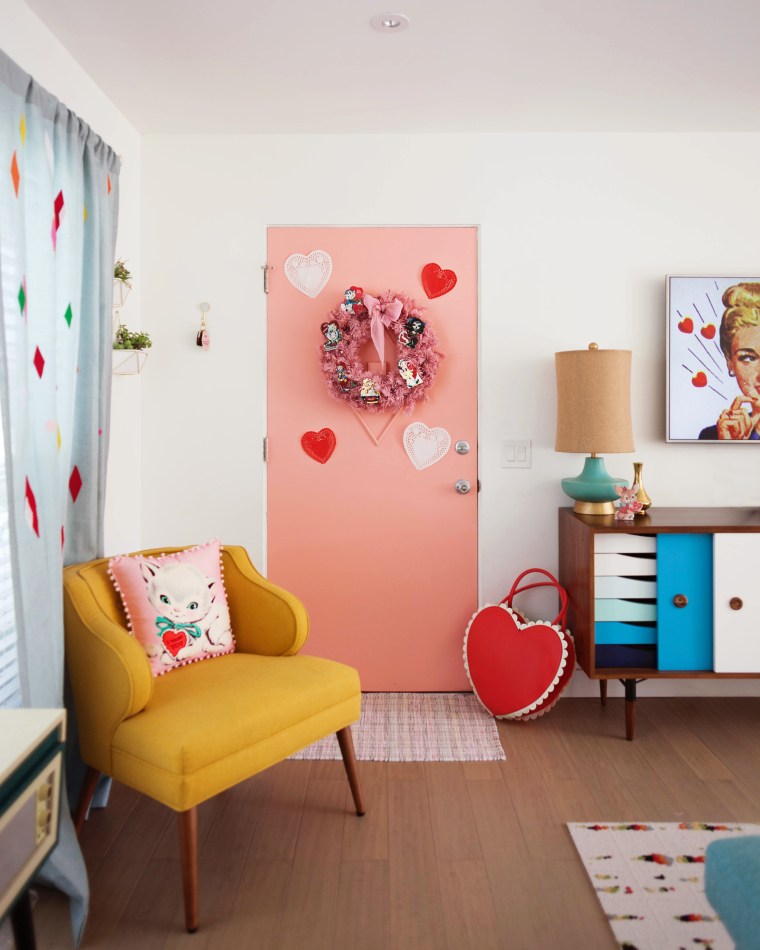
Speaking of Treetopia, they’re having a giveaway where contestants can get a chance to win a $100 gift certificate from Treetopia. Visit their Facebook page or Instagram to find out how to enter!
How I Turn Our Home Office into a Guest Bedroom (with Cstudio Home Bedding!)
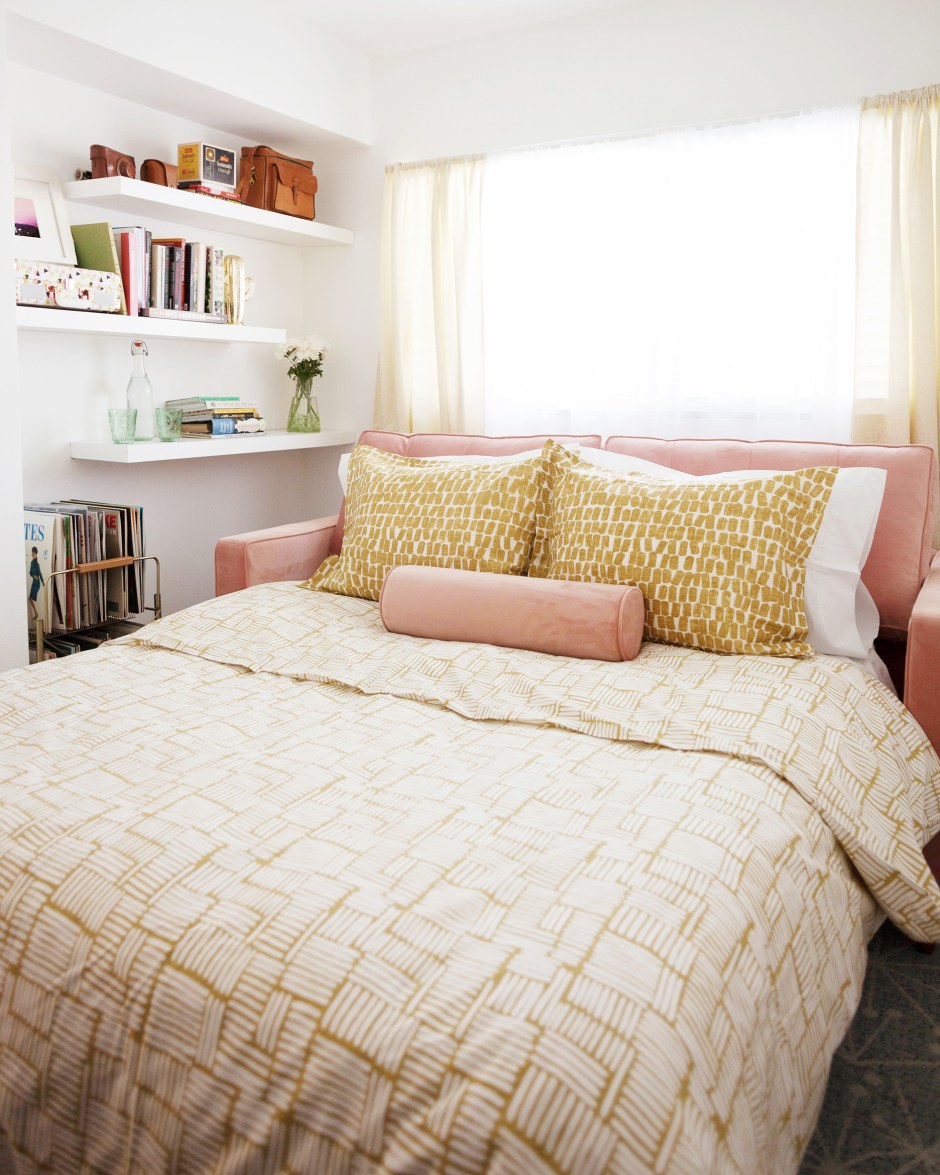
I was setting up for a house guest this week and realized I’ve shown you our little home office/guest bedroom, but I’ve never actually shown you what it looks like when it’s used as a bedroom! Honestly part of the reason is that I hadn’t found any bedding I really liked until now.
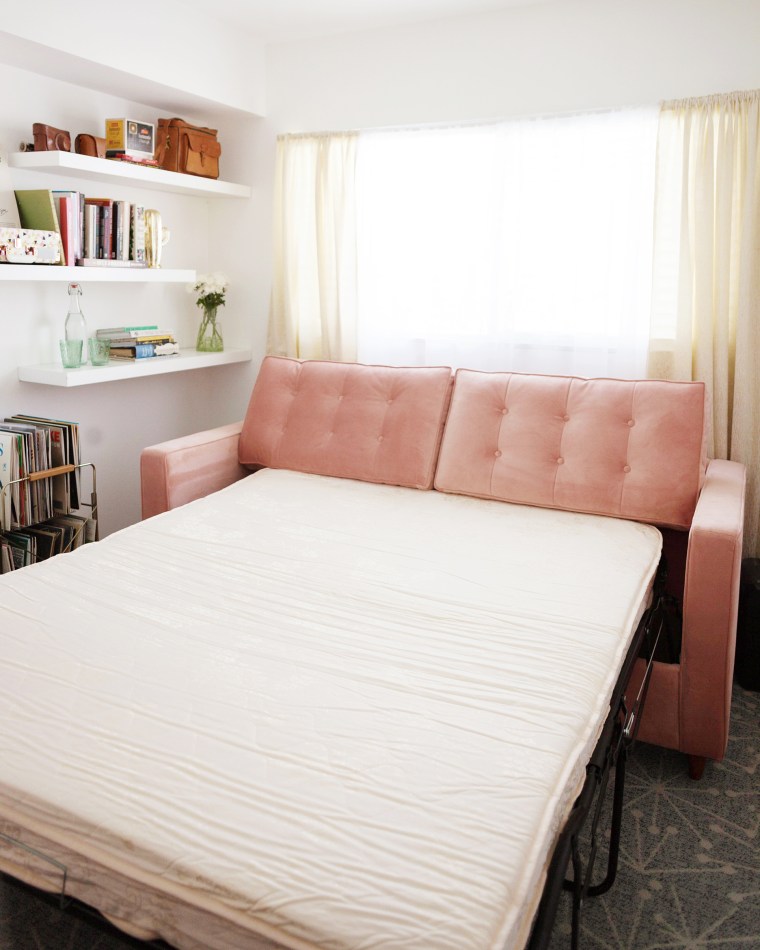
When Cstudio Home asked if I wanted to try some of their bedding the timing couldn’t have been more perfect. I fell in love with their Ticking Marks Organic Percale Duvet Cover Set for its mid-century vibe and ocre yellow color! 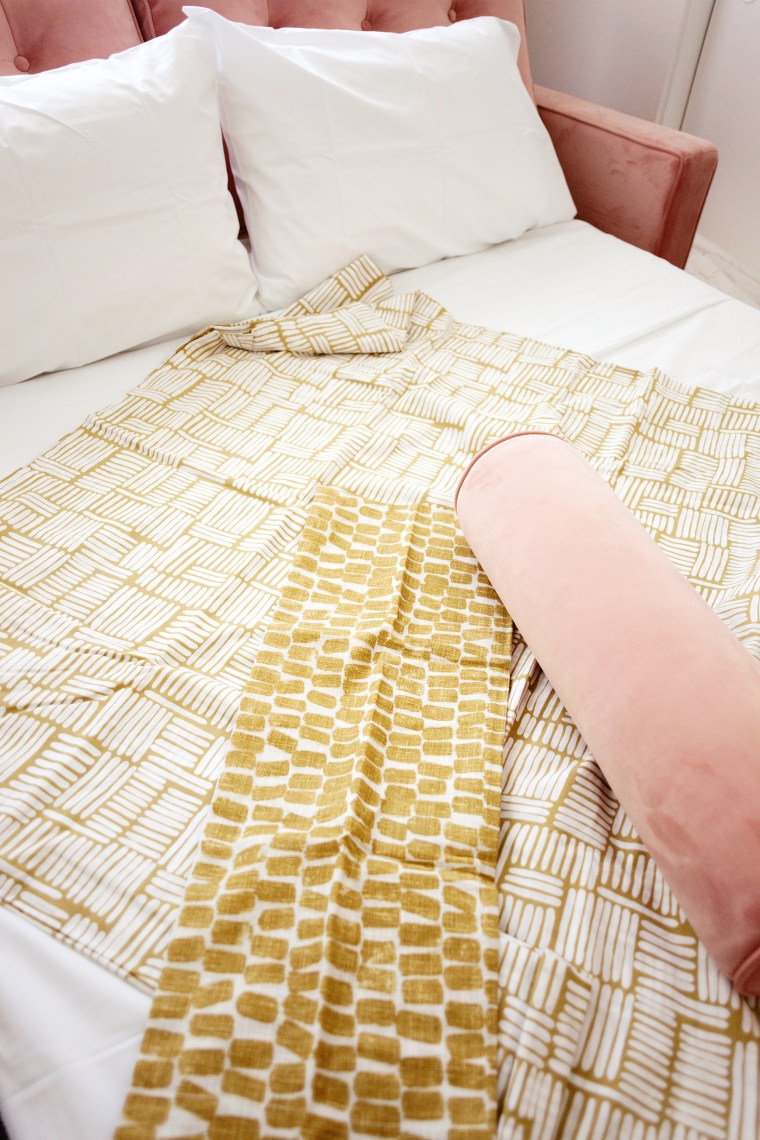
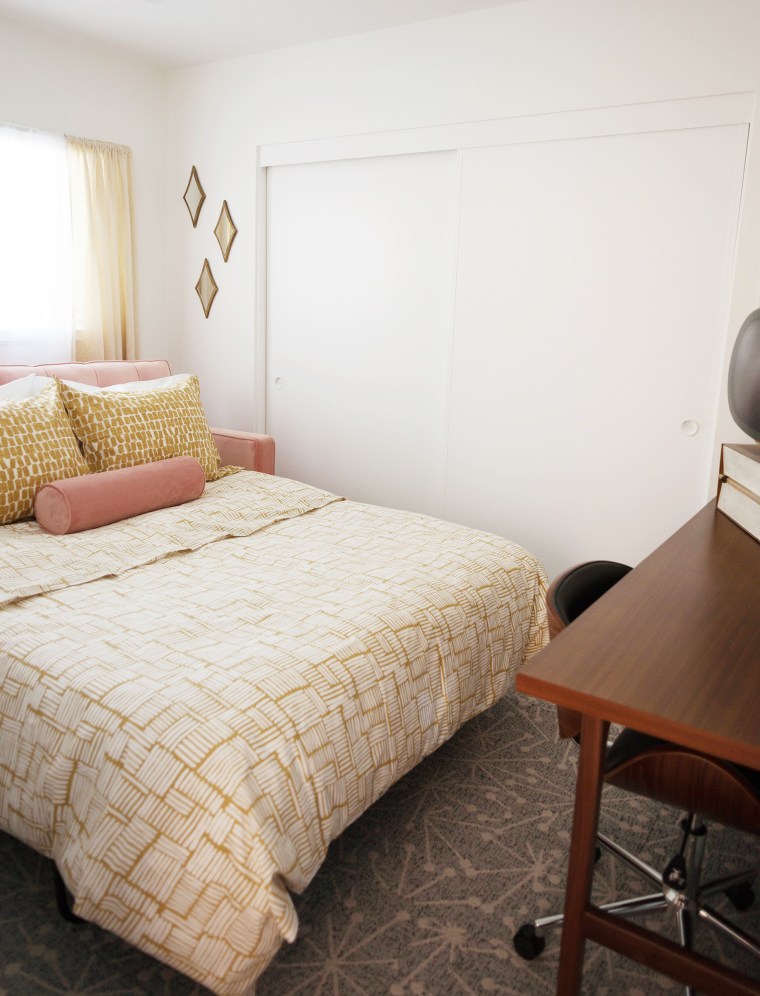 I thought it would look really great against the pink of our sofa and the greyish blue tone in our carpet.
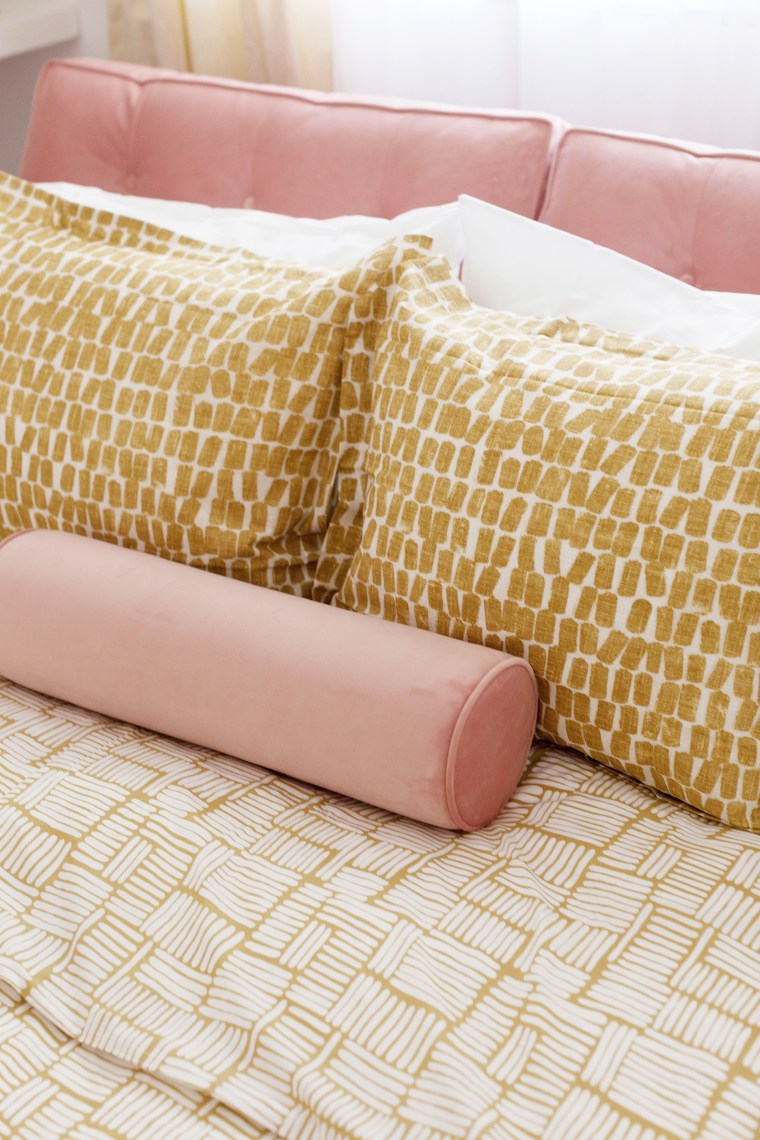 I didn’t want to add more color, but I did want to add more pattern and texture so I went with the Randall Shams in the same hue! The pattern and texture of the fabric also feels very vintage and luxe which I absolutely love.
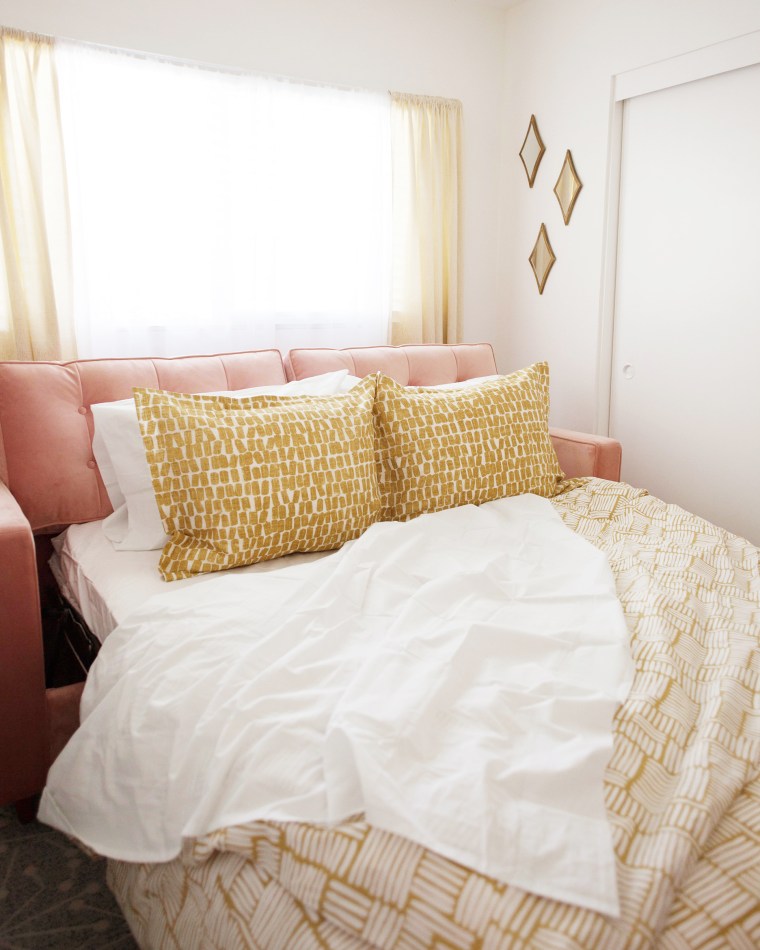 There’s nothing I love more than crisp white sheets and the Organic Percale Sheet Set is exactly that! Don’t you just want to dive right into this bed? I doooo!!
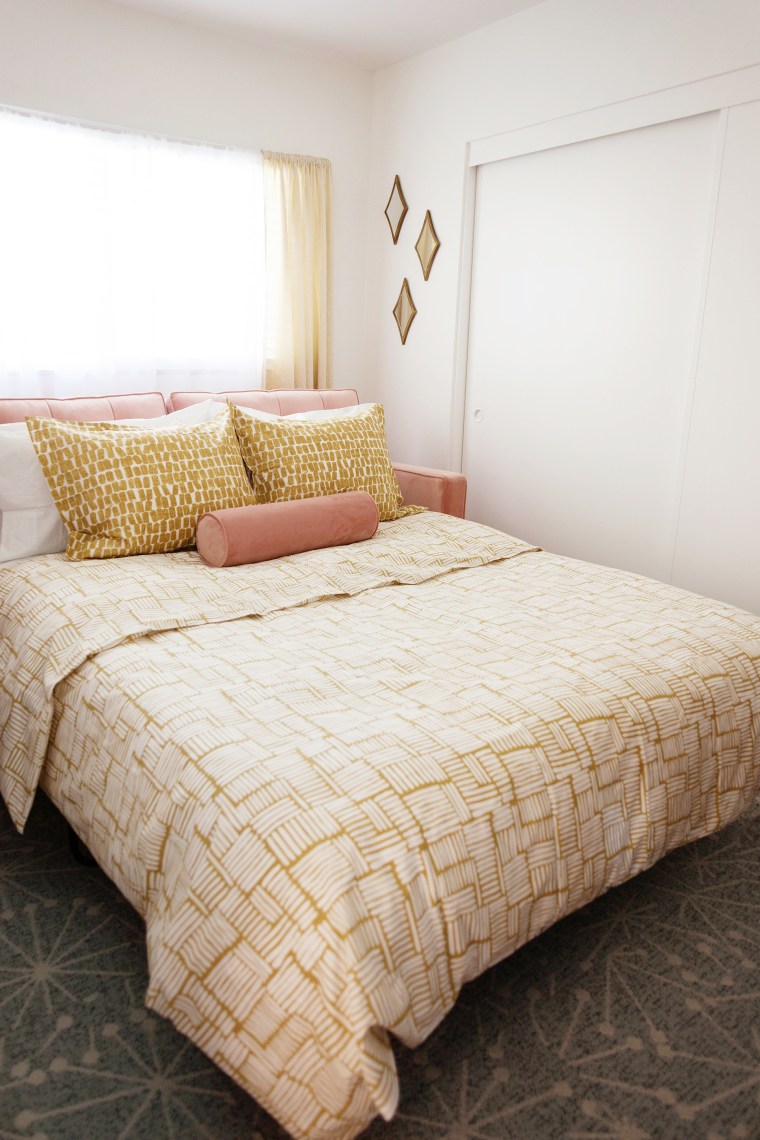 I wanted this bed to not only look good, but also feel good. I used 2 sets of pillows in two different firmness levels – medium and firm – so my guests could choose which feels more comfortable to them. For the duvet I wanted something light enough for desert summer nights but warm enough for winter as well. I also needed it to be easy to store away when not in use. I chose the Cstudio Home Responsible Down Standard Comforter and its exactly what I hoped for.
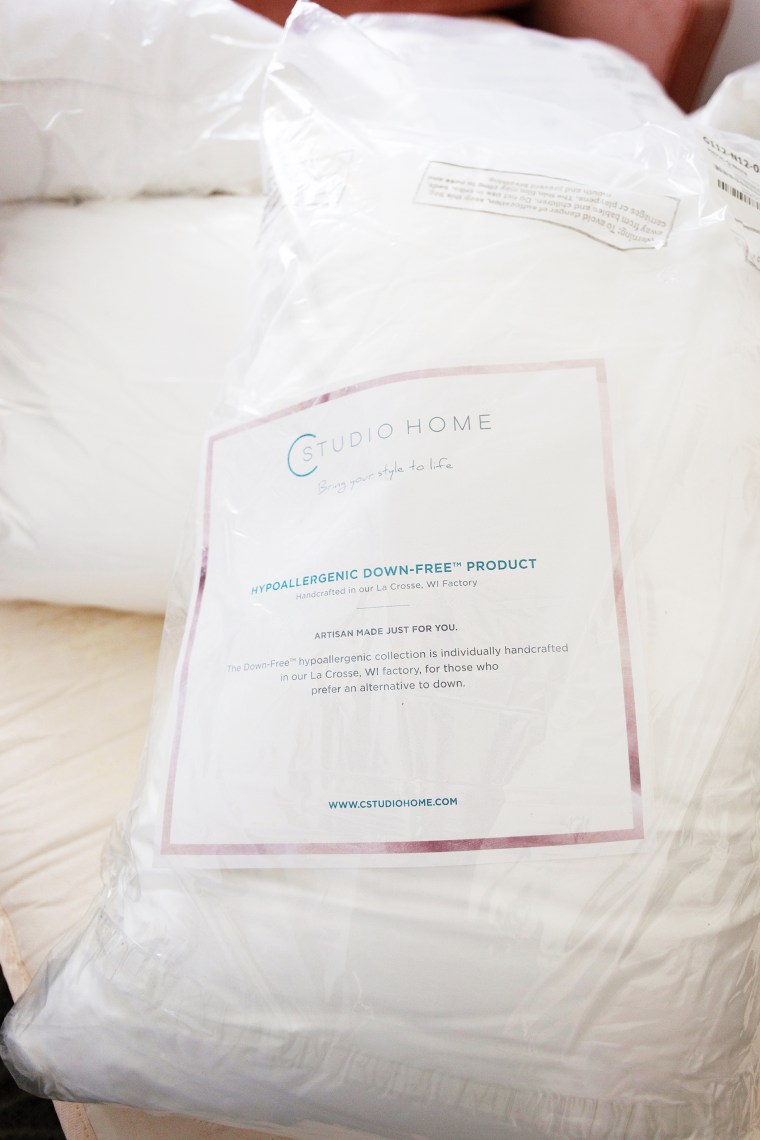
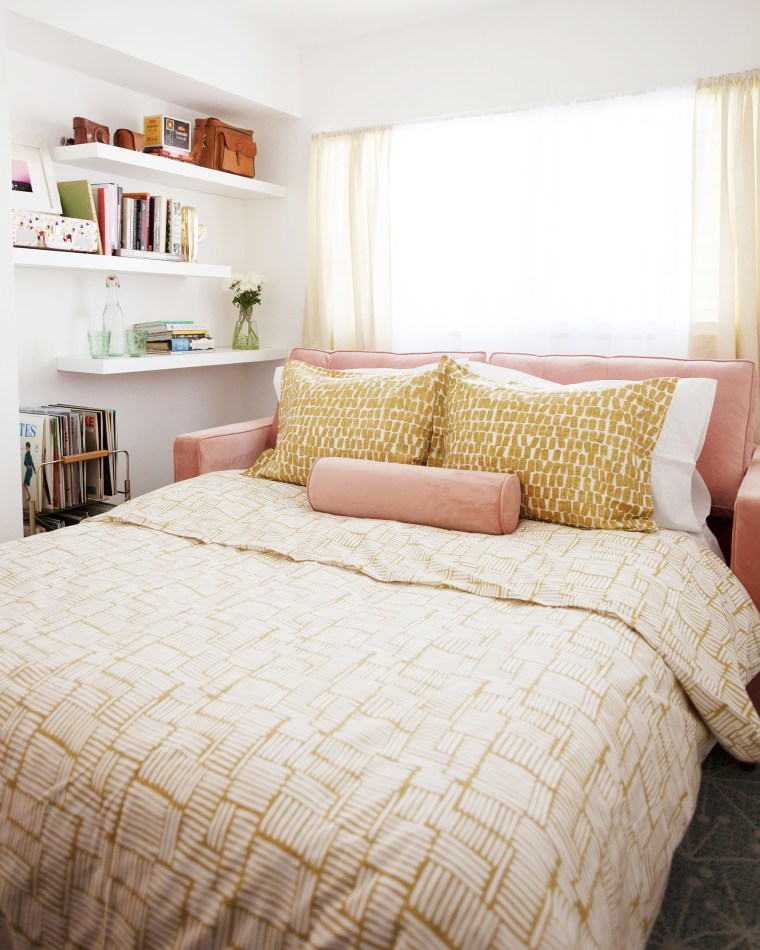 The whole set up feels like a nice hotel suite which is always my goal when I set up for guests. Hey, I might just sleep in here myself tonight!
This post was sponsored by Cstudio Home.
DIY Mid-Century Inspired Felt No-Sew Tree Skirt
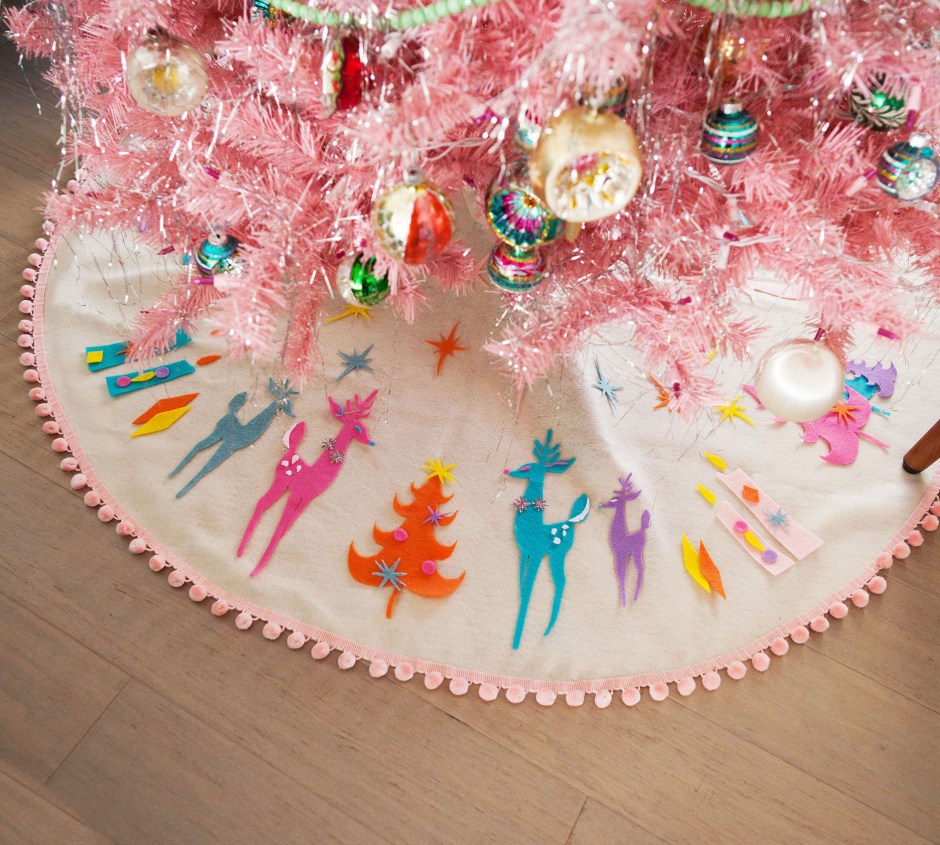
One of my favorite things to do each year is make new no-sew felt tree skirts. They’re super easy and fun to make and don’t require any skills except being able to use scissors and glue.
You can see past tutorials with measurements and instructions here and here, and my latest space age themed one here.
For my main tree (the pink tree) I wanted to bring in colorful shapes based on a vintage Christmas cards I fell in love with. 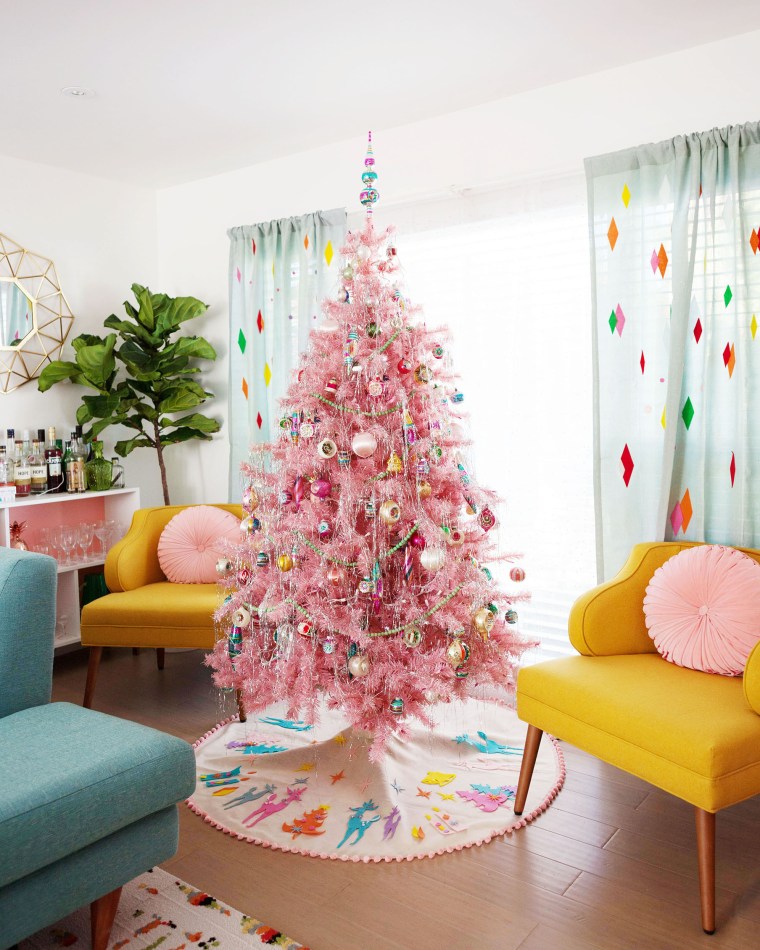
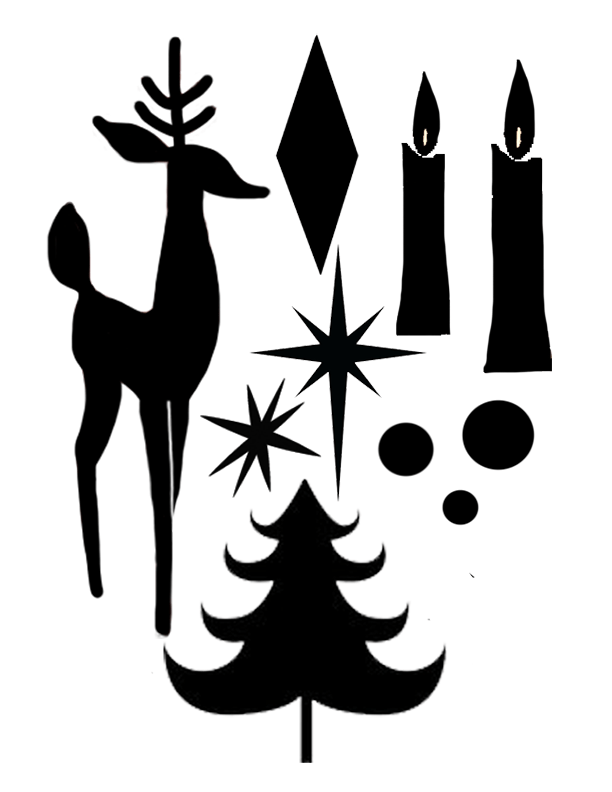
I used the images to create templates and then used my Cricut to cut out the shapes, but you can totally use scissors!
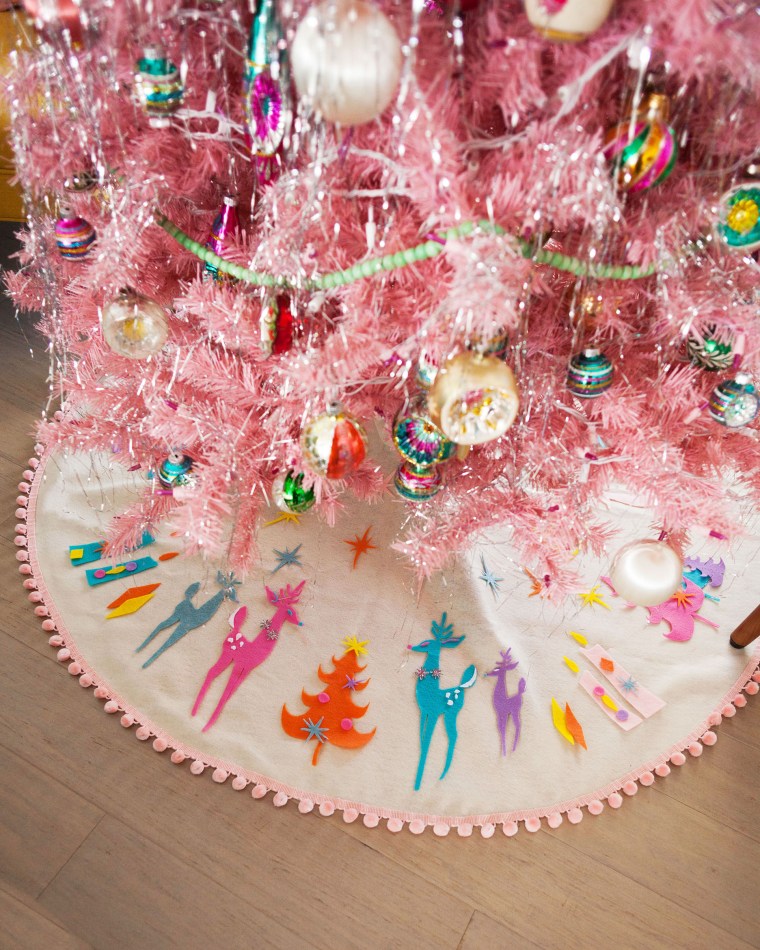
And there it is! Go ahead and play with sizing and adding some other little embellishments to make it your own design!
Be sure to tag @melodrama or #krysmasgram on Instagram to show me what you made!
DIY Mid-Century Inspired Colorful Metallic Sputnik Ornaments
When I was gathering decorations for my space age tree I knew I wanted to try and find some vintage or retro style colorful sputnik ornaments. Unfortunately my search game up empty for exactly what I was looking for in my price range, so I got crafty with an easy DIY version.
I gathered everything I needed from my local craft store including:
Mini wooden dowels
Metallic round beads (the dowels should fit perfectly into the bead)
Glitter Styrofoam Ball Vase Filler
Metallic washi tape
Metallic embroidery thread
Craft glue
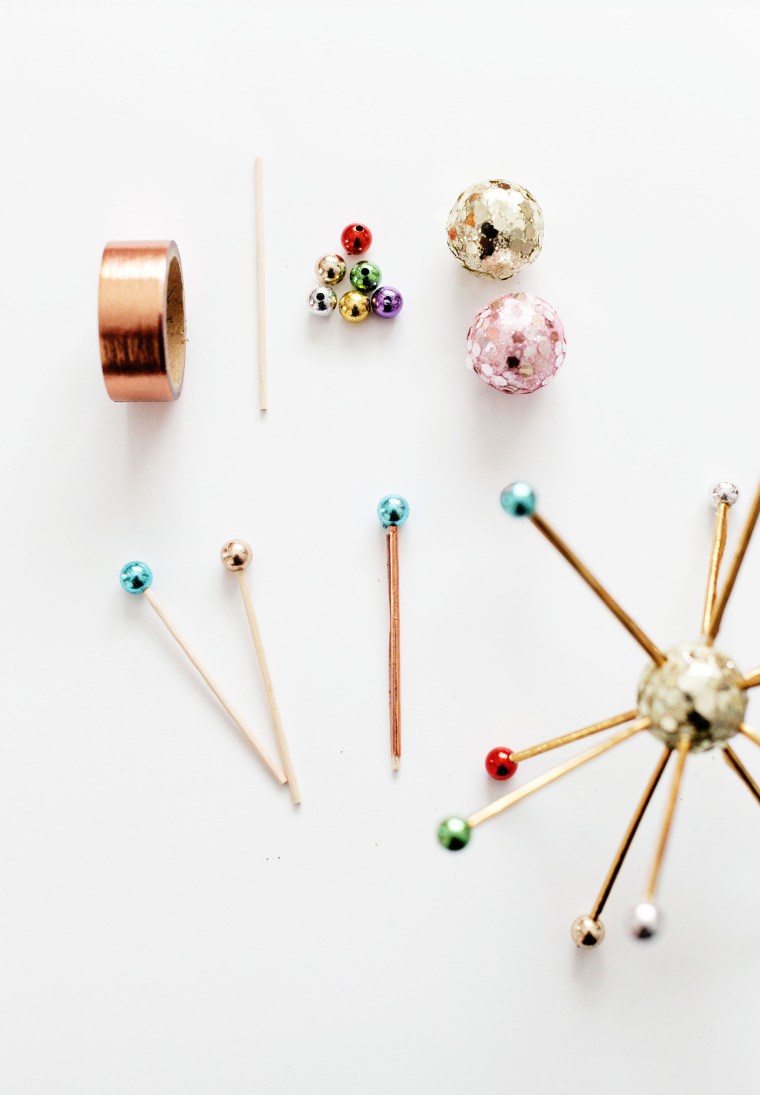
First create a loop with a piece of embroidery thread and insert both ends through the bead opening. Next, insert the mini wooden dowel into the bead opening. This should hold the thread in place.
Then wrap the wooden dowel in metallic washi tape. The best way to do this is cut strips the length of the dowel and wrap it lengthwise like you’re rolling a j….nevermind you get the idea ;).
Finally dip the end of the dowel into craft glue and insert the dowels into the styrofoam ball in a sputnik type pattern.
 You’ll end up with ornaments like this!

Told you it was easy! Get creative with colors and patterns! Be sure to tag me at @melodrama or use the hashtag #krysmasgram on Instagram to show me your creations!
DIY No-Sew Retro Atomic Space Age Tree Skirt
One of my favorite things to do each year is make new no-sew felt tree skirts. They’re super easy and fun to make and don’t require any skills except being able to use scissors and glue. You can see past tutorials with measurements and instructions here and here.
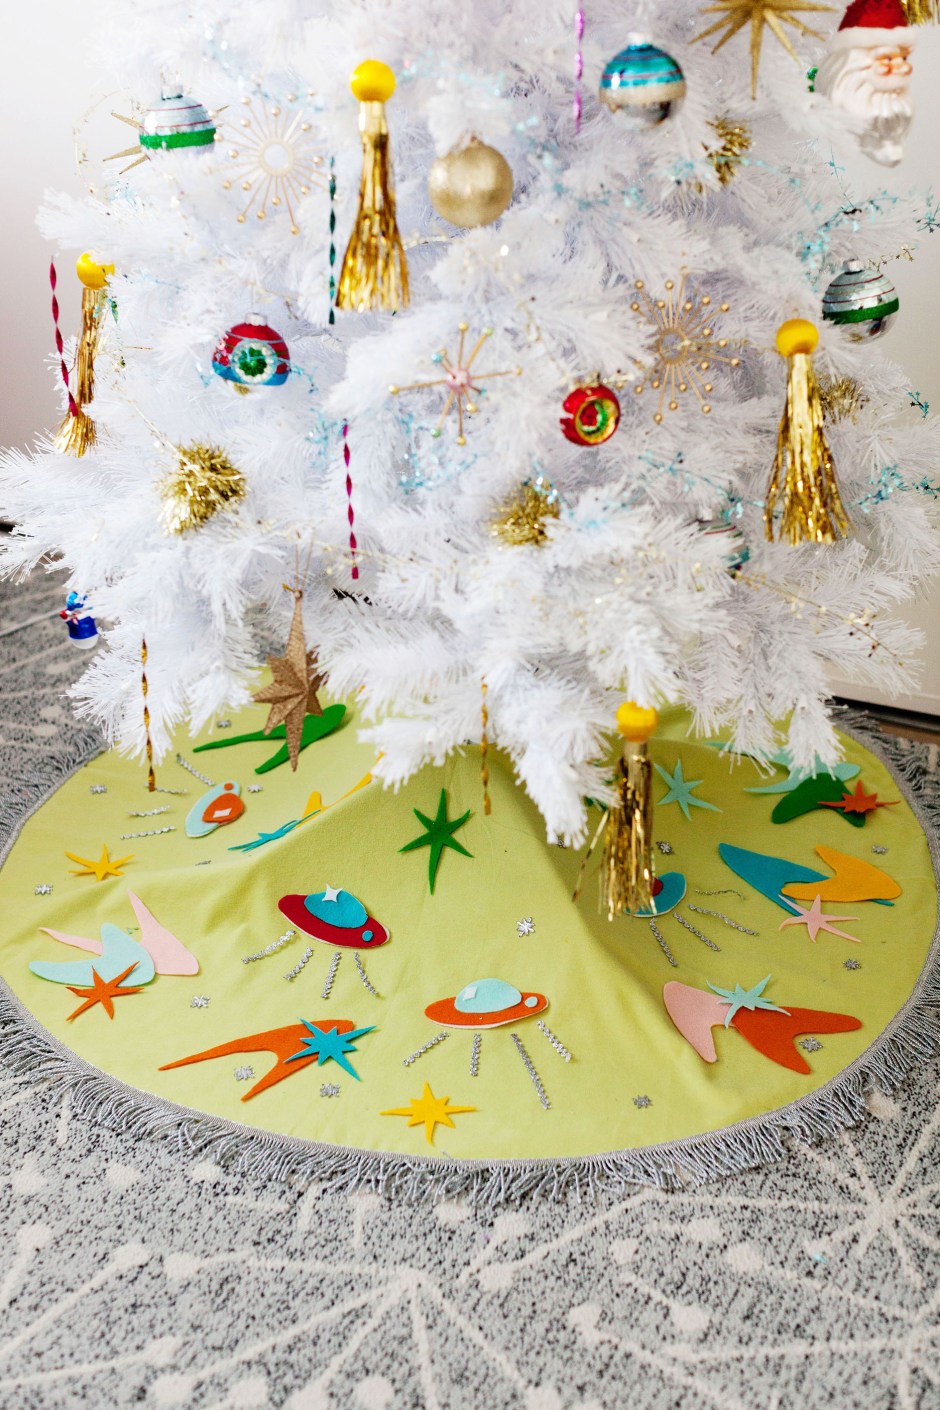
This year I needed something to match my office’s retro space age theme, so I used flying saucers and atomic shapes like boomerangs and starbursts.
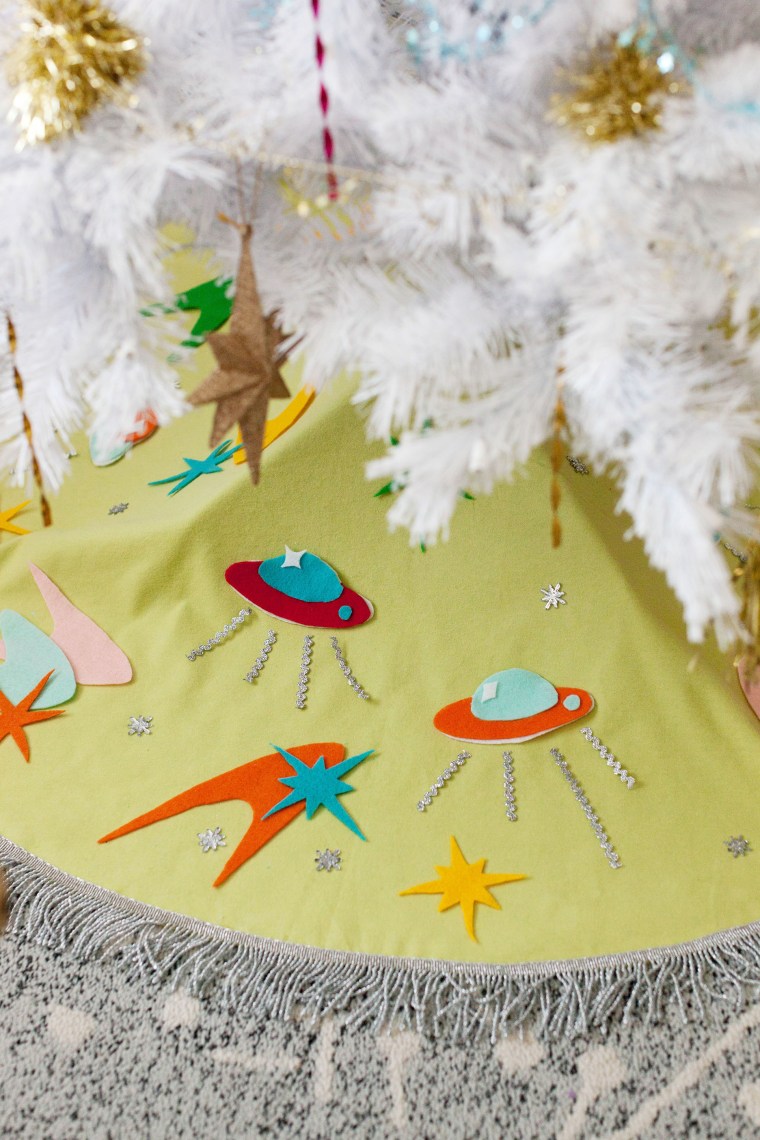
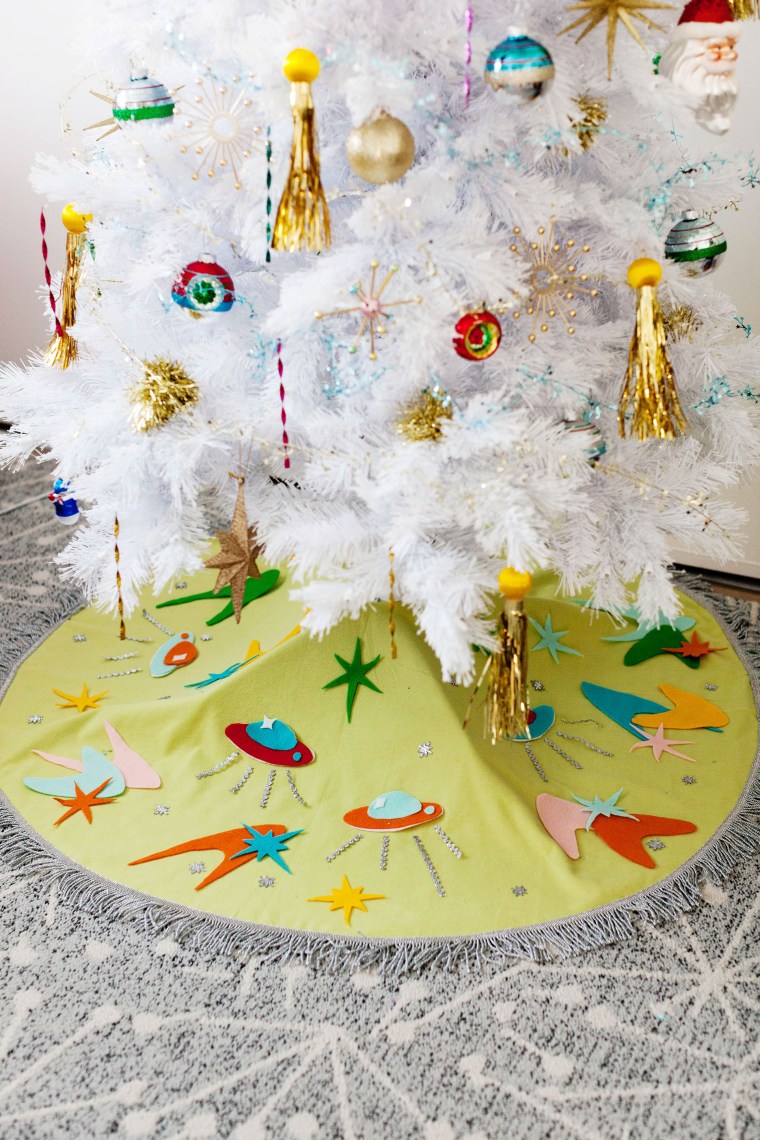
I used the method detailed here to cut my skirt out of green felt. Then I cut my shapes out of sheets of different colored felts. I used silver metallic rick rack to add rays to my flying saucers and shiny snowflake starburst buttons for a little extra shine. I finished off the edges with silver metallic fringe! I always use standard craft glue to adhere all of it.
Here are the shapes I used to make your felt cutting life a little easier! Print on a standard piece of paper. (Opt to scale to fit paper on your print settings if possible.)

Tada! 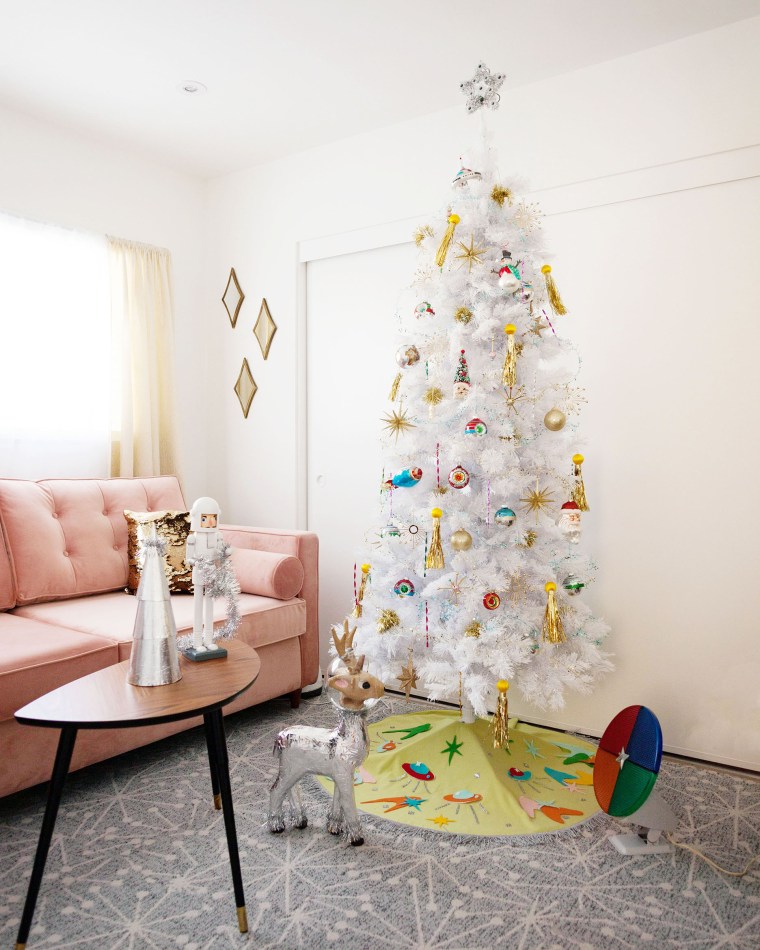
Make sure to tag @melodrama or use the hashtag #krysmasgram on Instagram to show me your creations!
DIY Retro Inspired Christmas Space Age Reindeer
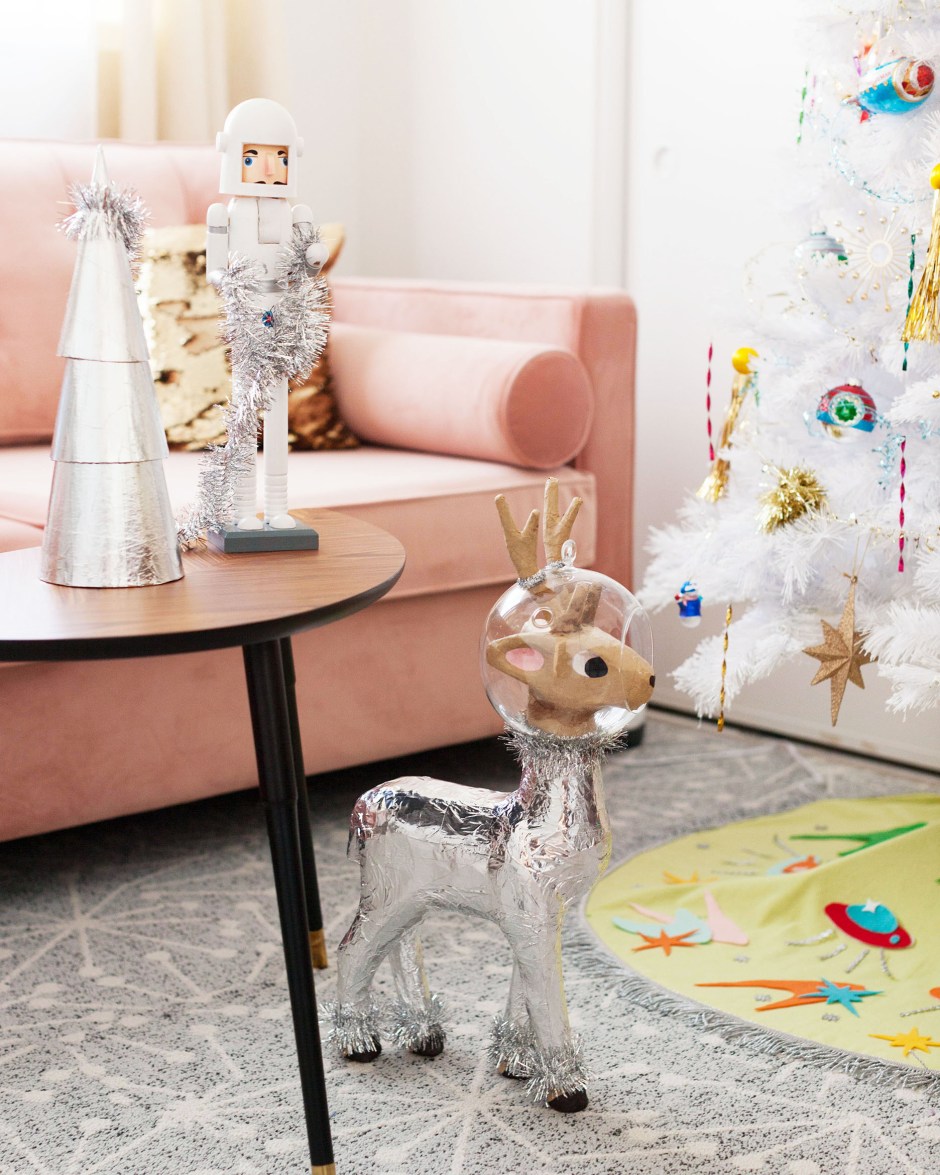
As you saw from my previous post I went full on atomic space age for my home office. I had to do a few DIYs to make it exactly what I wanted it to be, but my favorite is probably this astrodeer!
This project required some Frankenstein style surgery, but I’m really thrilled with the way it turned out. Here’s what I did!
Supplies
Paper Mache Deer
6.5″ Round Glass Terrarium
Aluminum Foil Tape
Utility Blade
Hot Glue
Craft Glue
Silver Tinsel Garland
Silver Tinsel Stems
Craft paper or paper bags
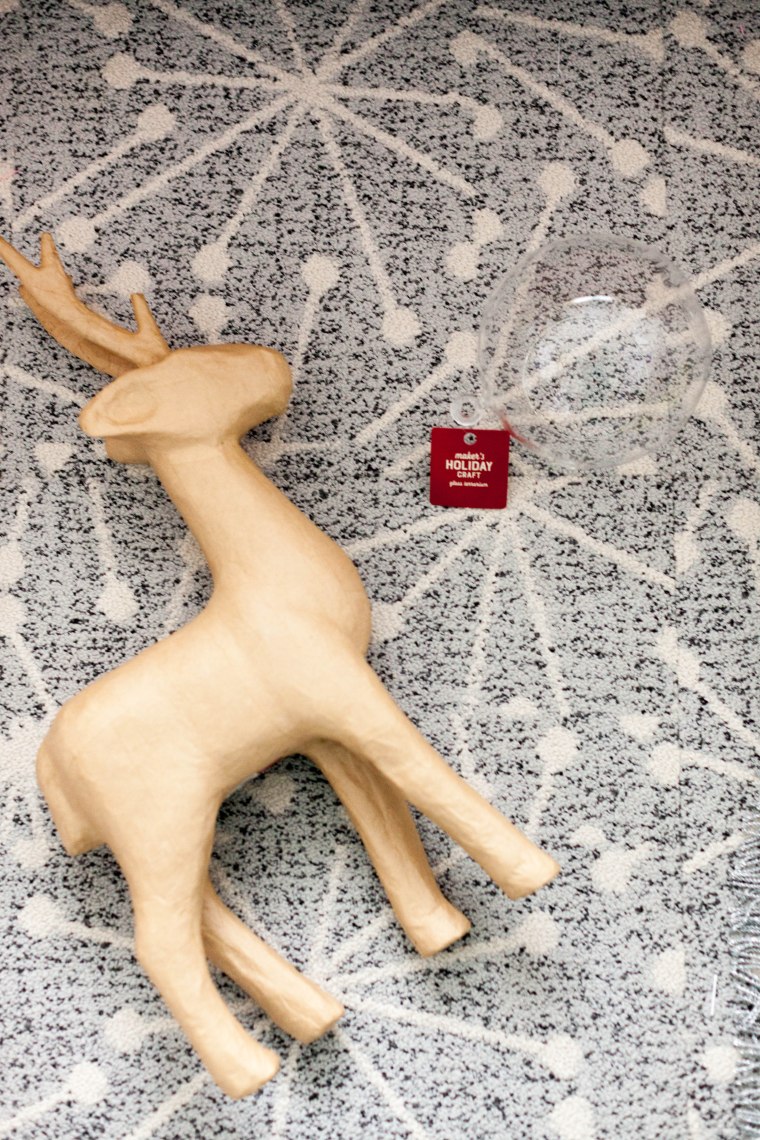 Ok I’m going to admit right now I didn’t take process photos because I’m the worst and I wasn’t even sure it was going to work, BUT luckily it’s a pretty straight forward process. (Note: I’m going to make one for a friend so I’ll try to update this post with photos when I do!)
In order to get the deer’s head into the terrarium, but still have the helmet in the position I wanted, I had to make cuts on the points shown below.
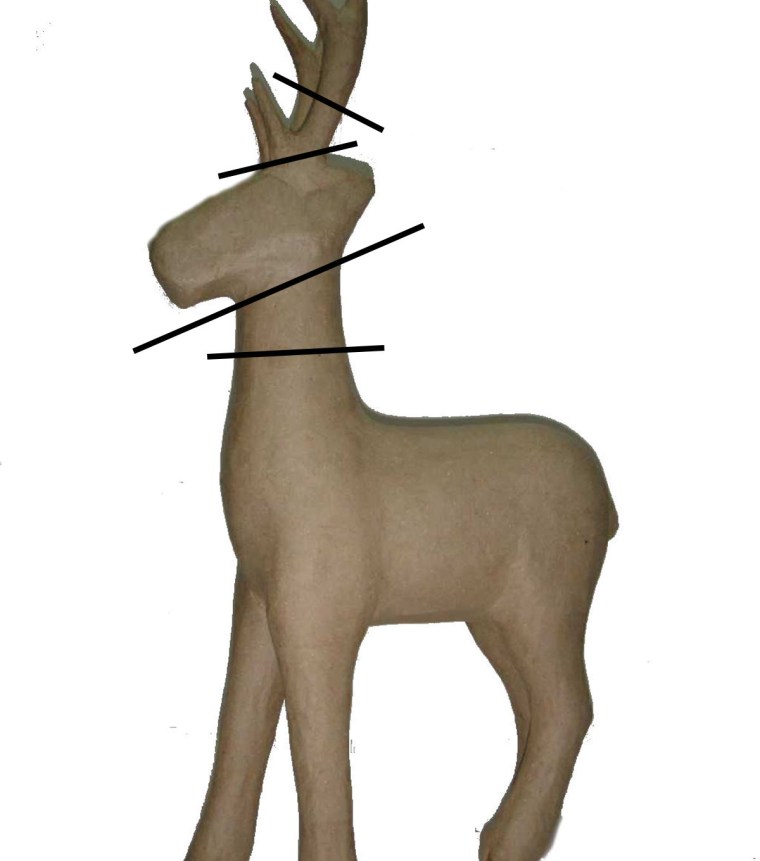
I added paper ears and eyes and placed the head in the terrarium. Once the head was in the terrarium (from here on known as the helmet) I reattached the bottom part of the antlers, and the upper part of the neck with craft glue and used chopsticks to help get where I had trouble reaching. Once it was dry, I used wet strips of paper bag and glue to cover the cut seams.
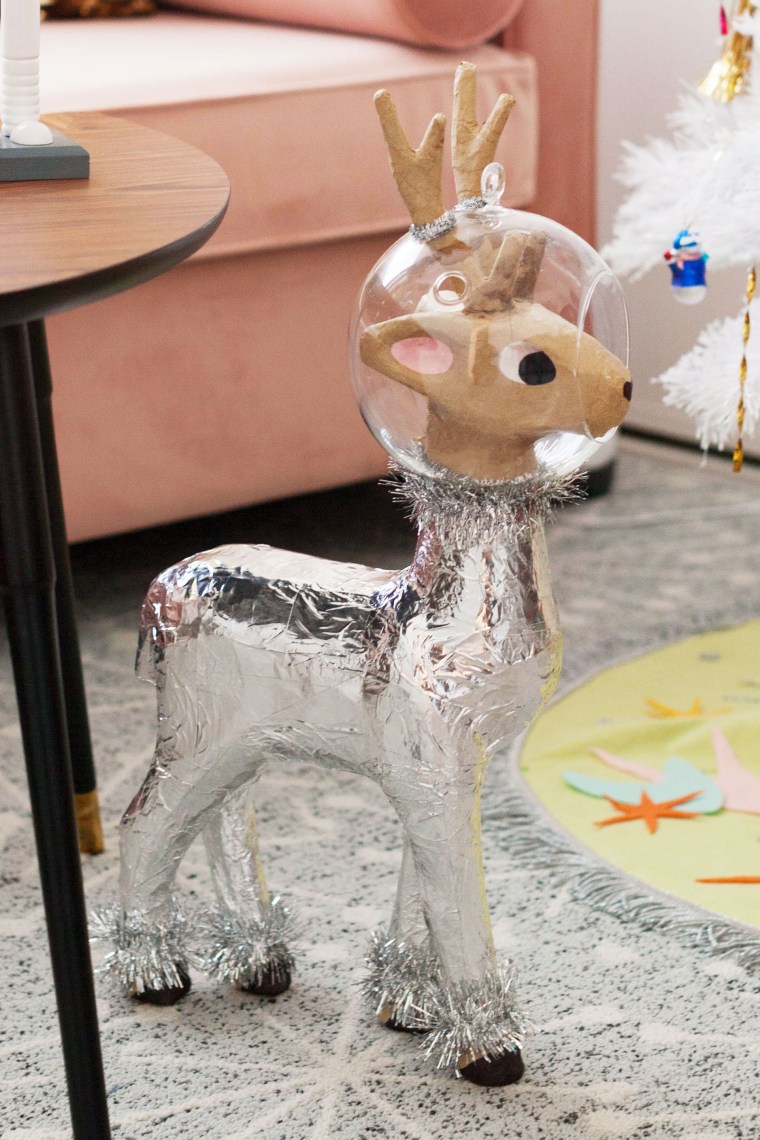
Then I used hot glue to attach the rest of the antler to the top of the helmet, and the helmet to body. I used a black sharpie to draw on the hooves and a nose, then I covered the body in foil tape, and covered all the glue joints with tinsel wire and garlands.
There it is! My new spacey pet. Isn’t he a cutie?
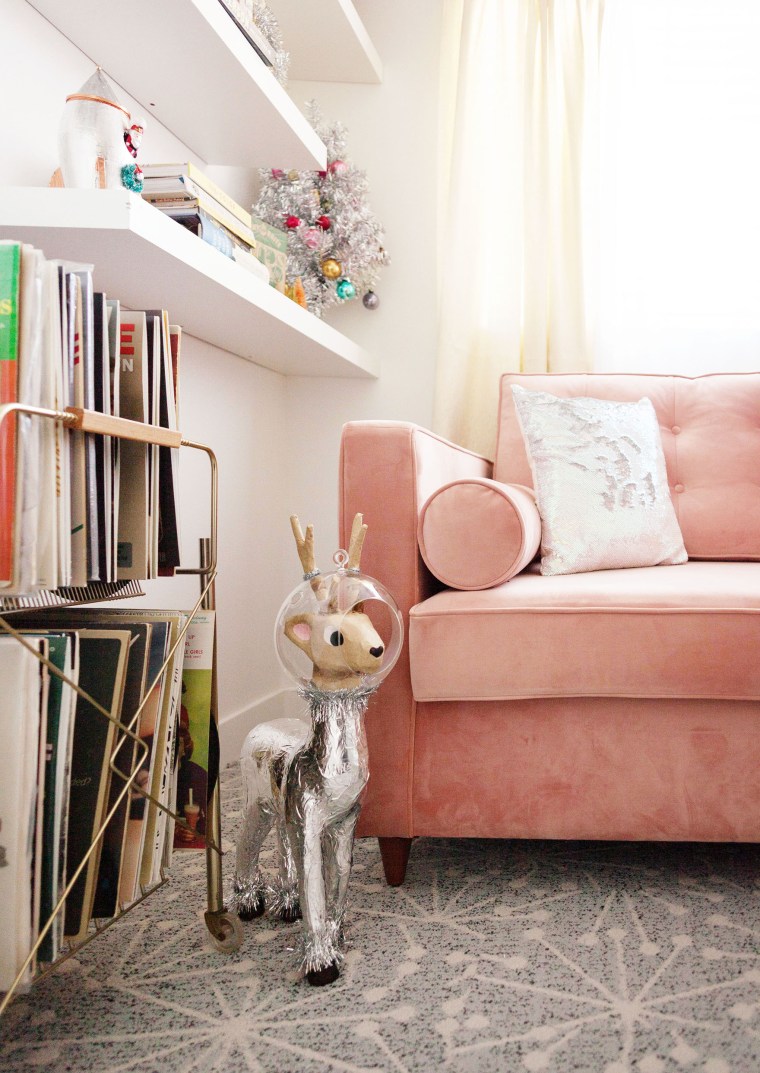
Retro Mid-Century Atomic Space Age Christmas Decor Theme
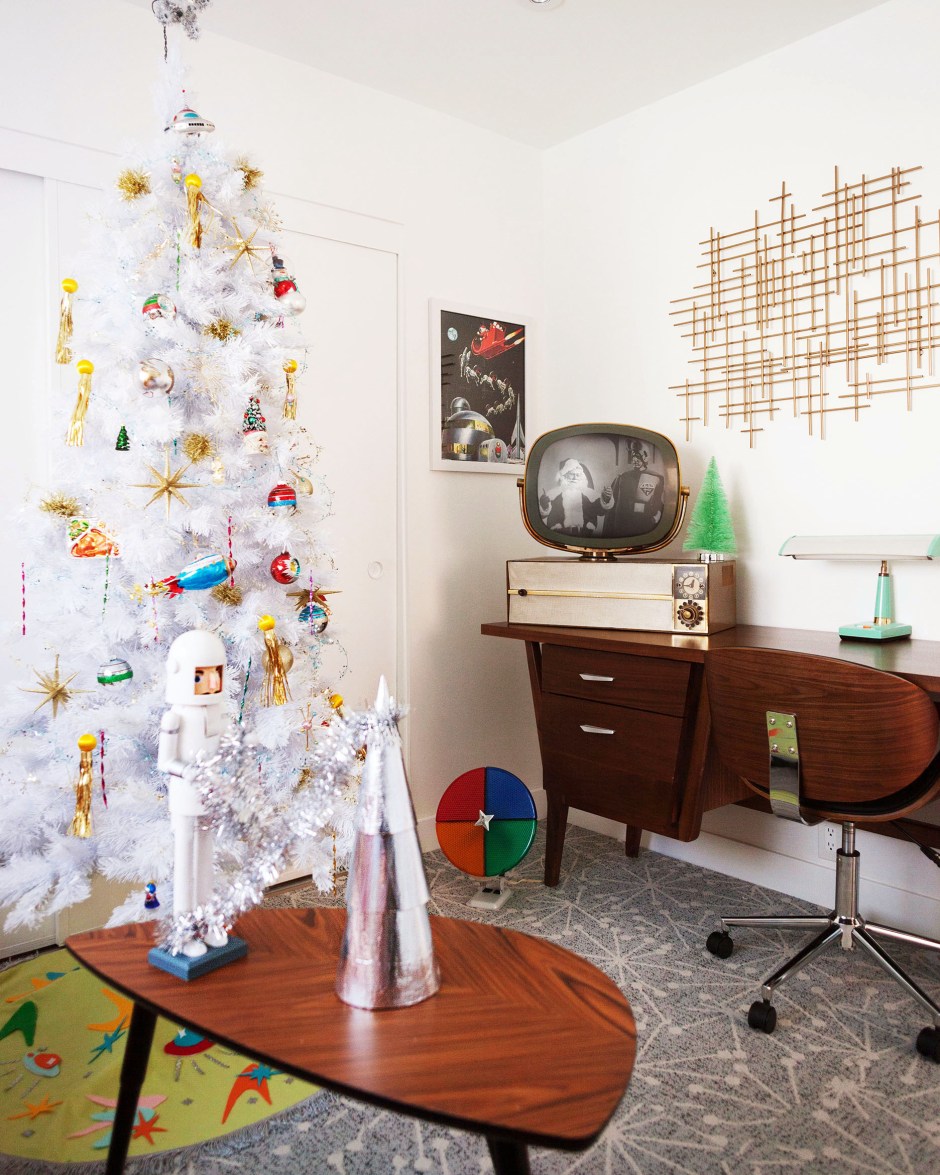
Ahhh I am so excited to show you our home office’s Christmas theme!! I’ve had this retro sci-fi idea floating around in my mind forever and I’m so glad I was able to pull it all together. I was in a pretty serious car accident in November, so for a moment I didn’t think I’d be able to rally in time to make this happen, but I was able to work it out and I’m super happy with the result.
I was inspired by the atomic and space age depictions of Christmas popular in the mid 20th century. Think Christmas cards with Santa riding a rocket, flying saucer shaped Shiny Brites, and even movies like Santa Claus Conquers the Martians. Unfortunately, it was a difficult task finding the appropriate items to deck my halls in this theme, aside from one or two retro style ornaments I found at Michael’s. Fortunately I was able to craft my way through enough projects to make it pretty much exactly what I had in mind.
I’ll be following this post up with others detailing the DIY crafts I did with links to materials, so stay tuned for that. For now let me take you on a little tour of the room!
 Since it’s a small room I needed a tree that wouldn’t overwhelm the space. I went with this slim white tree from Treetopia which fits nicely. It has white lights, but my vintage Norelco color wheel adds some festive color to it as well.
One of my favorite Christmas crafts to do each year is to make custom no-sew tree skirts. You can see examples of that here and here. This year was no exception! For this one I used ufos, boomerang shapes, and starbursts, finished off with silver metallic fringe.
 To decorate the tree I used blue and gold star wired garland and a variety of starburst ornaments I’ve collected over the years.
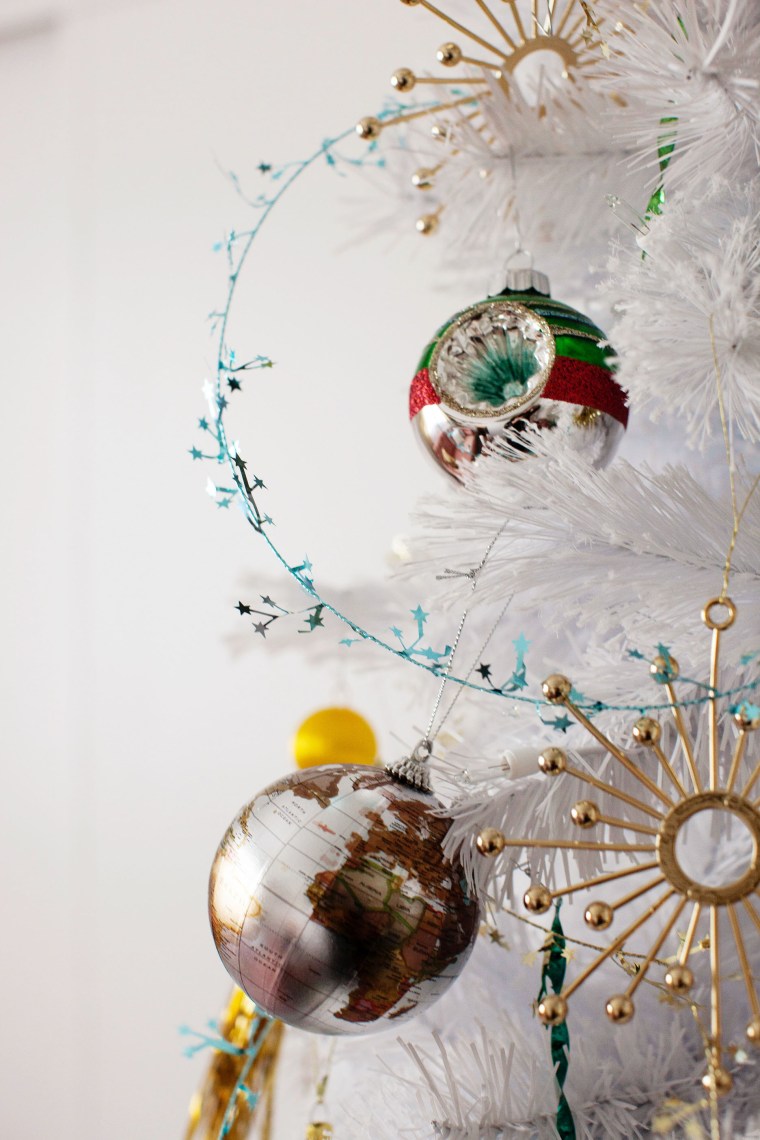 Of course I used some of my vintage reflector ornaments and threaded ball fringe comets.
 I found a few fitting ornaments at Michaels like a flying saucer, rocket Santa, and an aluminum tray TV dinner (space age technology!).
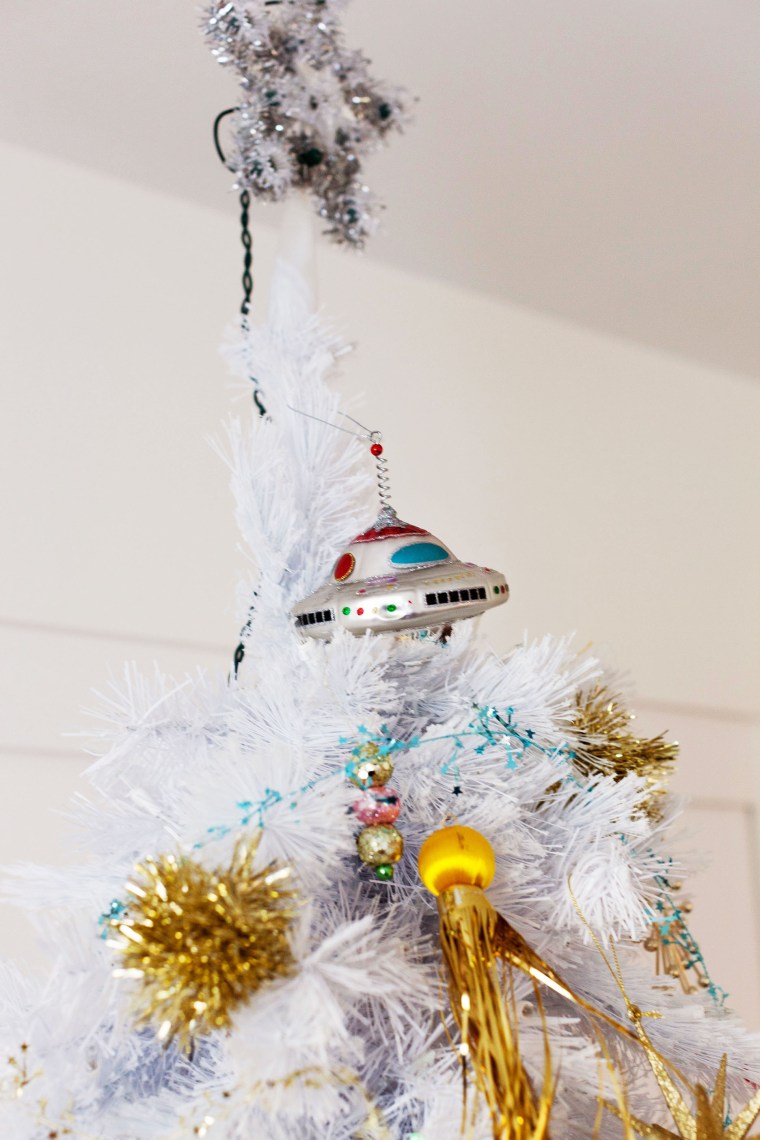
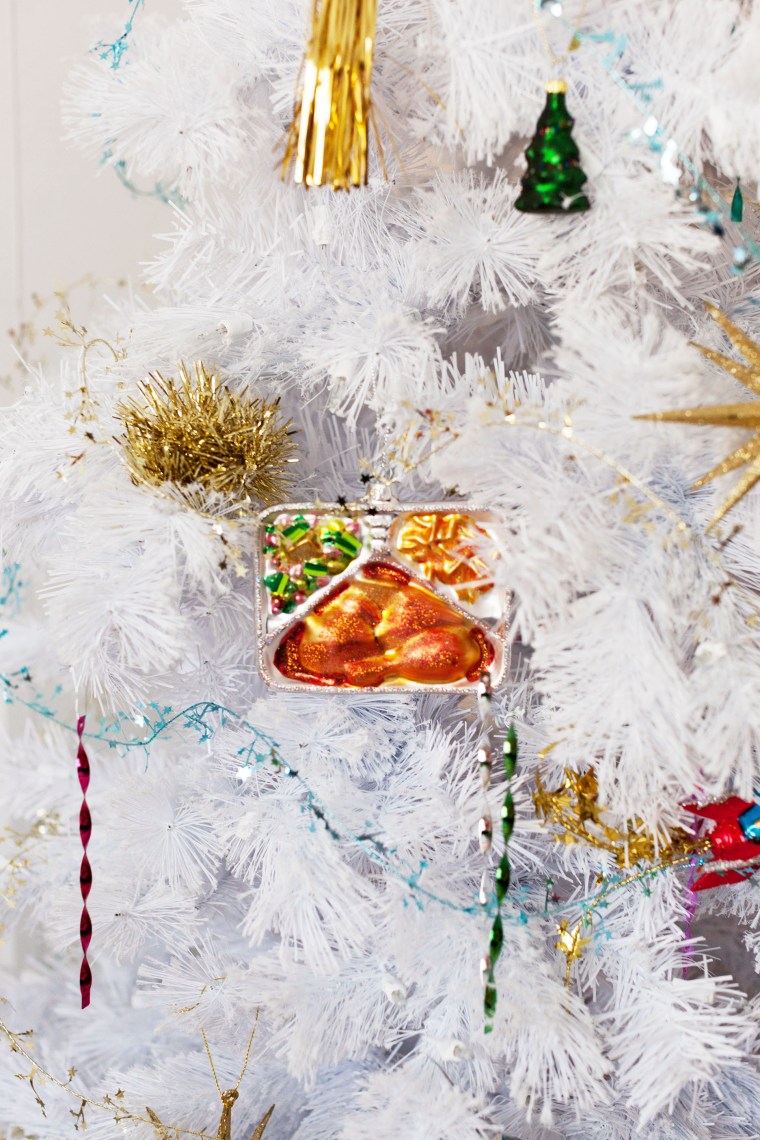
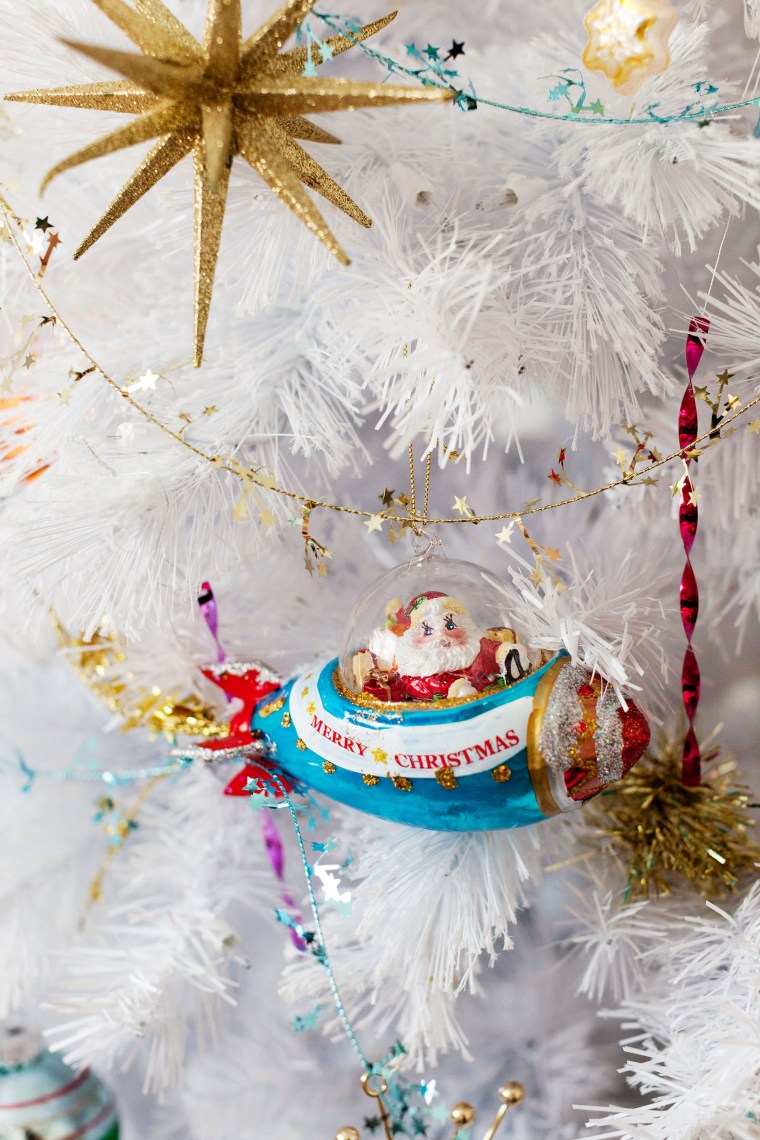 I also made colorful sputnik ornaments (look for those in an upcoming post!)
And I even added a space helmet (an empty craft ornament) to Frosty!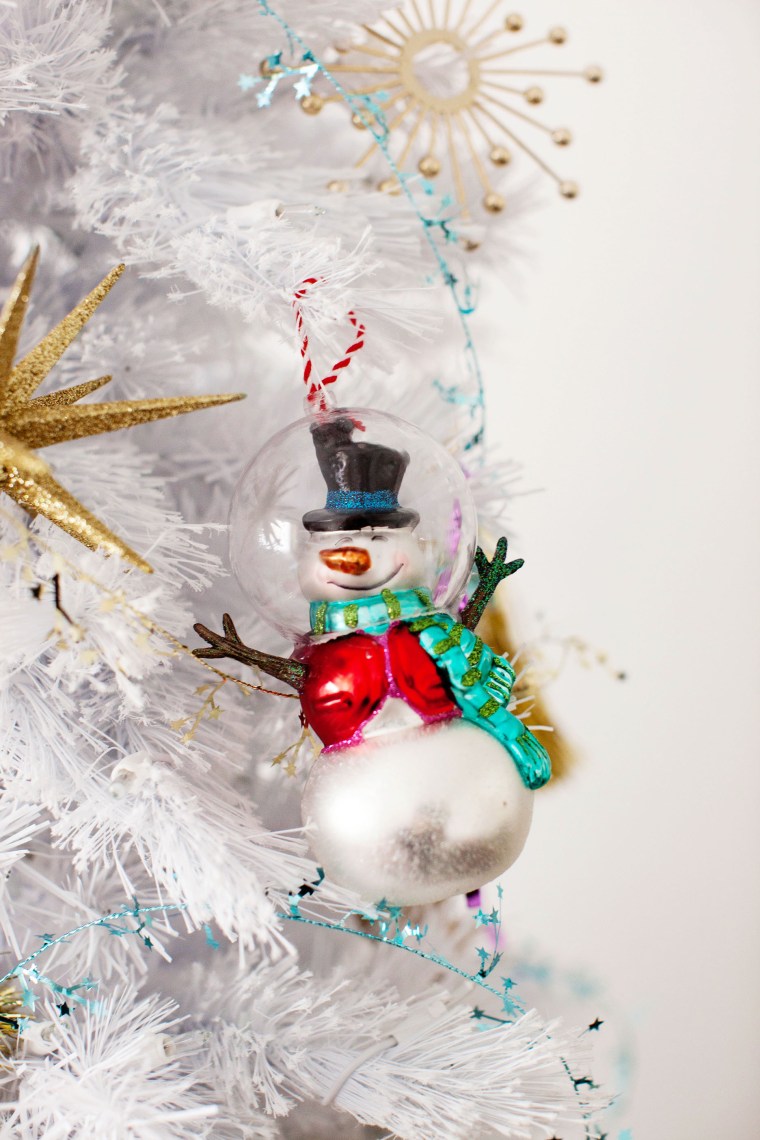
I found an astronaut nutcracker and gave him an aluminum tree to decorate. This is just three craft cones of different sizes covered in foil tape and stacked!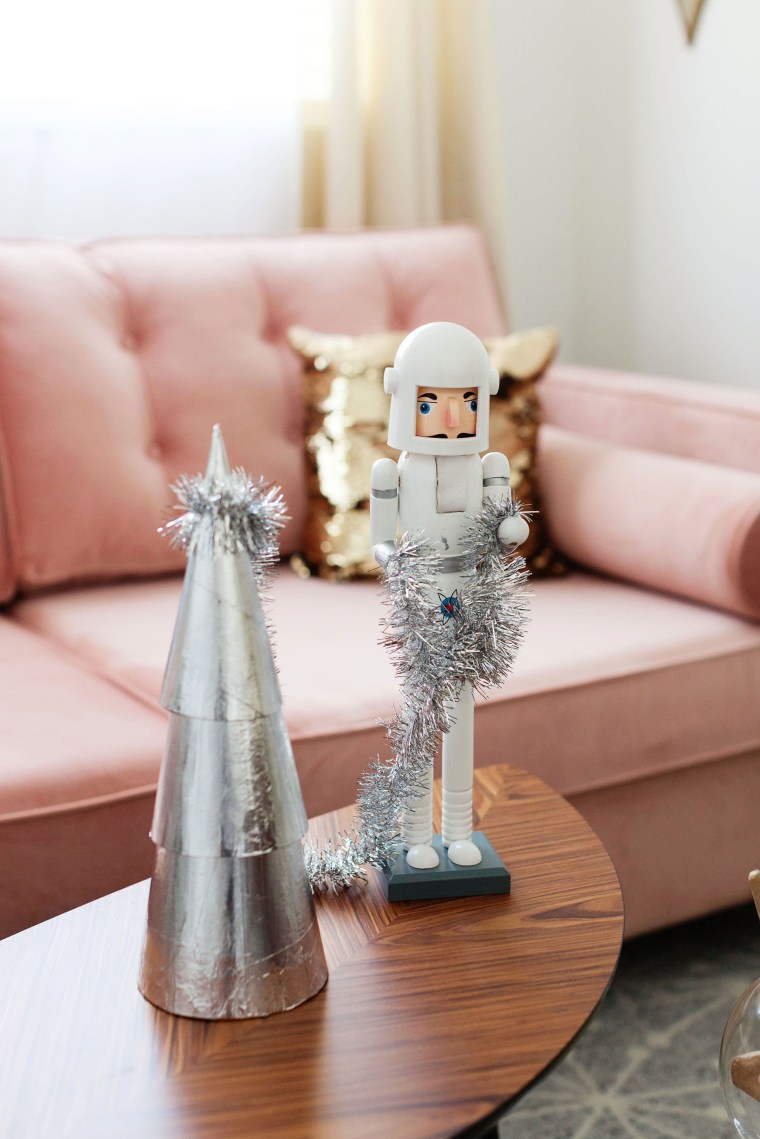 Another rocket Santa! Made out of a bird feeder, metallic tape, and mini ornaments.
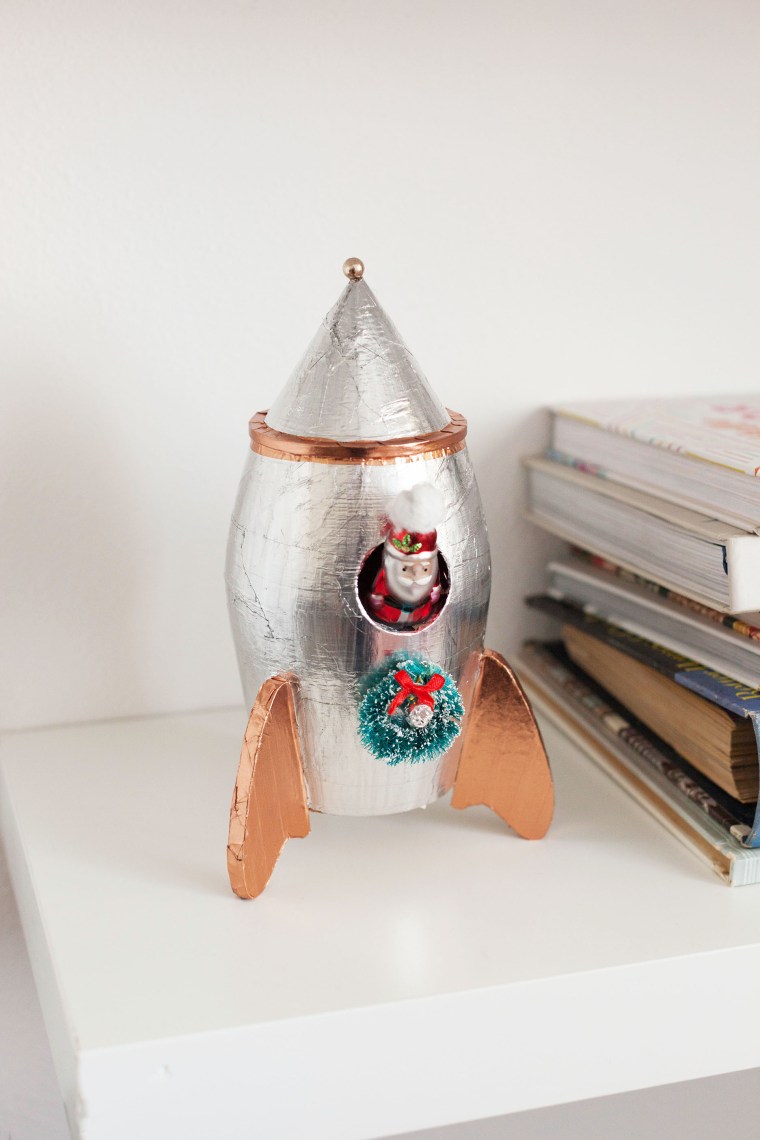
And my new pet, my favorite Christmas creation of all time, my space deer! He’s made out of a papier mache deer and a round terrarium. 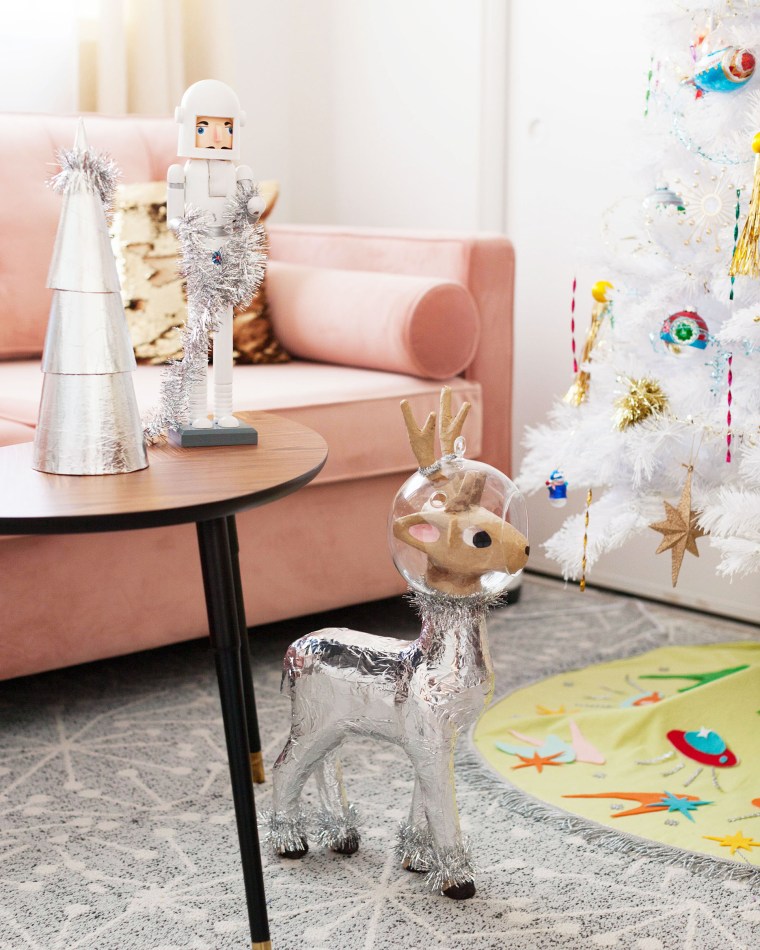
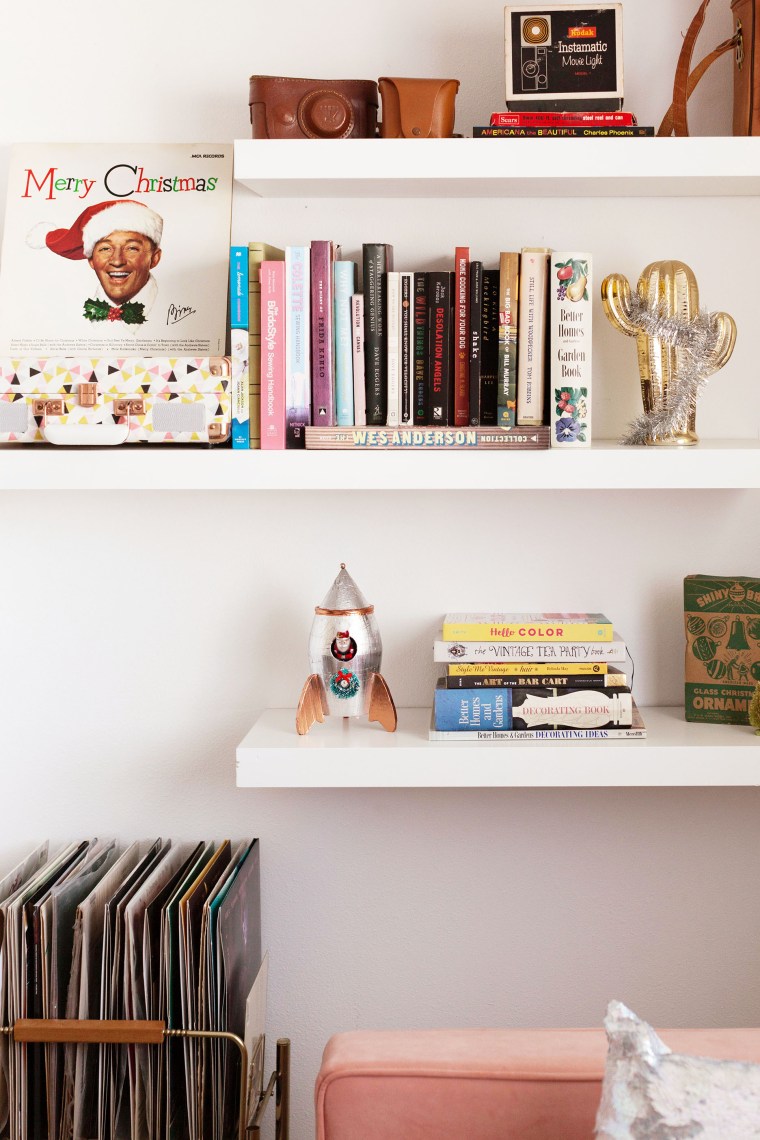
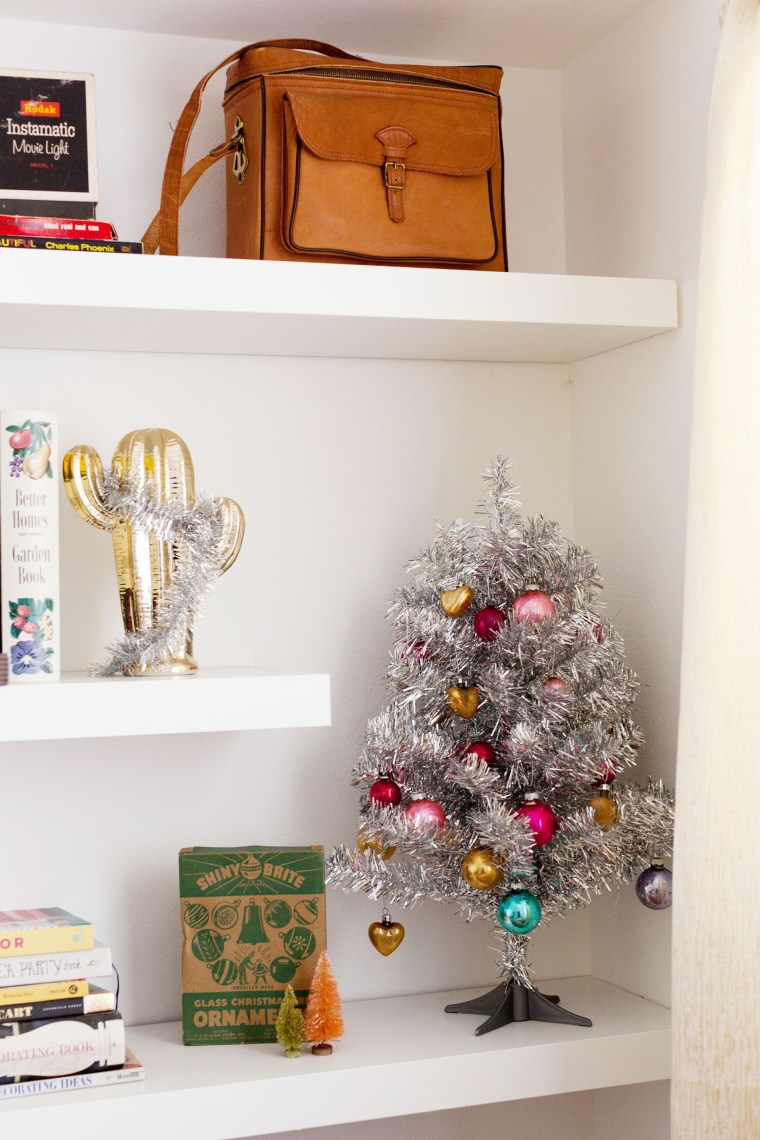
Over on the shelves we’ve got some spacey aluminum and vintage Shiny Brites.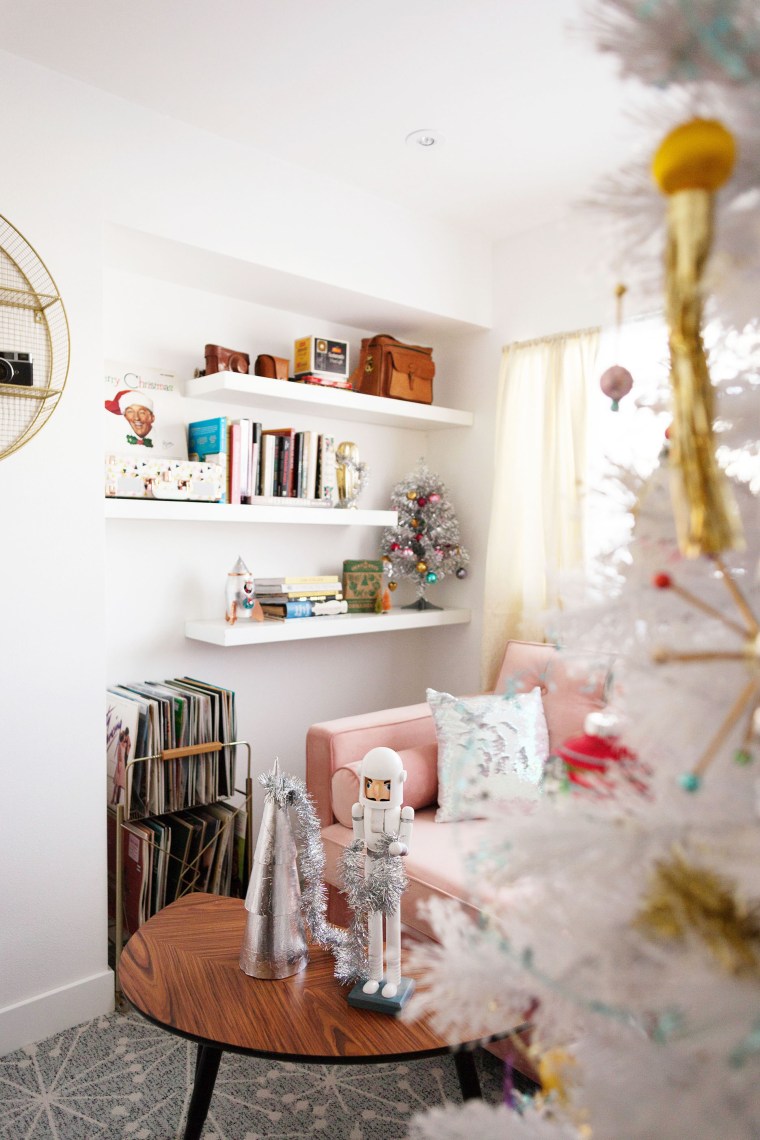
I found this vintage space Santa image and had it enlarged and printed. It even has space reindeer!
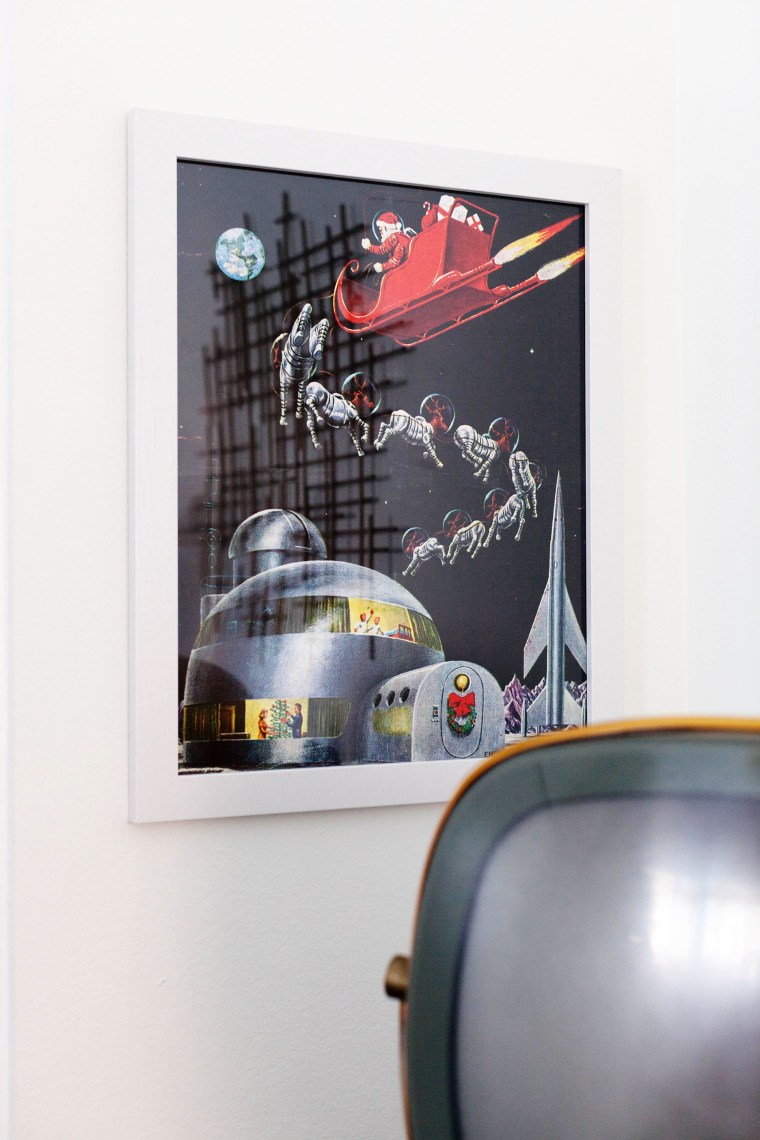 Looks pretty good over by our 1960 Philco Predicta.
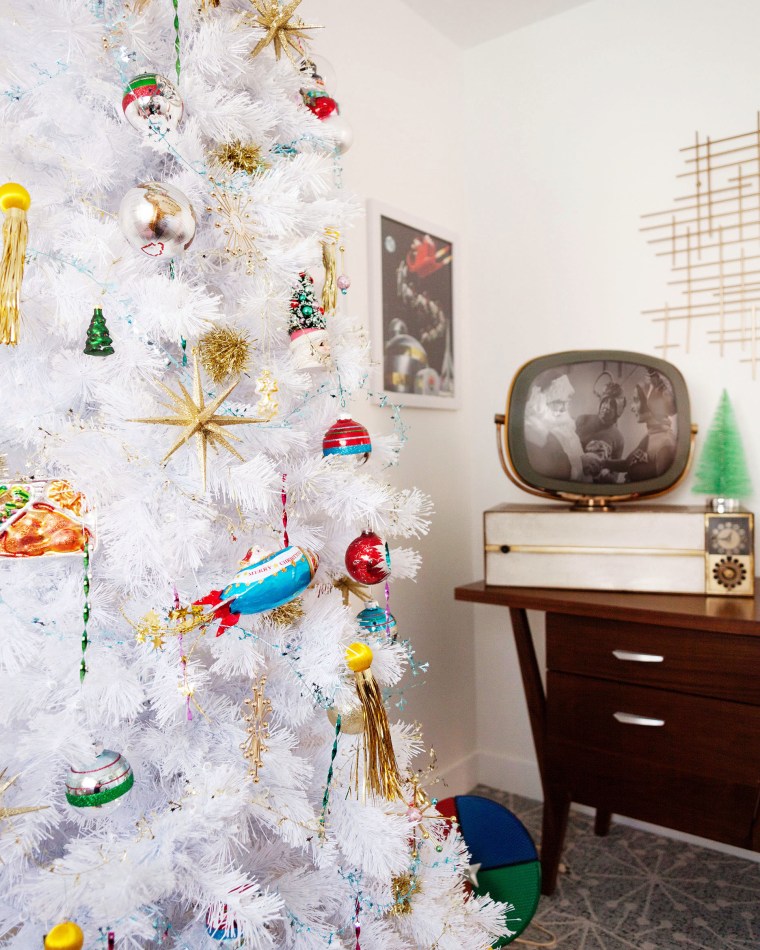
And there it is! I hope you liked the tour!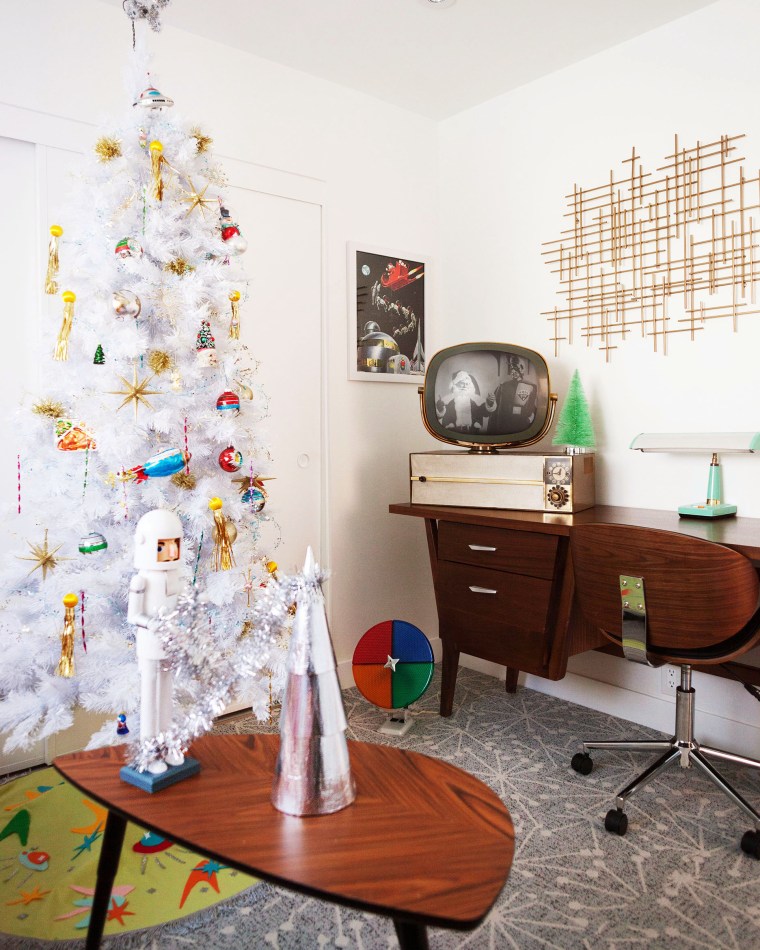
Stay tuned for a followup post of details on the DIYs and all the resources.
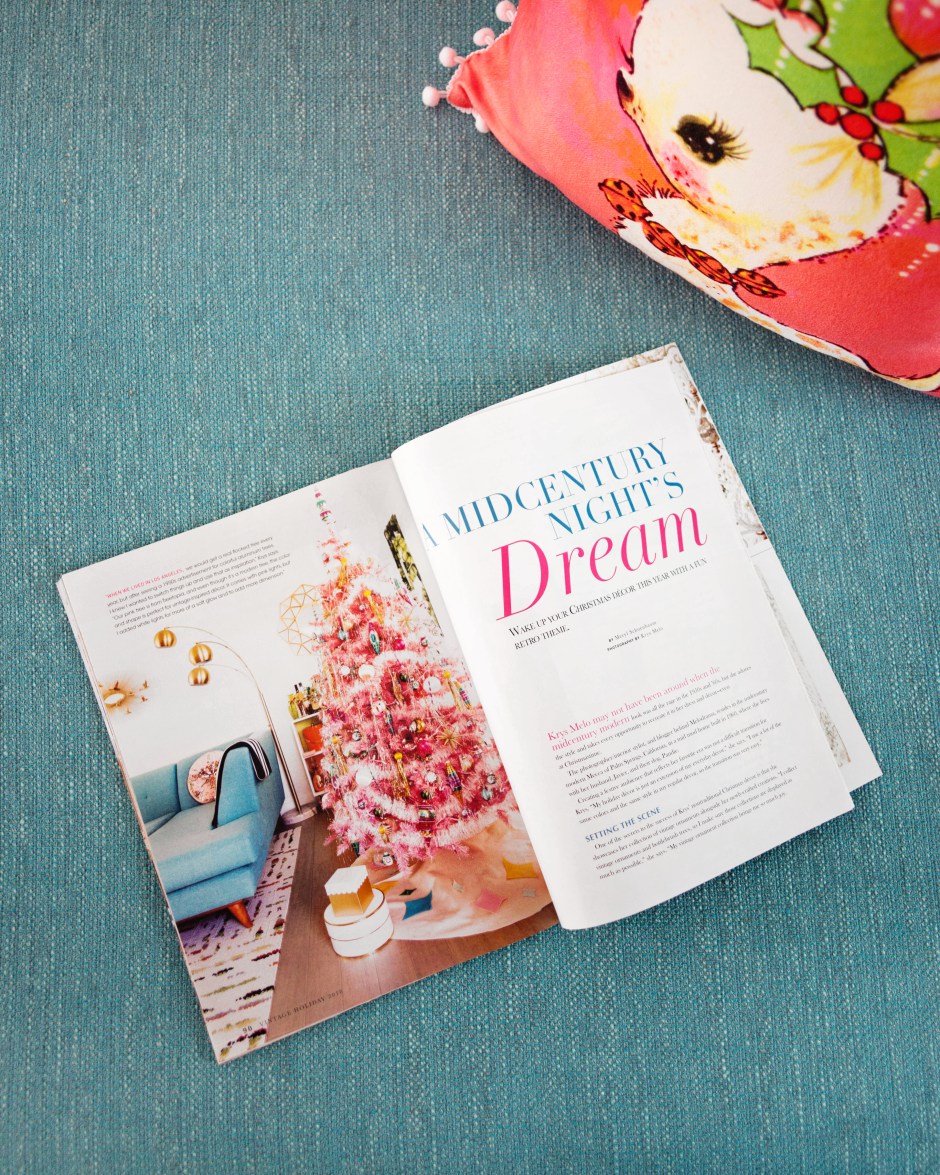
On the Cover of Vintage Holiday Magazine 2018!
A few months ago Vintage Holiday Magazine asked if they could do a feature on the way I decorate for Christmas, but I had no idea my living room made the cover until I opened the copy they sent me!
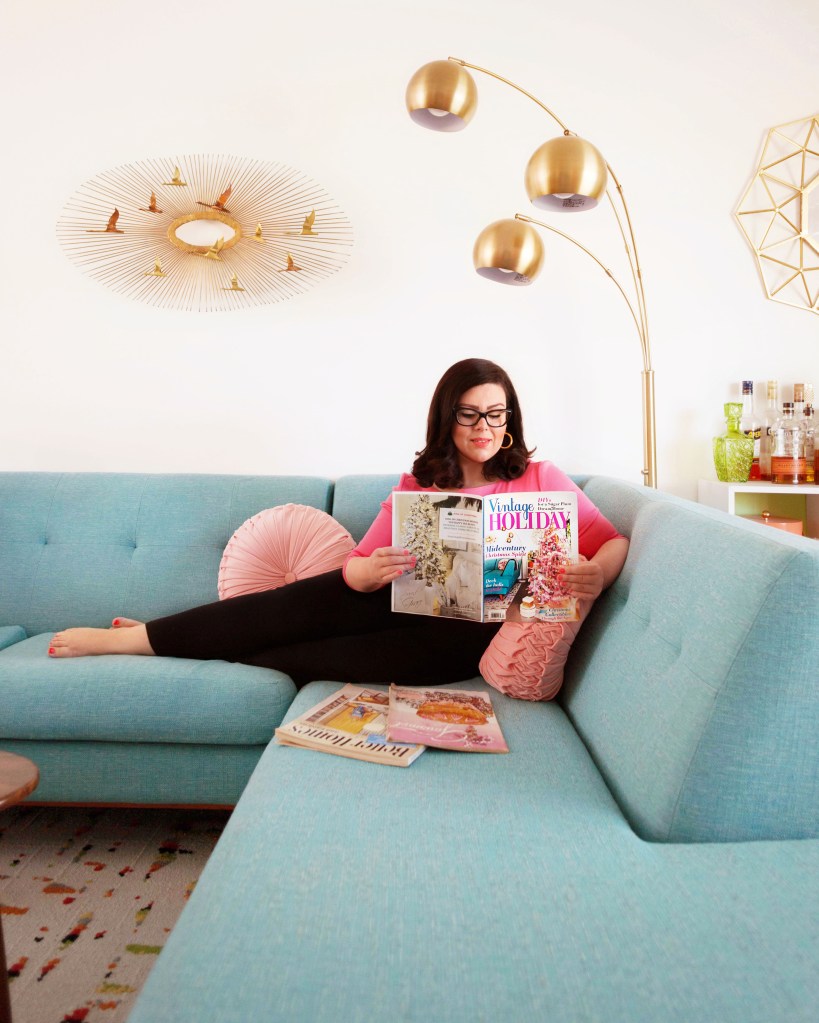
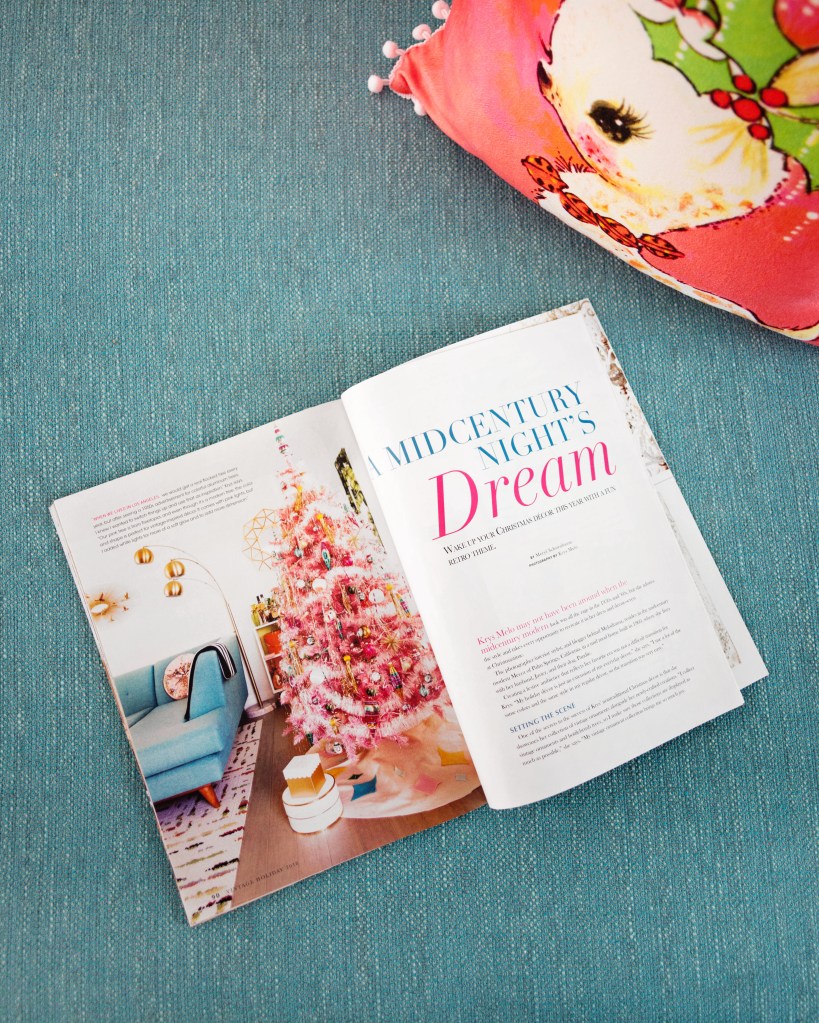
Pick up or download a copy to see the entire feature, and lots of other cute holiday home decorating ideas. Thank you to Vintage Holiday Magazine for the lovely article and cover. And thank all of you for your continued support and enthusiasm! Happy holidays!
Melodrama Halloween Home Decor 2018
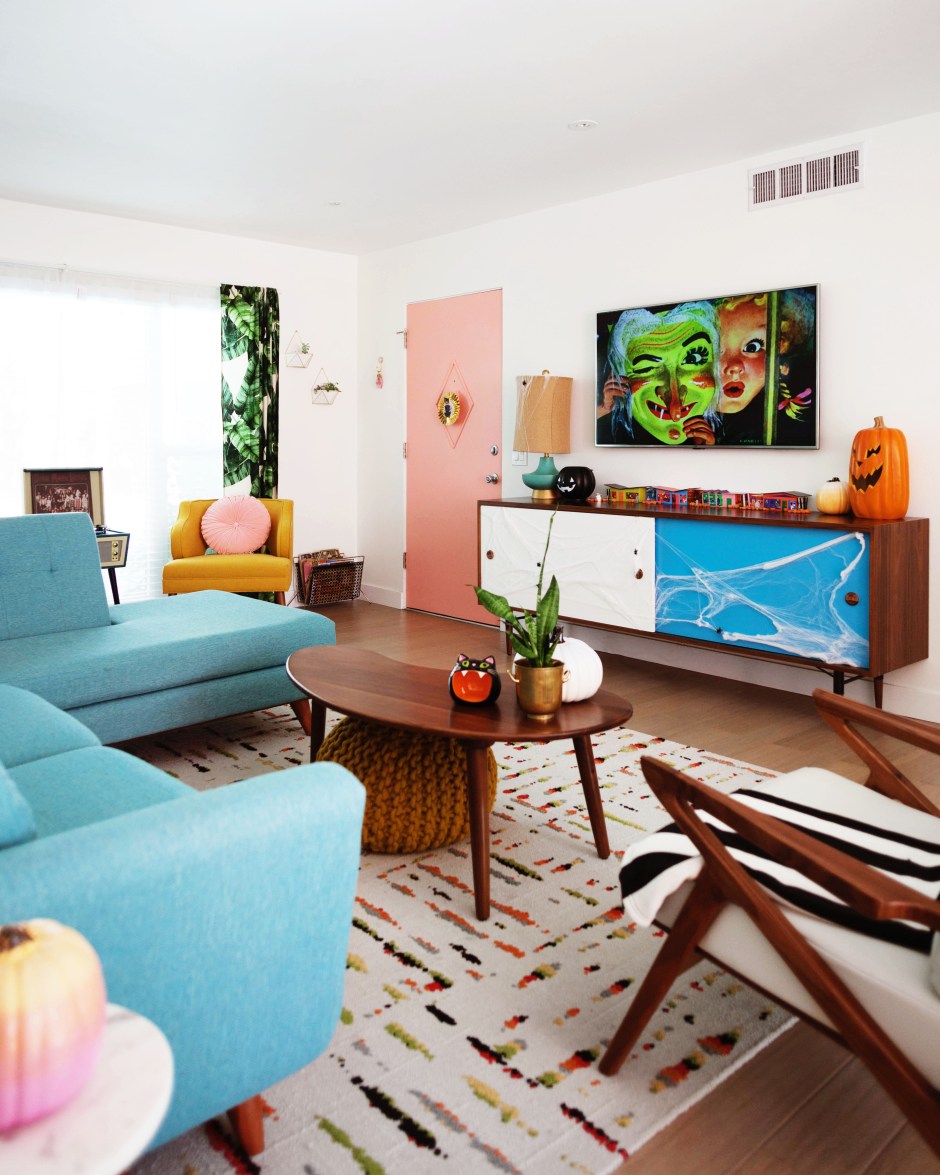
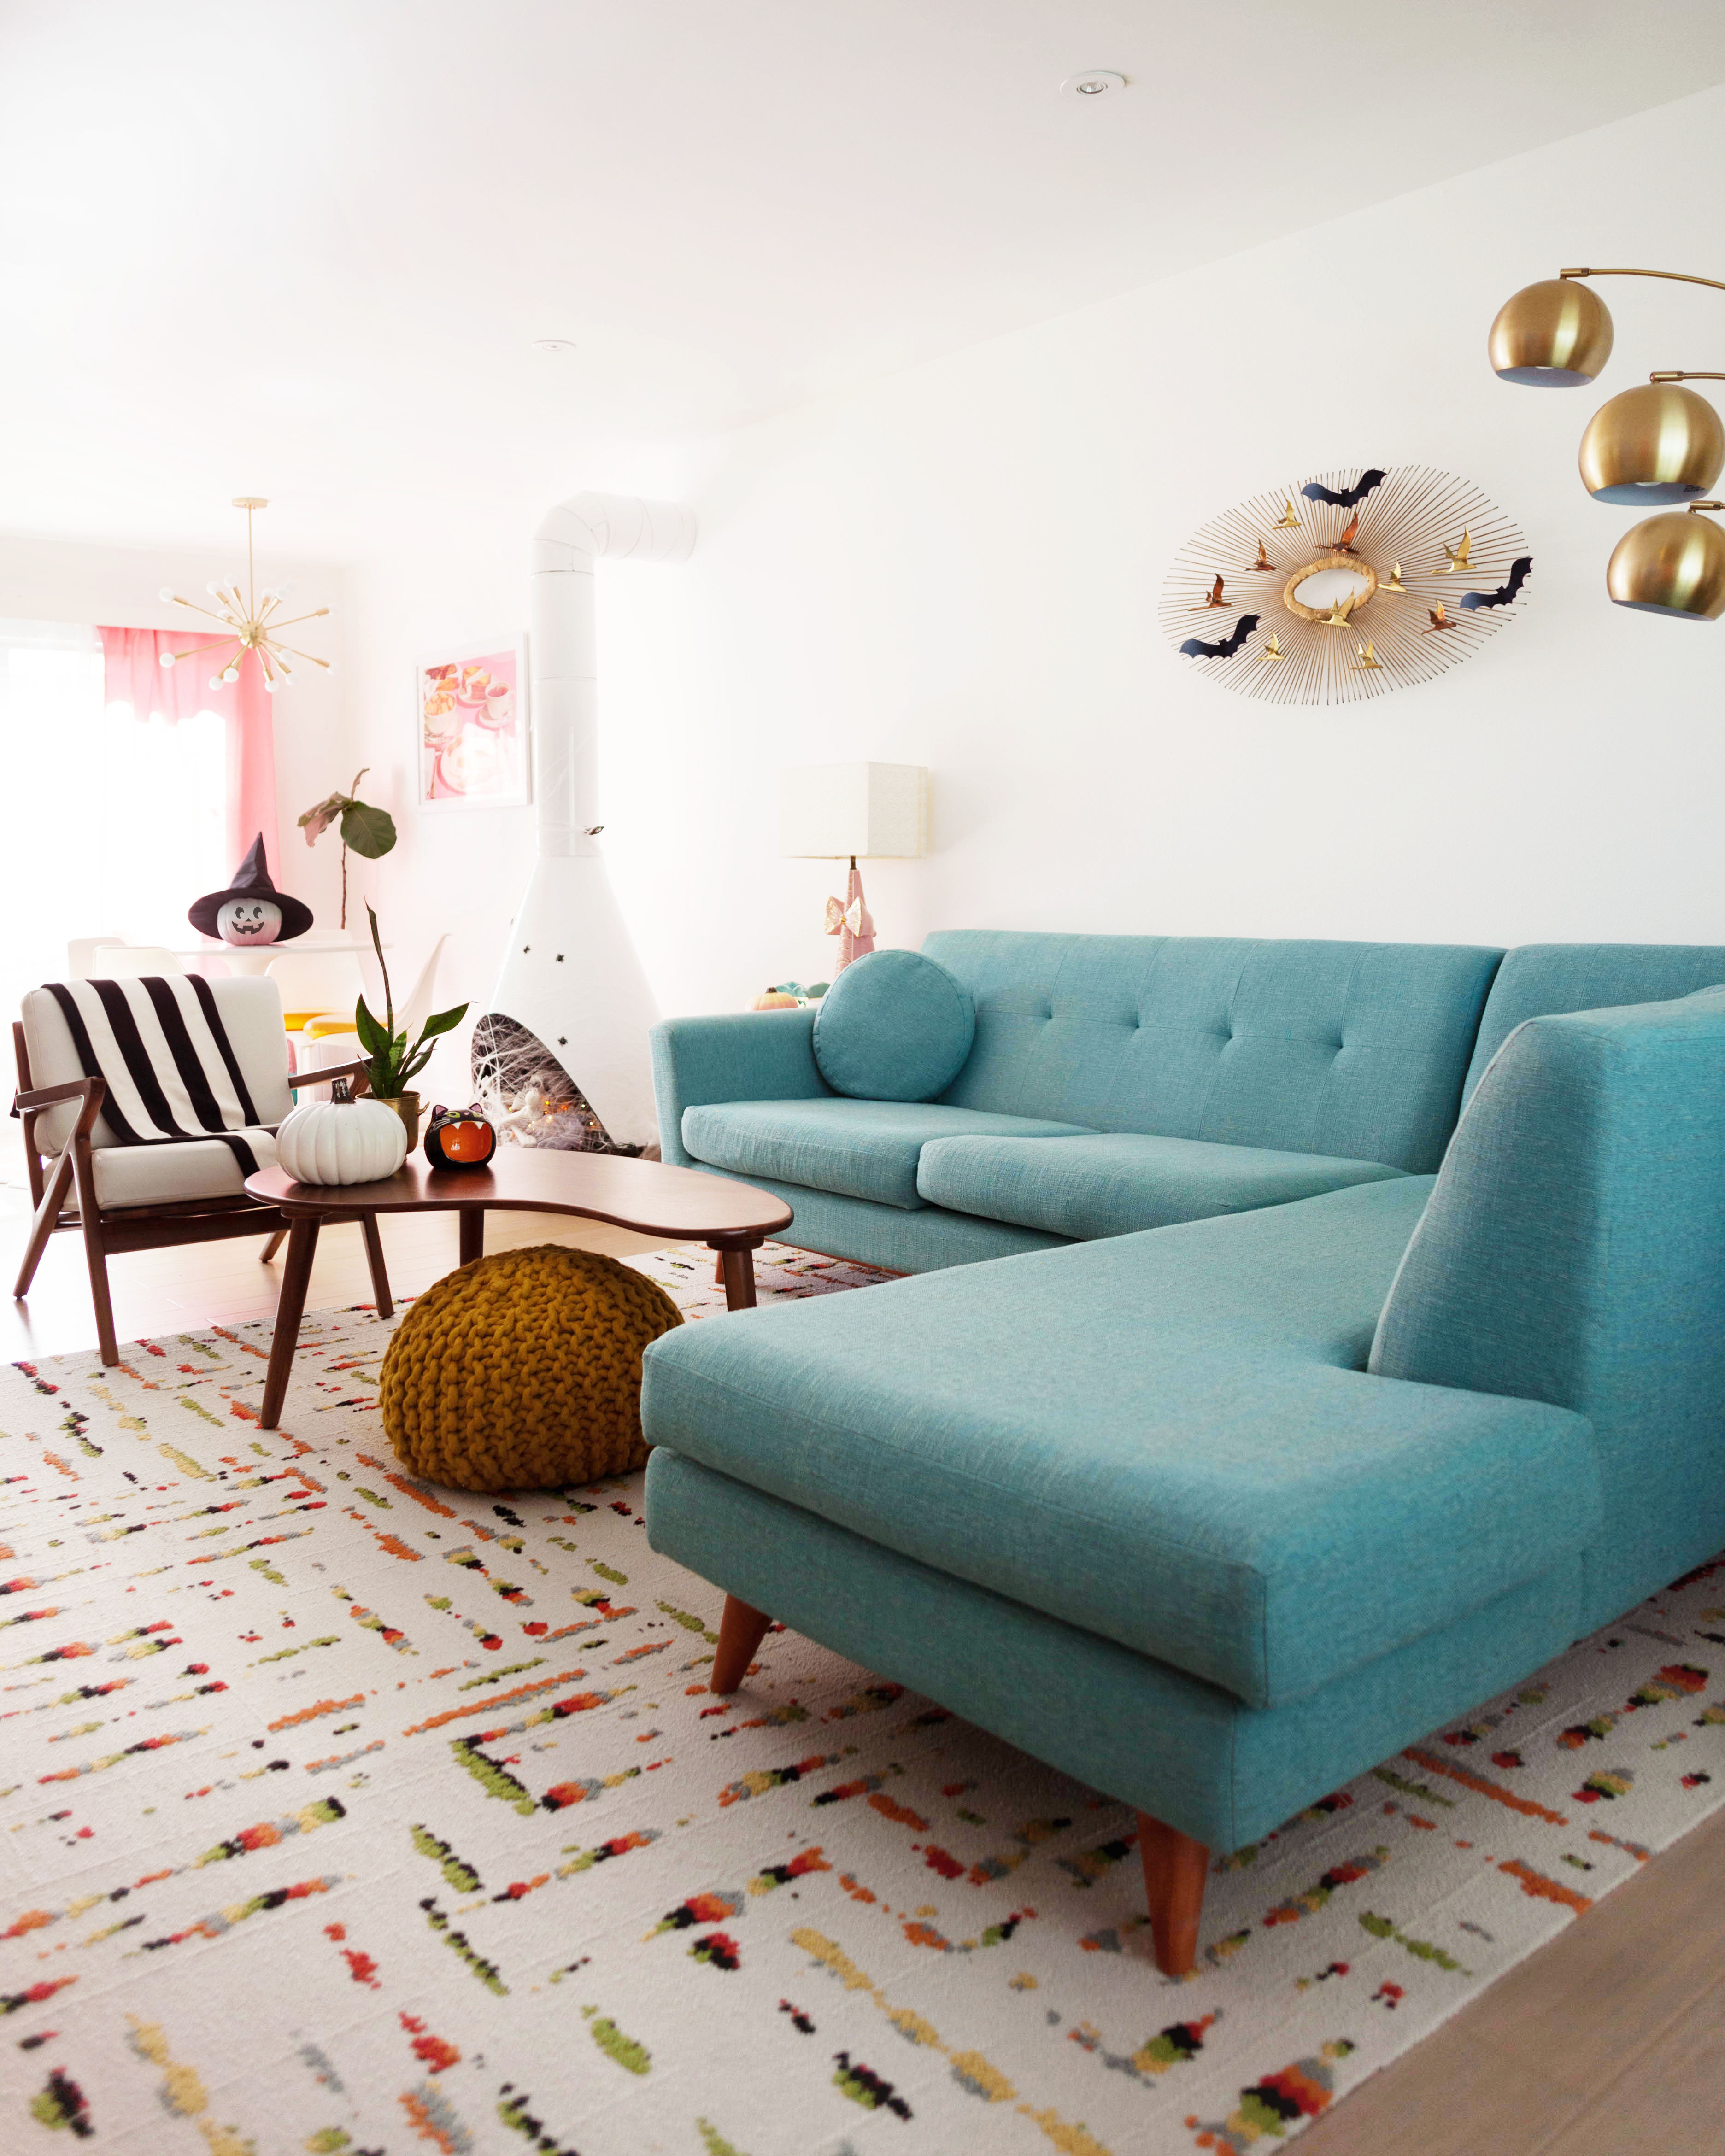
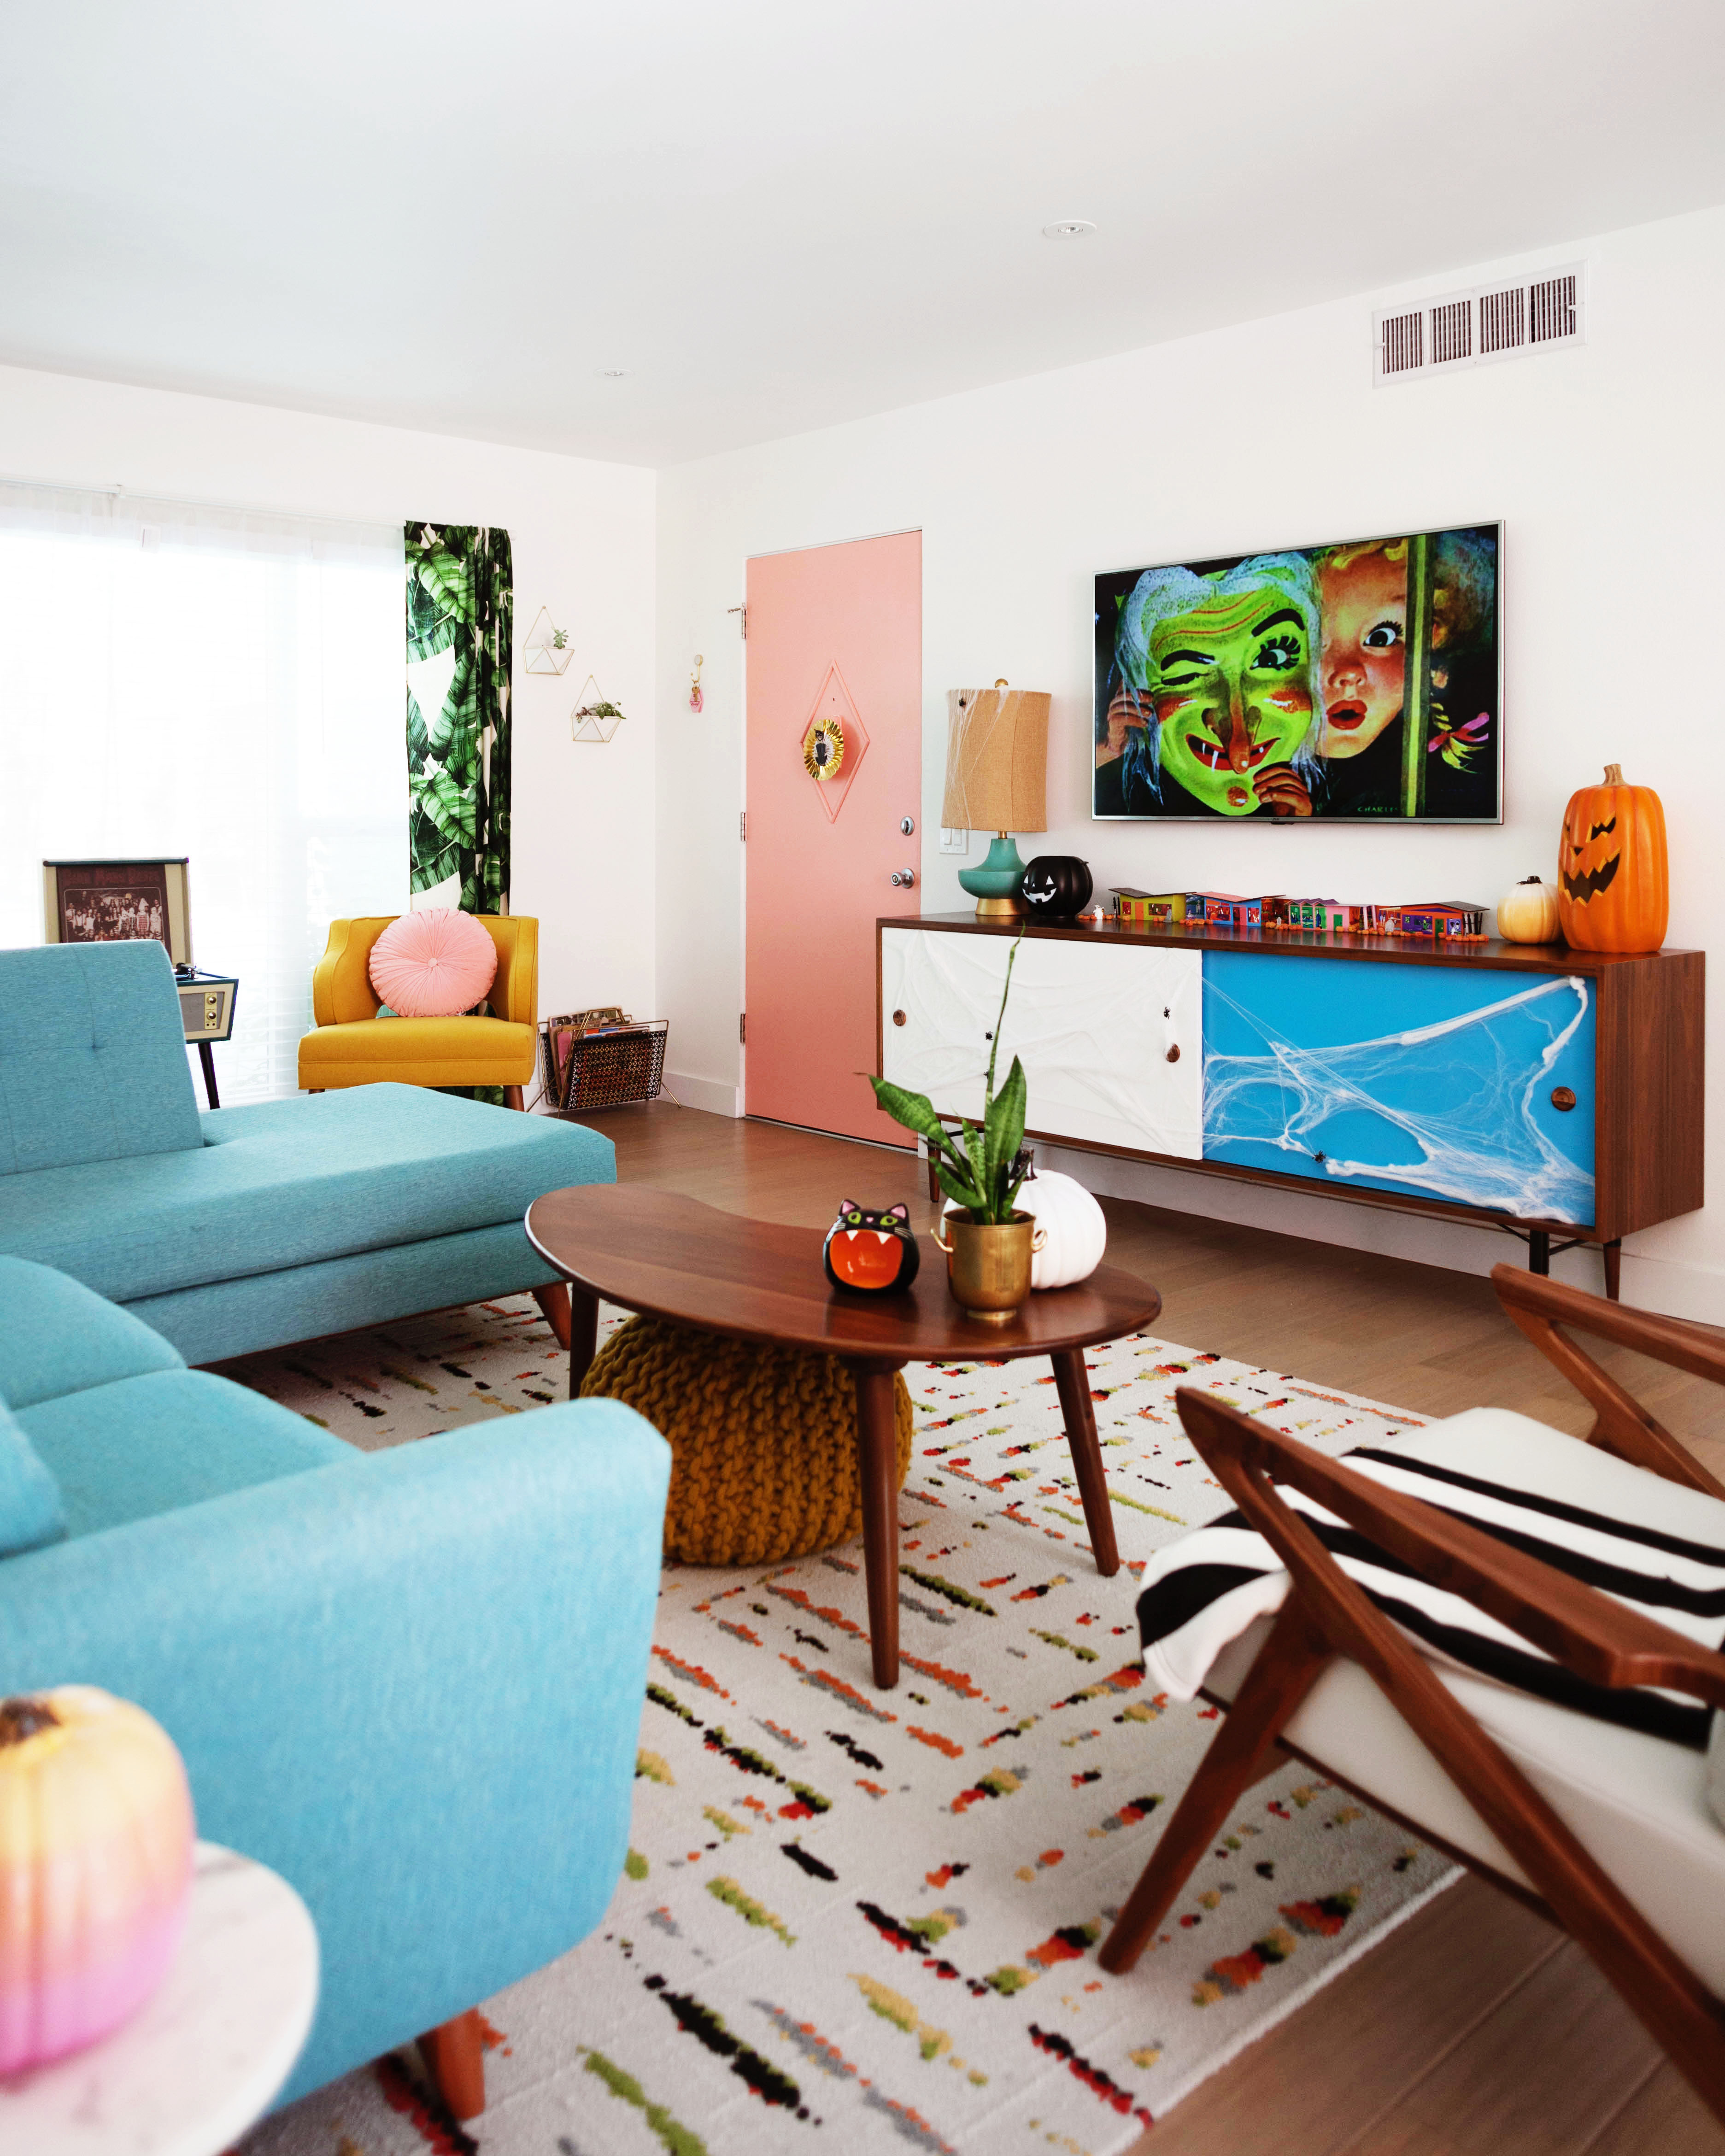
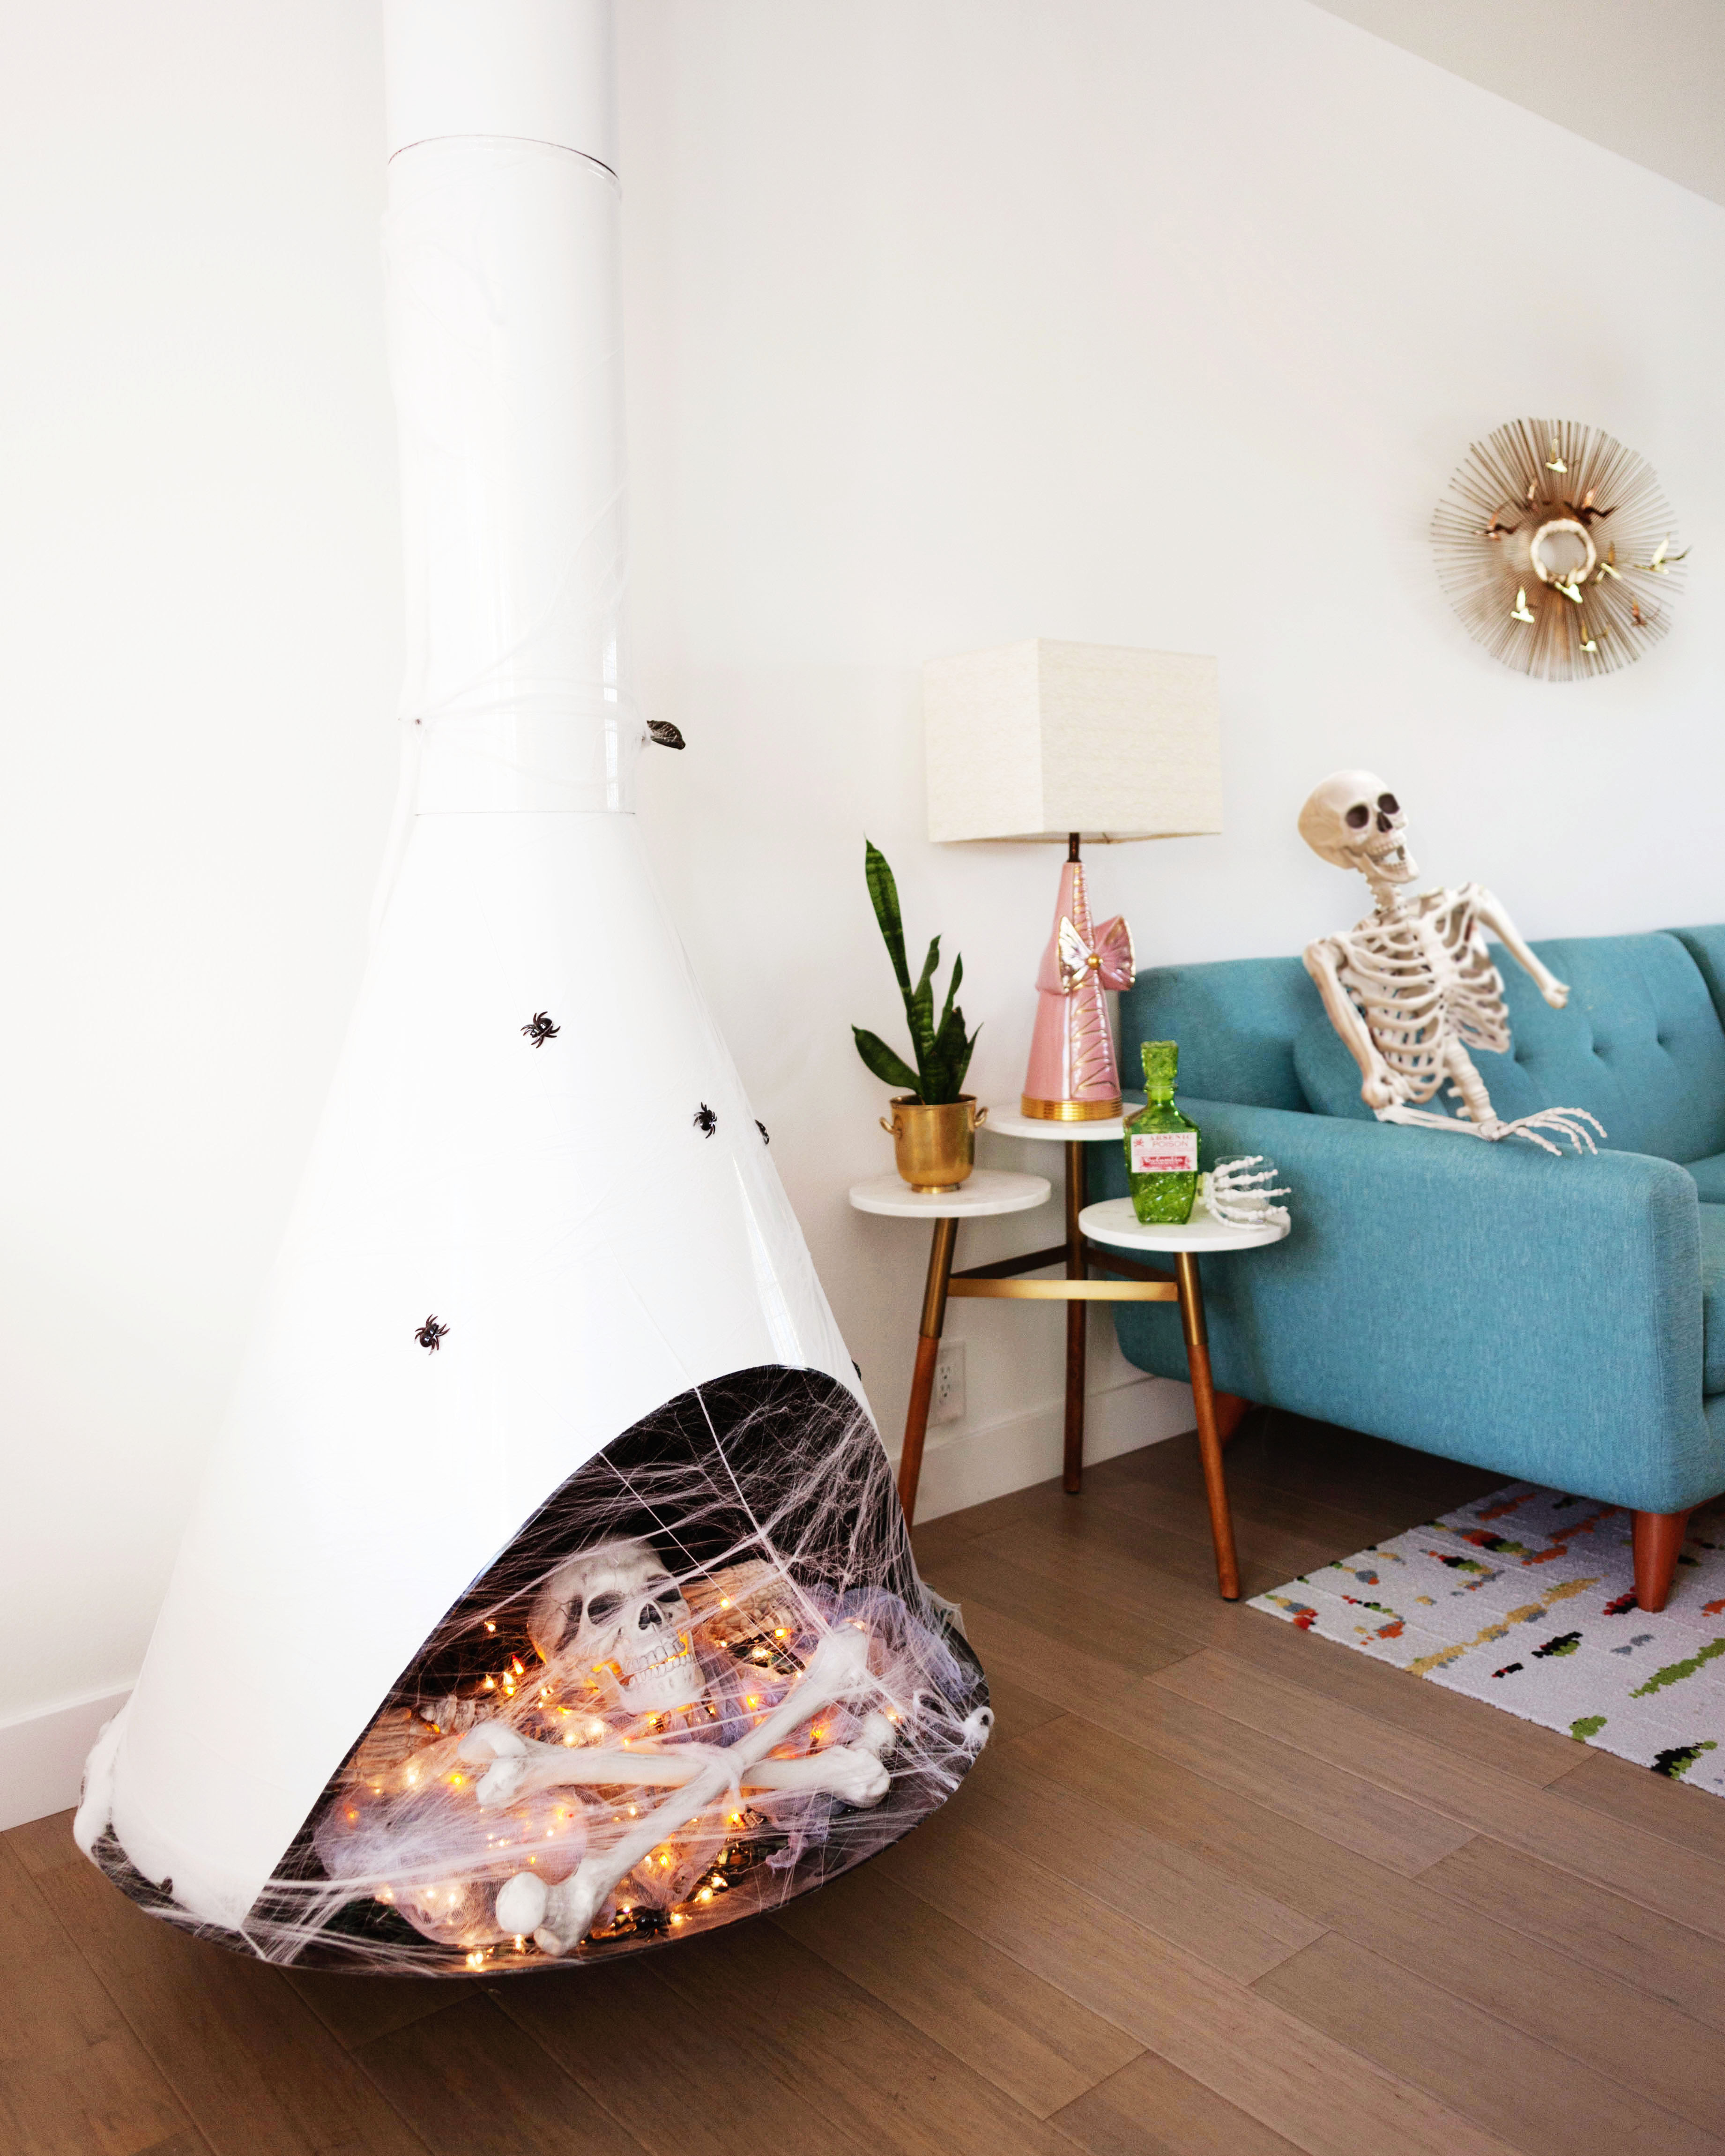
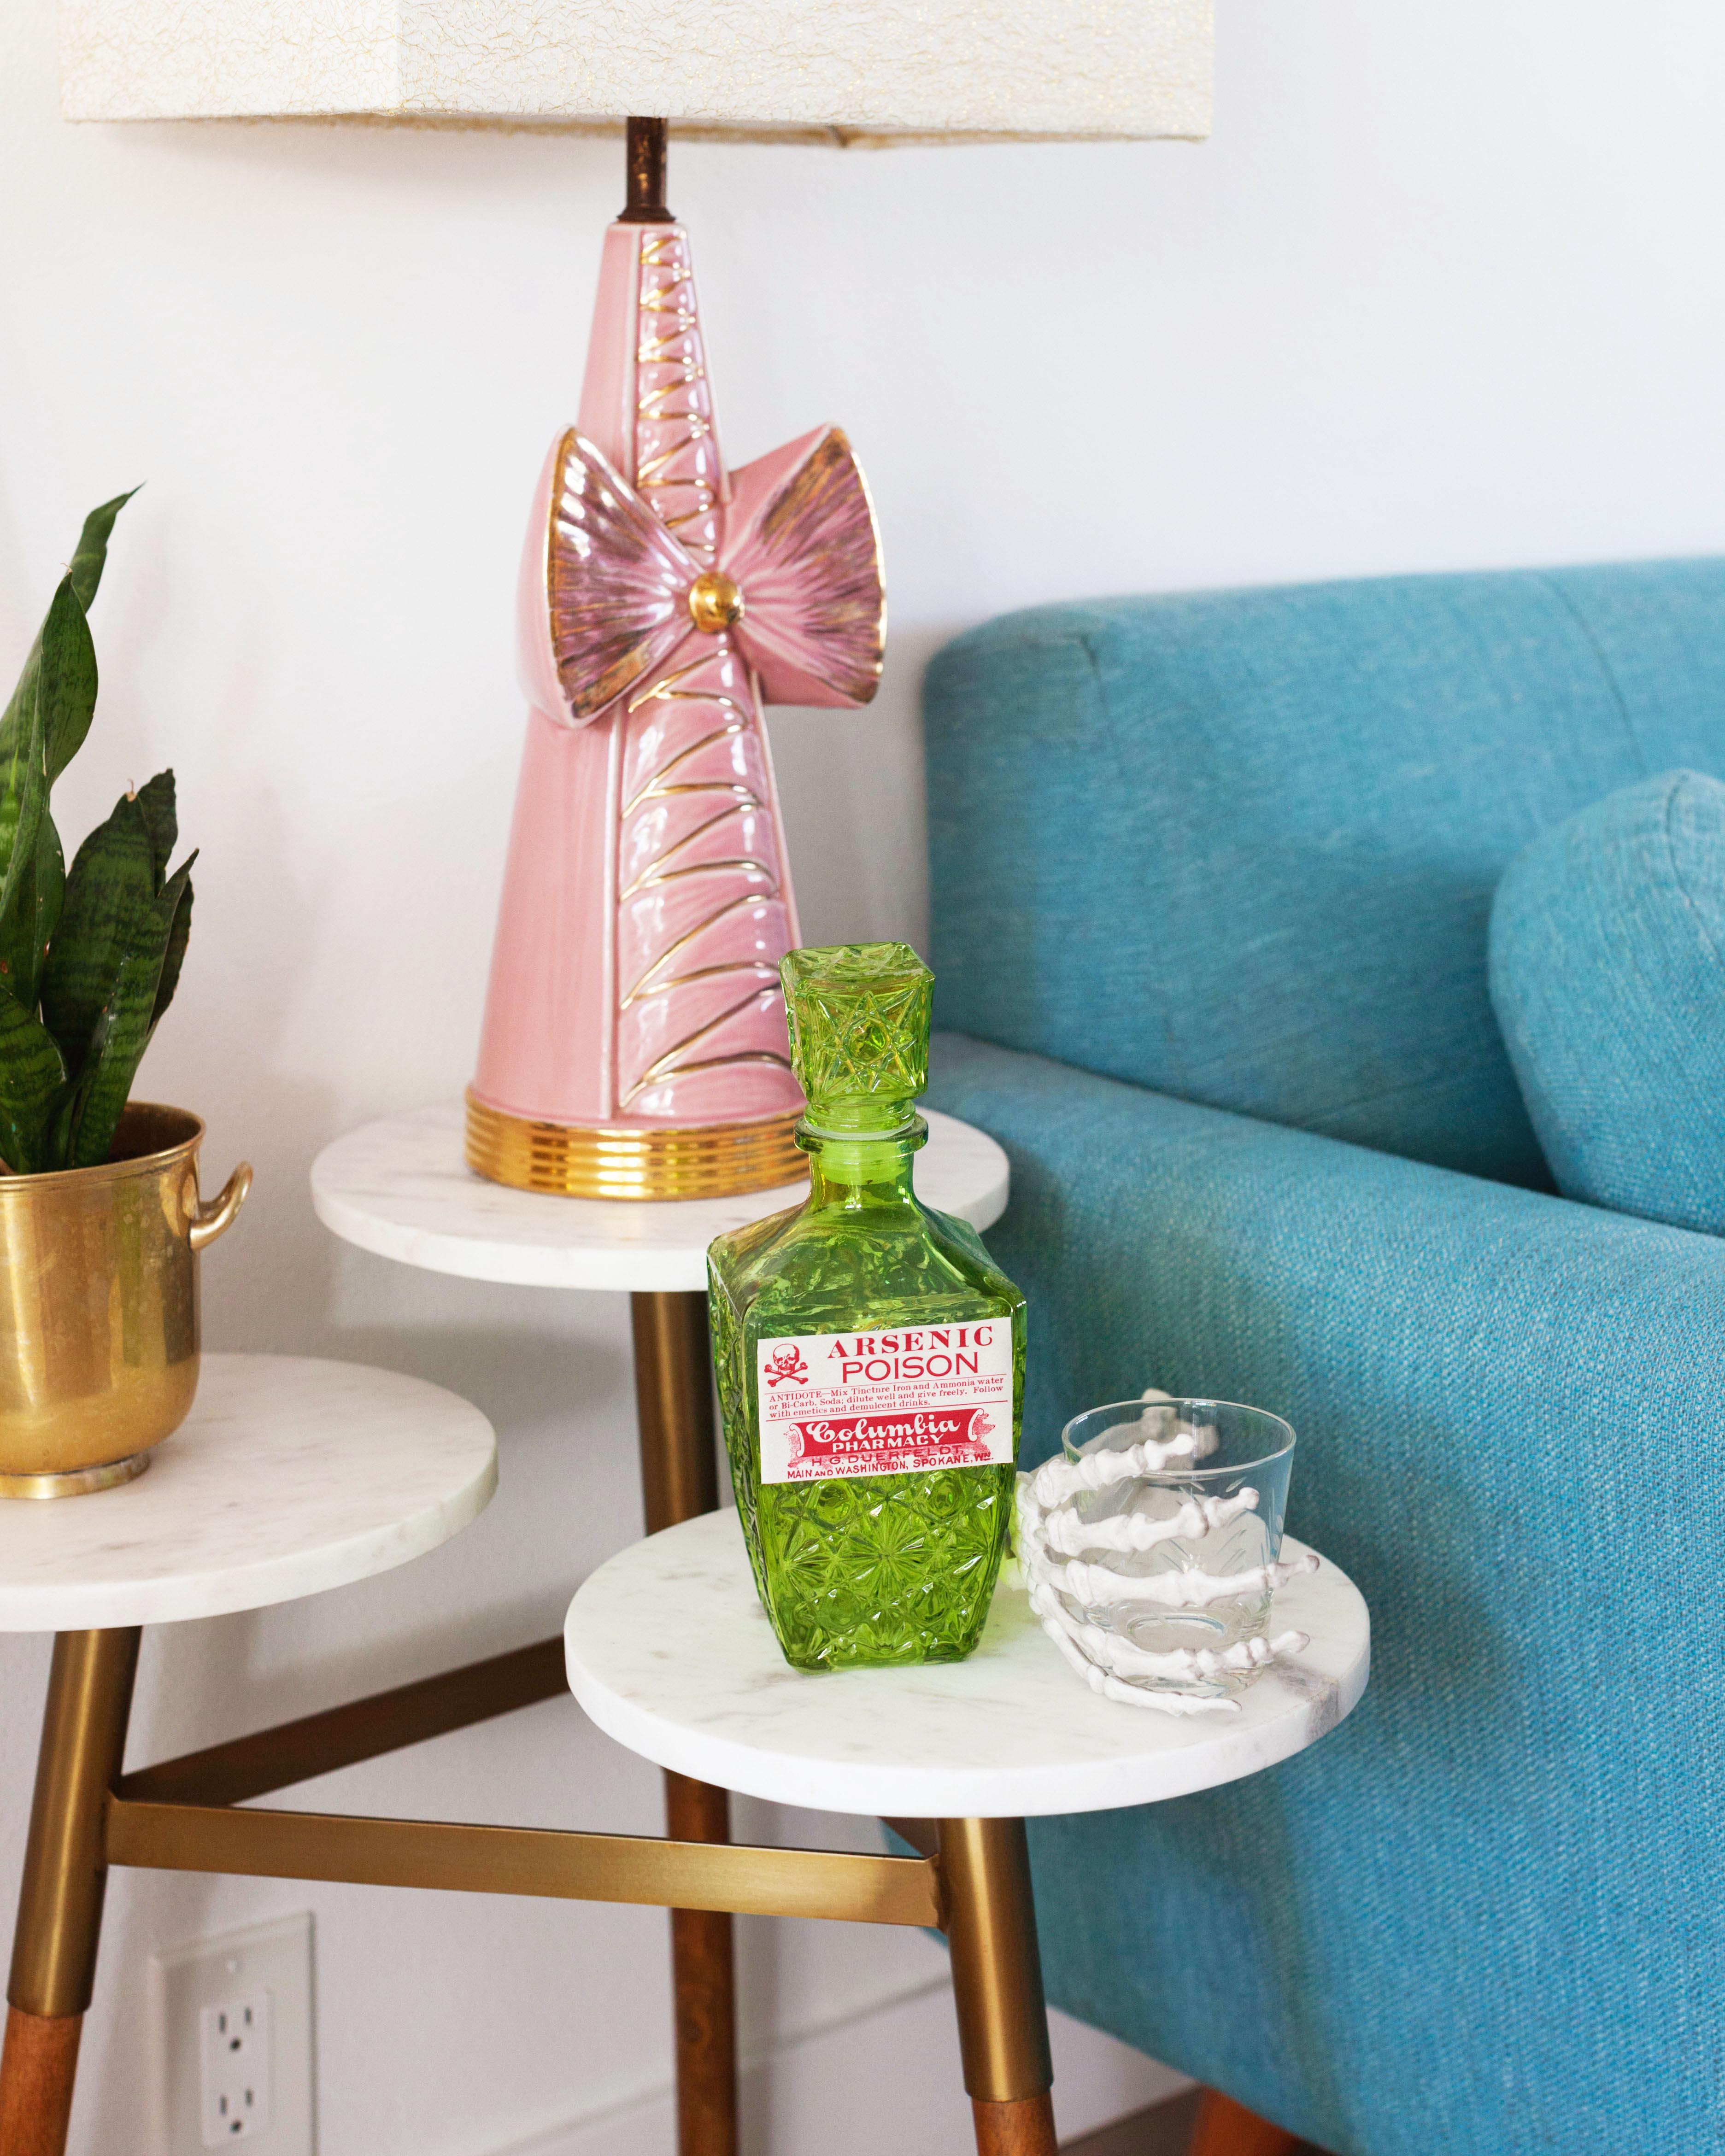
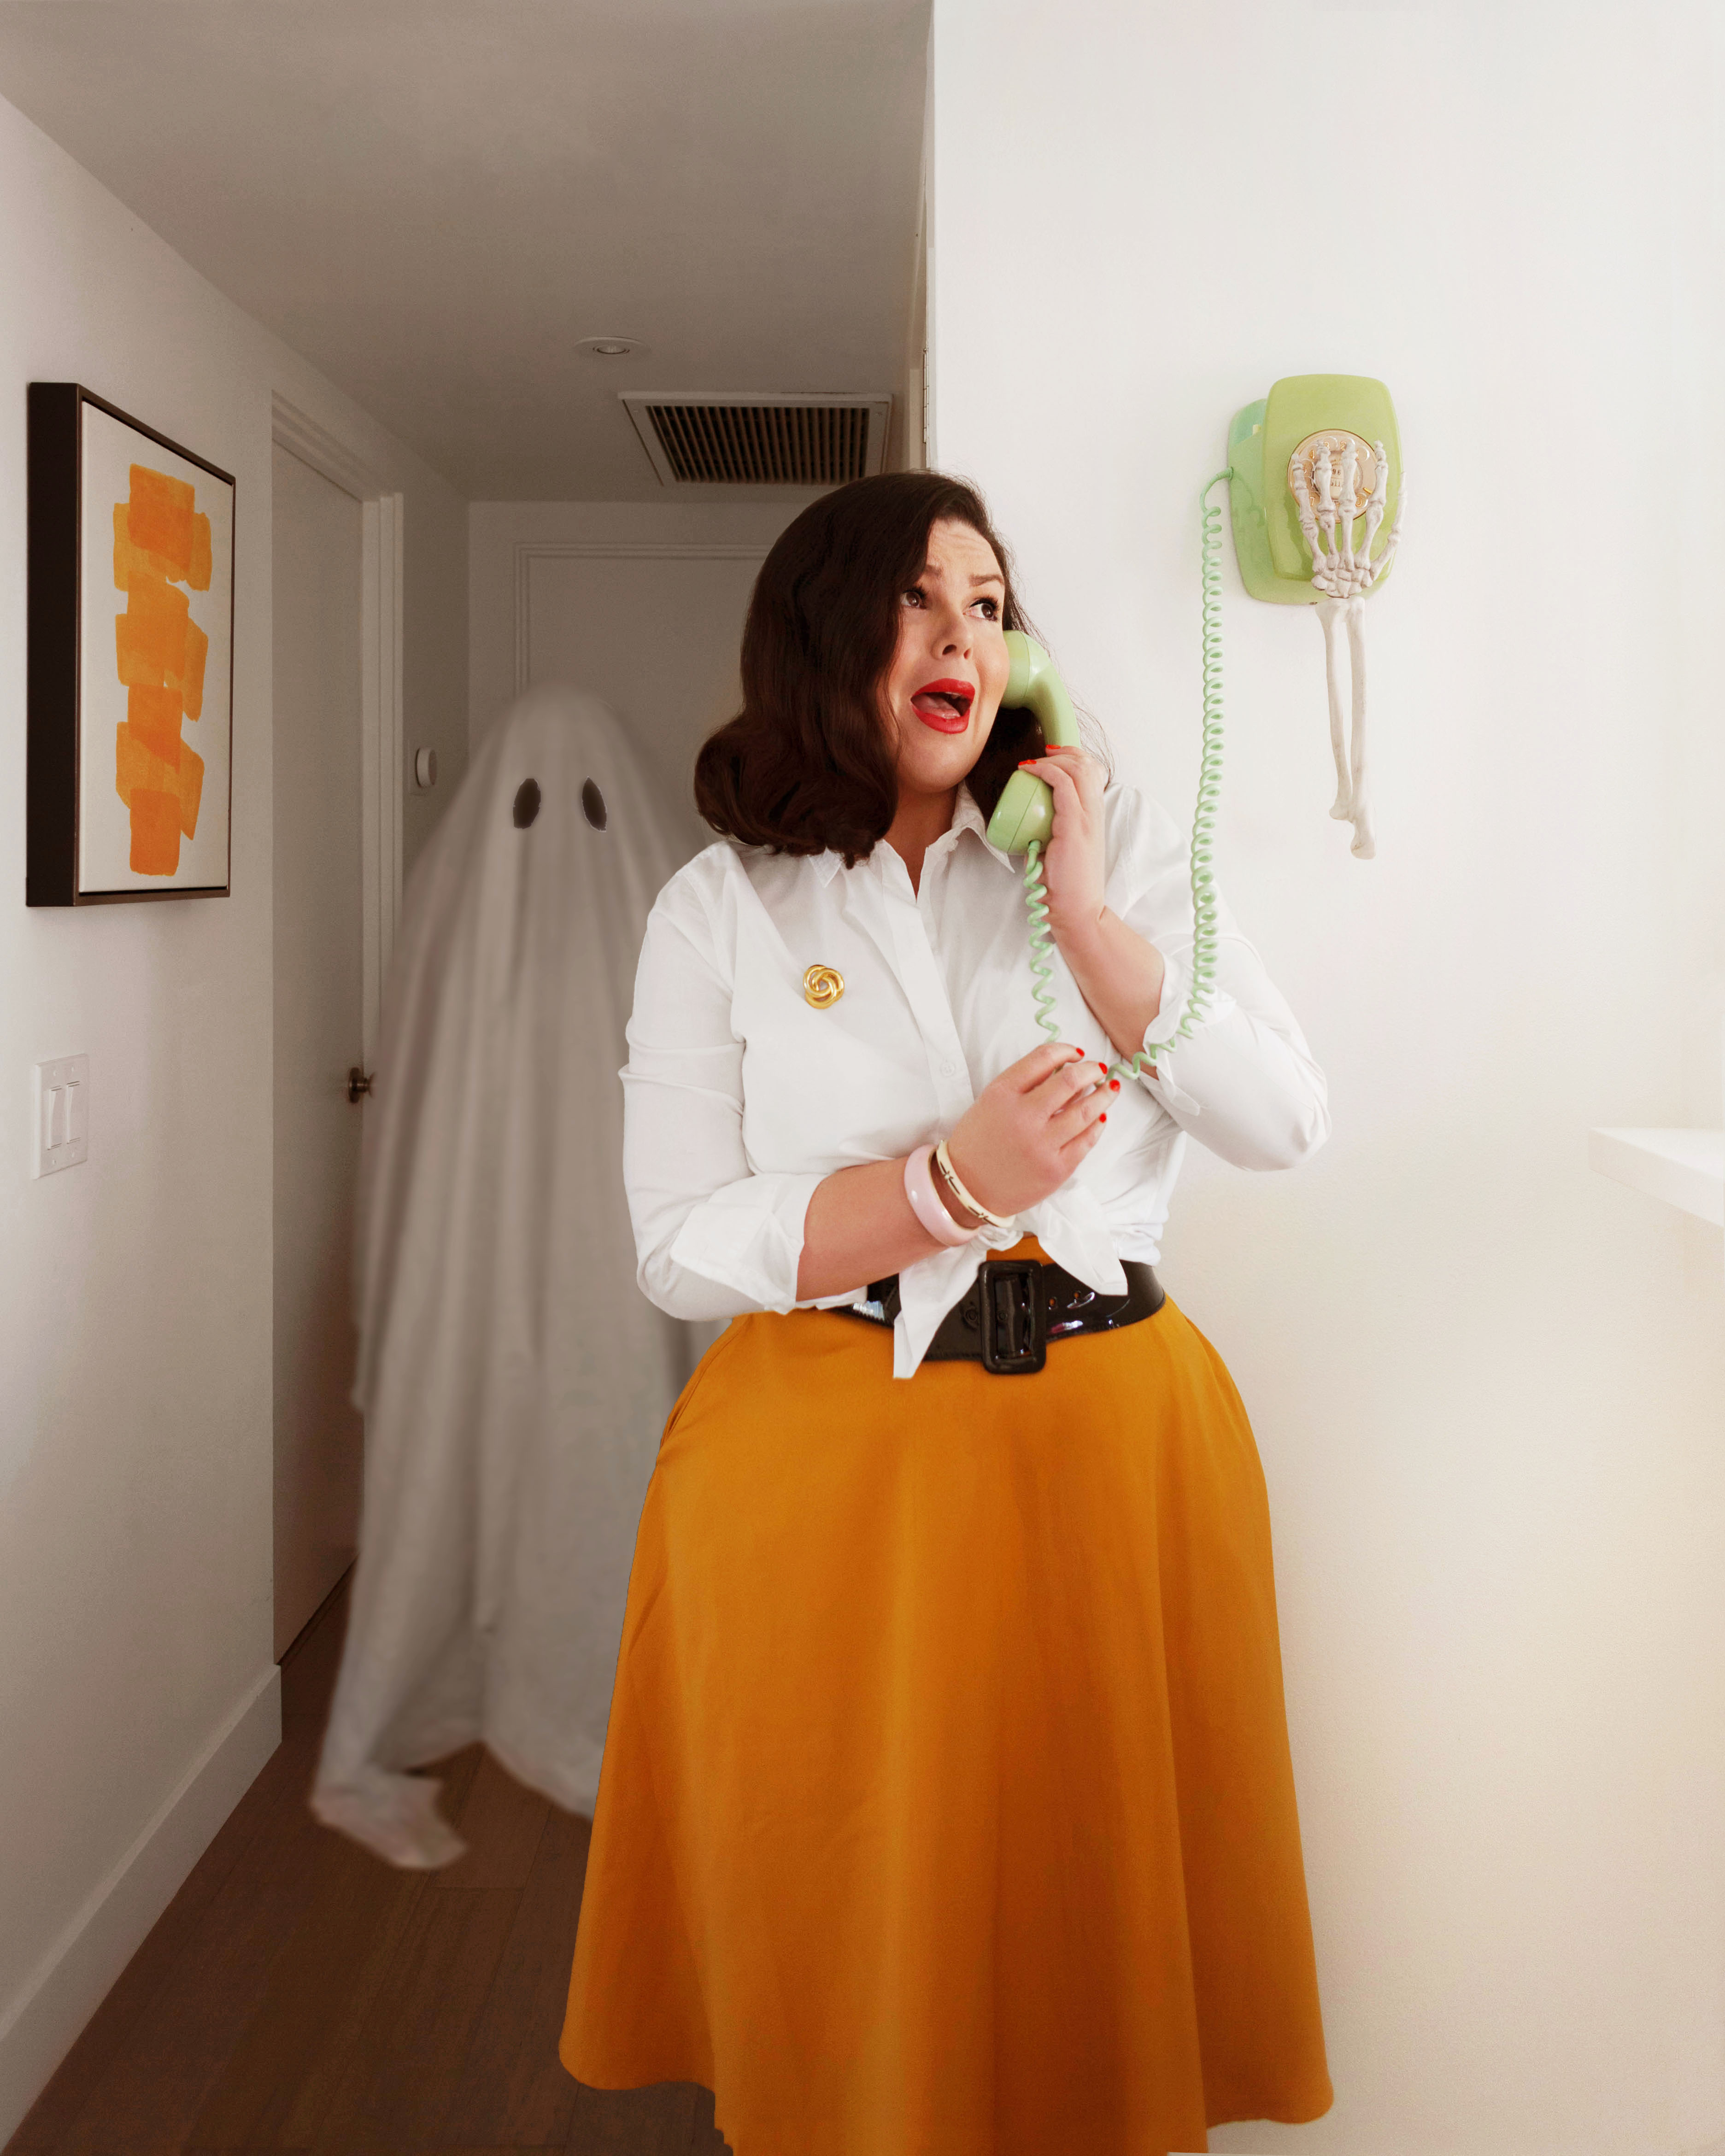
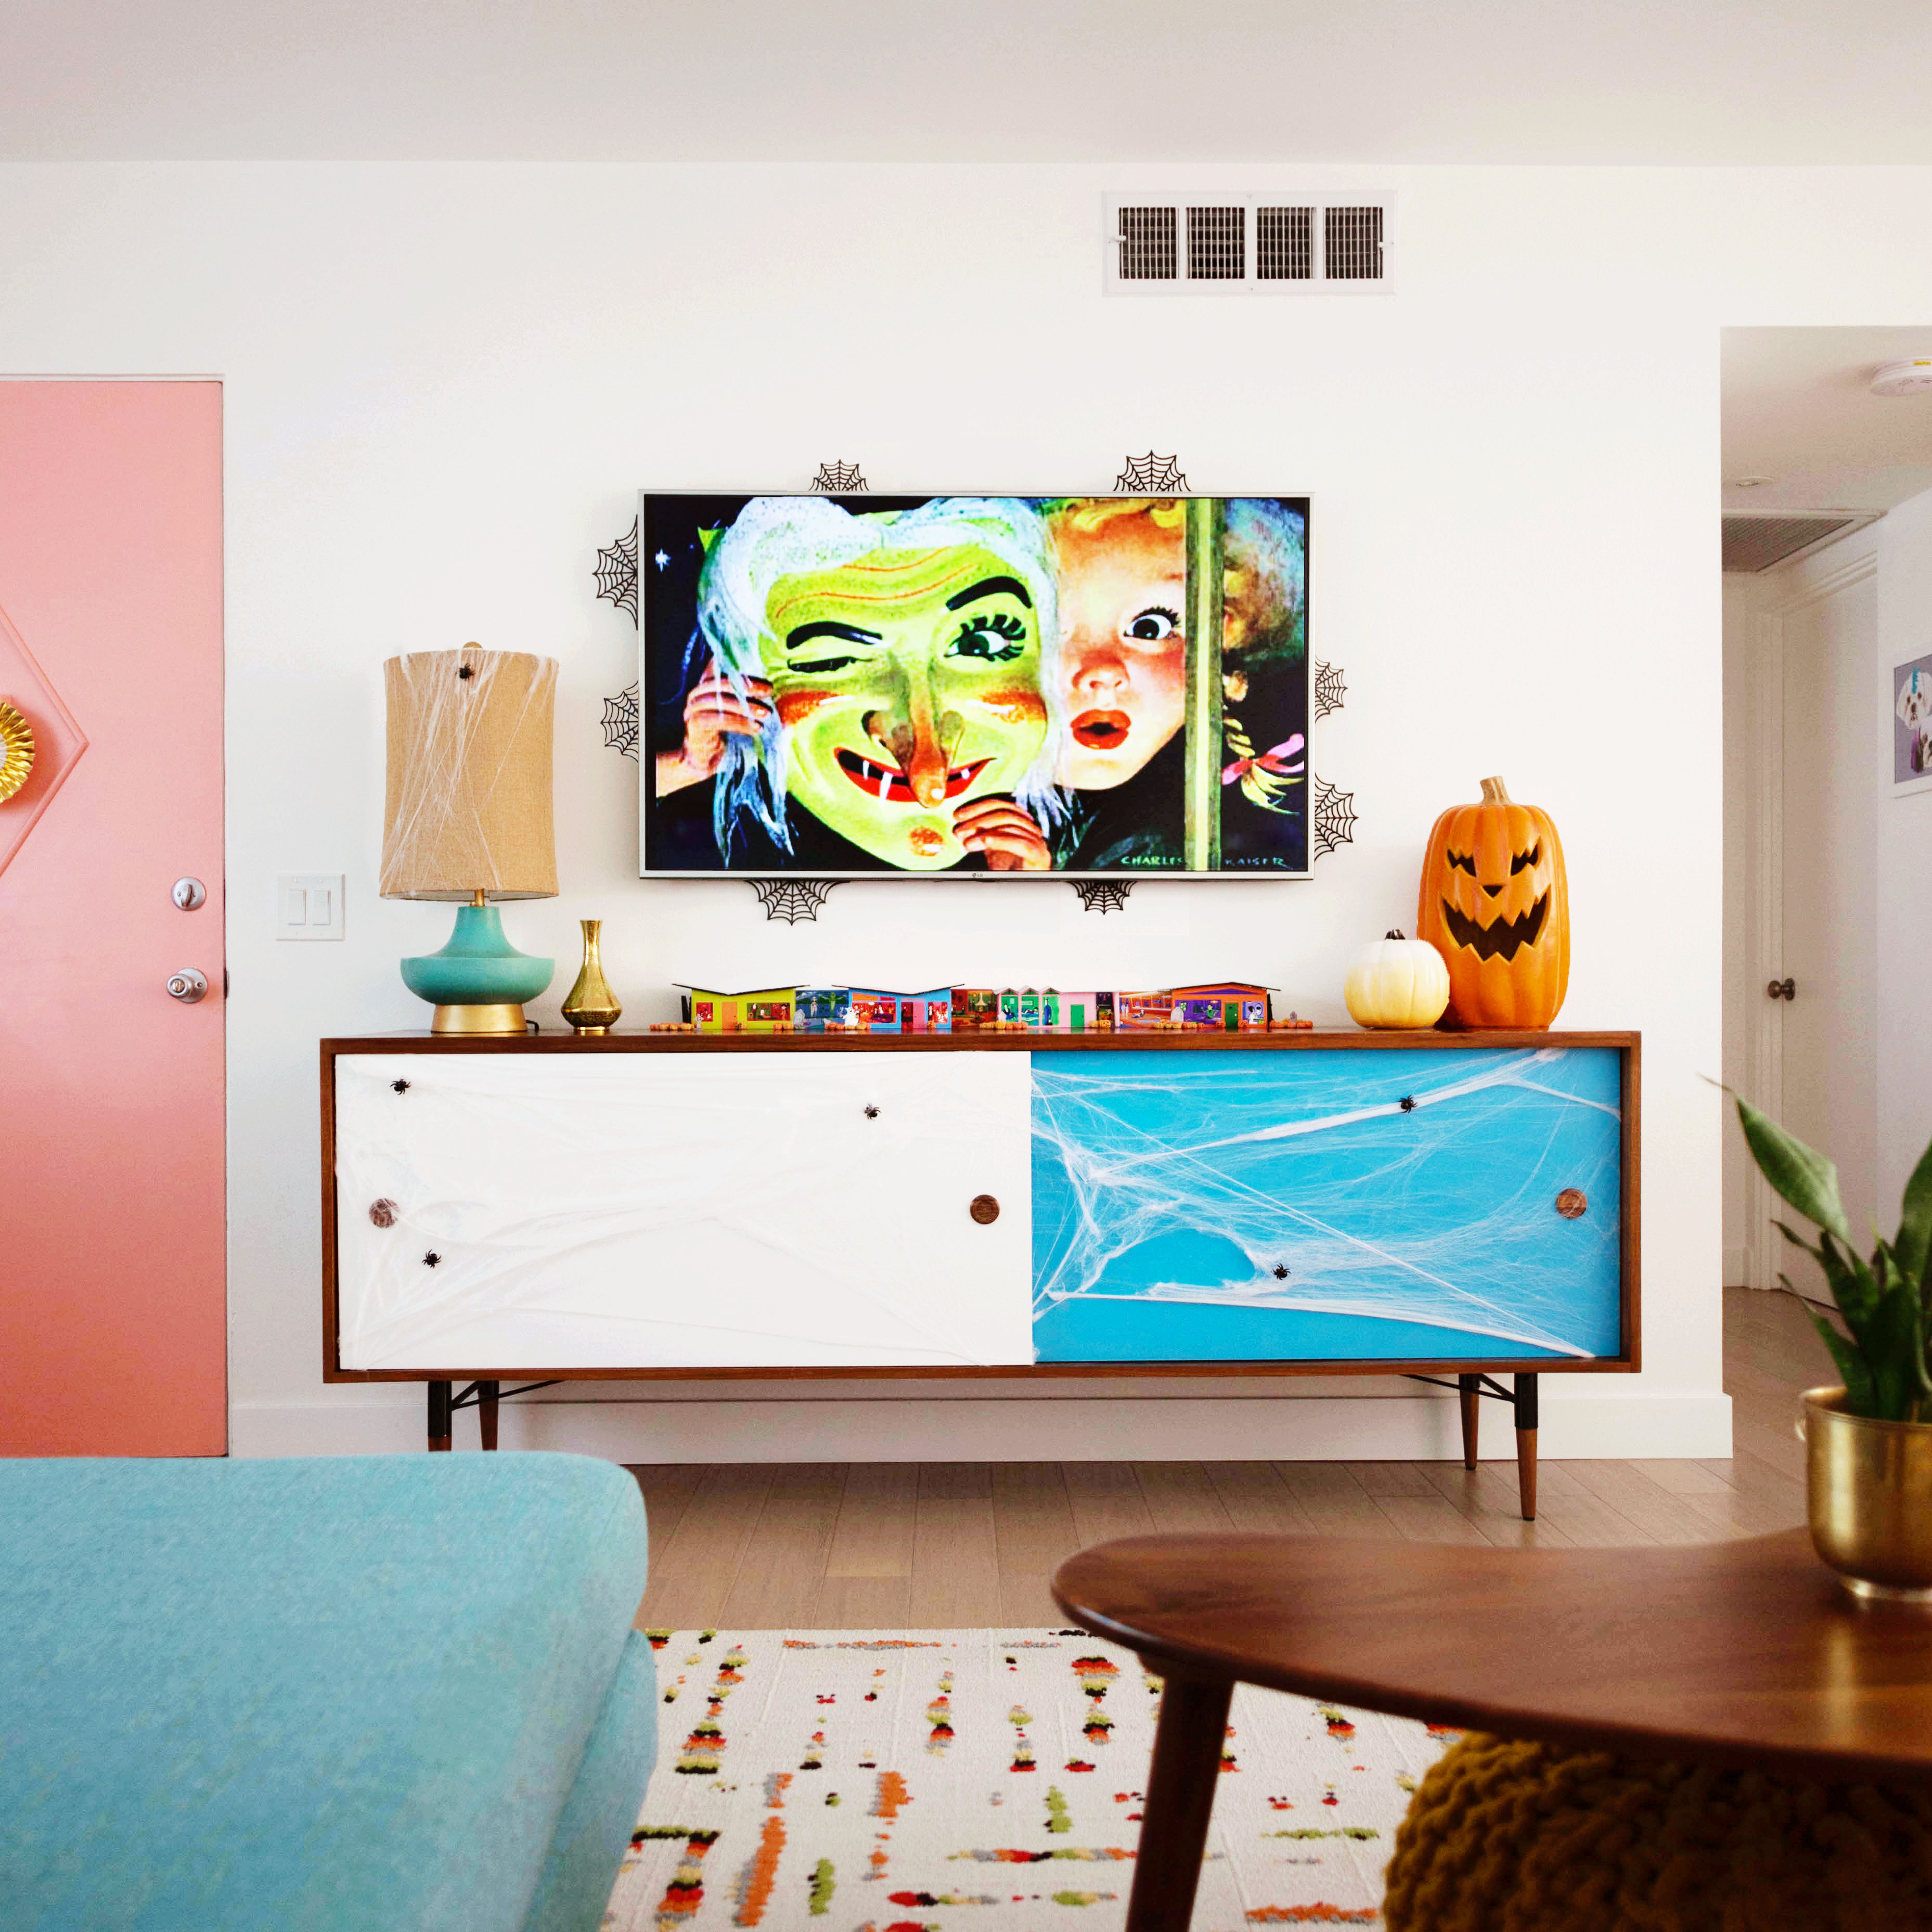
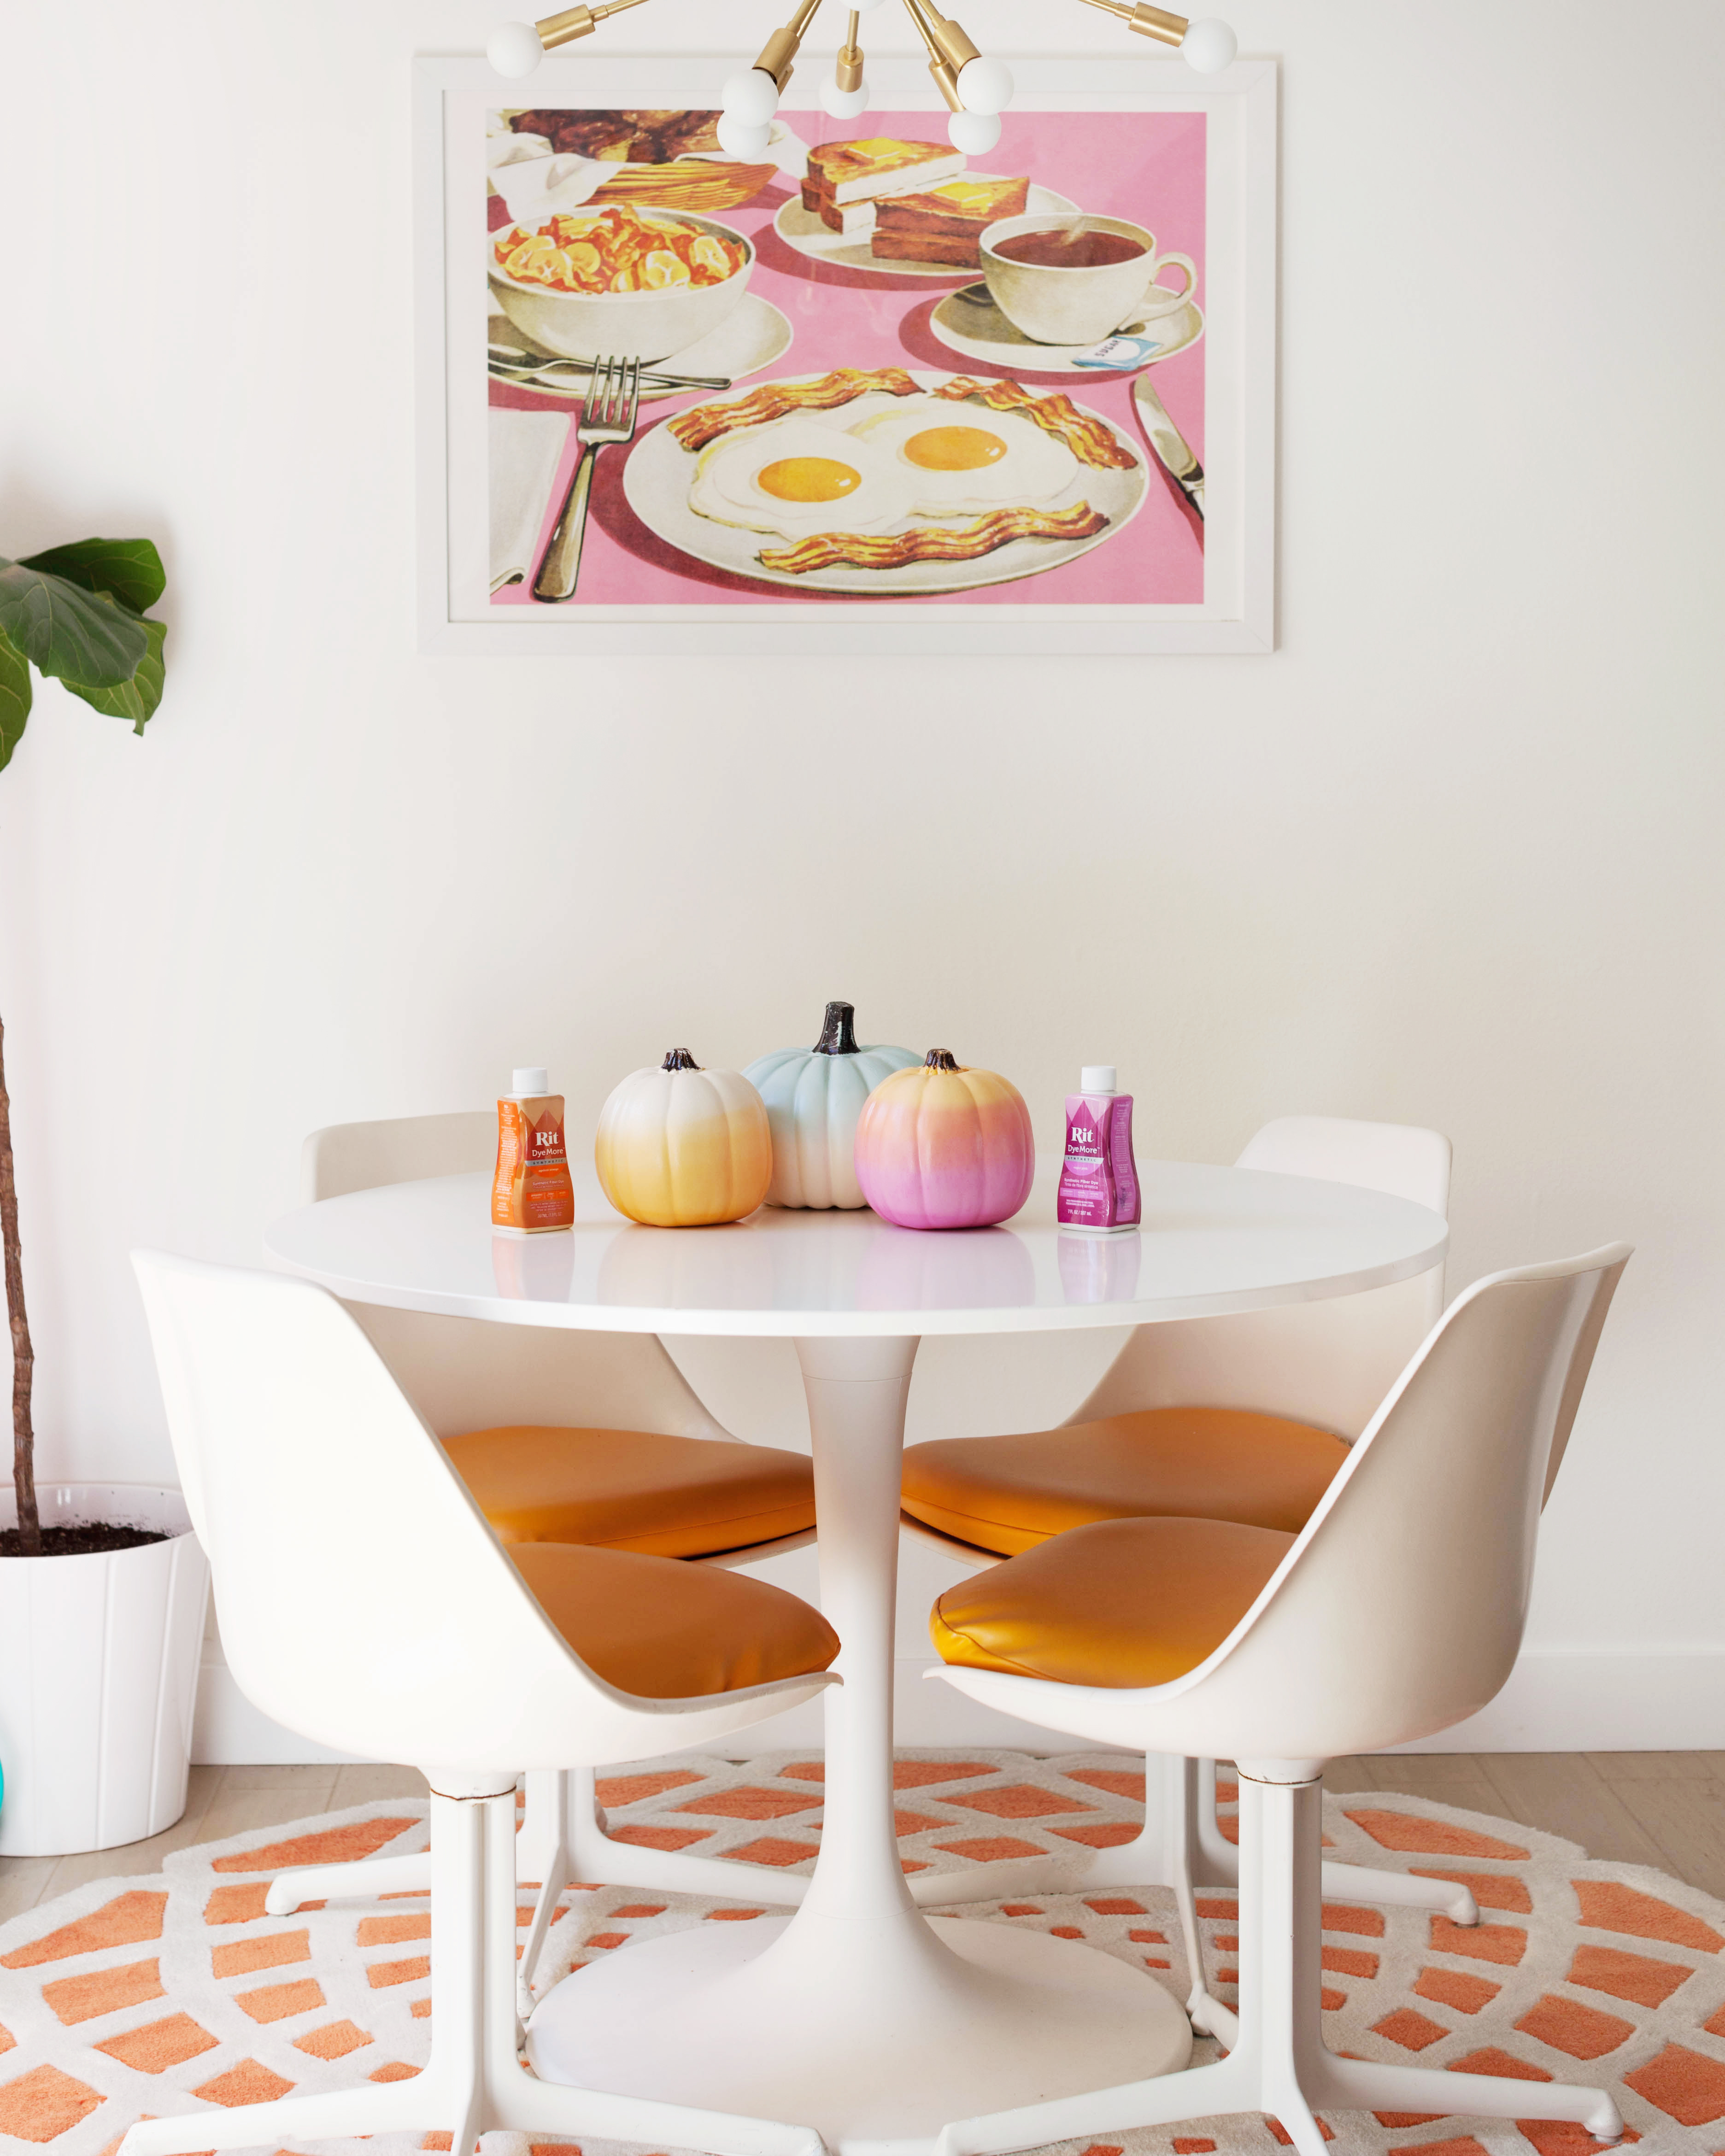
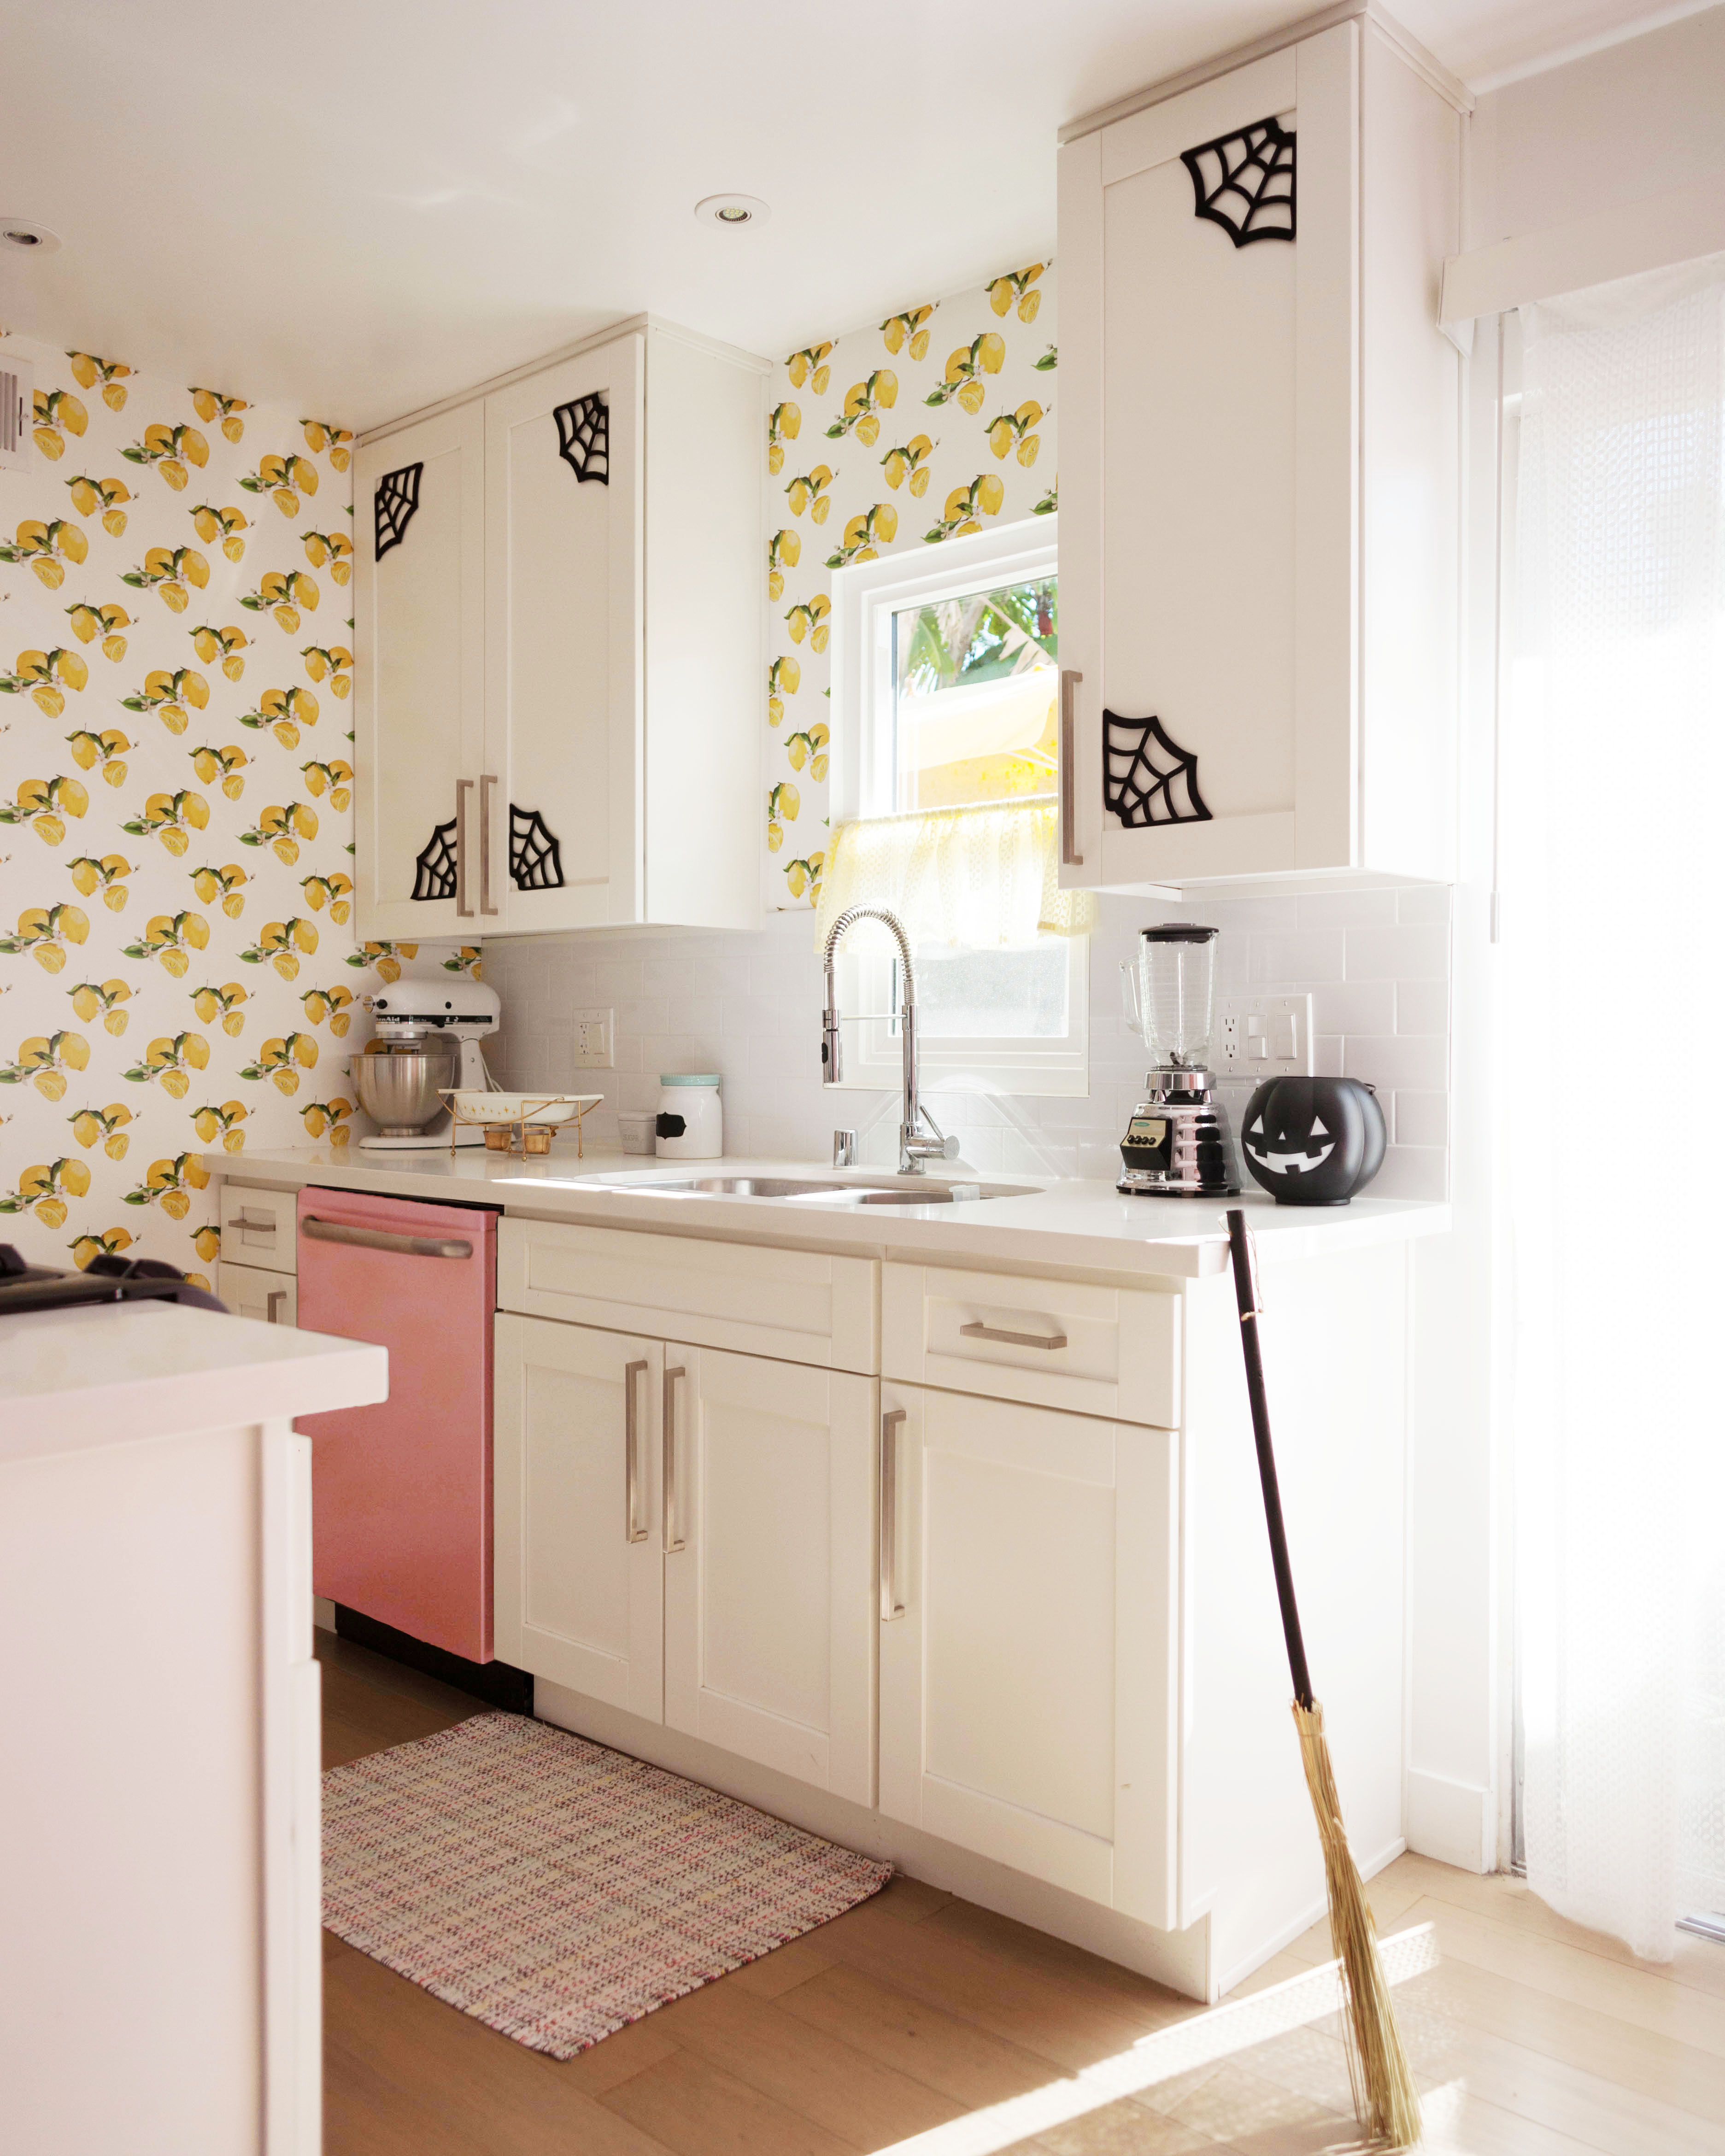
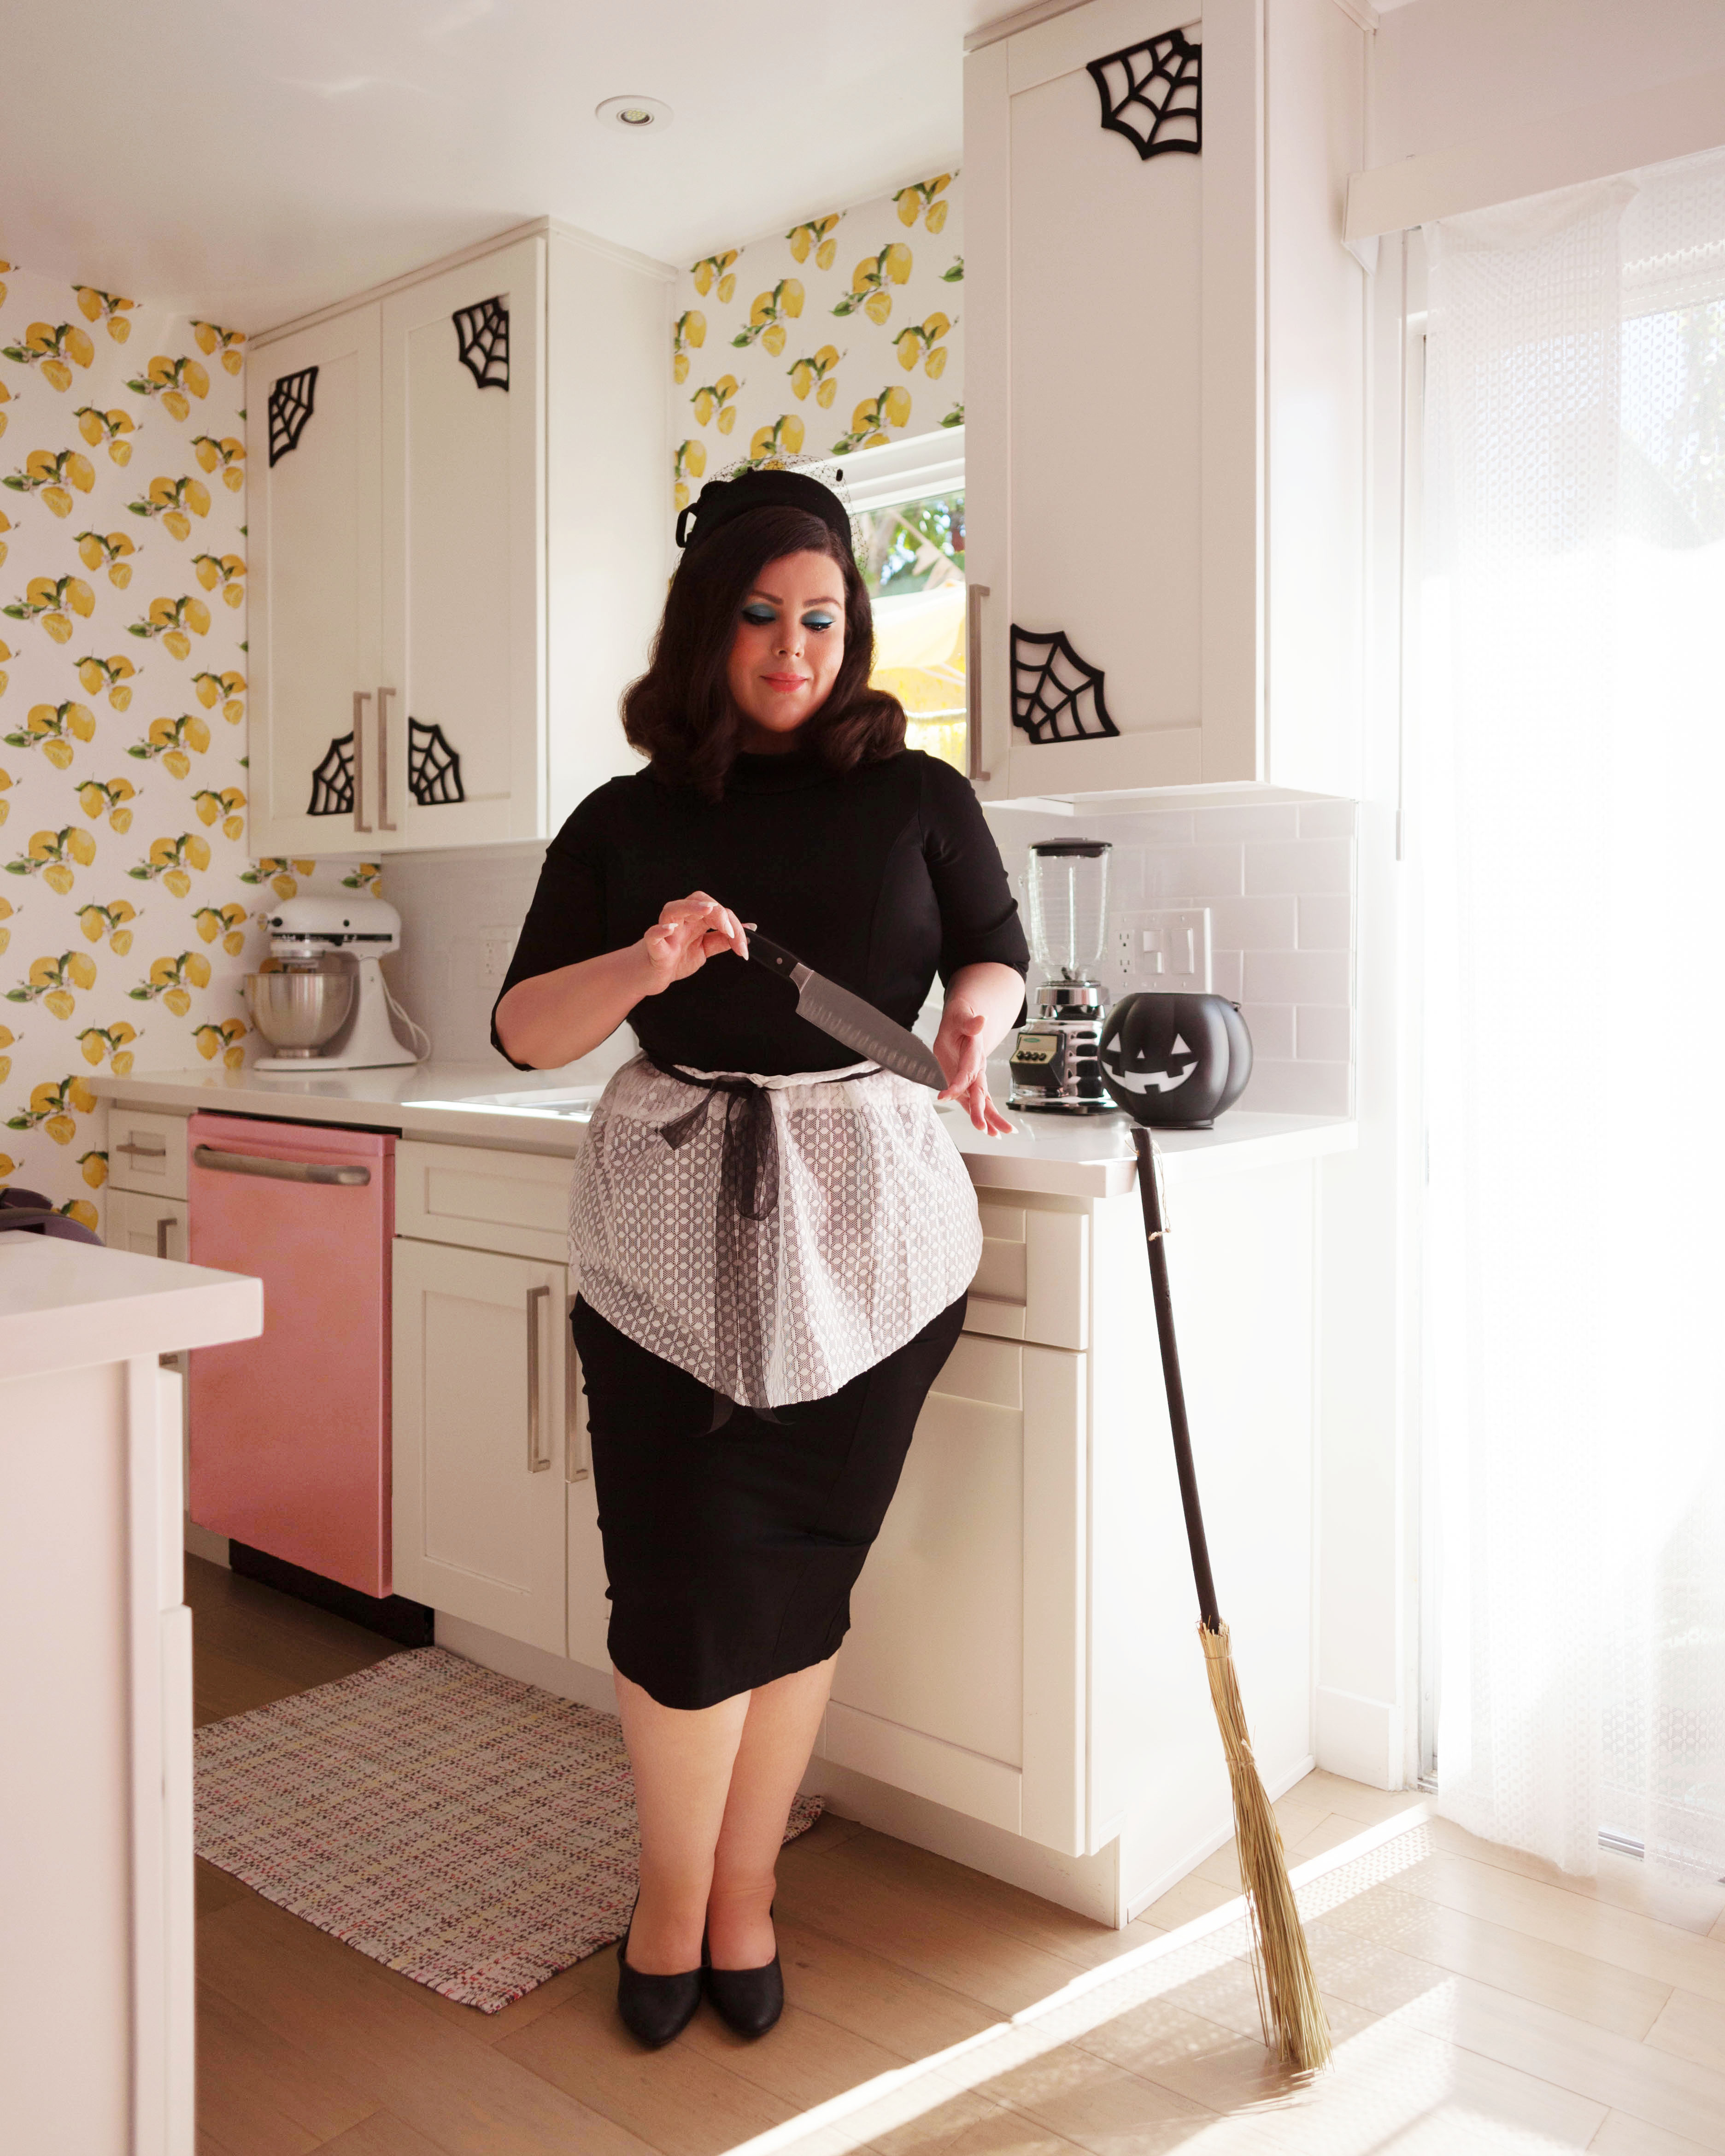
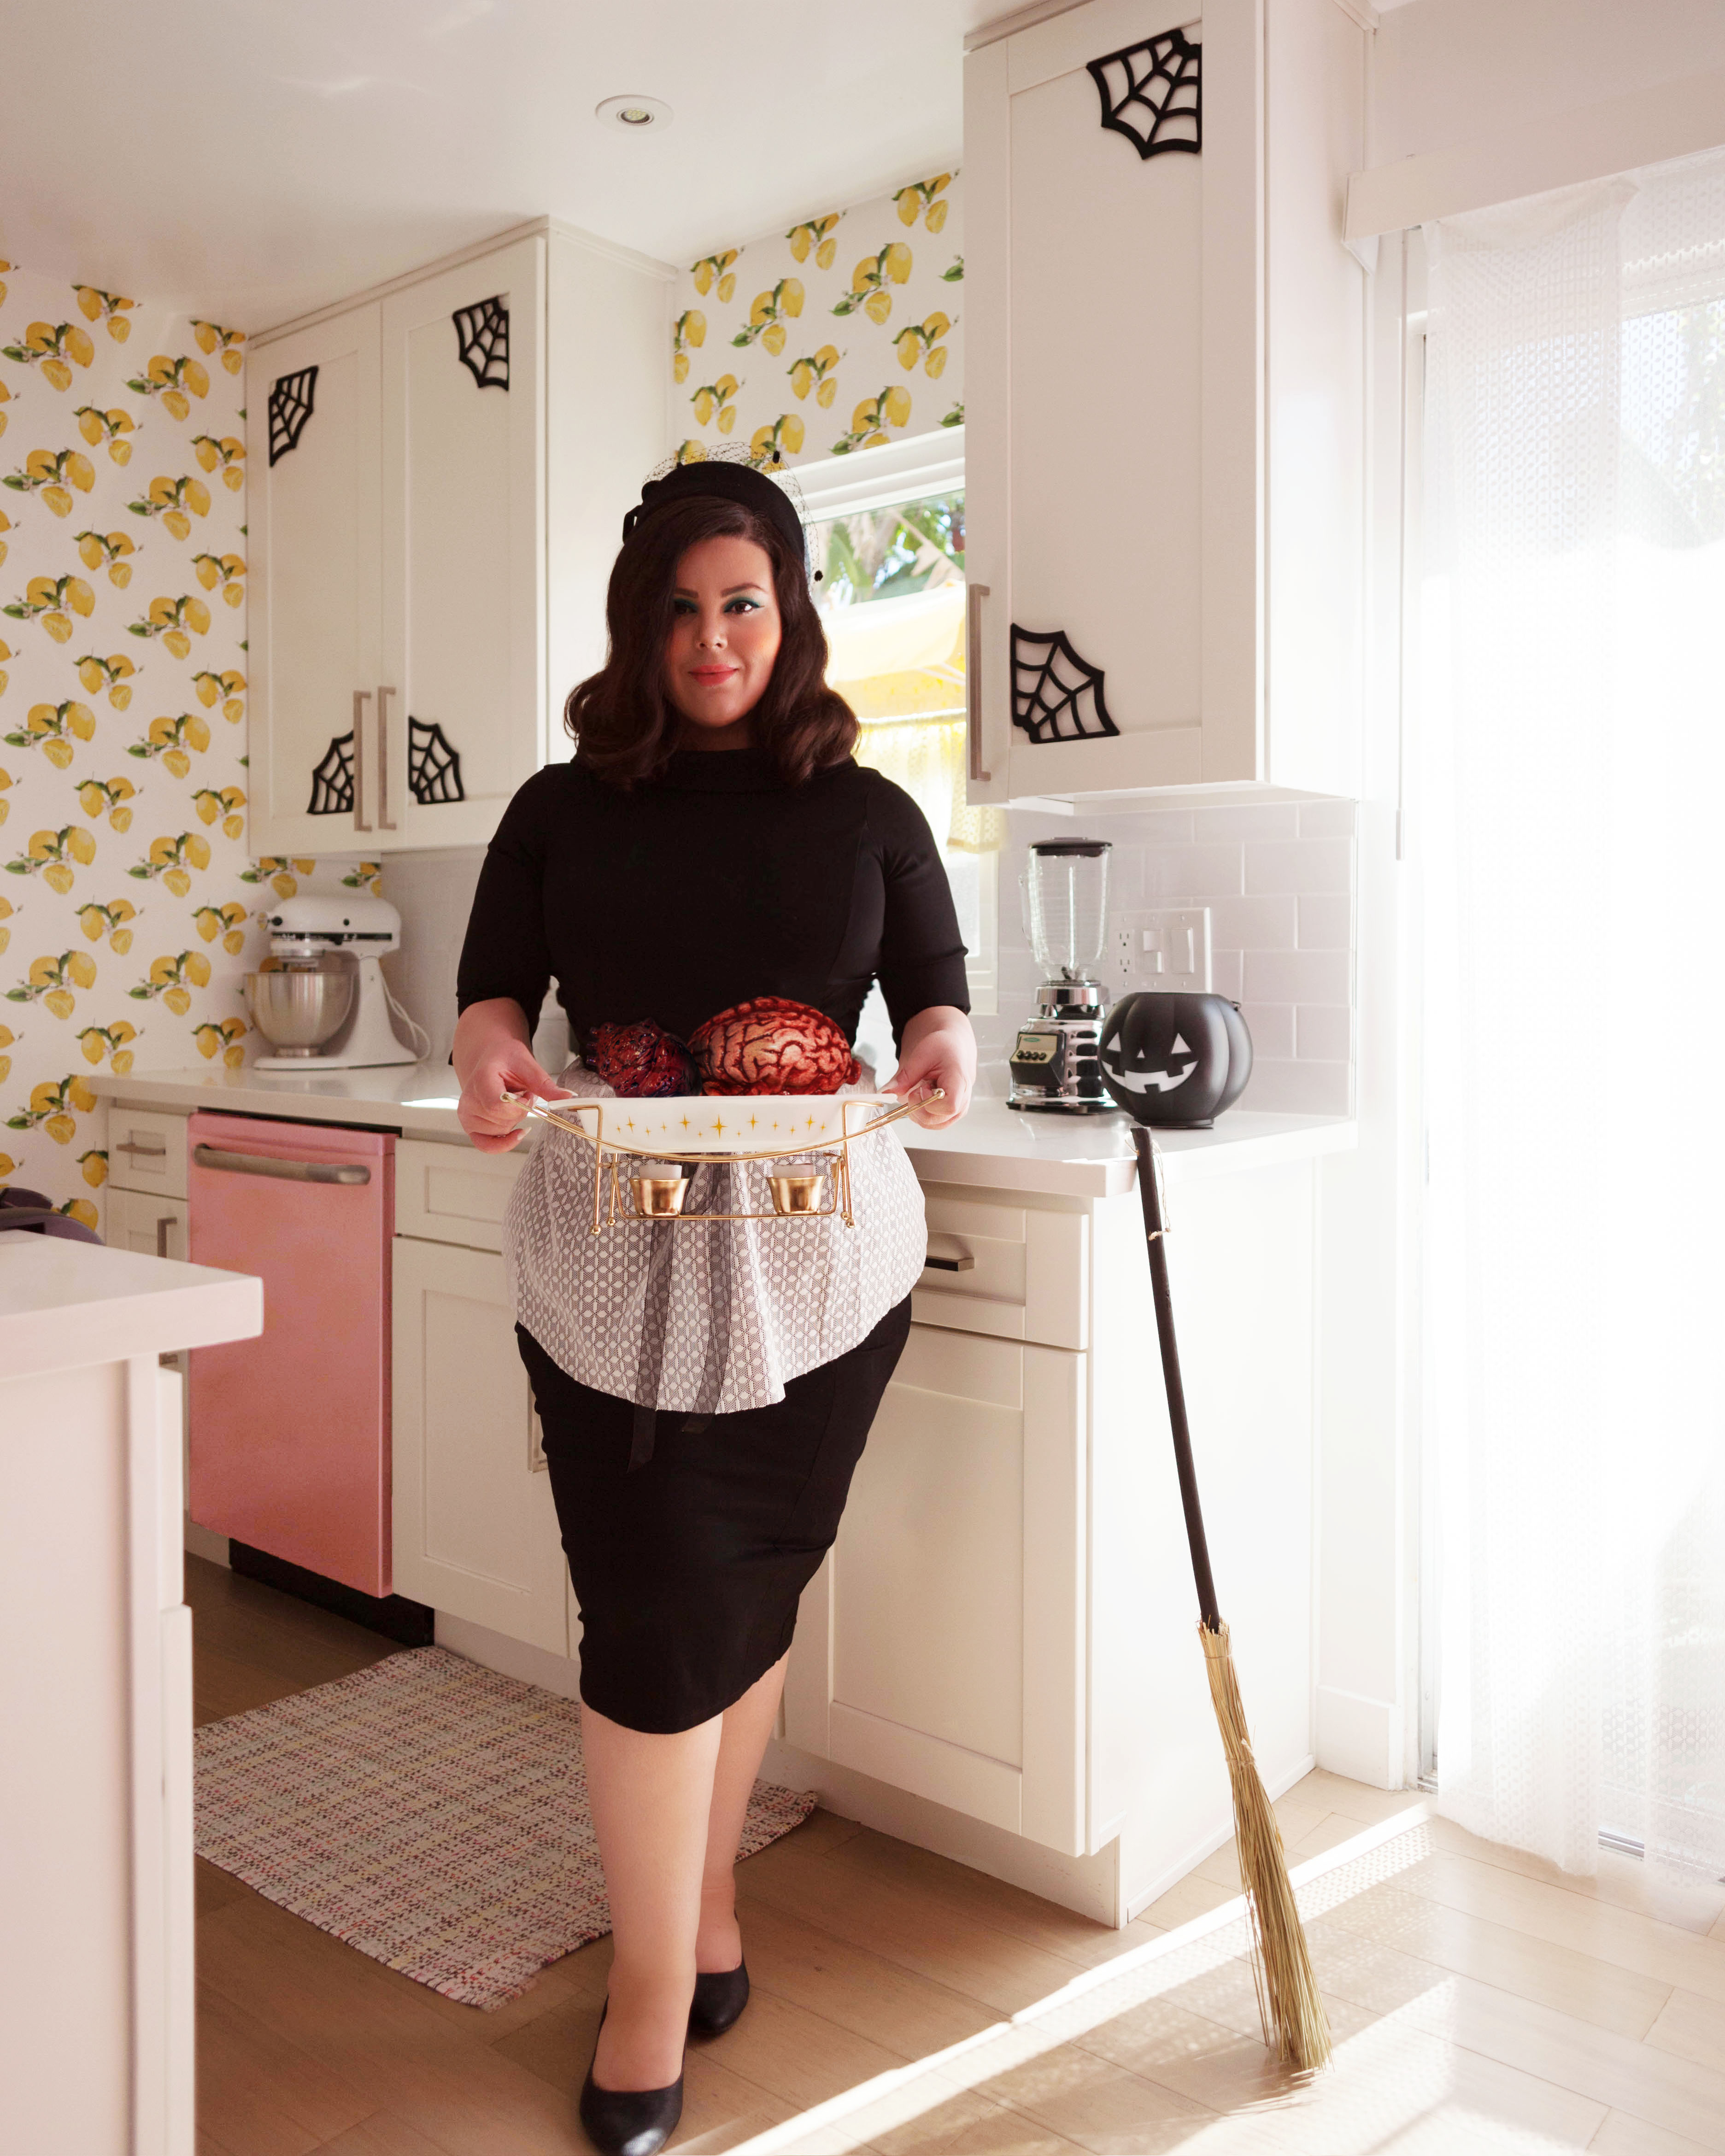
Hey, Ghosts and Ghouls! Tomorrow is Halloween and I wanted to show you this year’s decor. I used a few DIY projects like my dip dyed pumpkins and a DIY banner for our bar, and some cut up spiderweb placemats for the kitchen cabinets and bedroom. And of course all the classic stuff like cob webs, spiders, bats, jack o lanterns, and bones!
I’ll just let the photos show you. Happy Melodramaween!
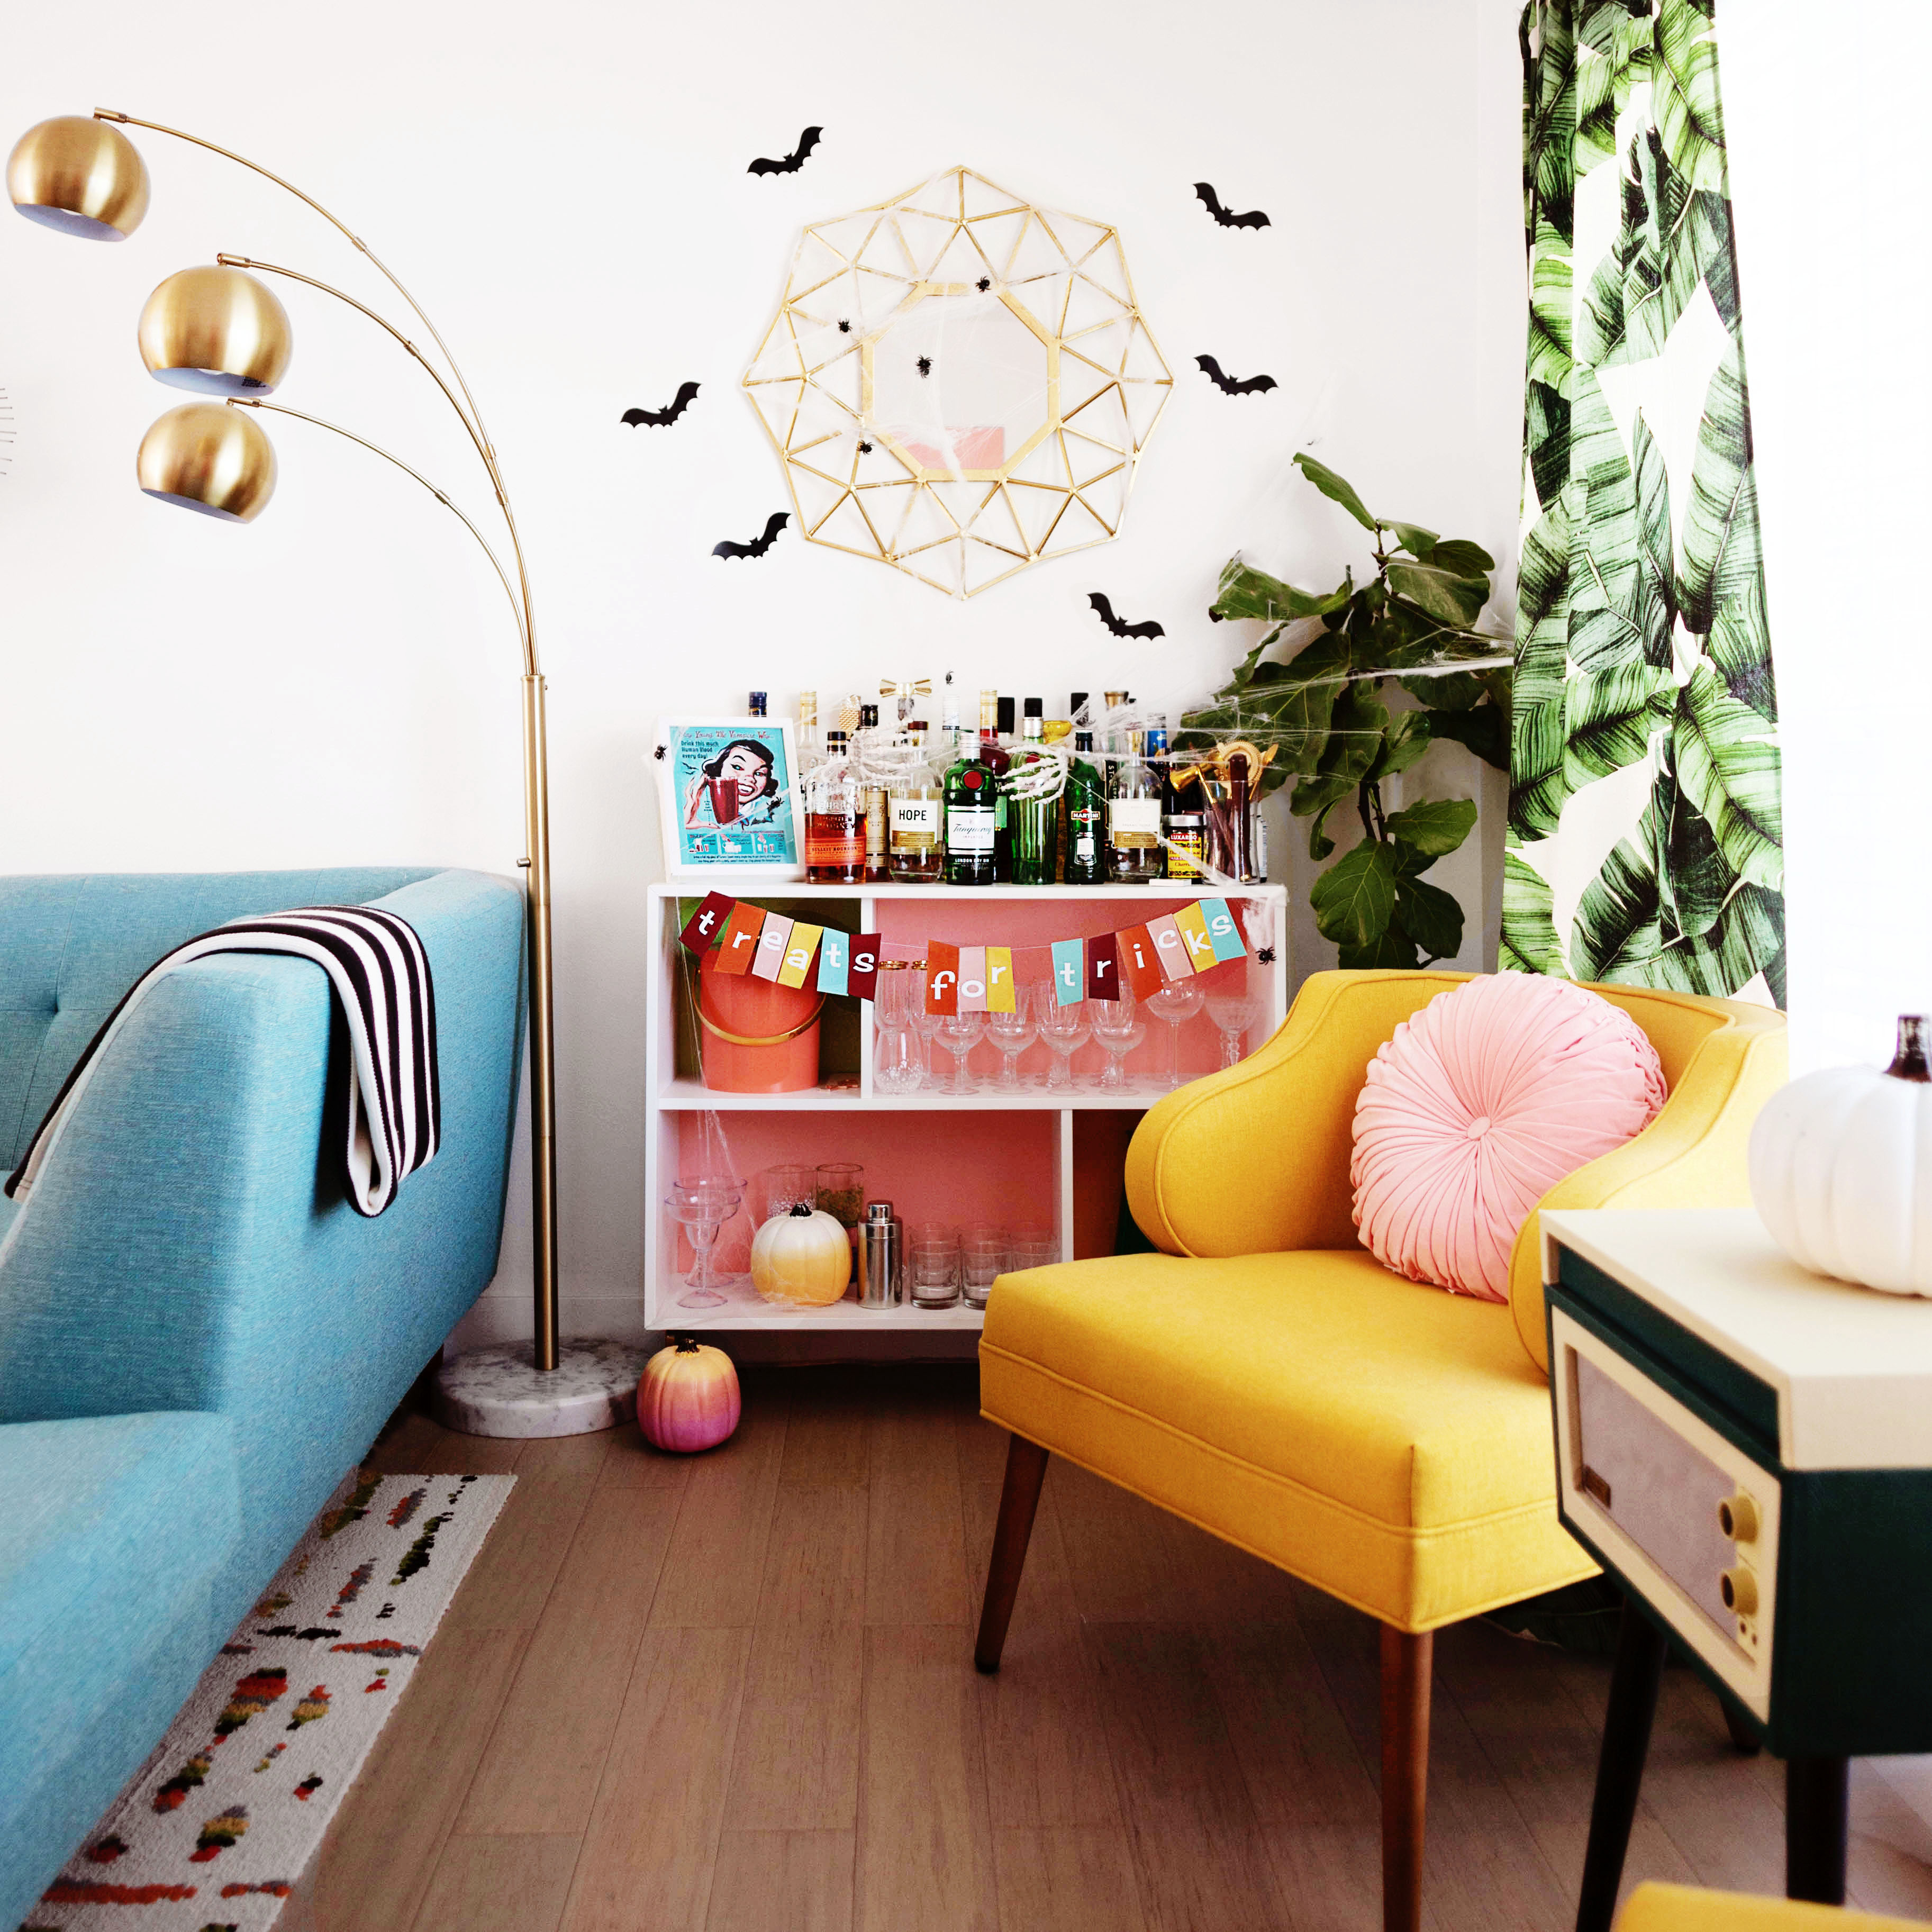
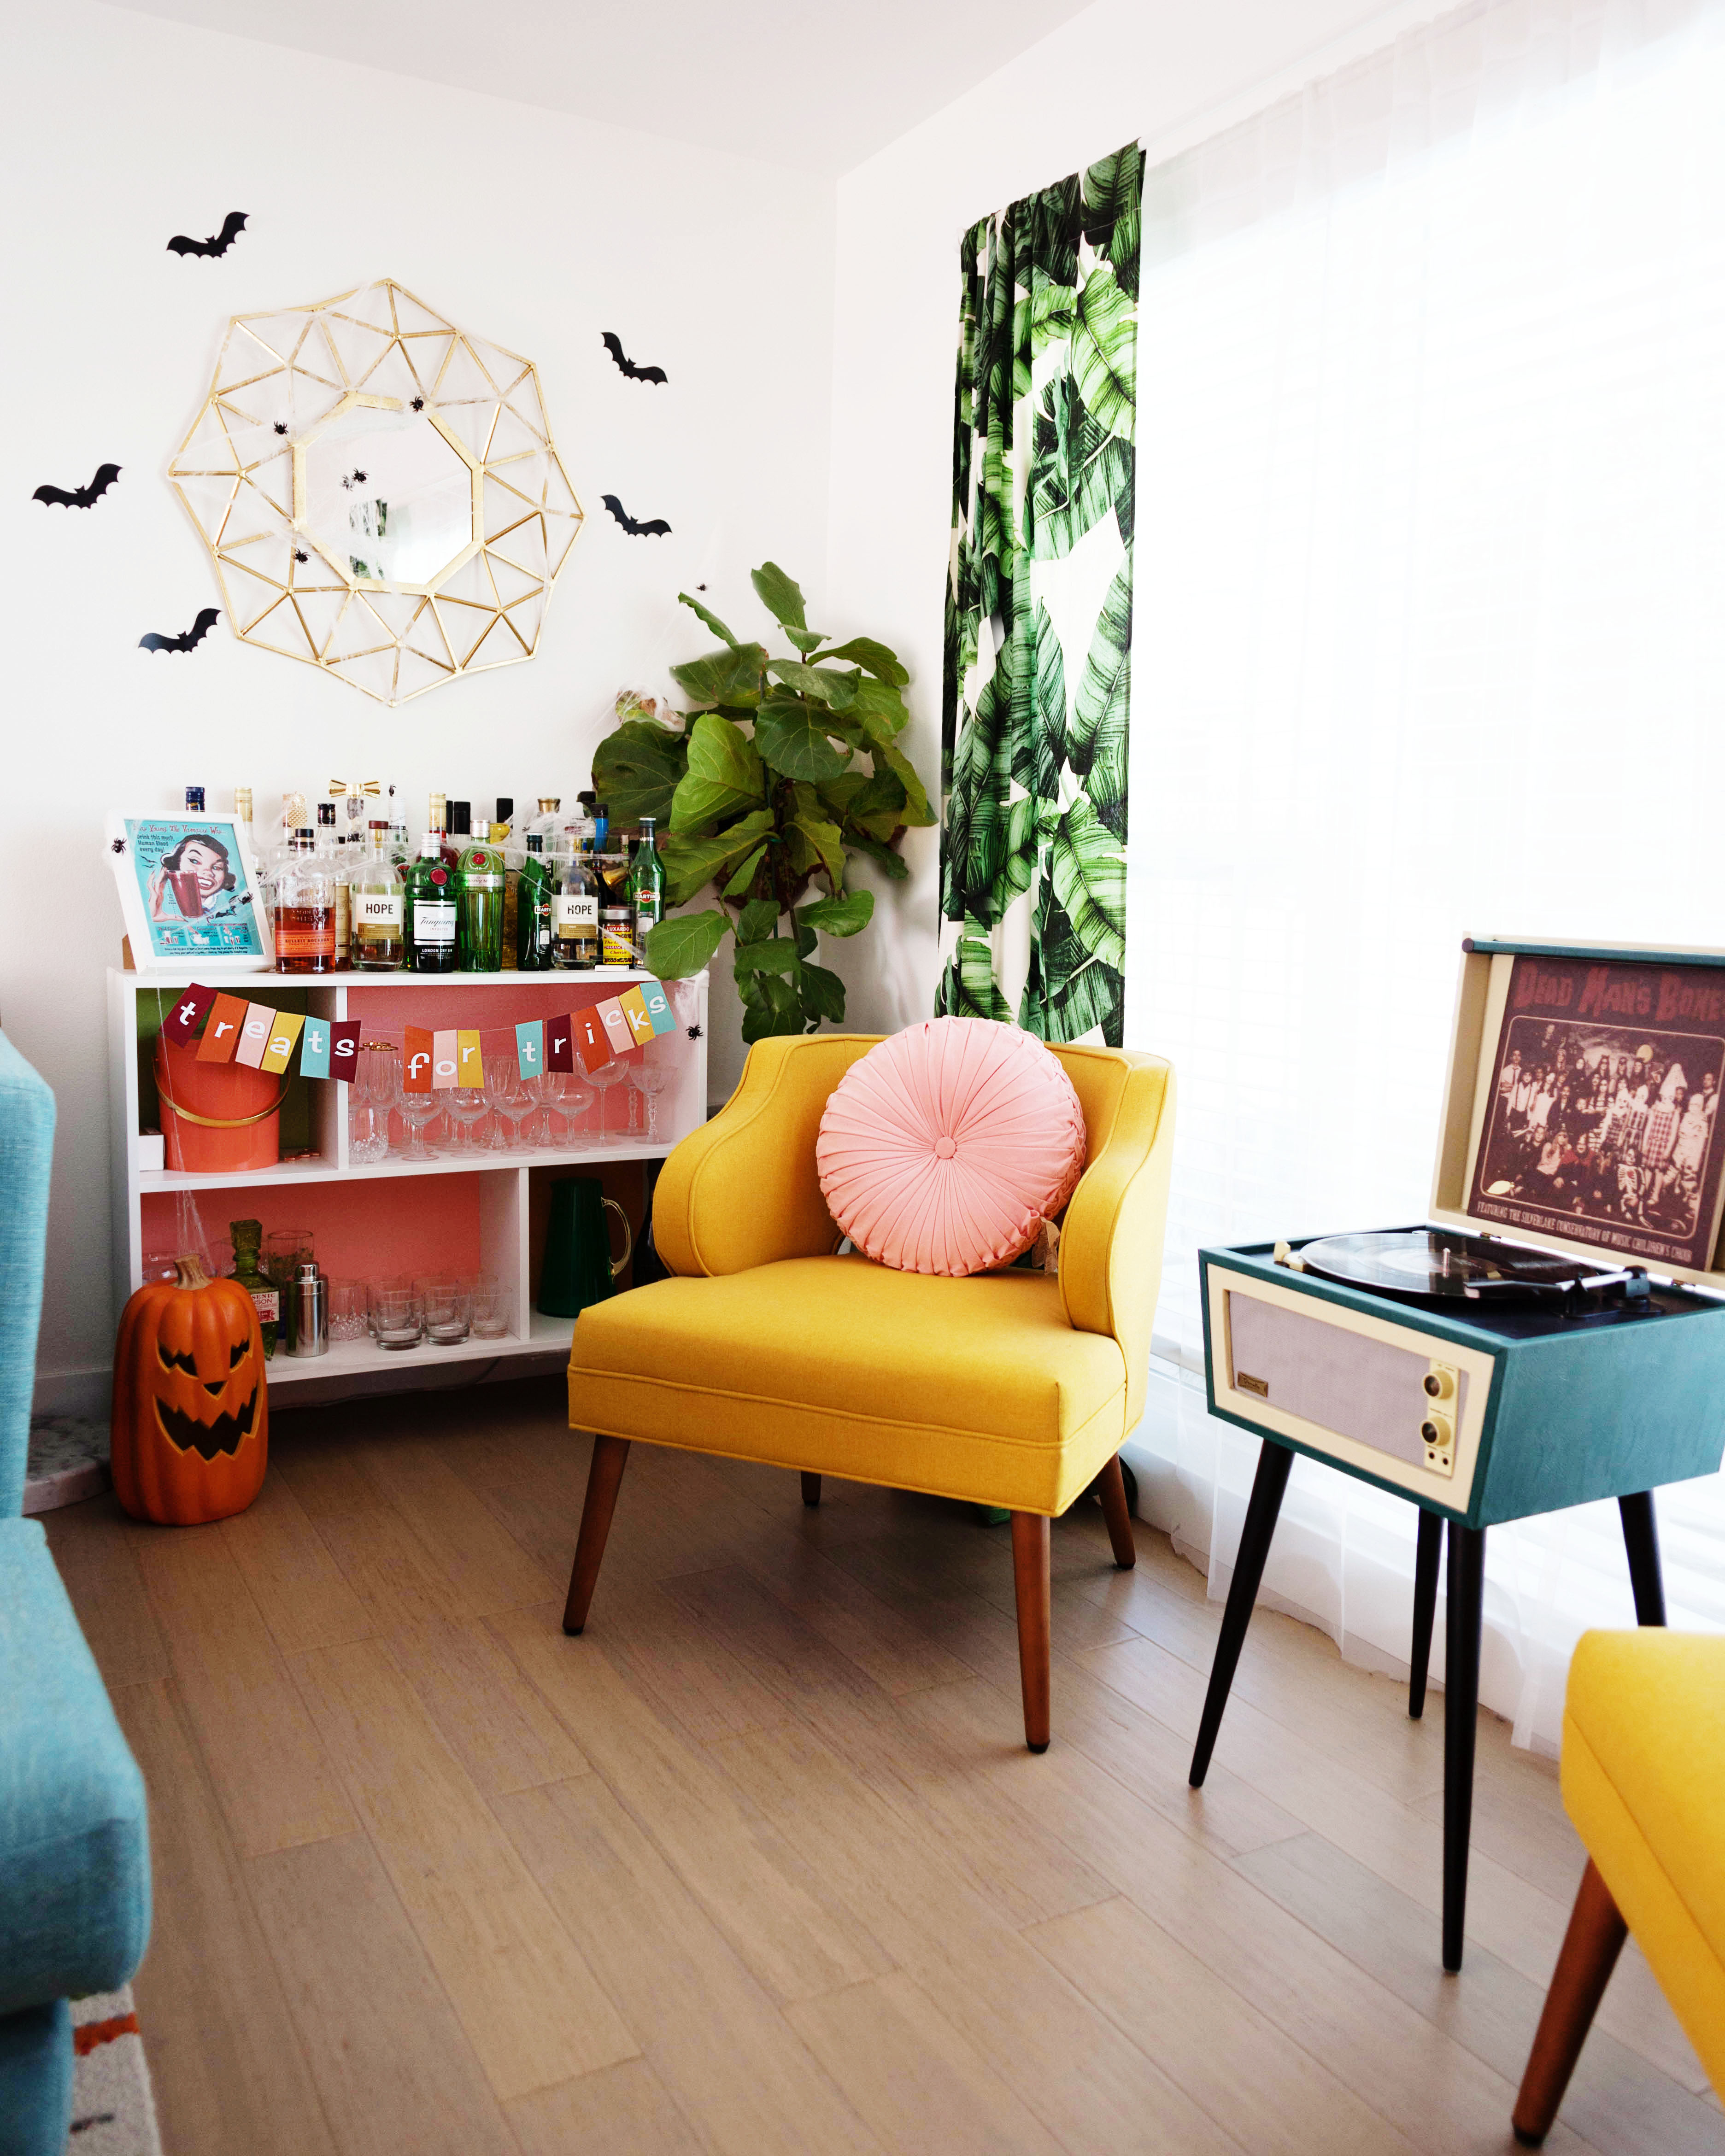
Happy Halloween!
Colorful DIY Dip Dyed Faux Pumpkins
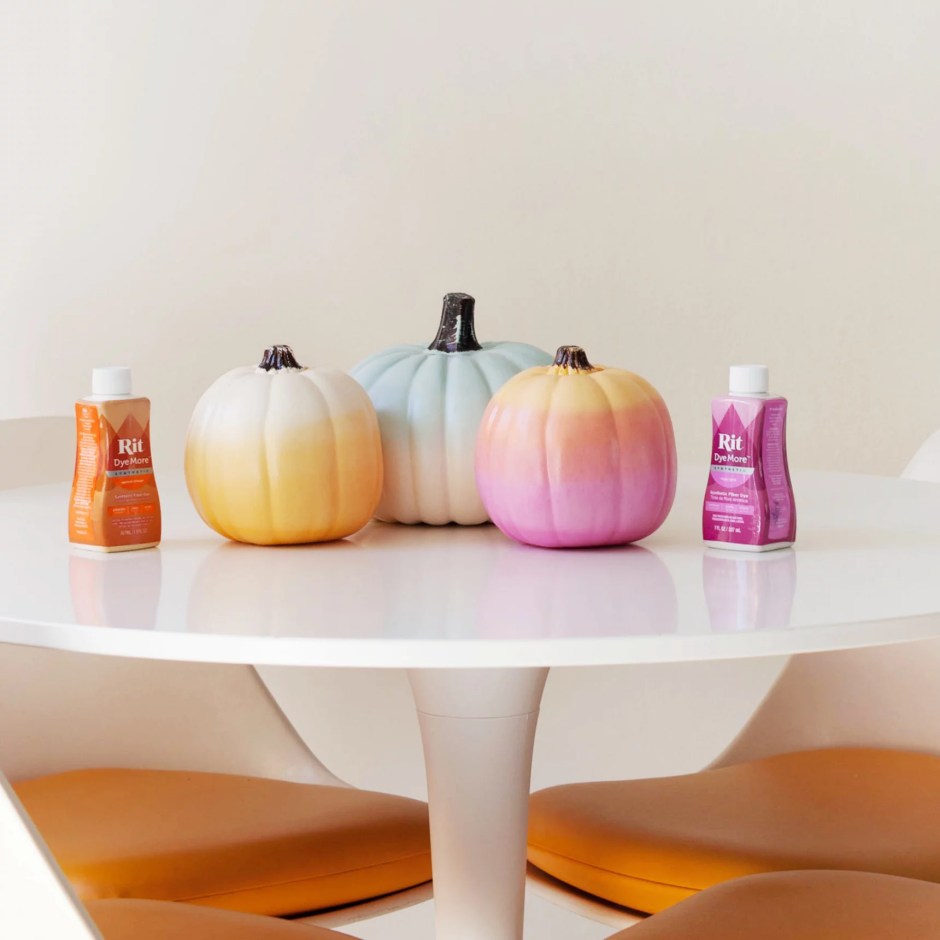
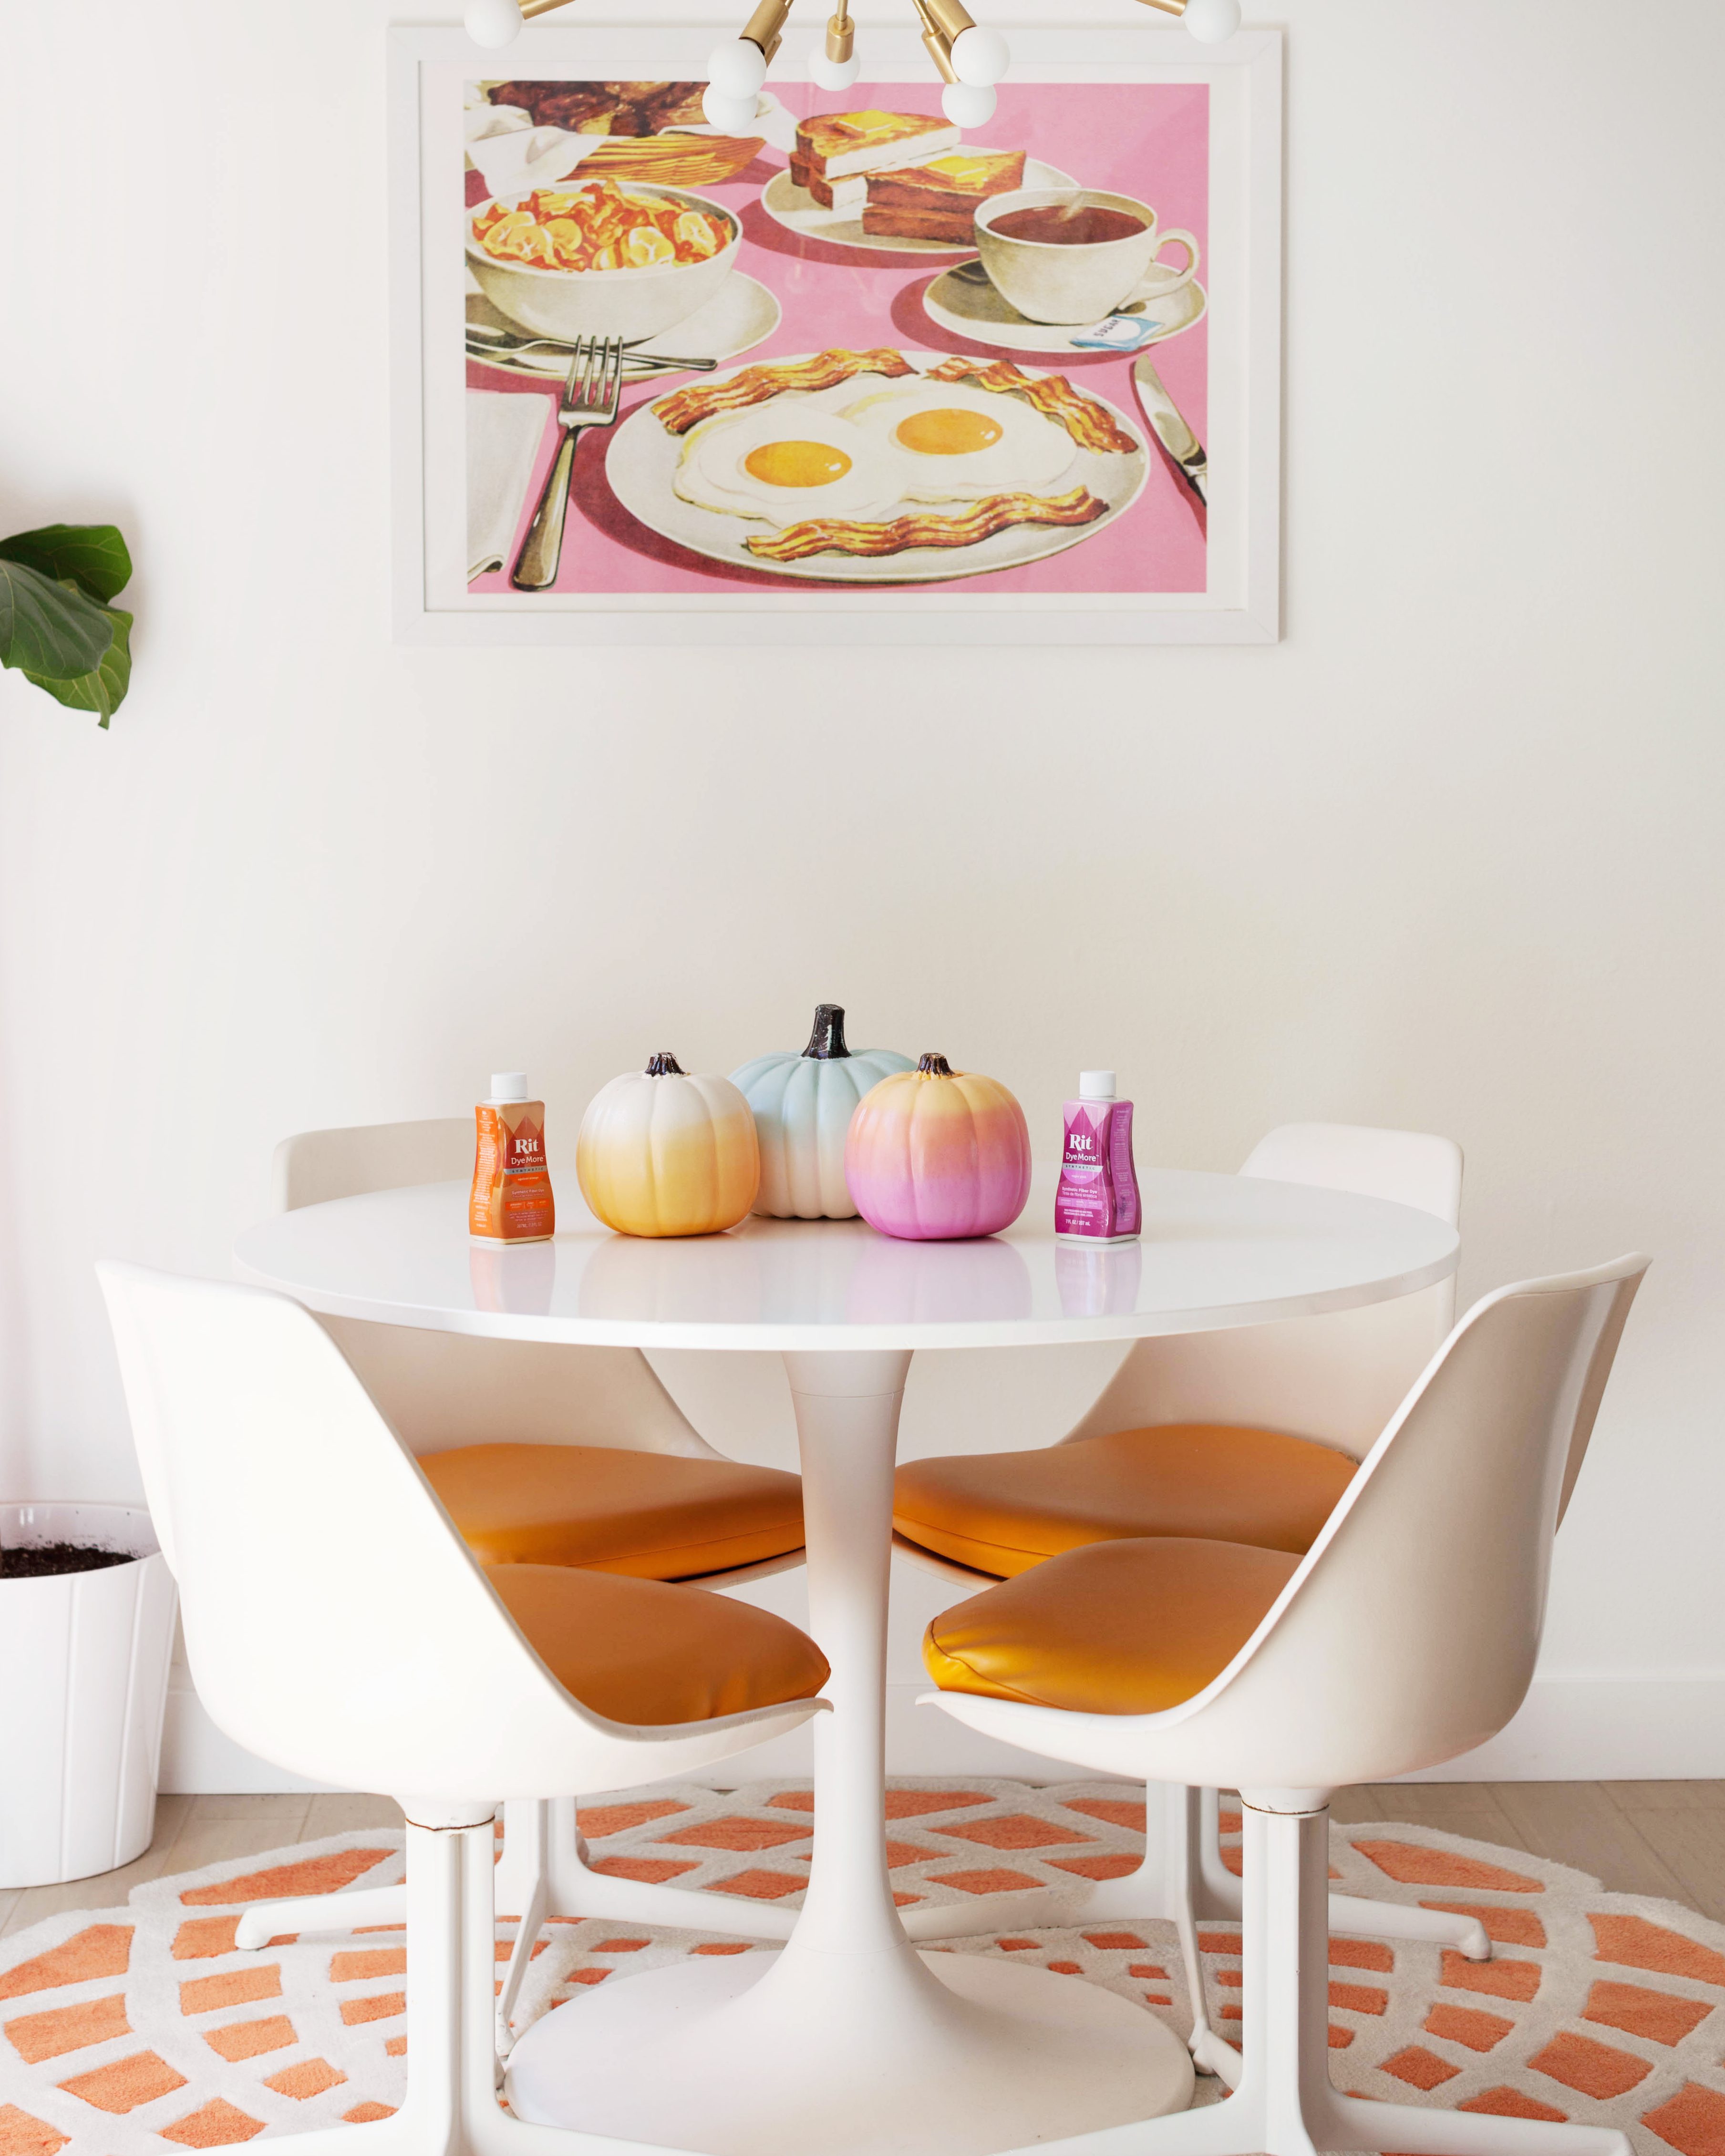
Here’s a halloween project that’s a departure from your standard pumpkin carving and painting. Dip dye those basic foam pumpkins for a dose of color that can be displayed for the whole fall season!
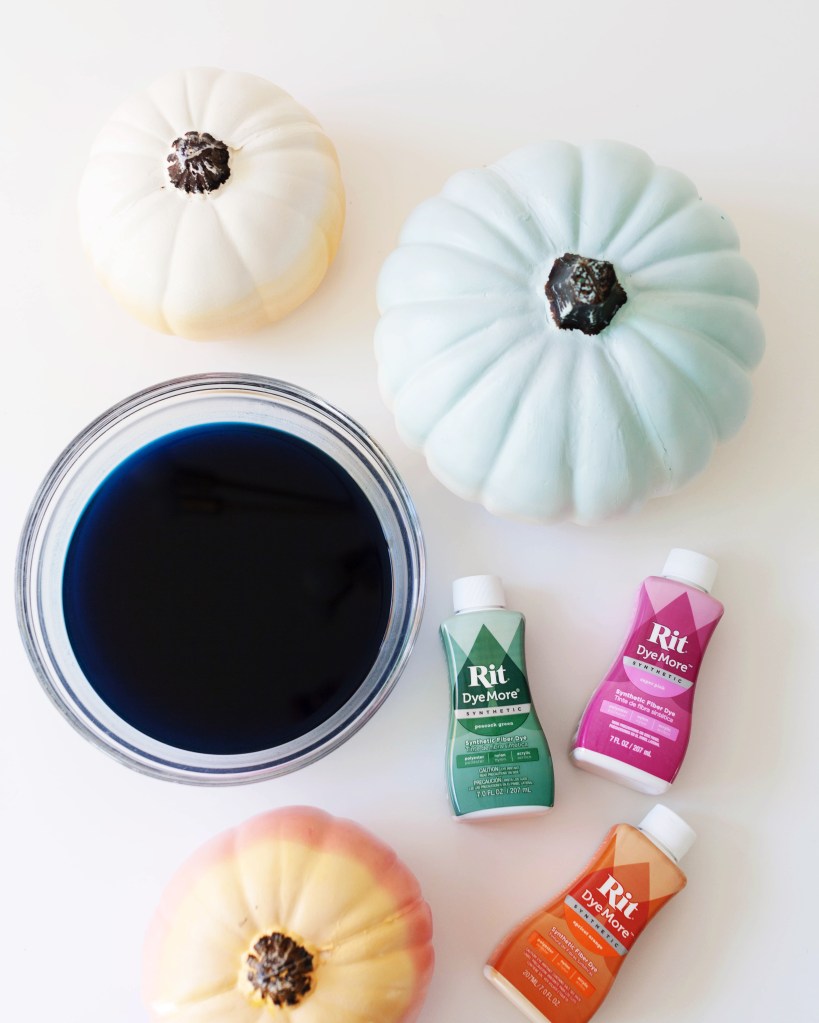
Pop by your local craft store (or second hand store) and grab some white faux pumpkins and Rit dye. I used foam, but with this kind of Rit dye for synthetics, plastic would work too.
Mix about half a bottle of Rit DyeMore for synthetics with a few gallons of very hot (almost boiling) water. Carefully submerge the pumpkins for a few seconds at a time until your desired color saturation is reached. Have fun layering and mixing colors. Leave them as is, or use other embellishments. The best part is they can be saved and used every year.
Happy Halloween!
+This post was sponsored by Rit Dye. Click here for more detailed instructions.+


