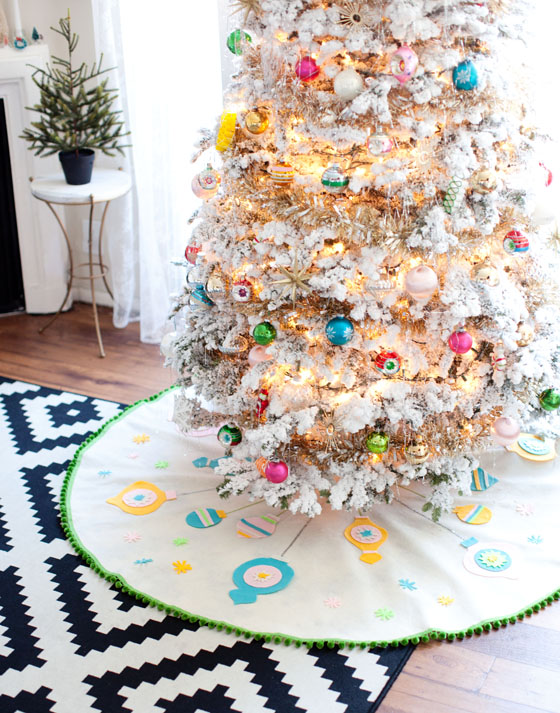
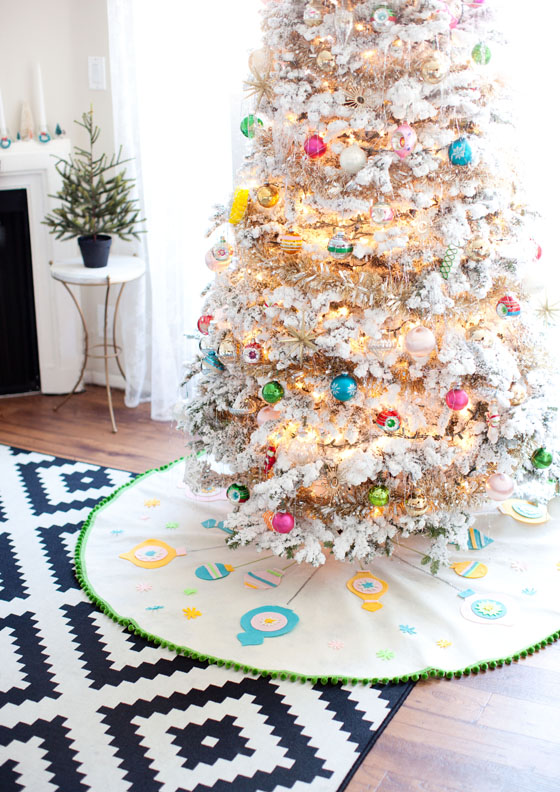
I’m totally and completely obsessed with my Christmas tree this year. We do natural trees around here and always spend way too long trying to pick the right one, but this year it took 5 minutes and it’s the best one we’ve had in years. It’s the perfect size and shape and flocked to perfection. It’s chockerbock full of my vintage ornament collection which really makes it feel and look like a throwback to a mid-century Christmas.
 The only problem I had was finding the right tree skirt to cover up the wooden planks that is holding it up. I found a couple that I liked but they weren’t quite right so I used them as inspiration and make my own using felt and pom-pom trim.
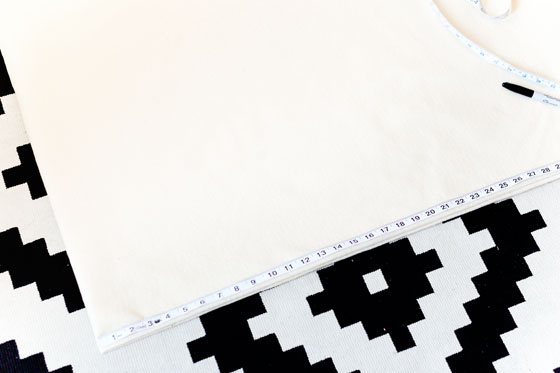
The first thing I did was cut my foundation felt into a circle. The easiest way to do this is to fold your felt into quarters (fold in half, and then fold in half again the other way). Starting at the folded corner, measure how big you want the skirt to be. I measured mine at 27 inches.
 Keep marking your measurement until you get to the other side. You should have something that looks like this. Mark the corner to make the hole for the middle, too.
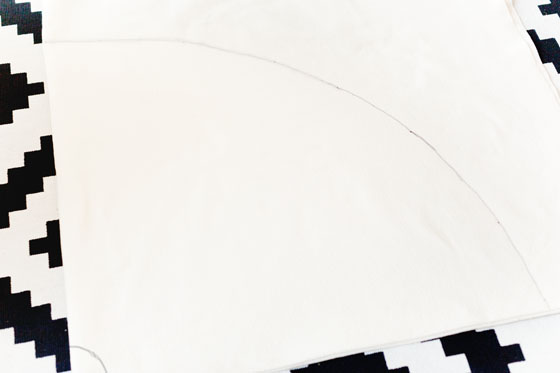 If done properly you should have a circle tree skirt.
The next thing is to decorate it!
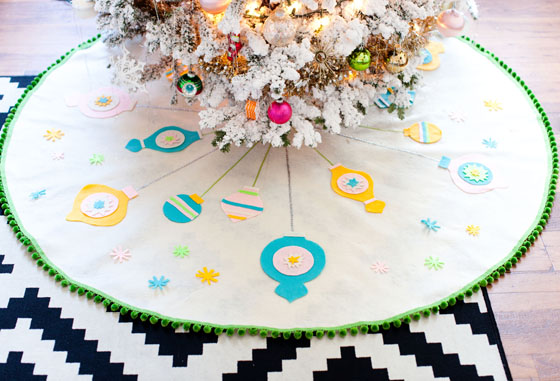 You can use cookie cutters, templates, or free hand any decorations of your choice and cut them out of felt. I went with the vintage ornament theme and free-handed different ornament shapes. I used fabric glue to glue them on.
 I glued on silver baby rick-rack and thin ribbon as the strings for my ornaments.
 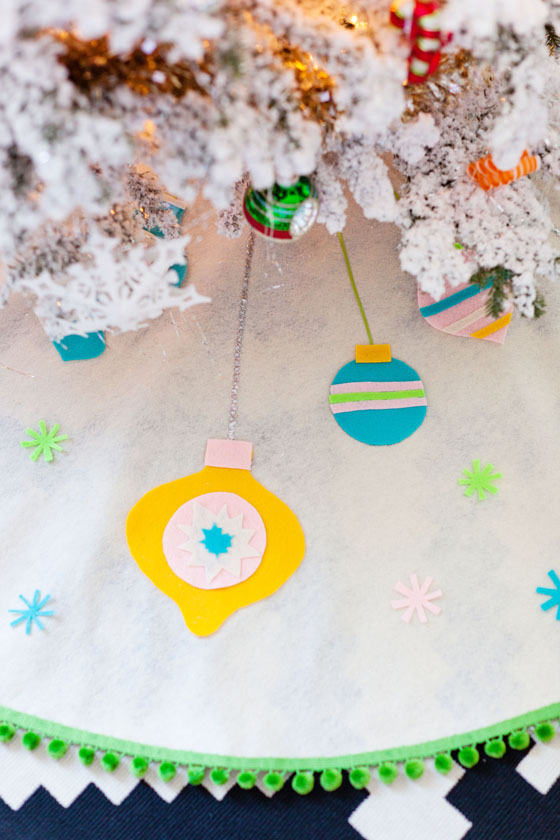 The last thing I did was glued on pom-pom trim. Seriously so easy and adorable.
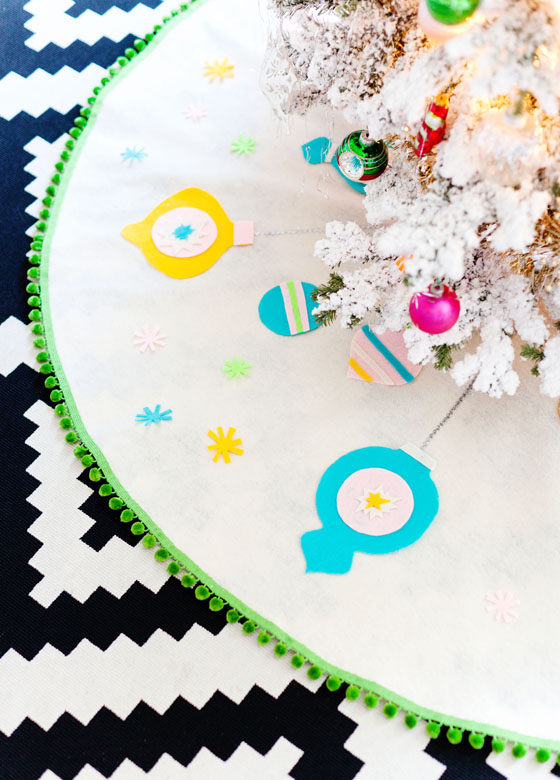
Now my tree feels complete!
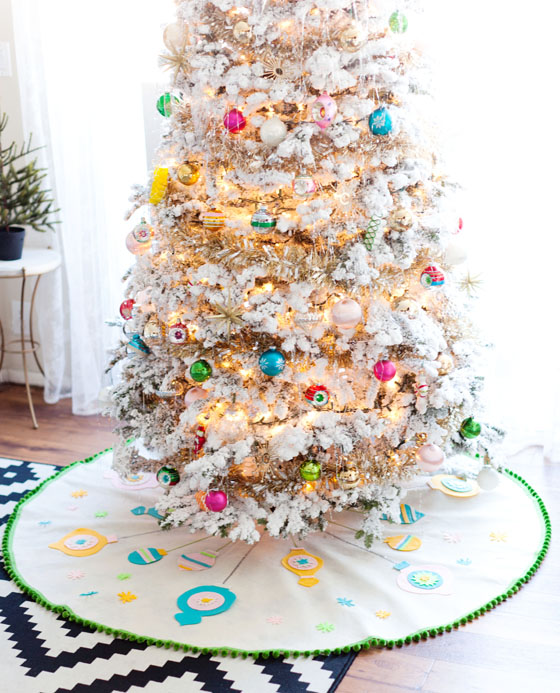 I’m so happy with the way this turned out and even happier that I didn’t have to lug out my sewing machine. The total project cost me around $25 so that’s also a bonus!