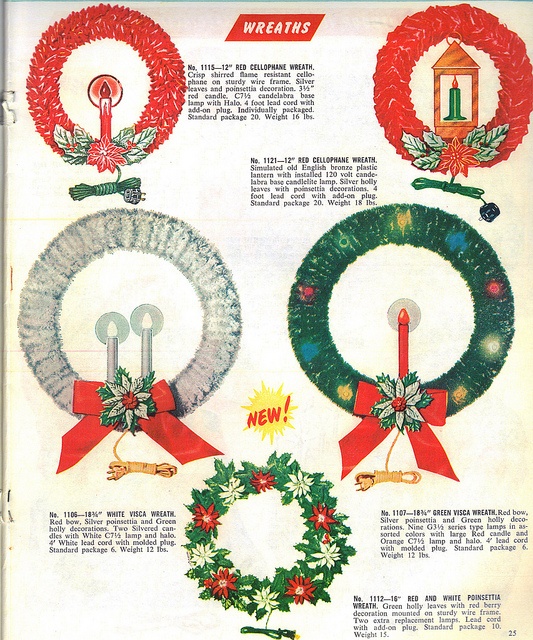
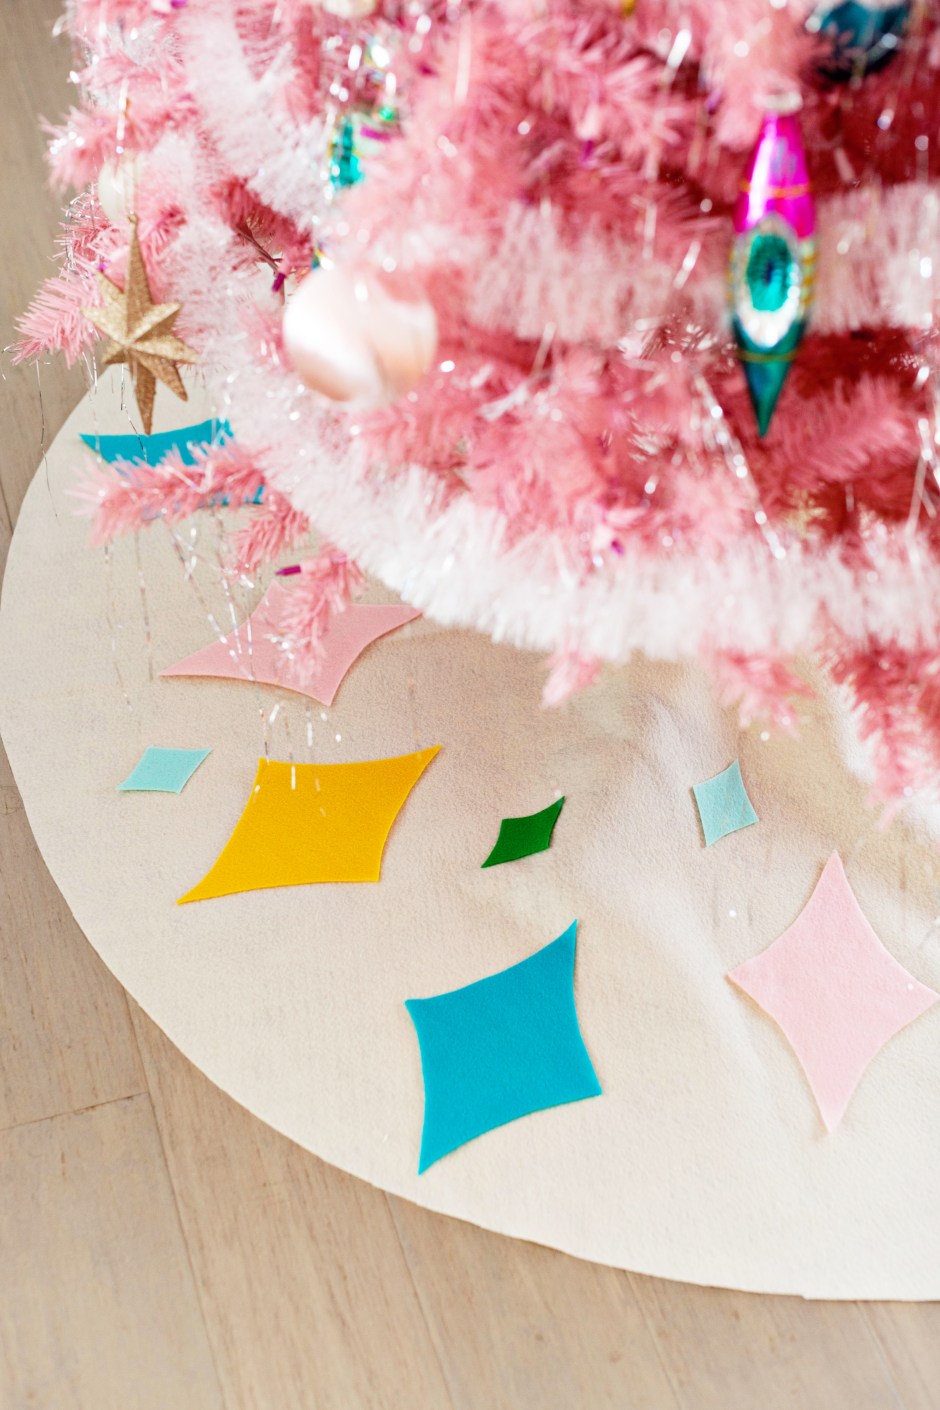
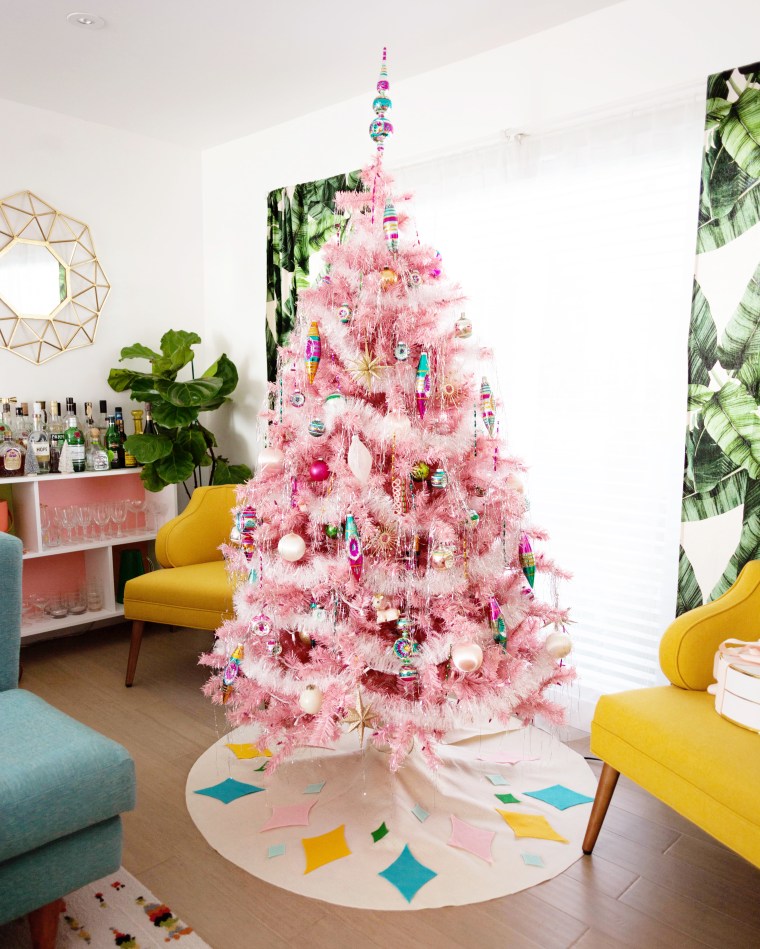
If you don’t know by now, I’m totally obsessed with vintage Christmas ornaments.
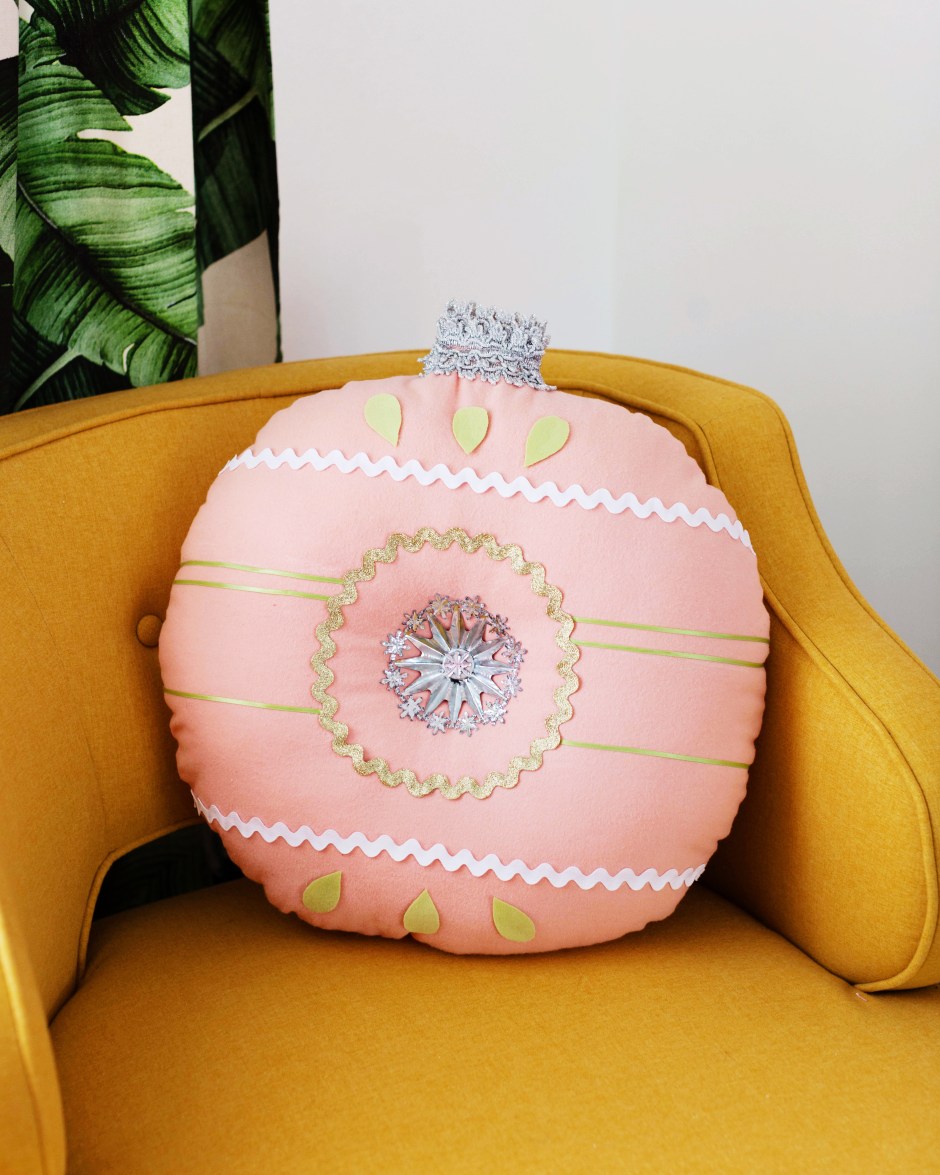
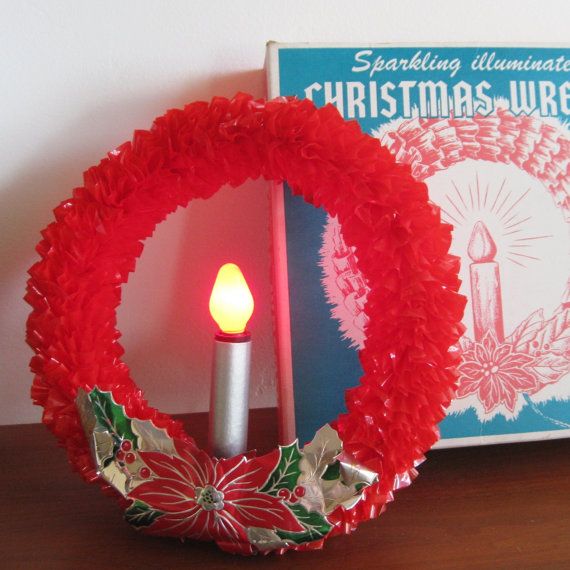
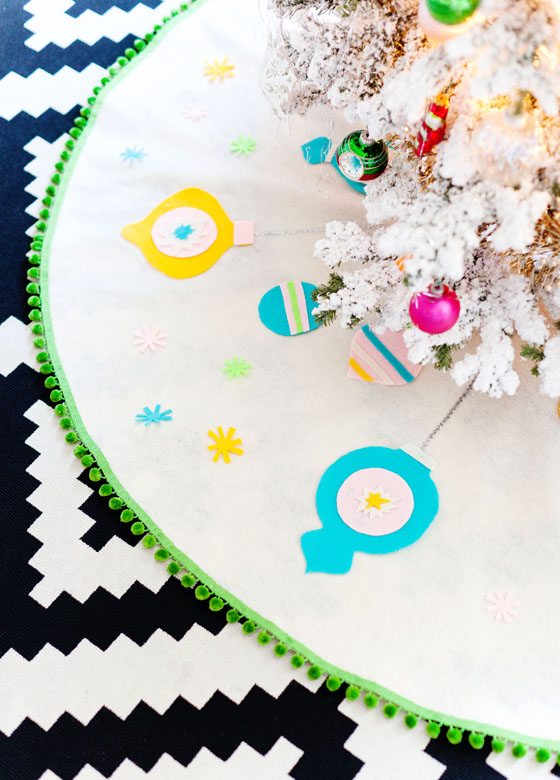
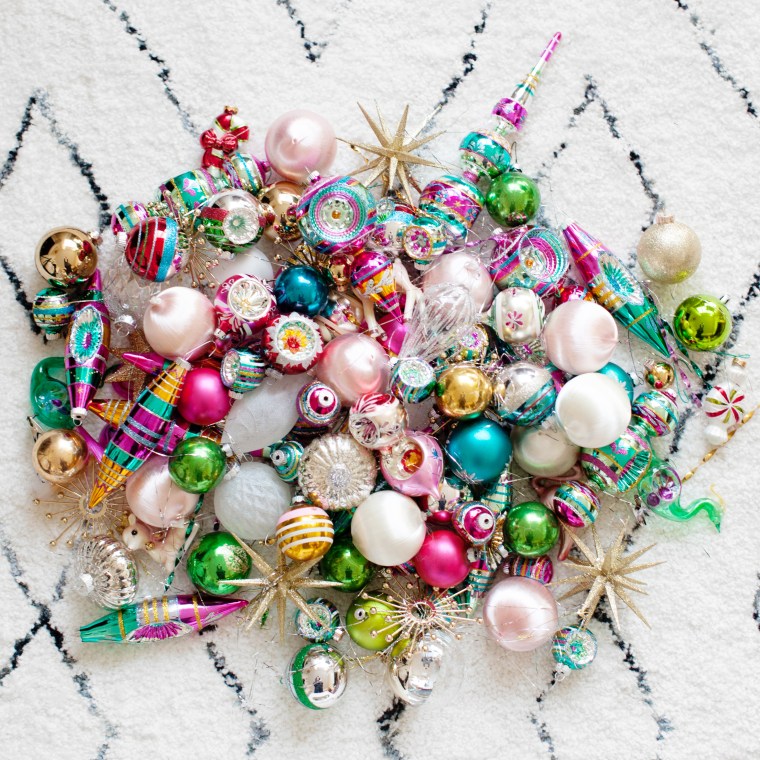 My favorites are the ones with the indented reflectors in the middle. I just love how unique each one is and how they sparkle and reflect colors when hanging on a lit up tree. It’s magical! You might remember that Ornament Tree Skirt I made a couple of years ago, but this year I wanted to bring that theme to life as a throw pillow.
What you’ll need:
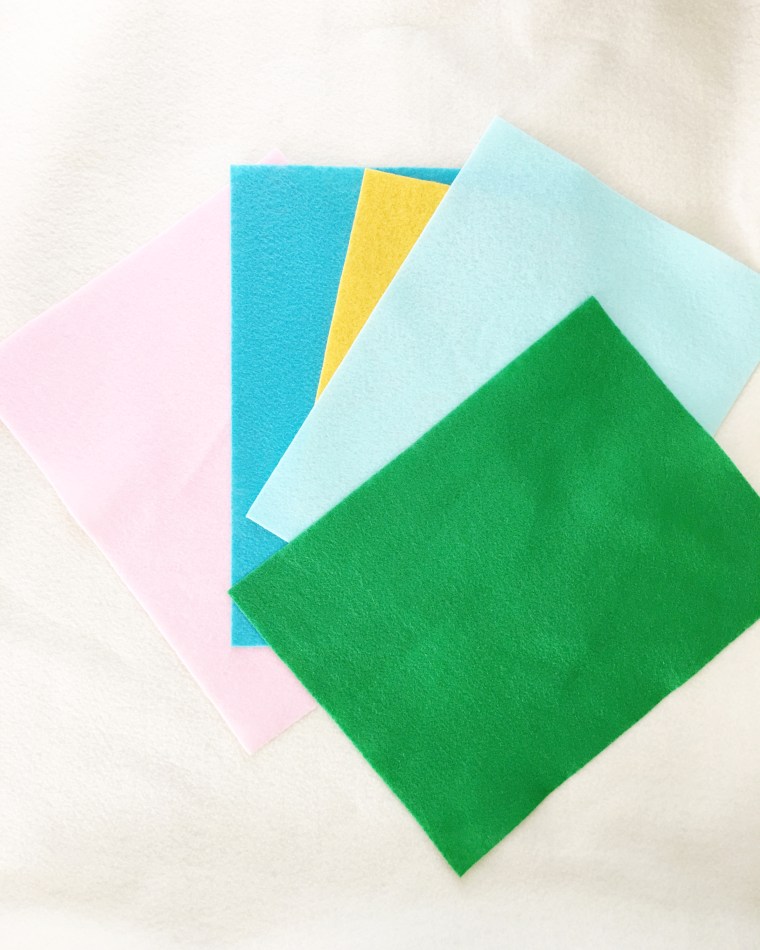
 -Fabric. (The amount depends on the size of pillow you want to make. I used fleece, but you can use any non-stretchy fabric you want. I got two 18″ pillows out of 2 yards of 45″ wide fleece.)
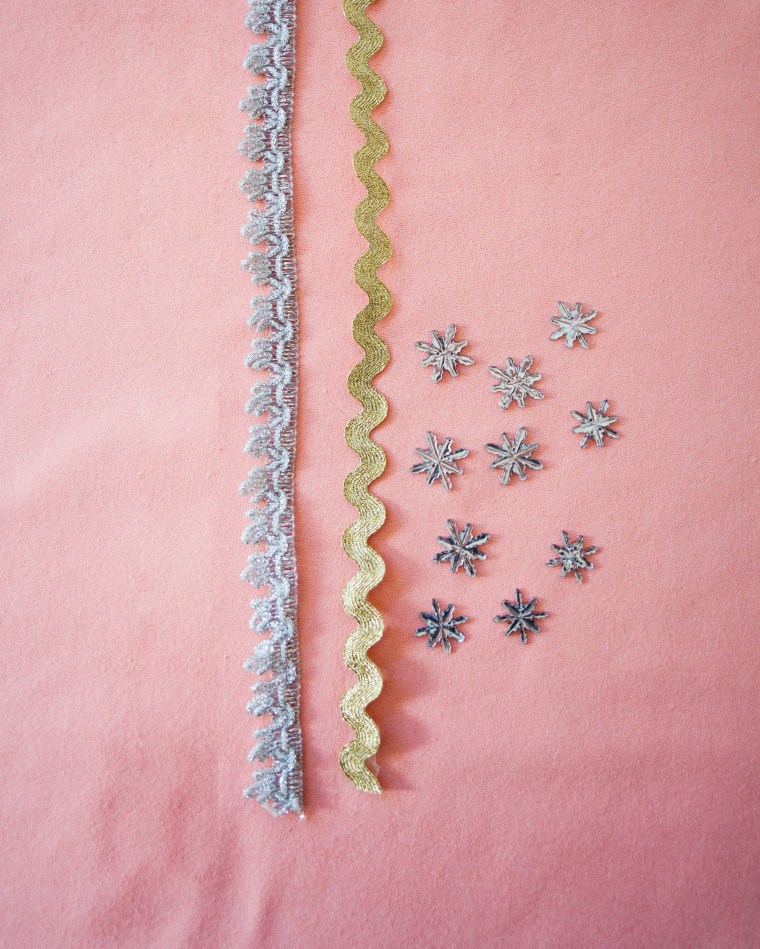
–Metal Christmas light reflector cups
-1” Silver buttons
-Snowfake shaped crafting buttons
–Metallic Braid Trim
-Ribbons, rickrack, and felt/fabric to decorate
-Embroidery thread and long needle
-Fabric glue
-Sewing Machine and thread (or you can glue the edges for a no-sew attempt)
What you do:
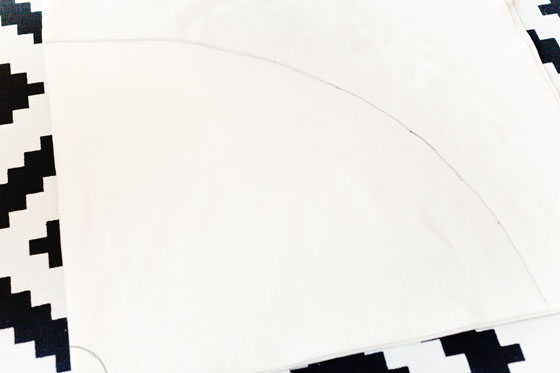
First draw a circle. The best way to do this is to use a tape measure or ruler and the compass method. Remember the way we learned in math class? HA I bet you thought you’d never need that. Then sketch out a little top piece (about 5″ wide), like an ornament would have. Then cut it out!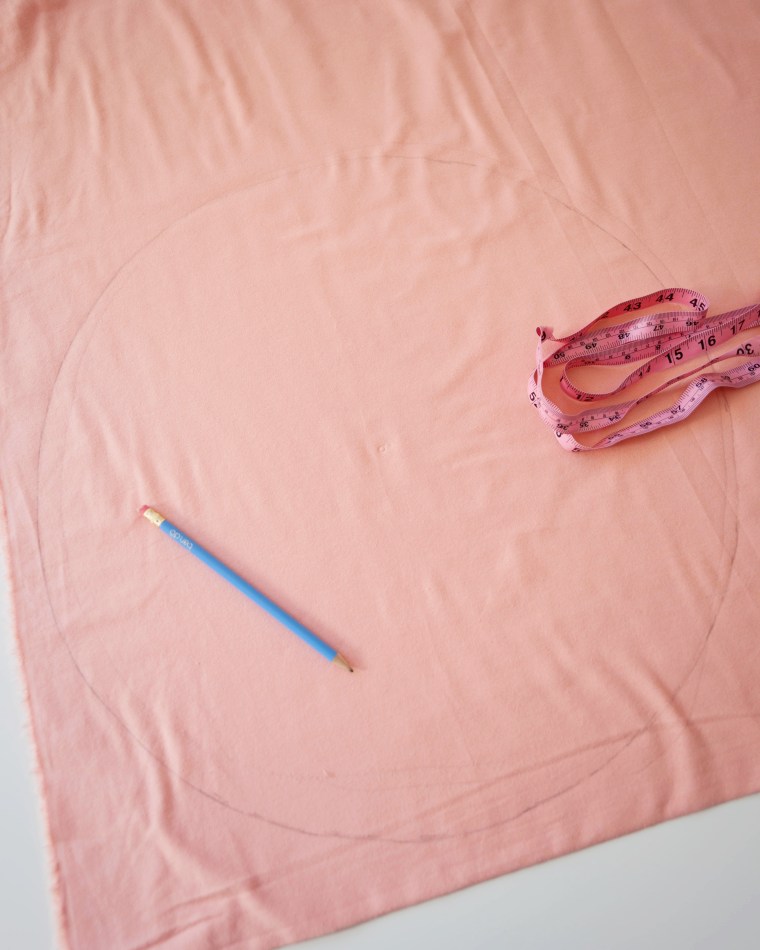
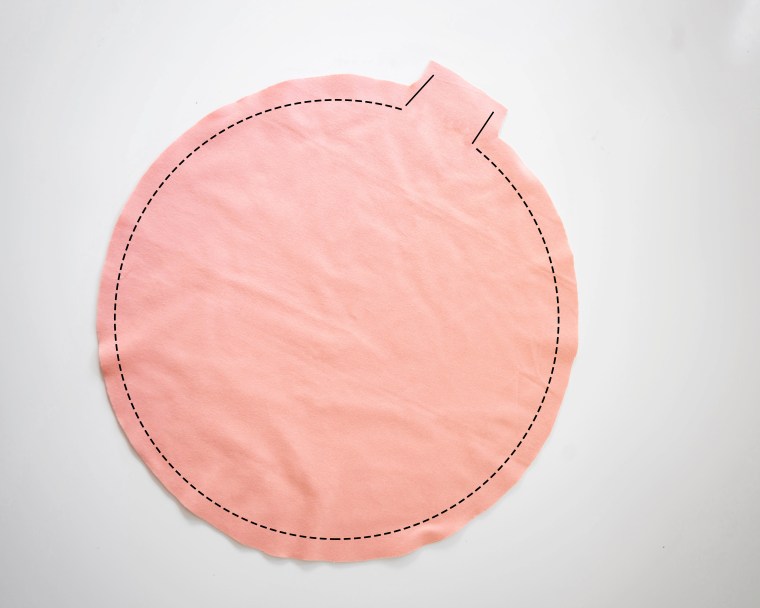
Sew the edges together leaving an opening at the top. Turn it right side out and iron. Stuff with polyfill through the top and then close the opening using a slipstitch. (You can try gluing all of these edges for a no-sew attempt, but the results won’t be as clean.)
In order to make the indented middle you need to tuft. Use a silver button and a light reflector to do this. Put the silver button in the middle of the reflector and use embroidery thread and a long needle to pull the button and reflector through the middle of the pillow. Pull it tight to make the indent, and use a triple knot to make it stay. Trim the excess thread. You can also use another button on the other side to keep it all in place if the triple knot isn’t enough. 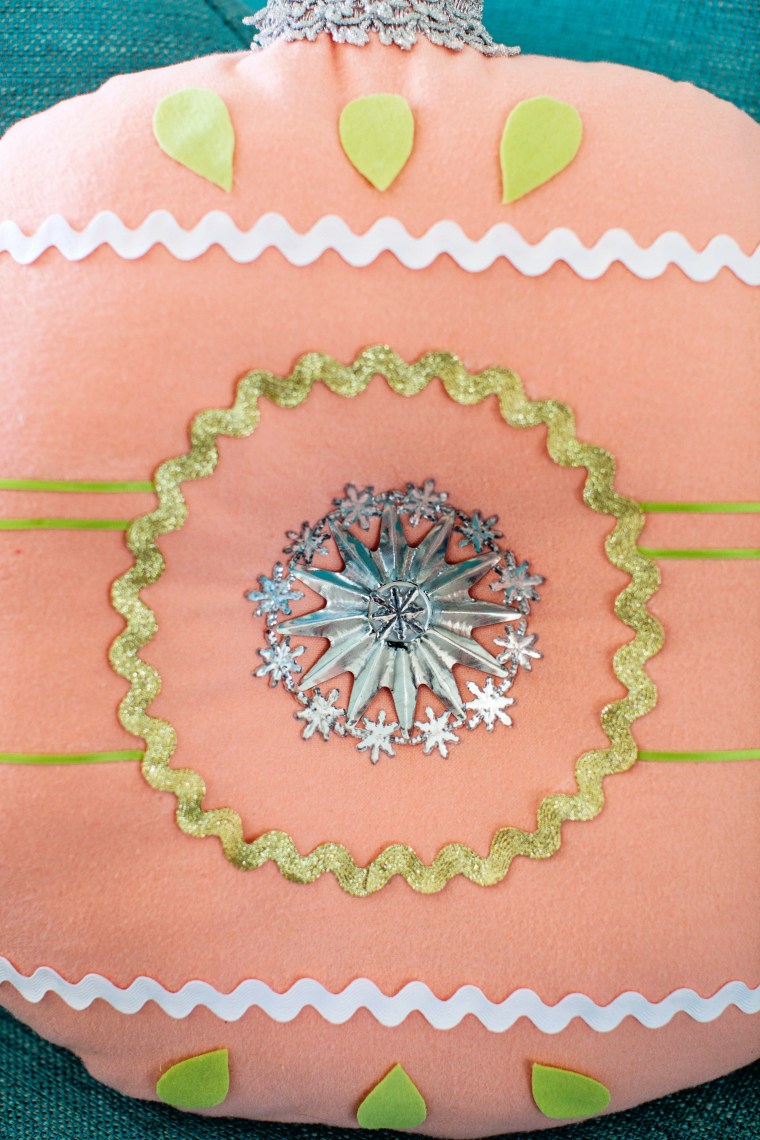
Now you can have fun decorating it! Glue the snowflake buttons around the indent for extra sparkle. Use the metallic trim around the top to make it look like the ornament cap. Use rickrack, ribbons, and fabric scraps to create lines and shapes.
 And voila! A cute little ornament throw pillow!
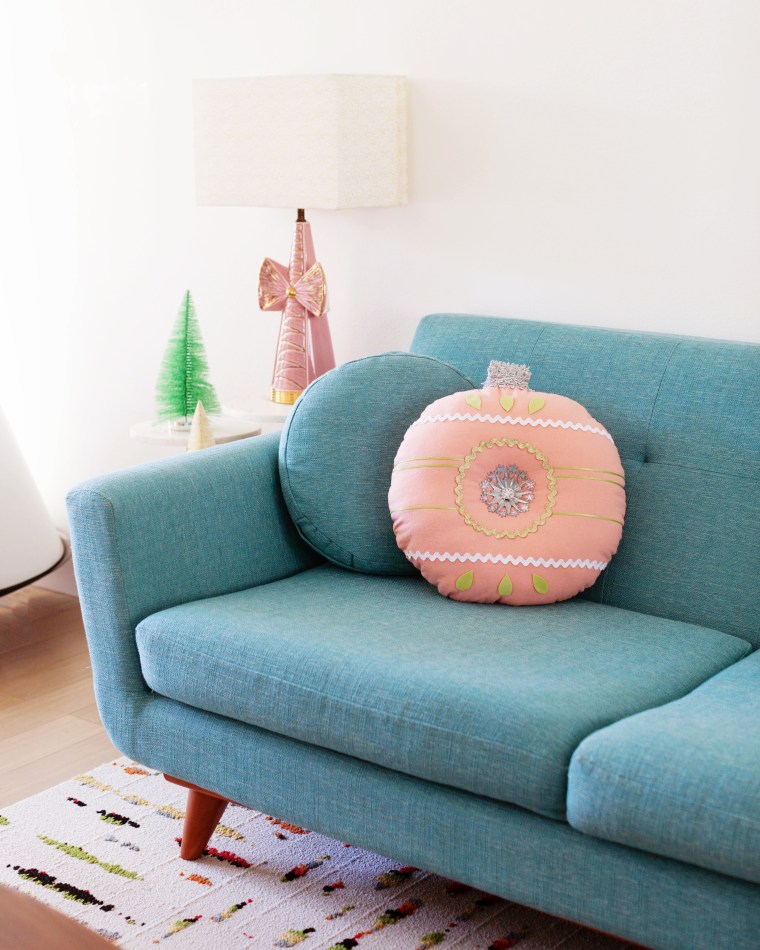
 (photo: Etsy)

 Like so!
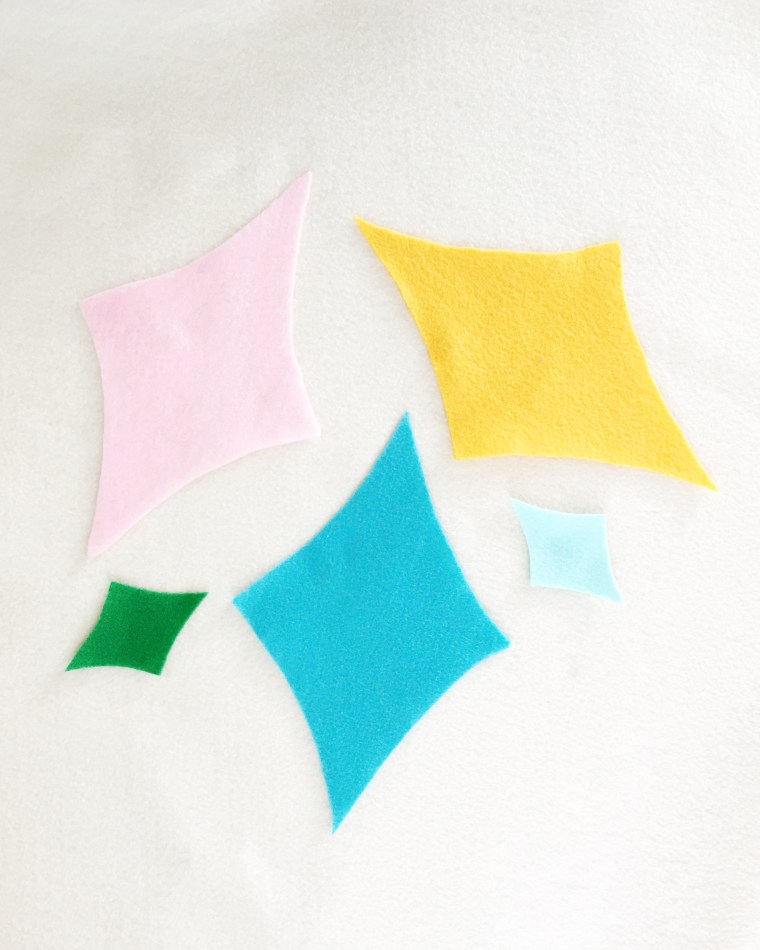


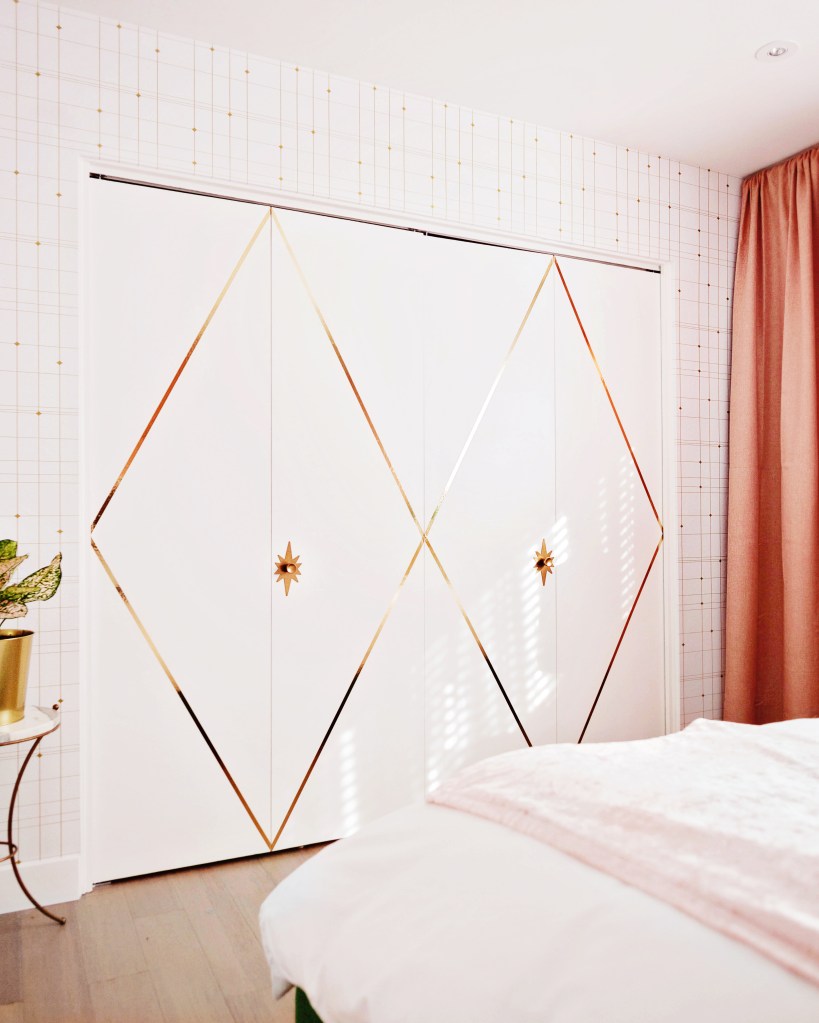

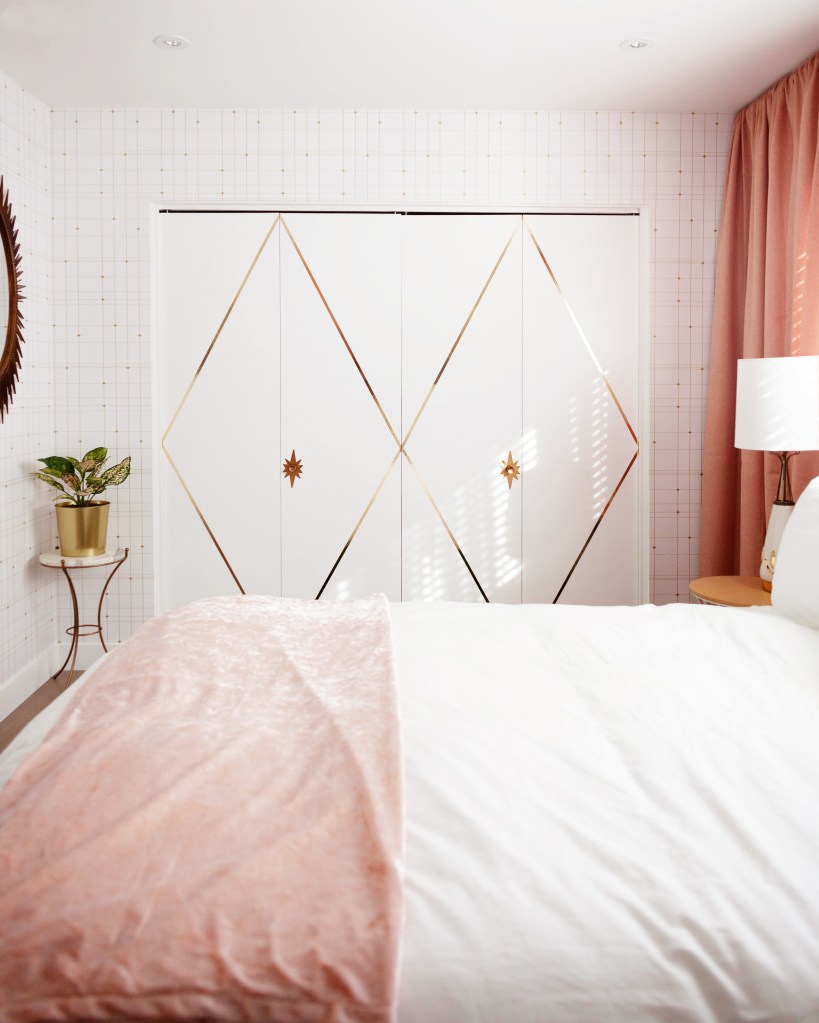
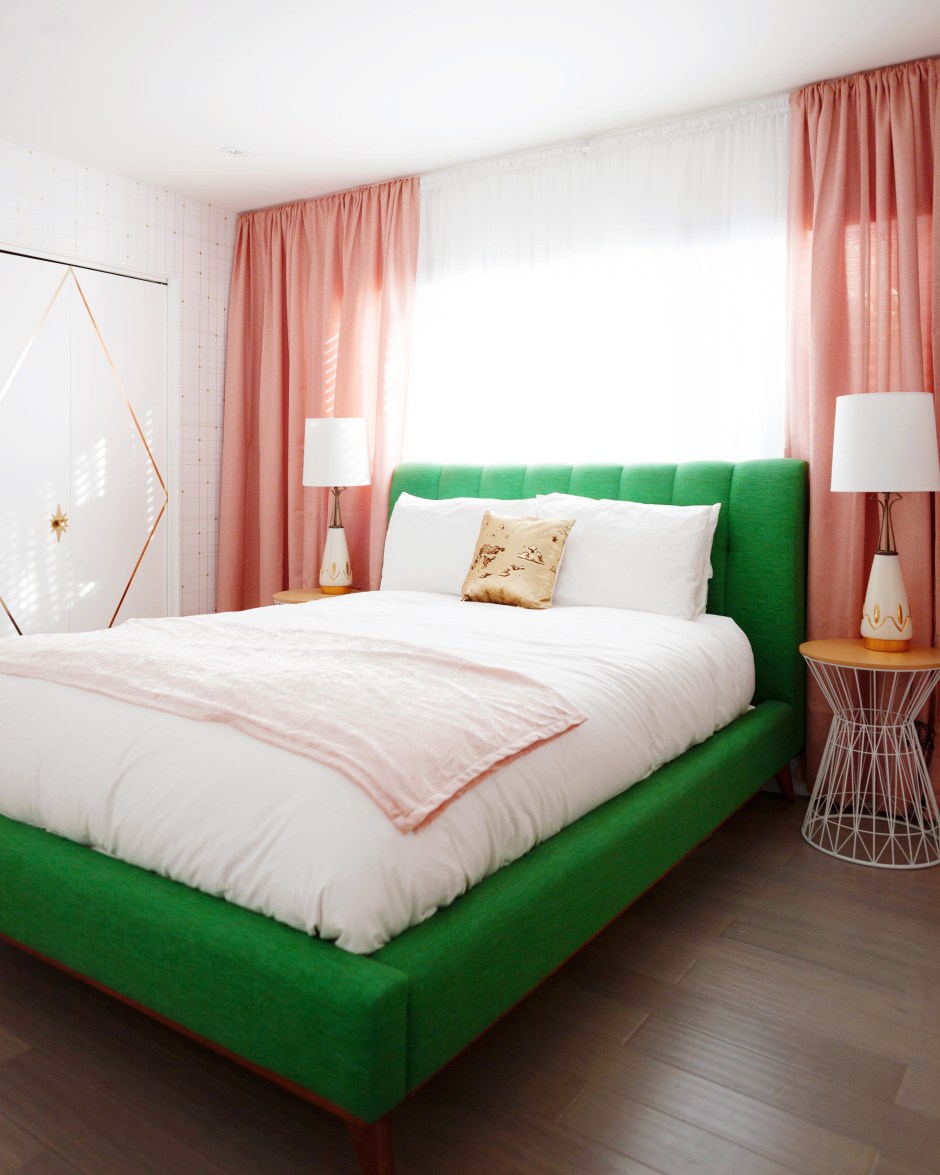
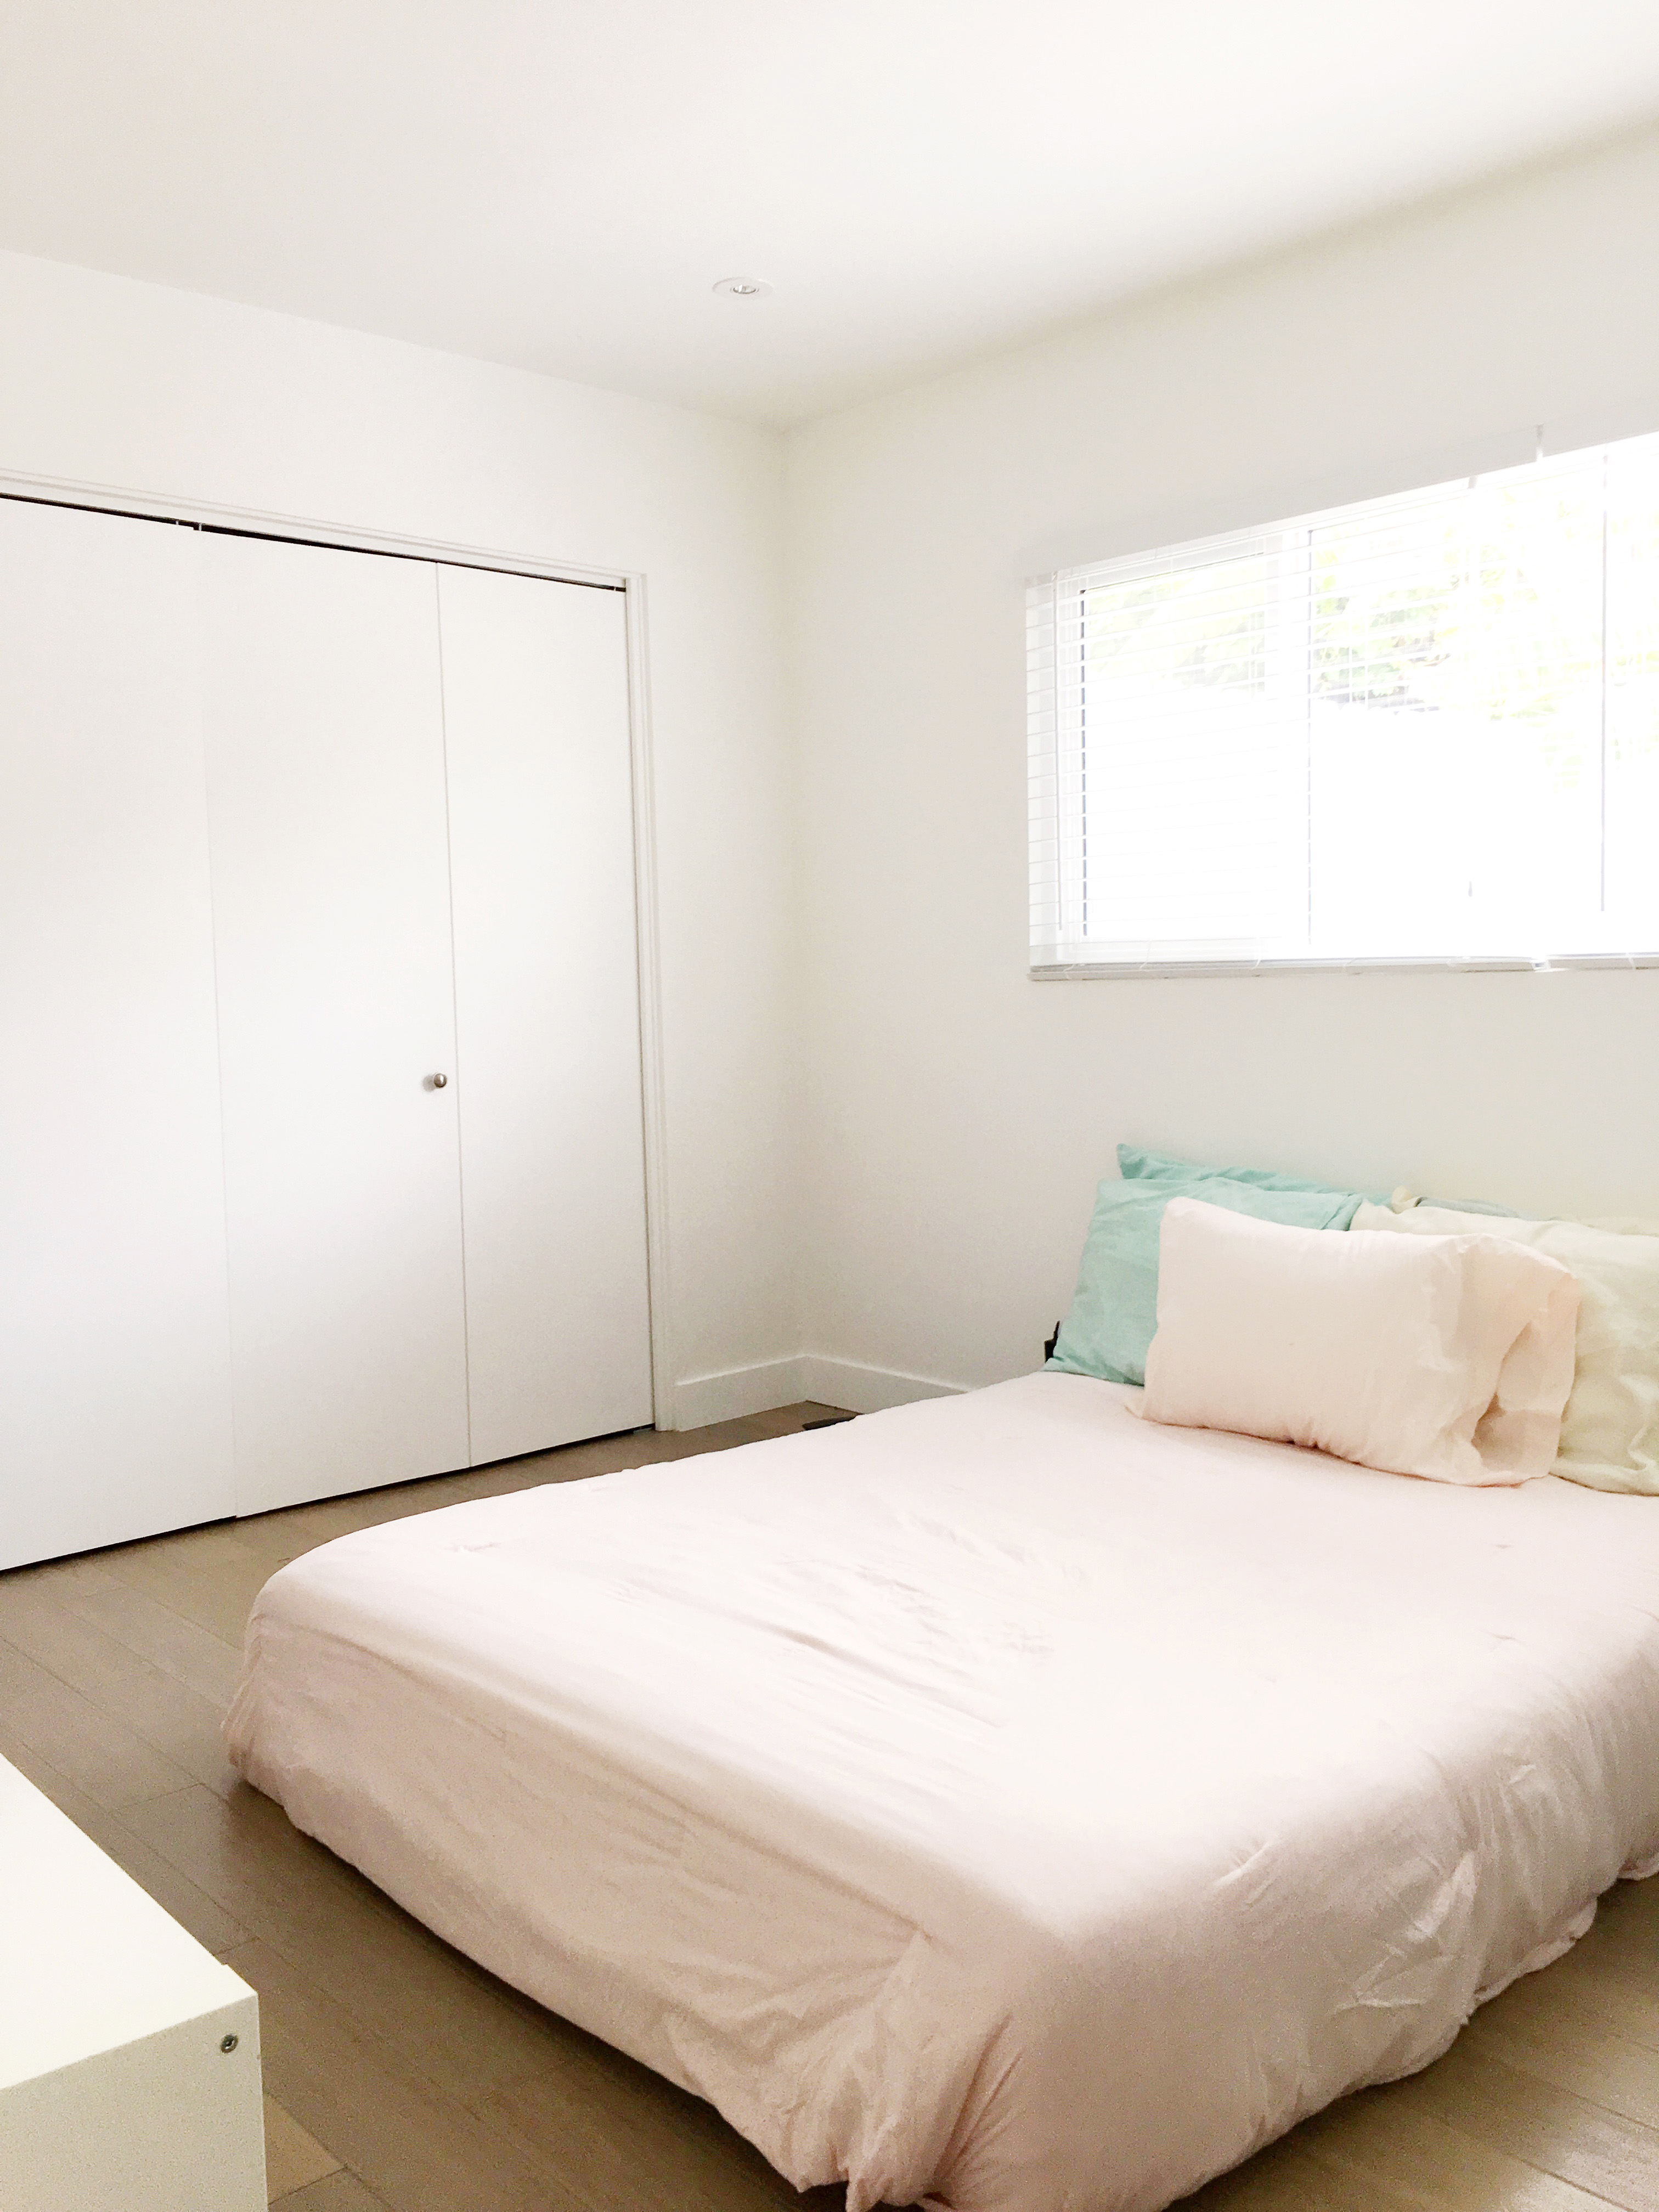
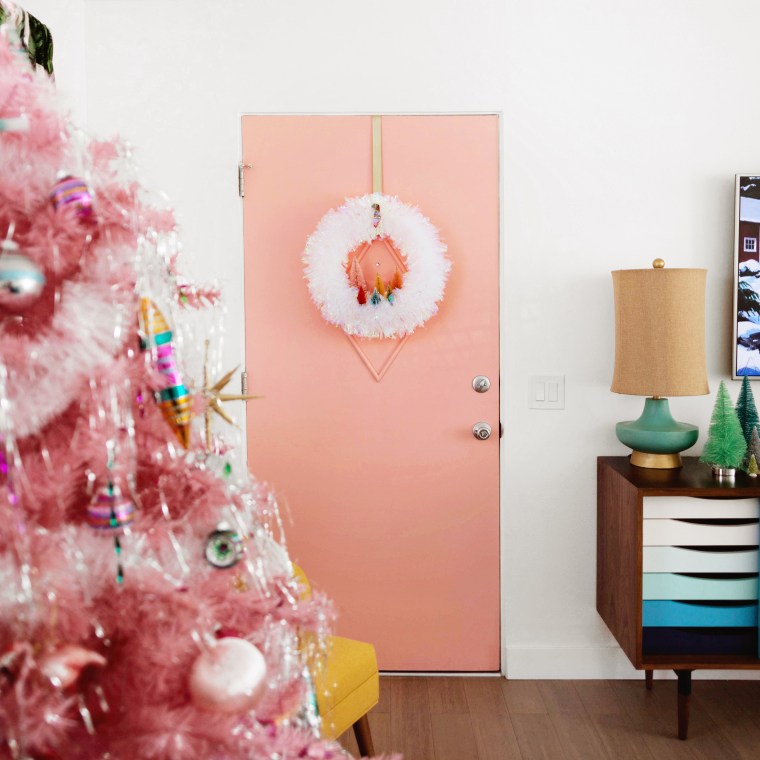
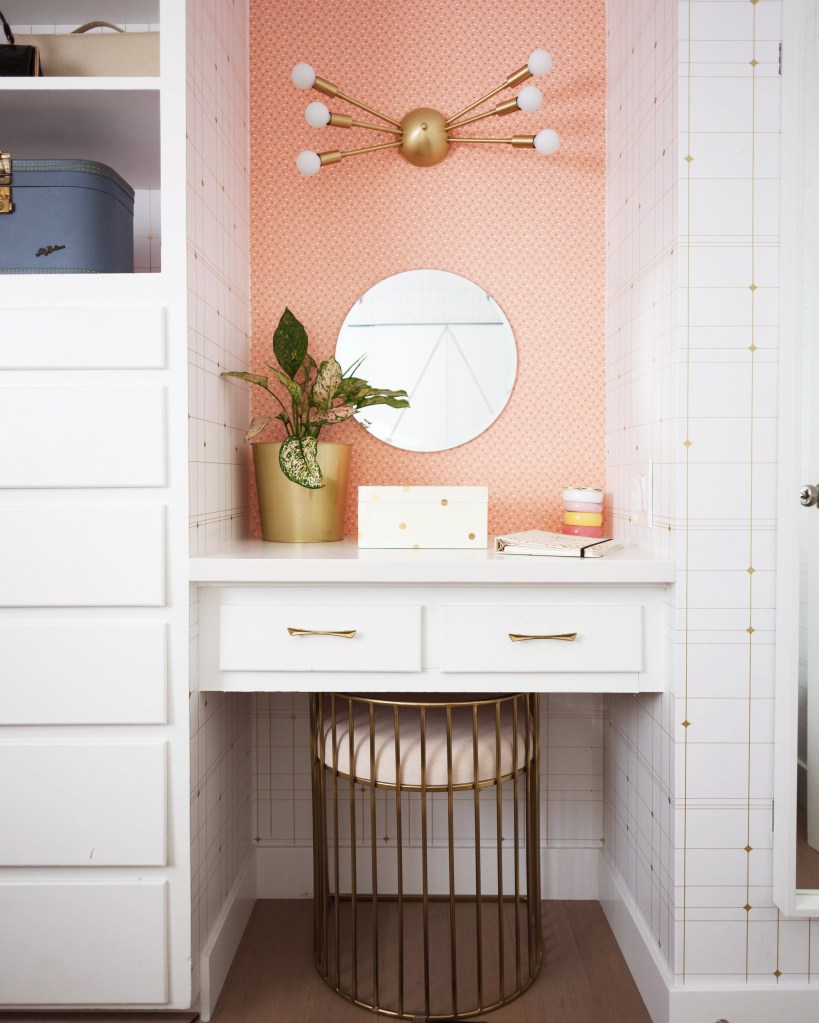
 Putting a bed in front of a window like this can look a little awkward, so the first thing I did was hung wall-to-wall, floor-to-ceiling shimmery coral-pink curtains and sheers from Target to frame the bed and disguise the window, while still letting tons of light in.
 I used a fabric in a similar color to do
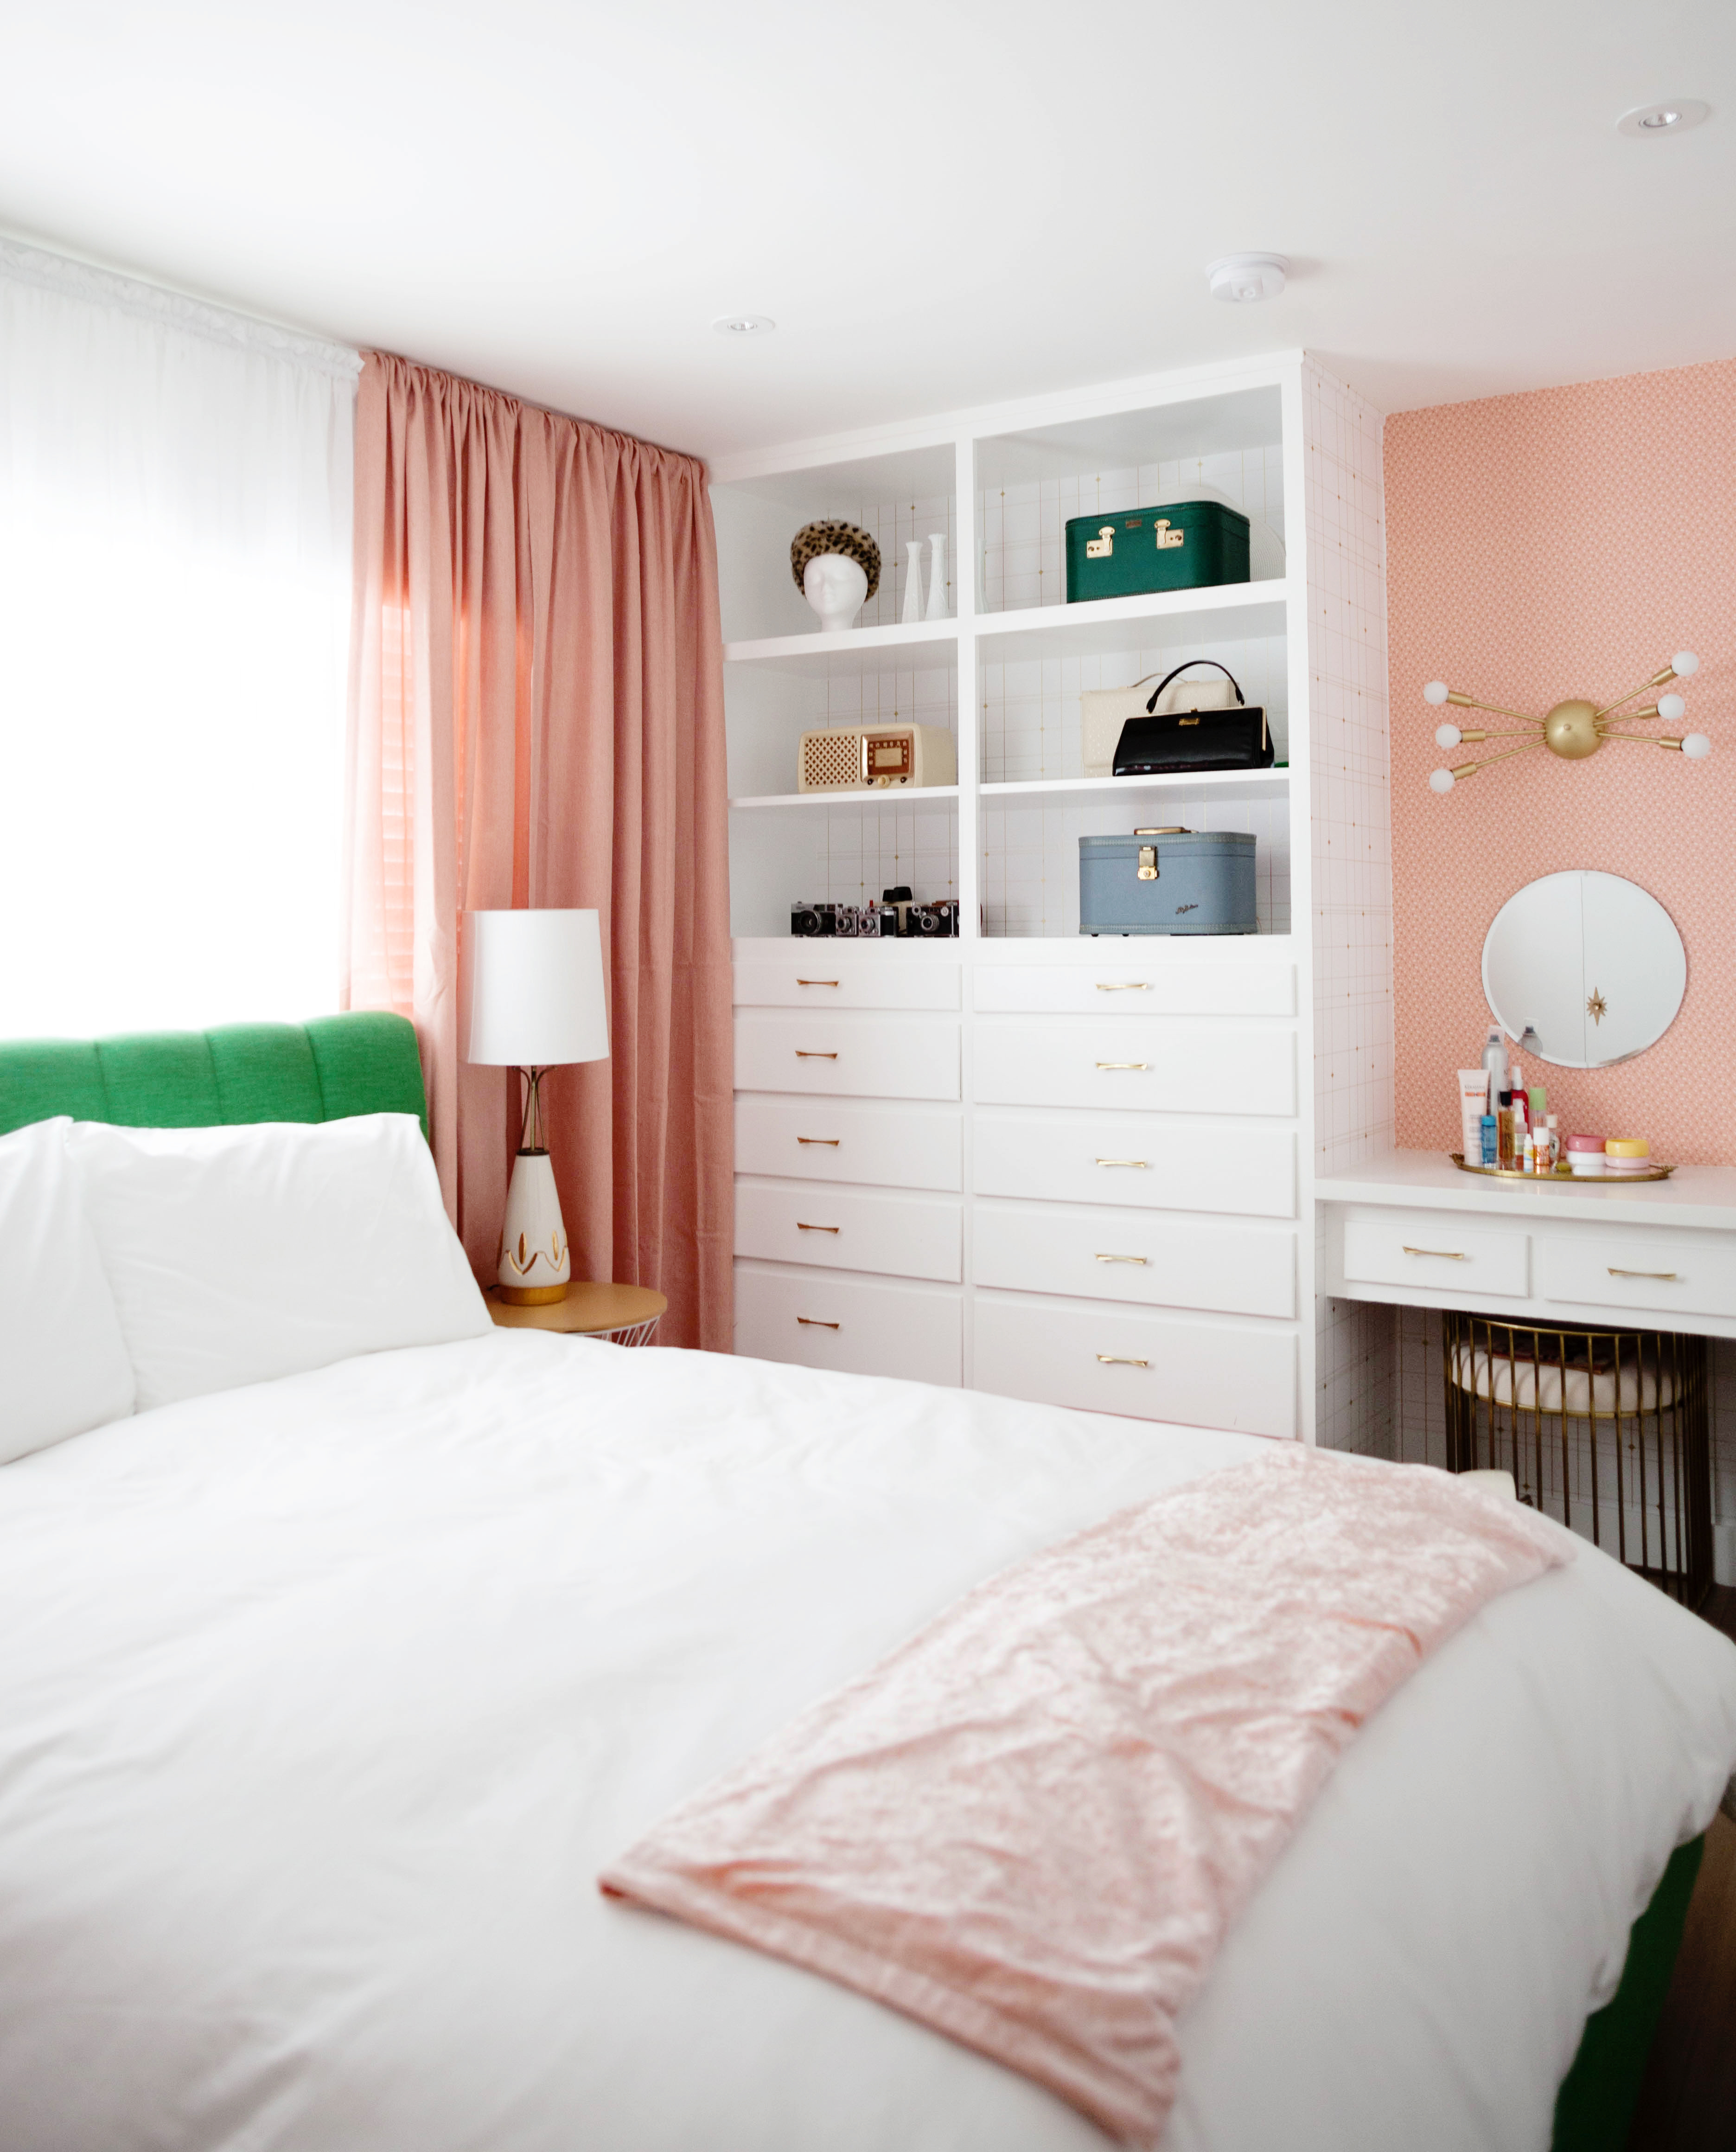
 I installed a beautiful
 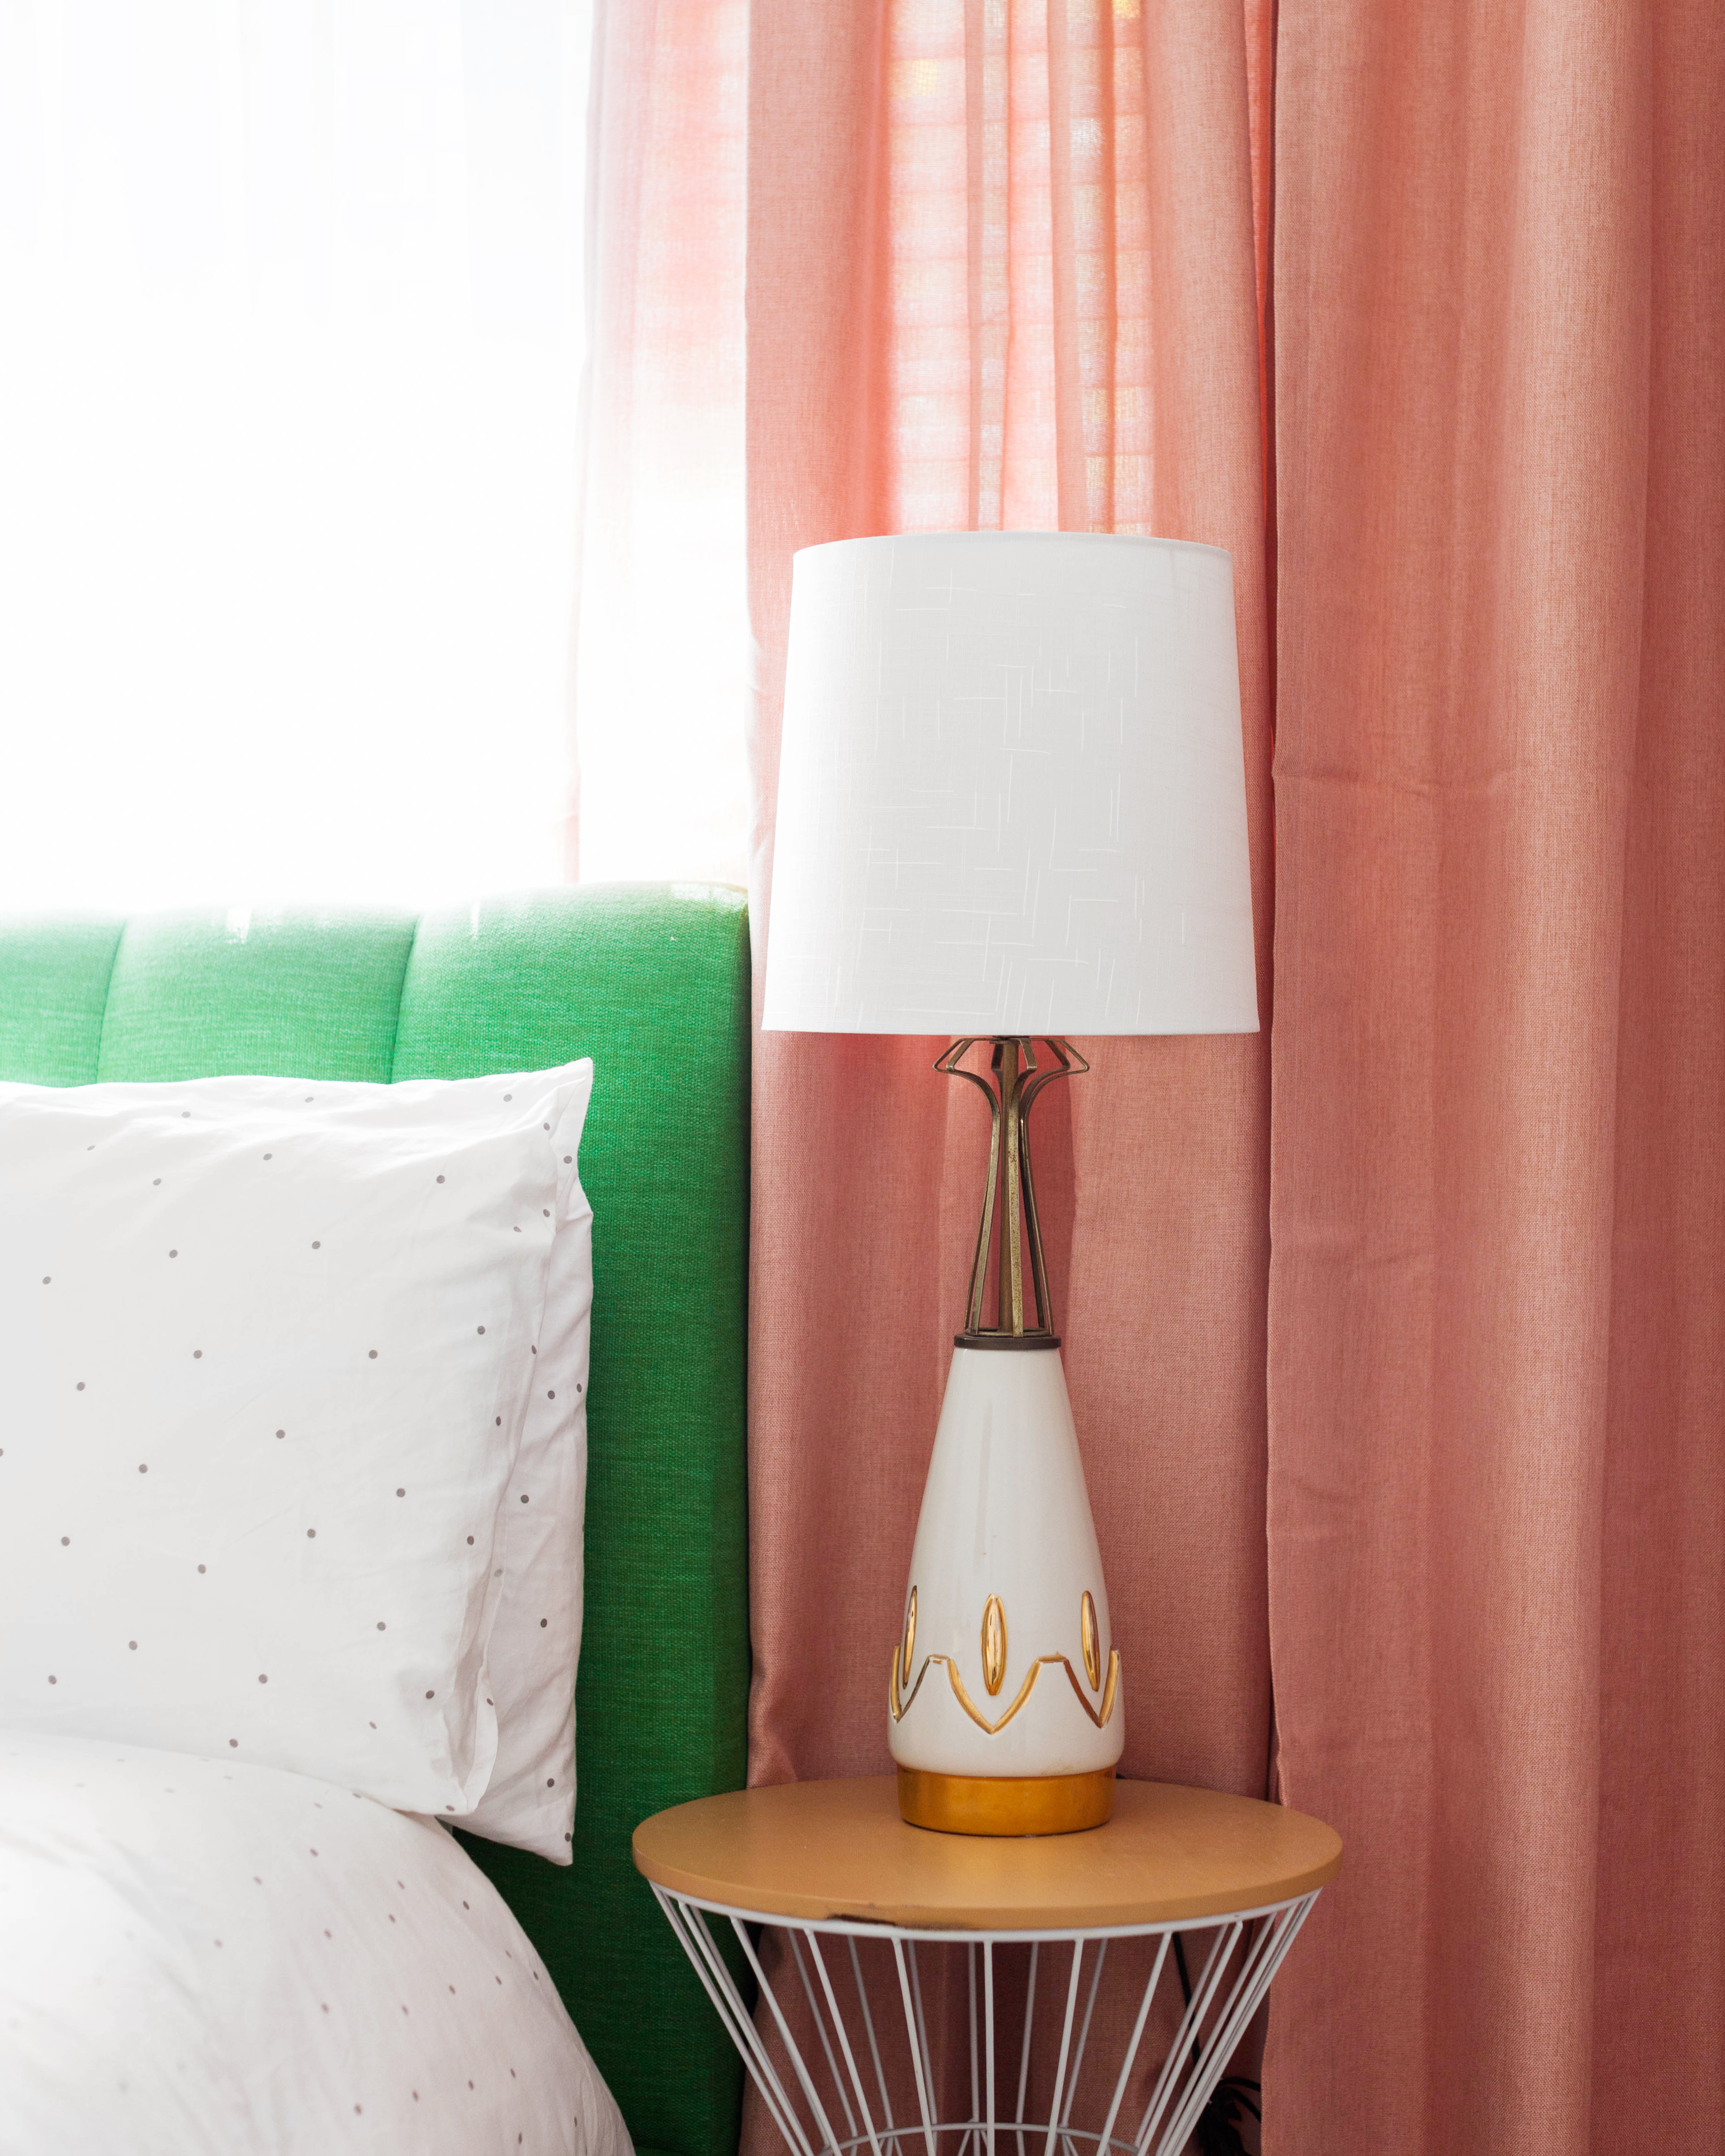 Lamps are a vintage find from Etsy! Shades are from the Project 62 line at Target.
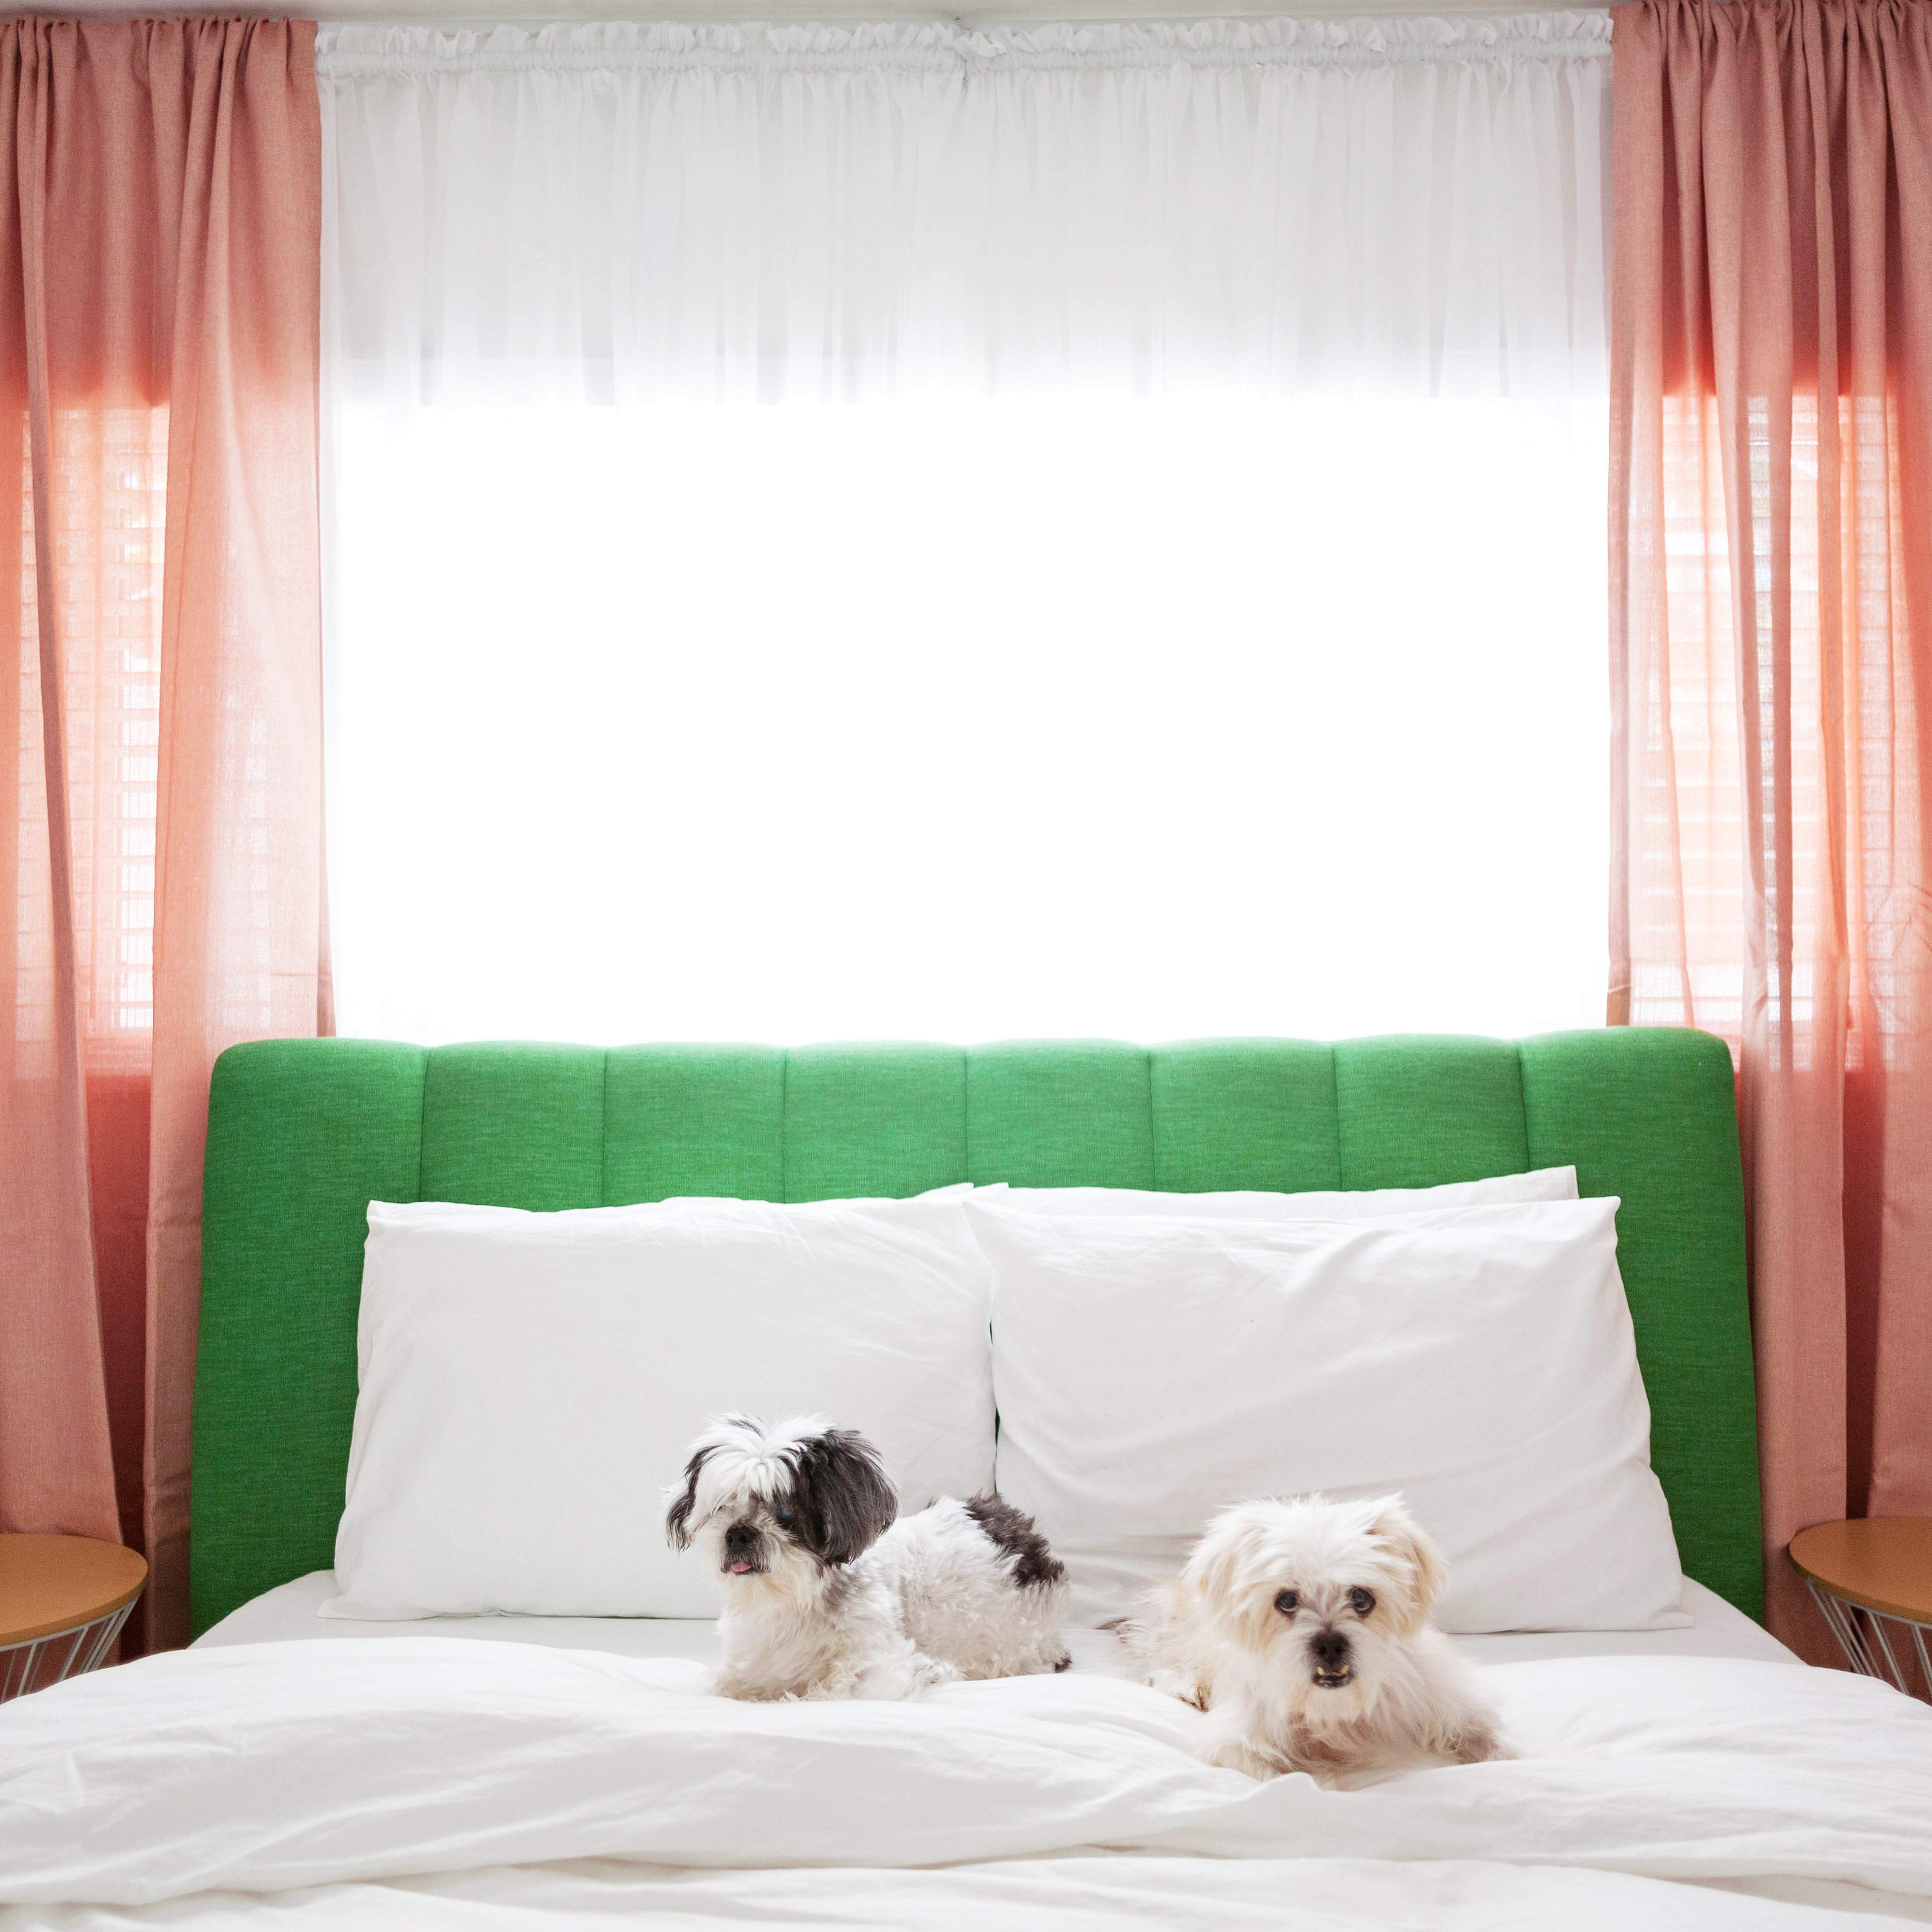
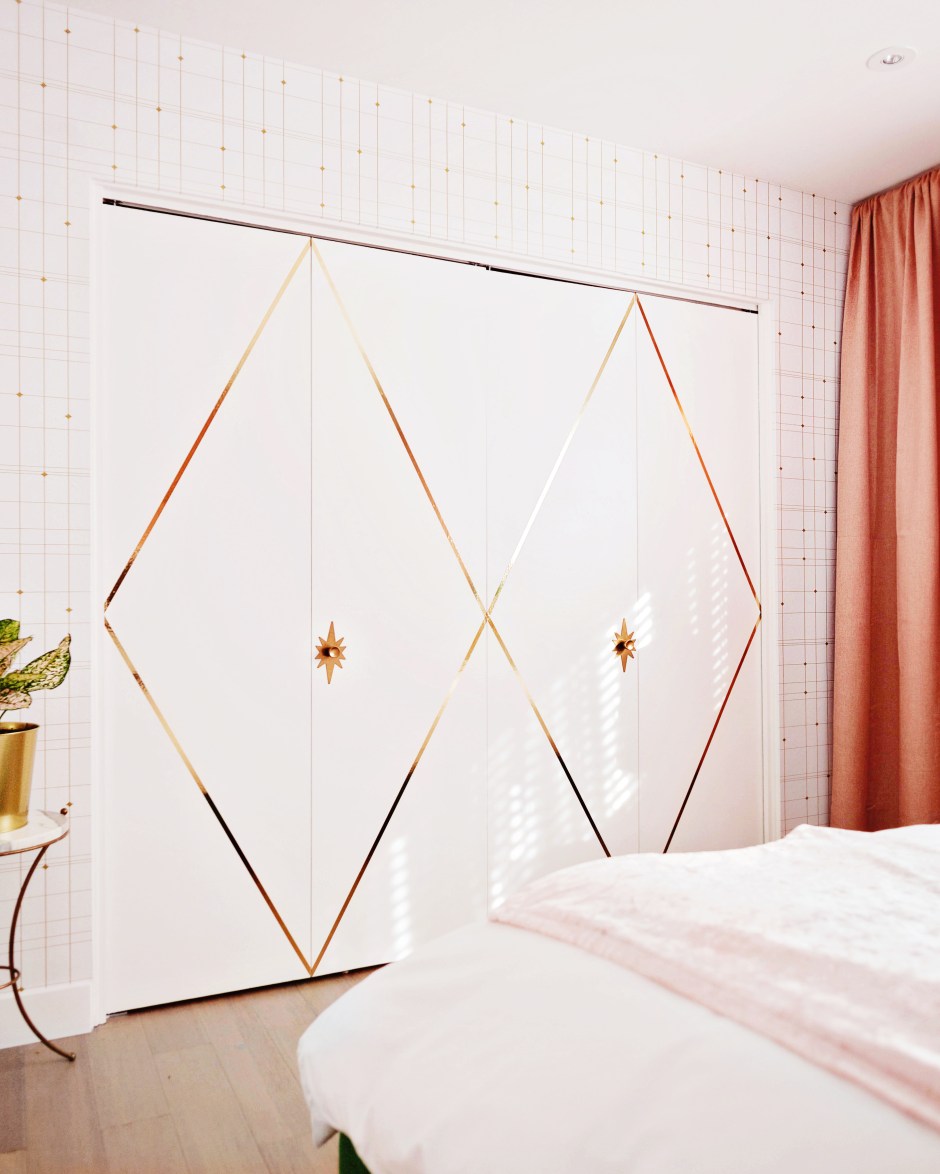
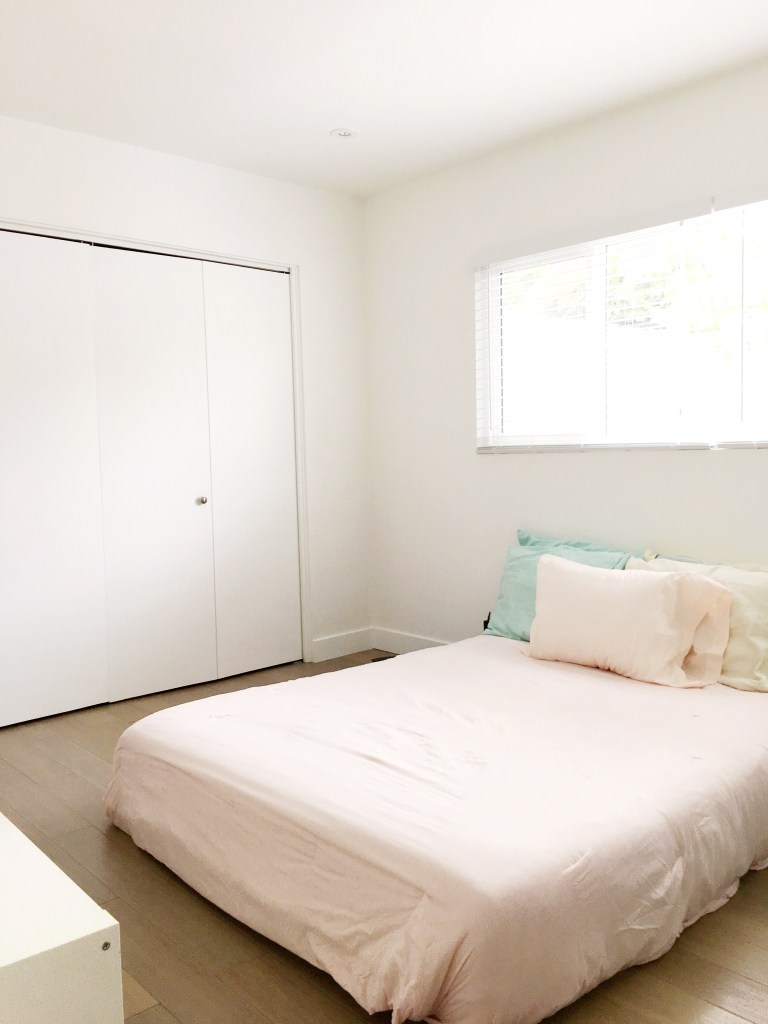
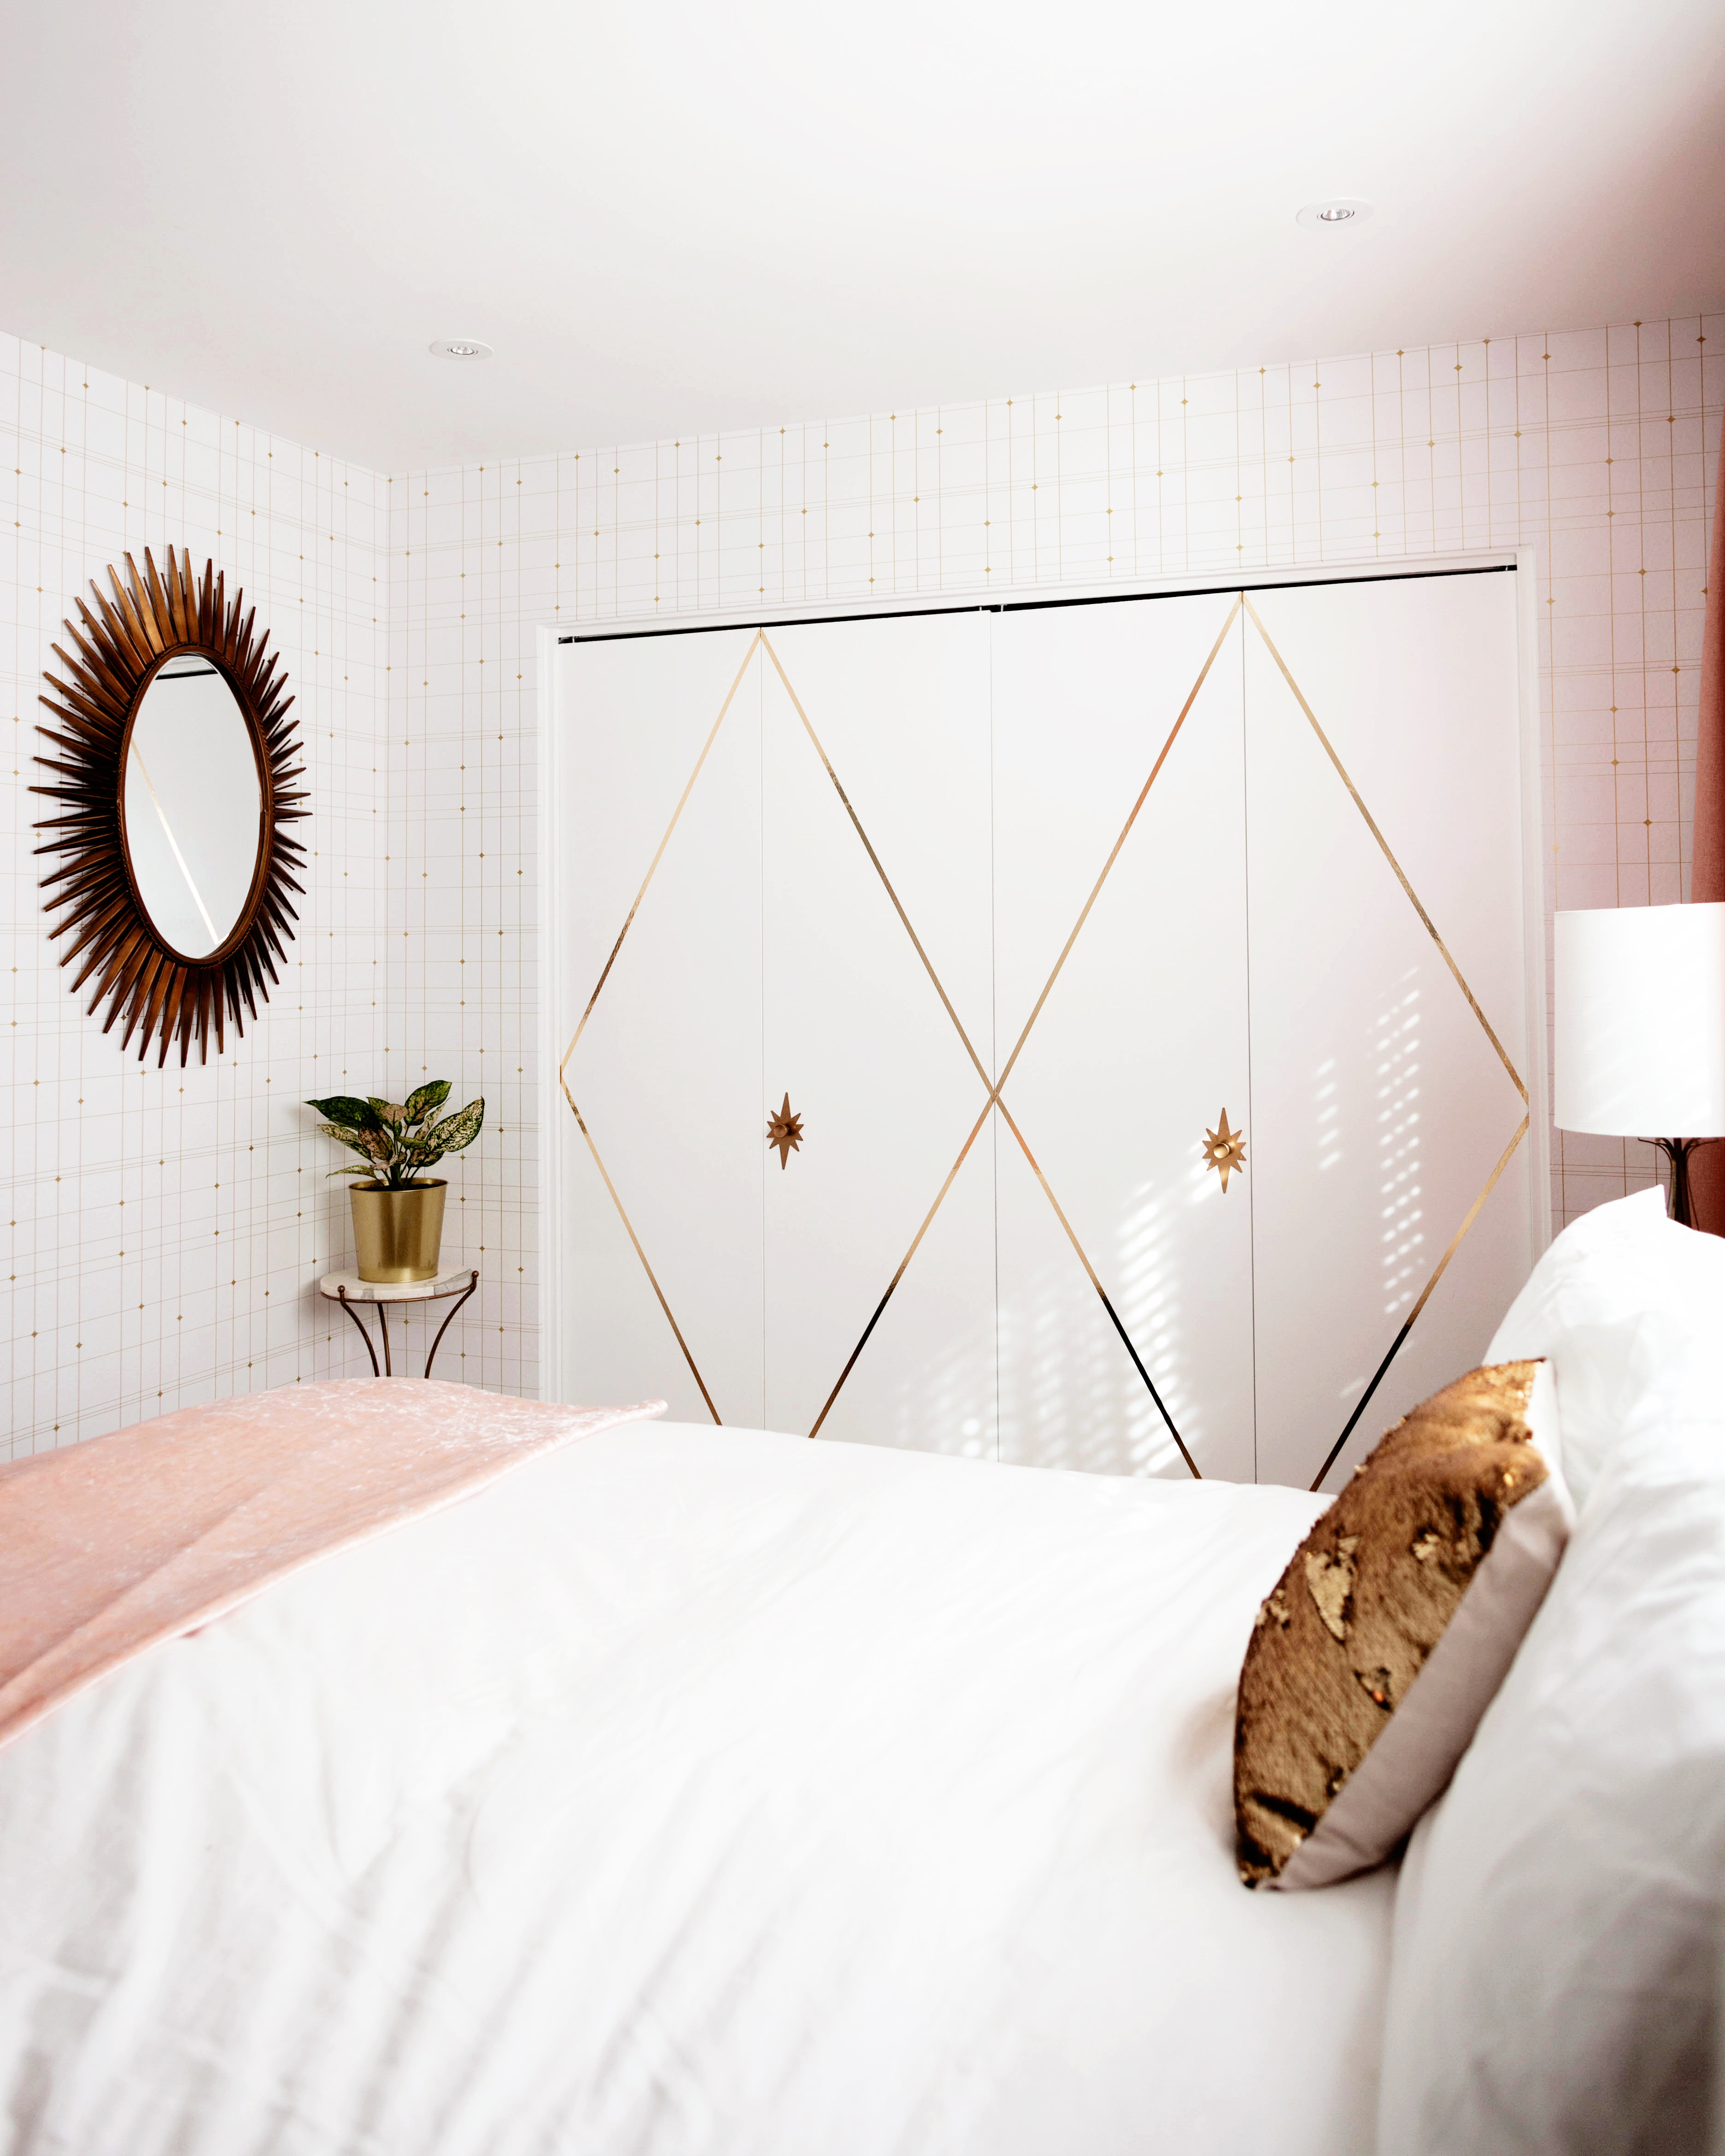 We had our tv mounted in front of the bed for our viewing pleasure. To jazz up the boring closet doors I used metallic gold tape and changed the knobs out to starburst ones from Etsy. The oval starburst
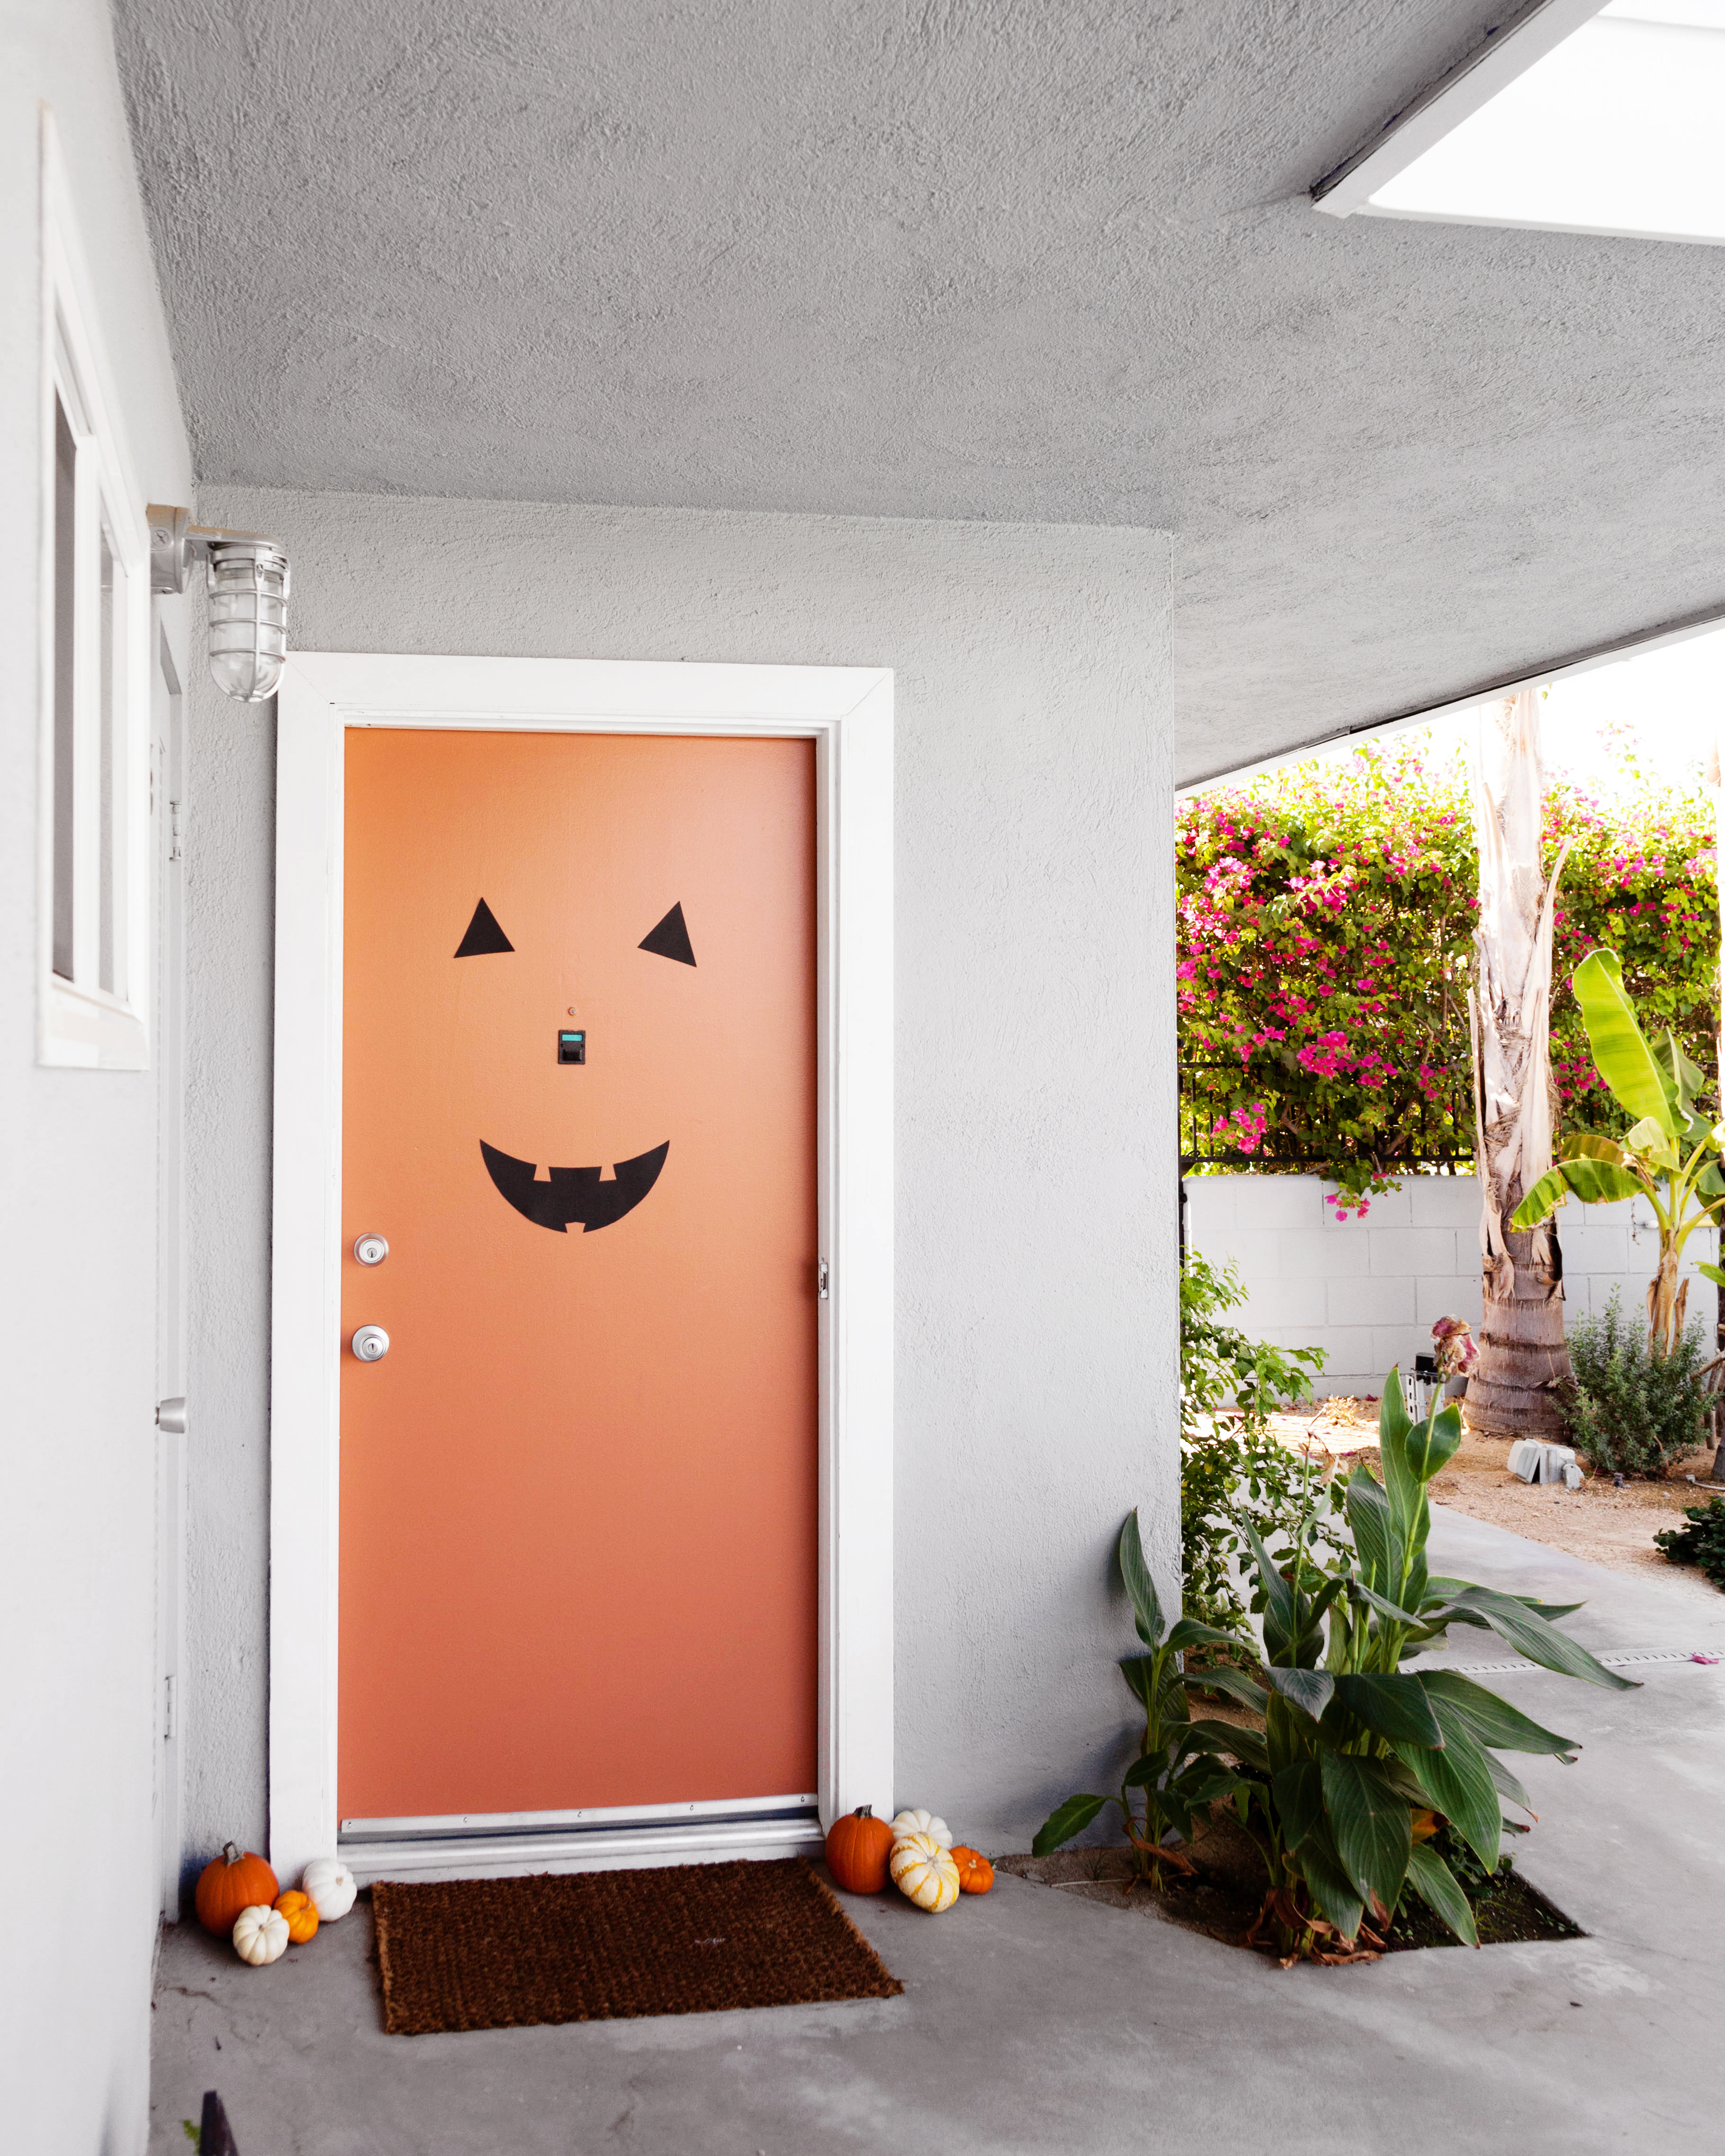 We have an orange front door and I couldn’t let that go to waste! I used black construction paper cutouts and taped them to the door to create a Jack o’ lantern face.
  I added a few pumpkins and a few tombstones from the dollar store.
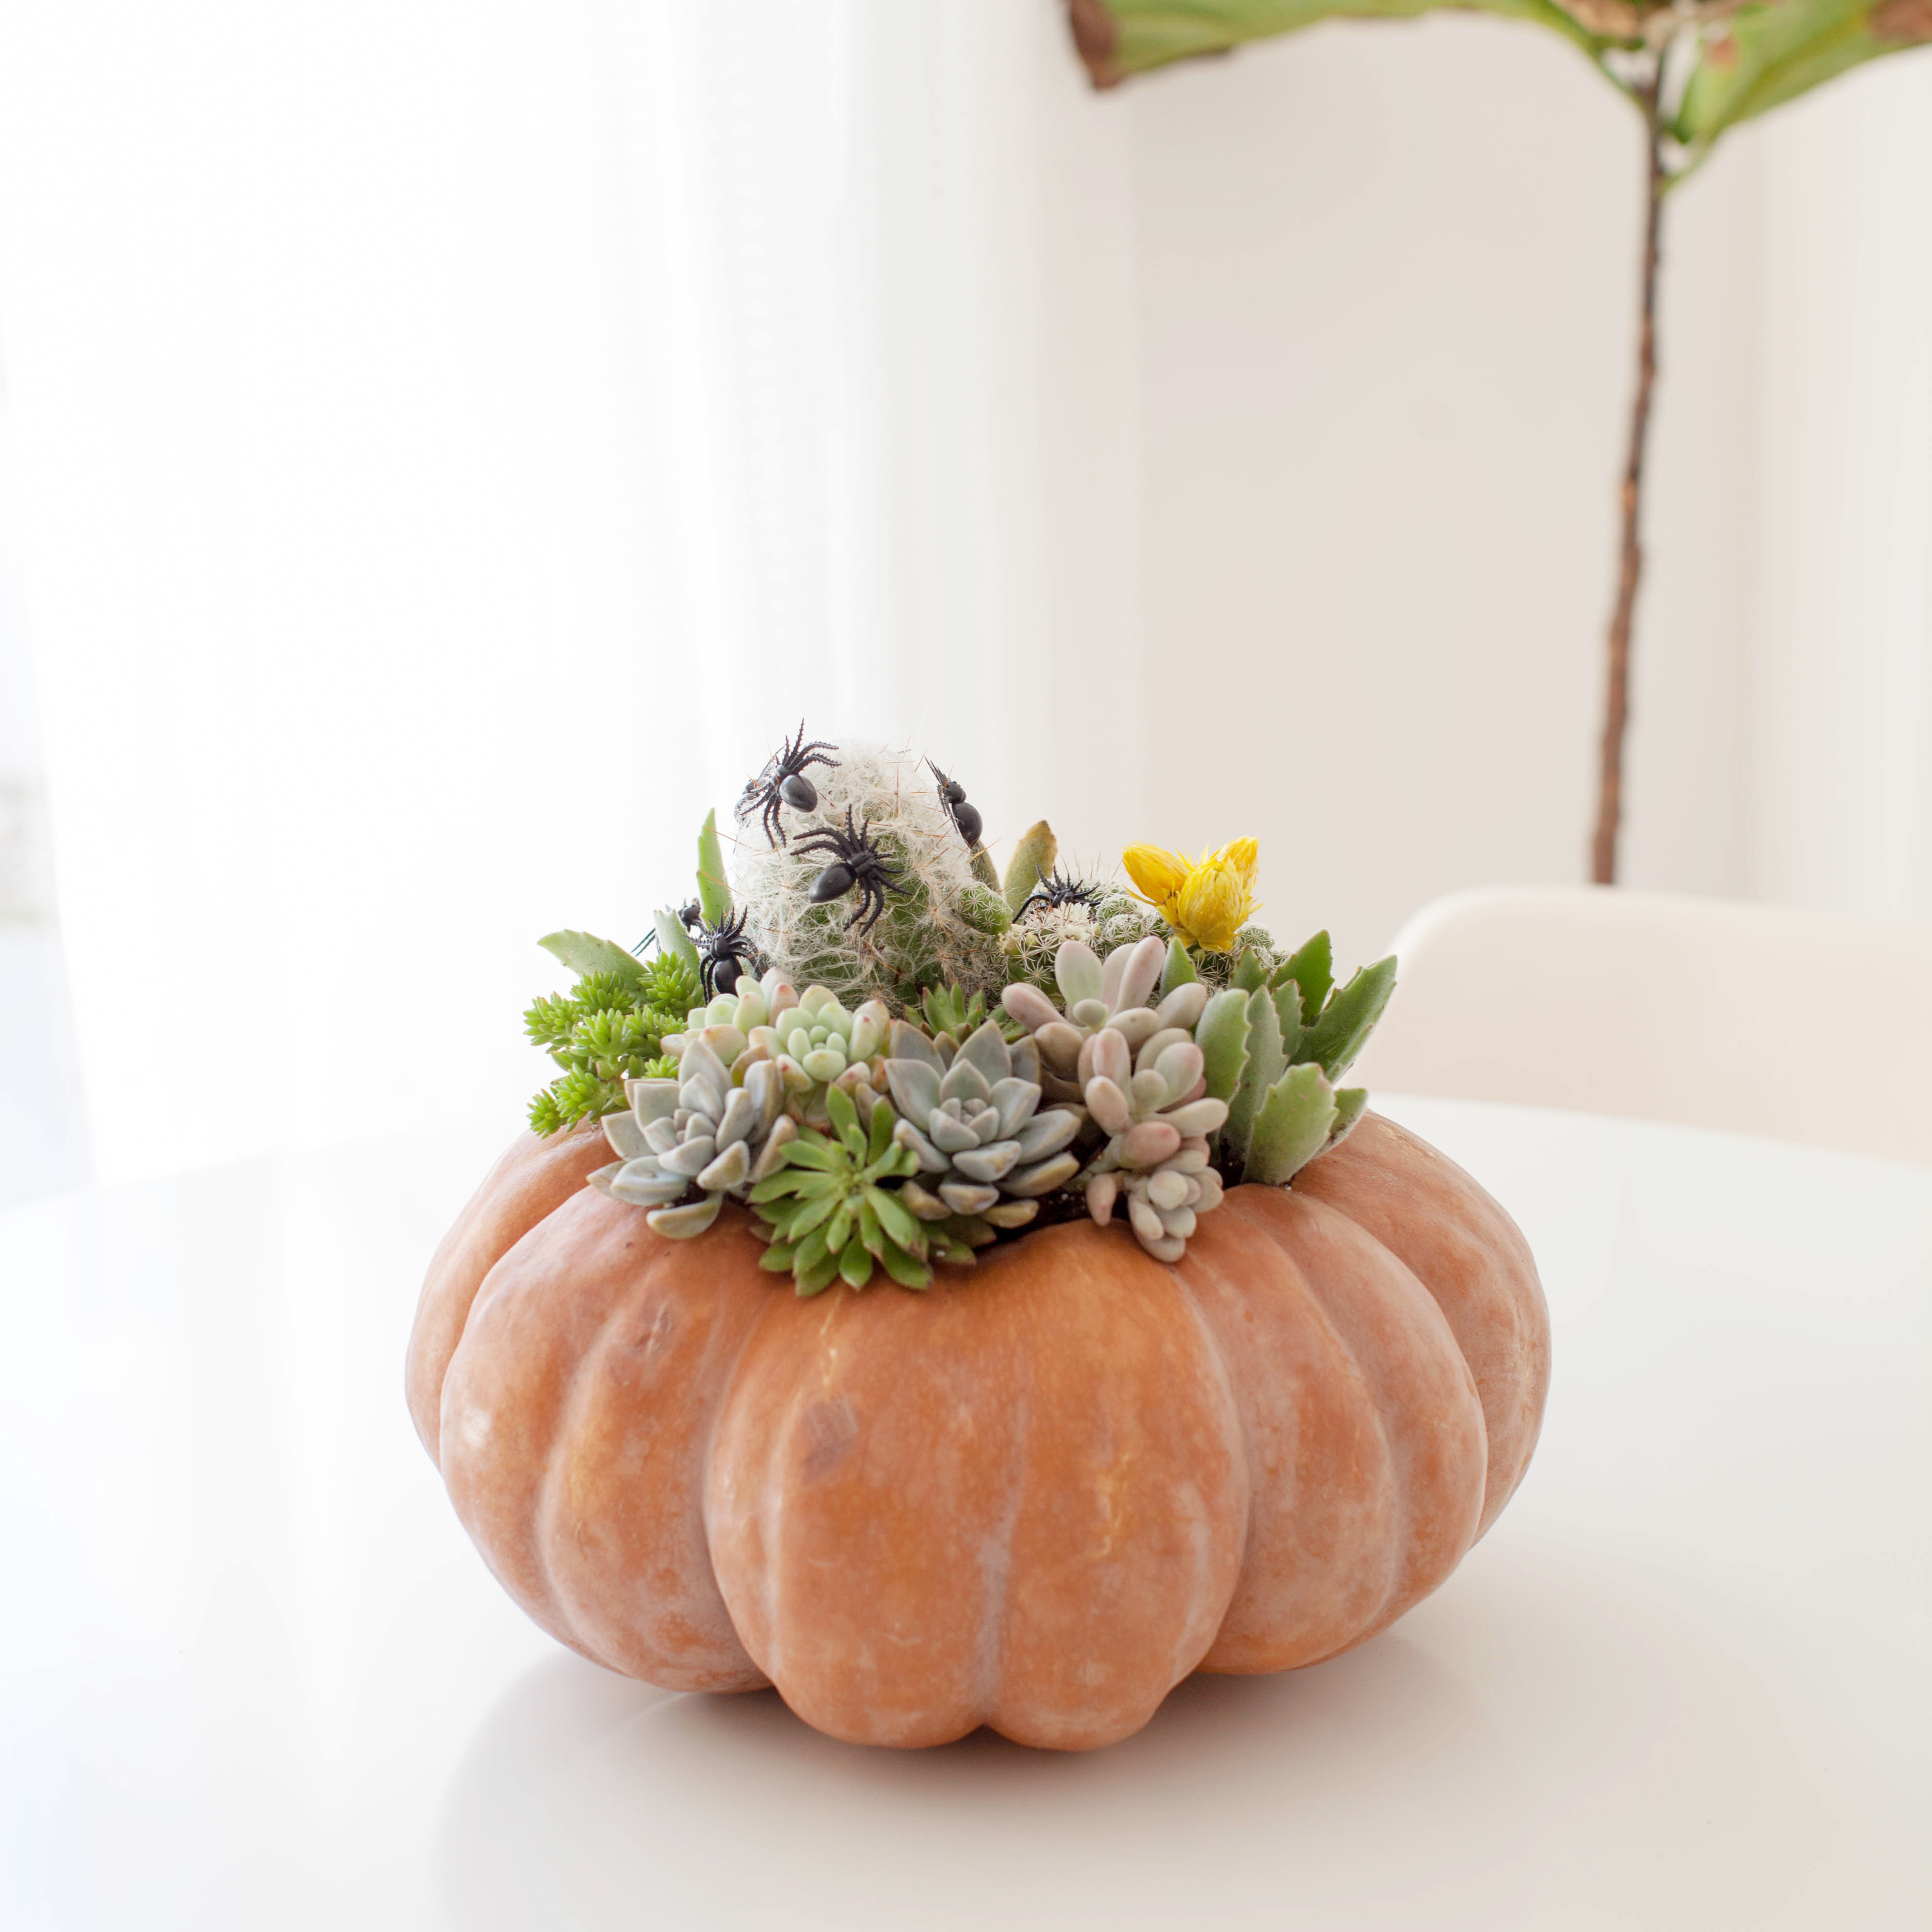
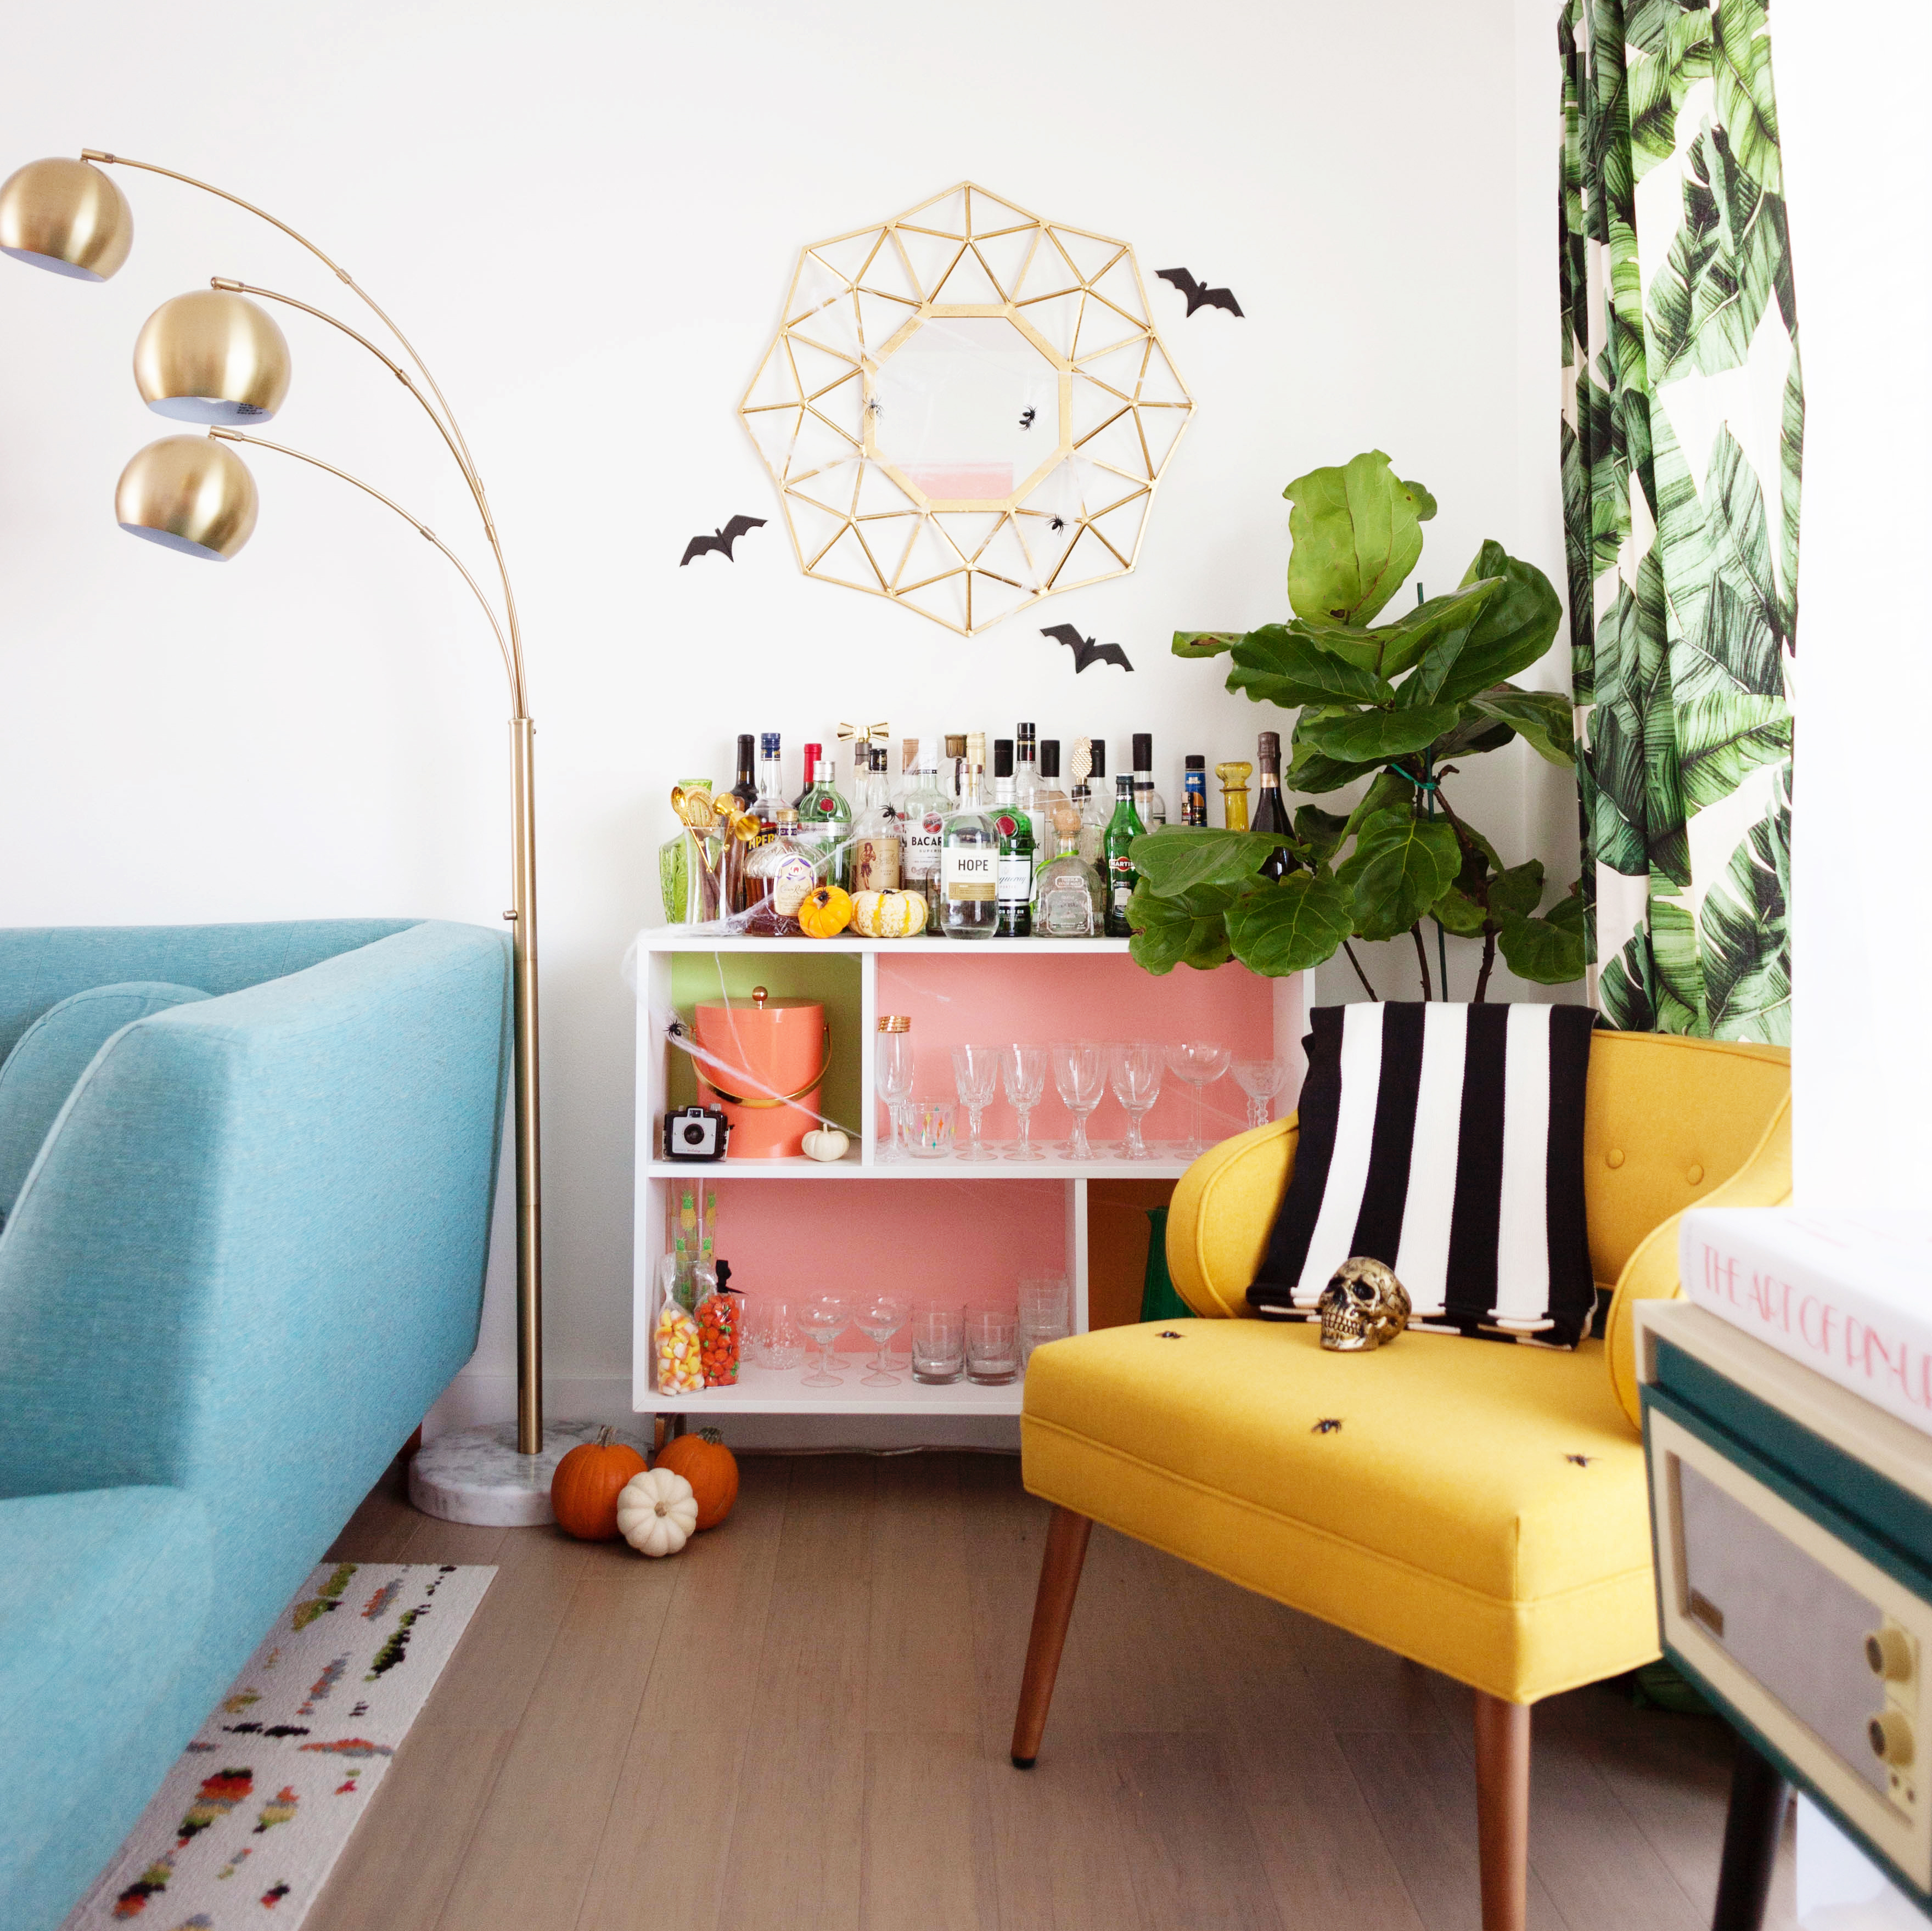 Inside I used spiders, pumpkins, paper bat cutouts, and a few gilded skulls to spook up the place. There are always plenty of spirits around the bar…get it? Spirits HAAA.
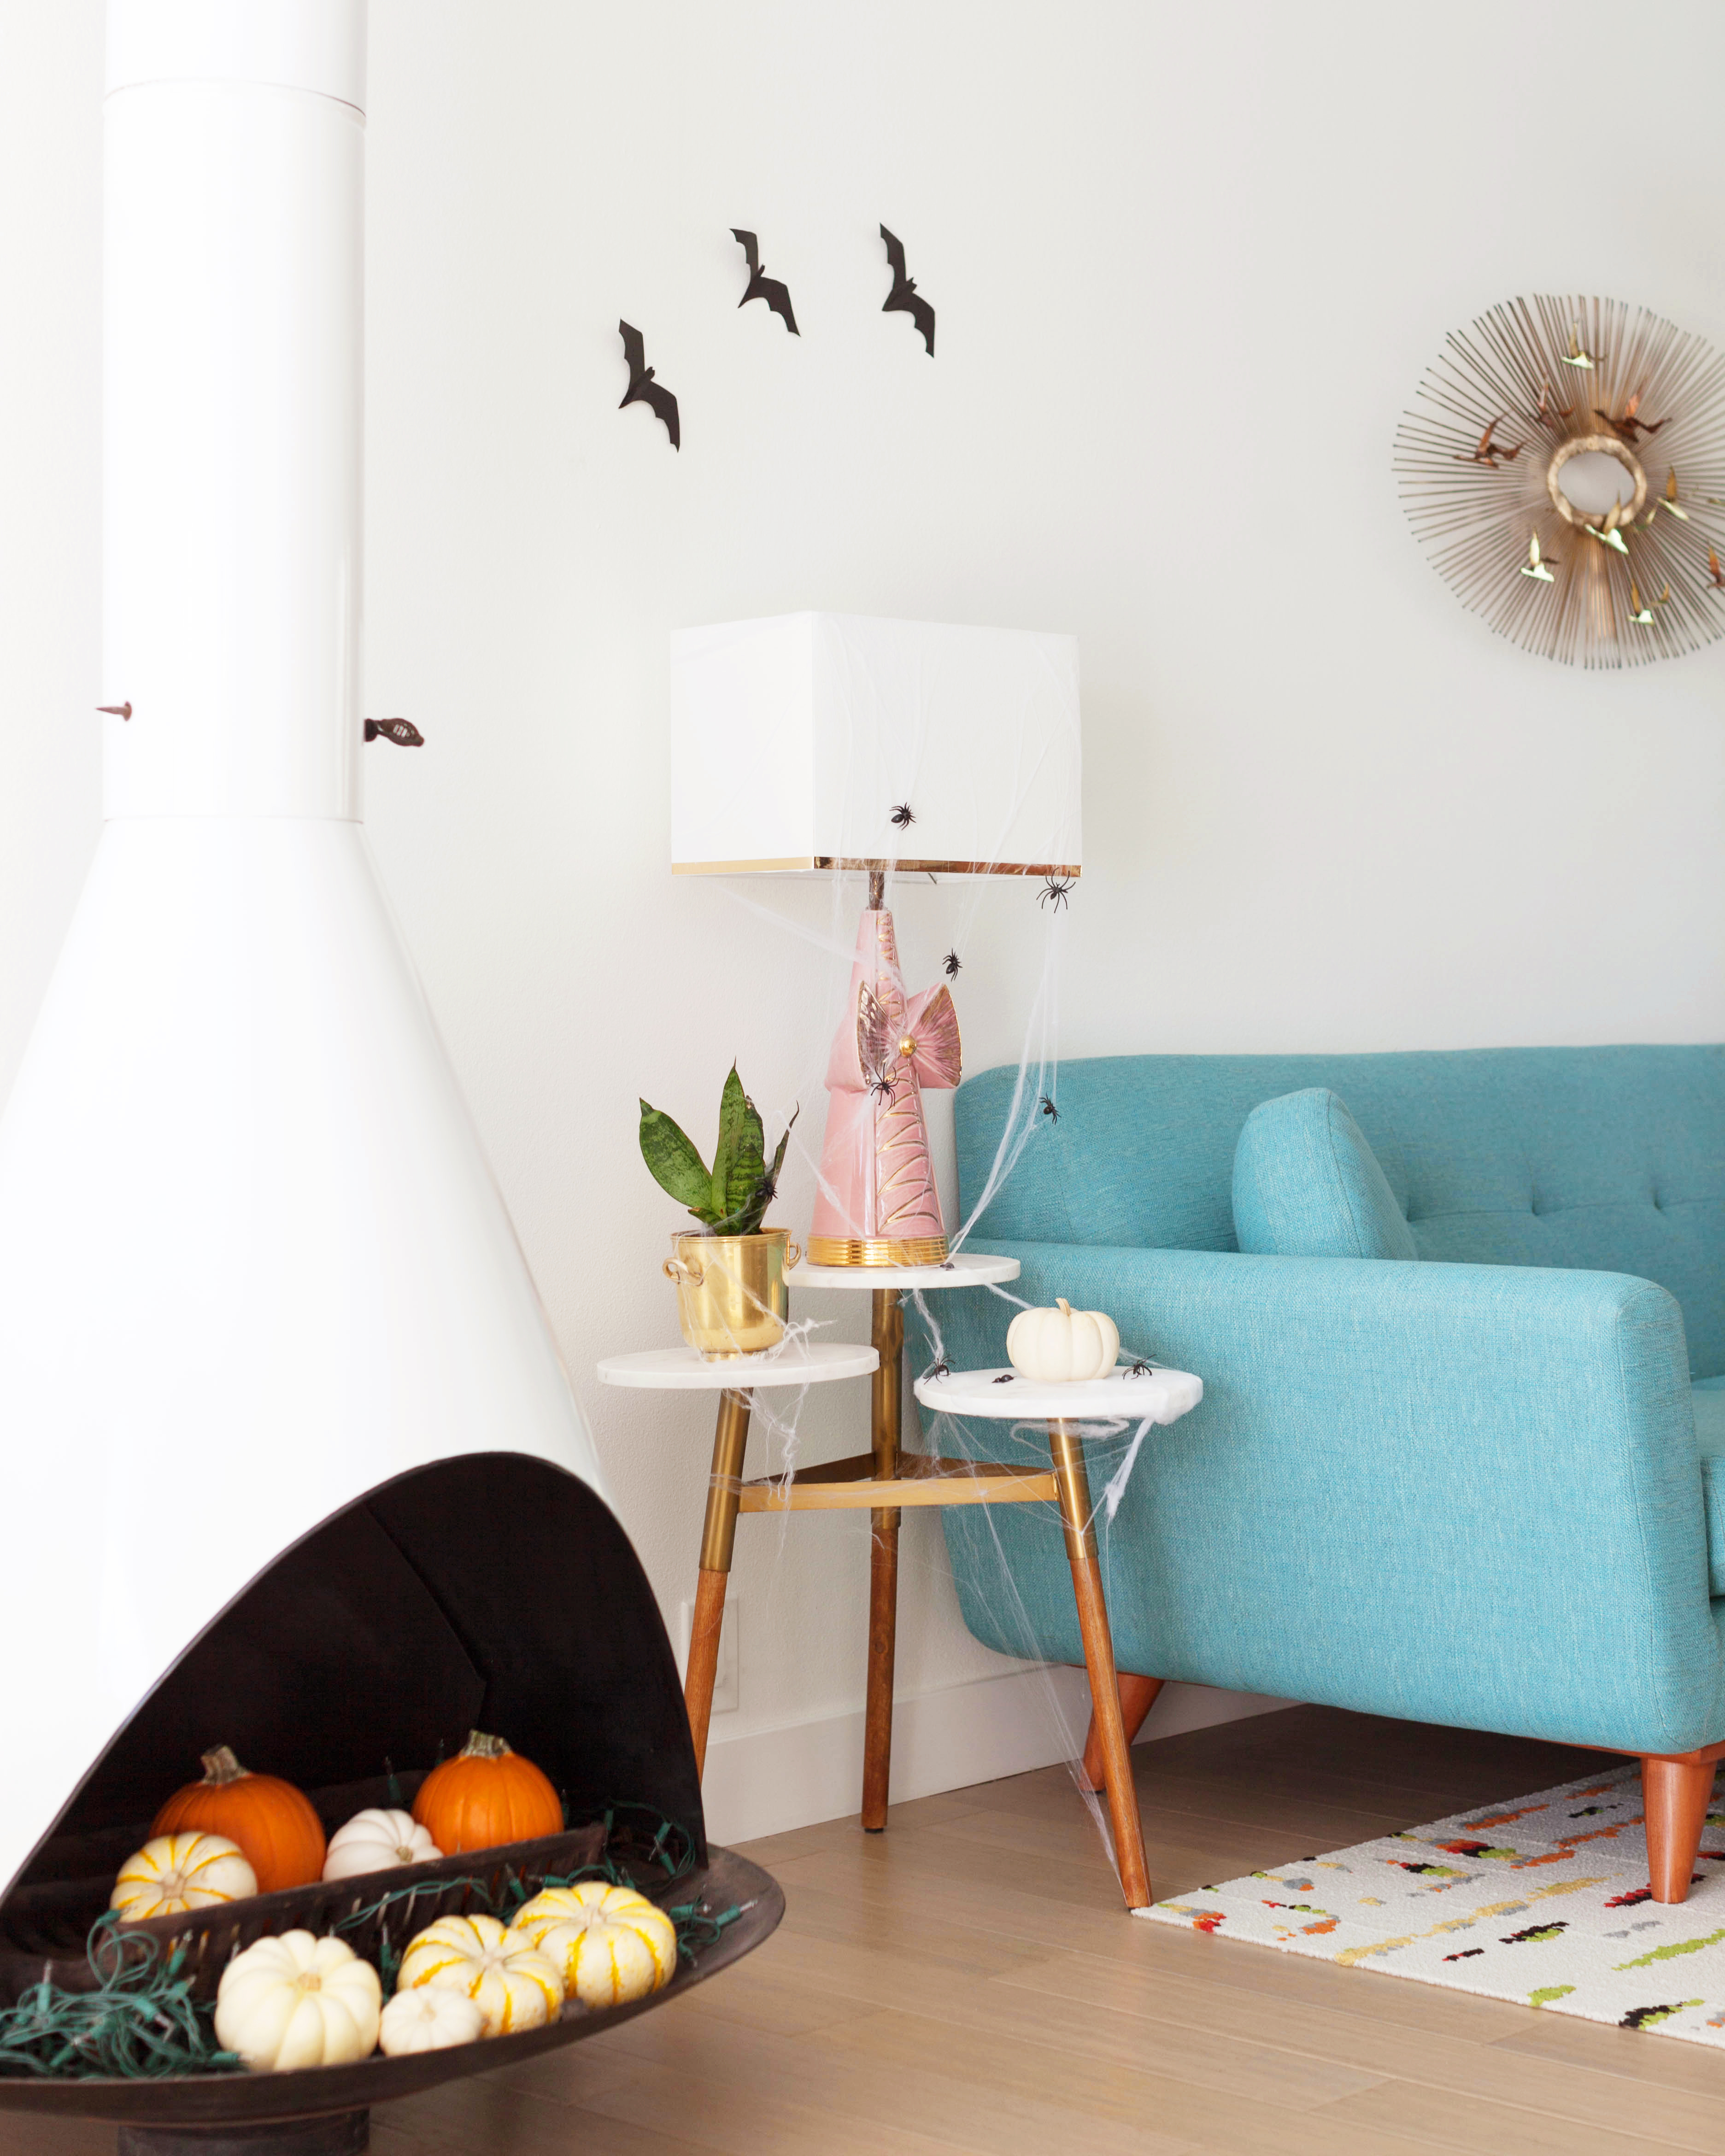 I put pumpkins in the fireplace with string lights, those will be sticking around all season long.
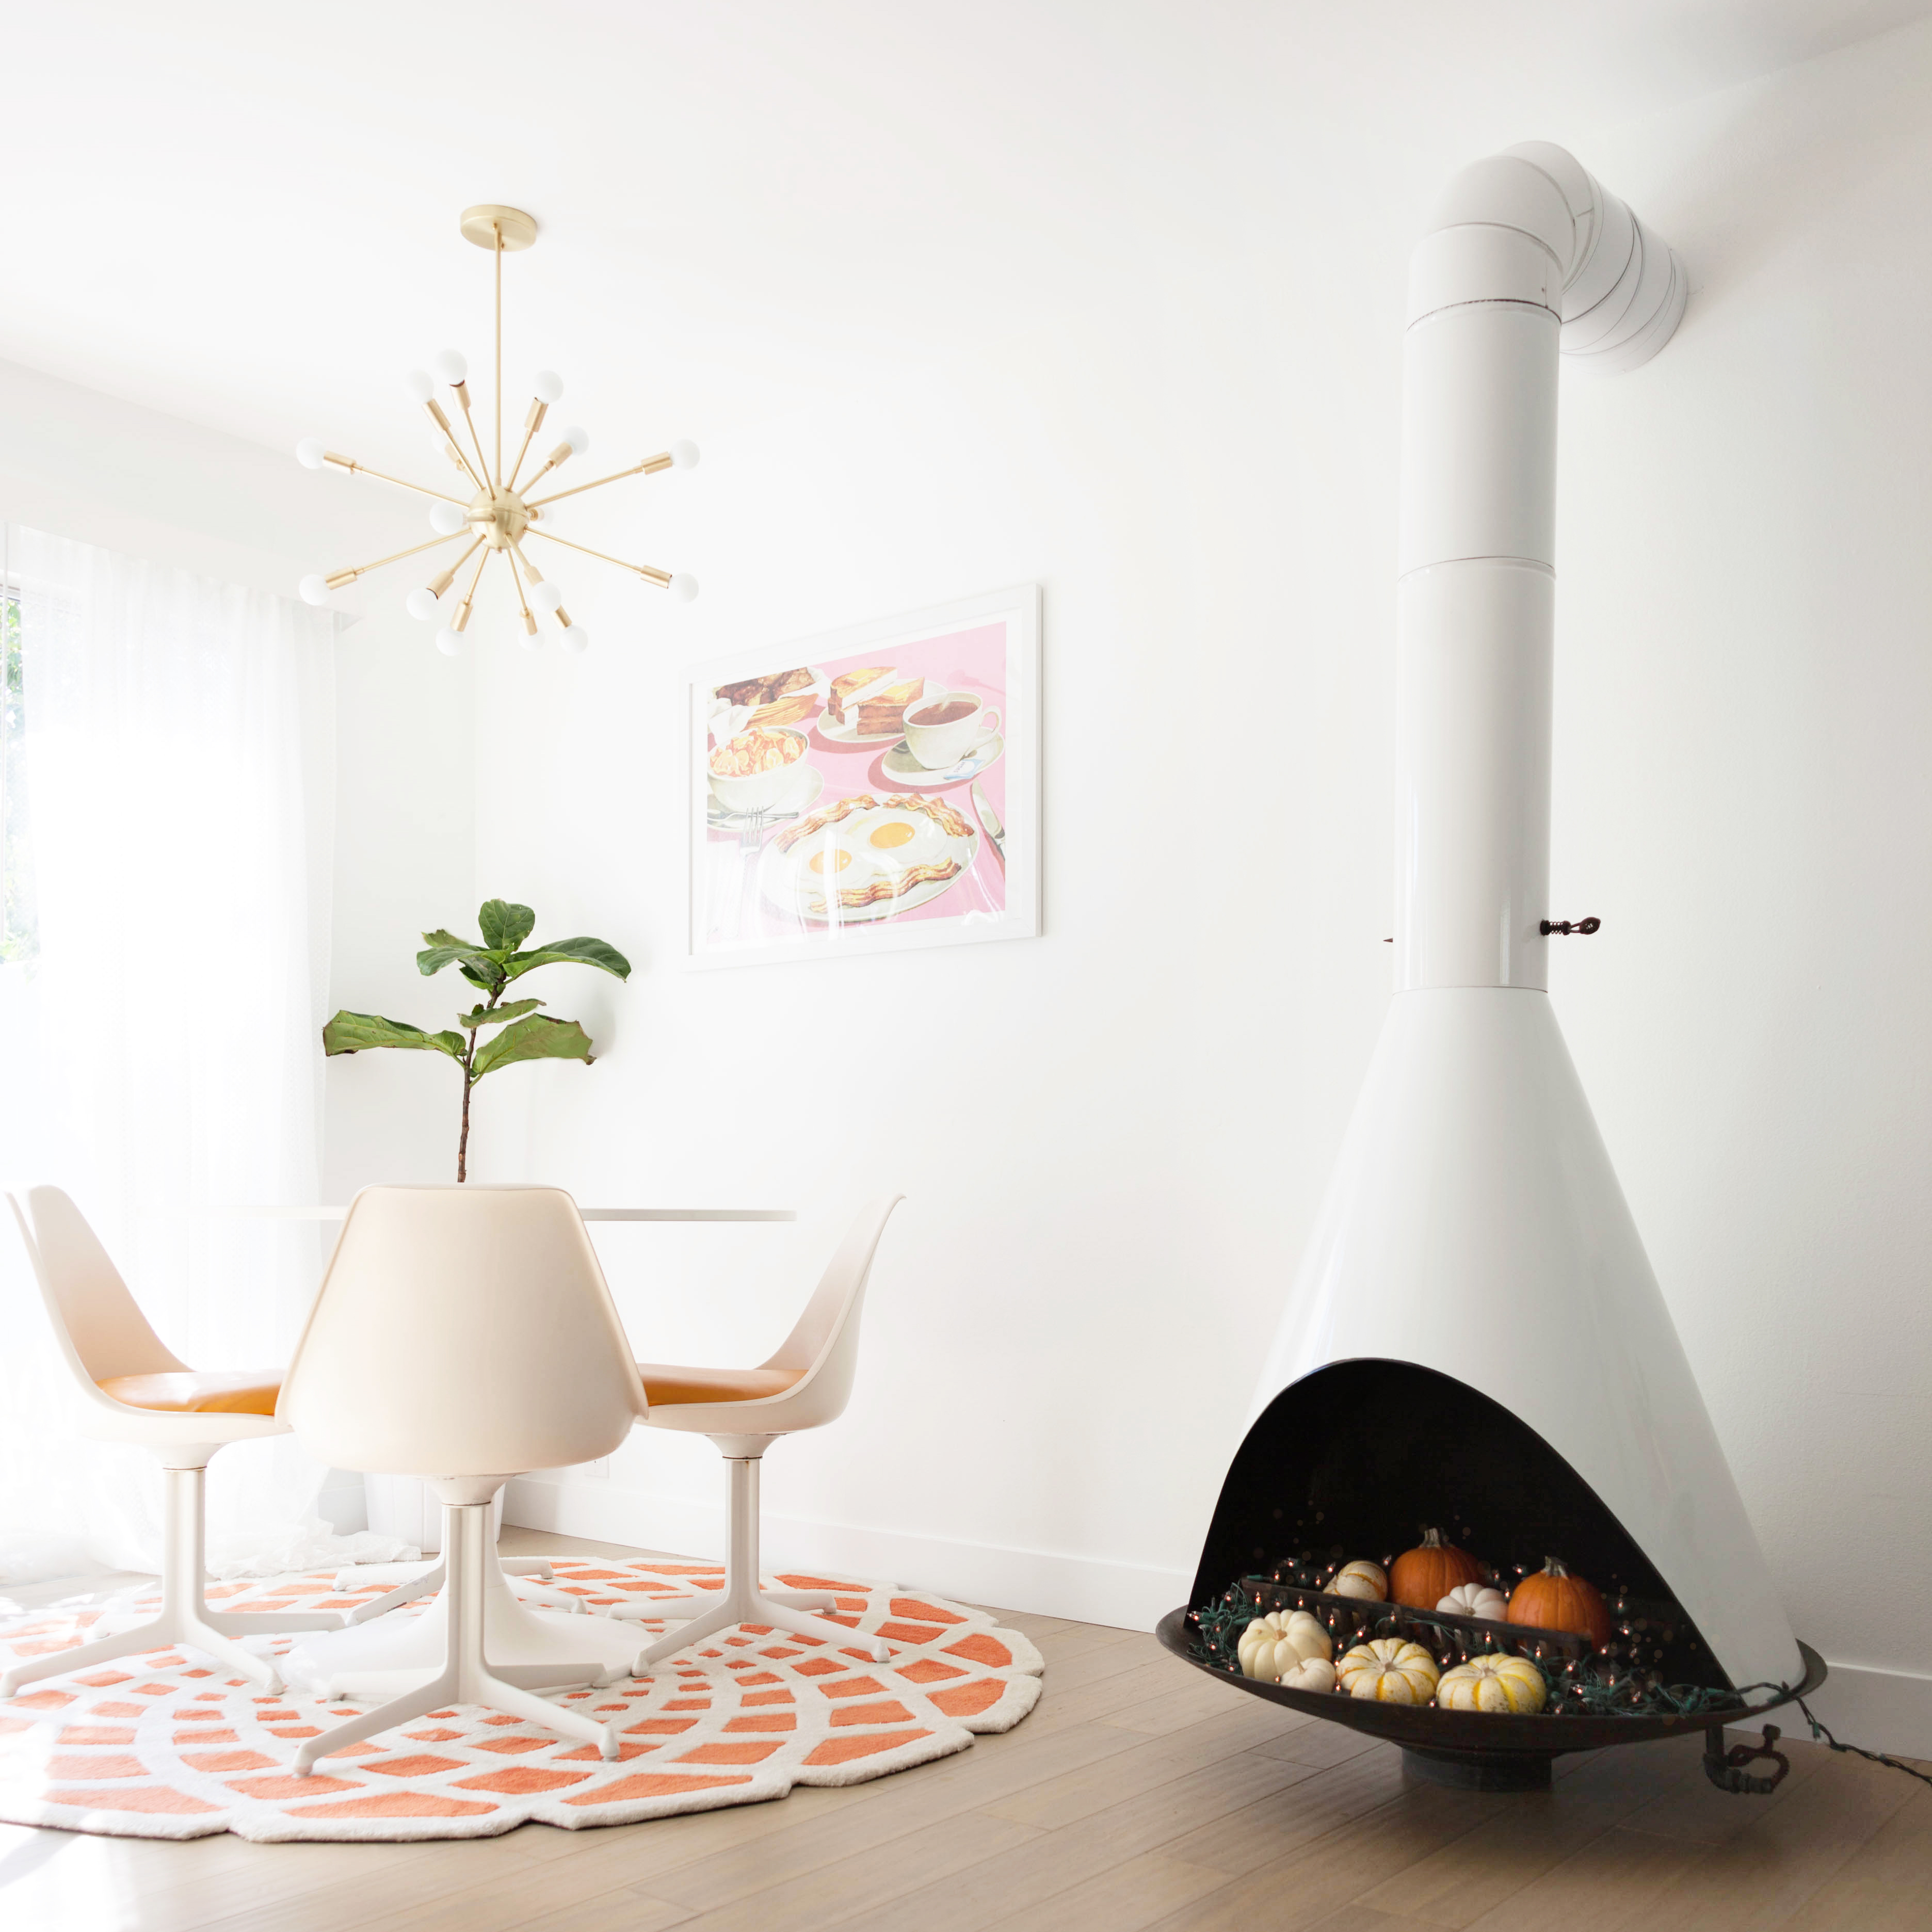
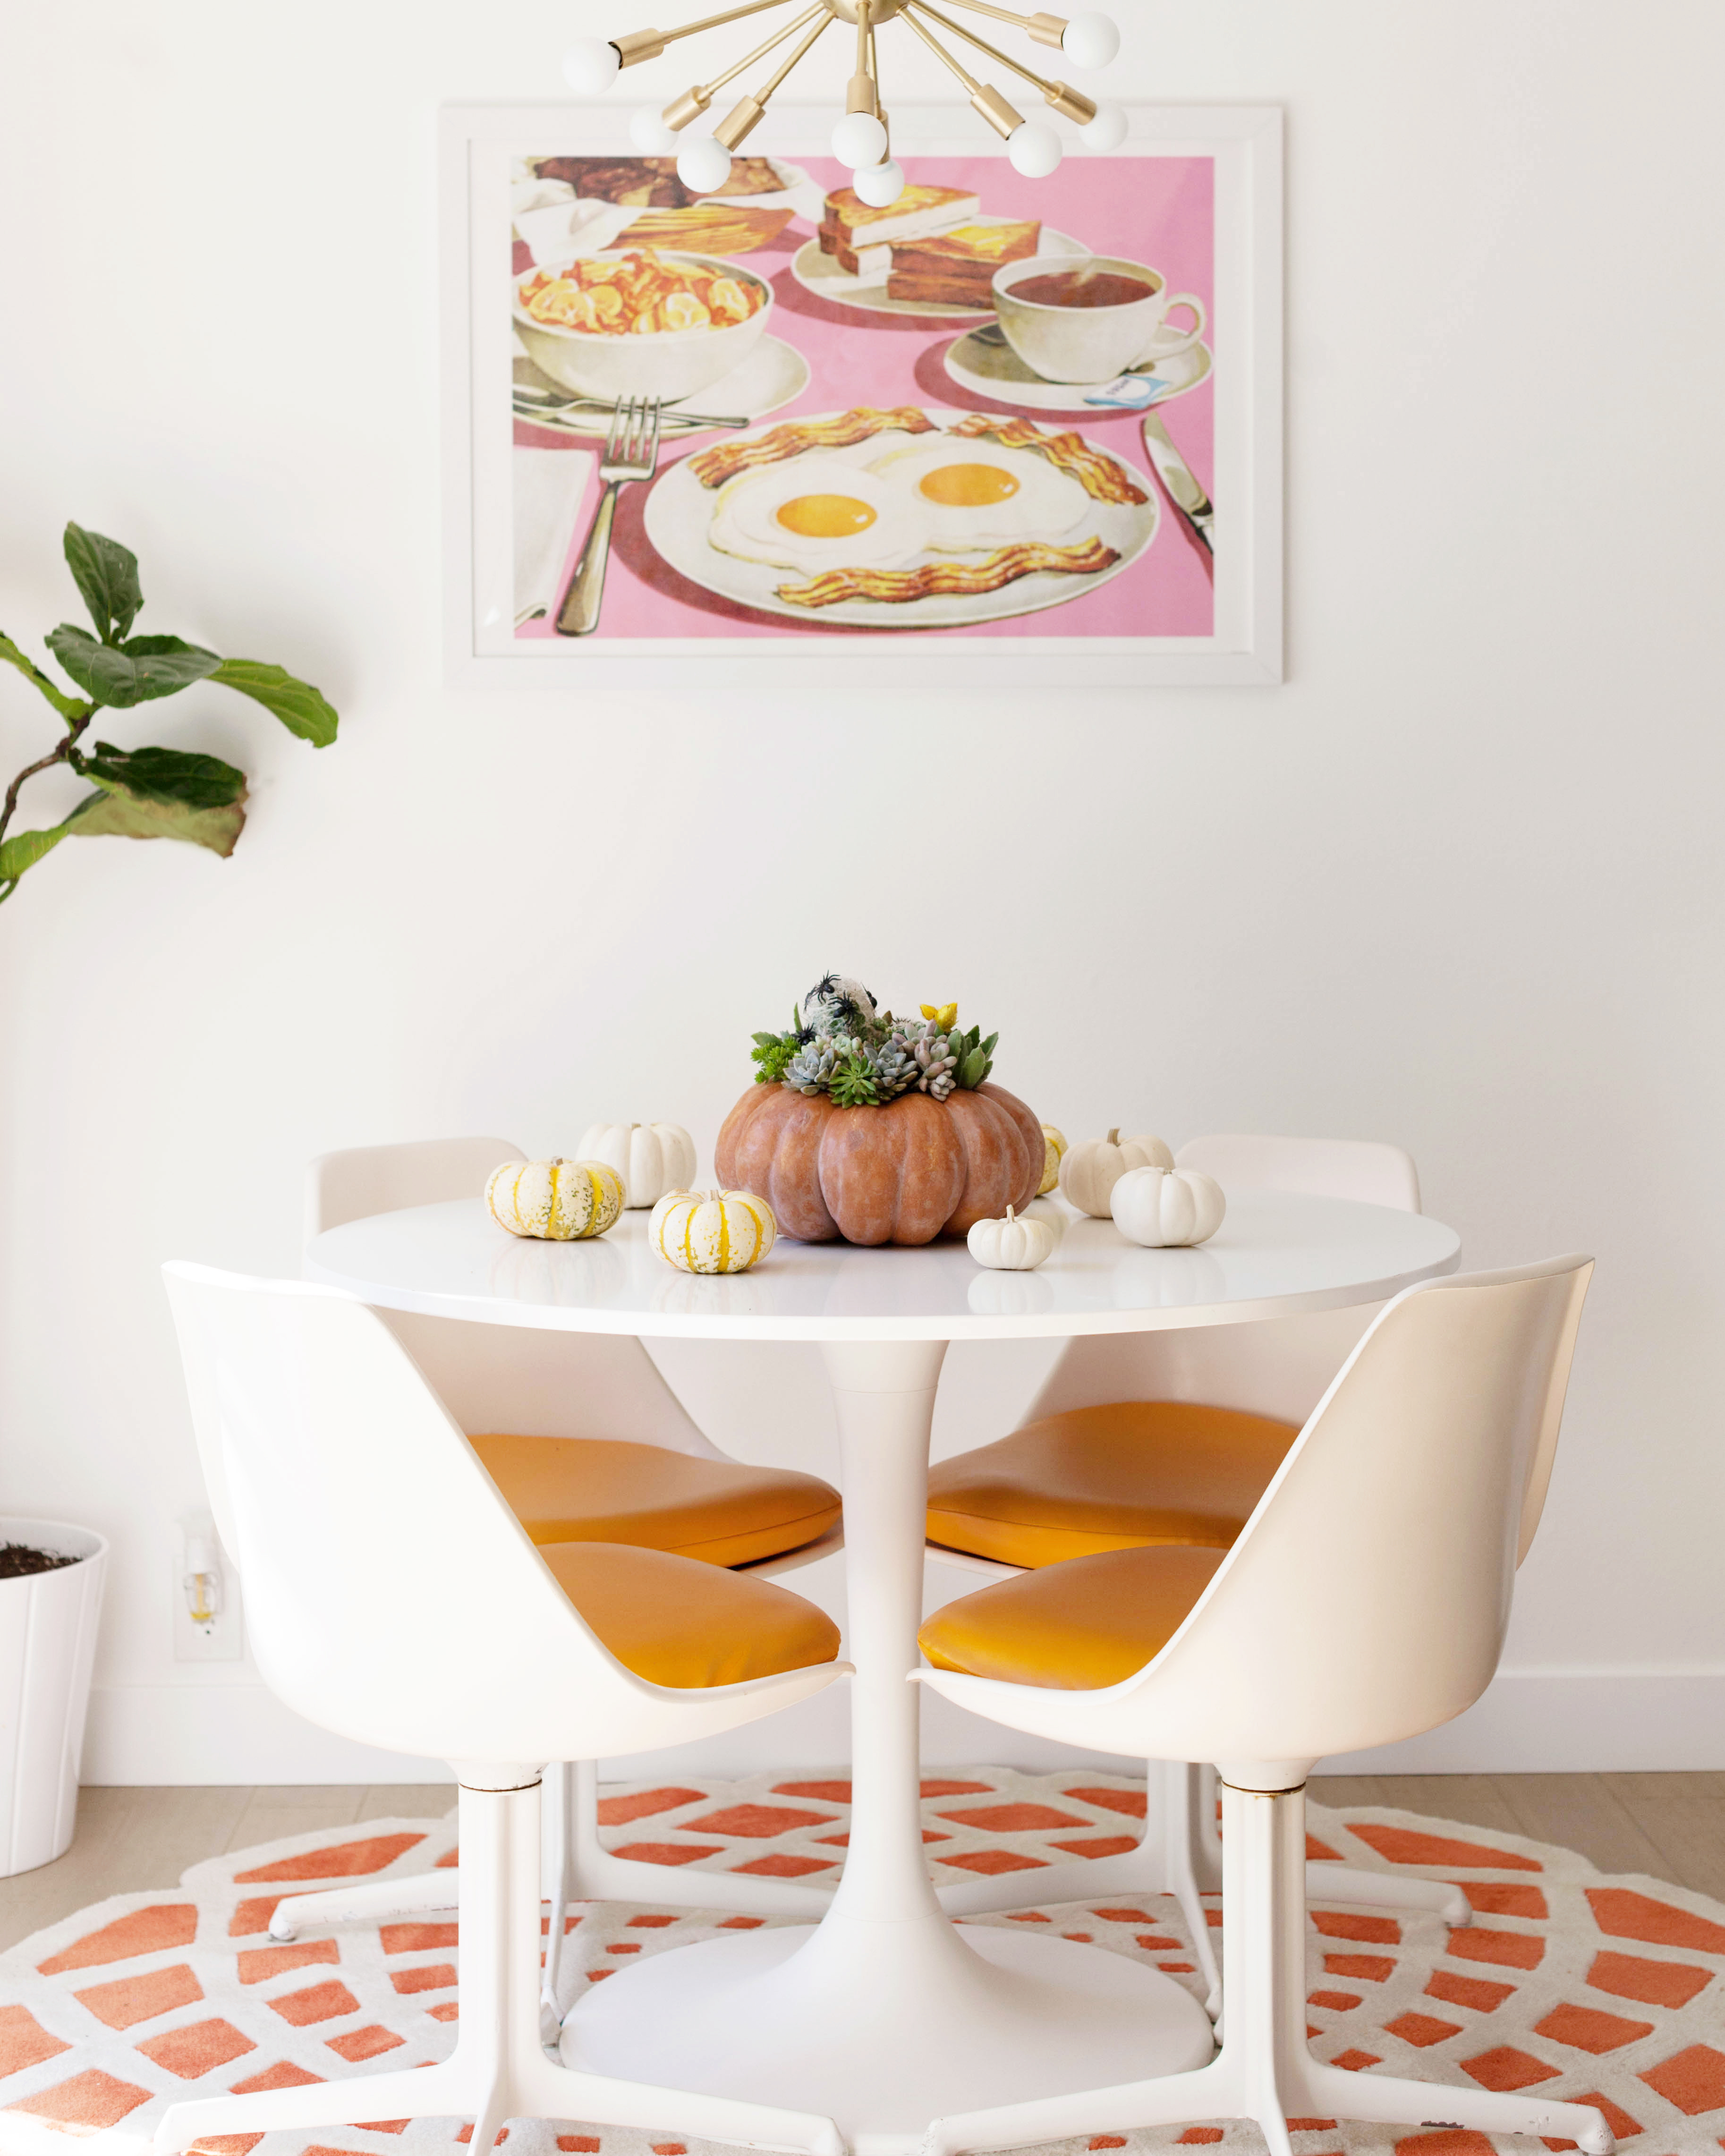

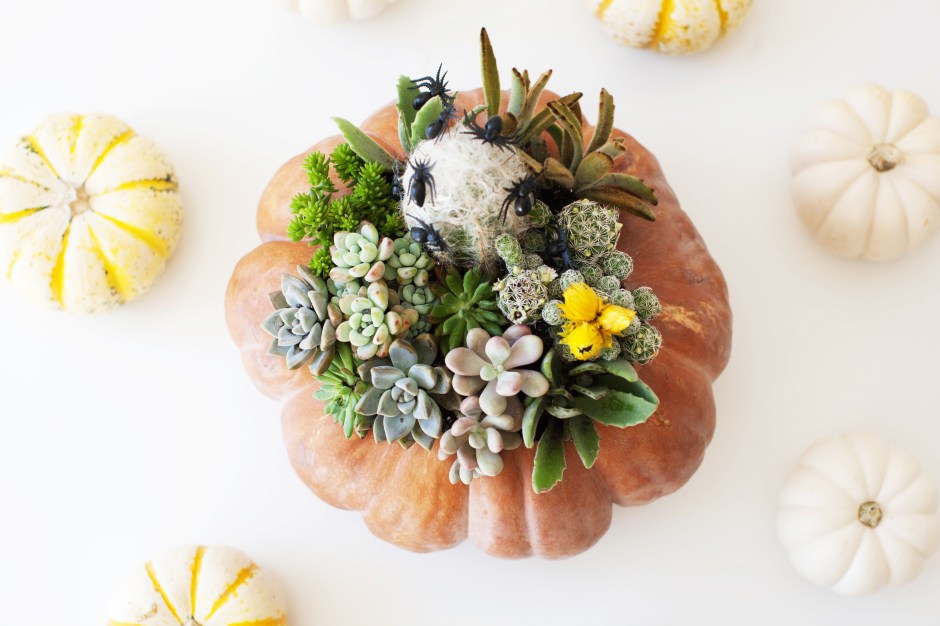
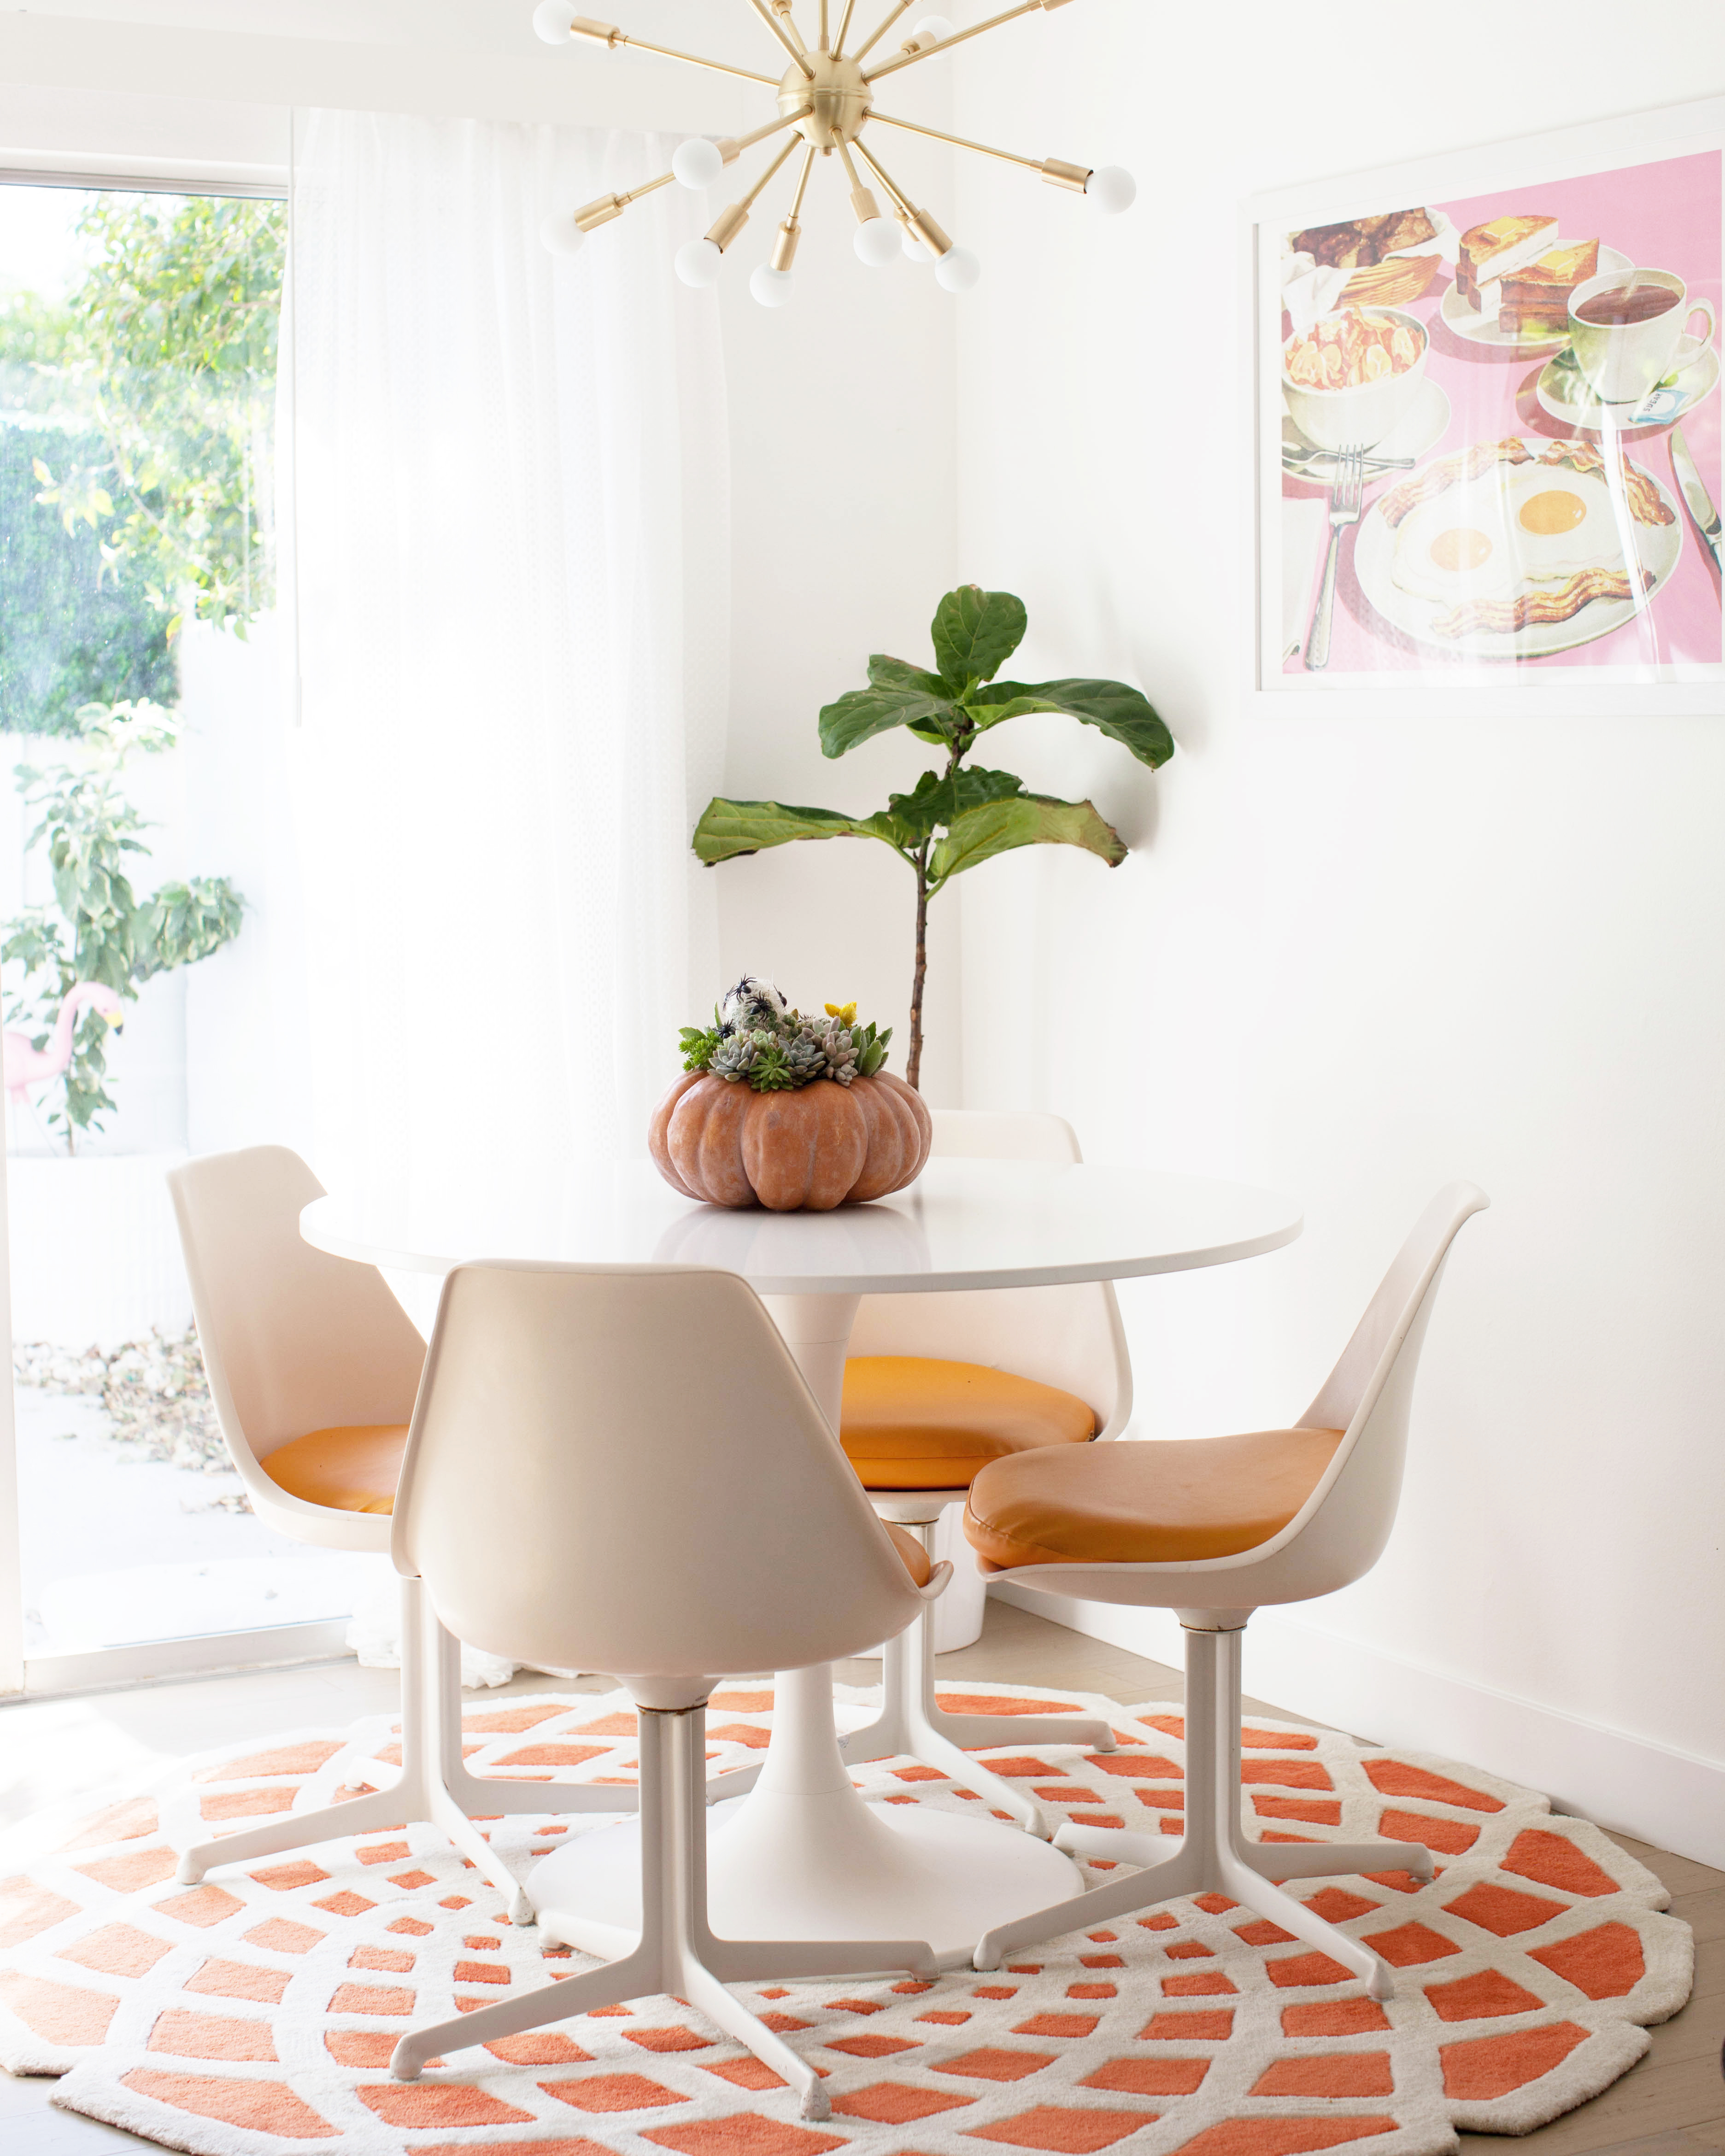
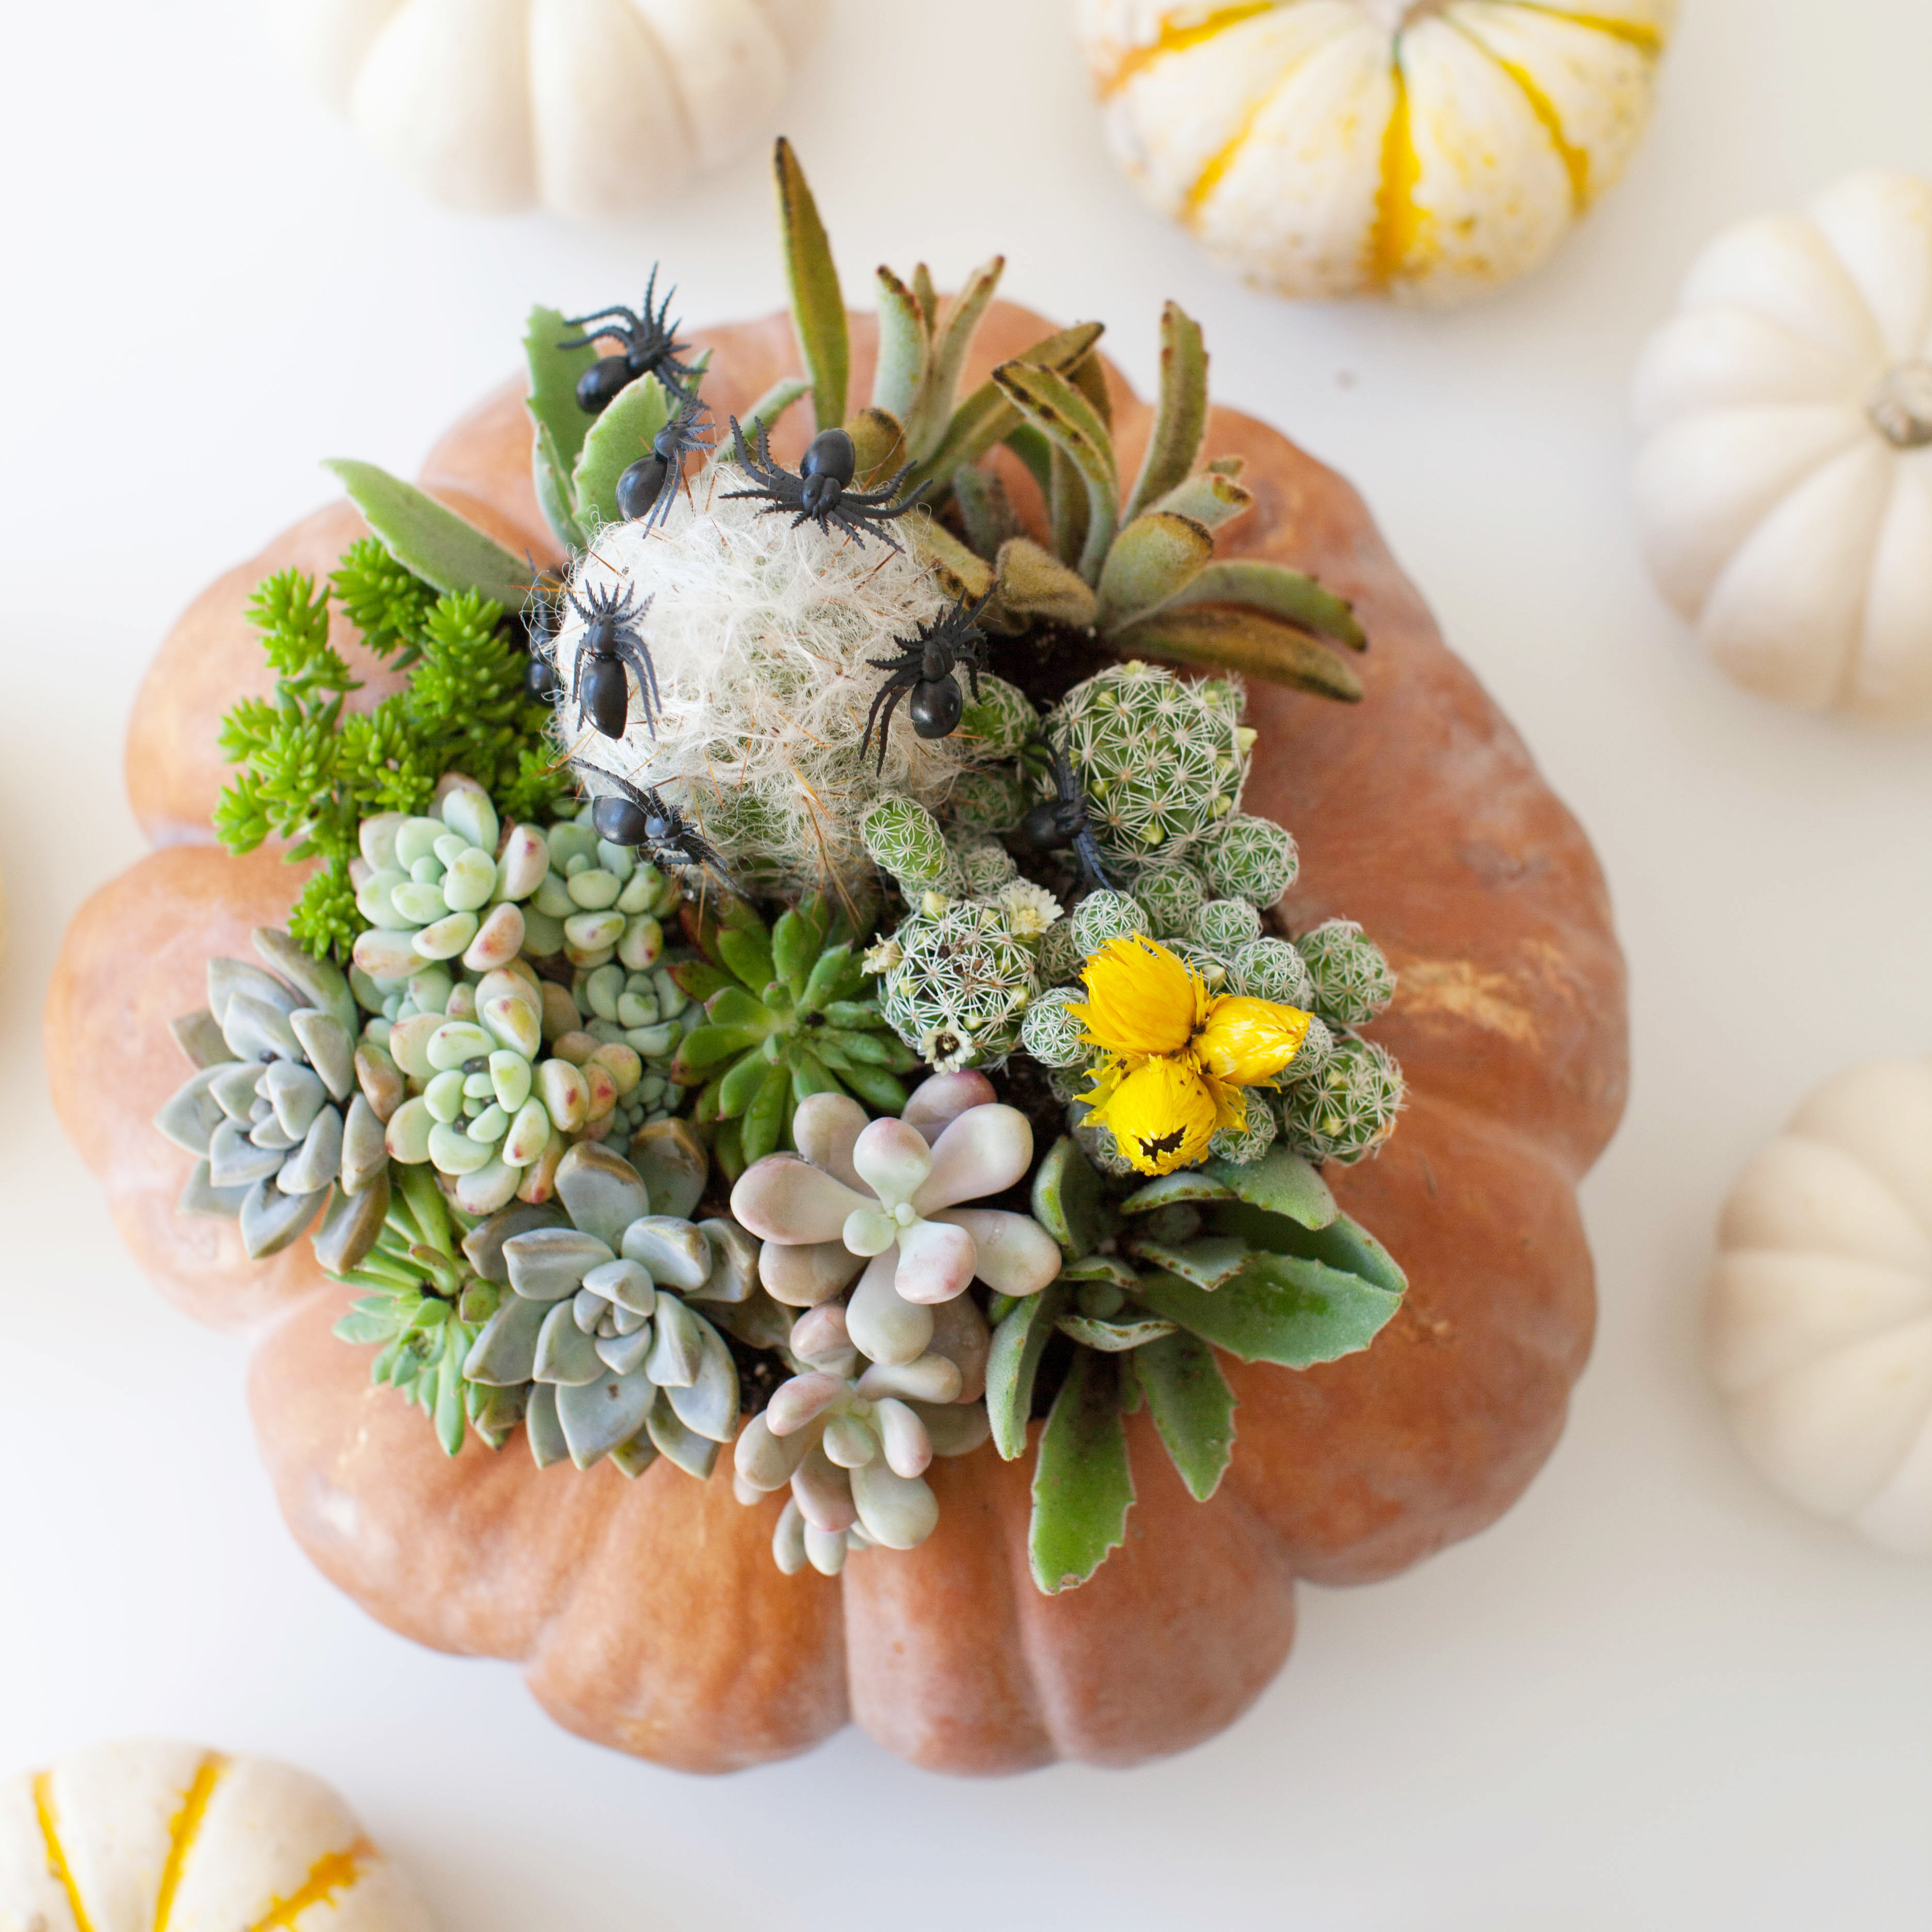 I love it as our dining table centerpiece.