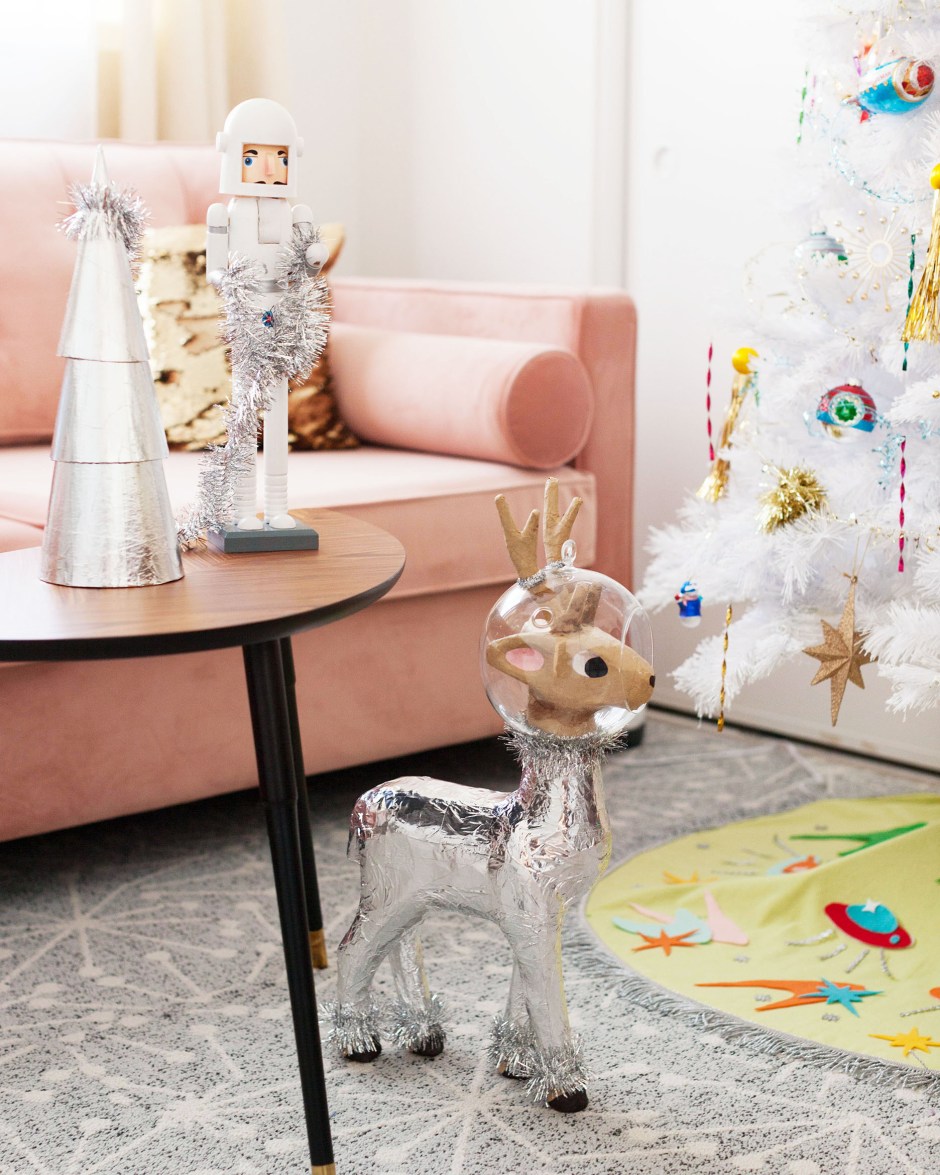
So Easter is pretty cute, right? There’s adorable spring colors, cute little eggs to hunt for, and candy everywhere. My nana used to make these amazing sugared string Easter egg baskets for me every year. I was obsessed with them and thought she was a magician or something because they were always perfect and sparkly and made with SUGAR. As I got older, she stopped making them, but there is not a year that goes by where I don’t talk about about her awesome Easter creations.
This year I decided I would make them and show you guys how it’s done. I texted her to make sure I remembered the steps correctly and she texted back with blurry pictures from the pages of her decades-old crafting notes. They read:
SUGAR EGGS
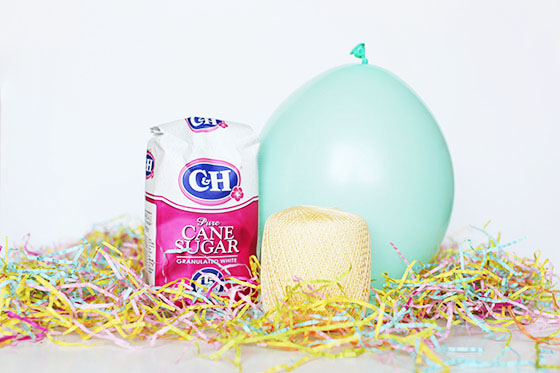
3 cups sugar
1 cup water
Approx. 9 drops of food color for pastel sugar (optional)
3-9 inch balloon
1 spool crochet thread (350 yards)
Lace or ribbon
Acrylic Spray (optional)

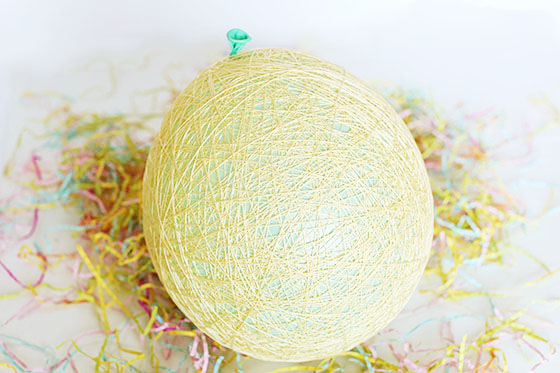
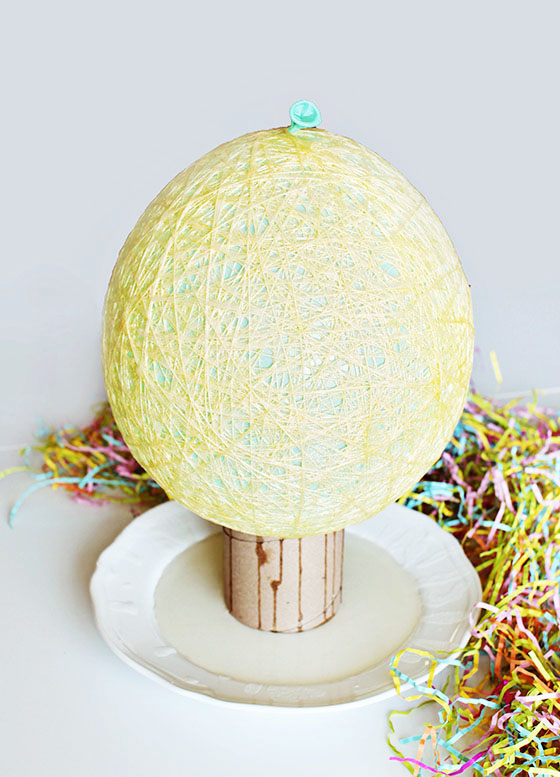
“Blow up balloon to approximately 1 foot in length and tie. While holding balloon close to your body, wrap thread firmly, vertically, horizontally, and criss-crossing until you have used the whole spool. Just leave the end of the string tucked or loose, the sugar coating will keep it in place.”
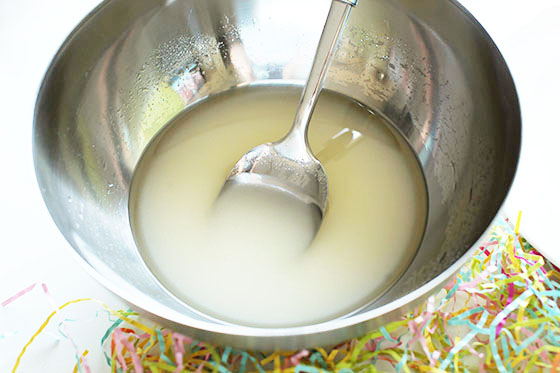
“Mix sugar and hot water. Pour large spoonfuls of the mixture on to the balloon letting mixture run down sides. Mixture is thick and won’t run too fast. Periodically and toward the end, use your hands to spread the mixture over the egg so all the thread gets moistened.”

“Place balloon on the empty cardboard-like spool to dry. Place a plate under the spool to catch drippings.”
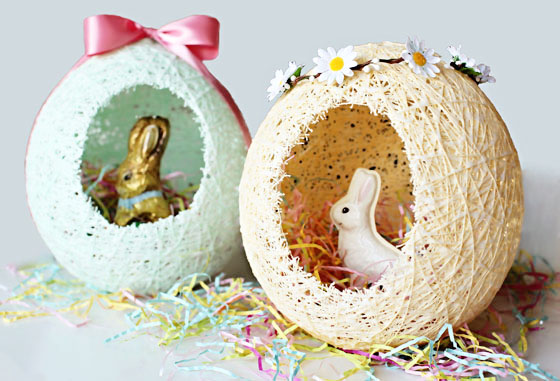
“Let dry for about 24 hours. When bottom is still a little soft, pop the balloon with a needle or pin, and sit on counter, the bottom will flatten out. With a pen, mark an opening about 5″ wide and 7″ long. With sharp scissors, carefully cut opening.”
“Spray inside and out with two light coats of clear acrylic spray (to preserve). Decorate with ribbons, bows, flowers, etc. Two rows of lace looks best to cover raw edges of opening.”
That’s it! The sugar mixture dries to becomes a hard, sparkly, crystalized shell.
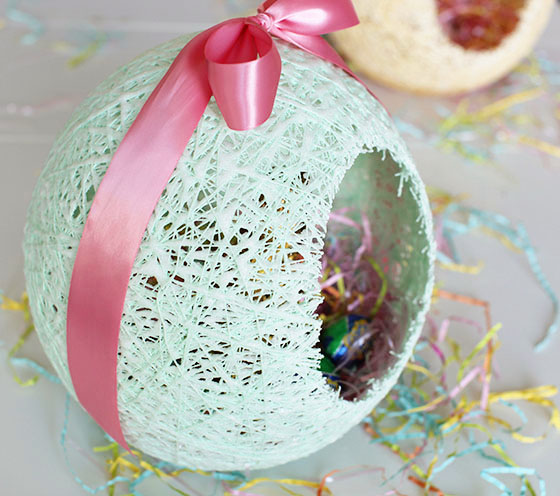
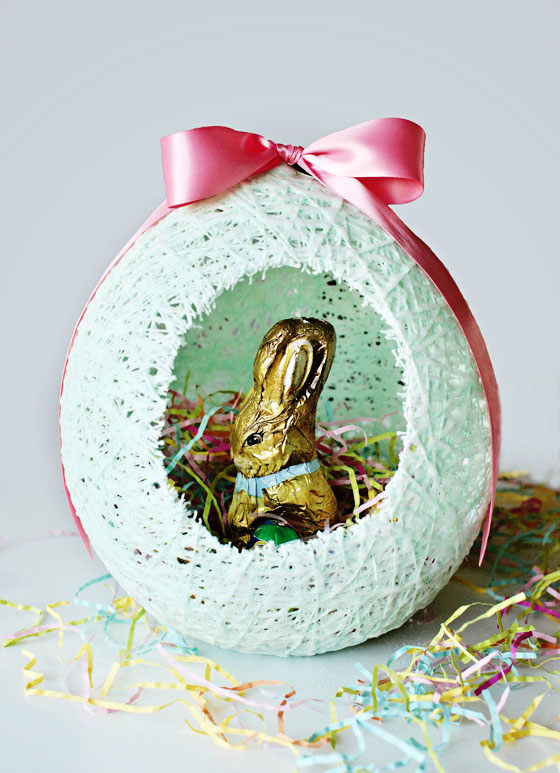
Decorate your little bunny houses how ever you’d like. I used pastel colored crochet thread and white sugar. I like the look of the raw edge so I kept mine simple and decorated with colorful Easter grass, flowers, a bow, and of course a chocolate bunny and candy inside.
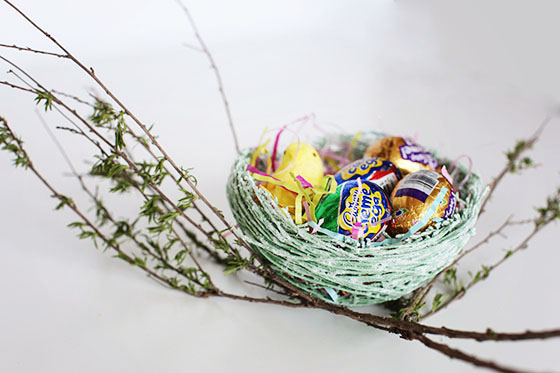
 Click here to learn how to make these Sugar String Nests, too.

 Ok I’m going to admit right now I didn’t take process photos because I’m the worst and I wasn’t even sure it was going to work, BUT luckily it’s a pretty straight forward process. (Note: I’m going to make one for a friend so I’ll try to update this post with photos when I do!)