As you may have guessed by now, I have this love affair with Palm Springs. Funnily enough while I was growing up and living there I couldn’t wait for any excuse to get out, now I can’t wait for any excuse to go back. It’s one of those weird things where you don’t appreciate something until you’re a grown up I guess. Or maybe it’s because Palm Springs is totally making a come back as the hottest (literally) vacation spot around for millenials. Since the 1920s Palm Springs has been the quick getaway of choice for Angelenos, and I’m no exception. I’m not entirely sure that I’ll ever live there again, but I do like making the trip as often as possible.
This time we stayed at The Parker Palm Springs. Once you see the pictures, you’ll know why I love this place.
Built in 1959, it was originally California’s first Holiday Inn. In 1961 Gene Autry purchased the property and changed its name to Melody Ranch. Throughout the 90s it took on a few other identities, but in 2003 it became The Parker we know today. The hotel is fabulously decorated and set on a 13 acre secret garden-esque property, where getting lost isn’t so bad. Don’t worry they give you a map upon check-in.
Let me take you on a little photographic tour.
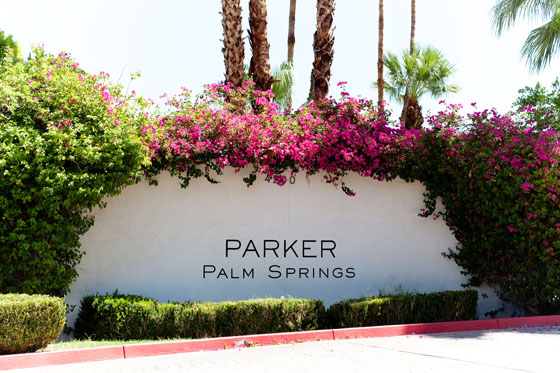
When you drive up to the secluded property you’re instantly greeted by the most photogenic brick wall and the friendliest valet around.

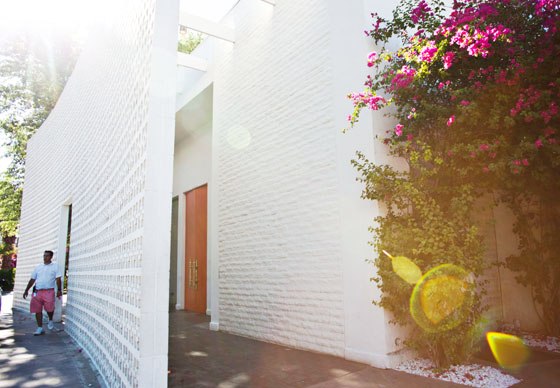
After you pass your keys along to the nice guys in the colorful shorts, stop and take a deep breath, because you’re officially about to experience what The Parker is all about.
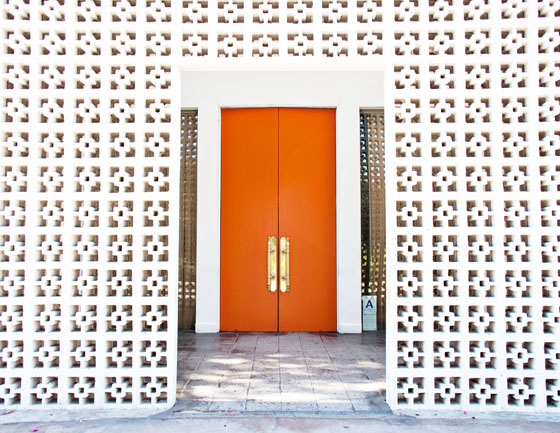
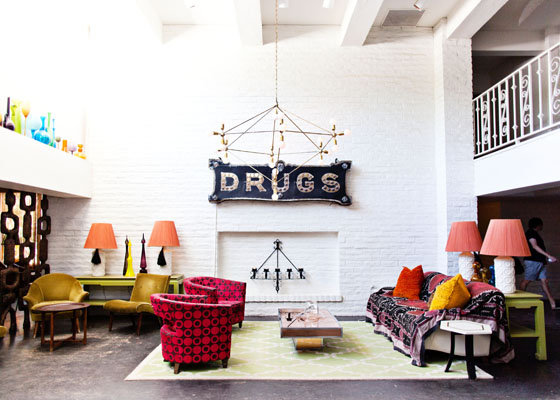
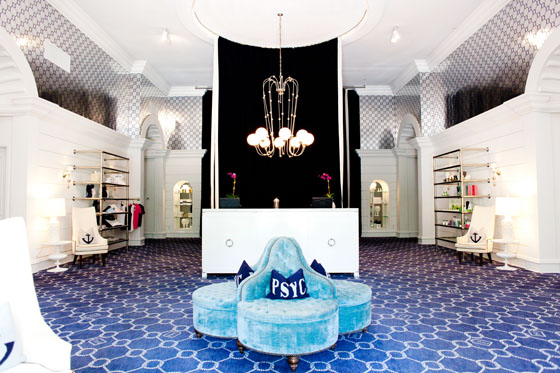
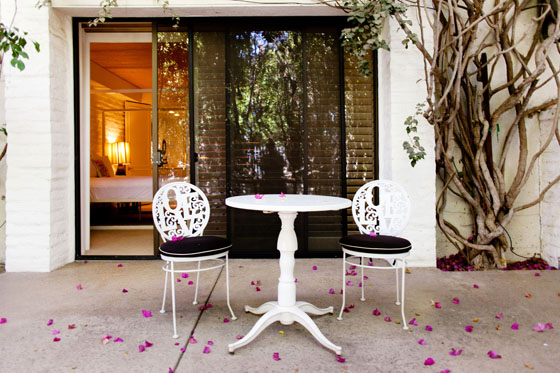
Pass through the big orange doors and straight into the lobby.
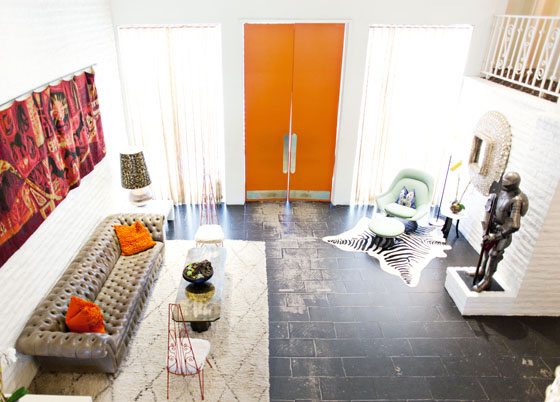
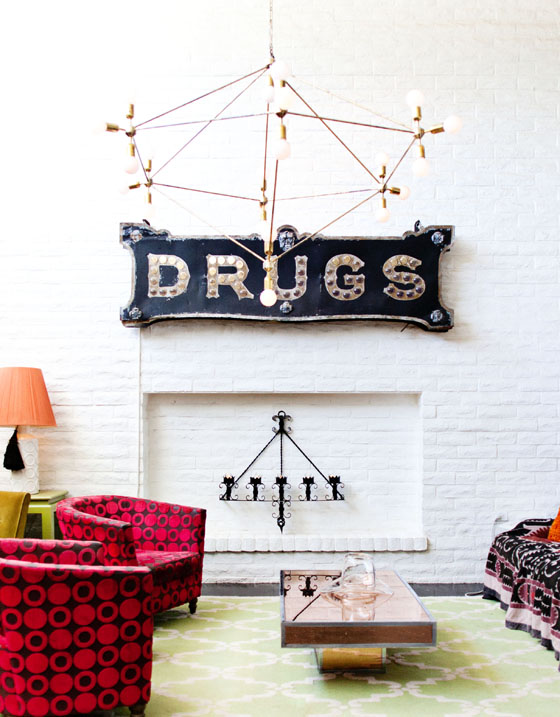
The hotel, which was decorated by one of my favorite designers, Mr. Jonathan Adler, has the kind of colorful, eclectic, retro vibes that I live for. JA is great at mixing vintage and mod styles with humor and unexpected touches. Like the cheeky DRUGS sign that hangs on the wall.

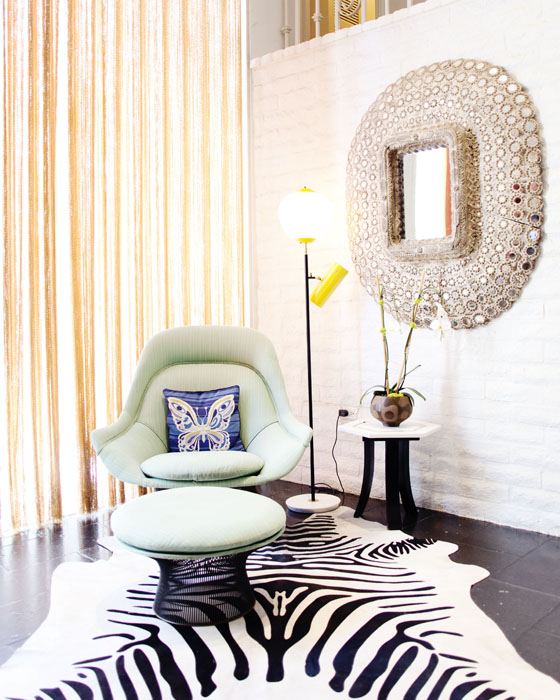
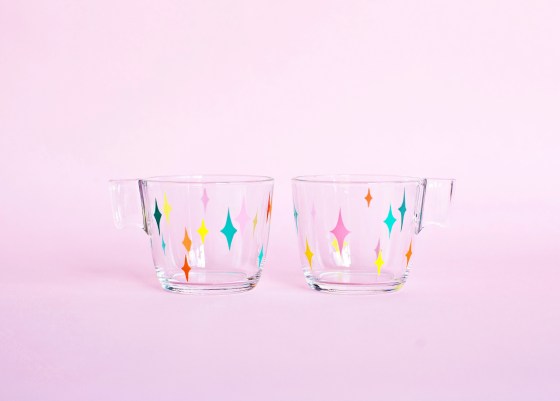
You’ll notice is there is plenty of lush seating areas and colorful glasswork featured throughout the lobby. 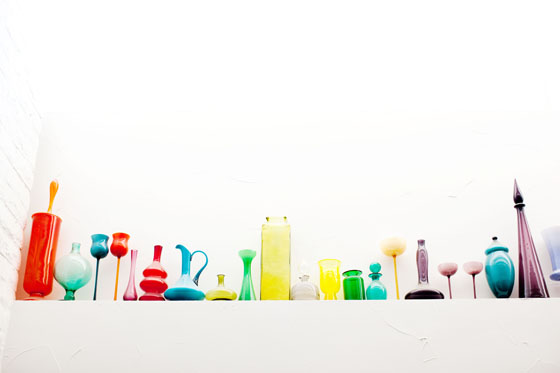
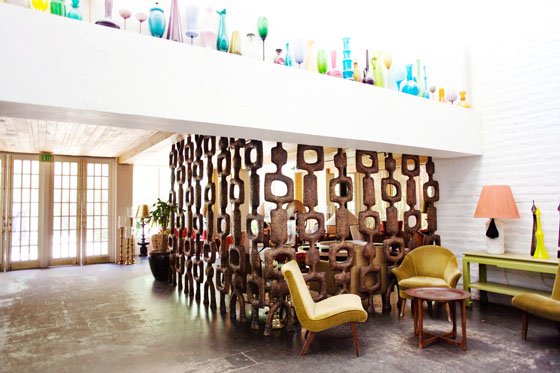
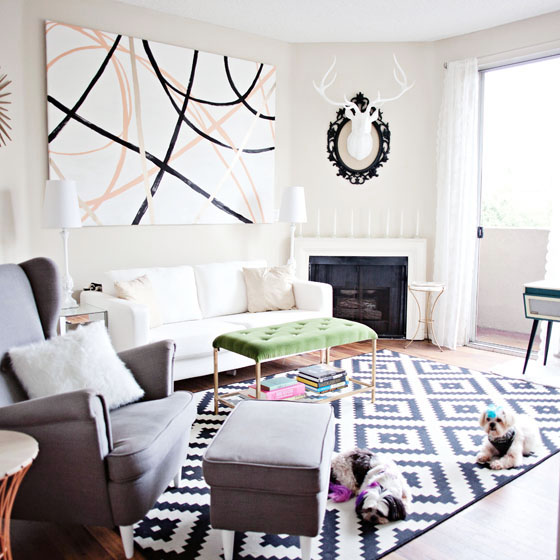
That mid-century Flintstones-like wall kills me. Behind it you’ll find what reminds me of a 60s party pad, in the best way possible. I mean LOOK.
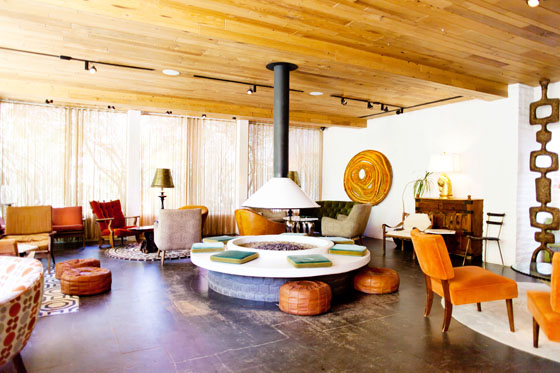
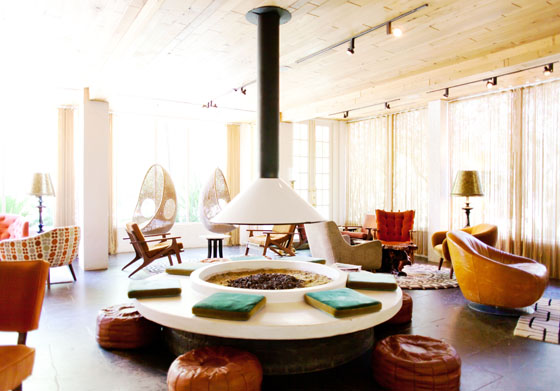
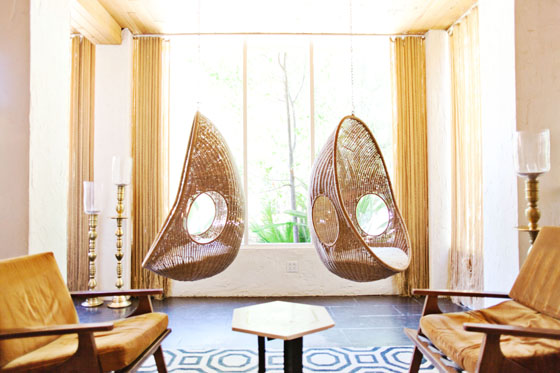
There’s a firepit and hanging basket chairs. What, what, WHAT?
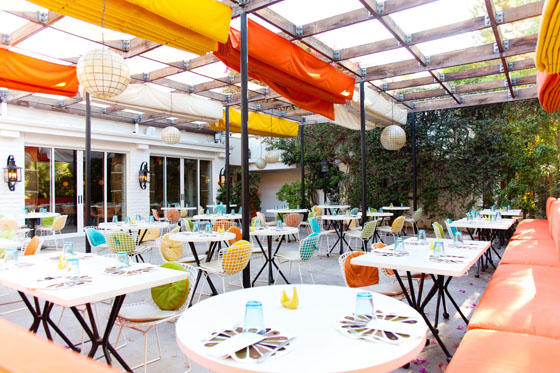
There are three places to eat on the property – Mister Parker’s, Norma’s, and the Lemonade Stand. Mister Parker’s is open for dinner and features a posh, dark dining room where they serve french bistro style fare.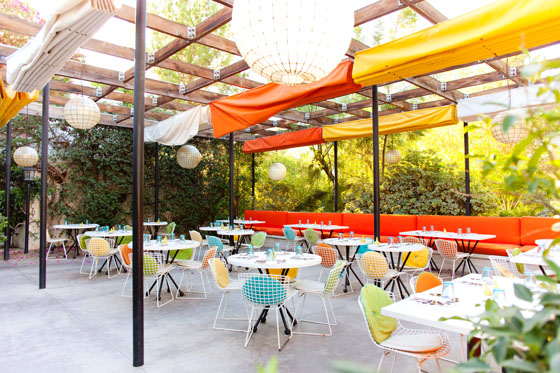
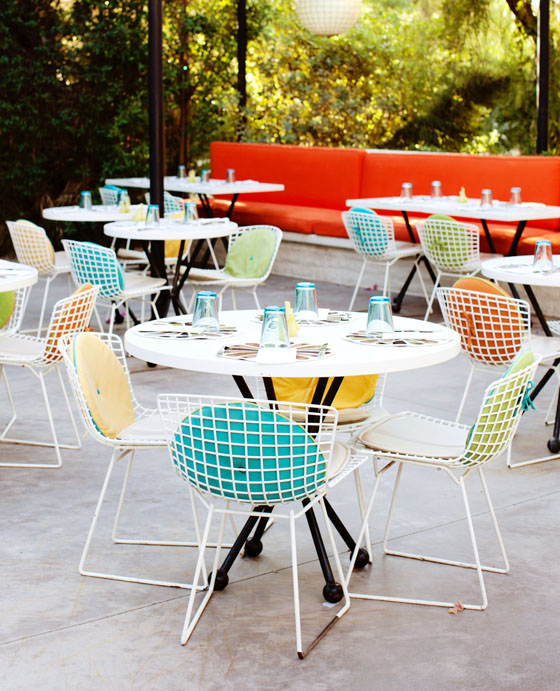
Norma’s is most known for its impressive breakfast and brunch menu and casual dining experience. I love the cute ambiance and colors of this place and the round chair cushions make me insanely happy.
 Norma’s also has a small dinner menu and PIE SHAKES. That’s right…PIE. SHAKES. You pick the ice cream, filling, and topping. Like pie a la mode in milkshake form.
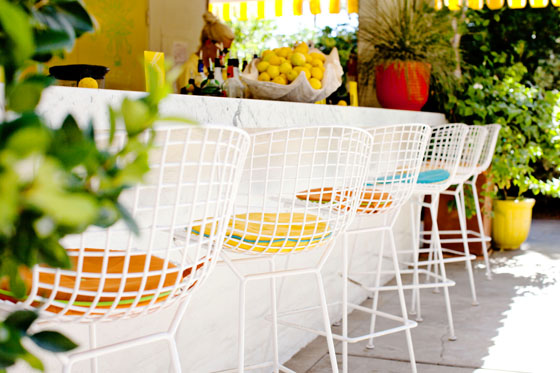
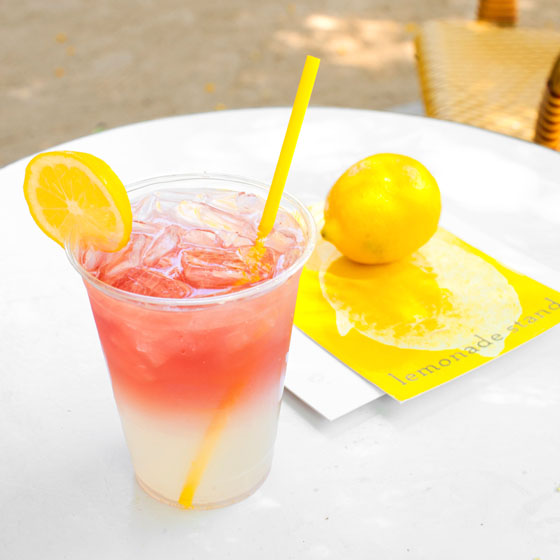
If you’re looking for something more of the liquid diet variety there’s the Lemonade Stand. Here they serve up refreshing and delicious alcoholic drinks. 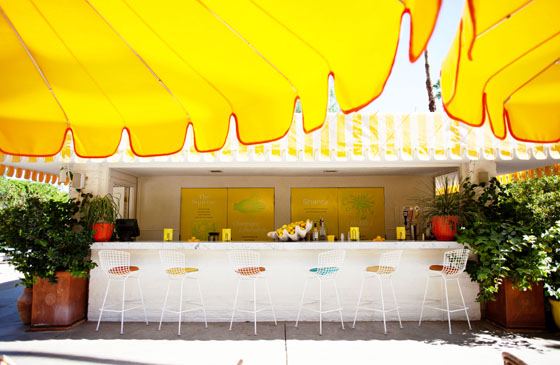
 I’ll be honest, at first I was a little shocked by the price on my tab(around $30 for 2 drinks), since the drink prices aren’t listed on the menu, but when you take into account the size of the drinks and the quality and amount of liquor they use, it’s not really any more expensive than other places. The drinks really are delicious and sizable. I definitely caught a buzz.
The Lemonade Stand is a bar conveniently located next to the main 24 hour adult pool so you can sip and sun your way through the weekend. 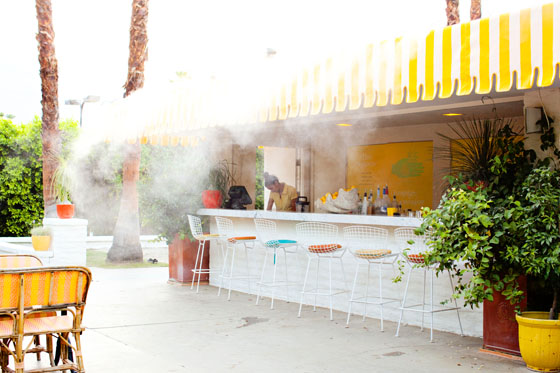
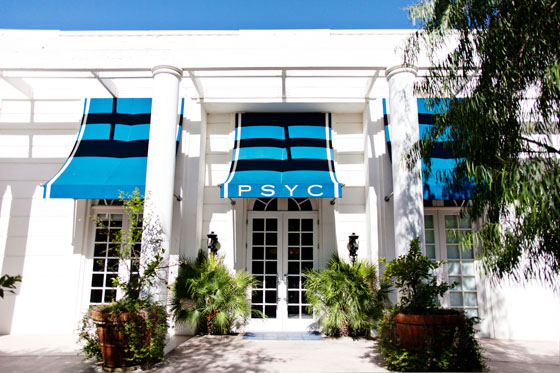
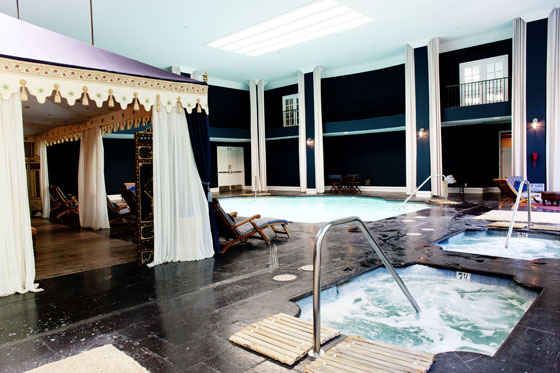
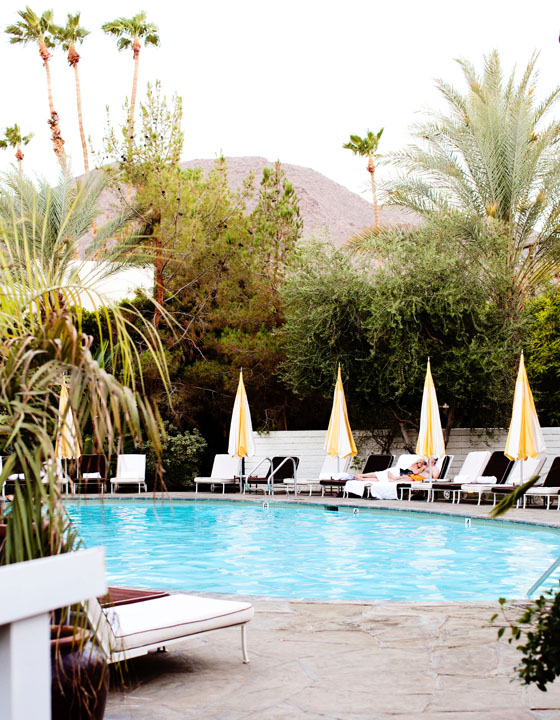 There is also a family pool (which was closed for renovations during our stay) and an indoor pool at the resort’s luxe spa, PSYC.
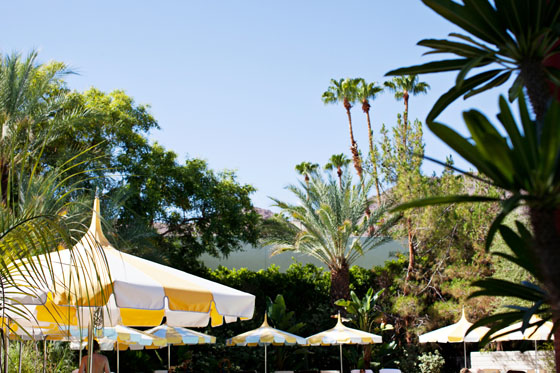
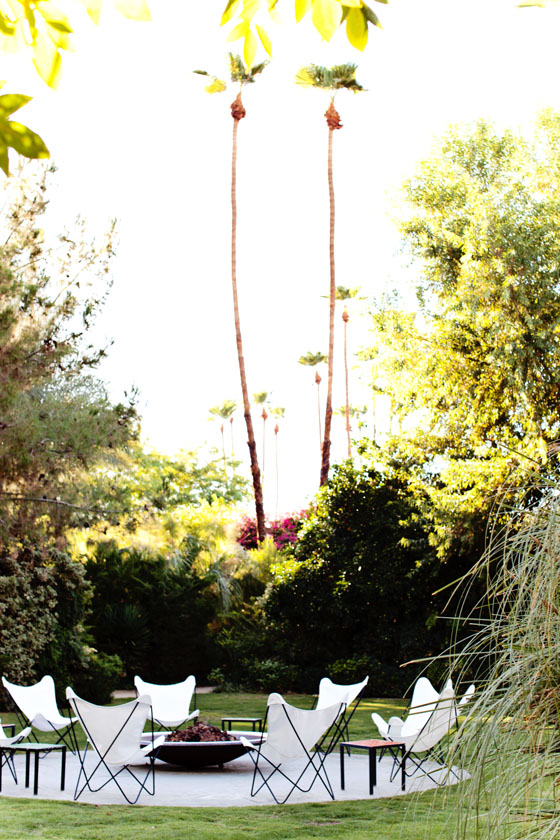
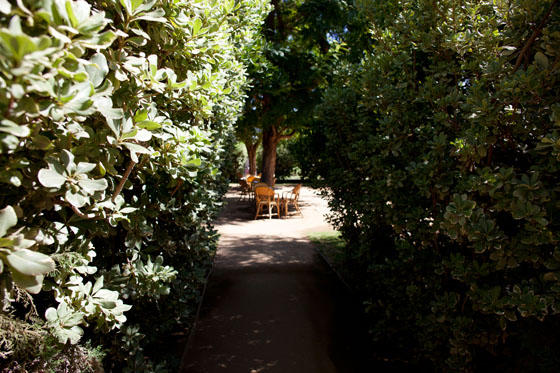
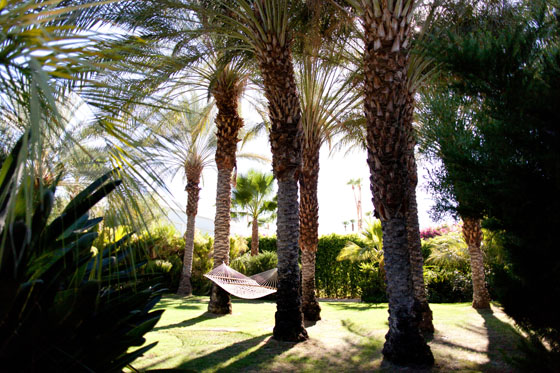
 The grounds also have plenty of little secluded pockets featuring fire pits, hammocks, and lawn games where you can lounge and play.
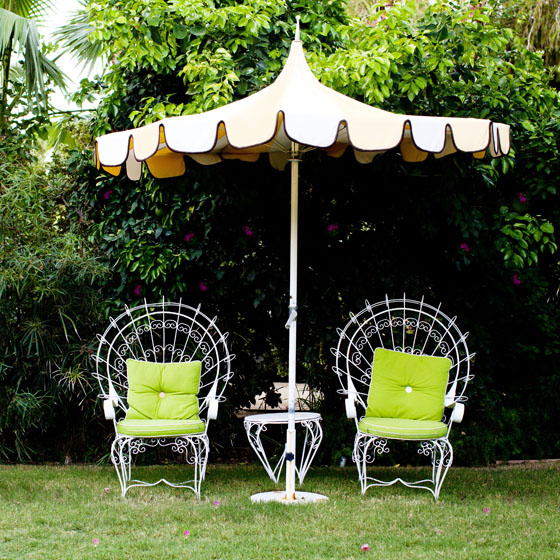
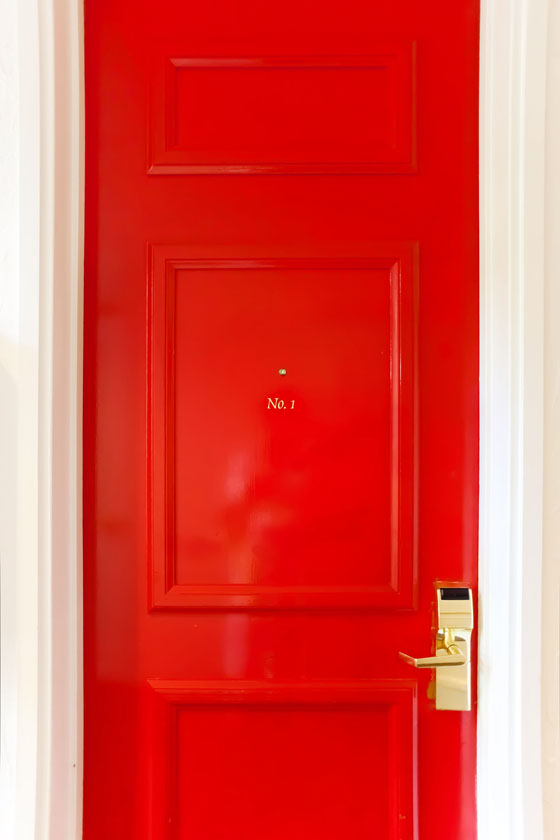
 We stayed in one of the 465 square foot deluxe patio rooms situated near the back of the property.
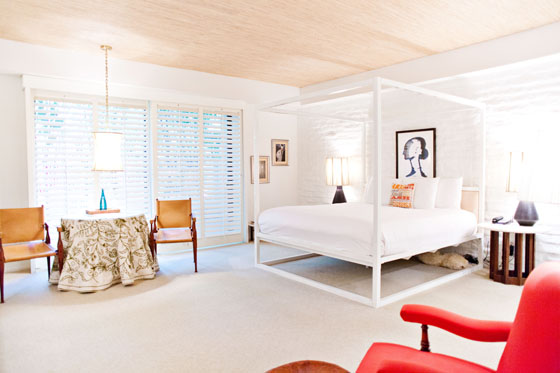 I loved this spacious room. It was a little dark because it’s on the ground level and has a private fenced patio, but it was nice and cozy and good escape from the heat and sun. The king sized bed was comfortable with soft pillows and good linens. I slept SO well. Oh! And free wifi!
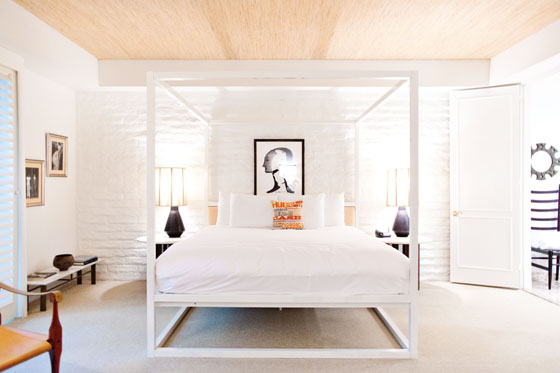
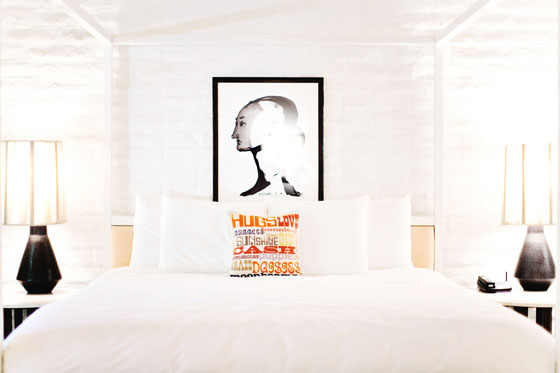 Jonathan Adler everywhere!
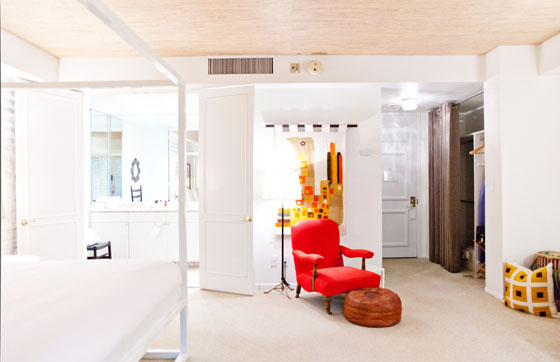 The spacious bathroom has double sinks and a soaking tub.
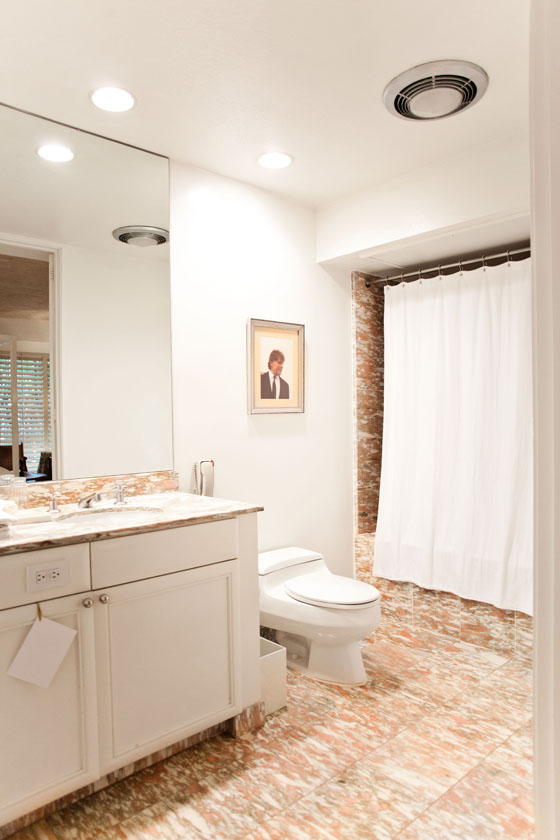 Our favorite part of the room was the private patio that has a small table with chairs and a HAMMOCK.
 The hammock is great for private outdoor napping and milkshake sipping.
 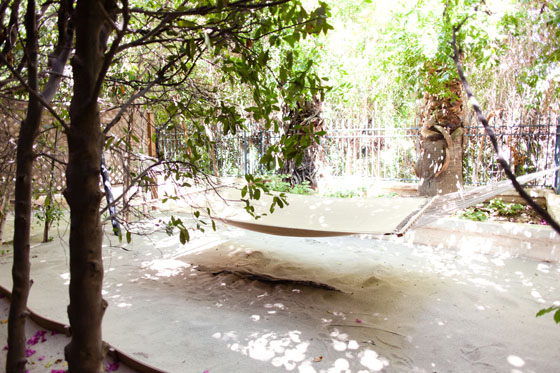 Warning: the hammock is so exciting you might get a little too eager and fall out like my husband did. See what I mean about those Lemonade Stand drinks? Don’t worry. He’s ok!
 Now you’ve gotten a full glimpse of one of my favorite hotels in Palm Springs. I can’t wait until the next time we get to spend the weekend. Who knows, maybe I’ll see you guys there.
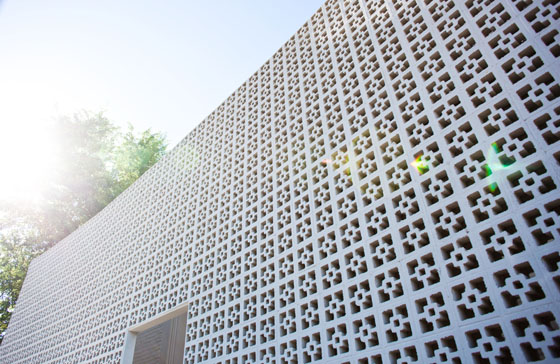 Thank you to the Parker Palm Springs for a wonderful stay.
The Parker Palm Springs
4200 E Palm Canyon Dr, Palm Springs, CA 92264
(760) 770-5000


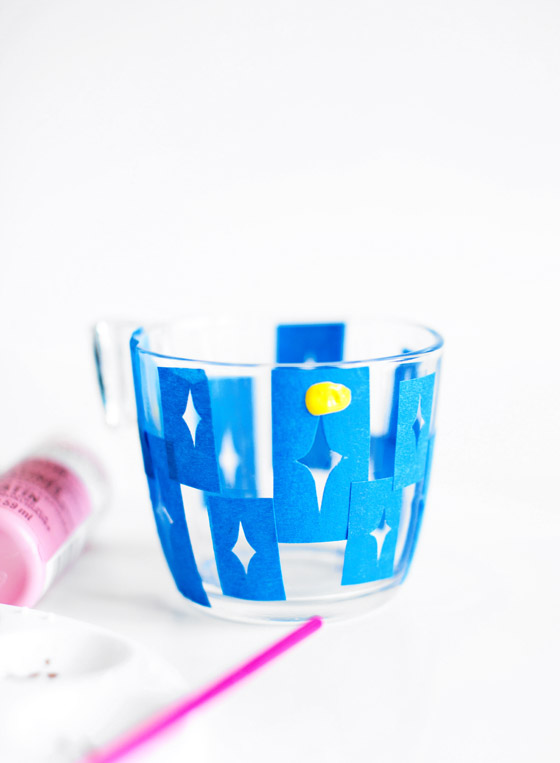
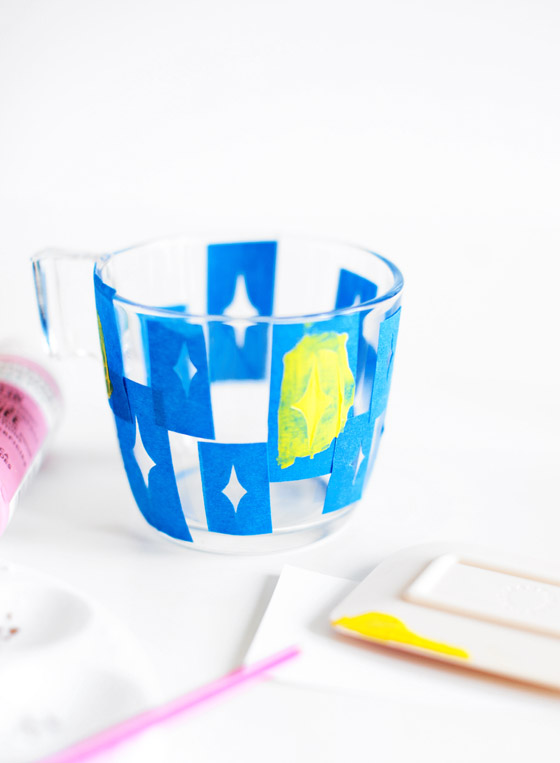
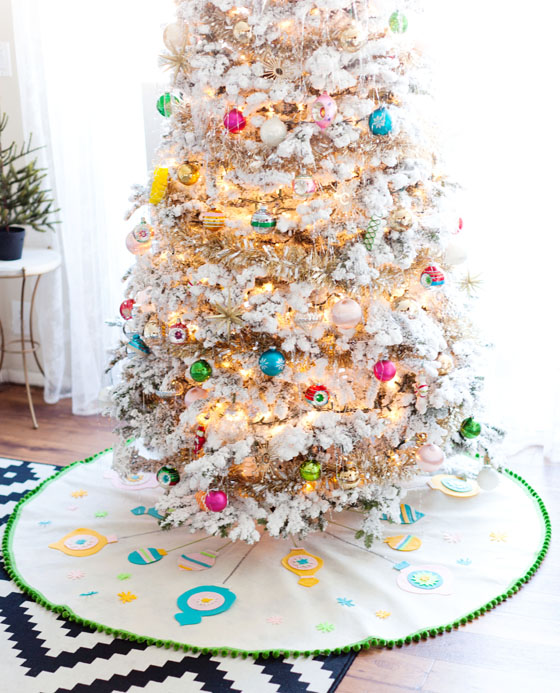
 The only problem I had was finding the right tree skirt to cover up the wooden planks that is holding it up. I found a couple that I liked but they weren’t quite right so I used them as inspiration and make my own using felt and pom-pom trim.
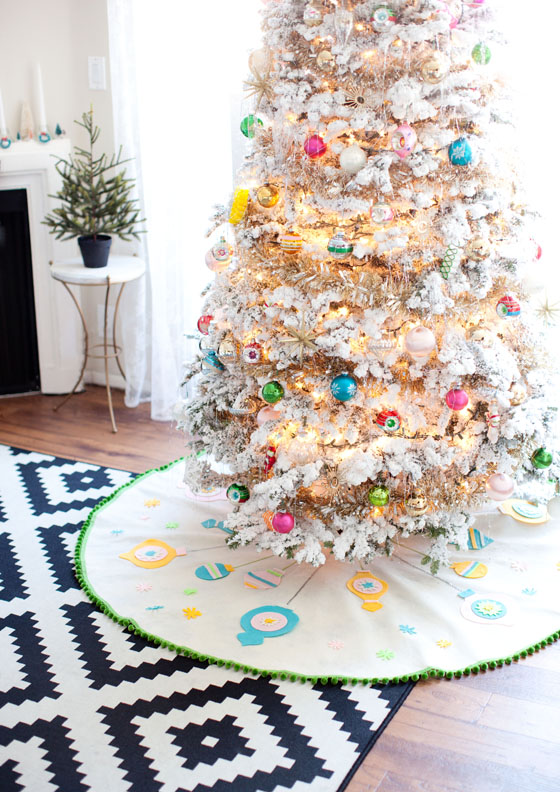
 Keep marking your measurement until you get to the other side. You should have something that looks like this. Mark the corner to make the hole for the middle, too.
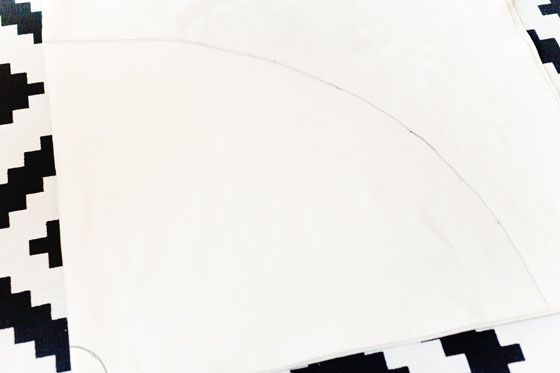 If done properly you should have a circle tree skirt.
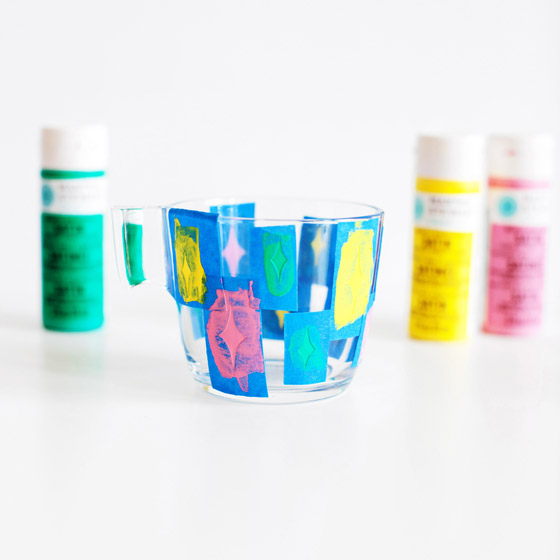
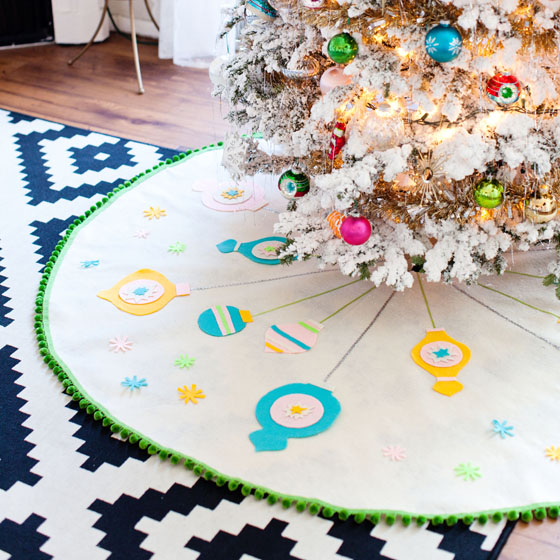
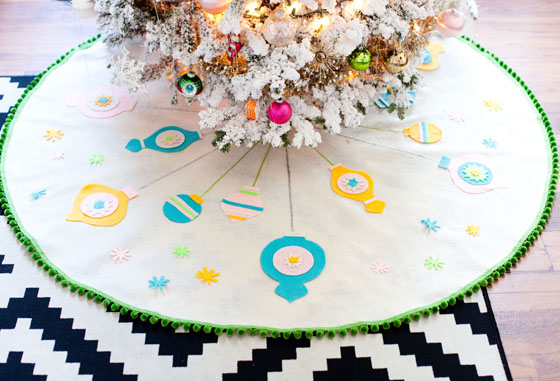 You can use cookie cutters, templates, or free hand any decorations of your choice and cut them out of felt. I went with the vintage ornament theme and free-handed different ornament shapes. I used fabric glue to glue them on.
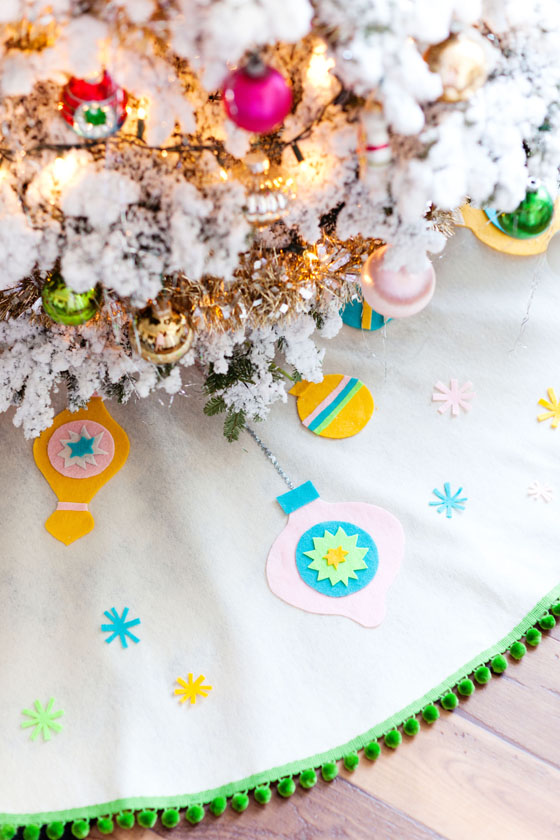 I glued on silver baby rick-rack and thin ribbon as the strings for my ornaments.
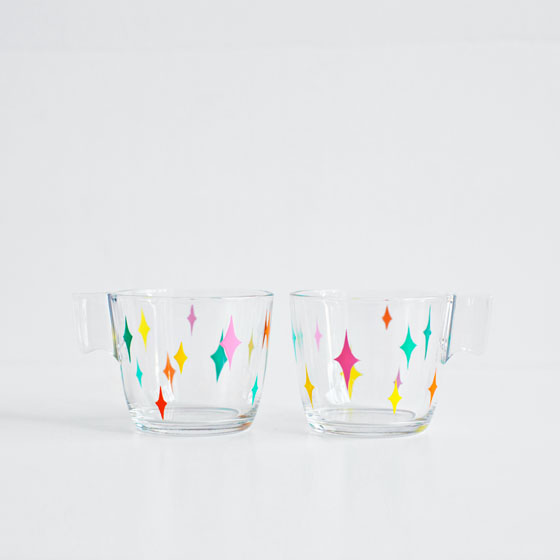
  The last thing I did was glued on pom-pom trim. Seriously so easy and adorable.
 I’m so happy with the way this turned out and even happier that I didn’t have to lug out my sewing machine. The total project cost me around $25 so that’s also a bonus!
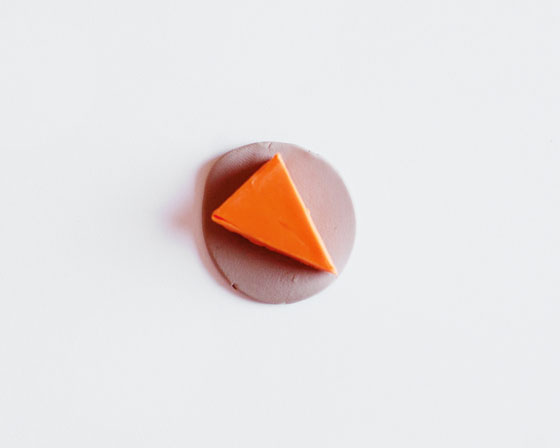
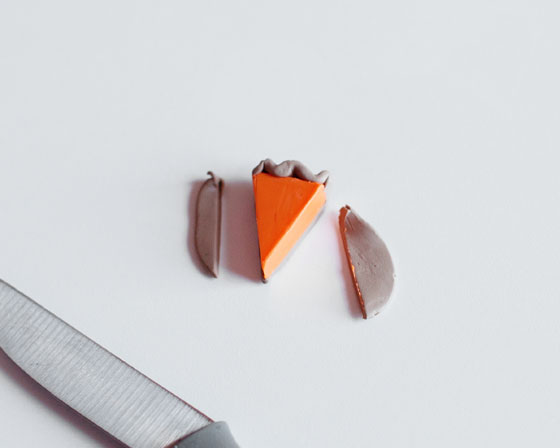
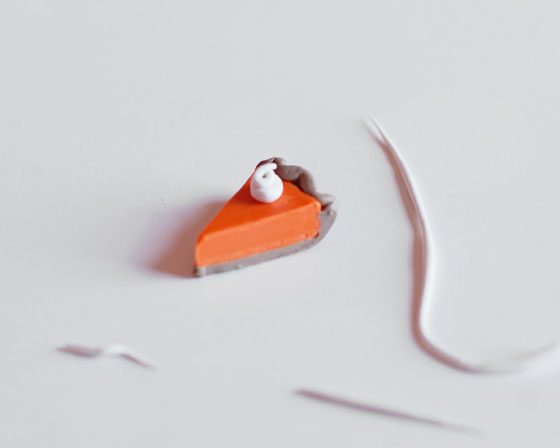
 I love making miniature things out of clay. It’s so…therapeutic. These mini pumpkin pies were particularly easy and fun. Here’s how I did it.
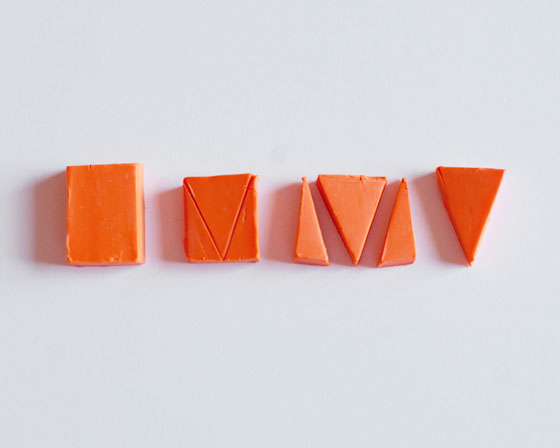

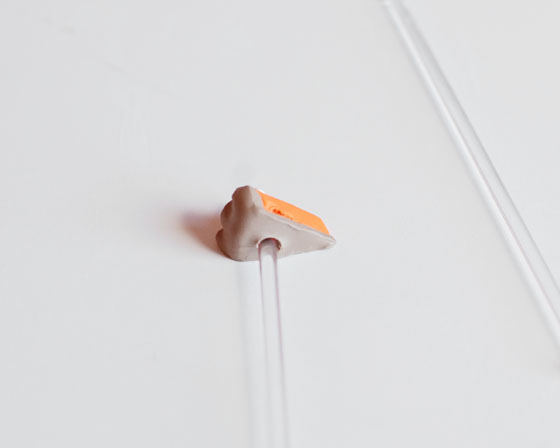
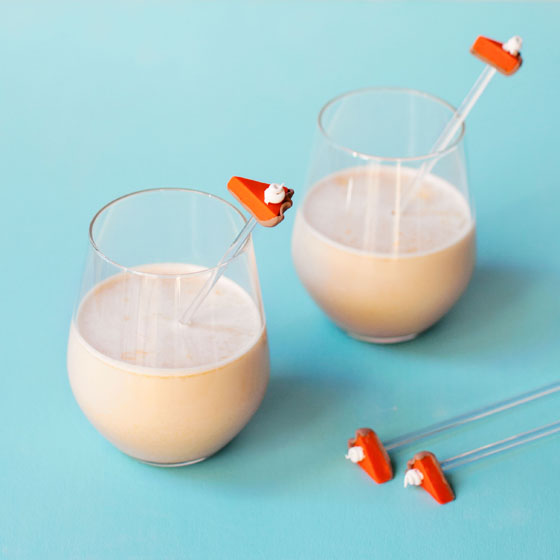
 Using a little super glue, replace the cocktail stick into the pre-made hole.