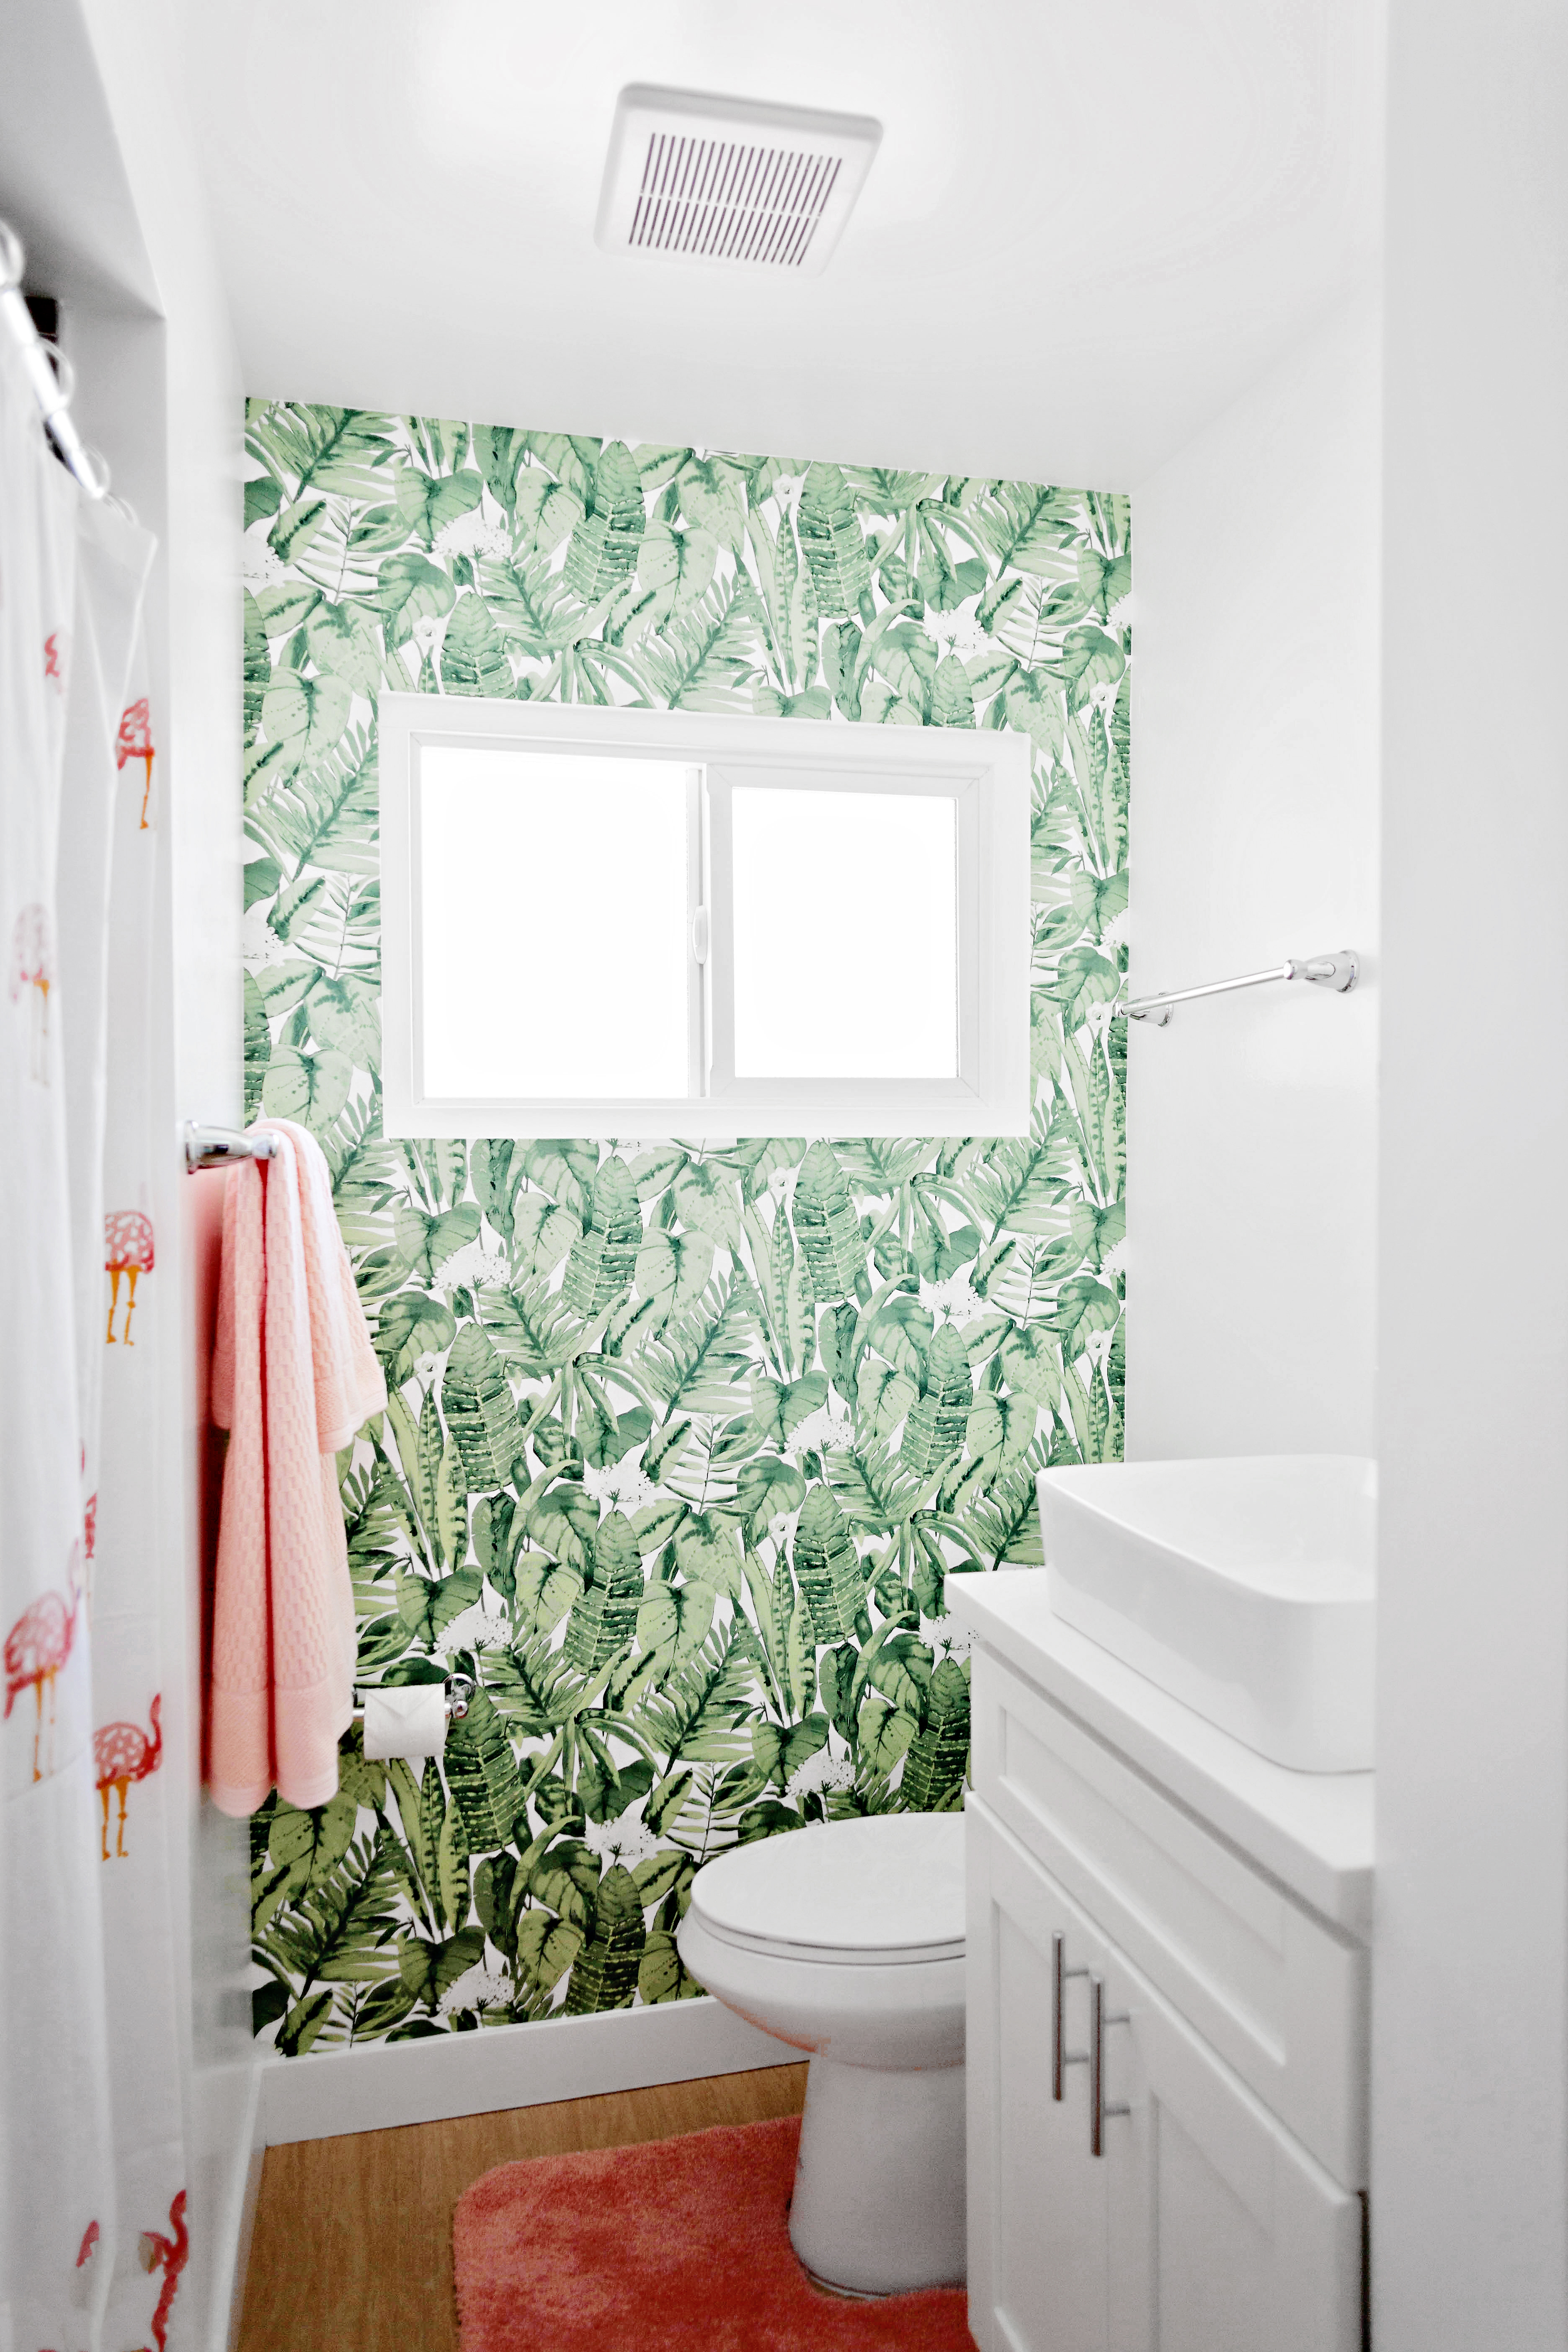
I finally did something I’ve been wanting to do for years, but didn’t feel like it was worth it in my last apartment. I installed bathroom wallpaper!
As you probably know I’m a renter, so many of my projects have to be temporary. That’s why I decided to look into peel and stick wallpaper options. There’s such a great selection out there, but when I found this botanical print from Tempaper I was smitten!
Turns out installing this type of wallpaper isn’t as daunting as it seems. The paper is super durable and forgiving, allowing you to adjust and re-position as needed to get everything lined up and perfect. This is great news because bathrooms can be especially tricky. Working your way around a toilet can be a big pain in the ass. No pun intended (zing!).
The first thing you need to do is measure your wall. By the way, Tempaper has a cool calculator that helps you determine how much paper you need. I only needed one roll for this wall and had some to spare. Please note that this kind of paper won’t adhere well to textured or matte walls. Eggshell, Semi-gloss, or gloss paint works best. Bathrooms usually have semi gloss paint, so you should be good.
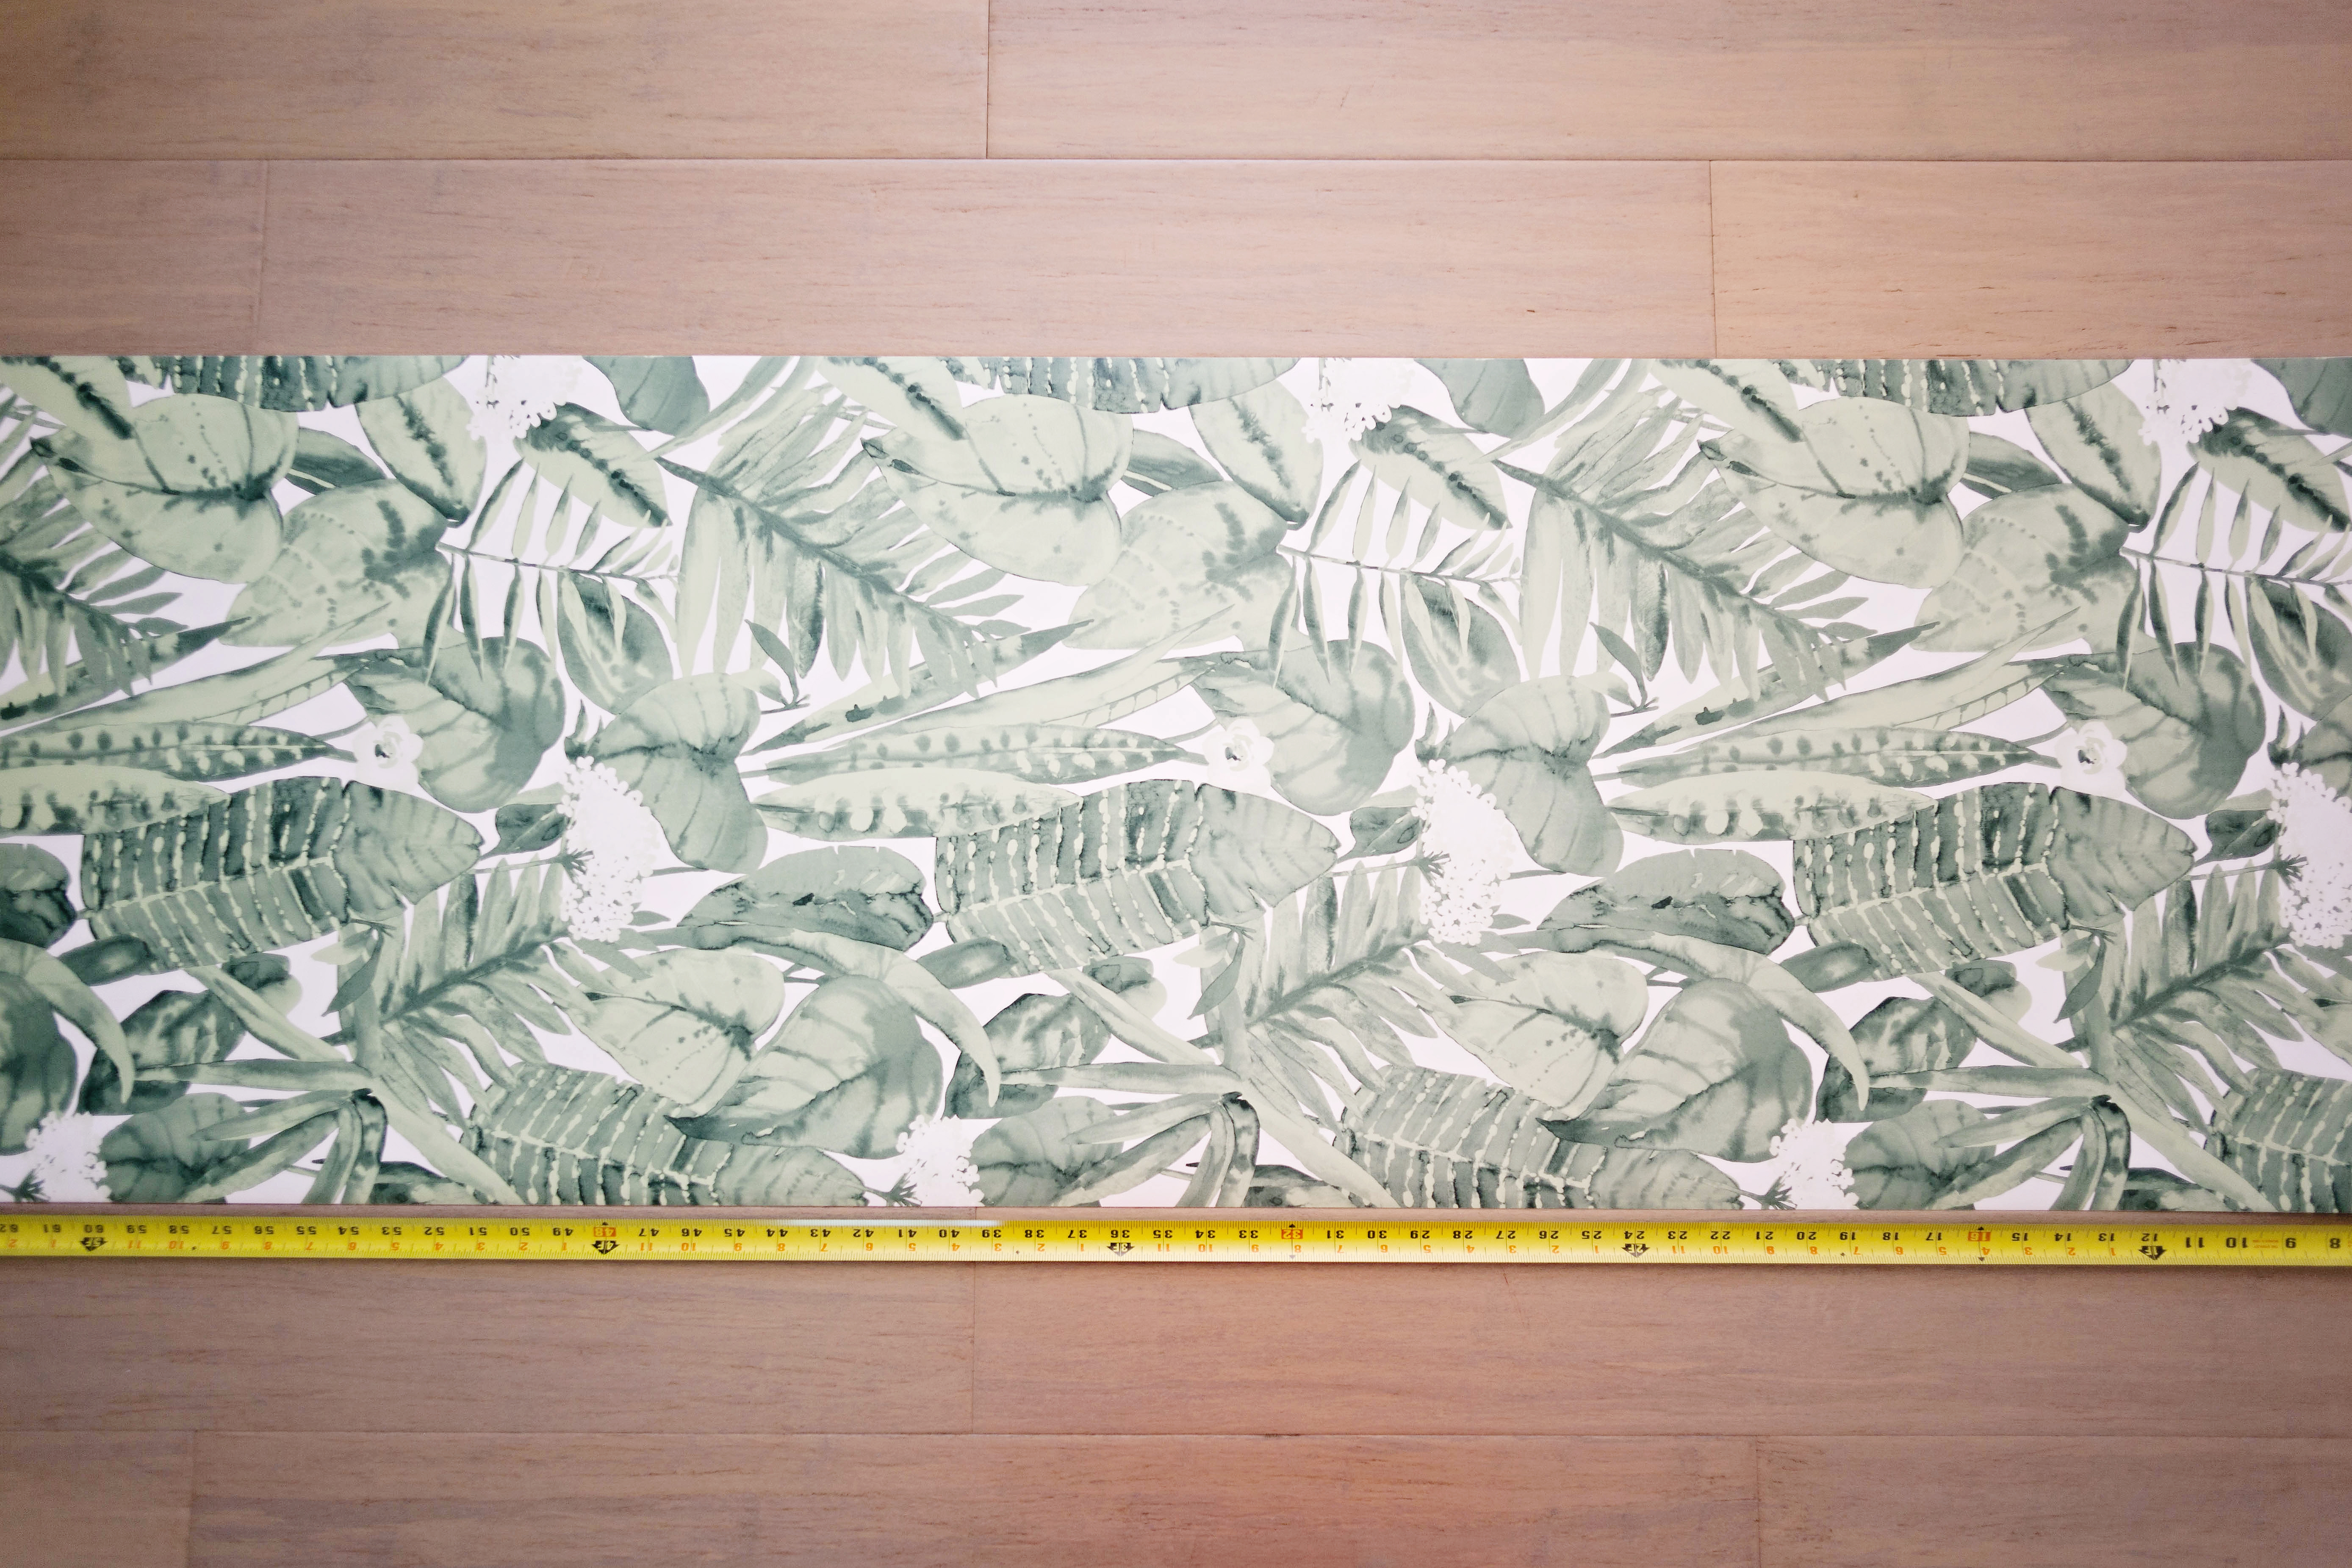 Next, pre-cut the lengths you need. This makes your life so much easier. Be sure to line up the pattern with each new piece you cut.
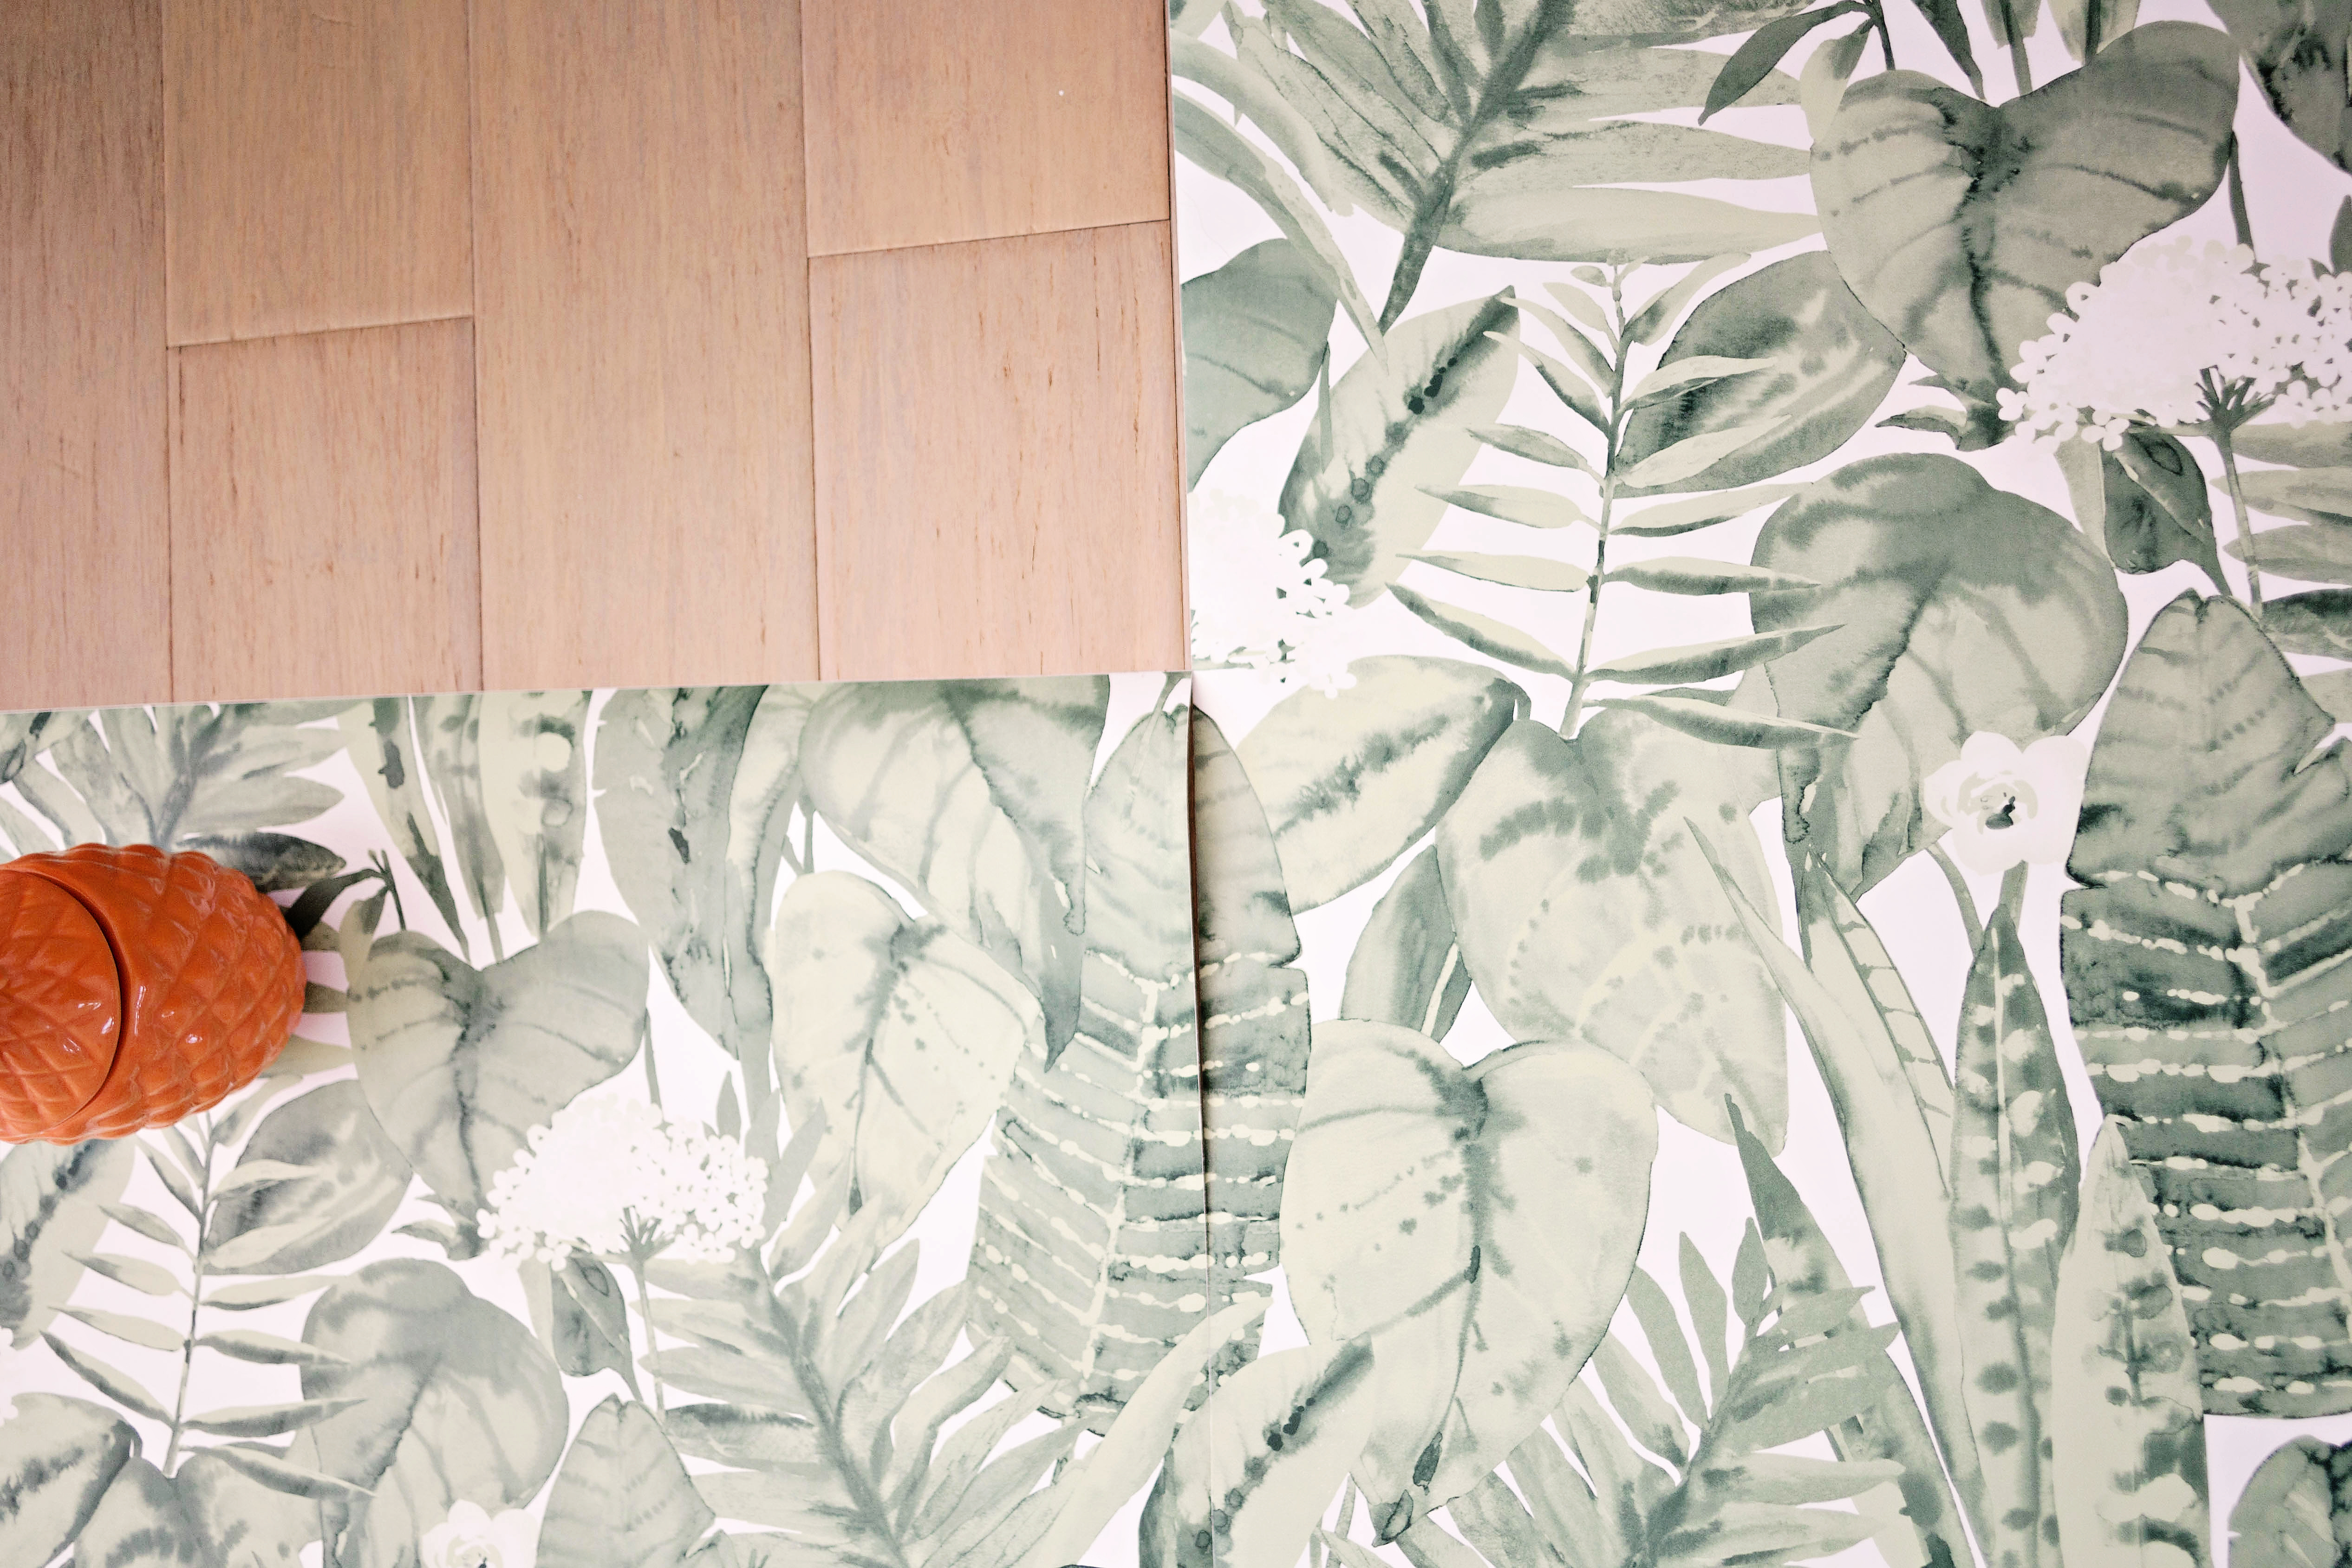
Remove any toilet paper holders or towel racks that might get in the way. Outlets are fine, you can just use a razor to cut around them later.
I did this entire job alone because there’s just not enough room in my tiny bathroom for this to be a two person job. If you have room for help, it’ll make the job easier, but if its just you don’t worry, you can do it. As you can see I could barely fit the step ladder.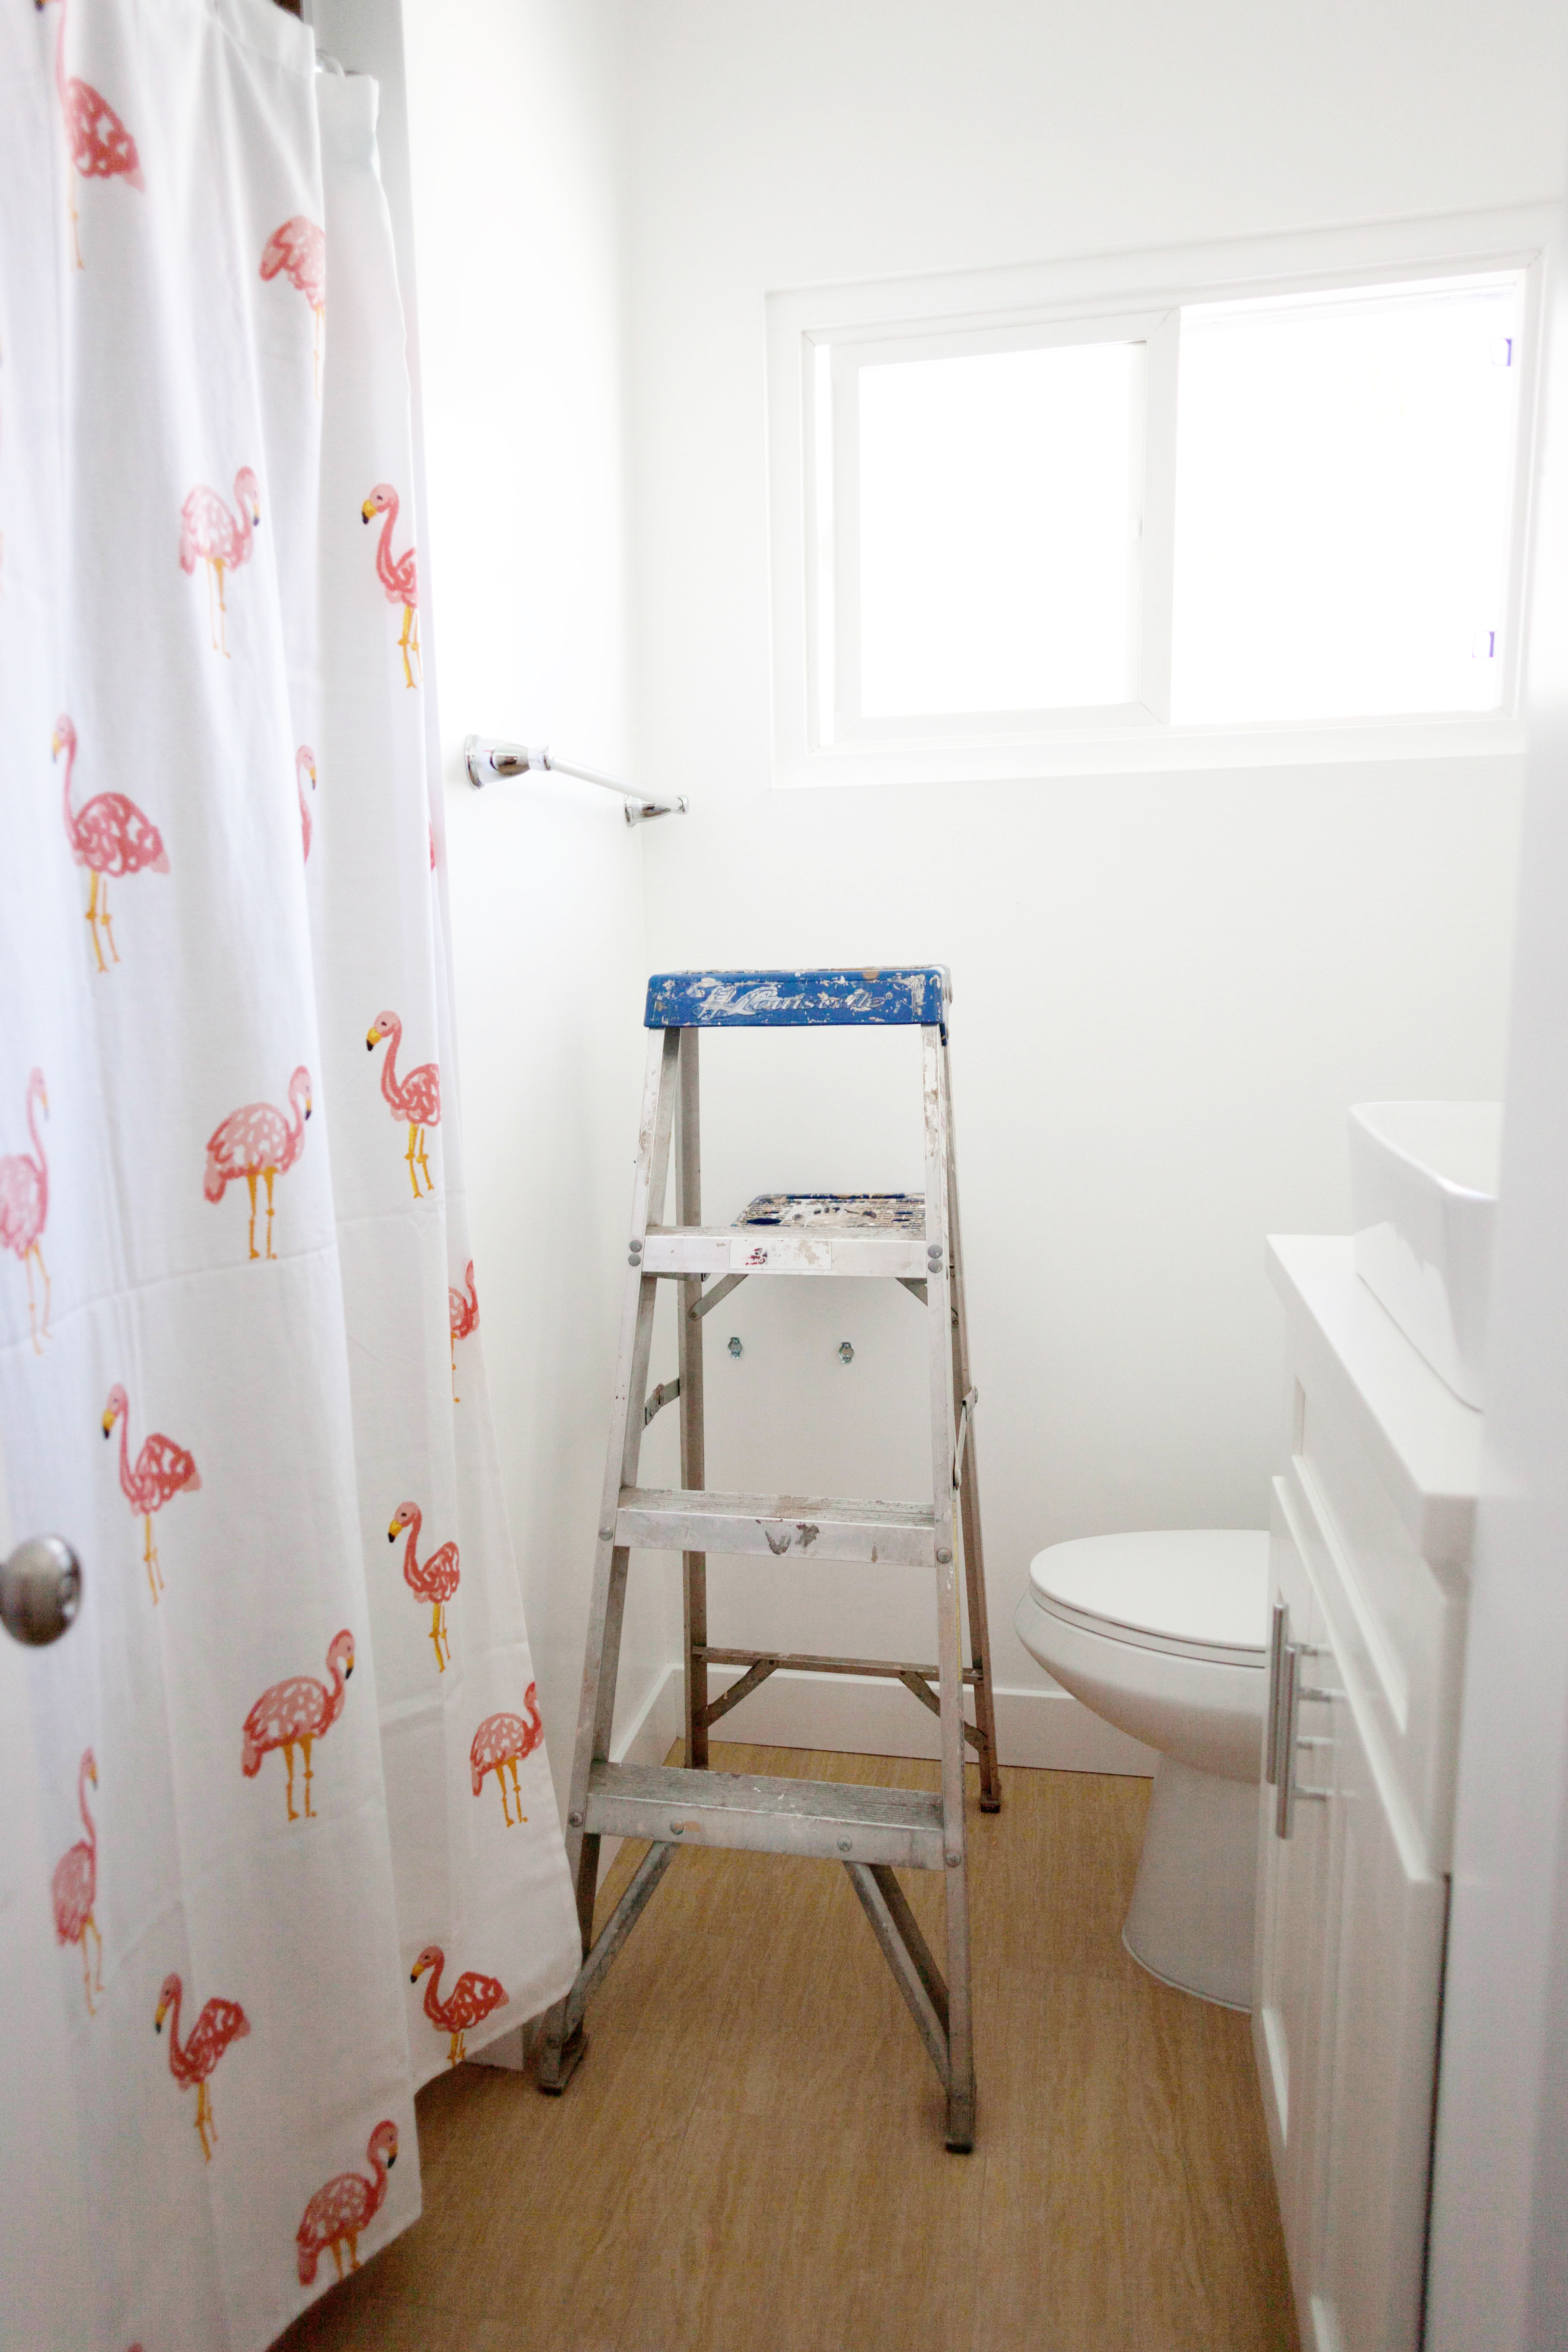
Now the real fun starts. The first piece is the trickiest because you need to get it on there straight, that way all the following pieces line up. Use the wall corner and ceiling (and a level if you have one) as your guide and you’ll be fine. 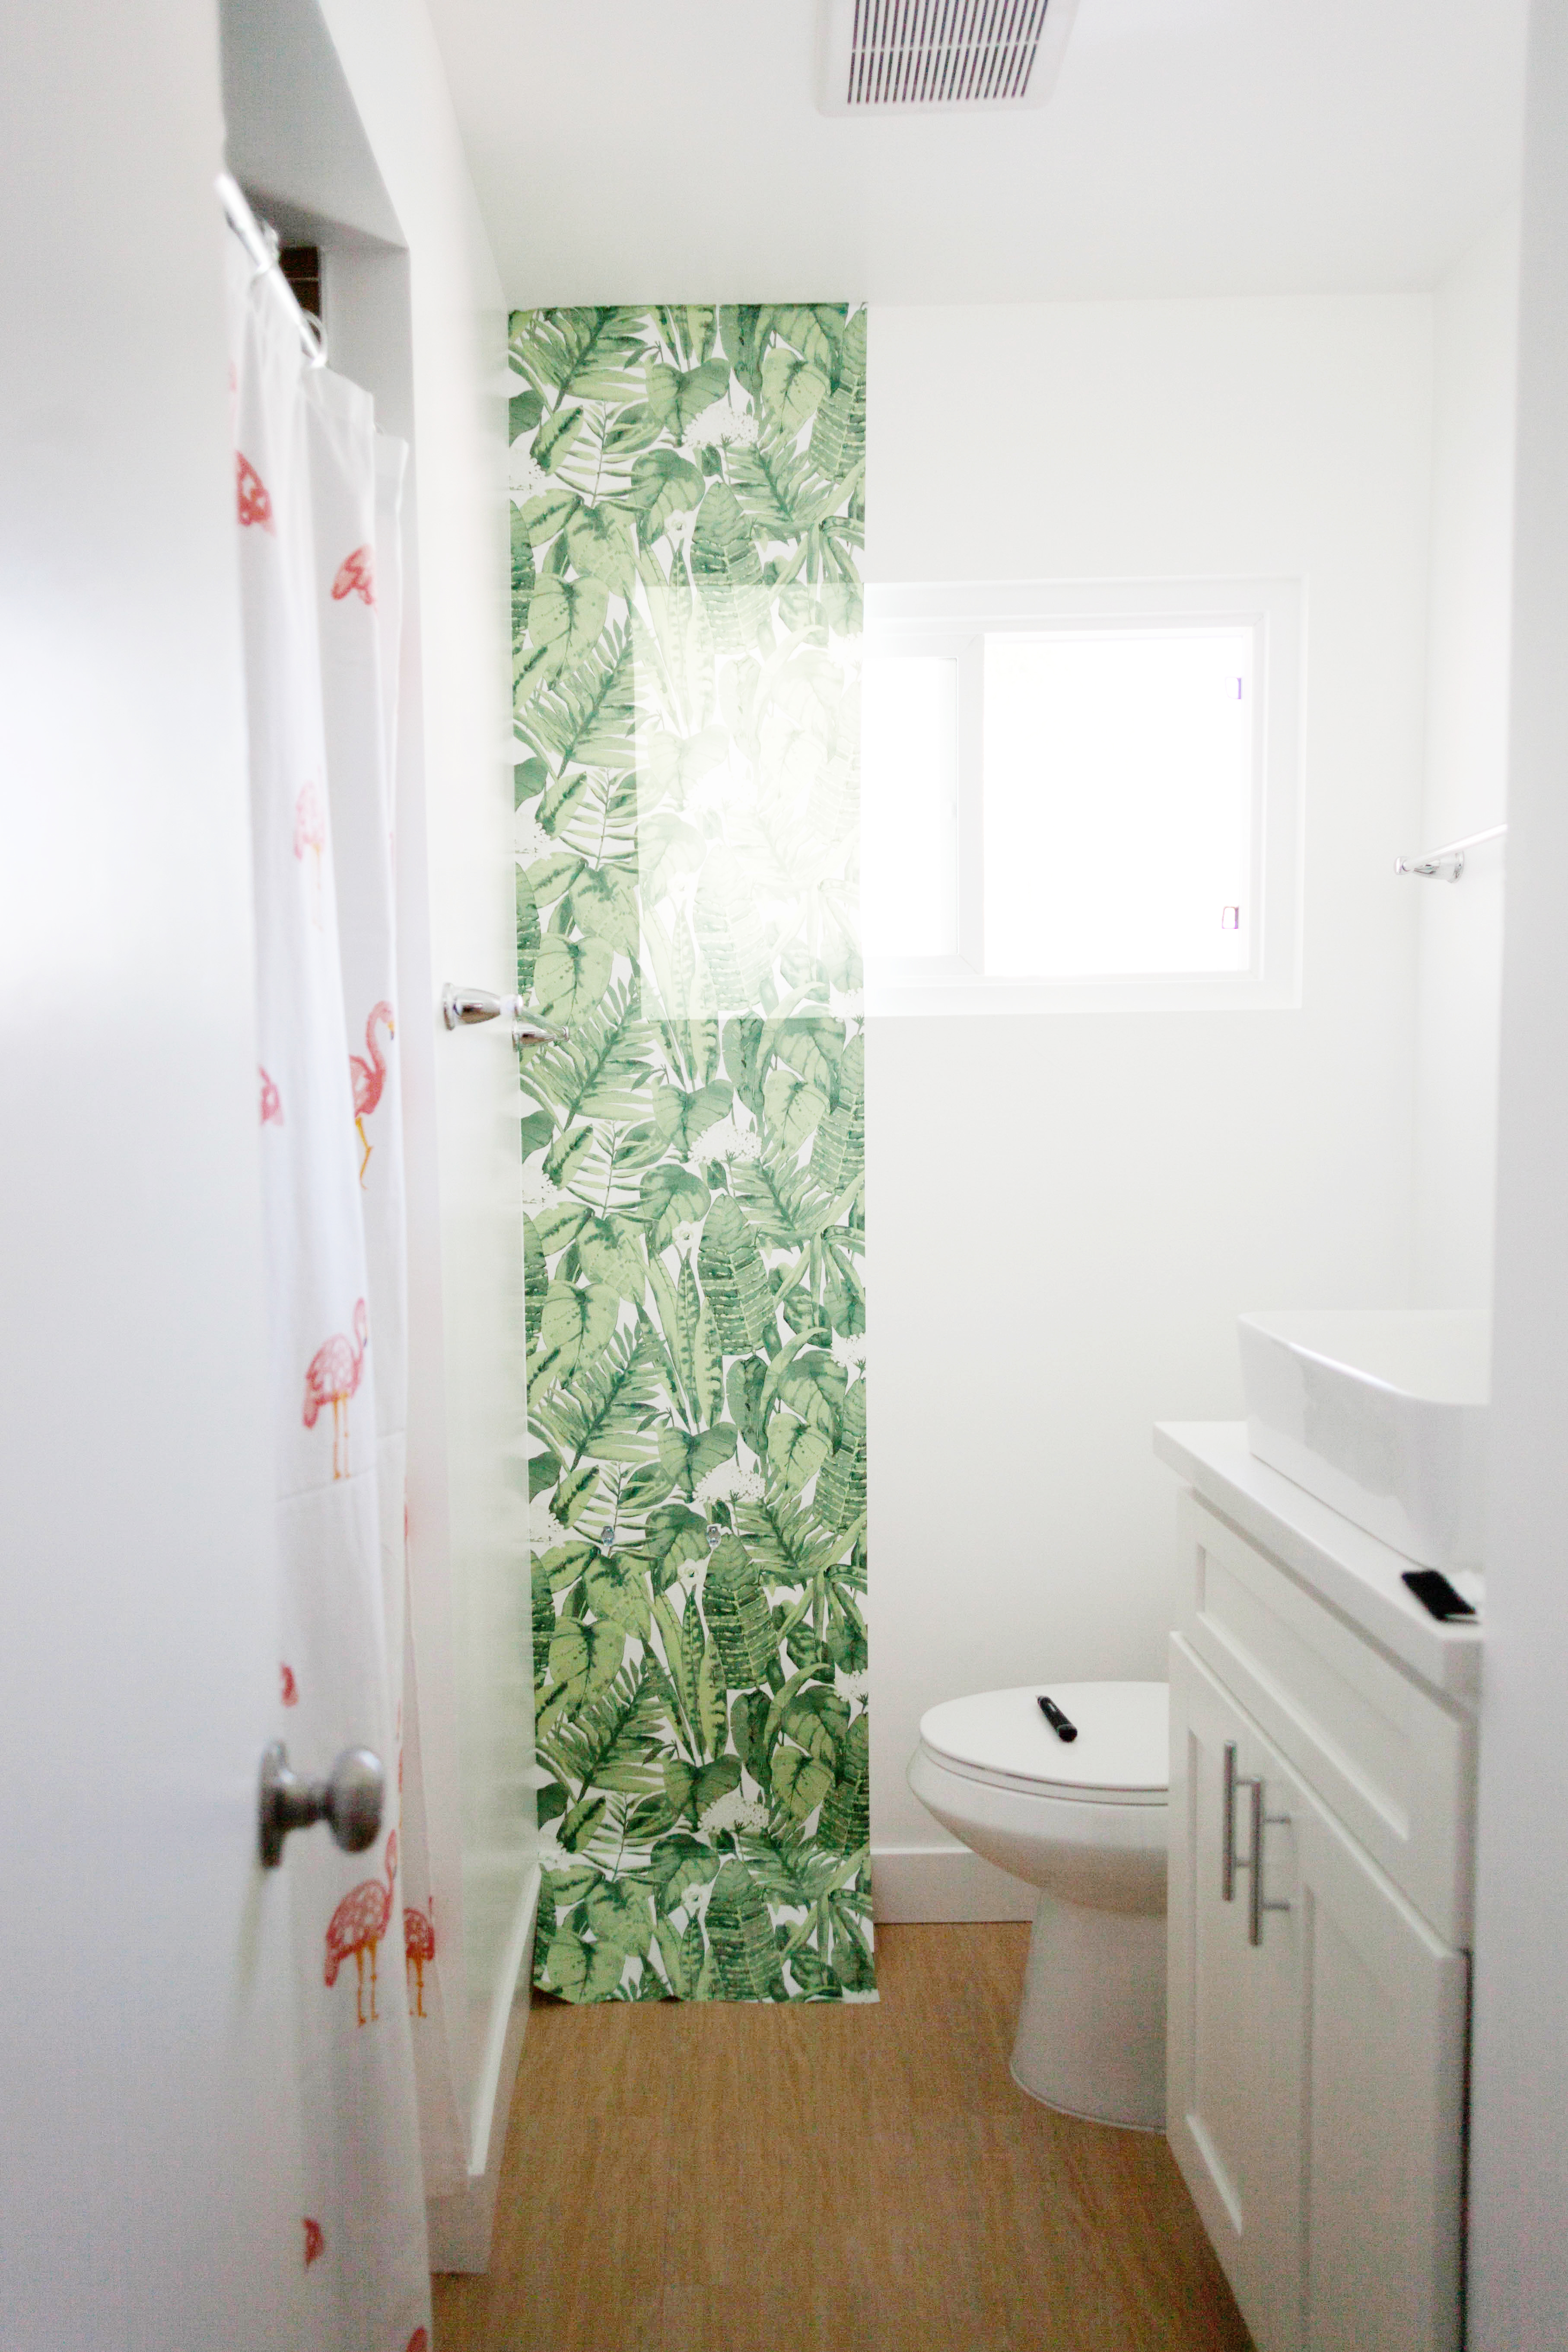
As you can see I didn’t measure or pre-cut the window section. Just simply go around when you’re done and trim around any windows, outlets, and edges with a razor blade. Just keep lining up each piece at the side seams and use a Tempaper squeegee to push out any air bubbles and smooth it out.
 And that’s it! If you’re wondering how well this paper might hold up in a bathroom, I’ll just say I took a steamy shower about an hour after I was done and no seams or edges came away from the wall. The paper is also non-porous, so it seems it’ll hold up to moisture well.
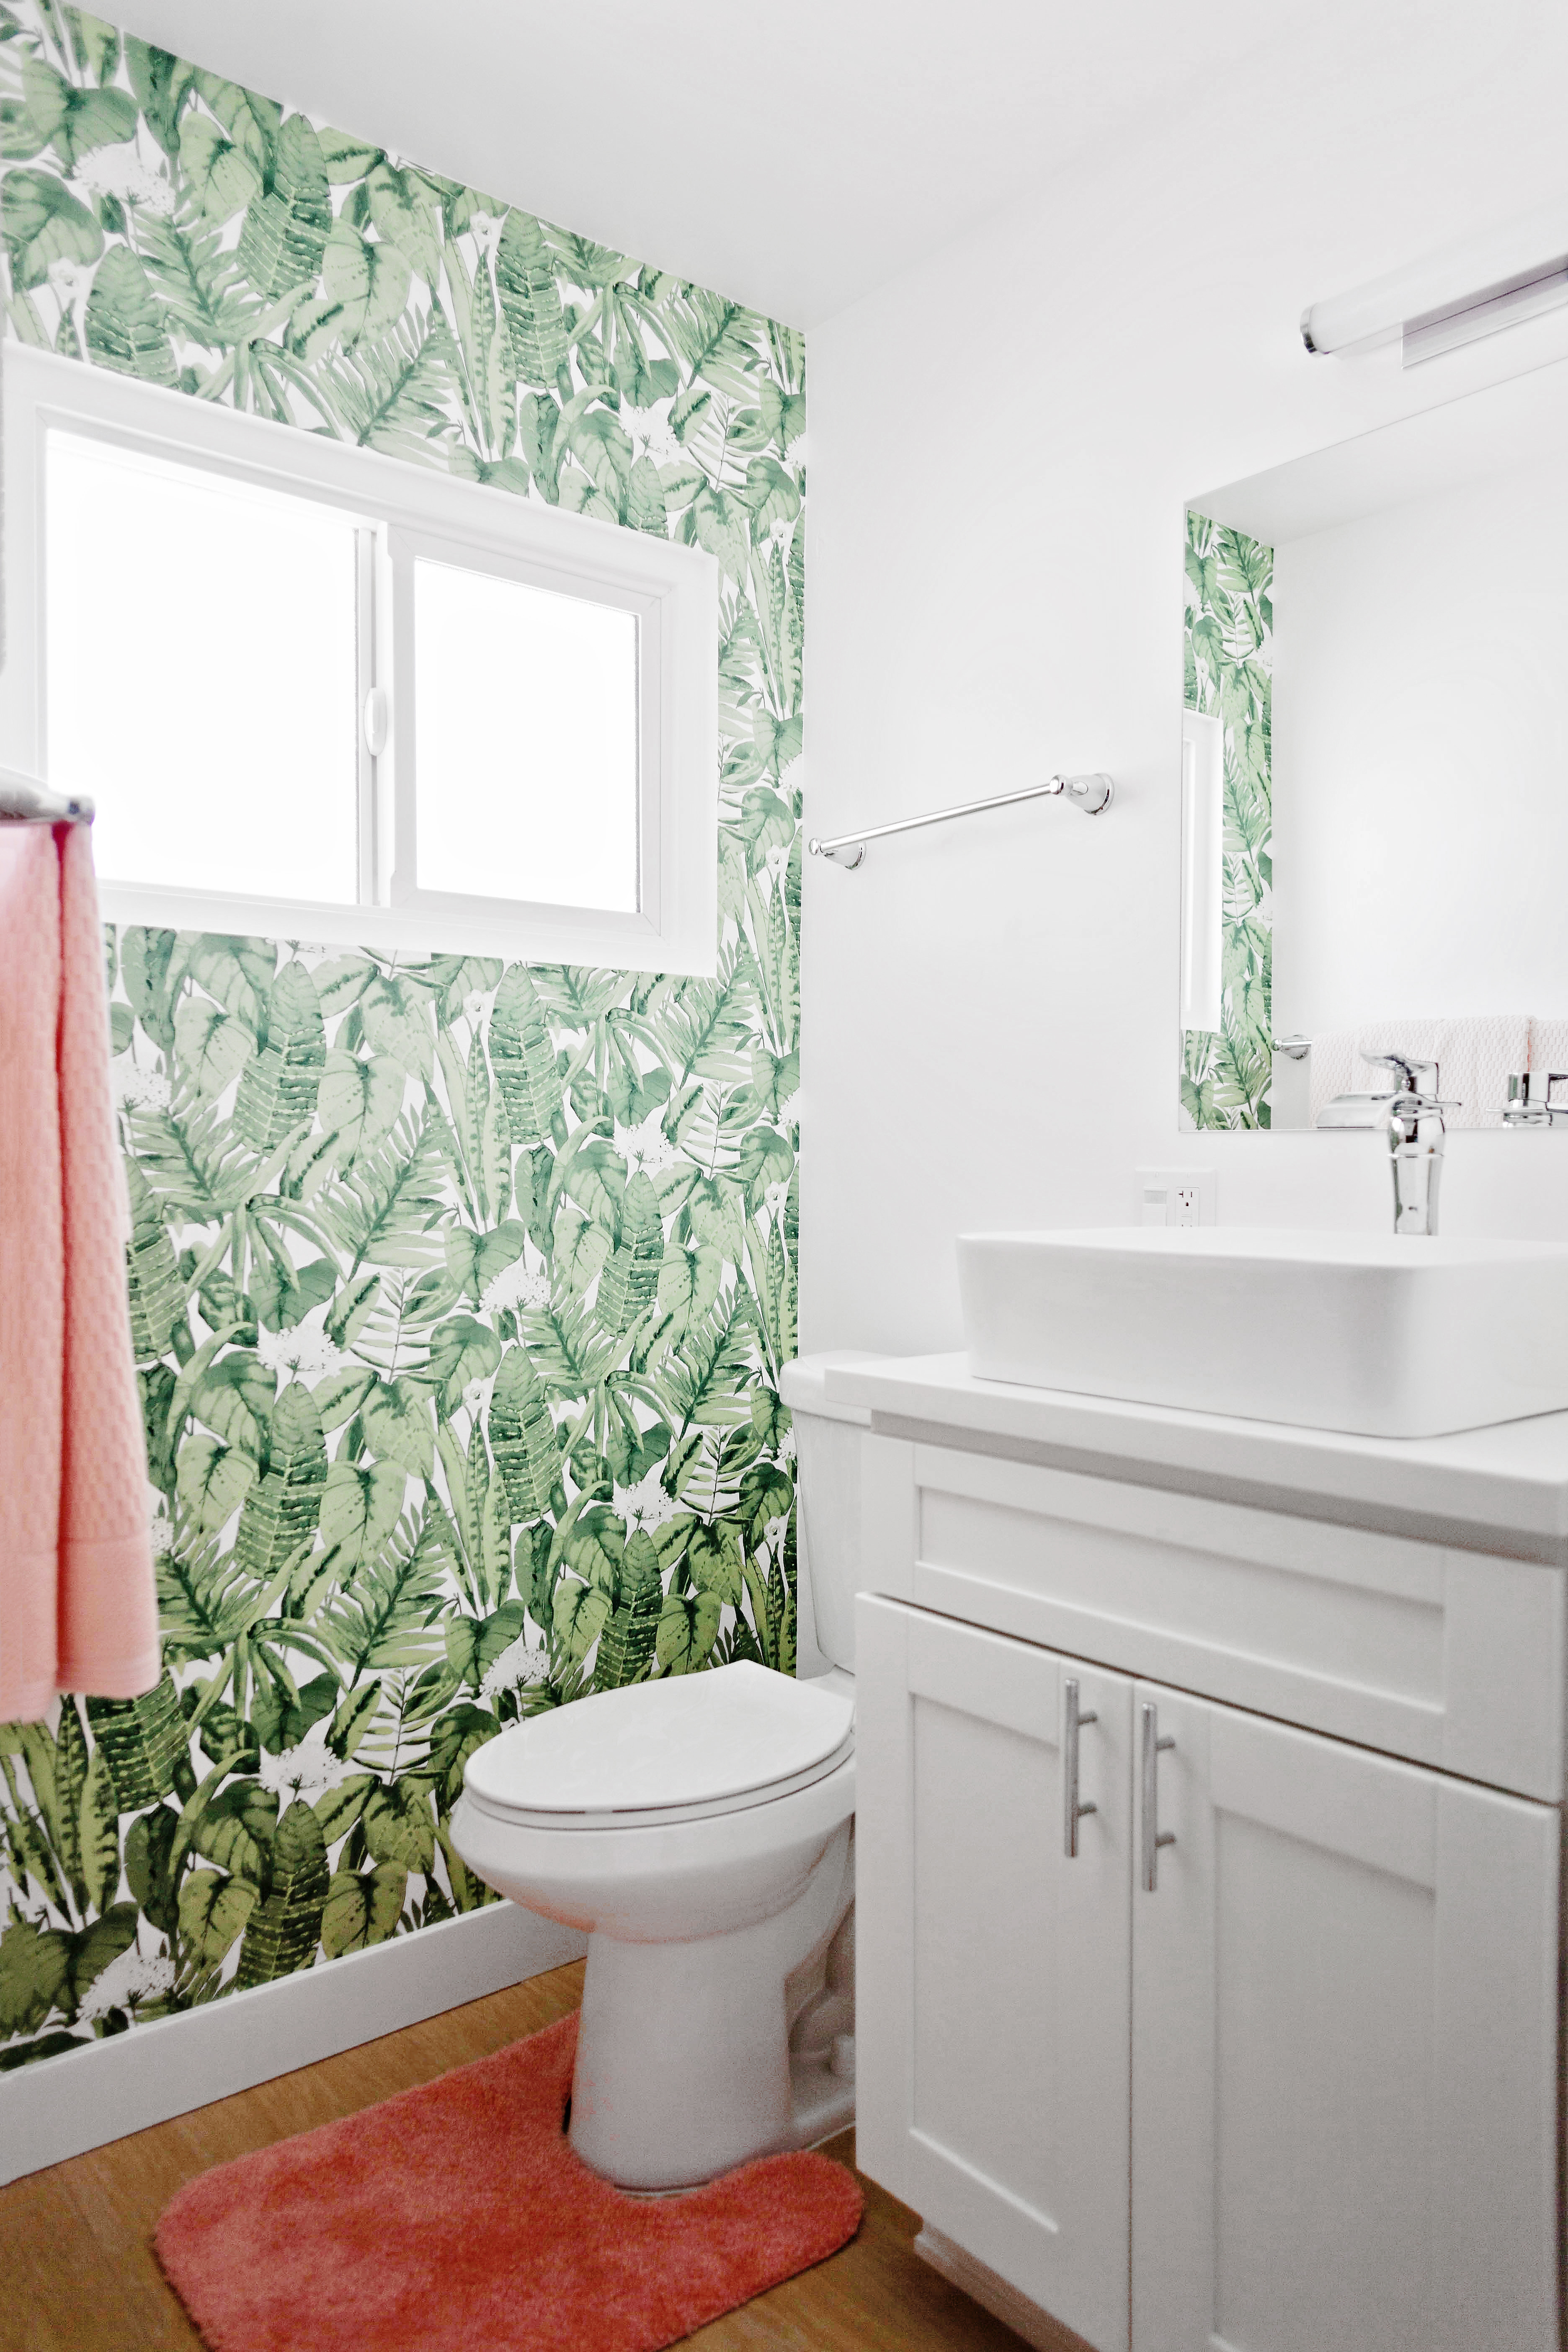
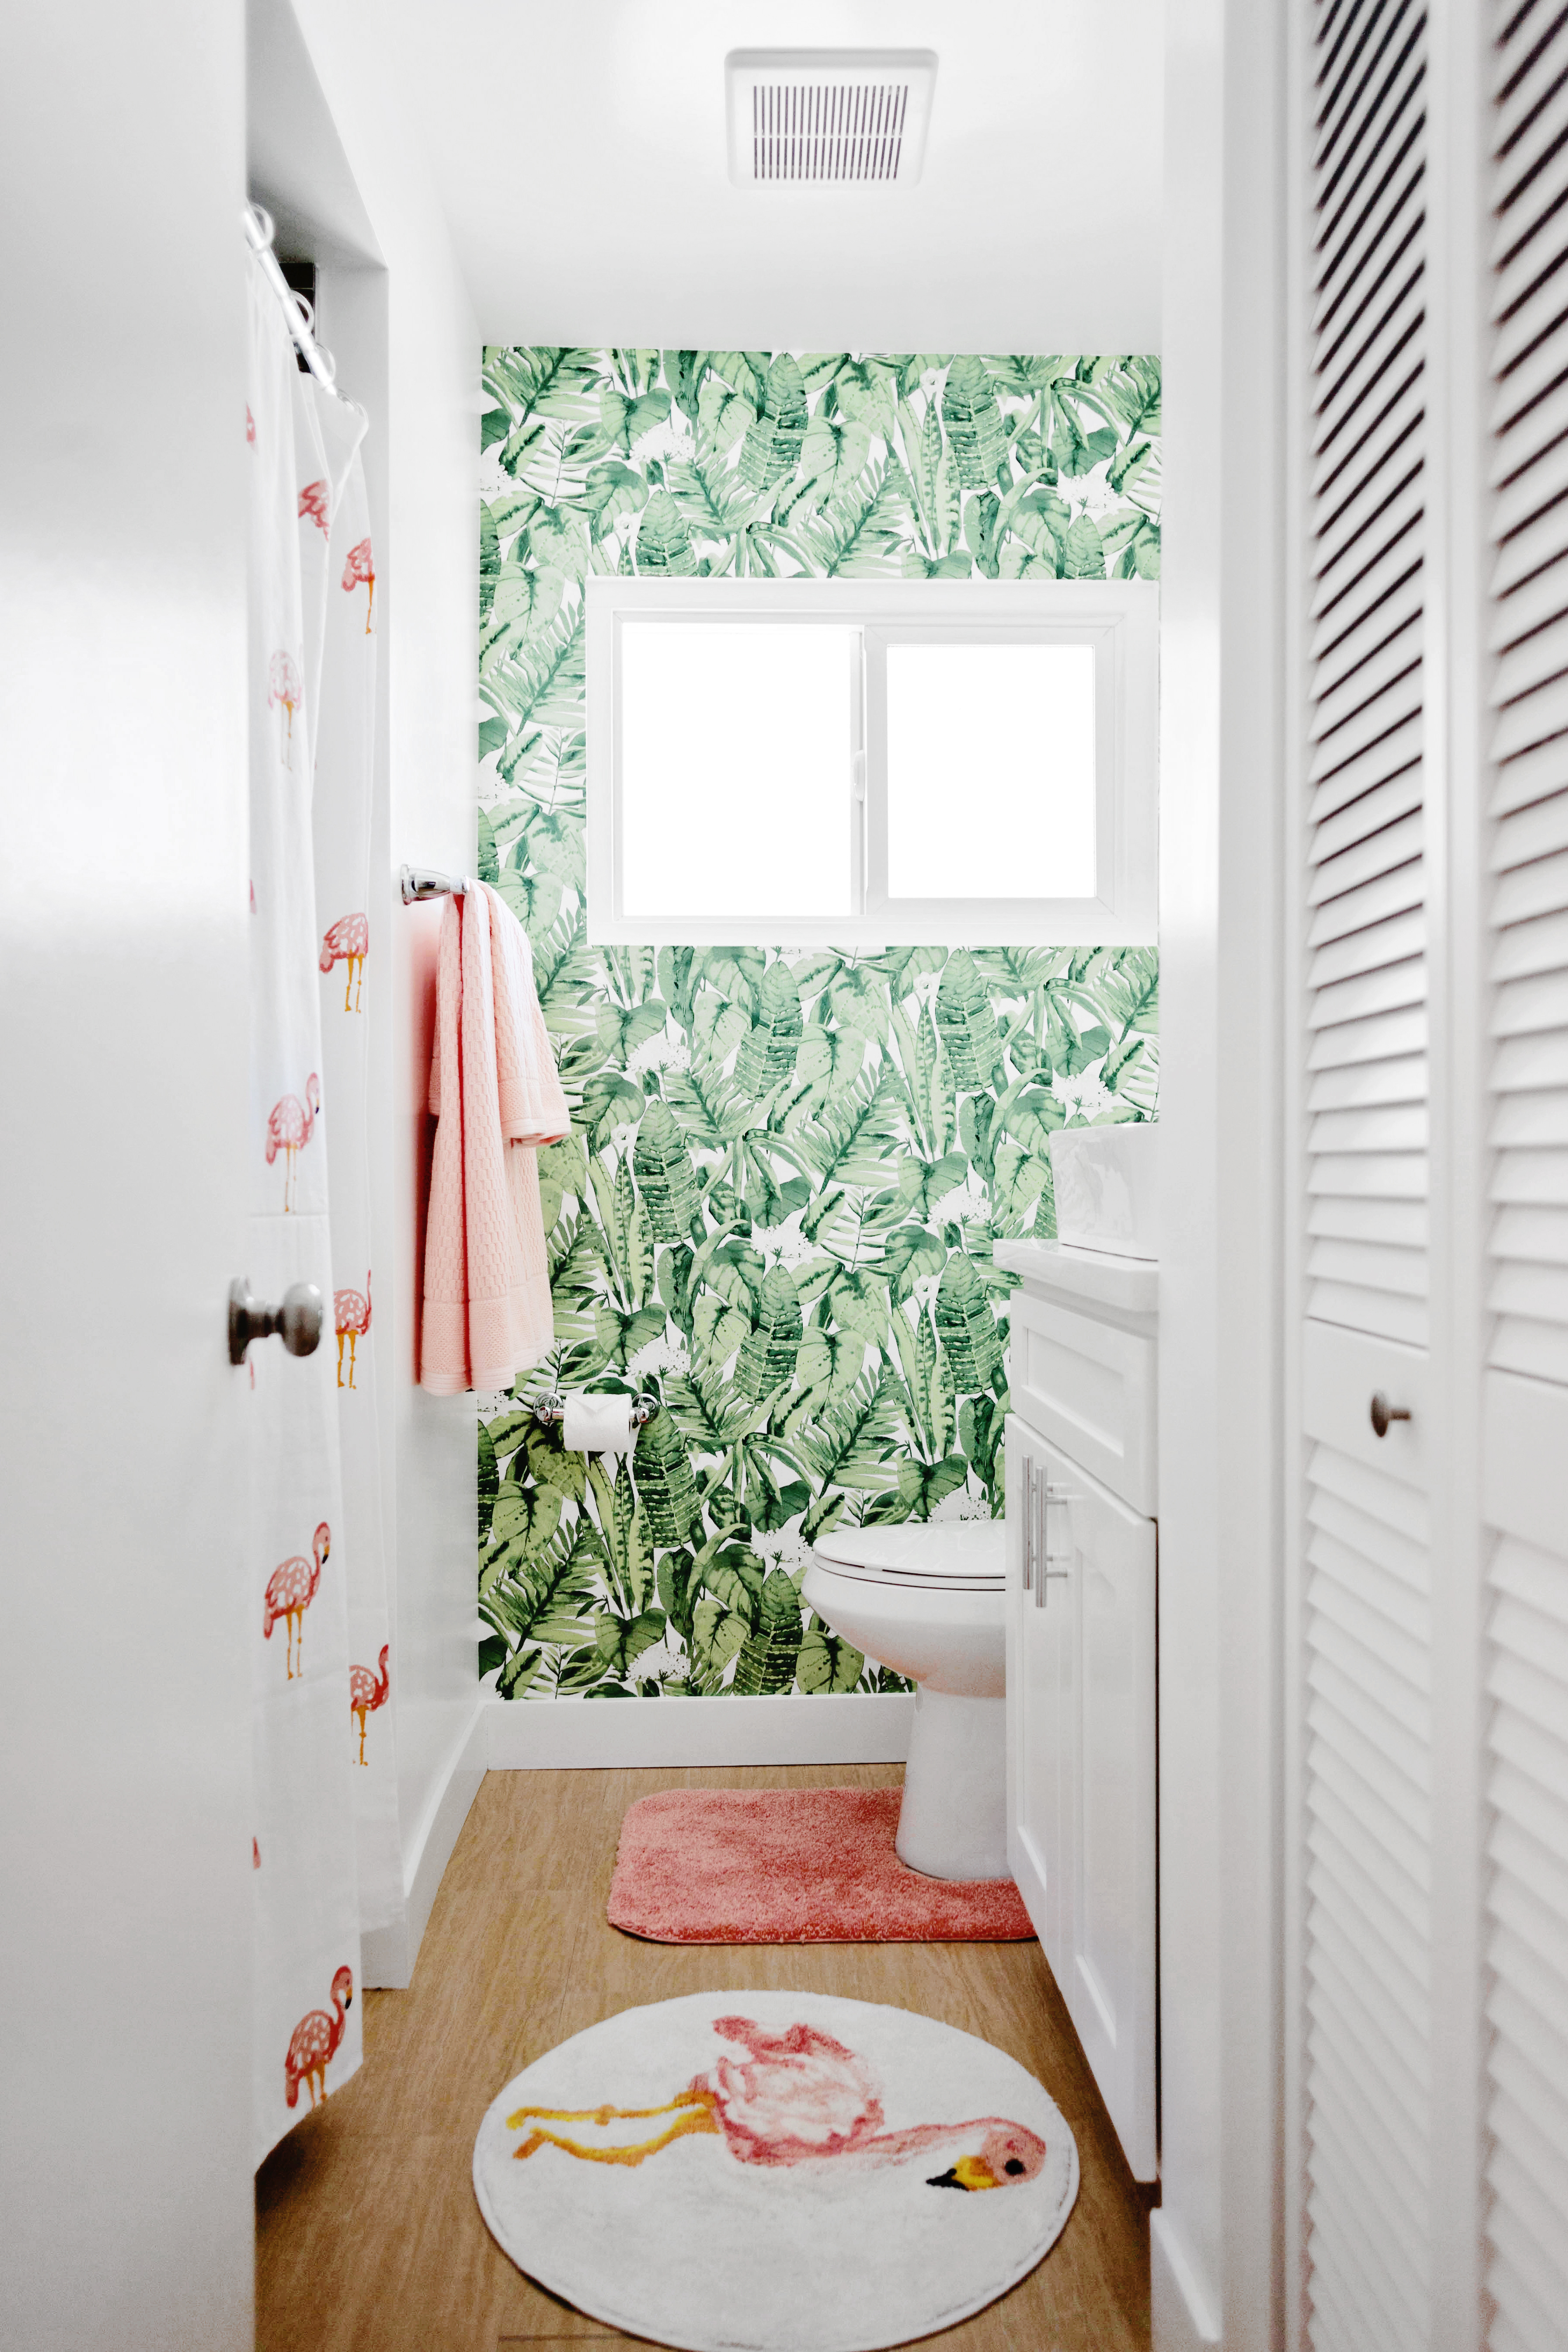
I really love how much life it brings into this small room. I originally wanted to try to do the whole room, but I think the accent wall approach is actually perfect for in here.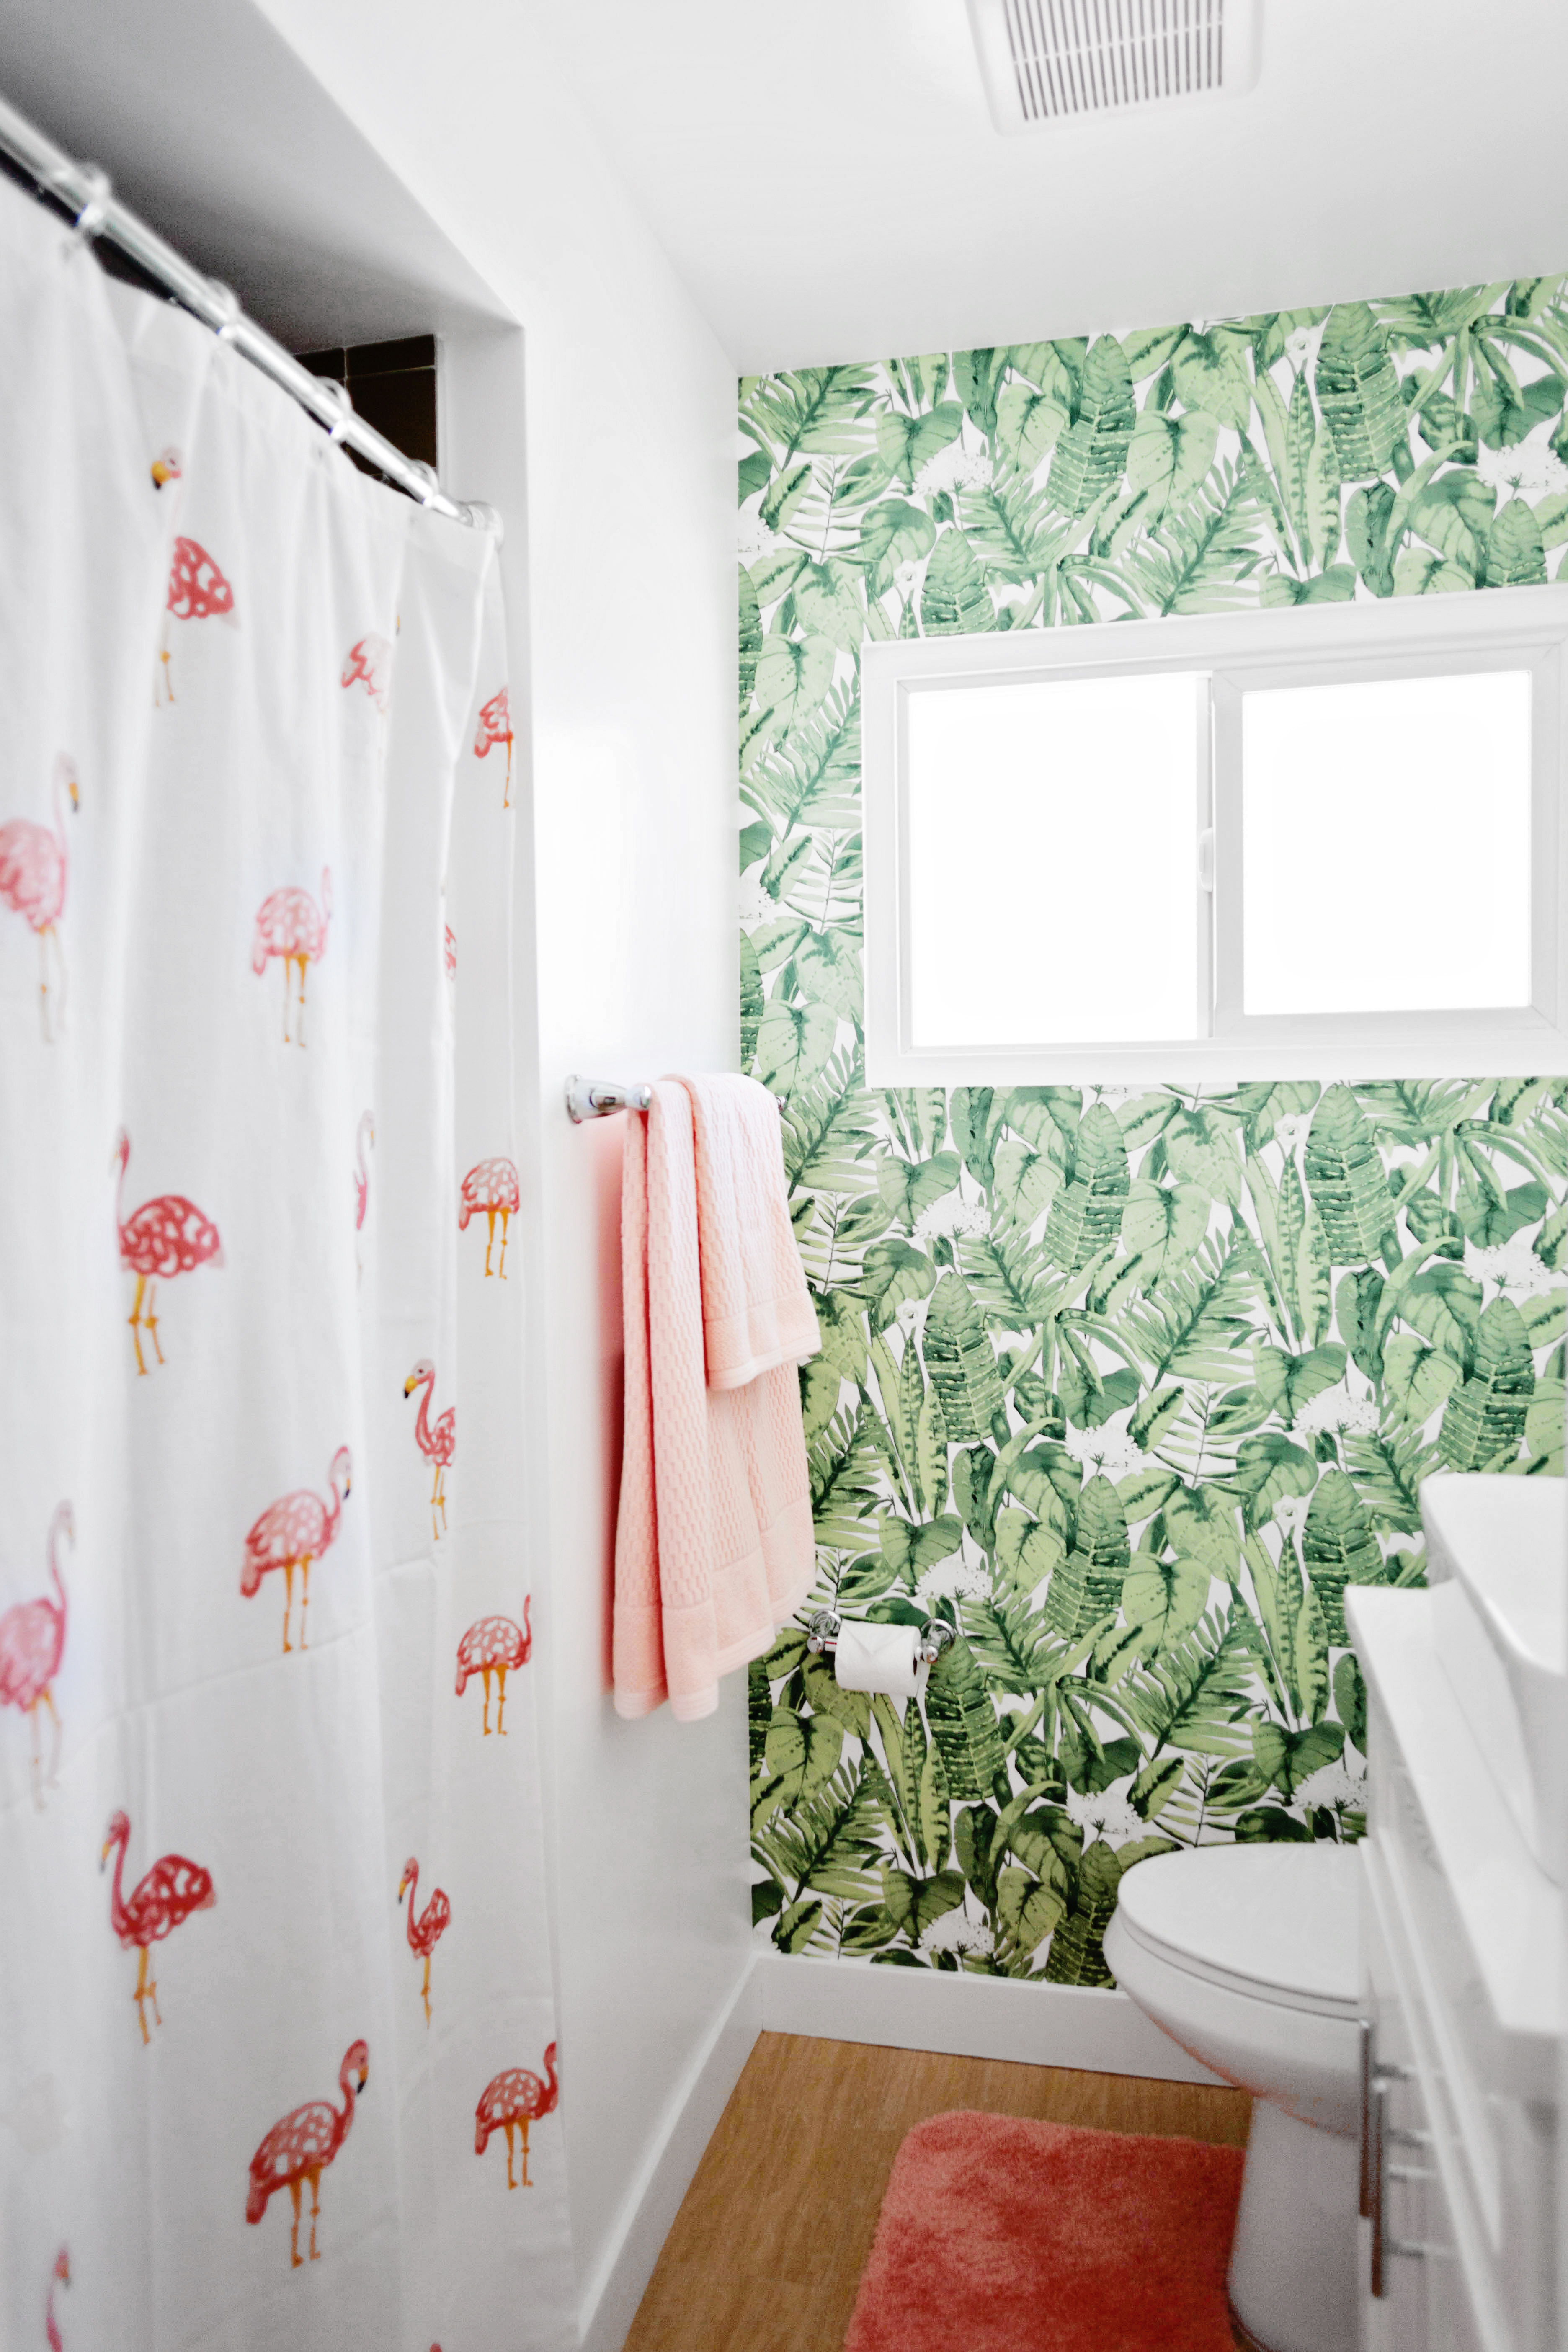
I love pink and green together so I added pink and coral colored towels and rugs and a flamingo shower curtain.
Major mid-century Palm Springs vibes, right? Now I just need to find some art work and make a valance for that window (stay tuned for that) and it’ll be complete!
Special thanks to Tempaper for being kind enough to provide product for this project. As always, all opinions are genuine and my own.

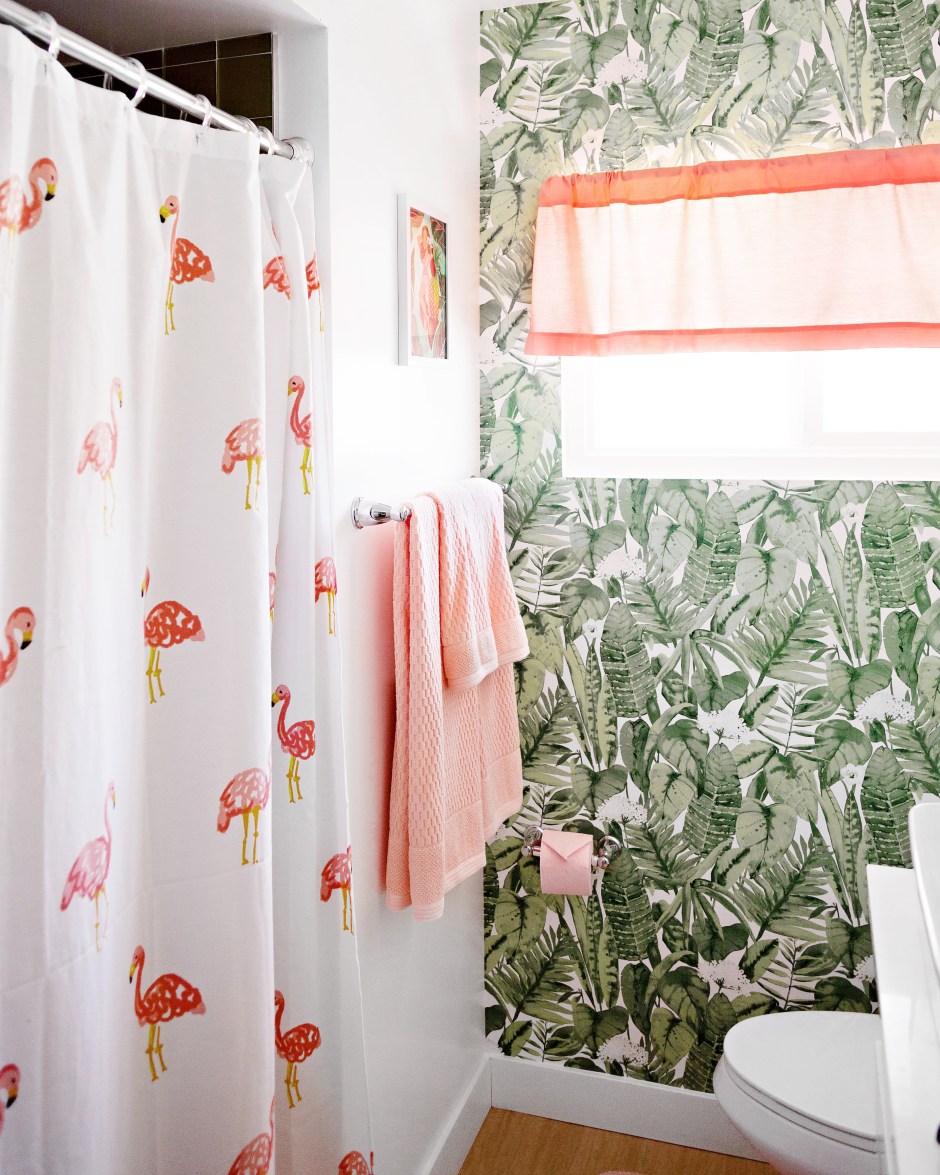

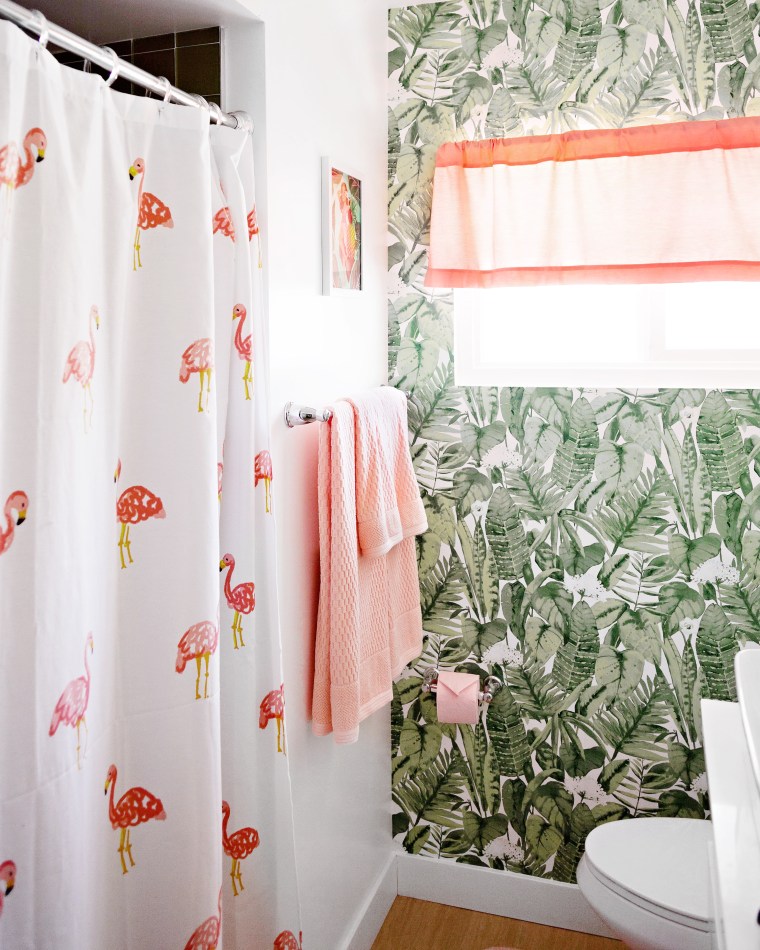 The flamingo shower curtain is from Target, the cute little piña colada girl print is from Ann Shen, ANNND the final detail is pink Renova toilet paper!
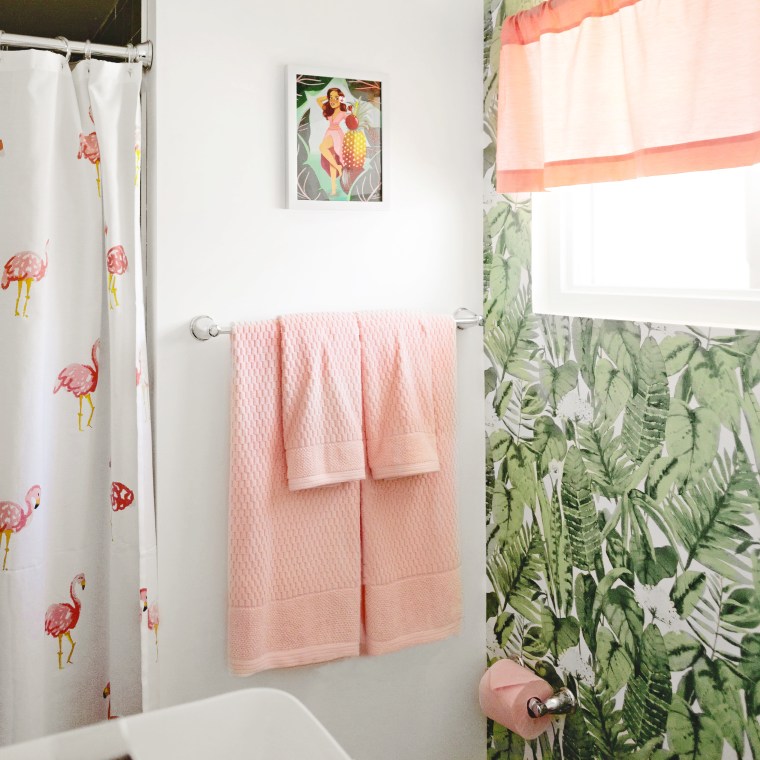


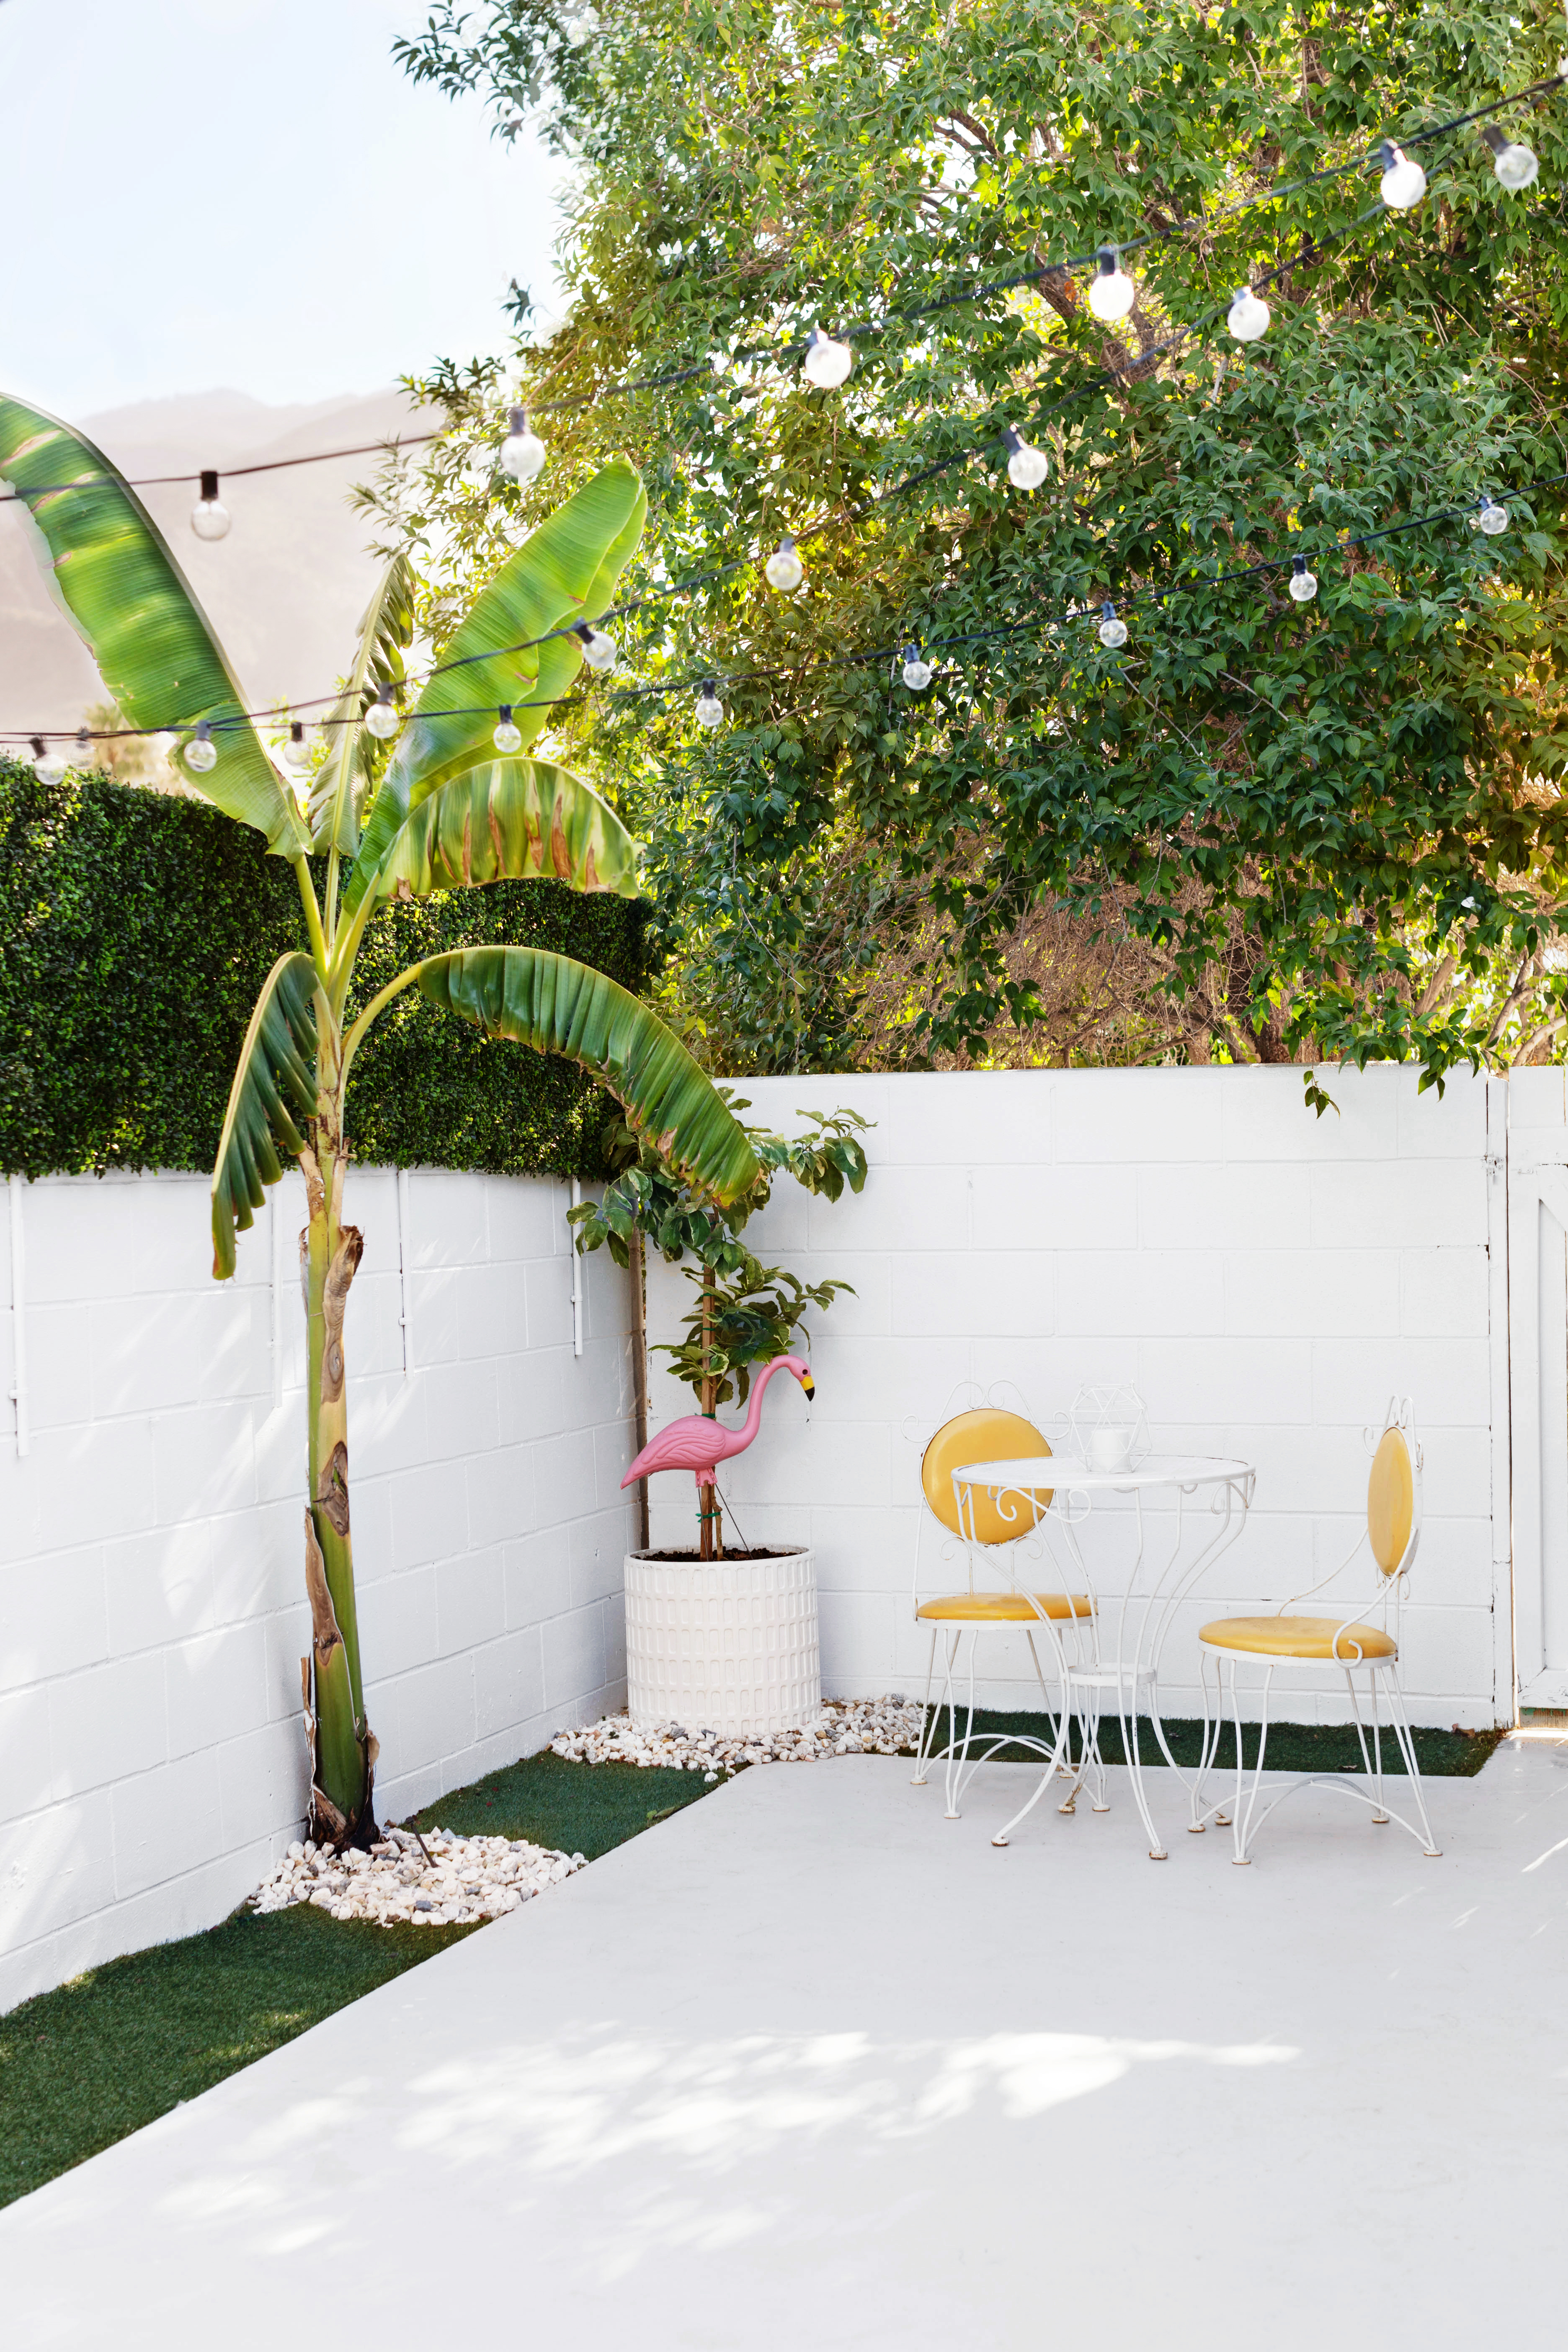
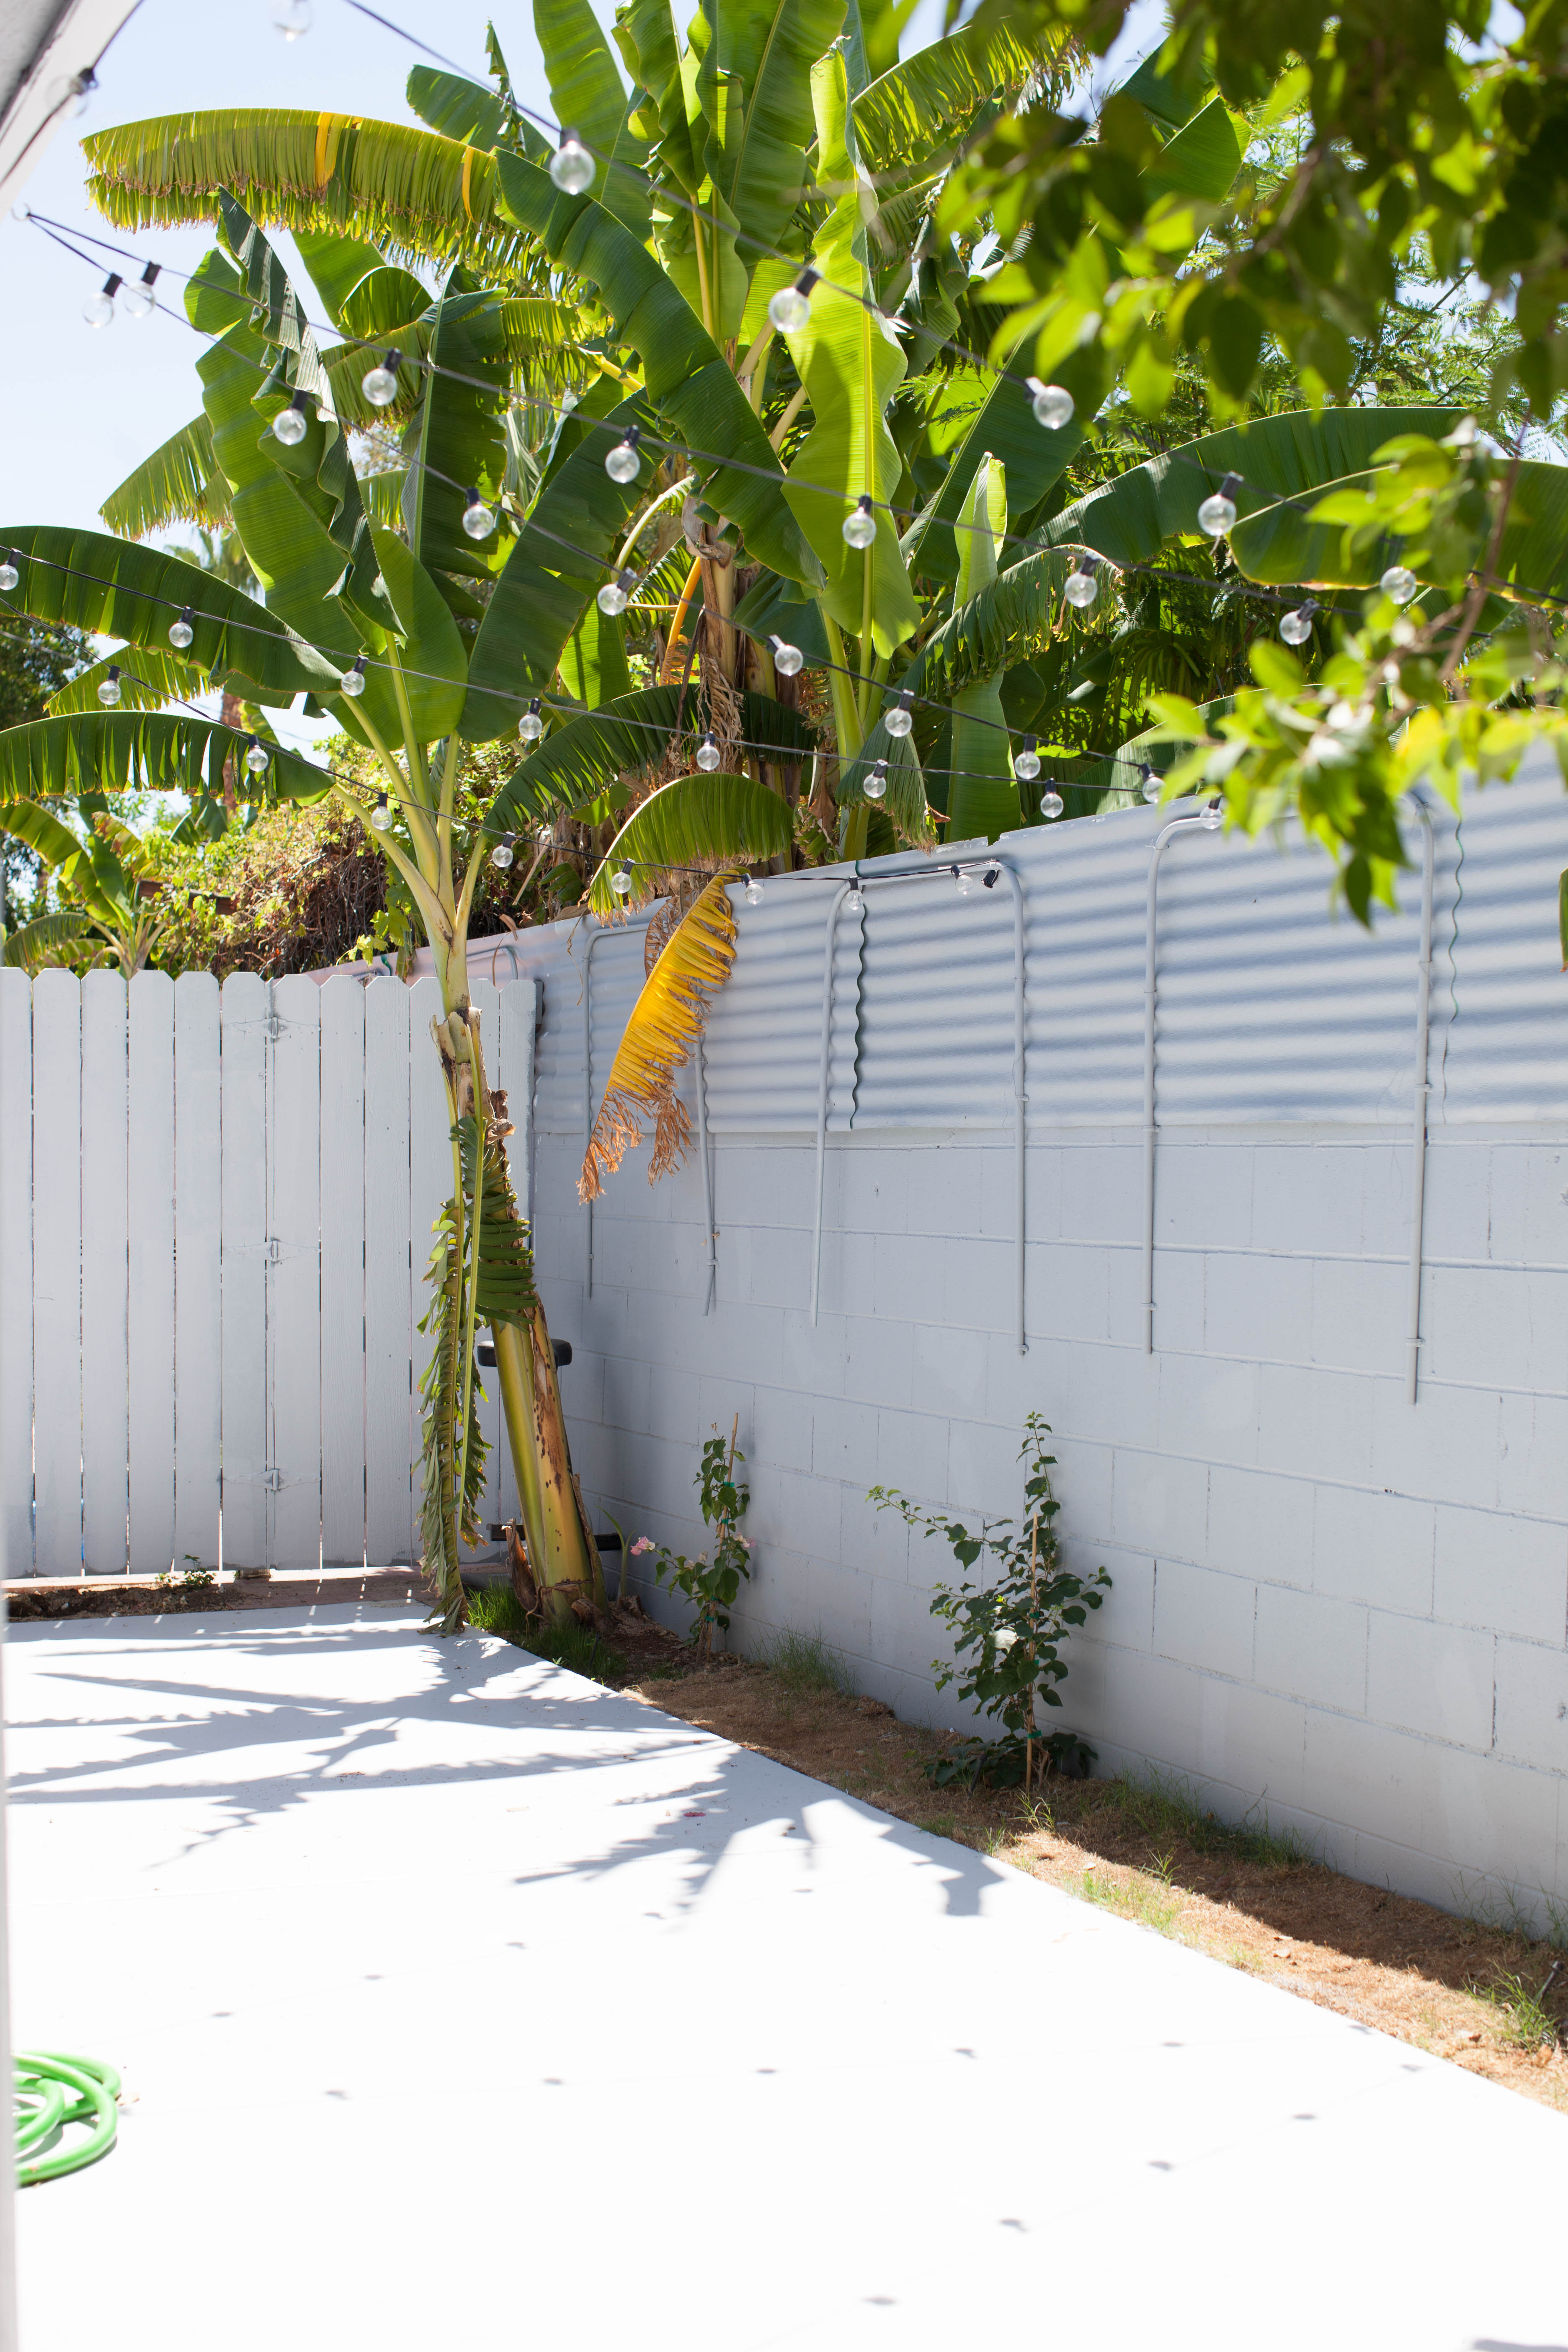 First we painted the floor a light gray because the orange color that was there before was peeling, was reflecting an ugly muddy orange color cast onto our interior white walls, and just generally didn’t fit in with my ideal vibe. I ended up painting the cinderblock as well for the same reasons.
 They’re 20×20 inch faux boxwood panels that link together easily to cover all kinds of fences and walls. It was so easy to install and have been holding up well for months now, even in 120+ degree weather.
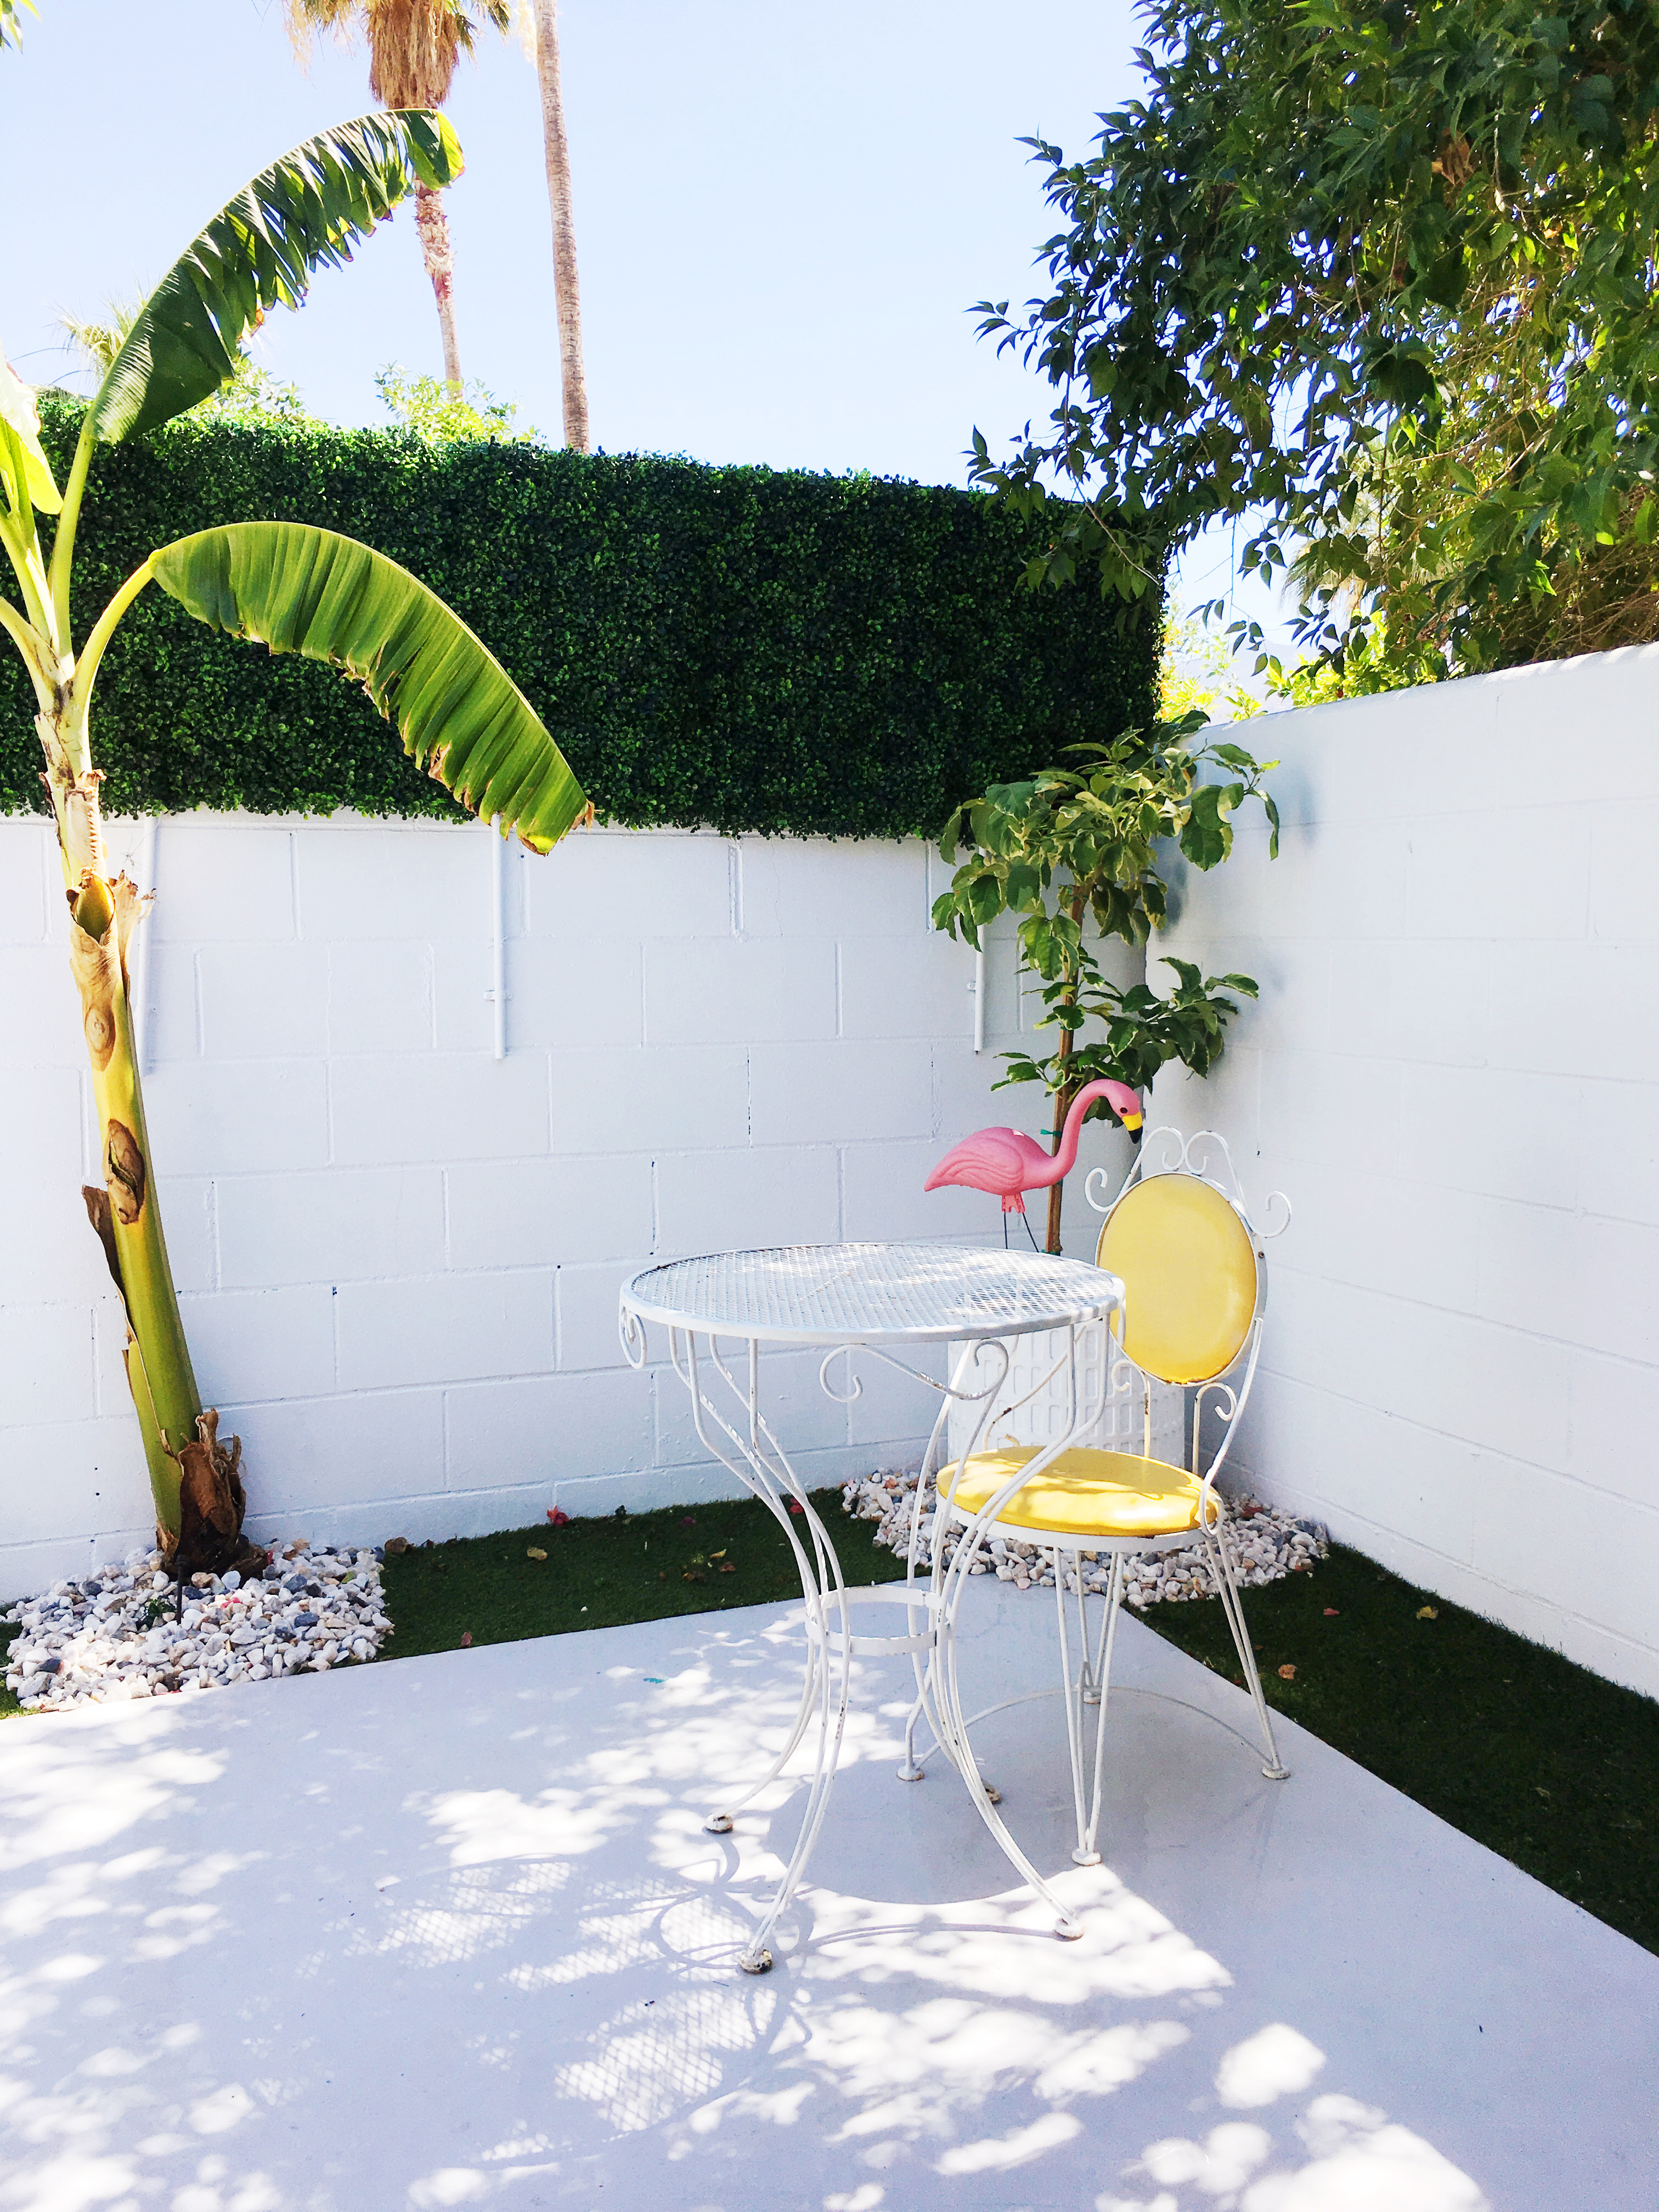

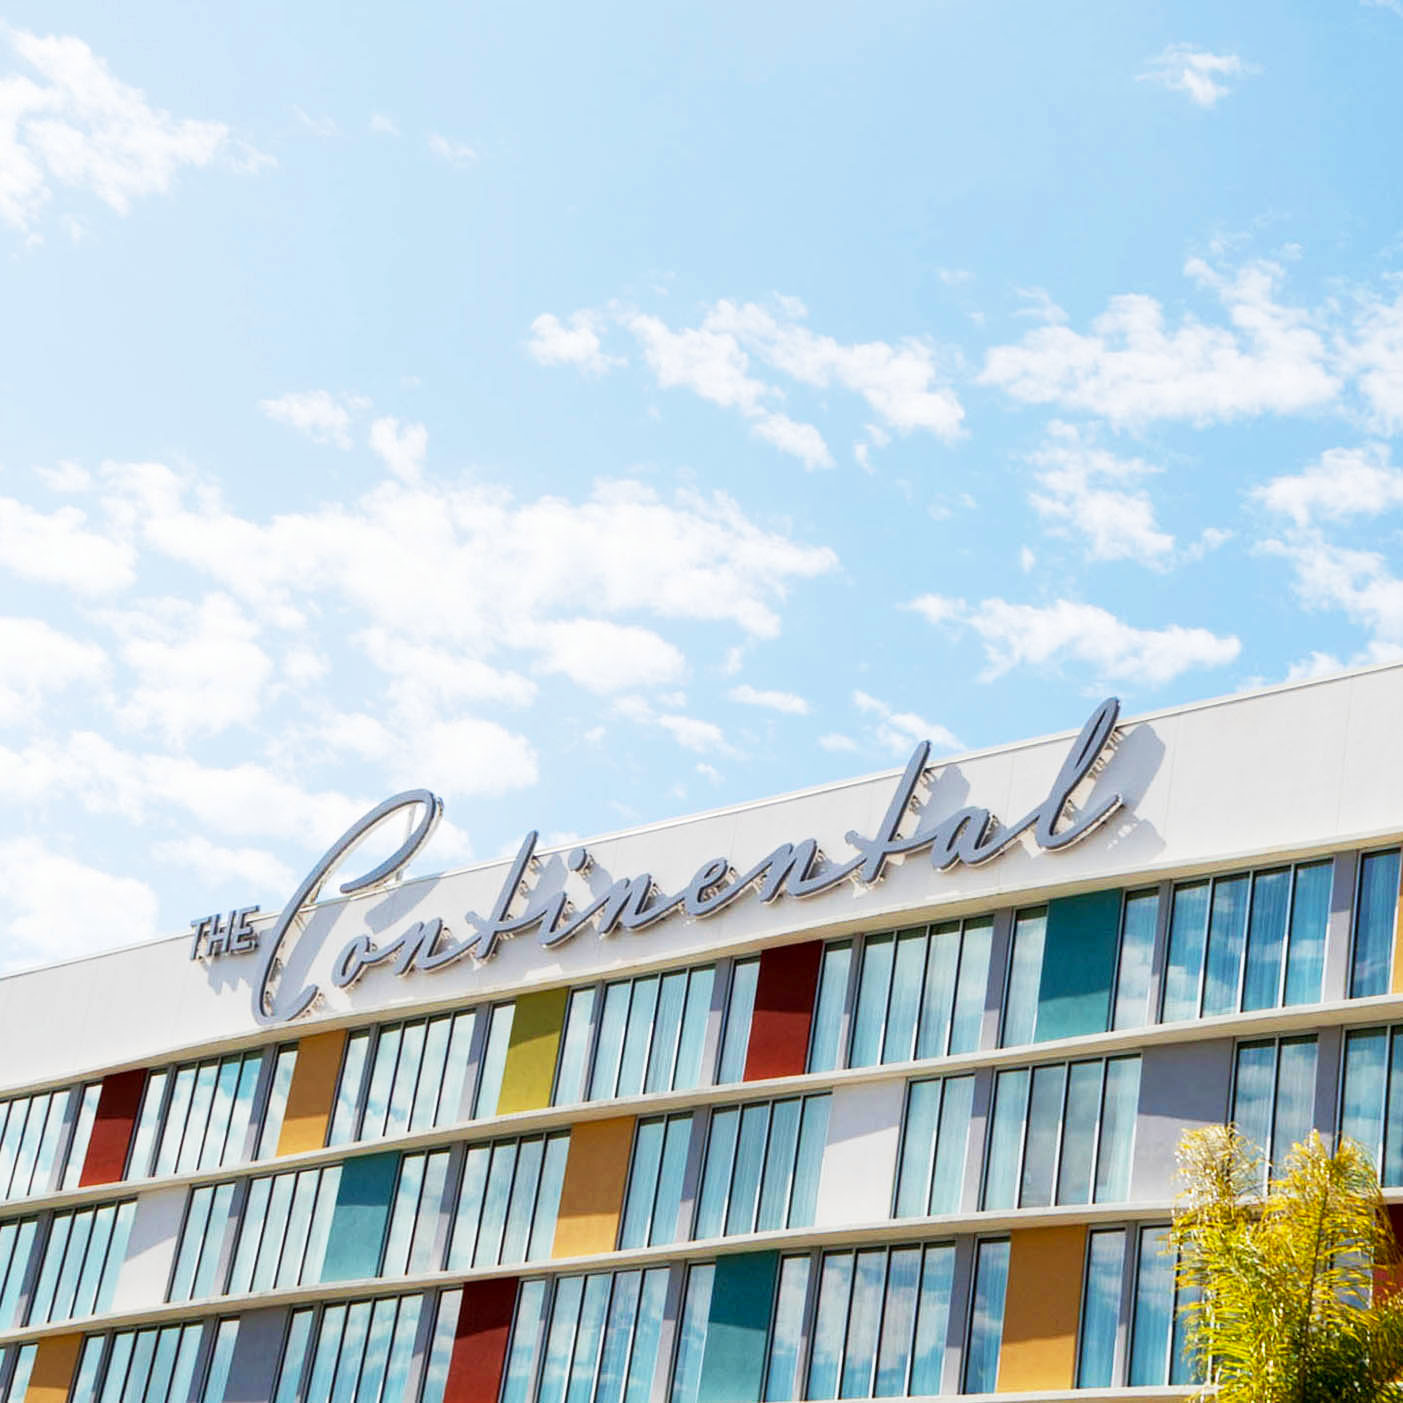
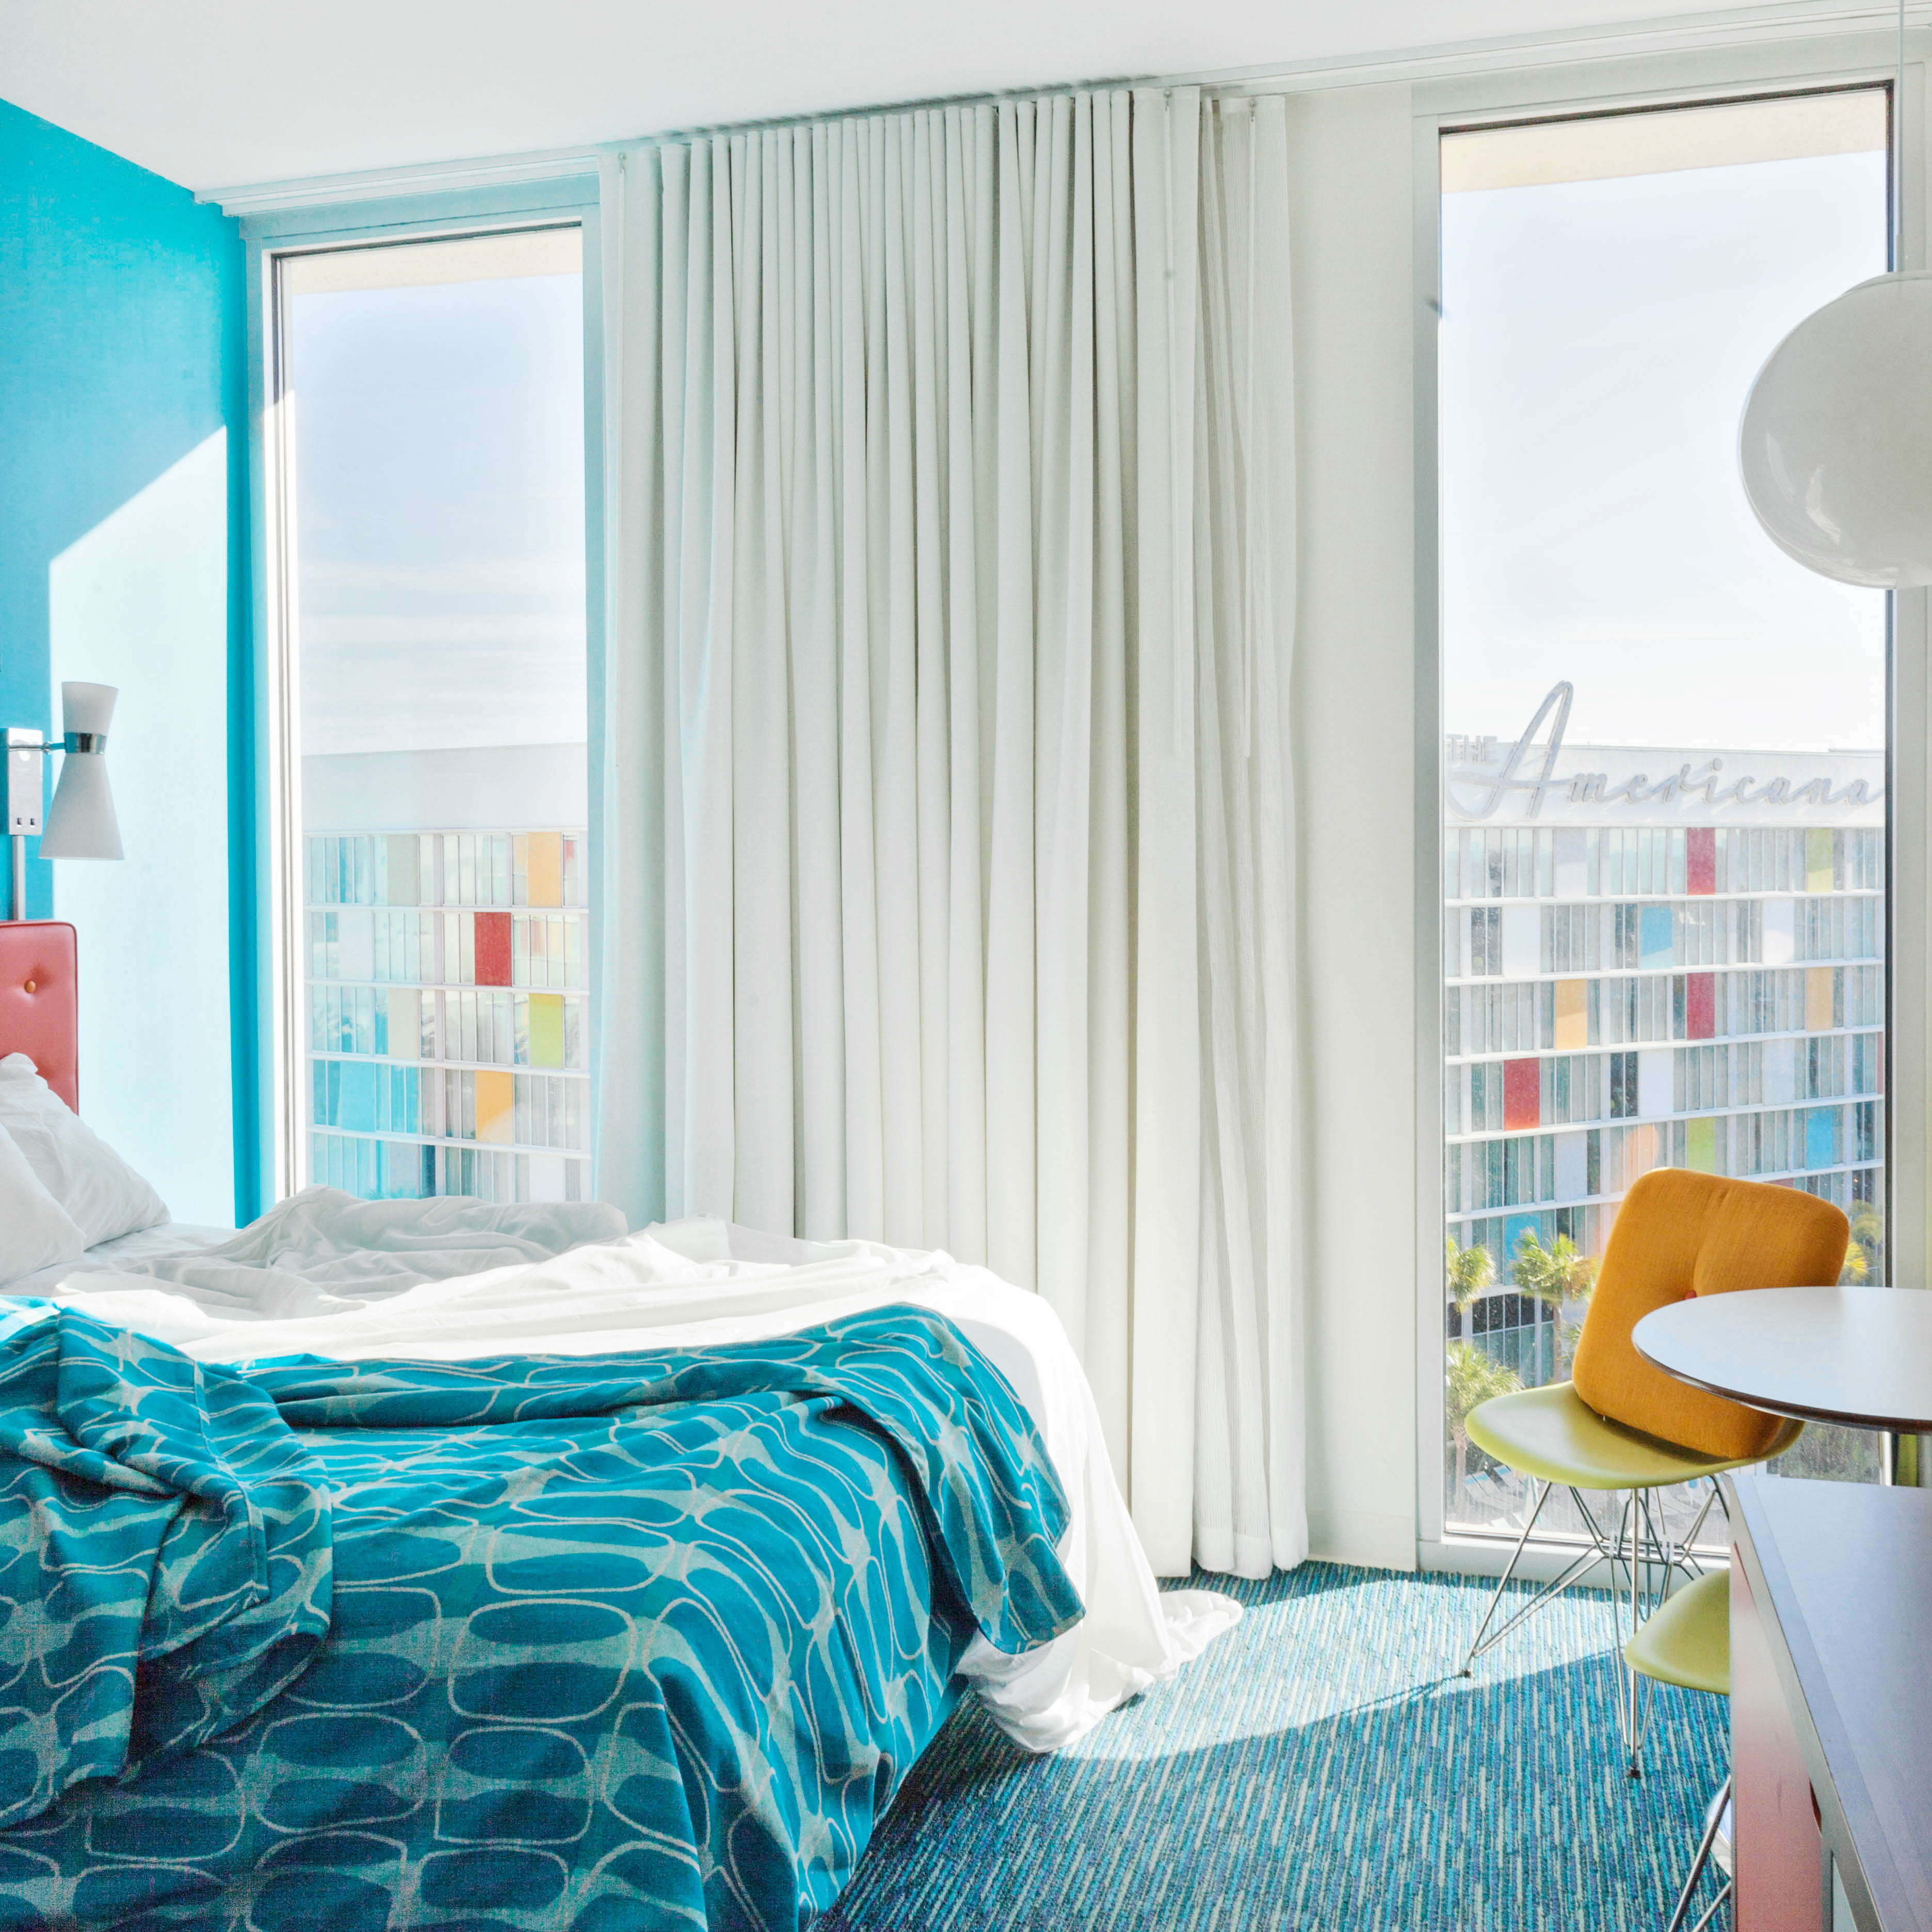
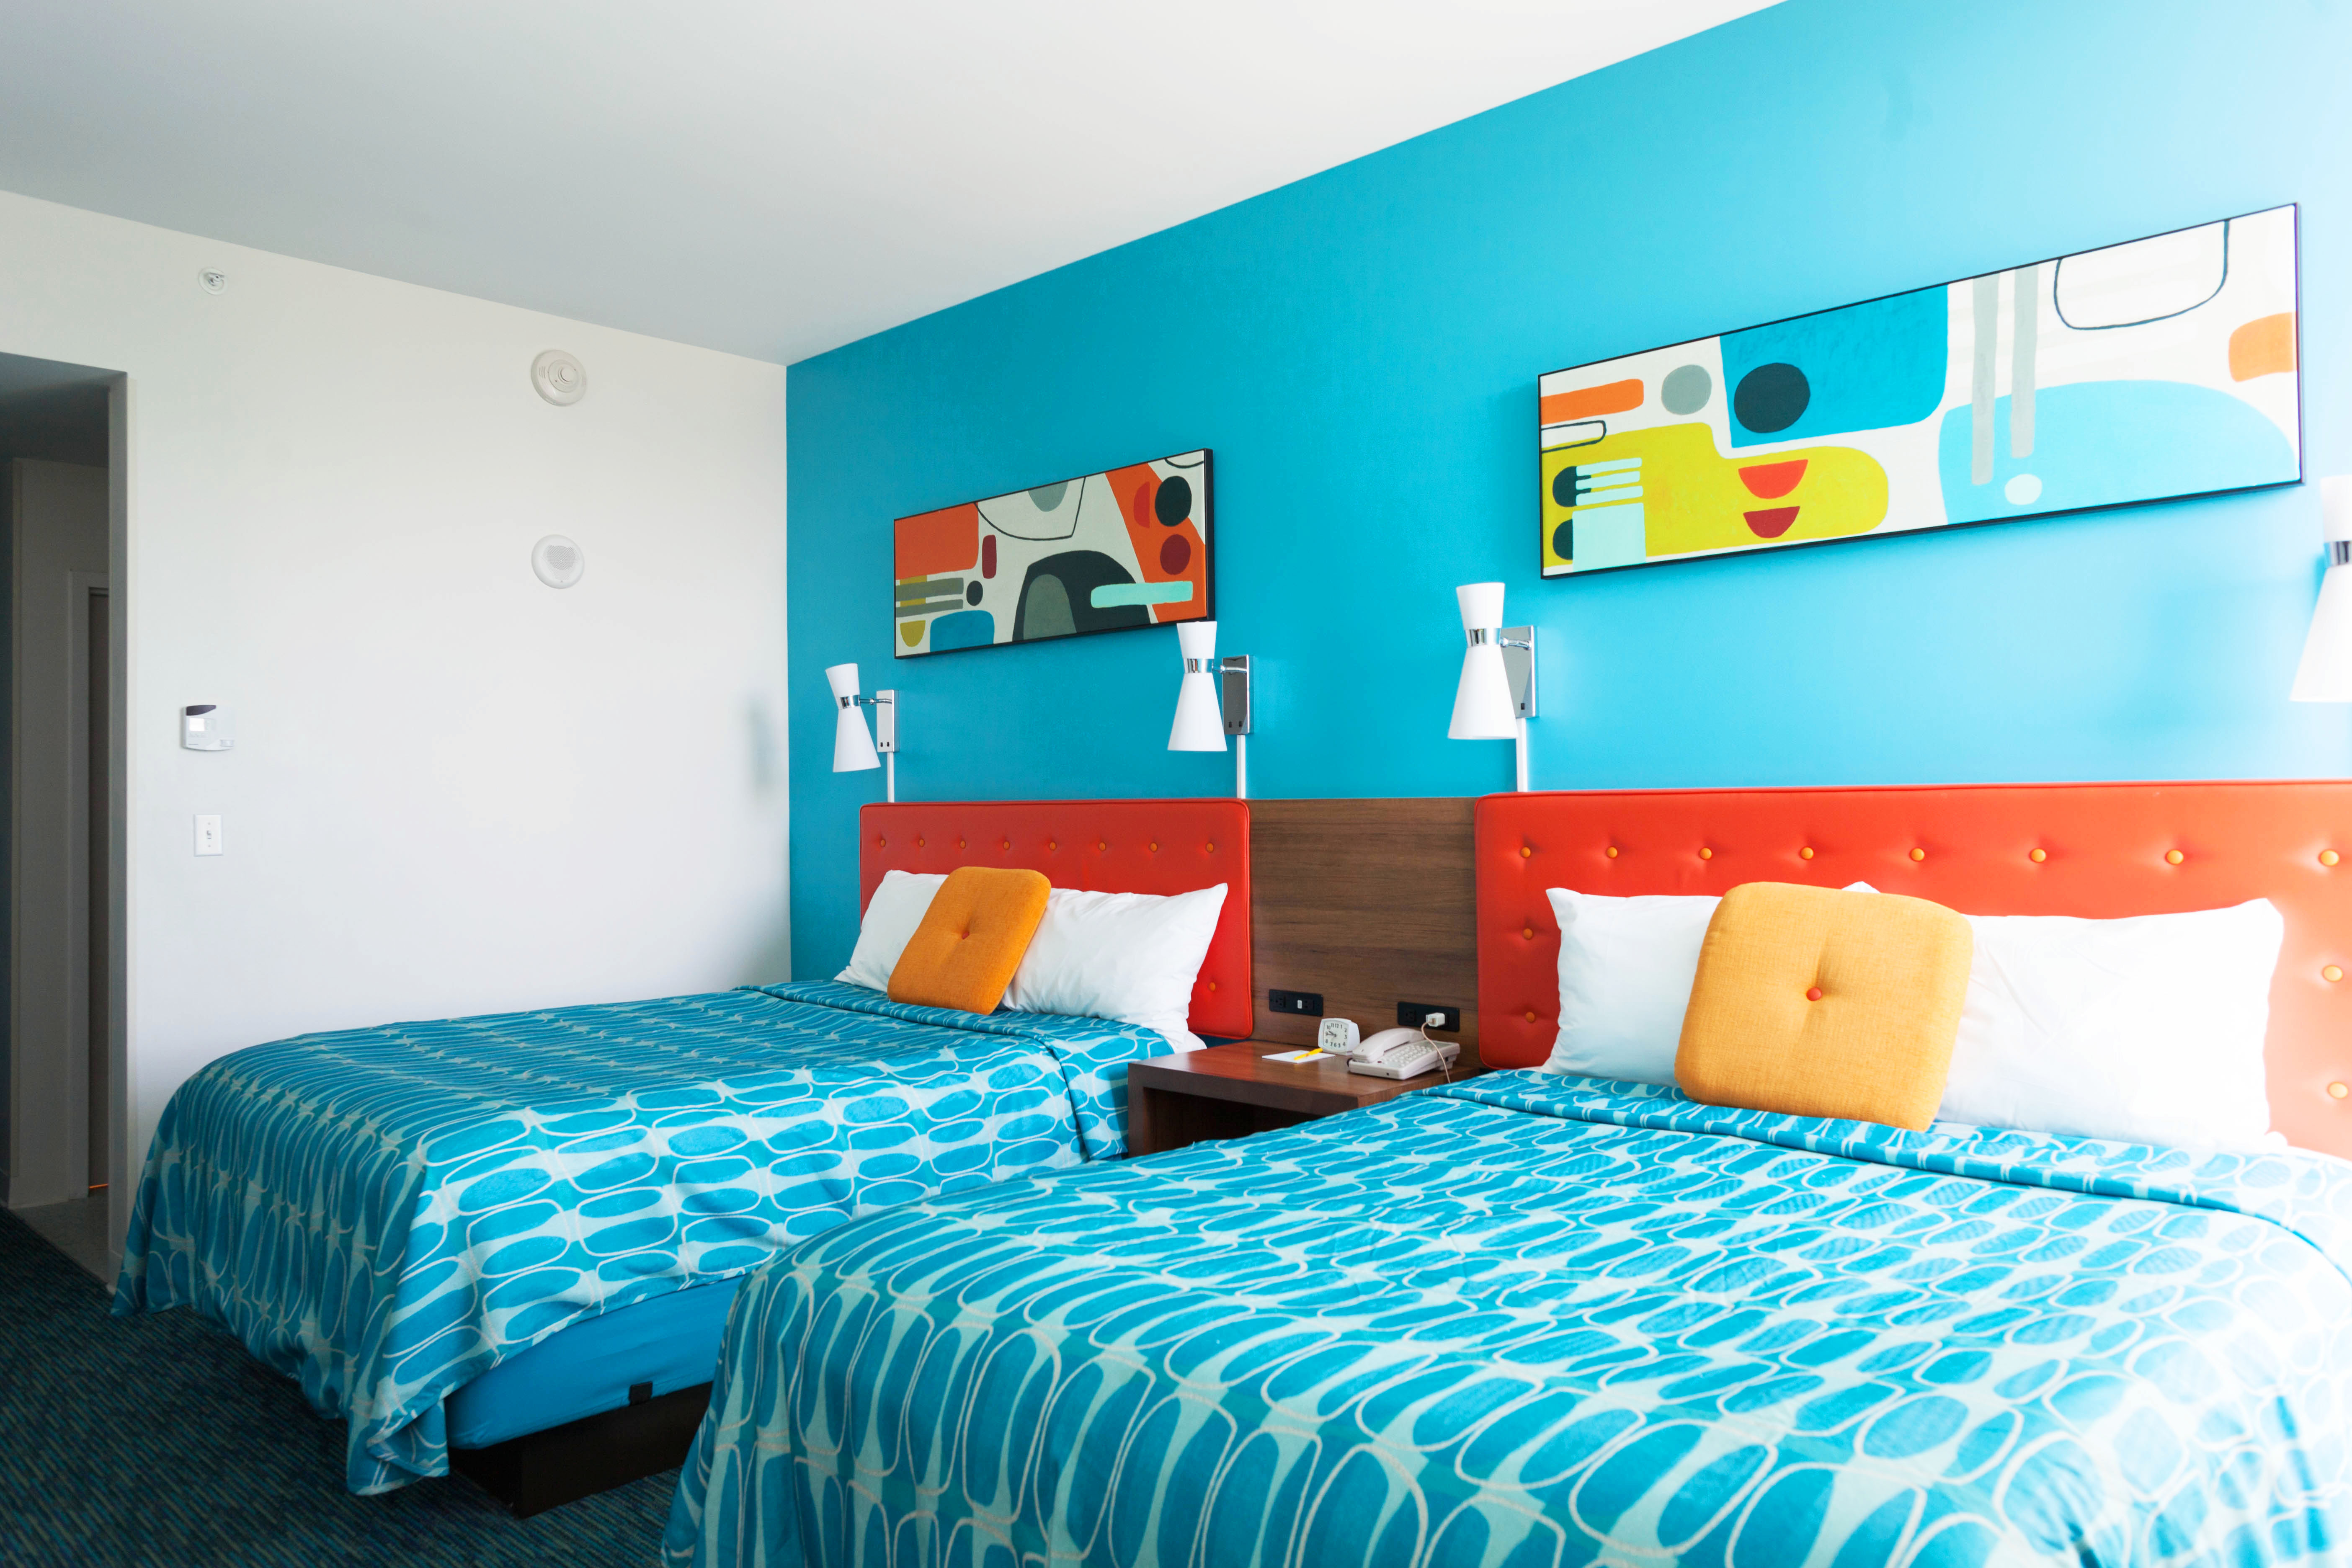
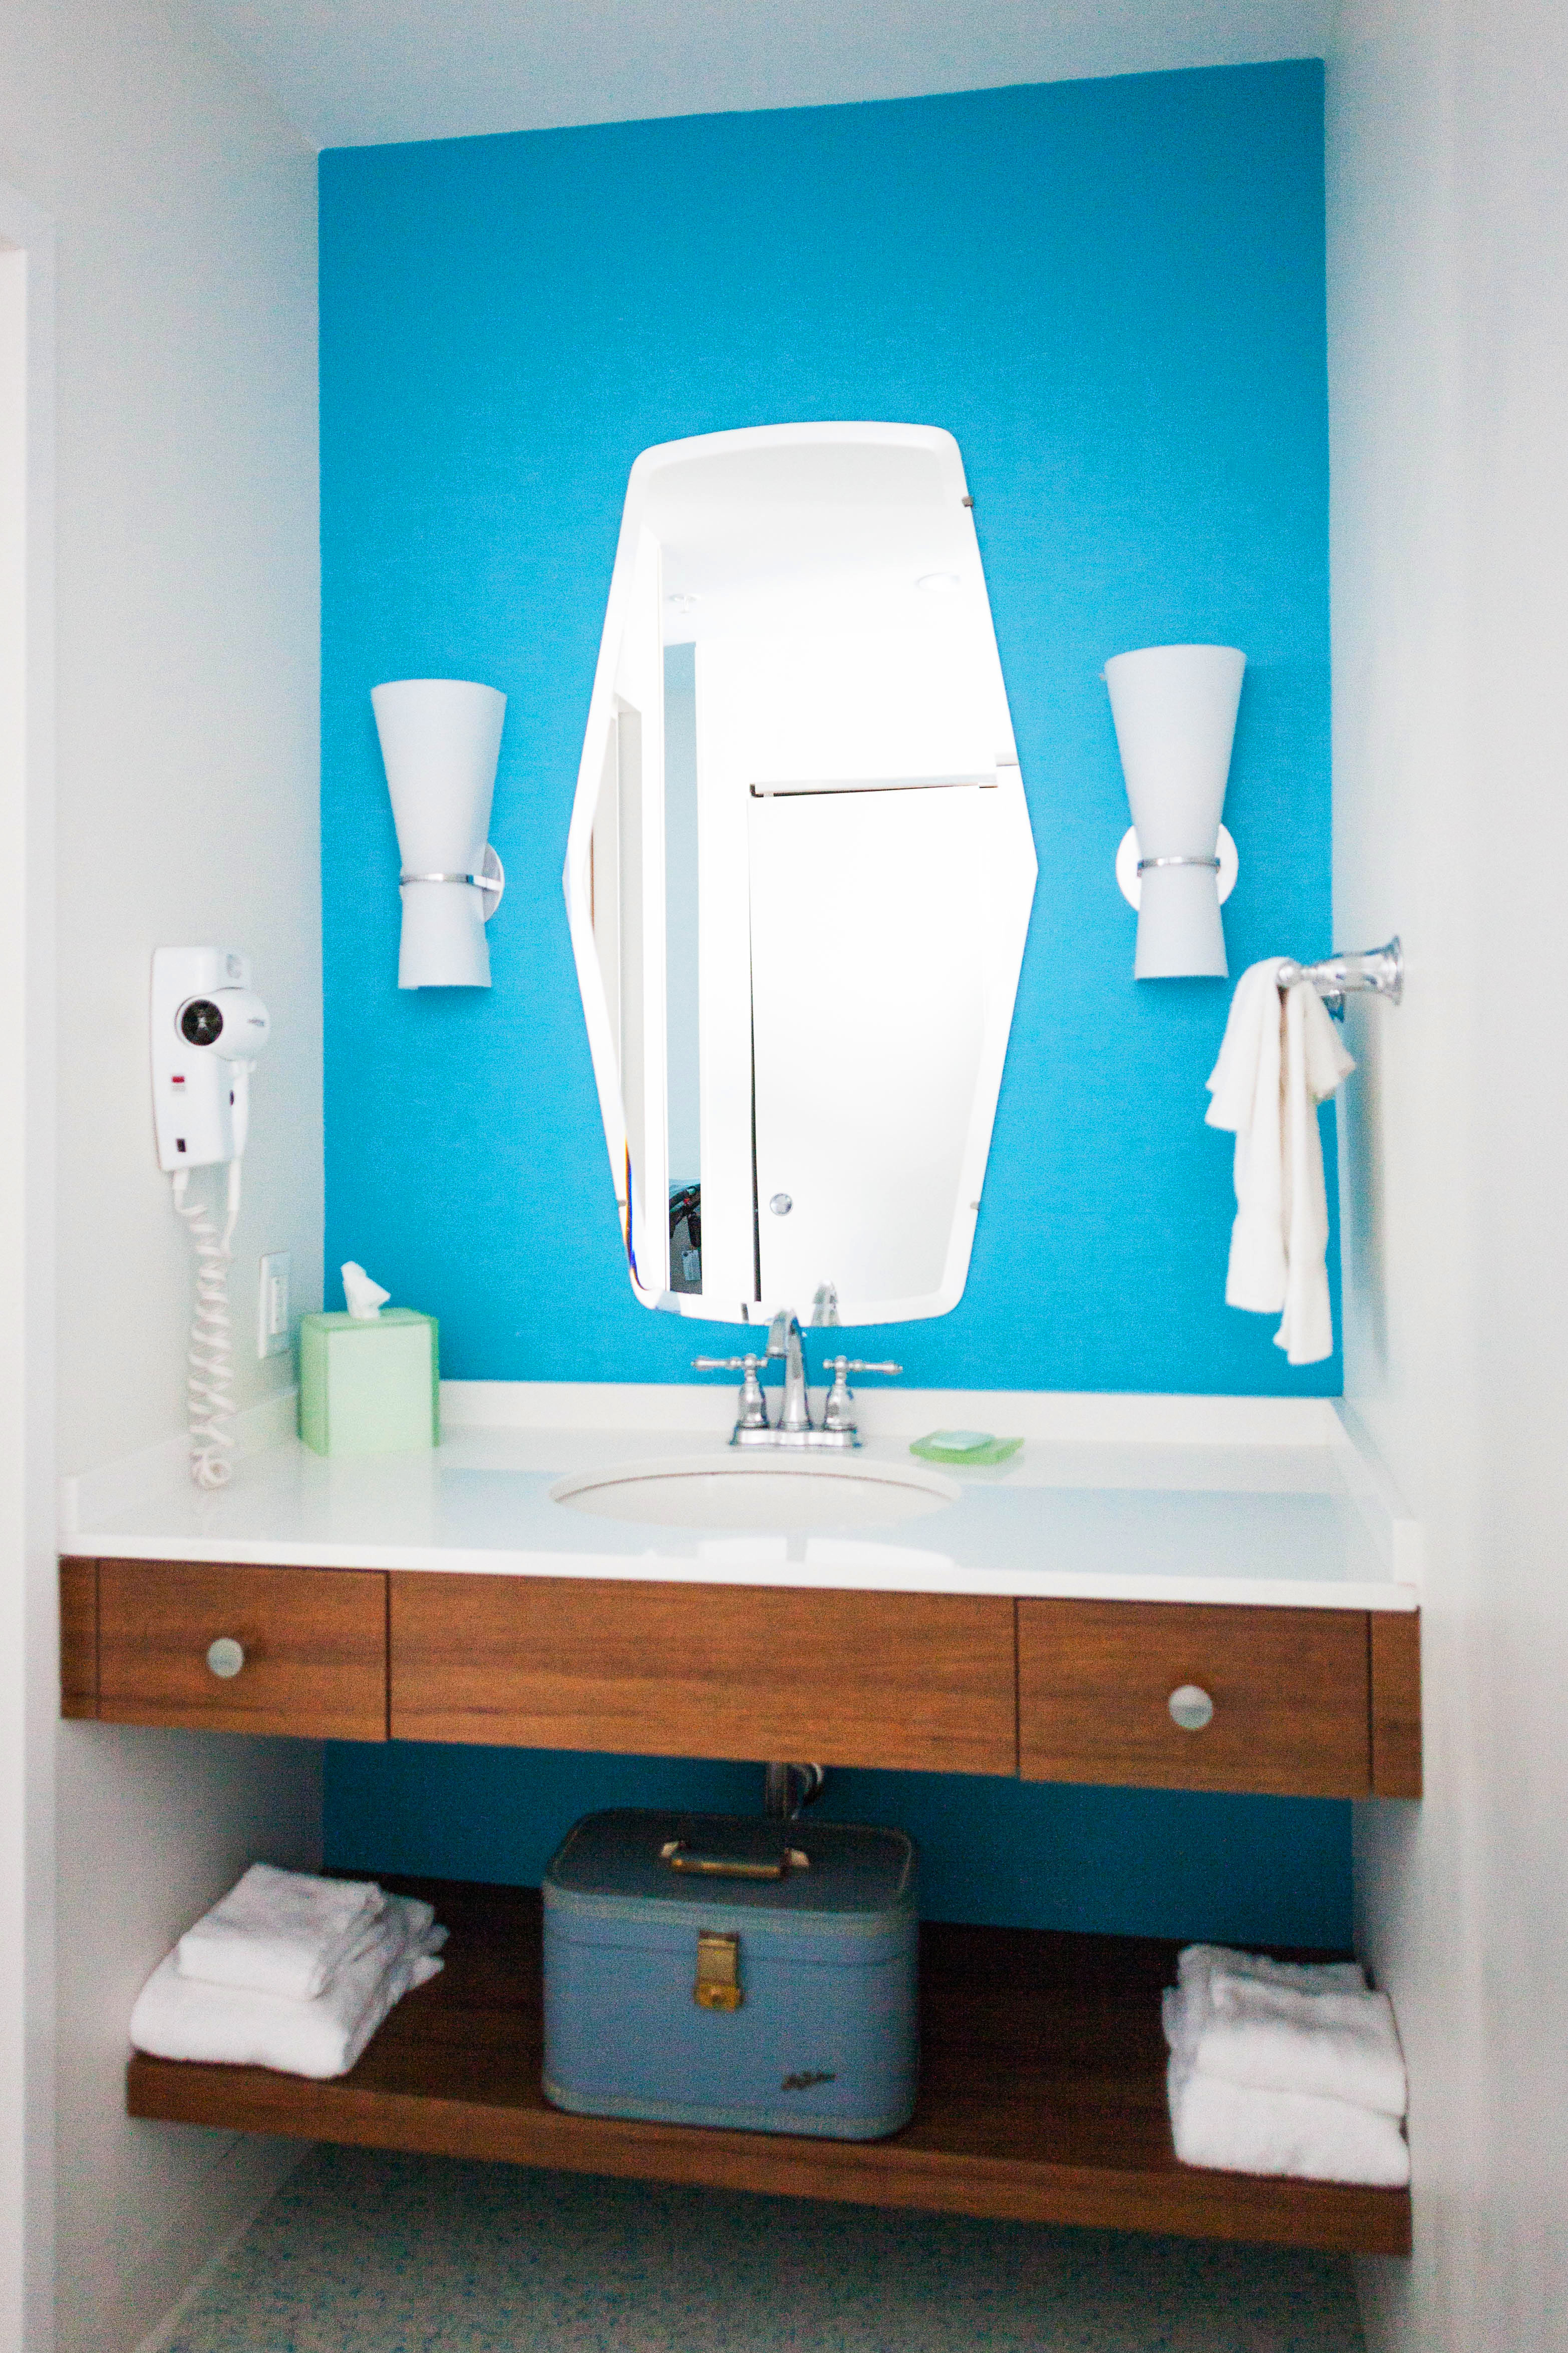
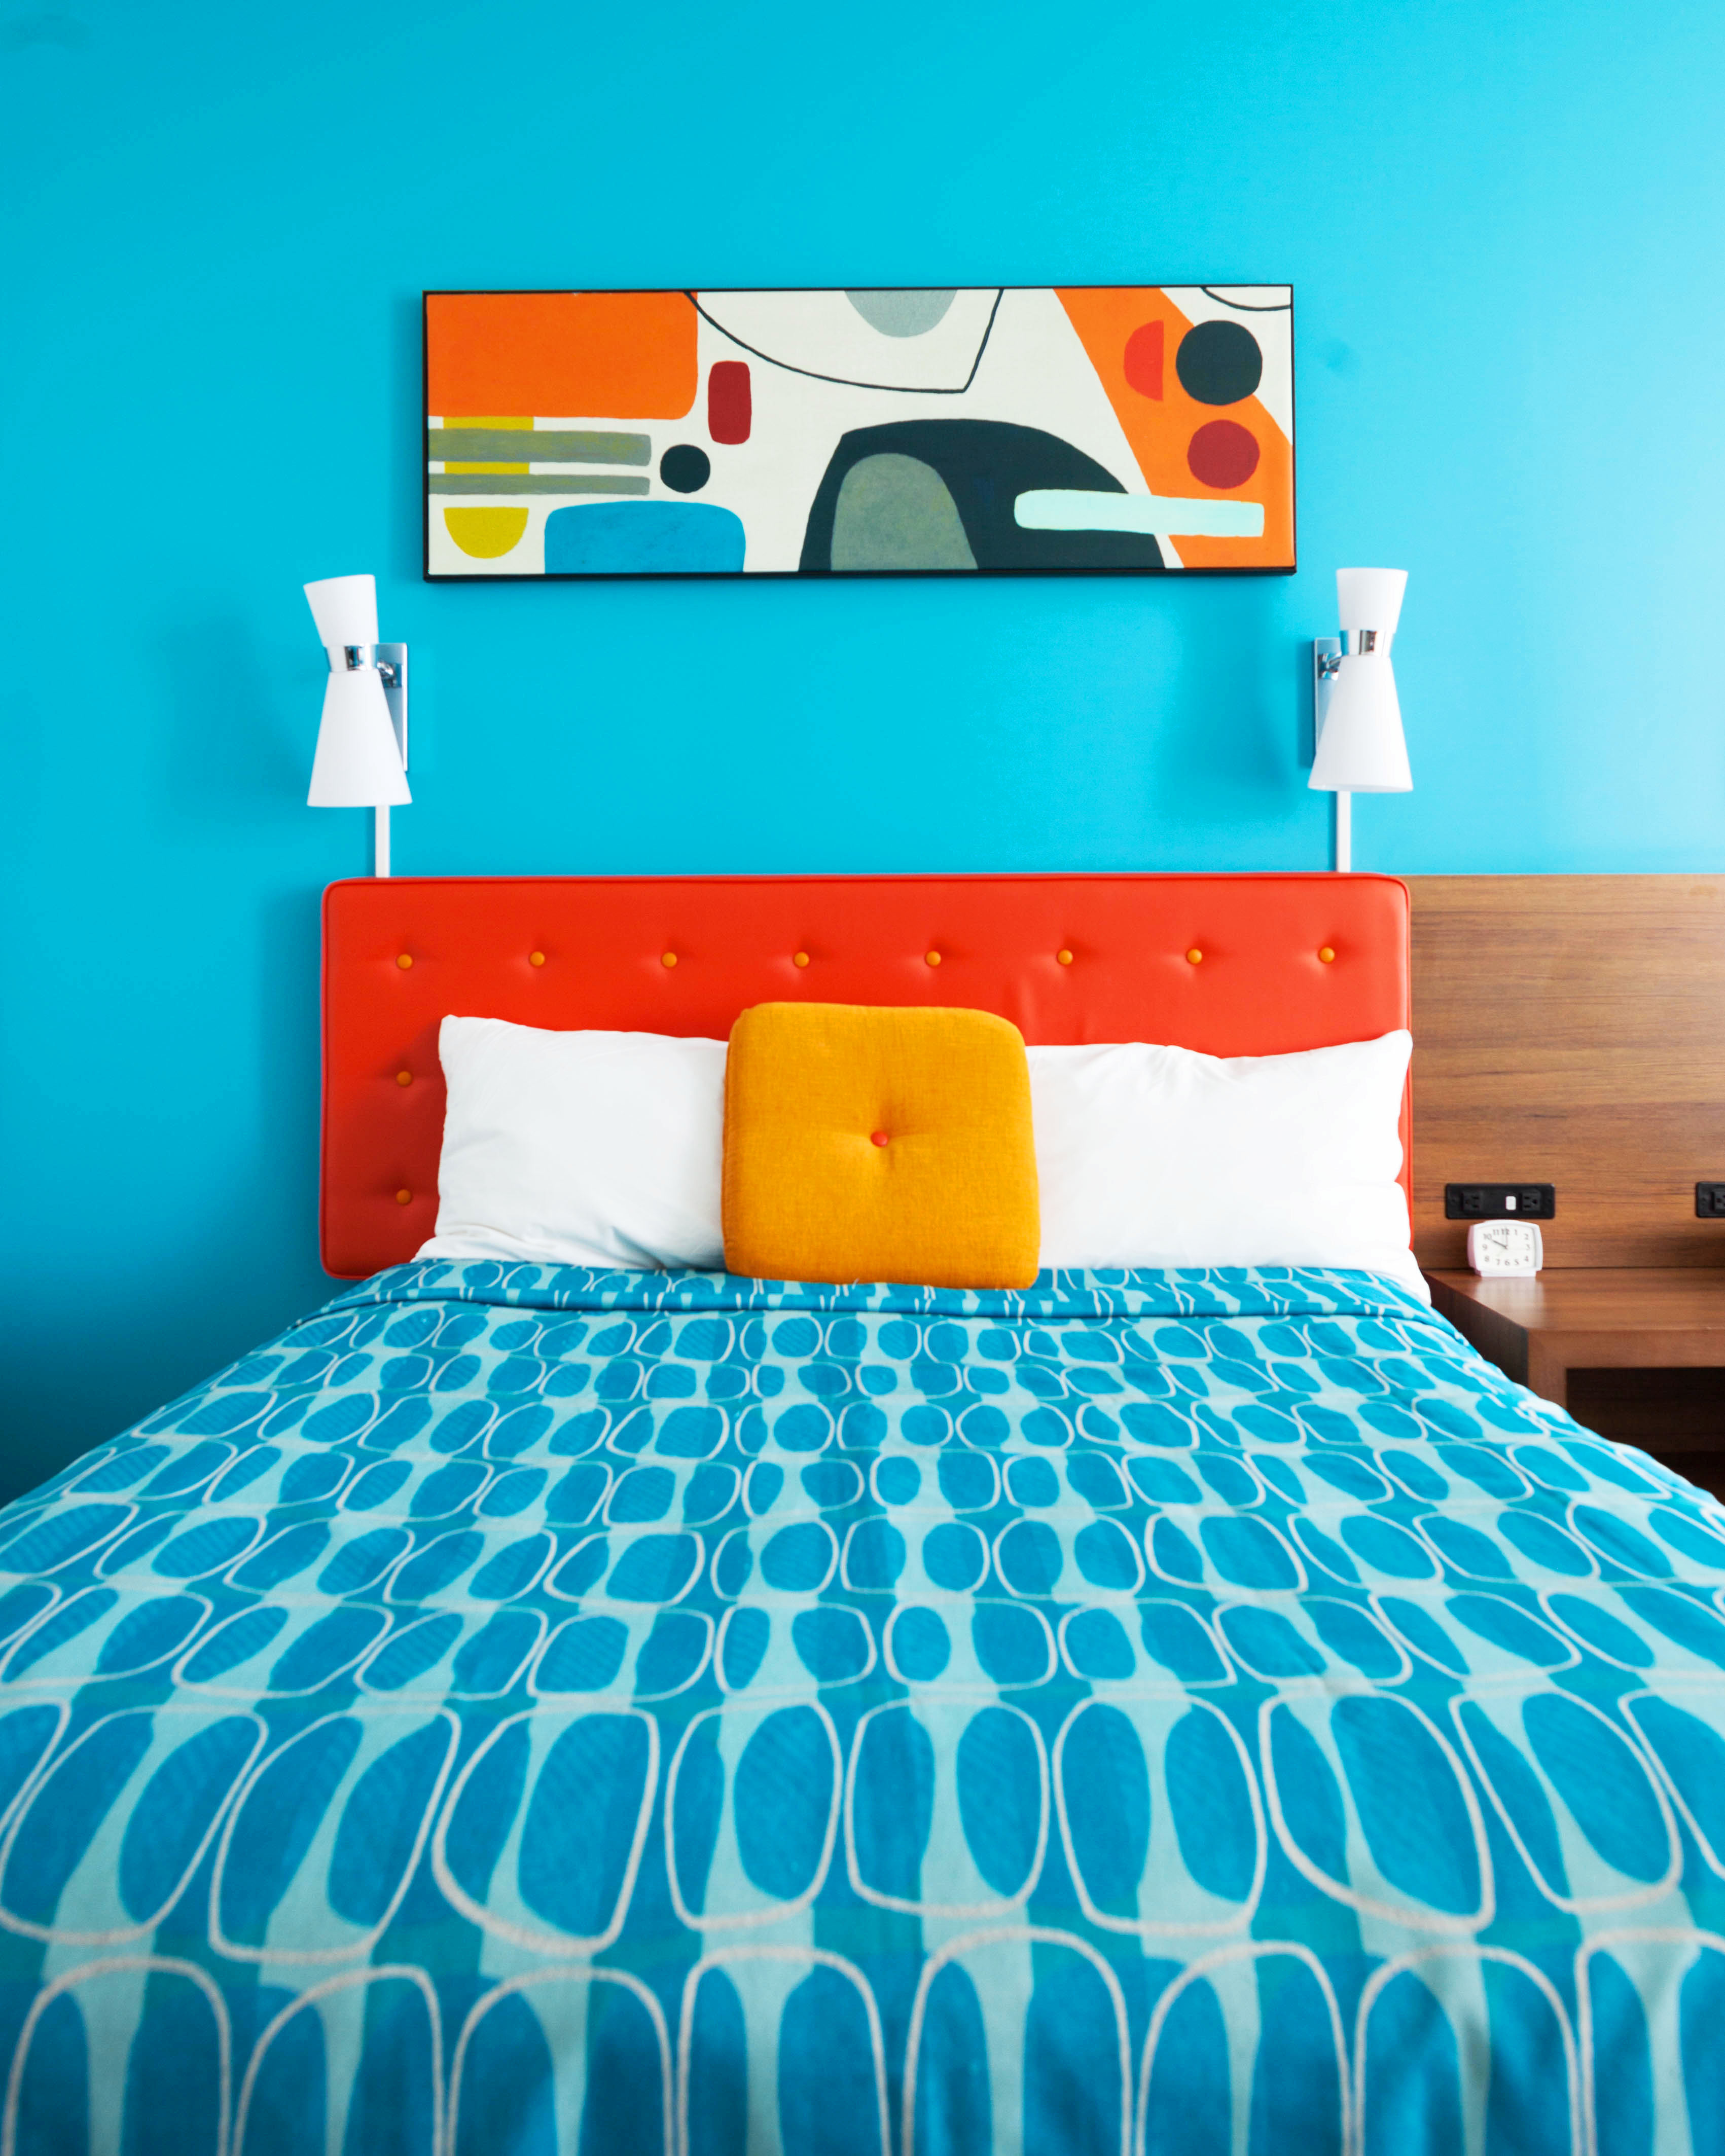
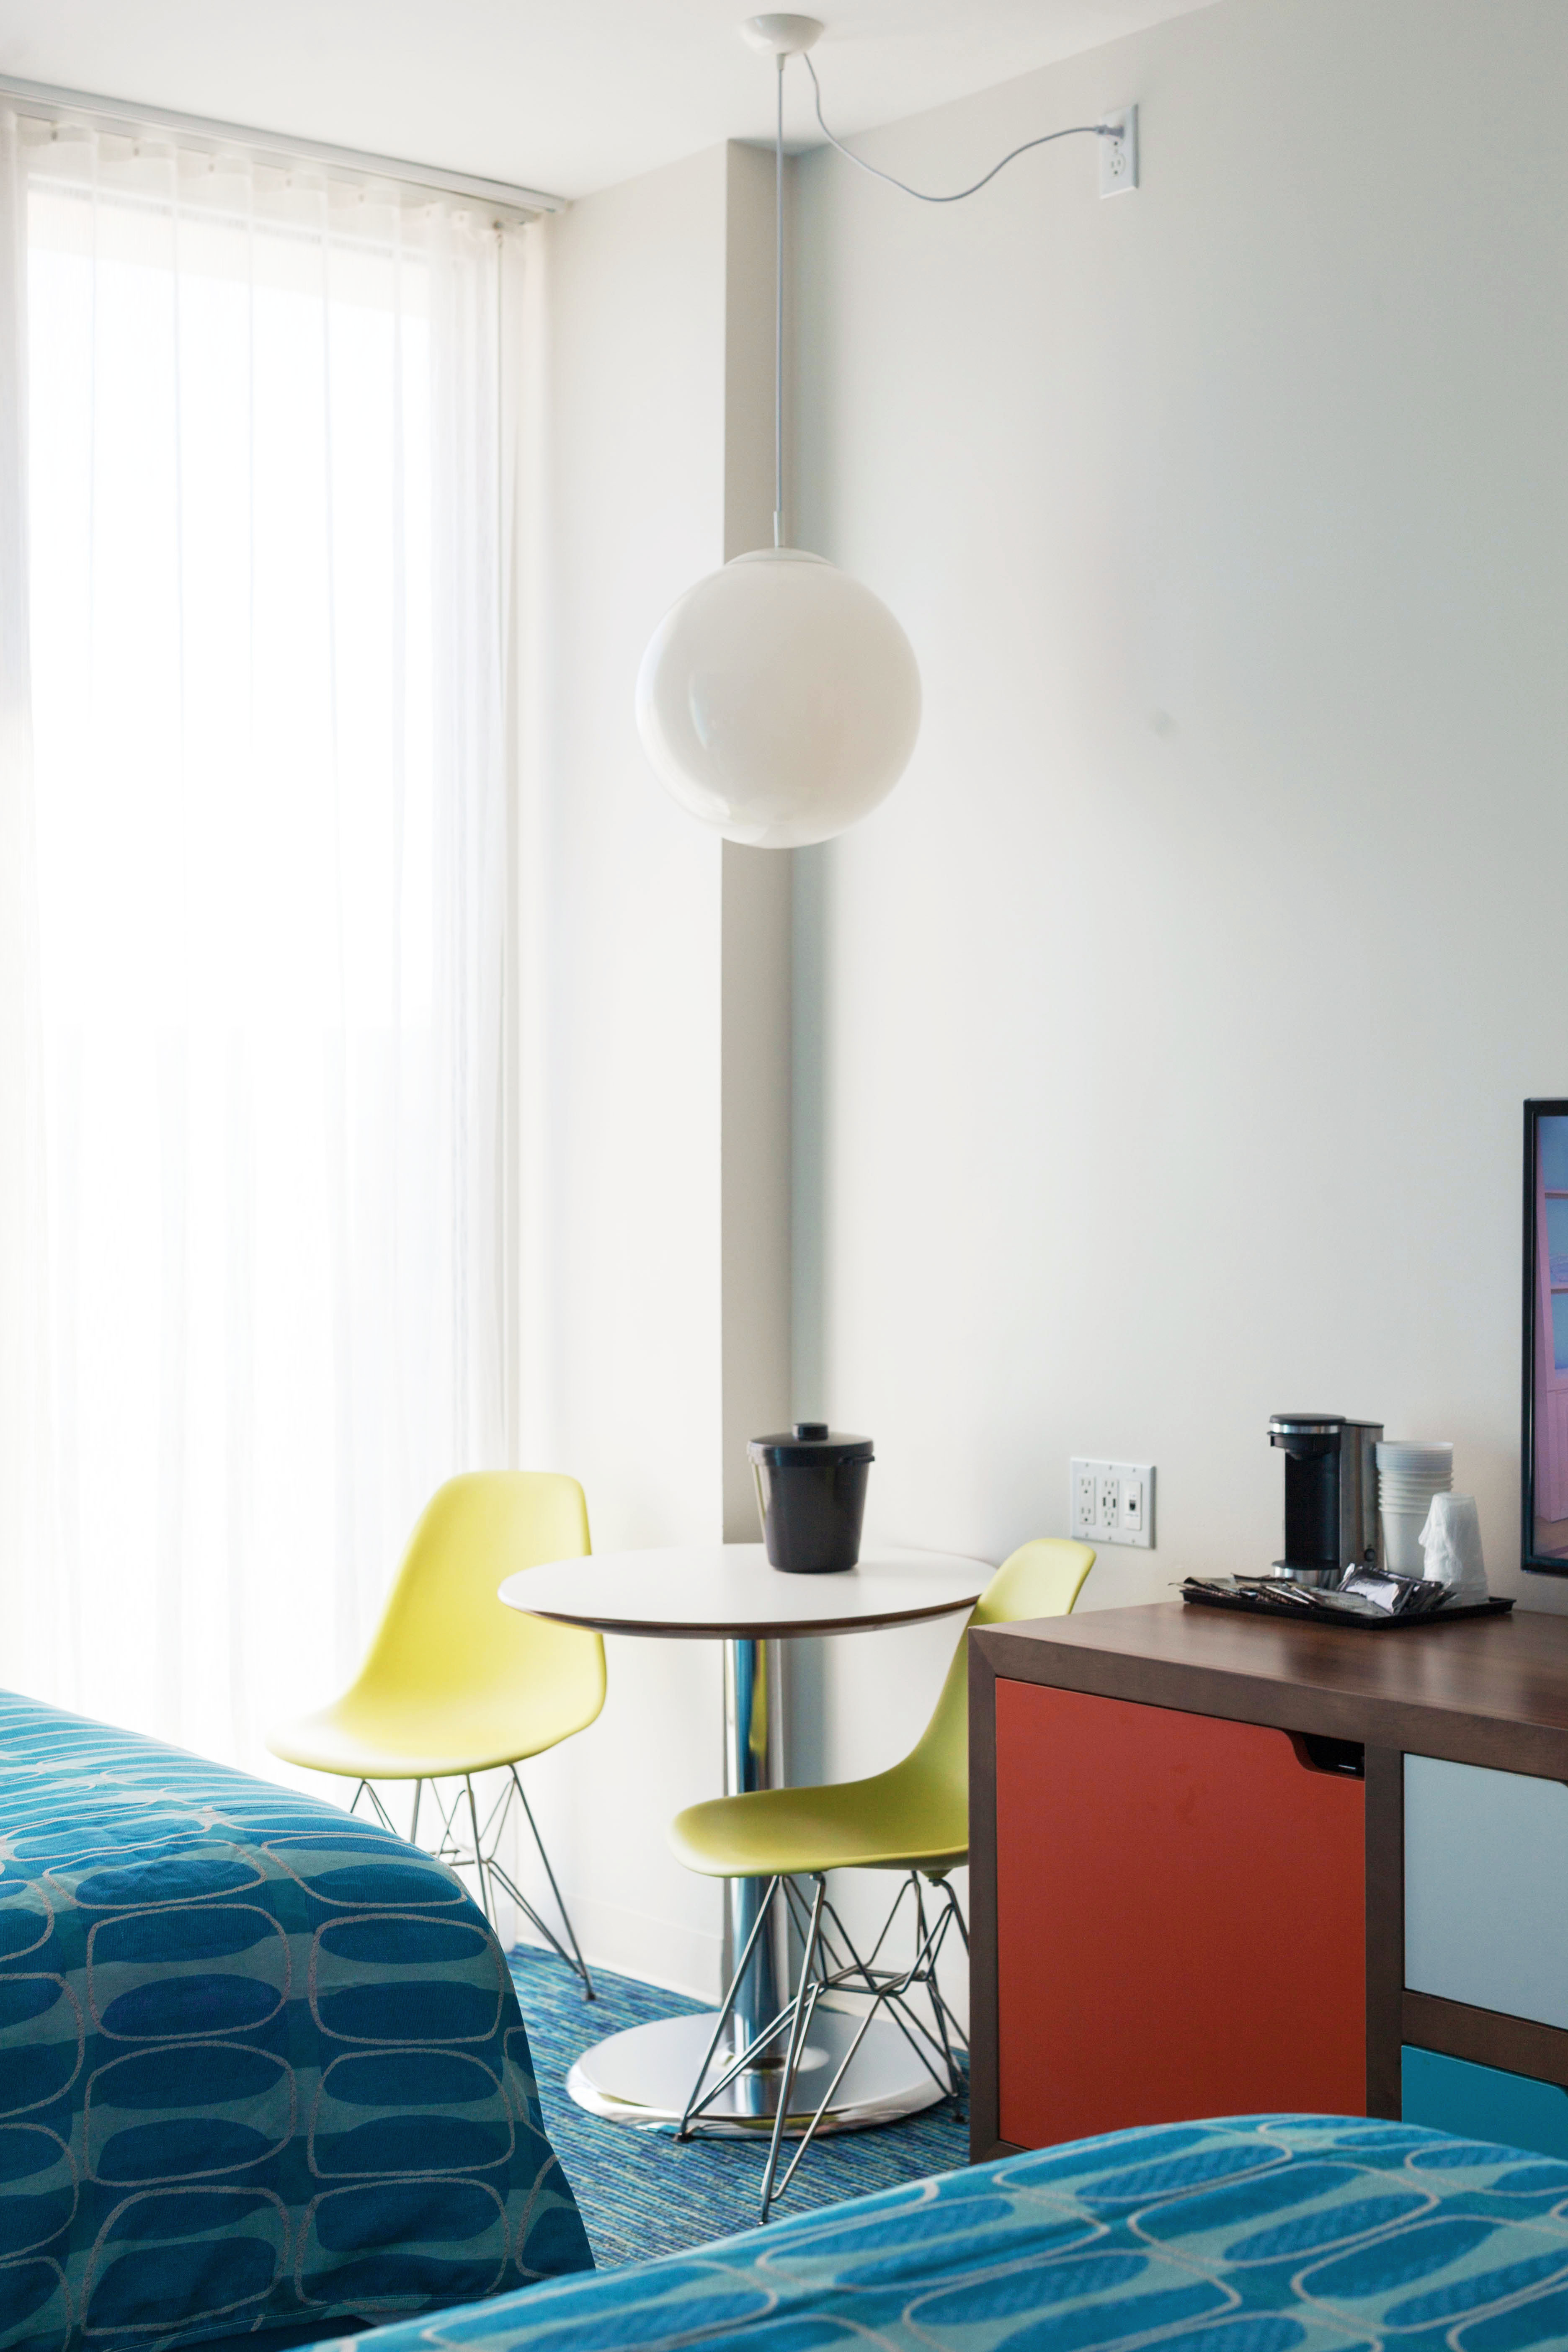
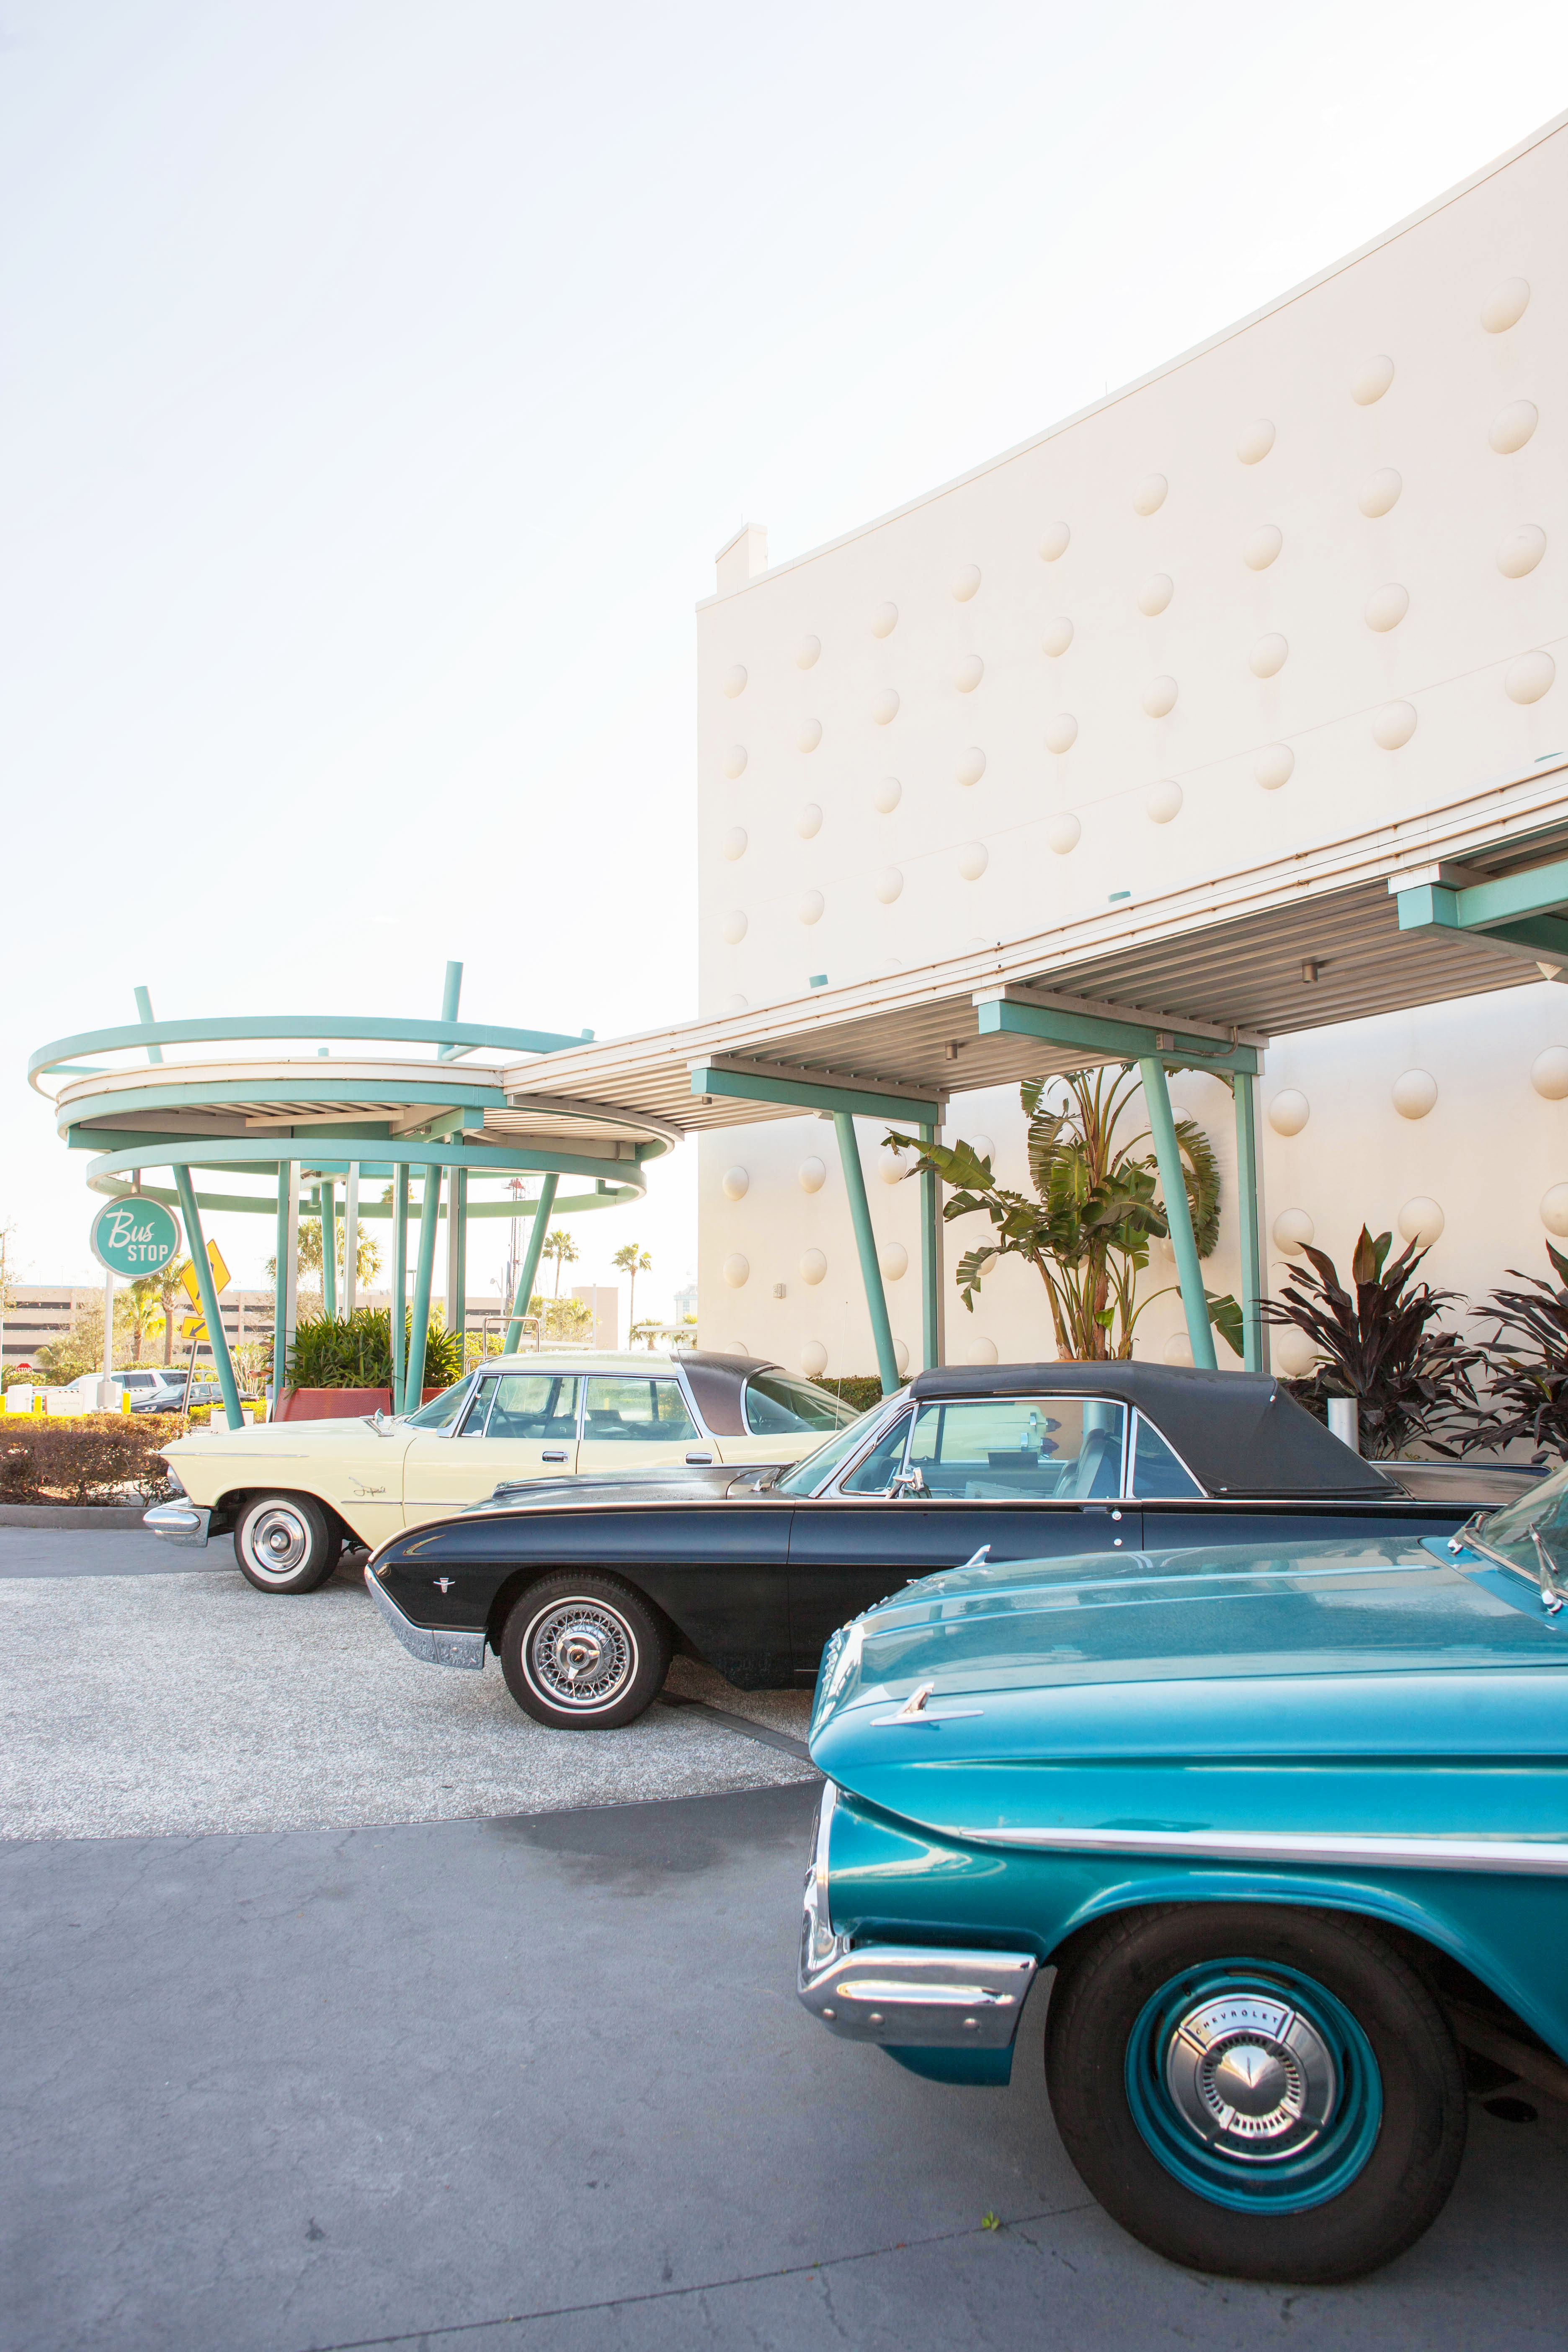
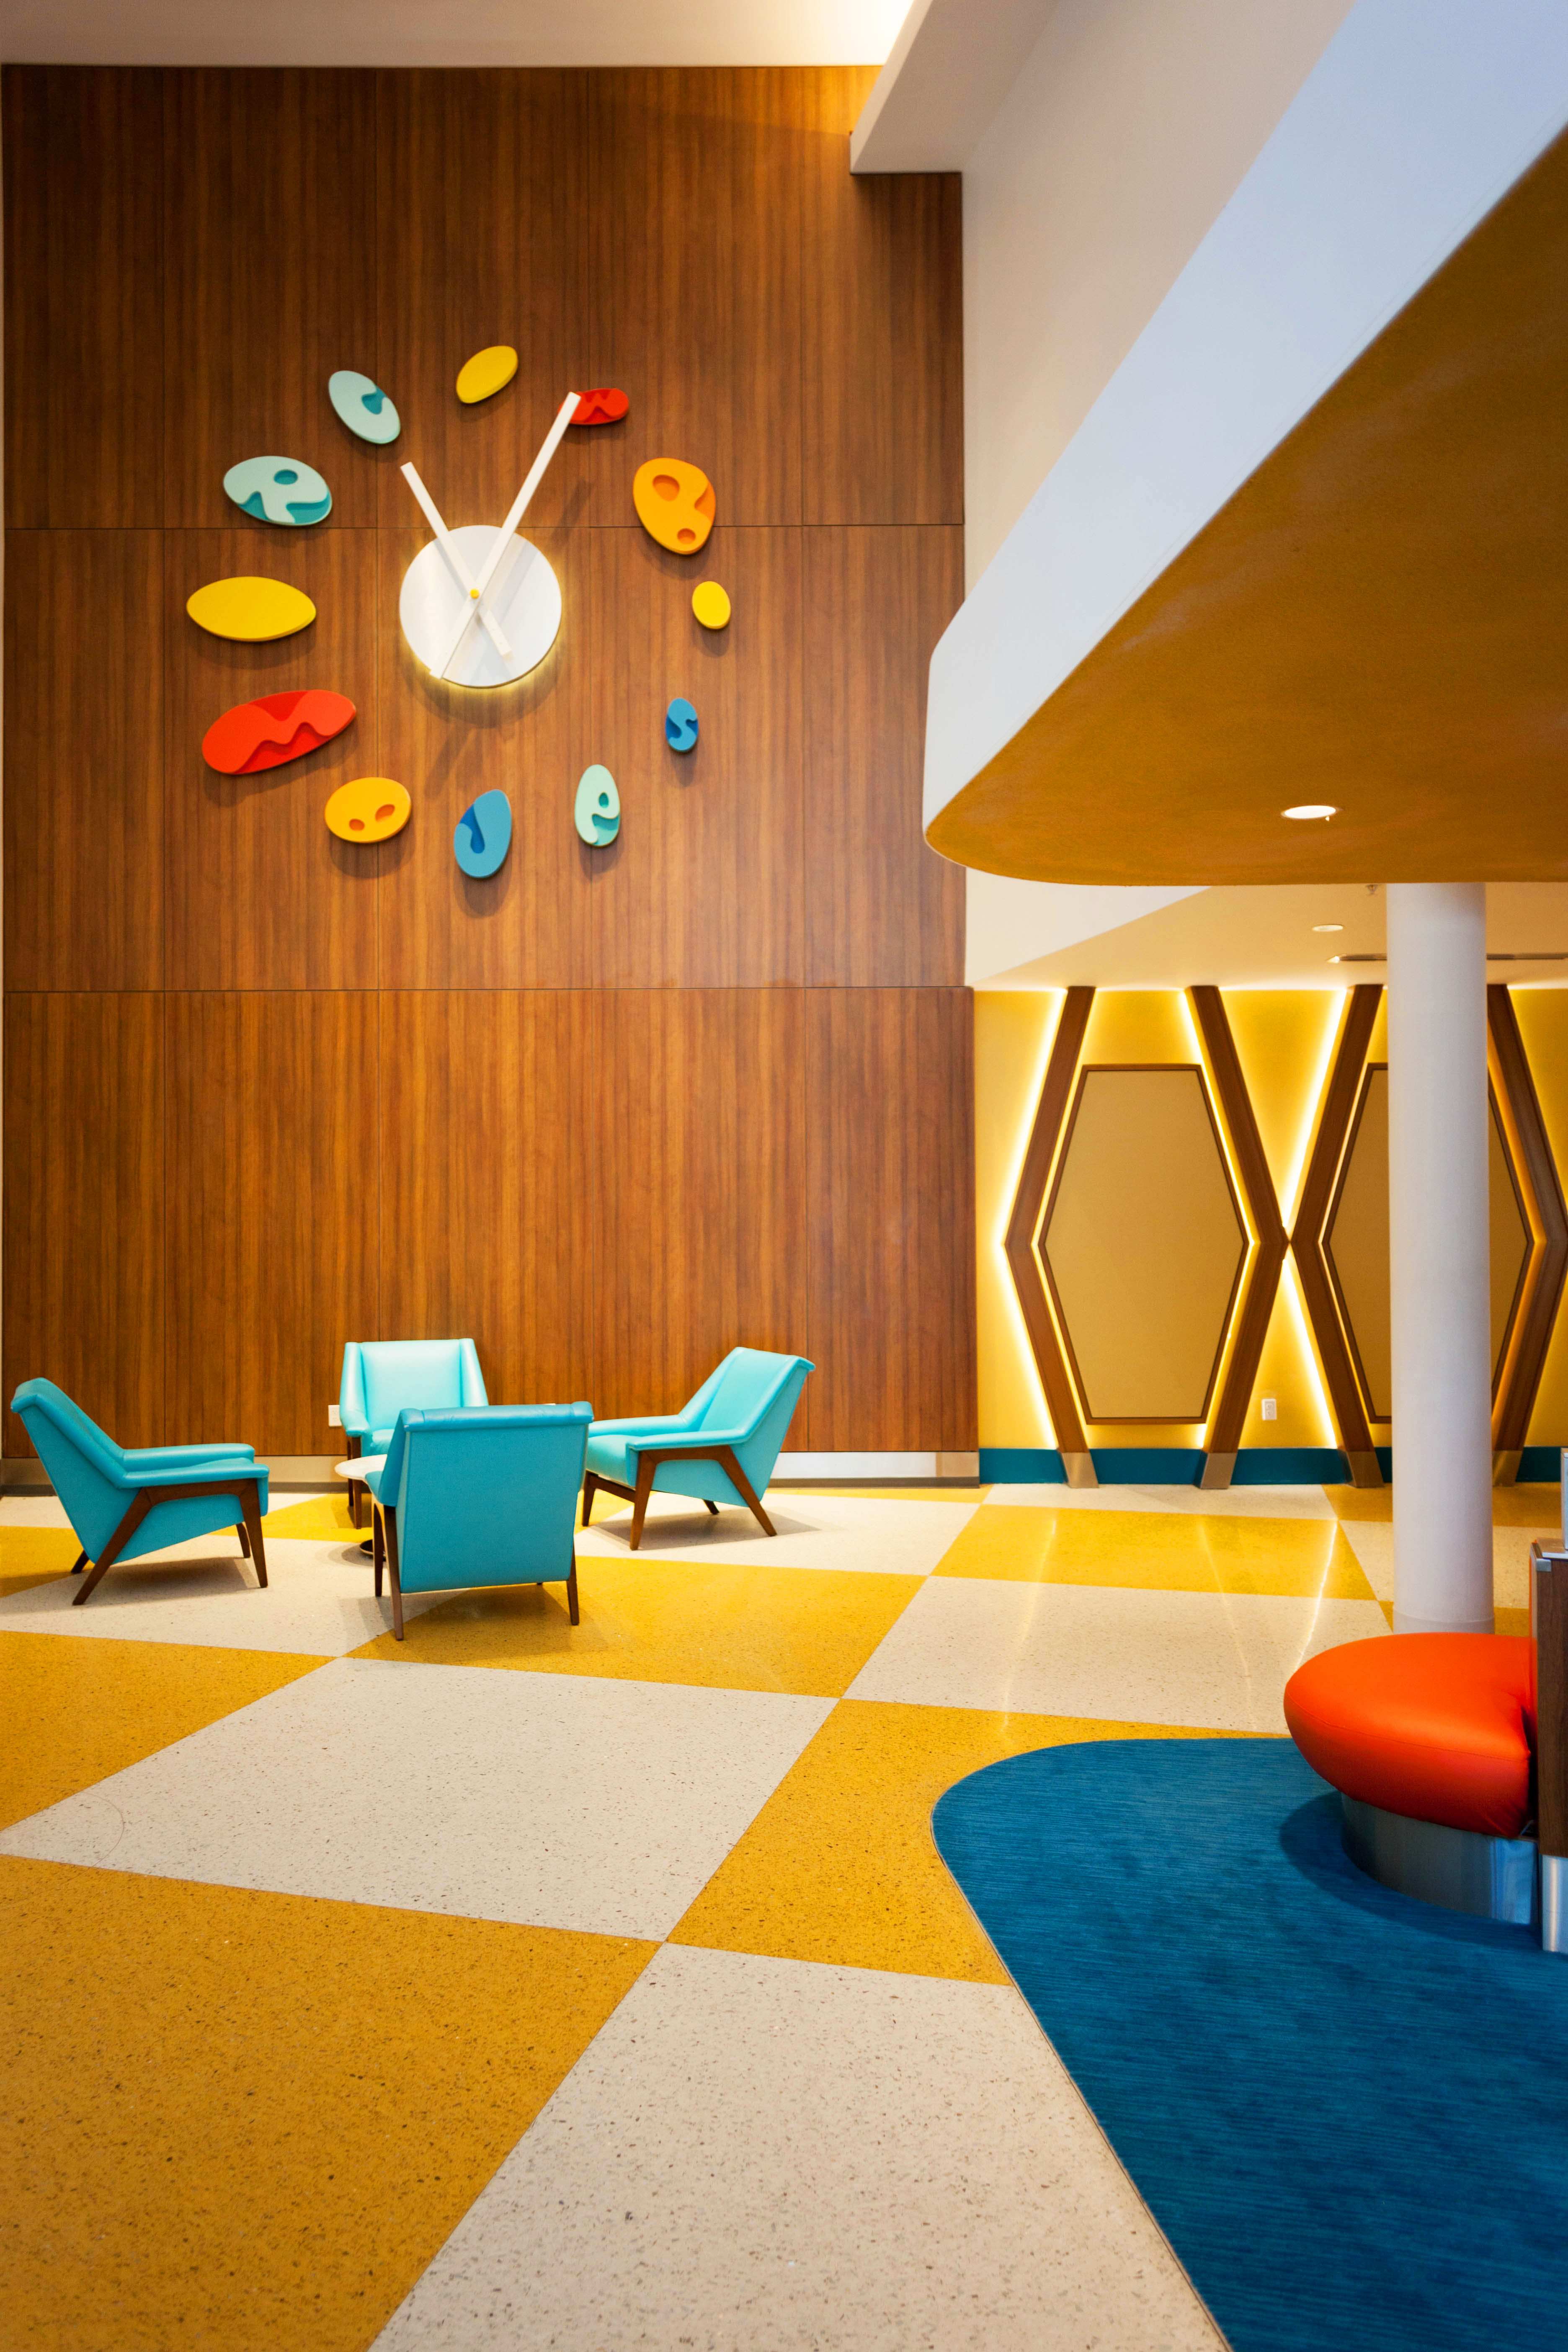
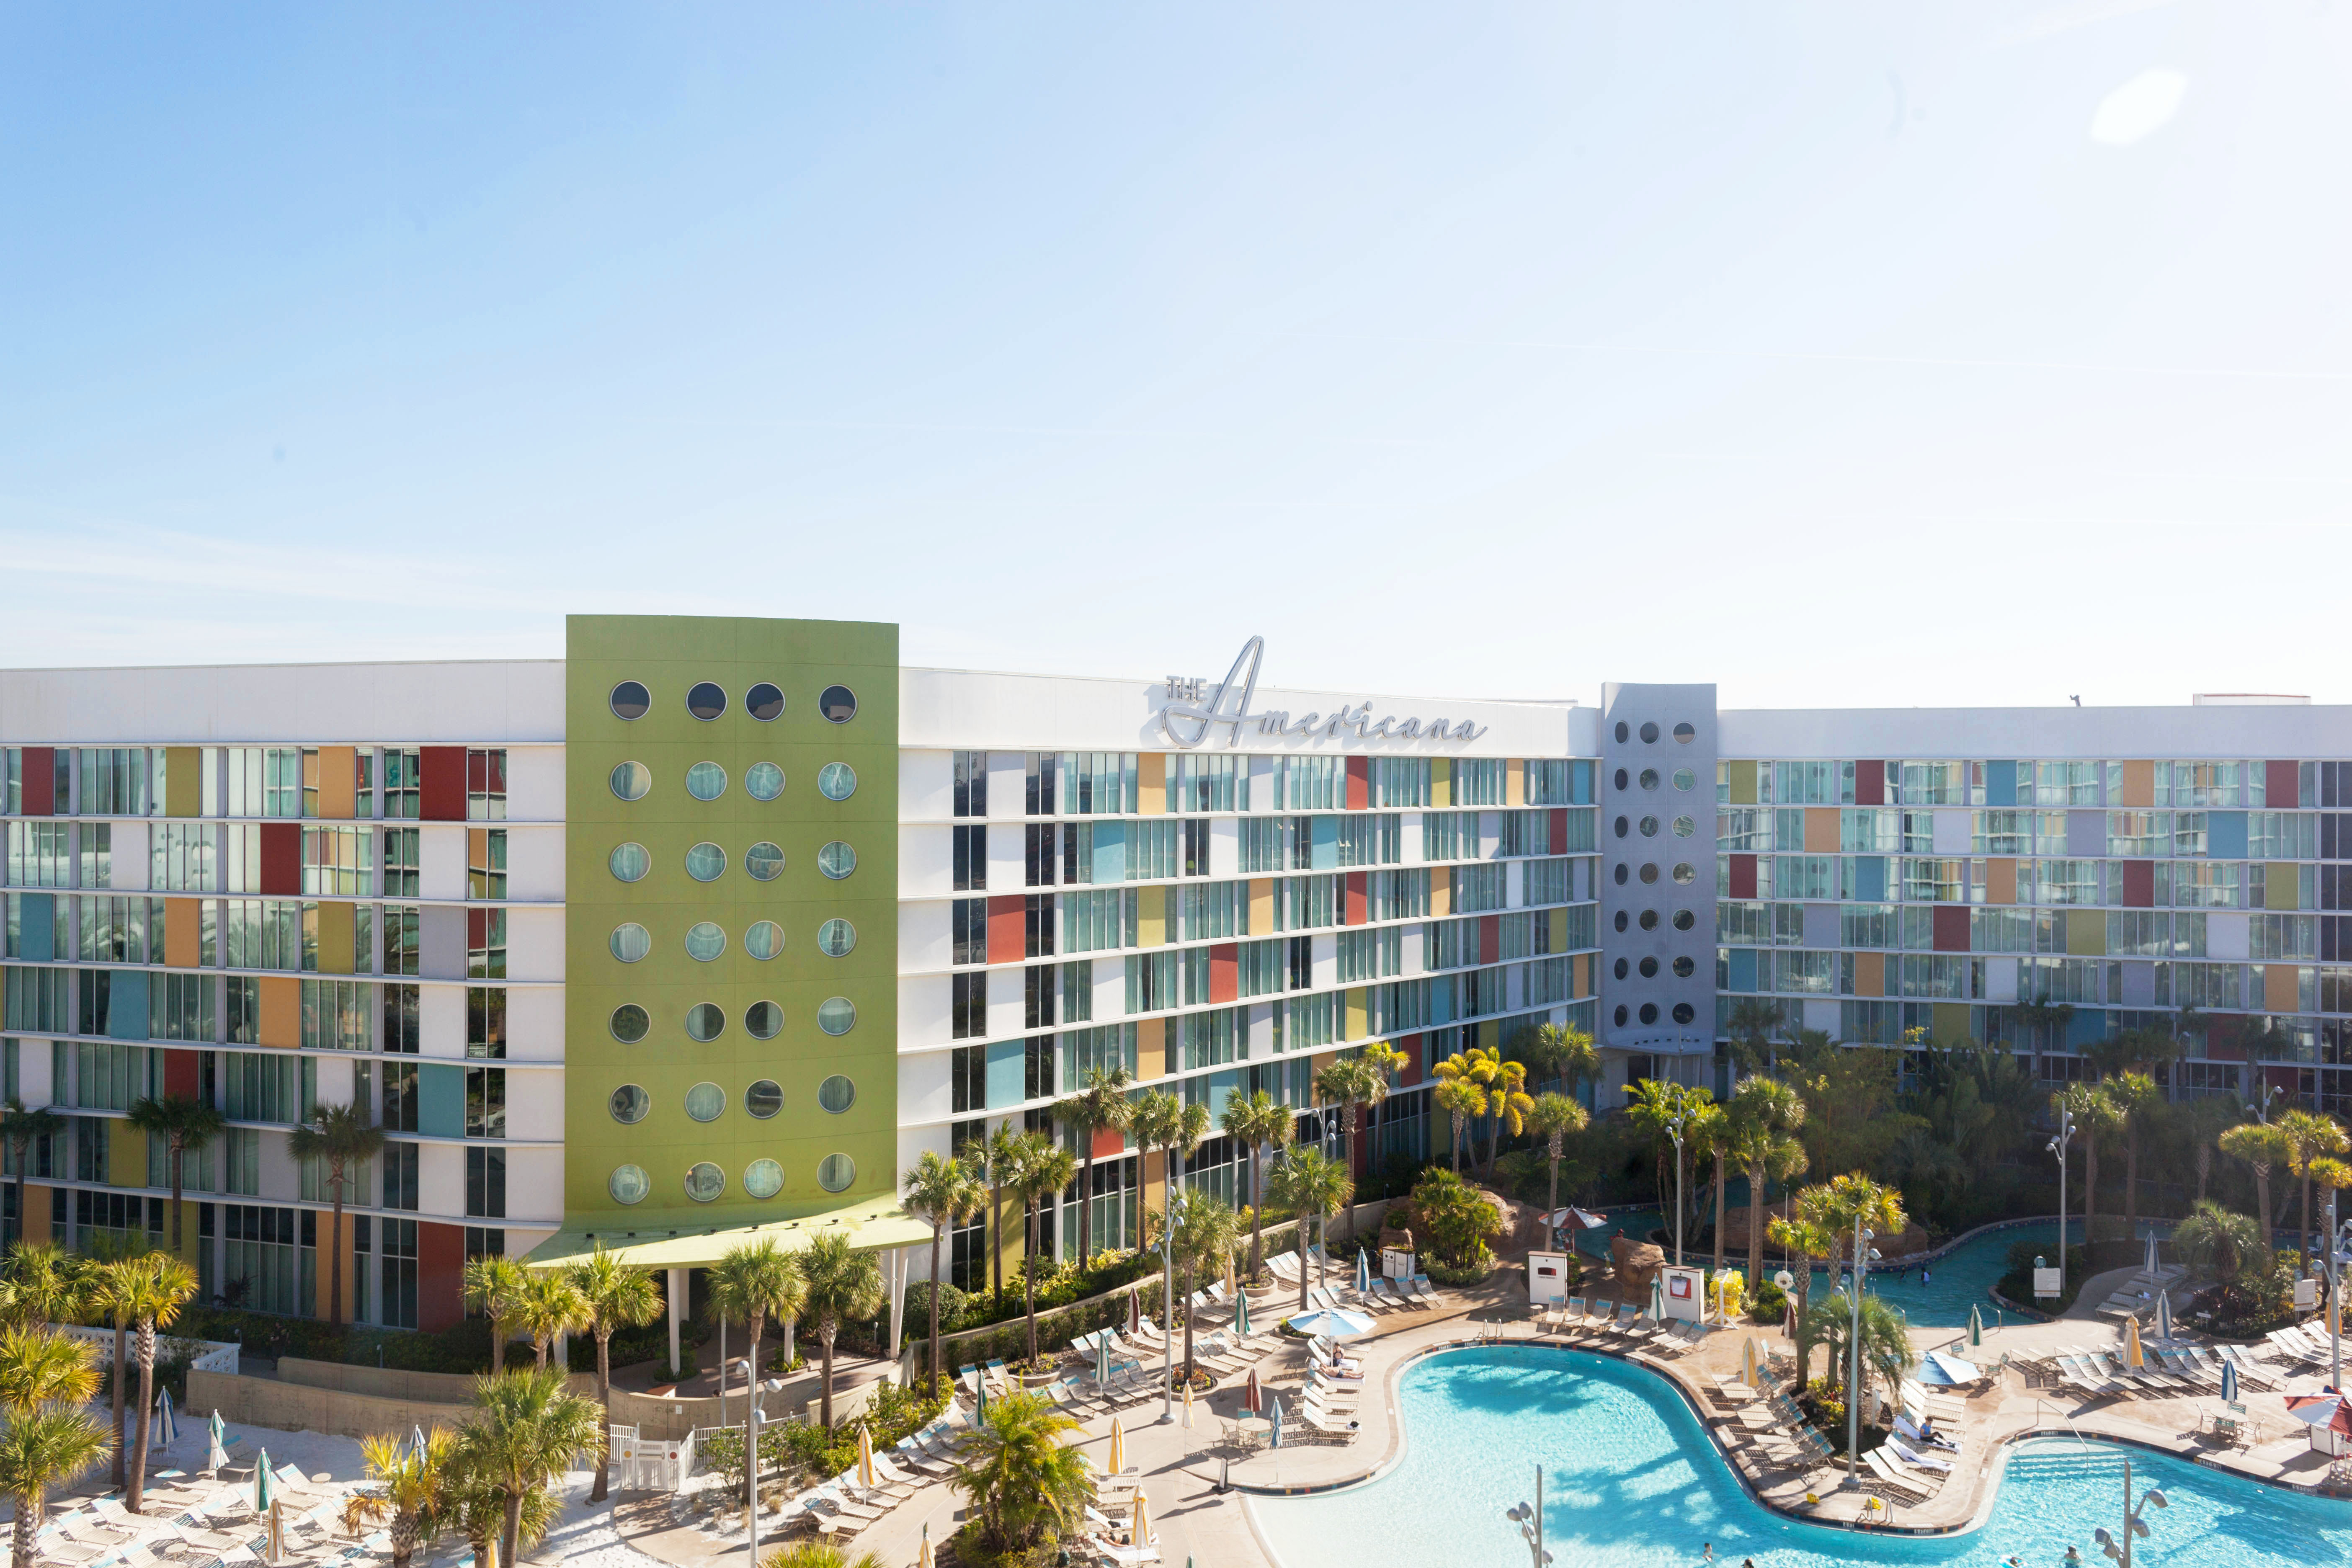 In February we took a road trip out to Orlando to visit family and had the opportunity to stay at the most adorable and fun mid-century inspired hotel.
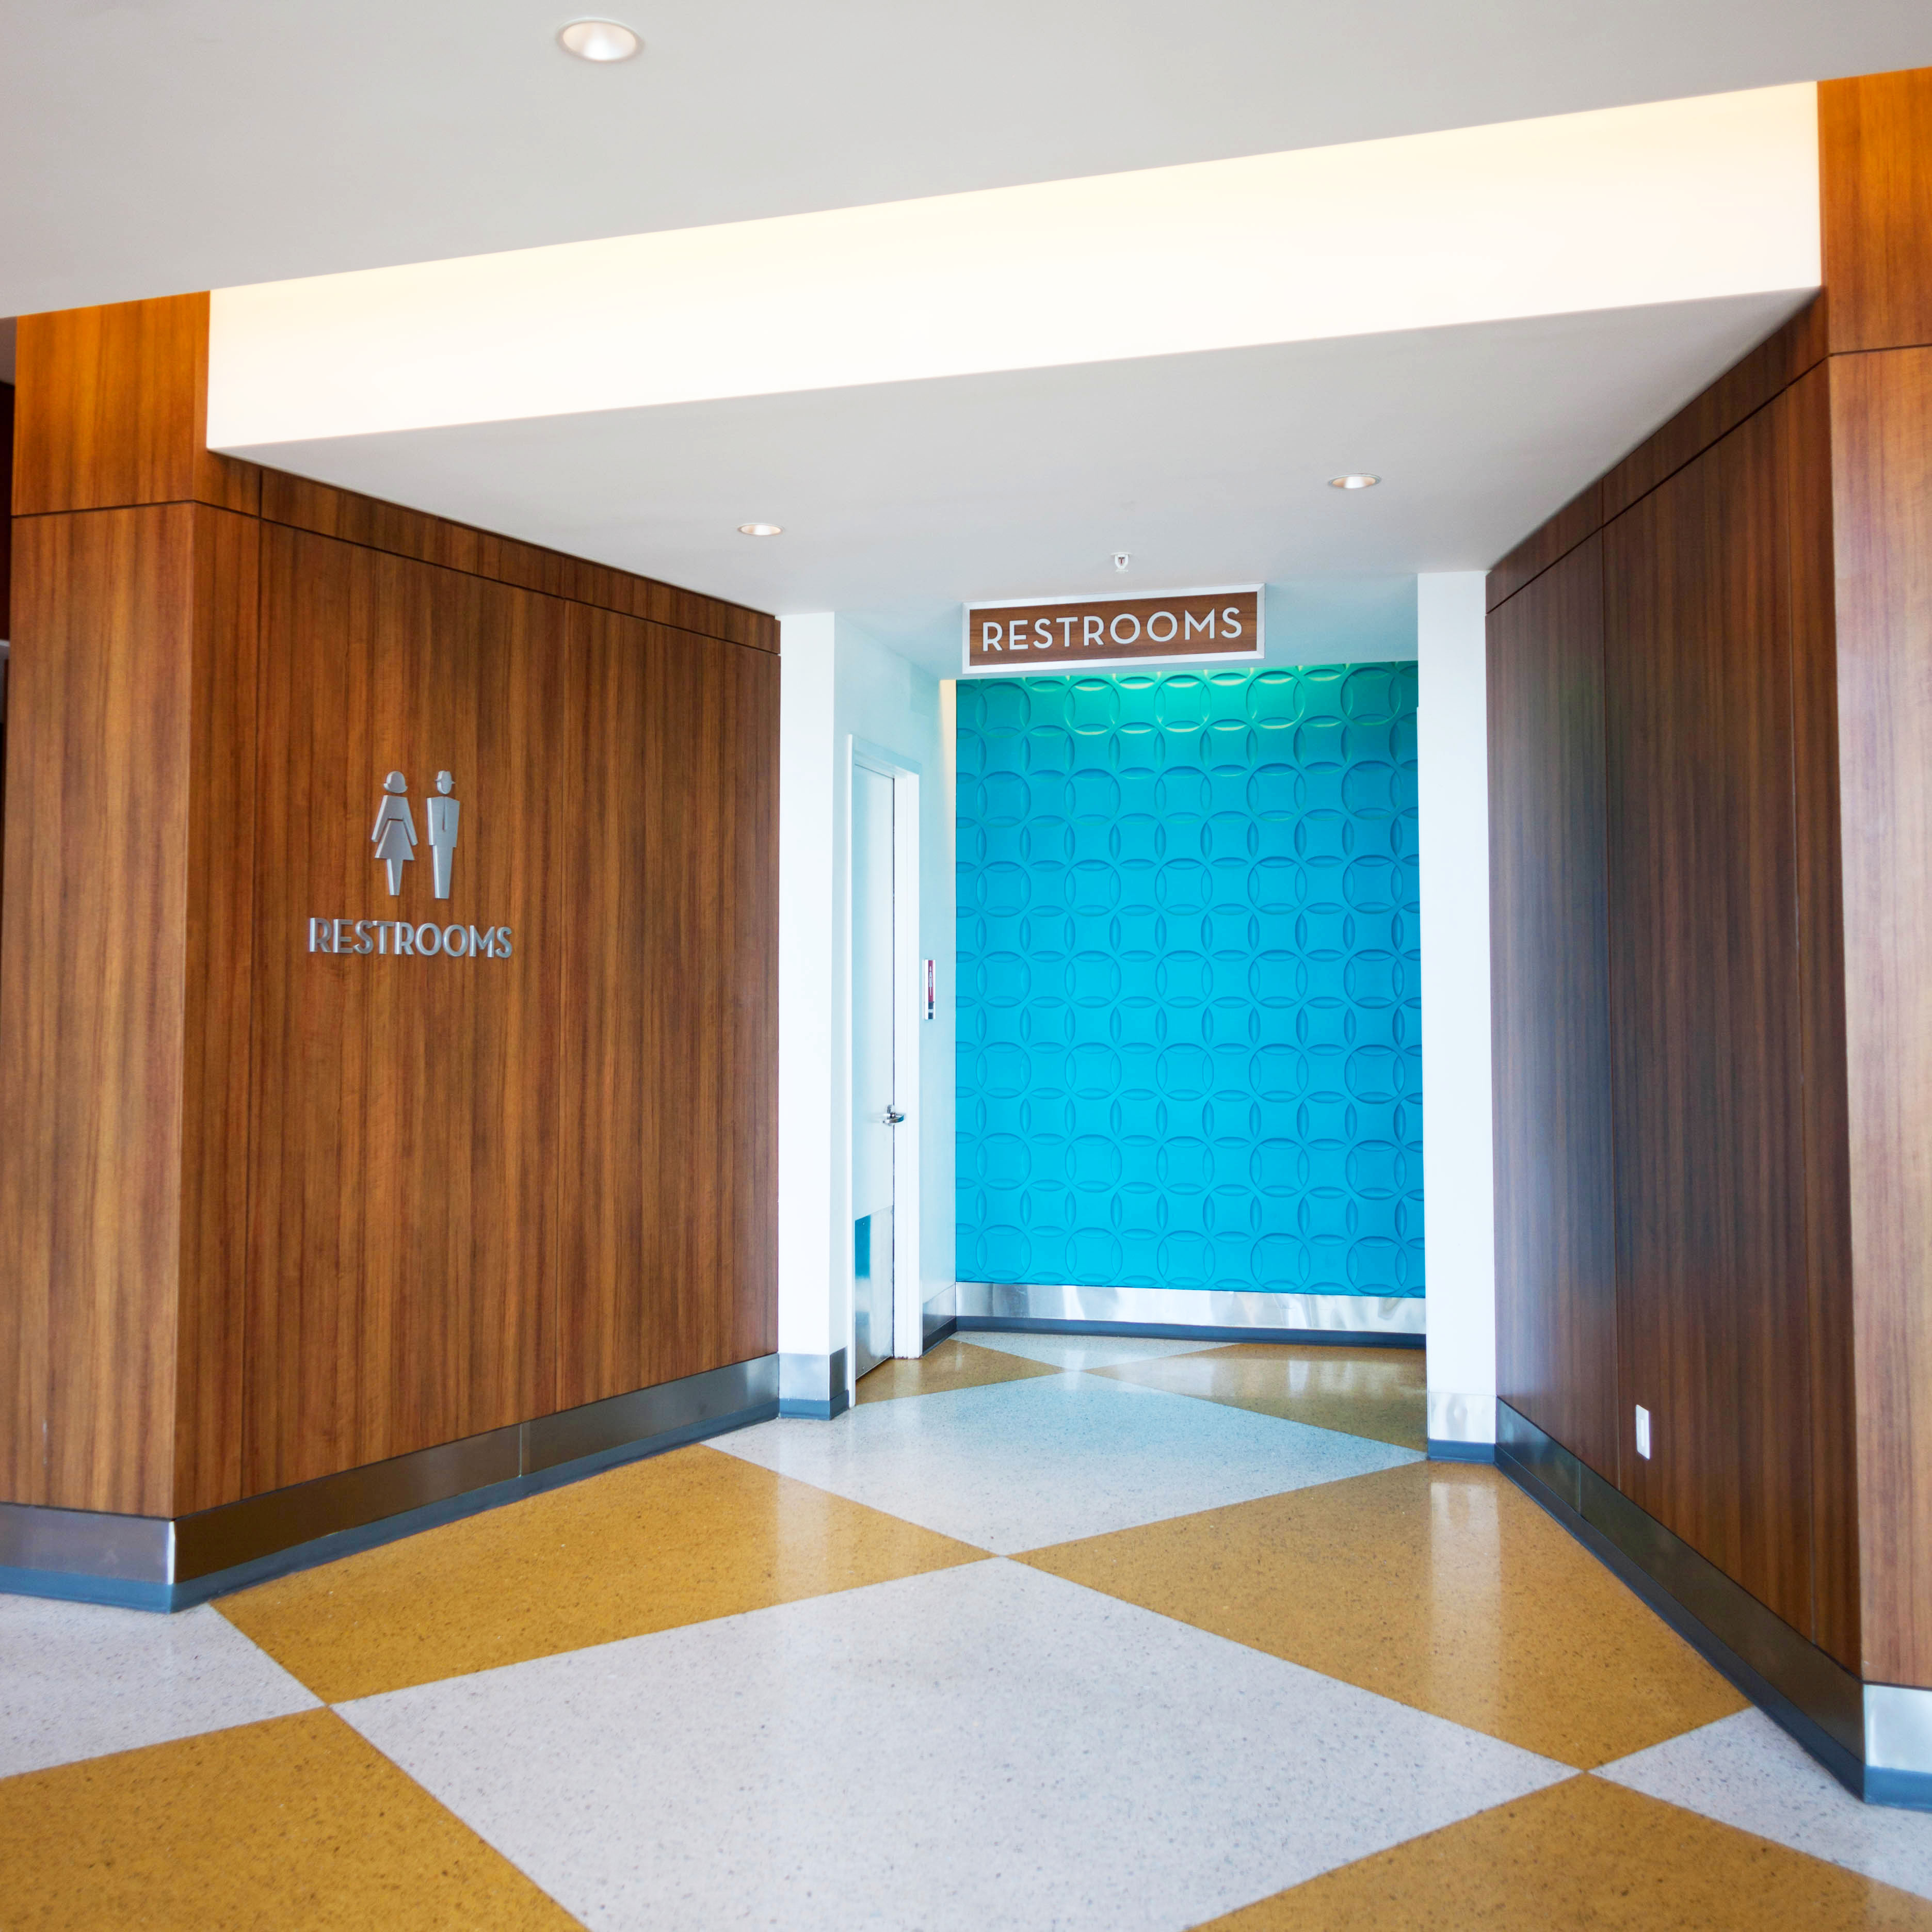
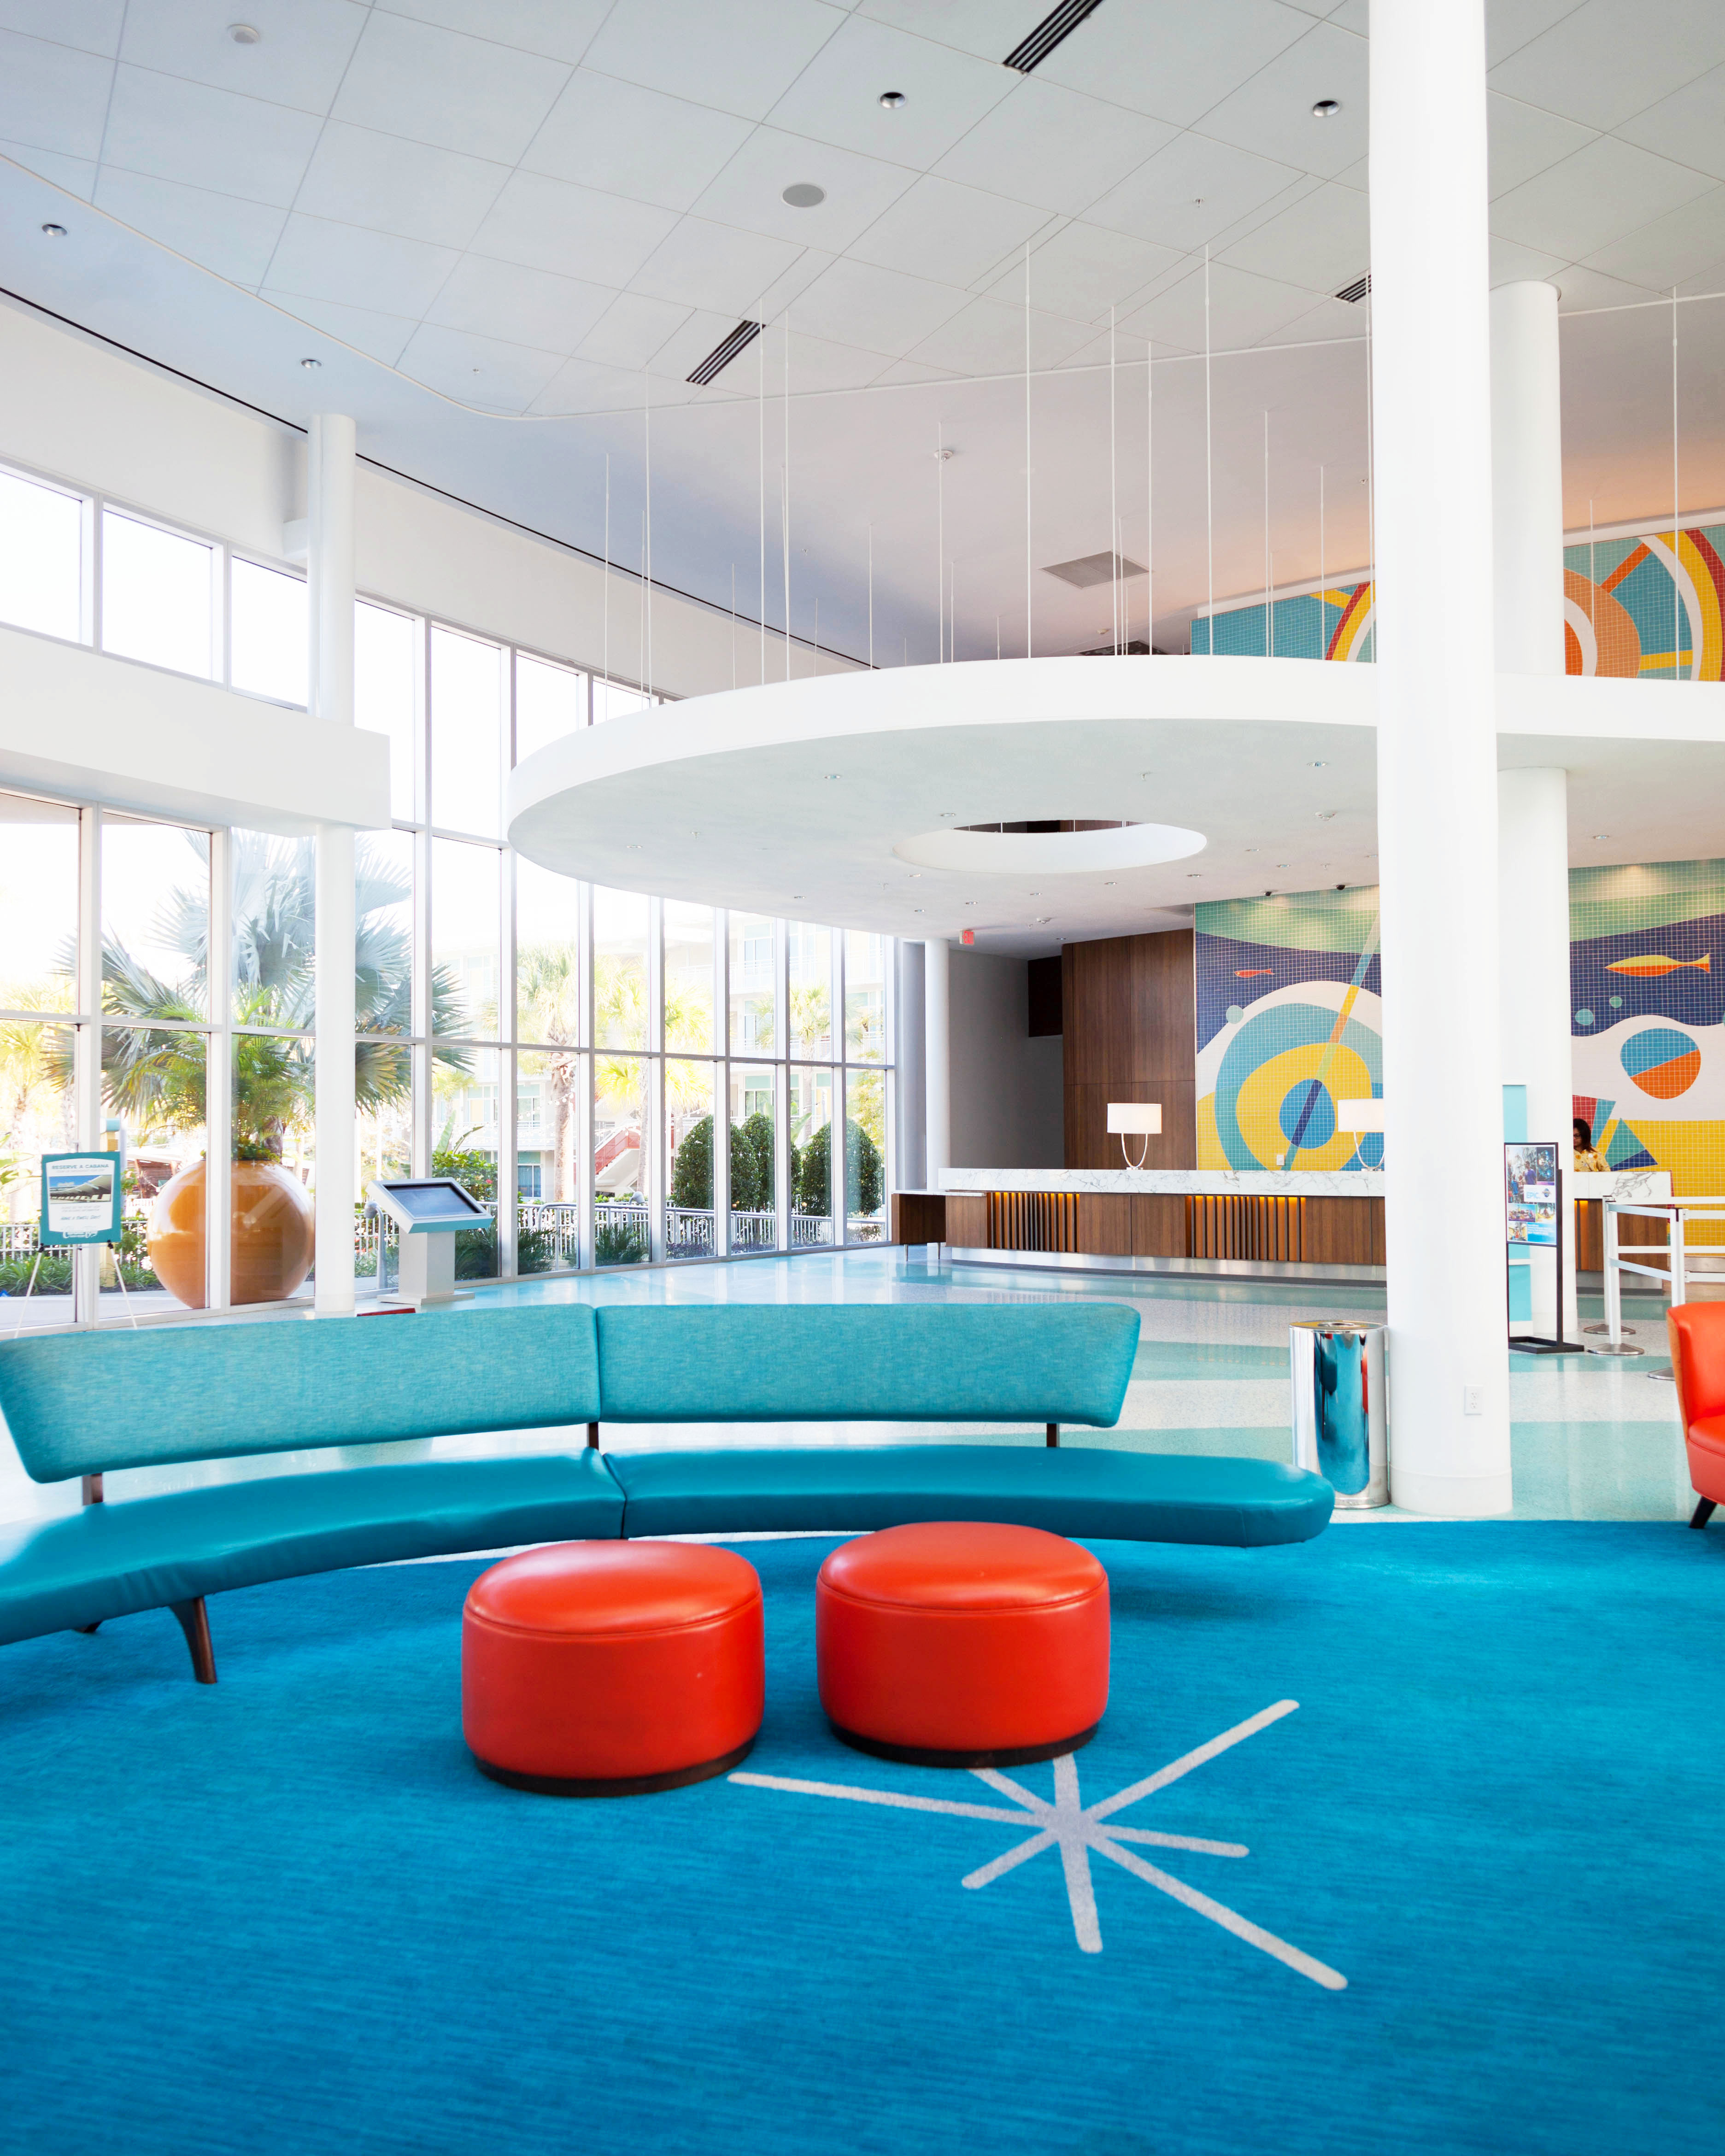
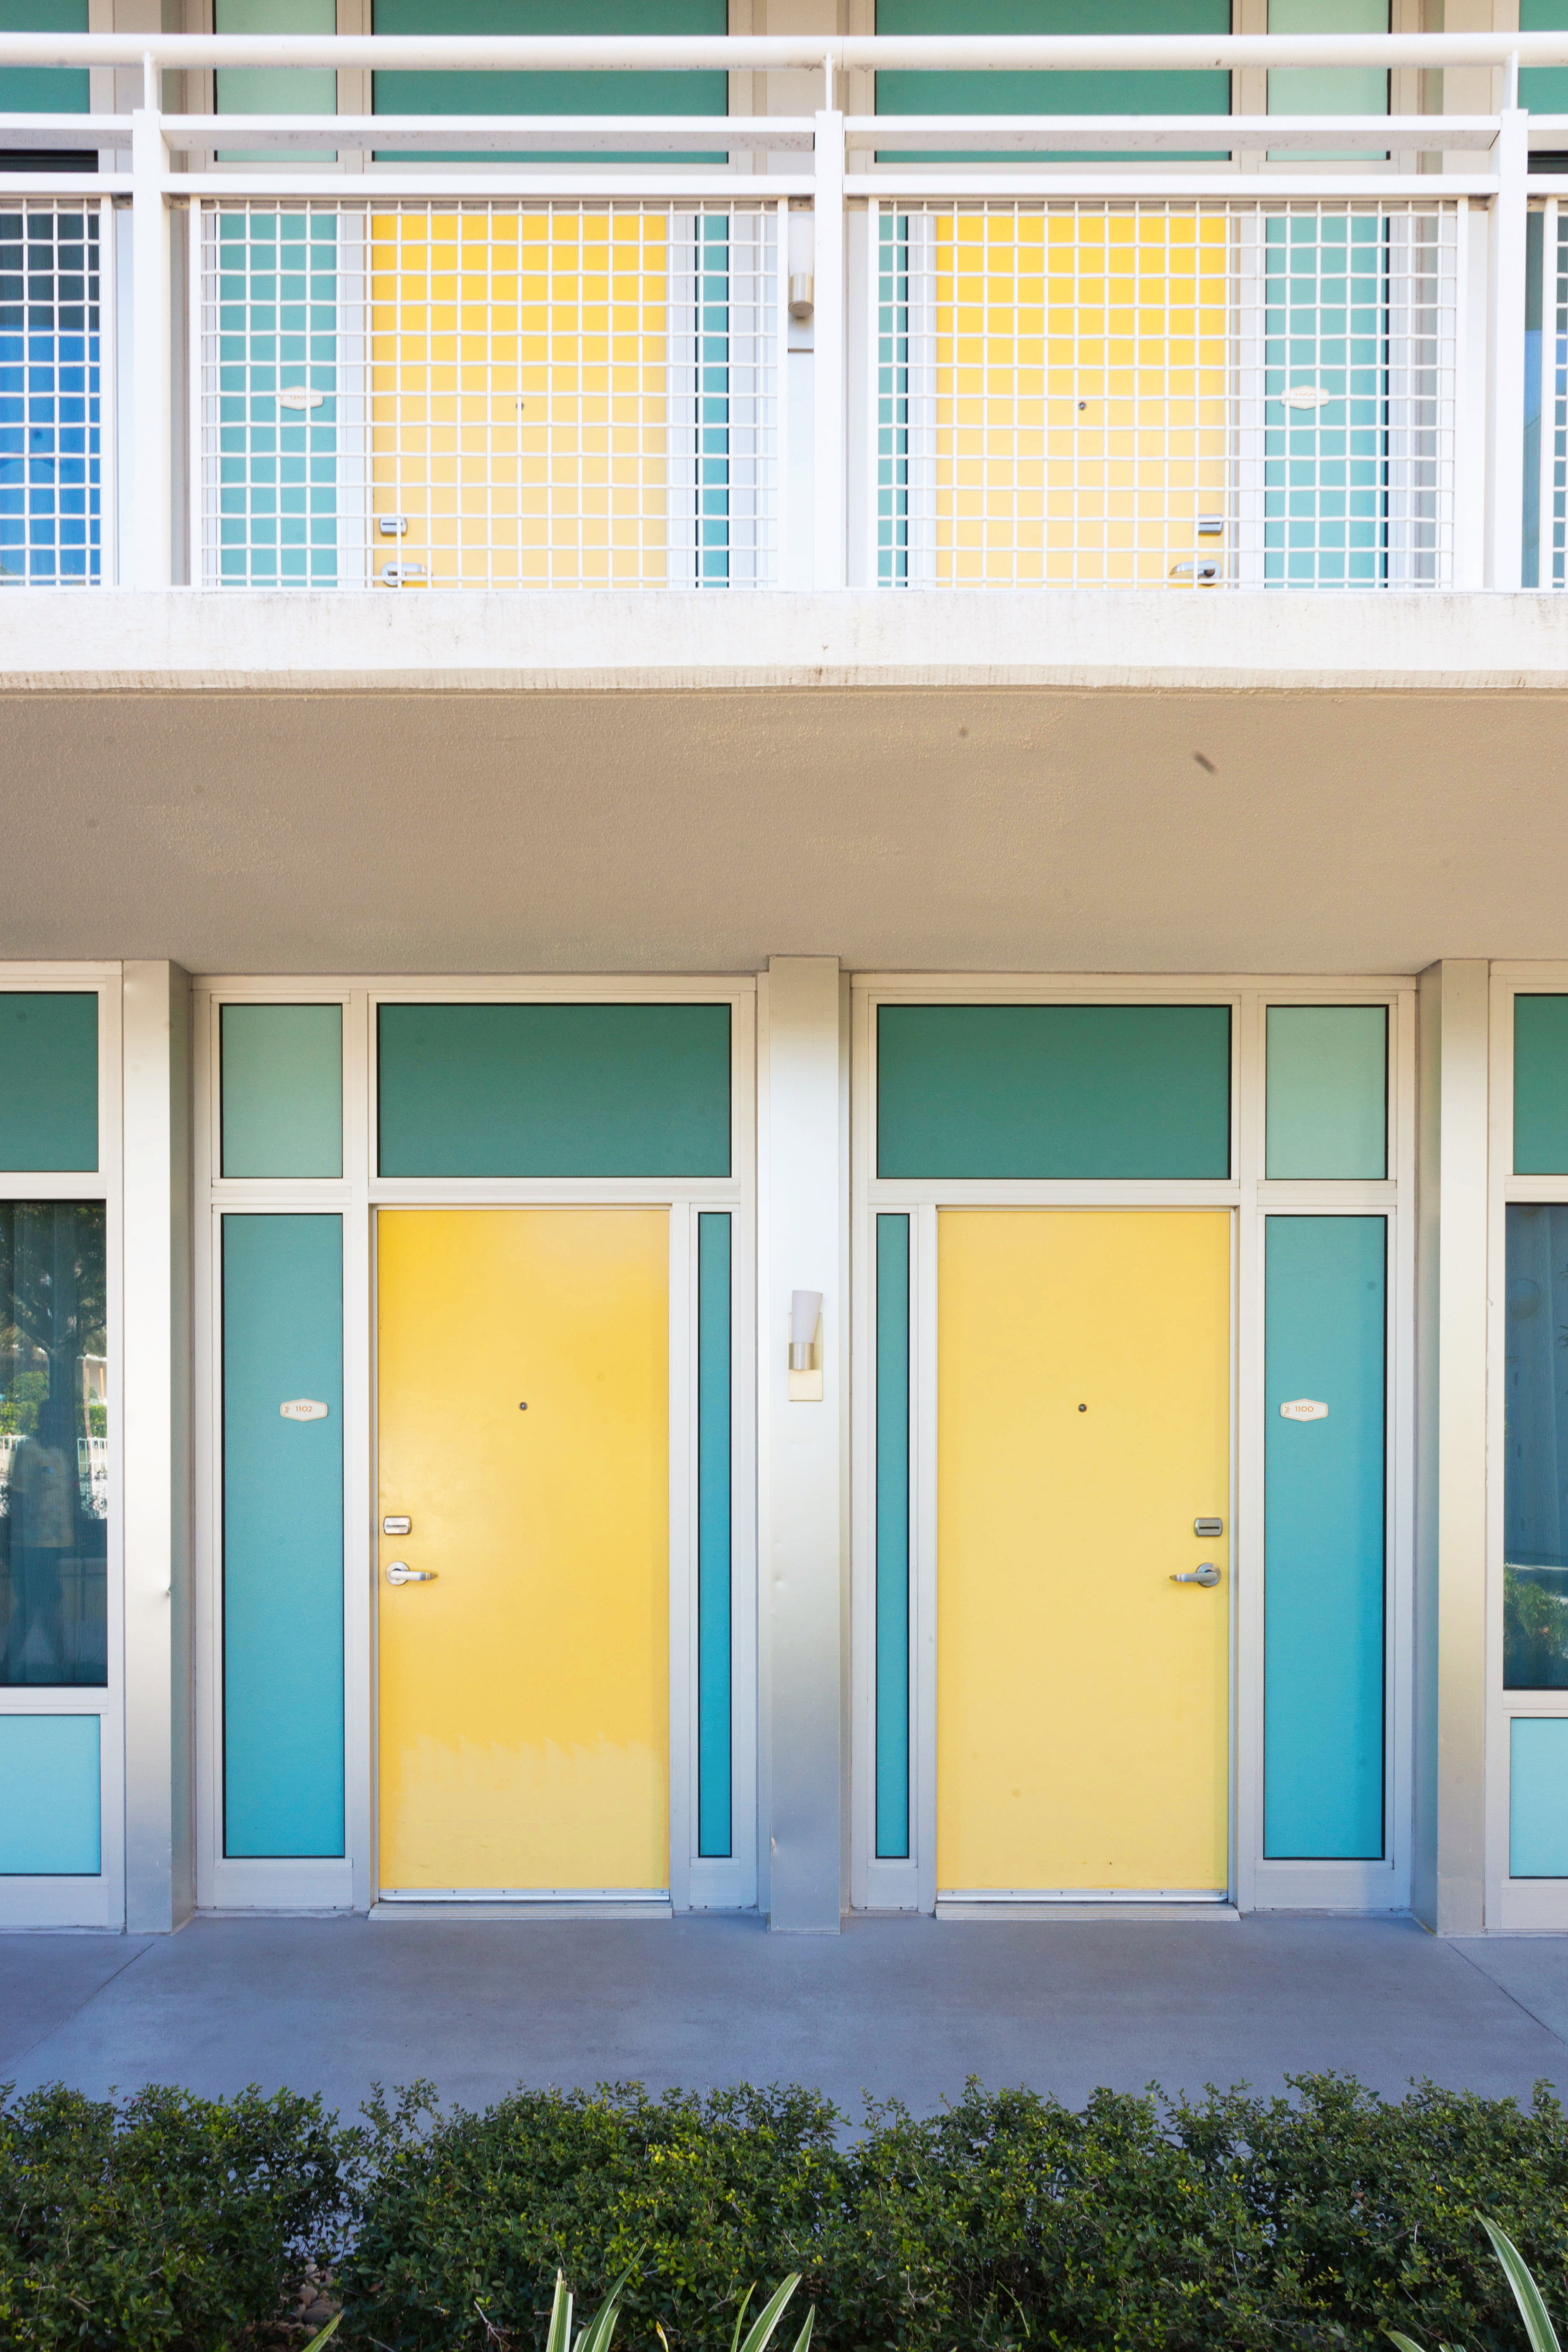
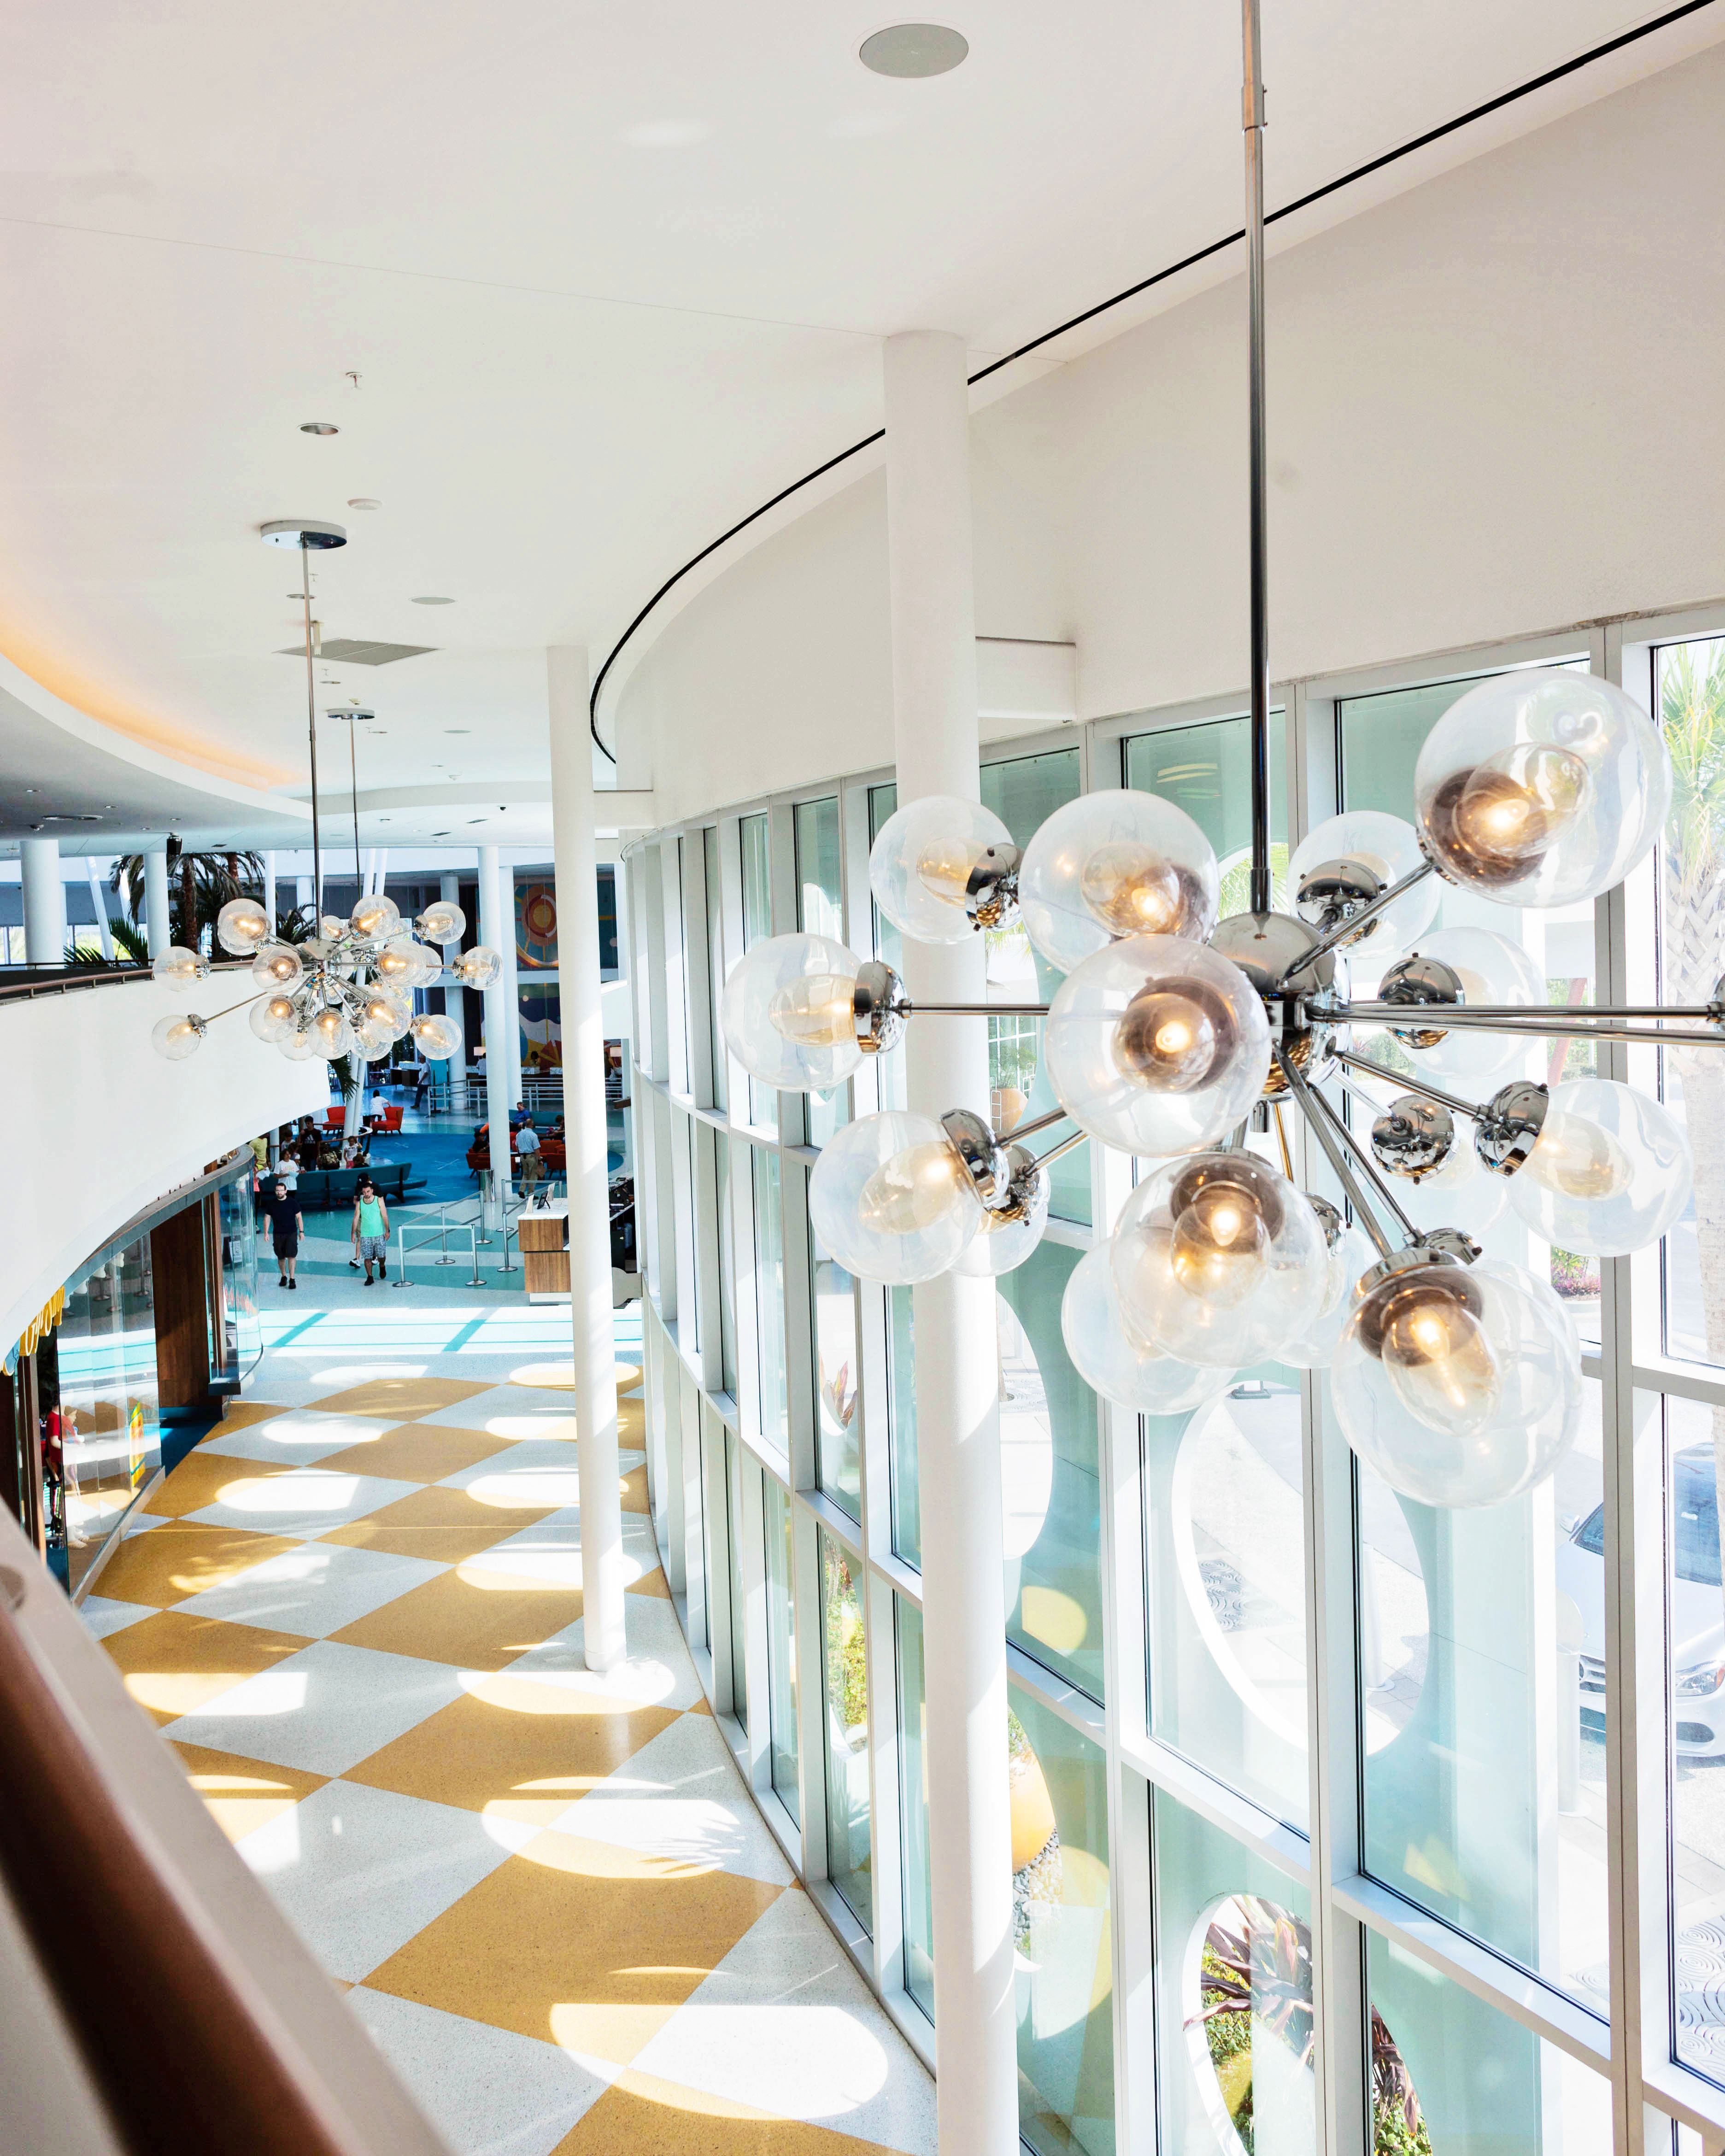
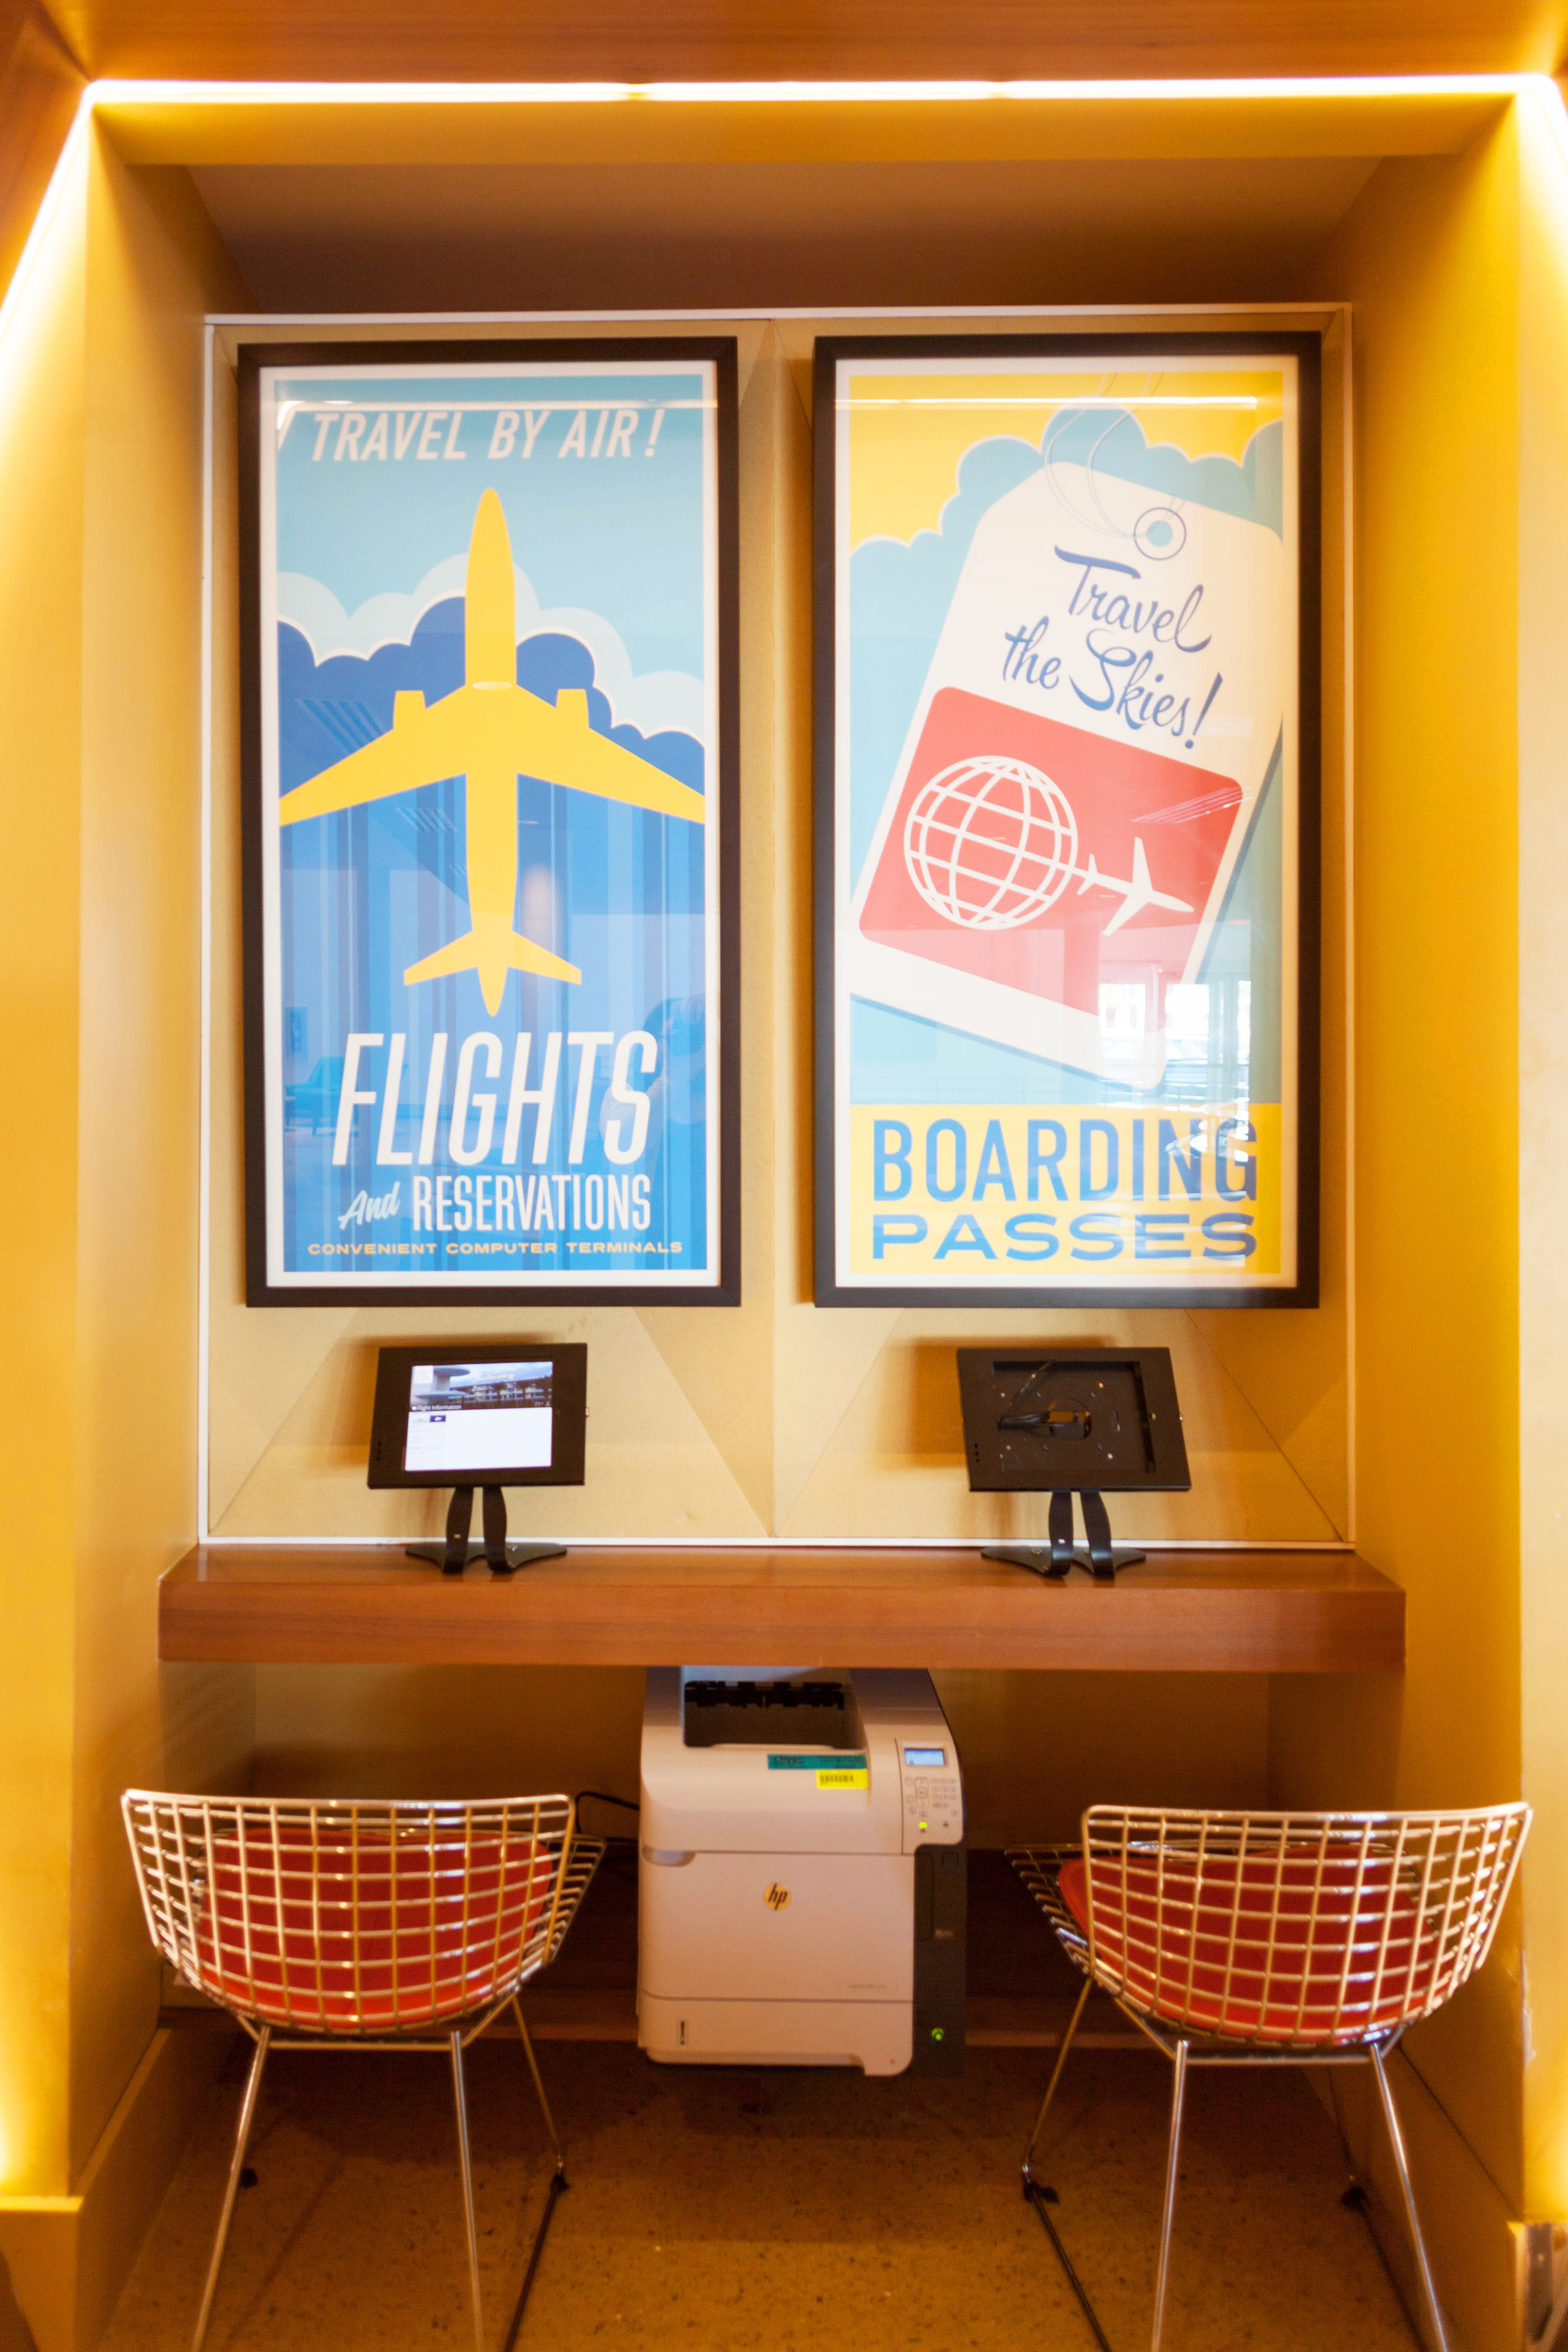
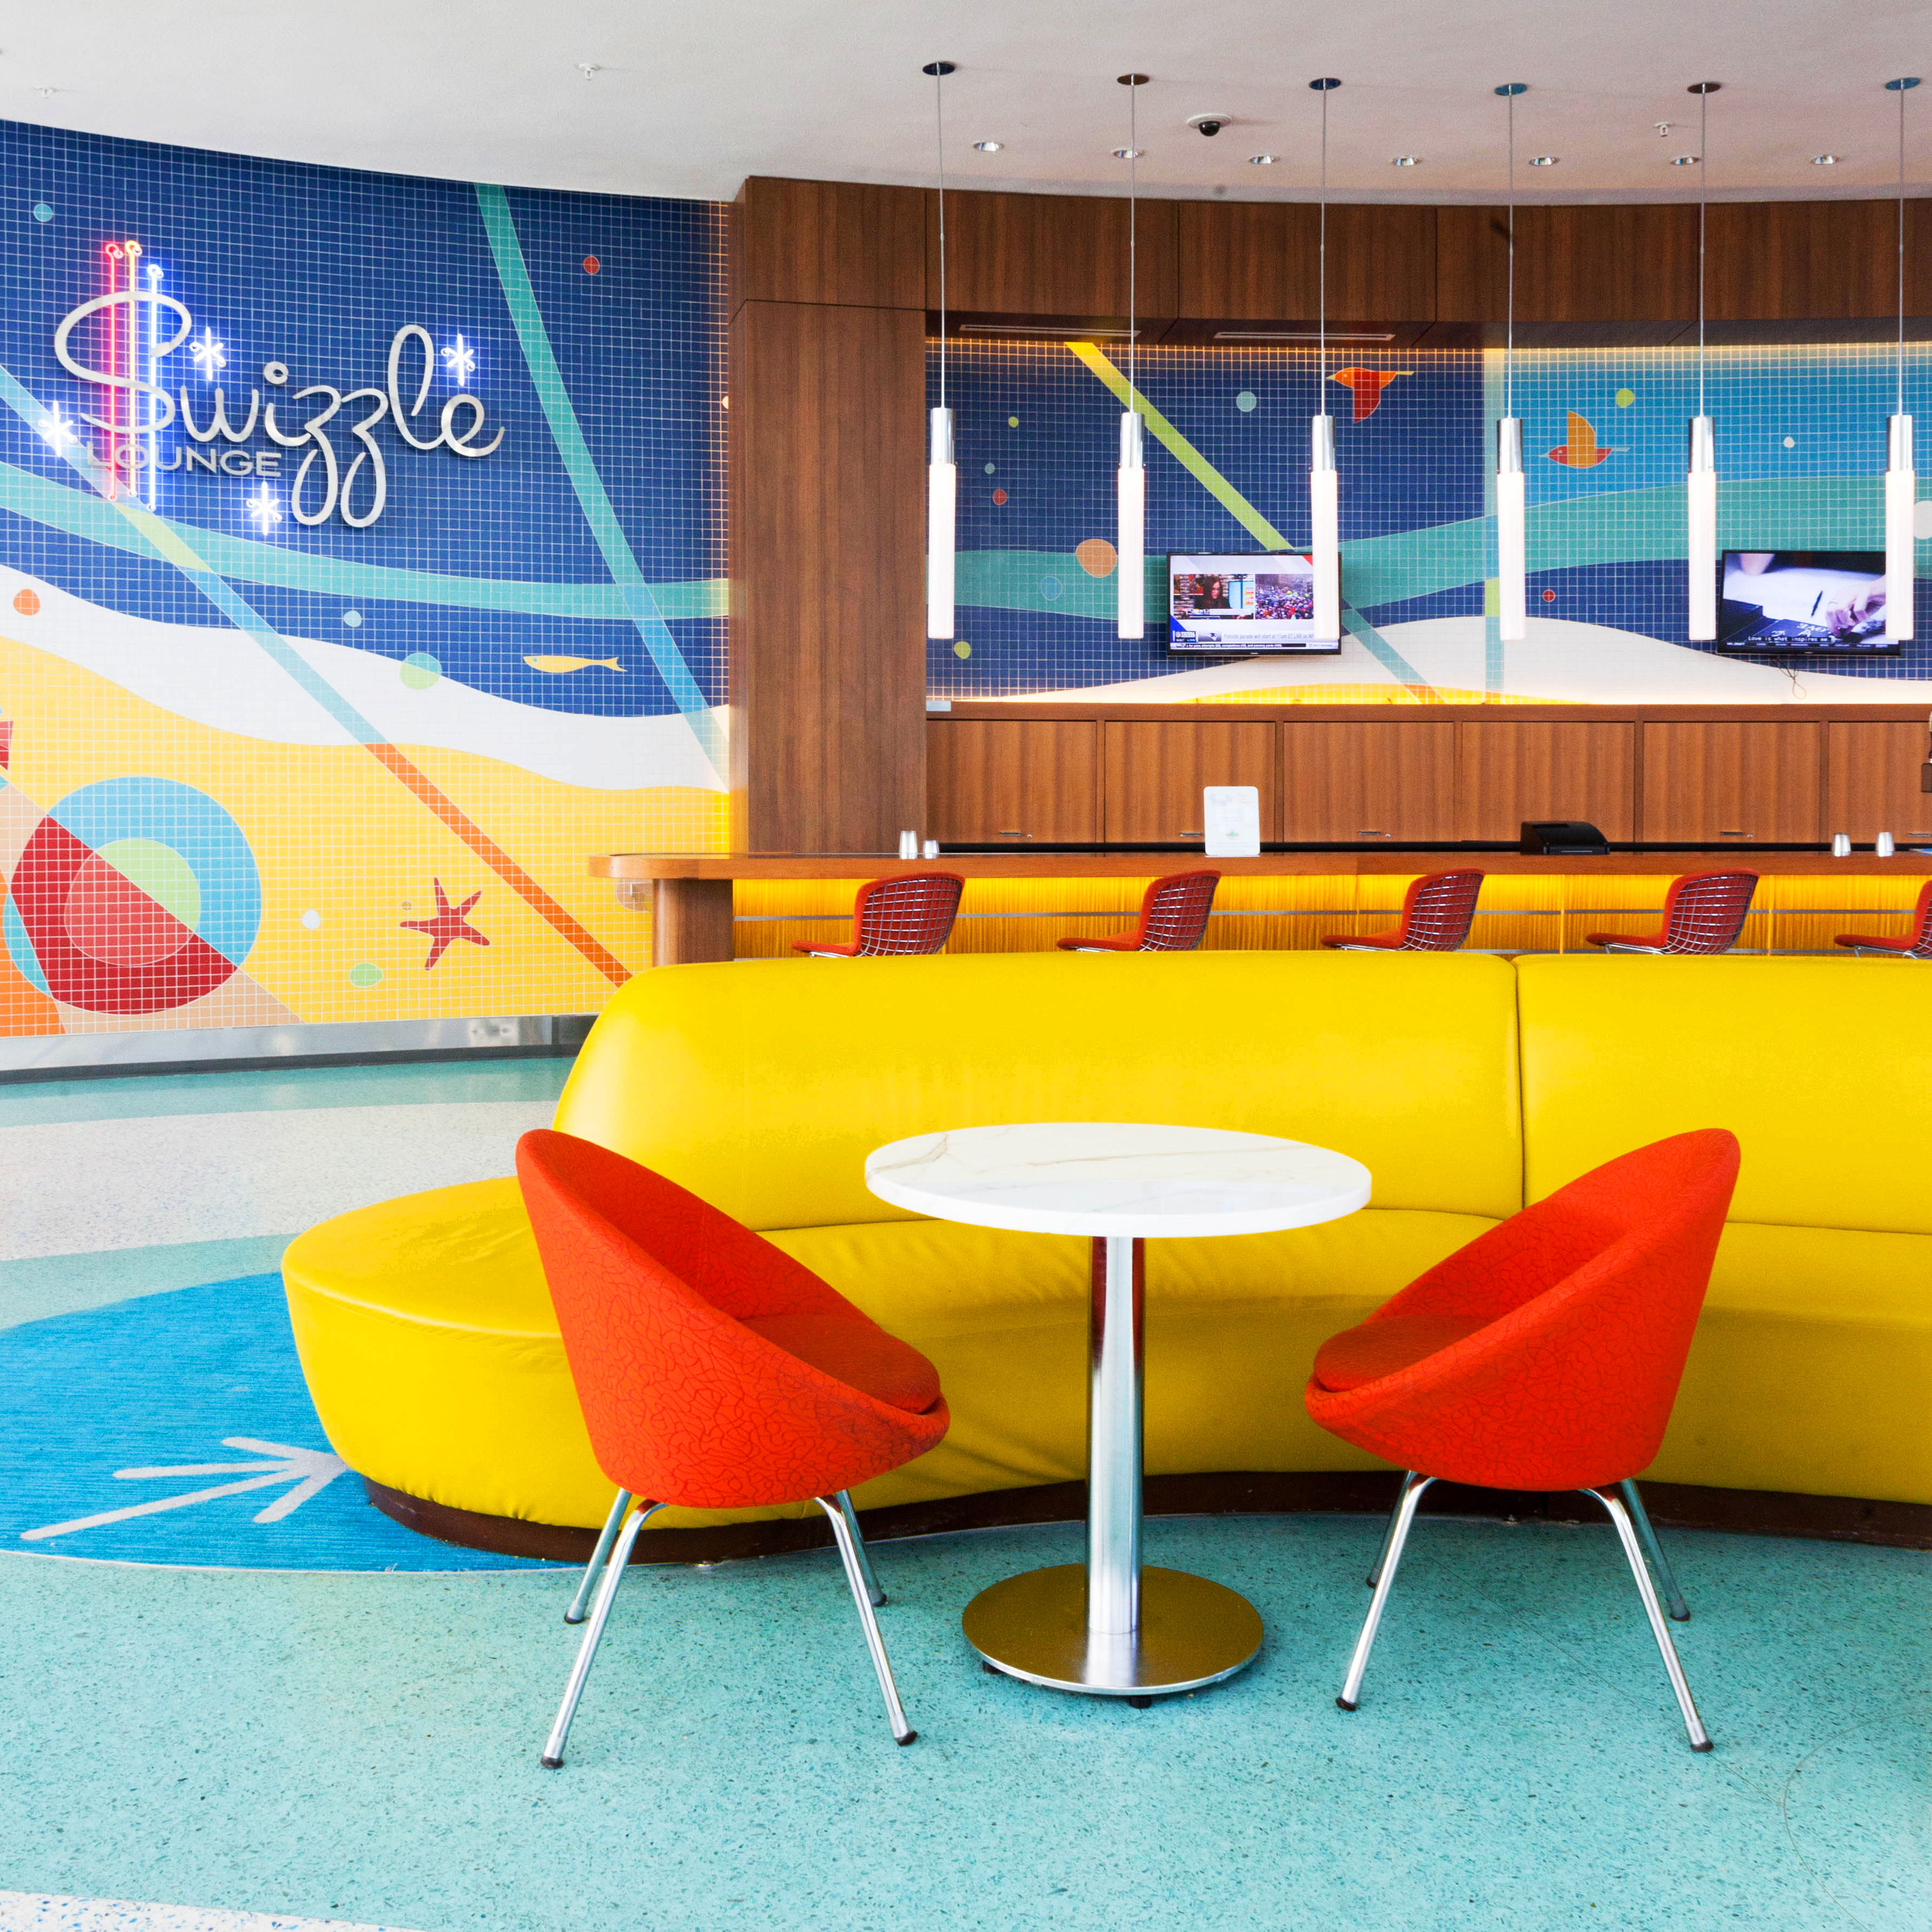
 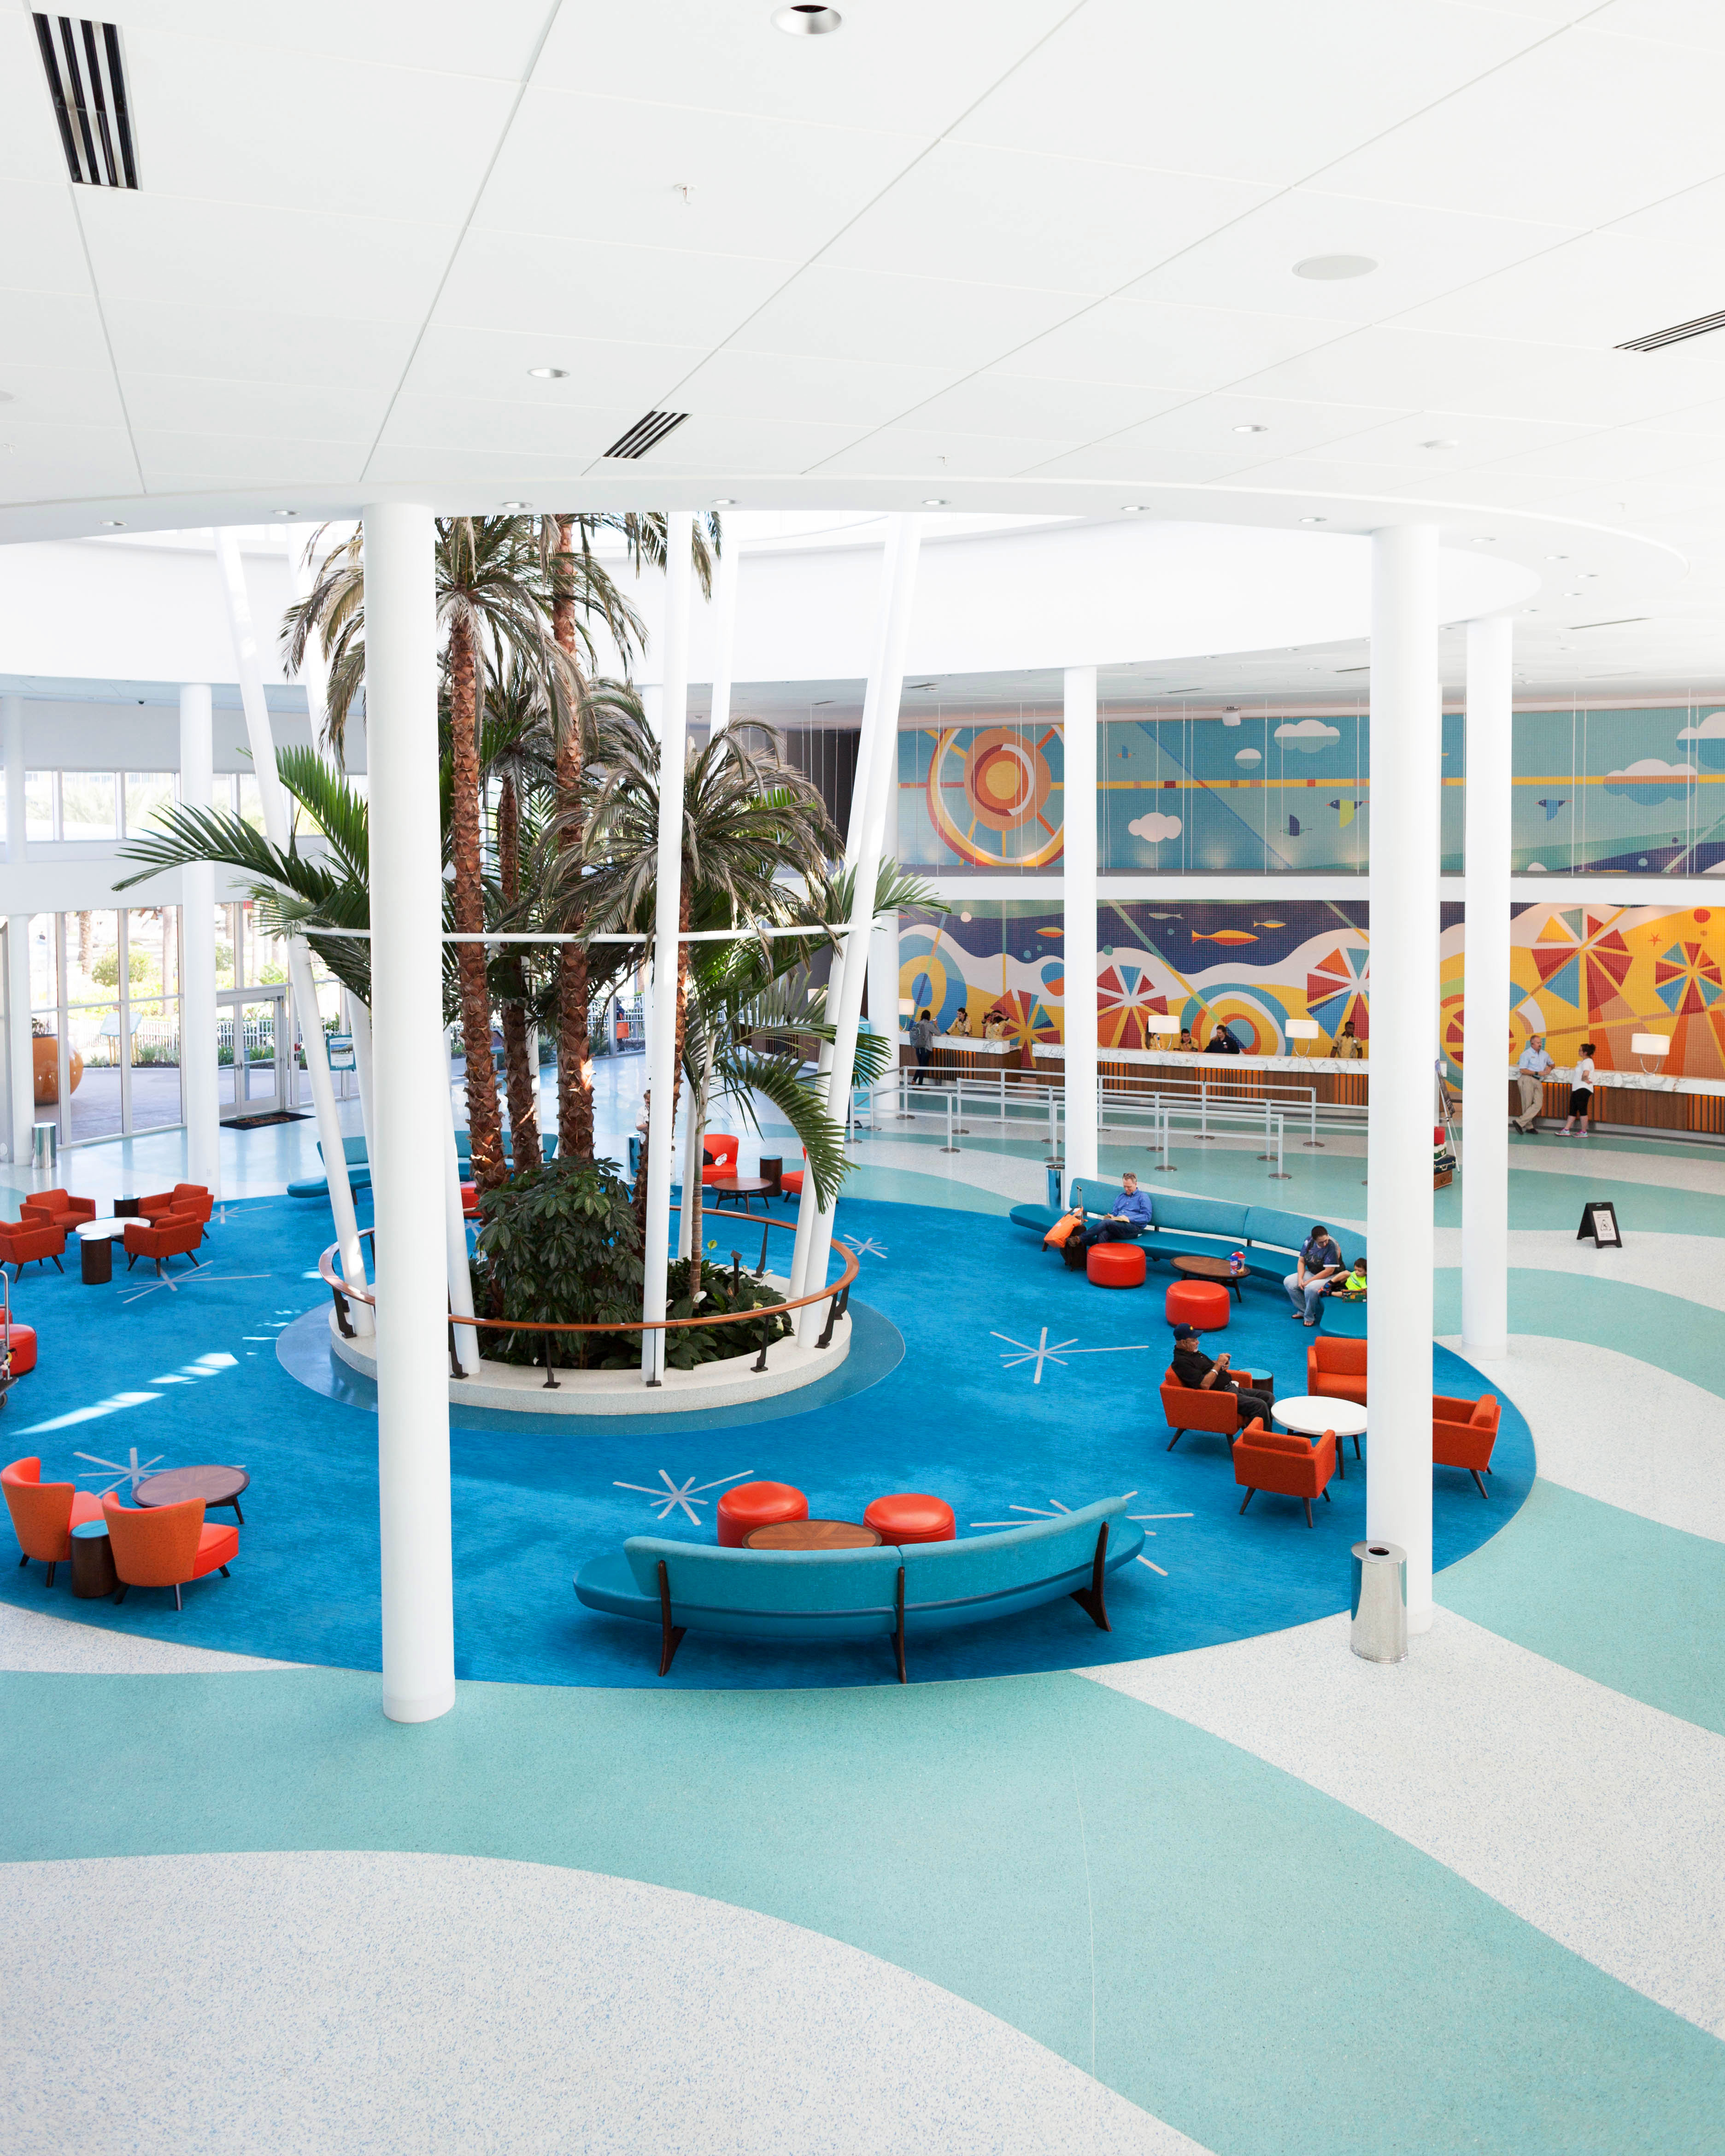 Inspired by the 50s and 60s, Cabana Bay is decked head to toe in colorful retro style. The property has two pools, seven eateries and lounges, a bowling alley, arcade, and fitness studio! I told you it has everything!
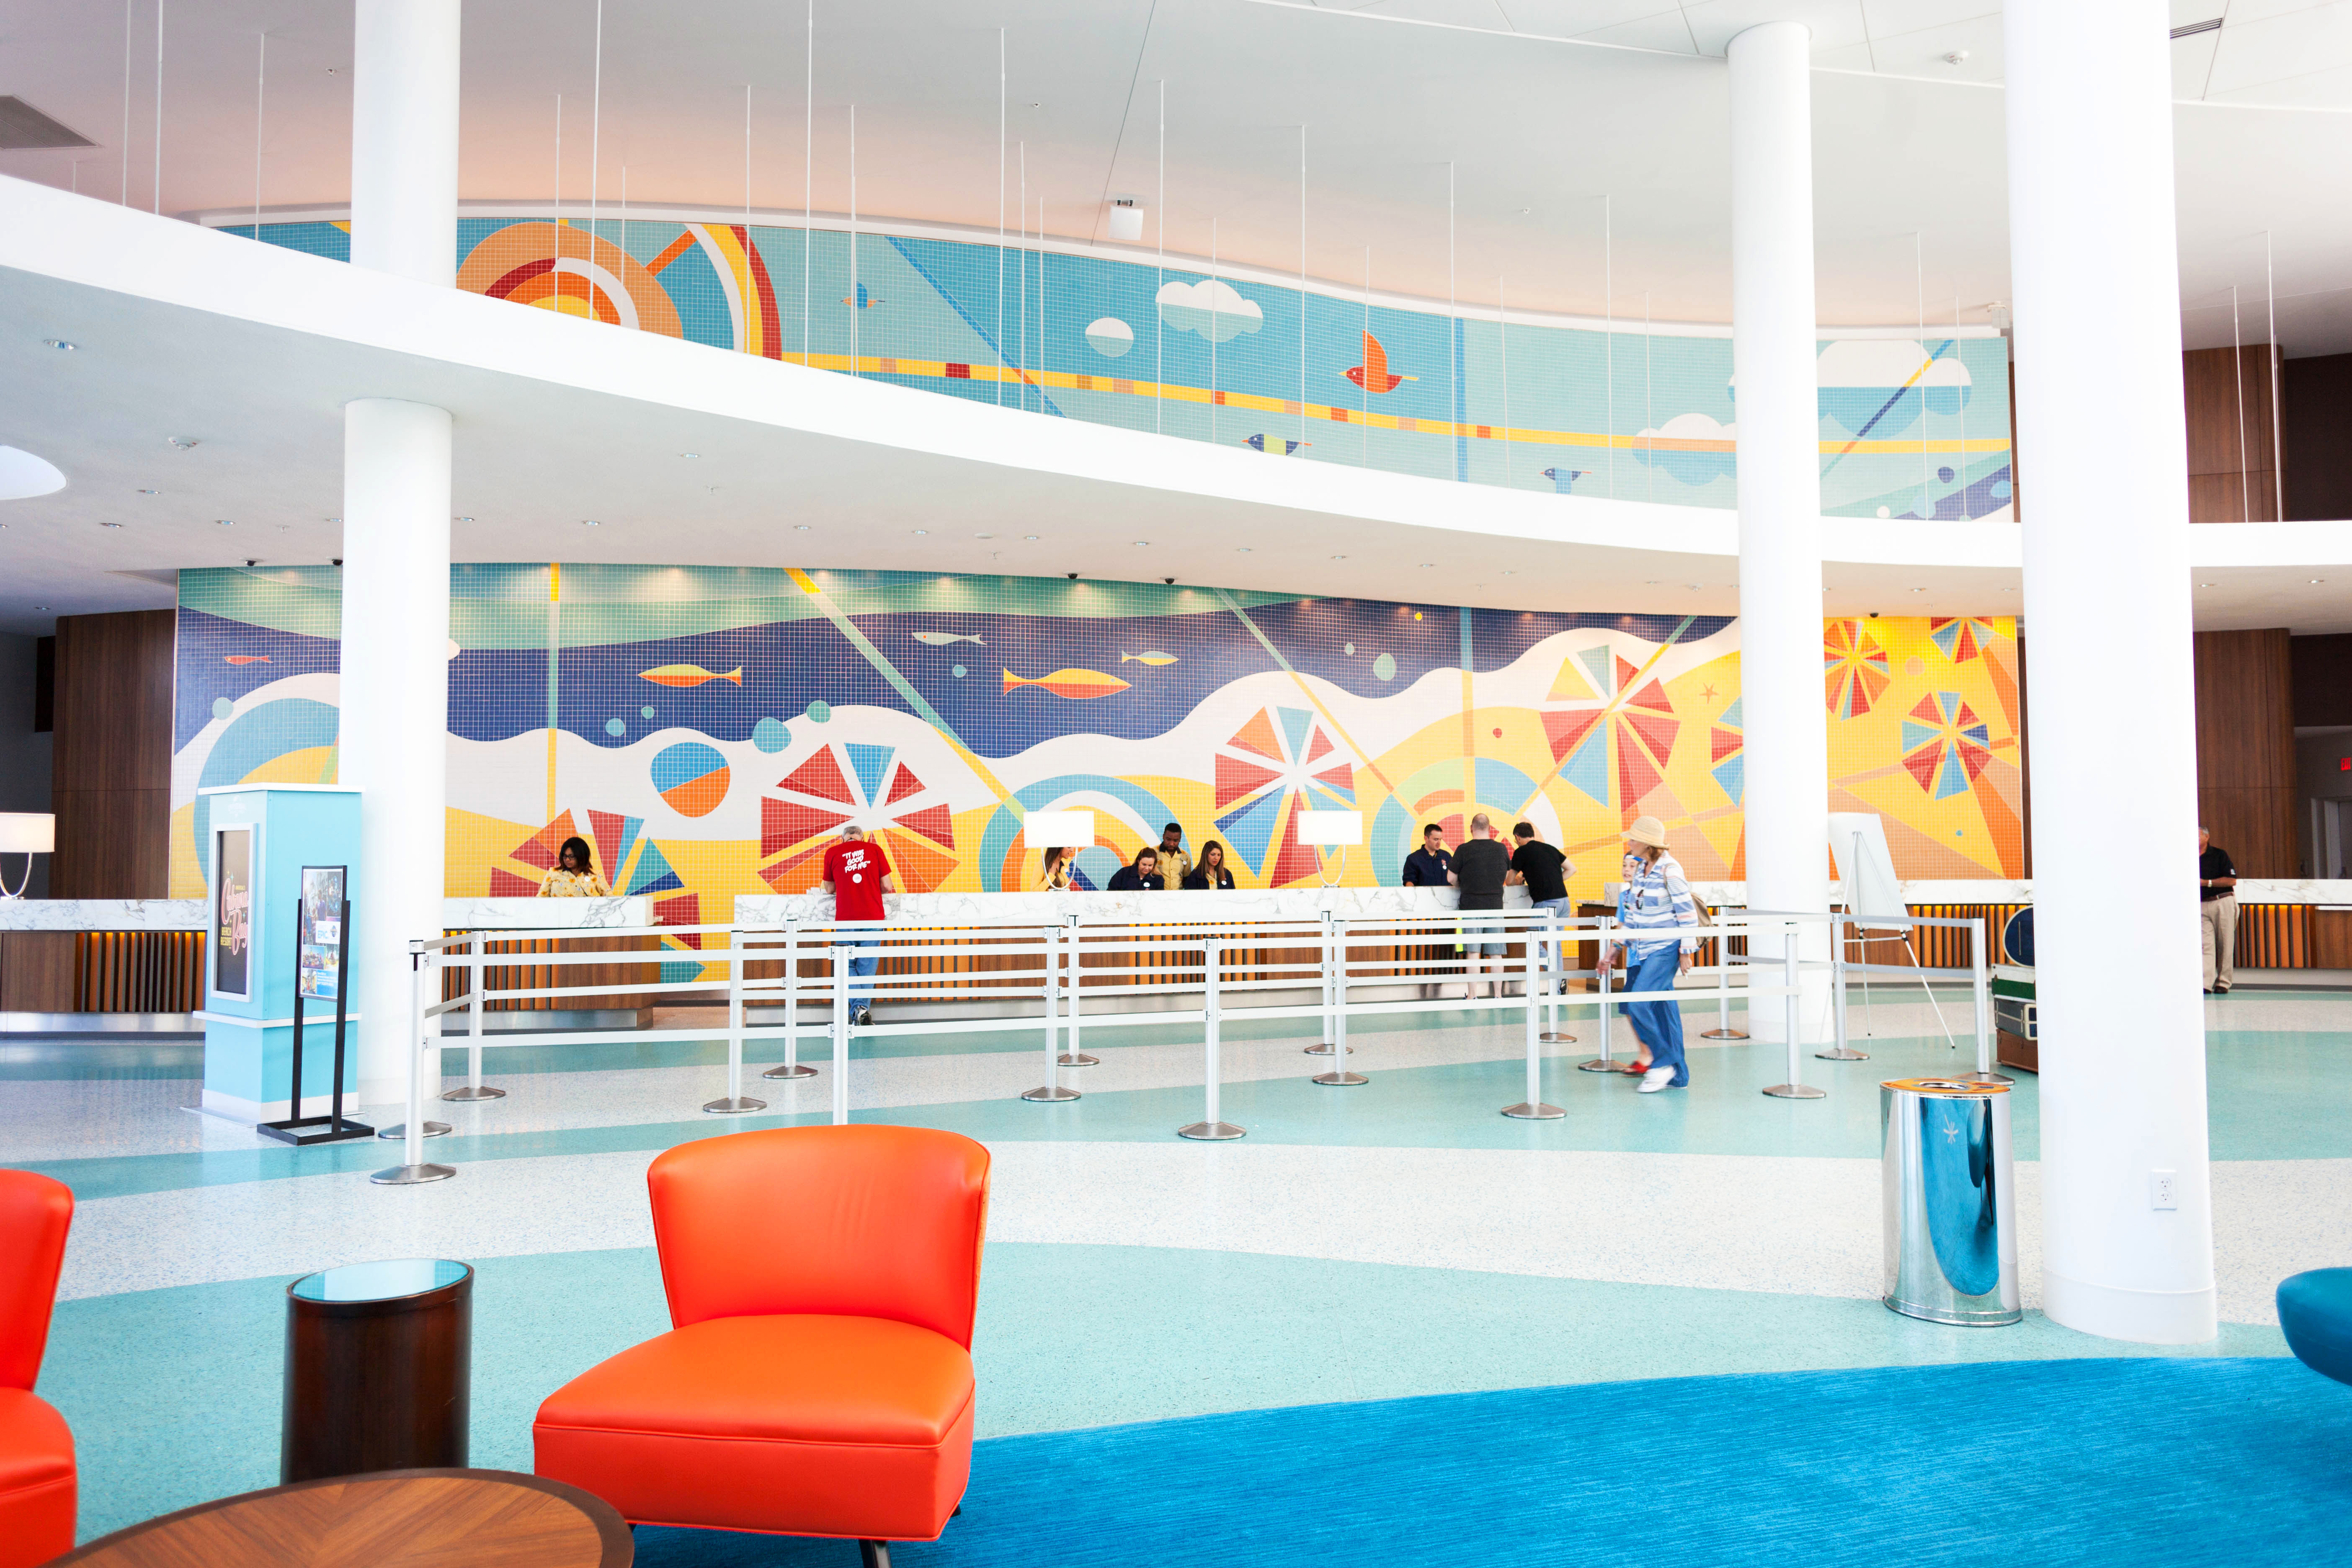


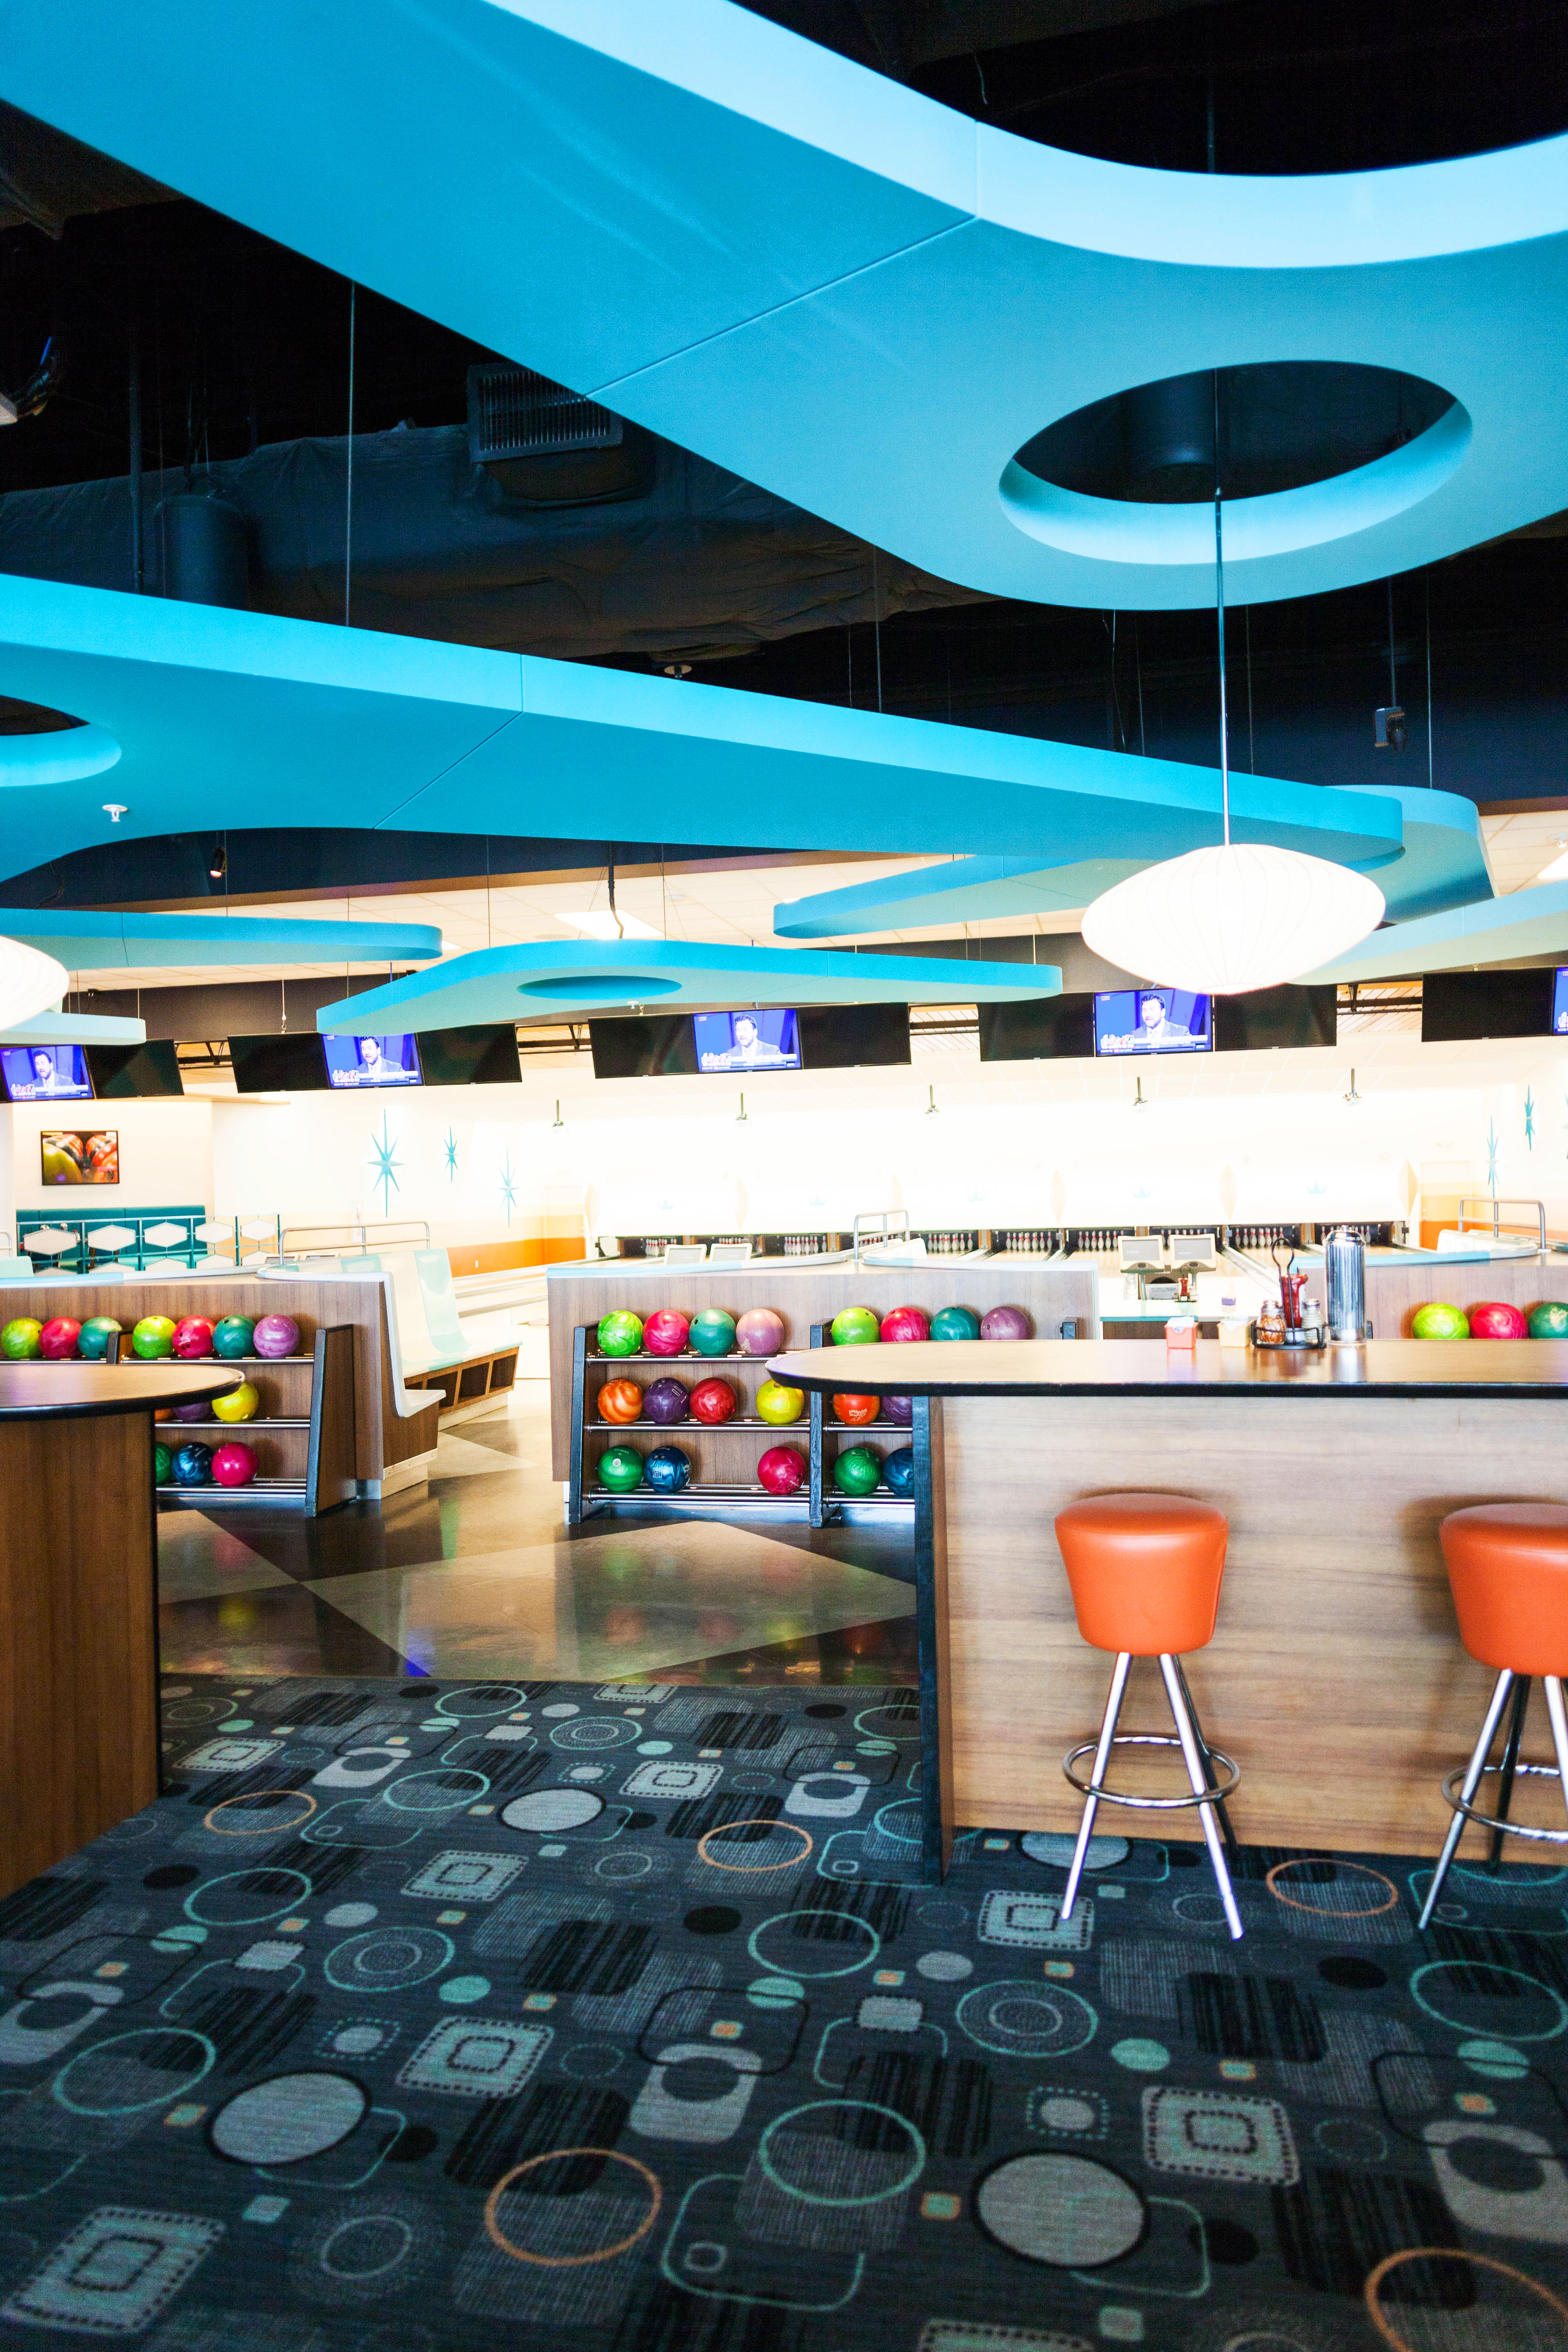
 One of my favorite parts was the bowling alley. We had SO much fun and great food and drinks there .
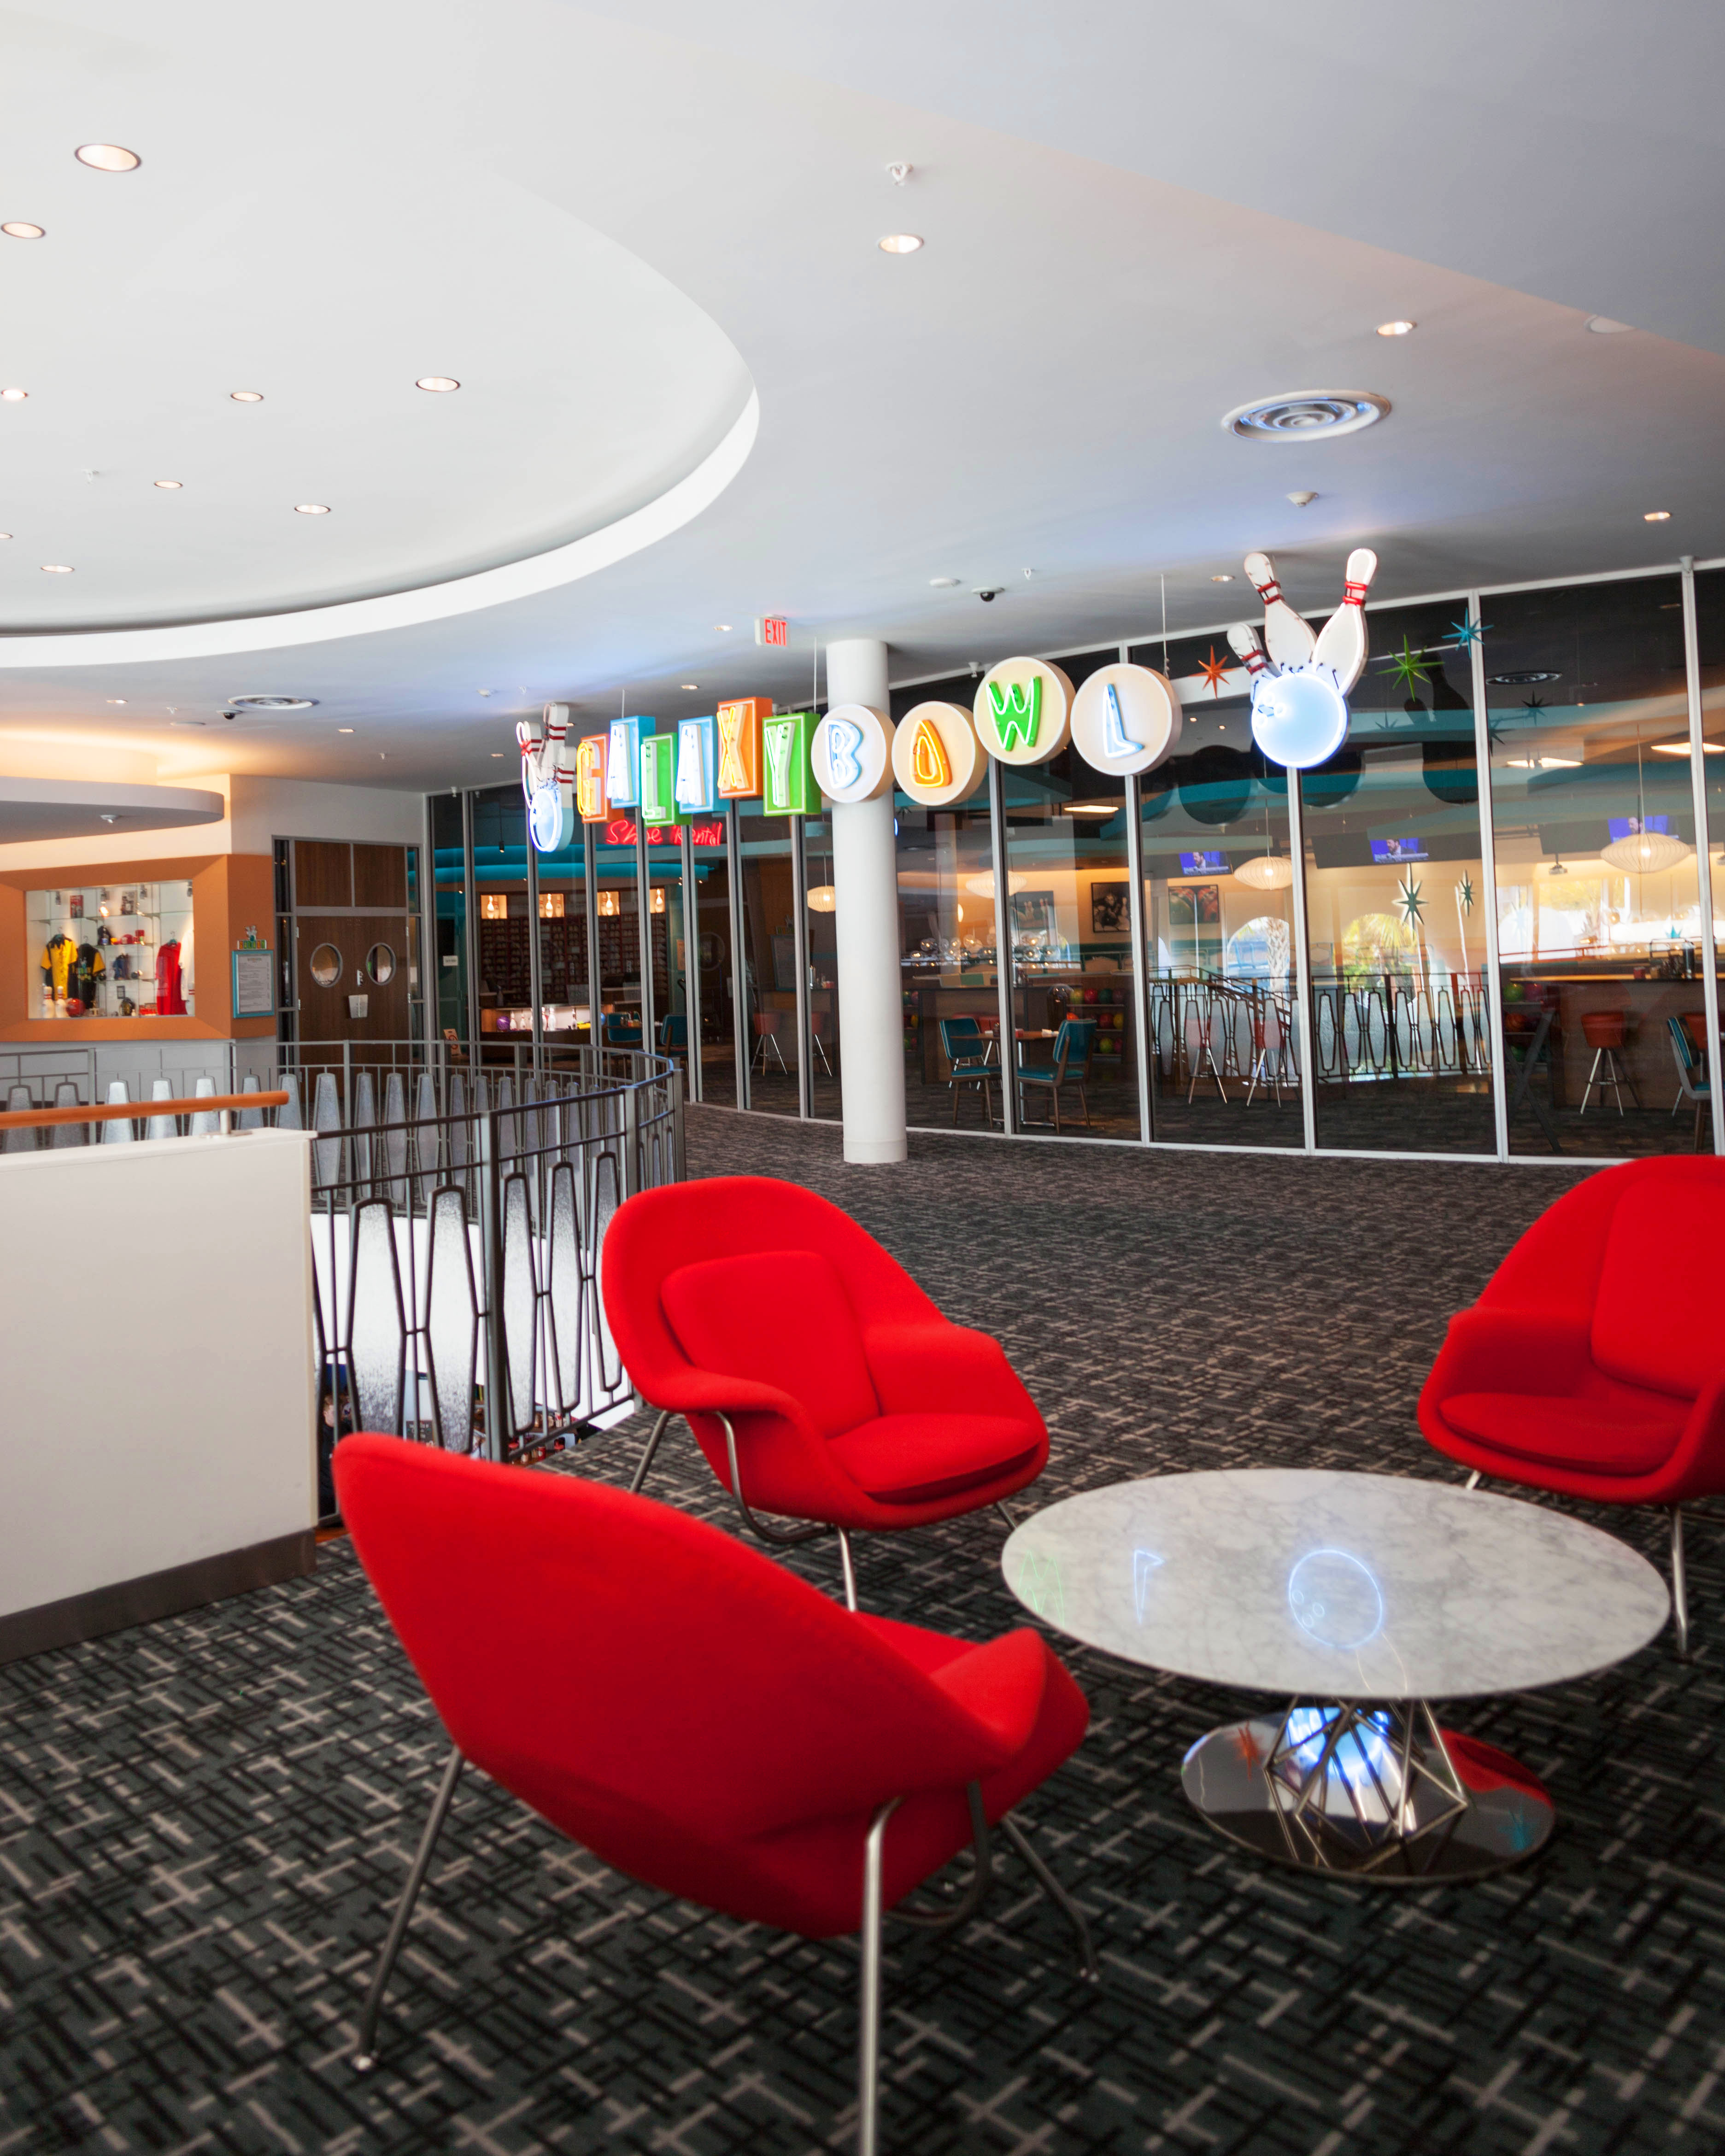
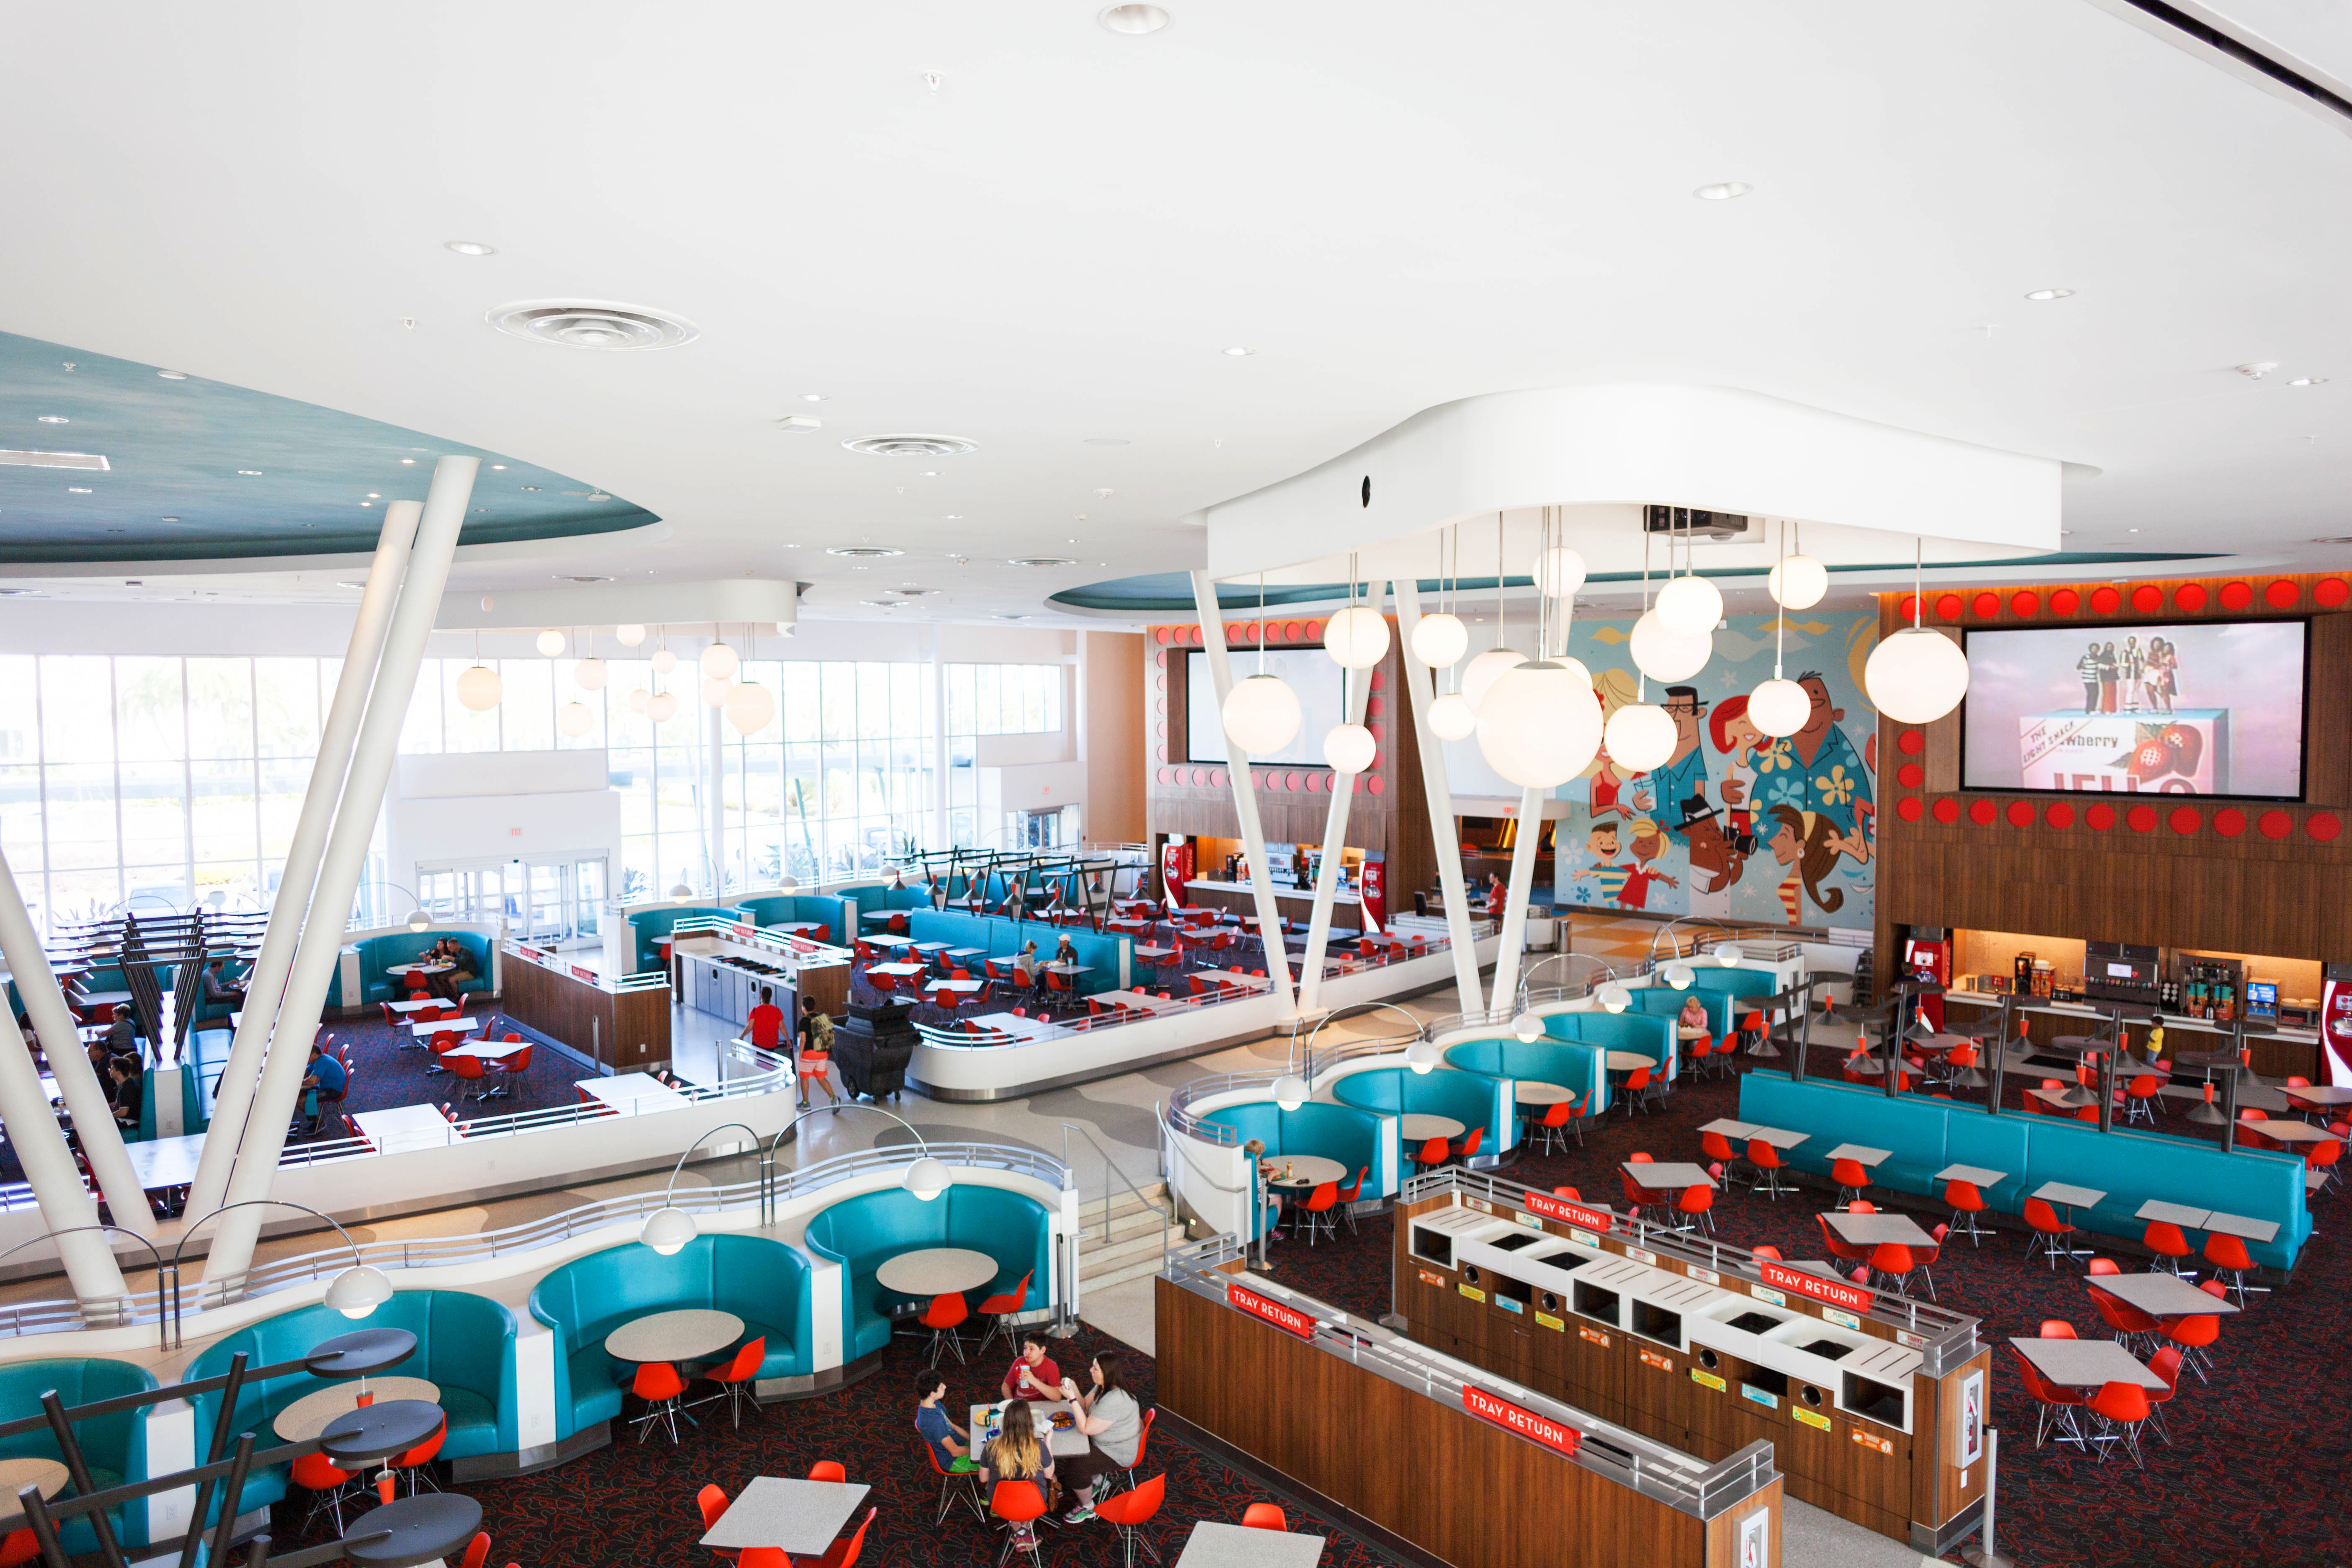
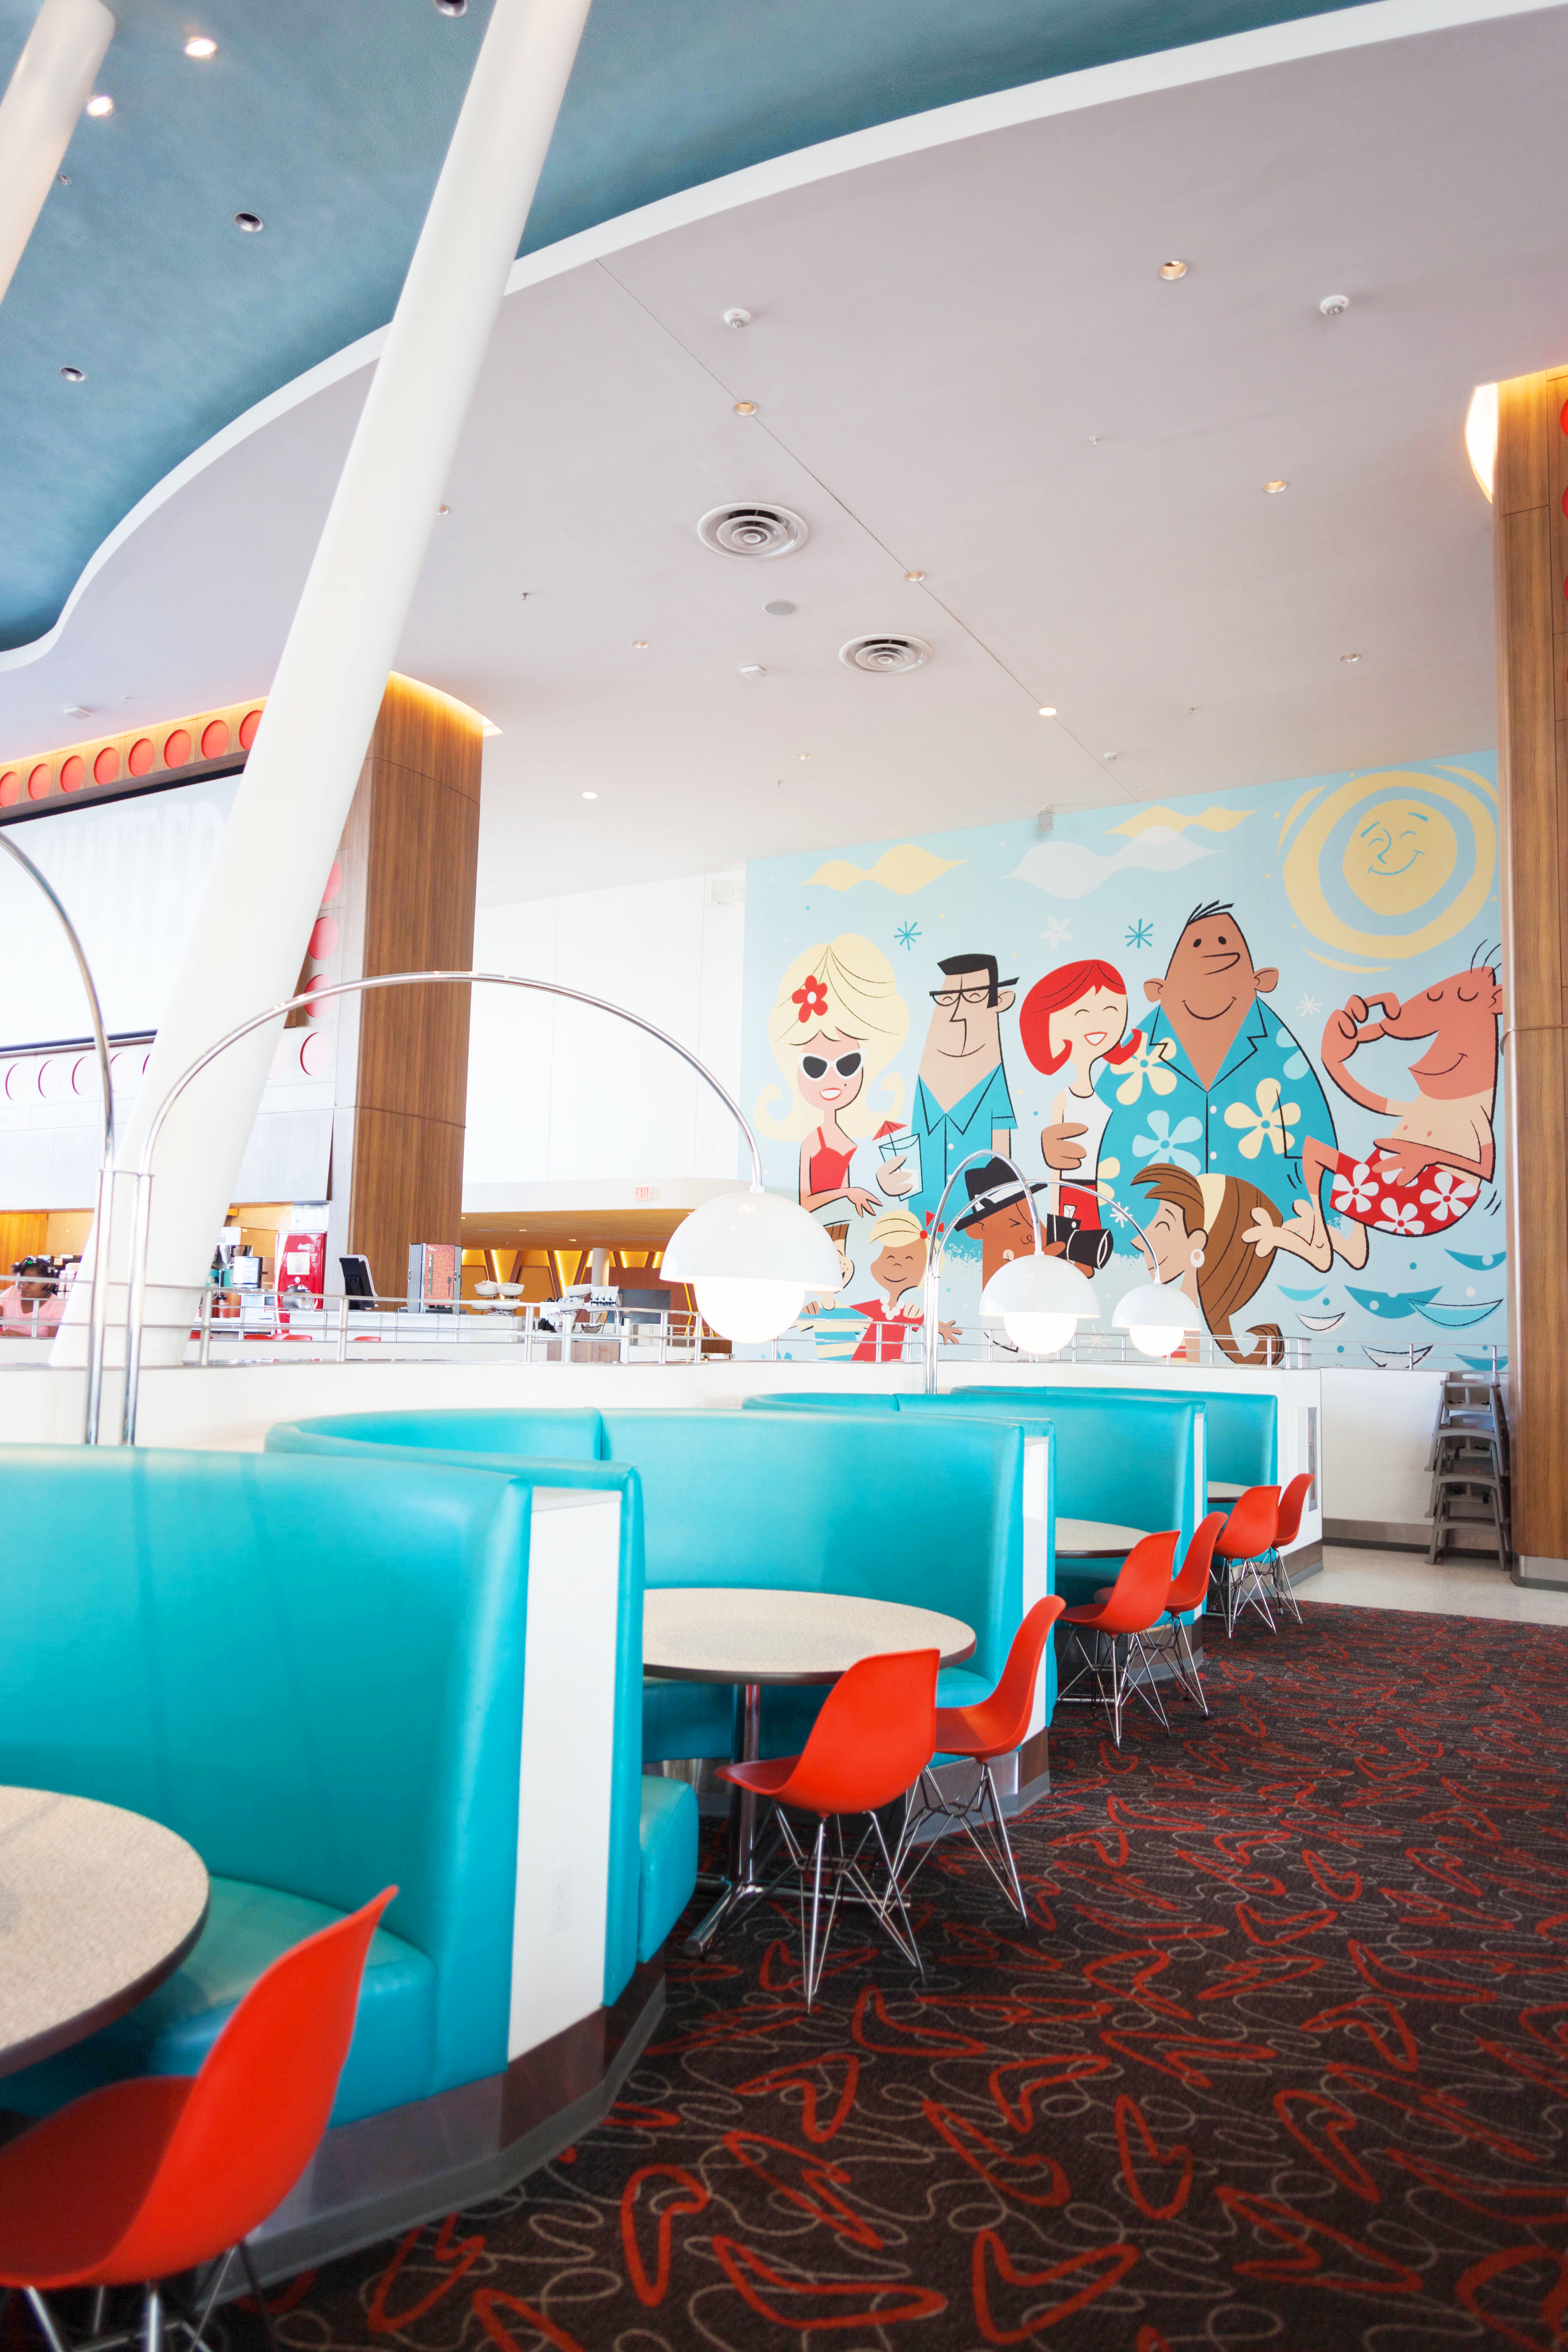
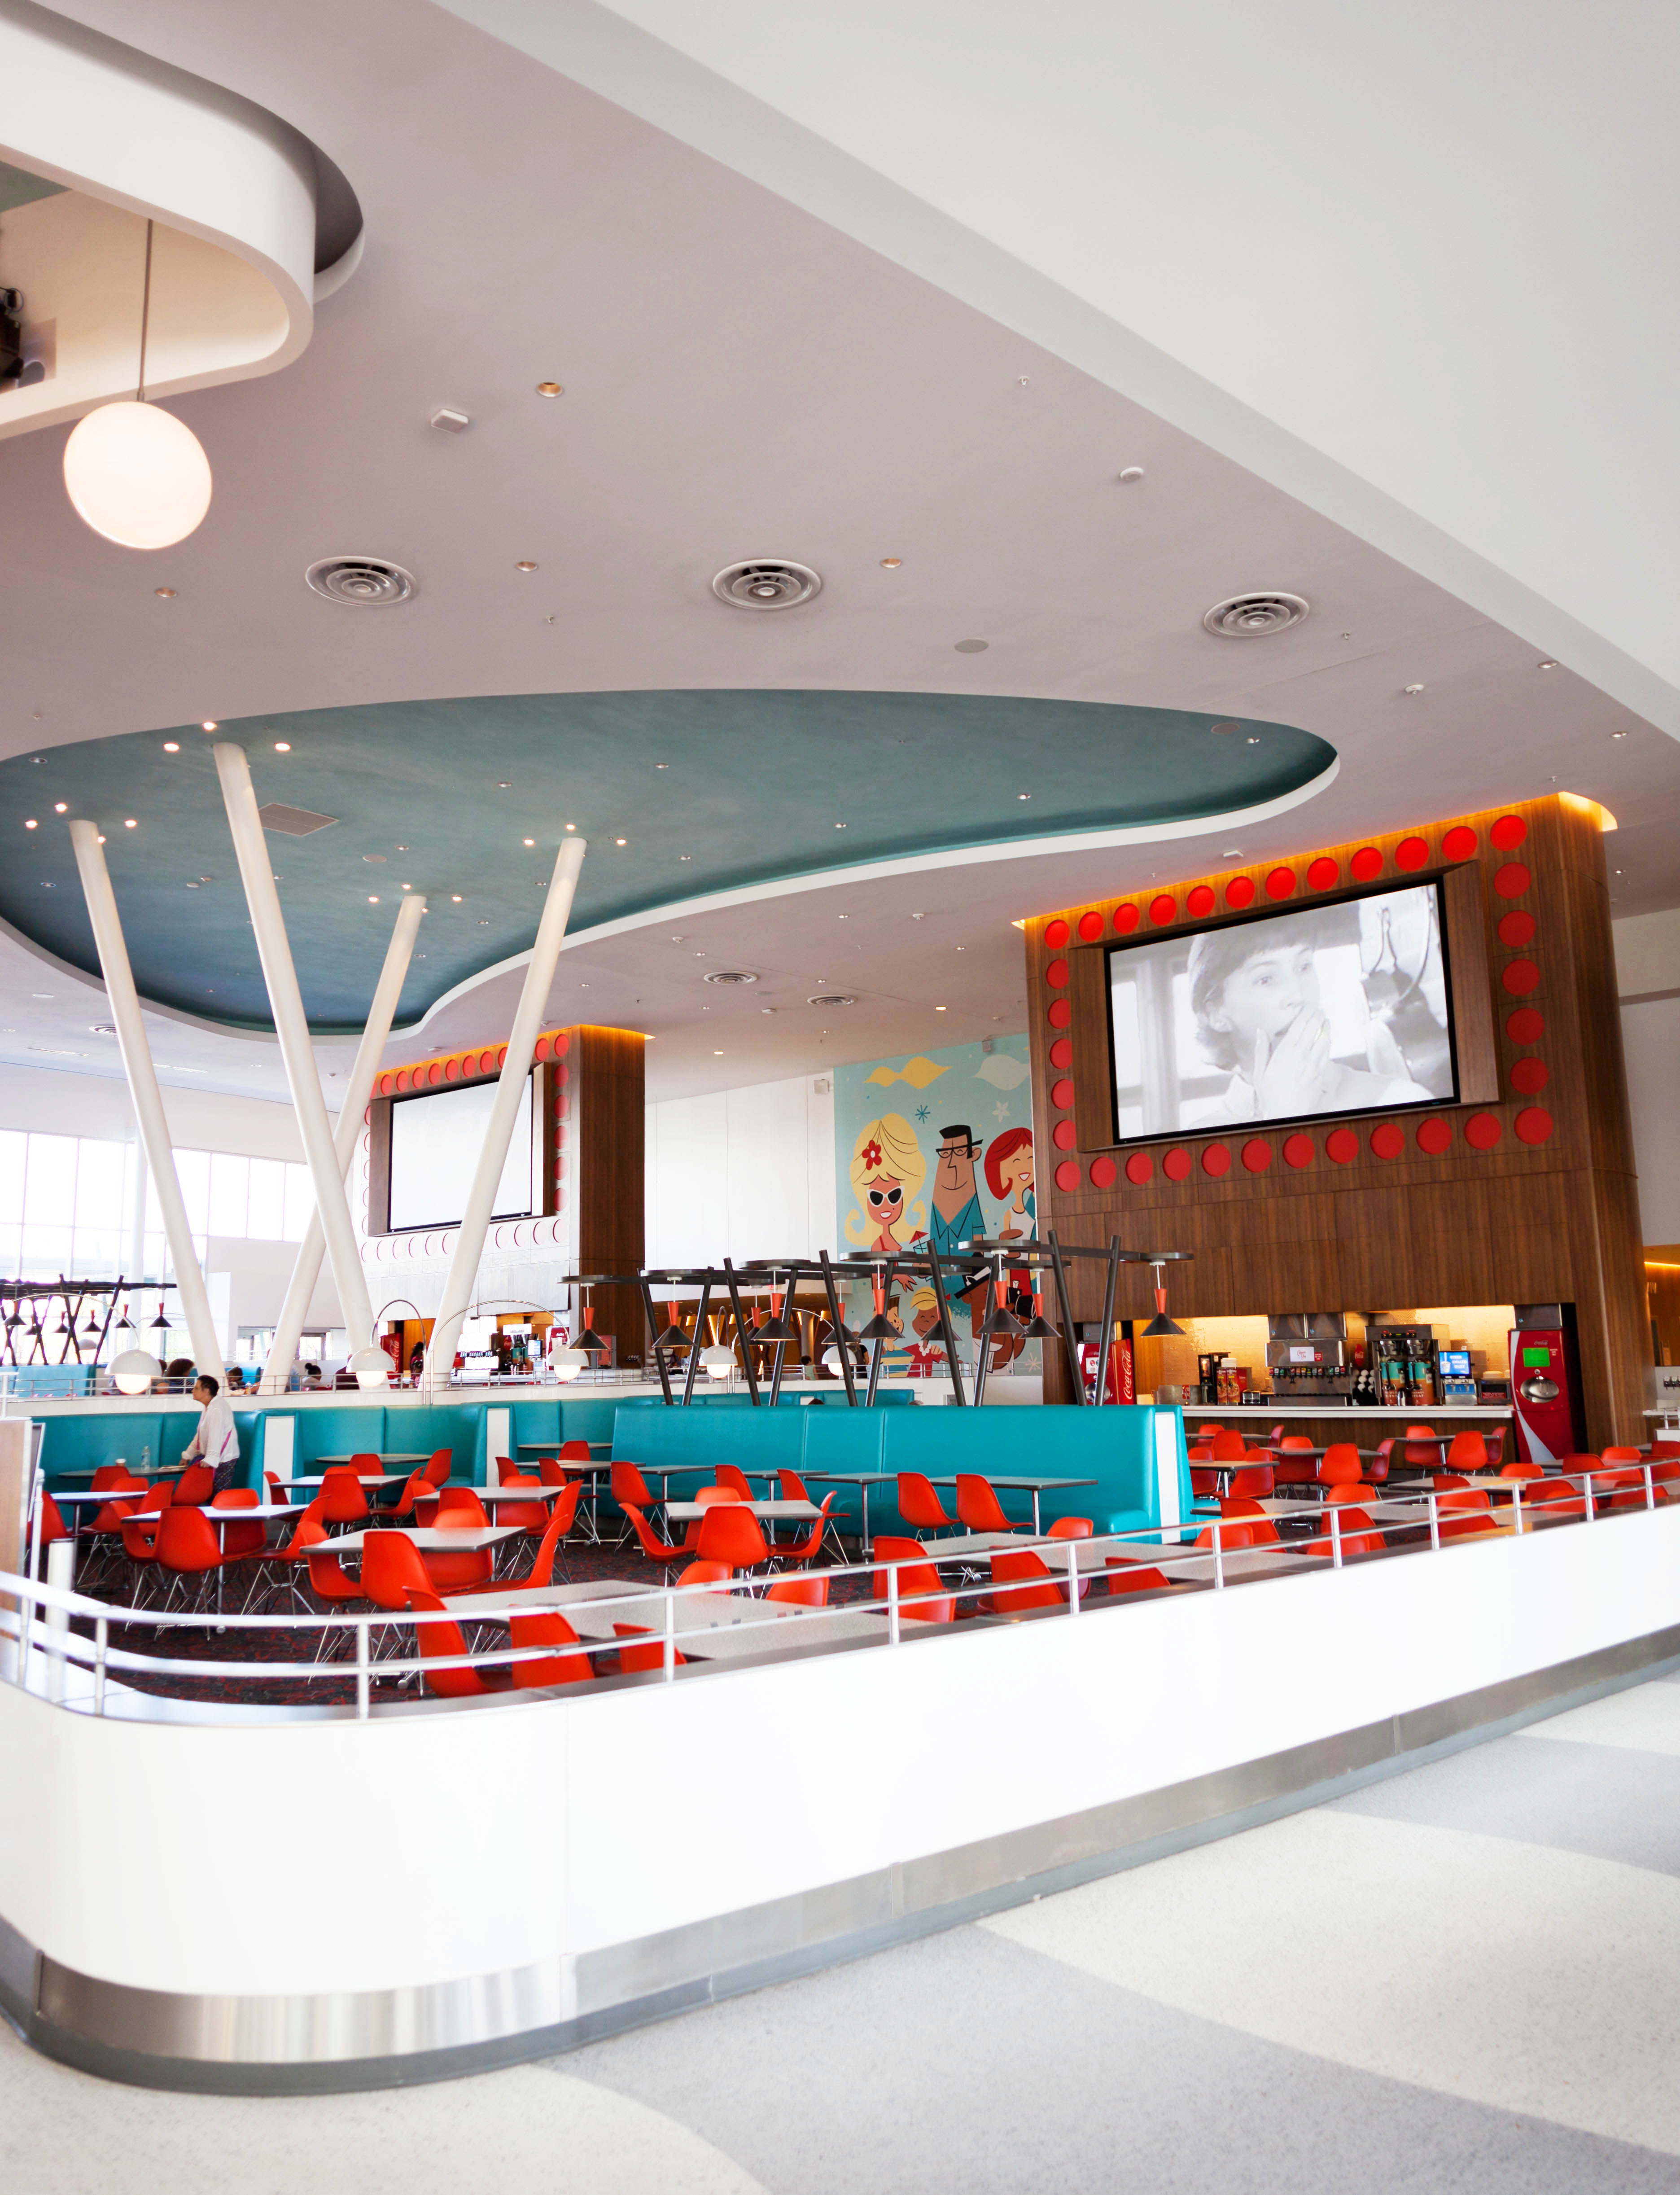
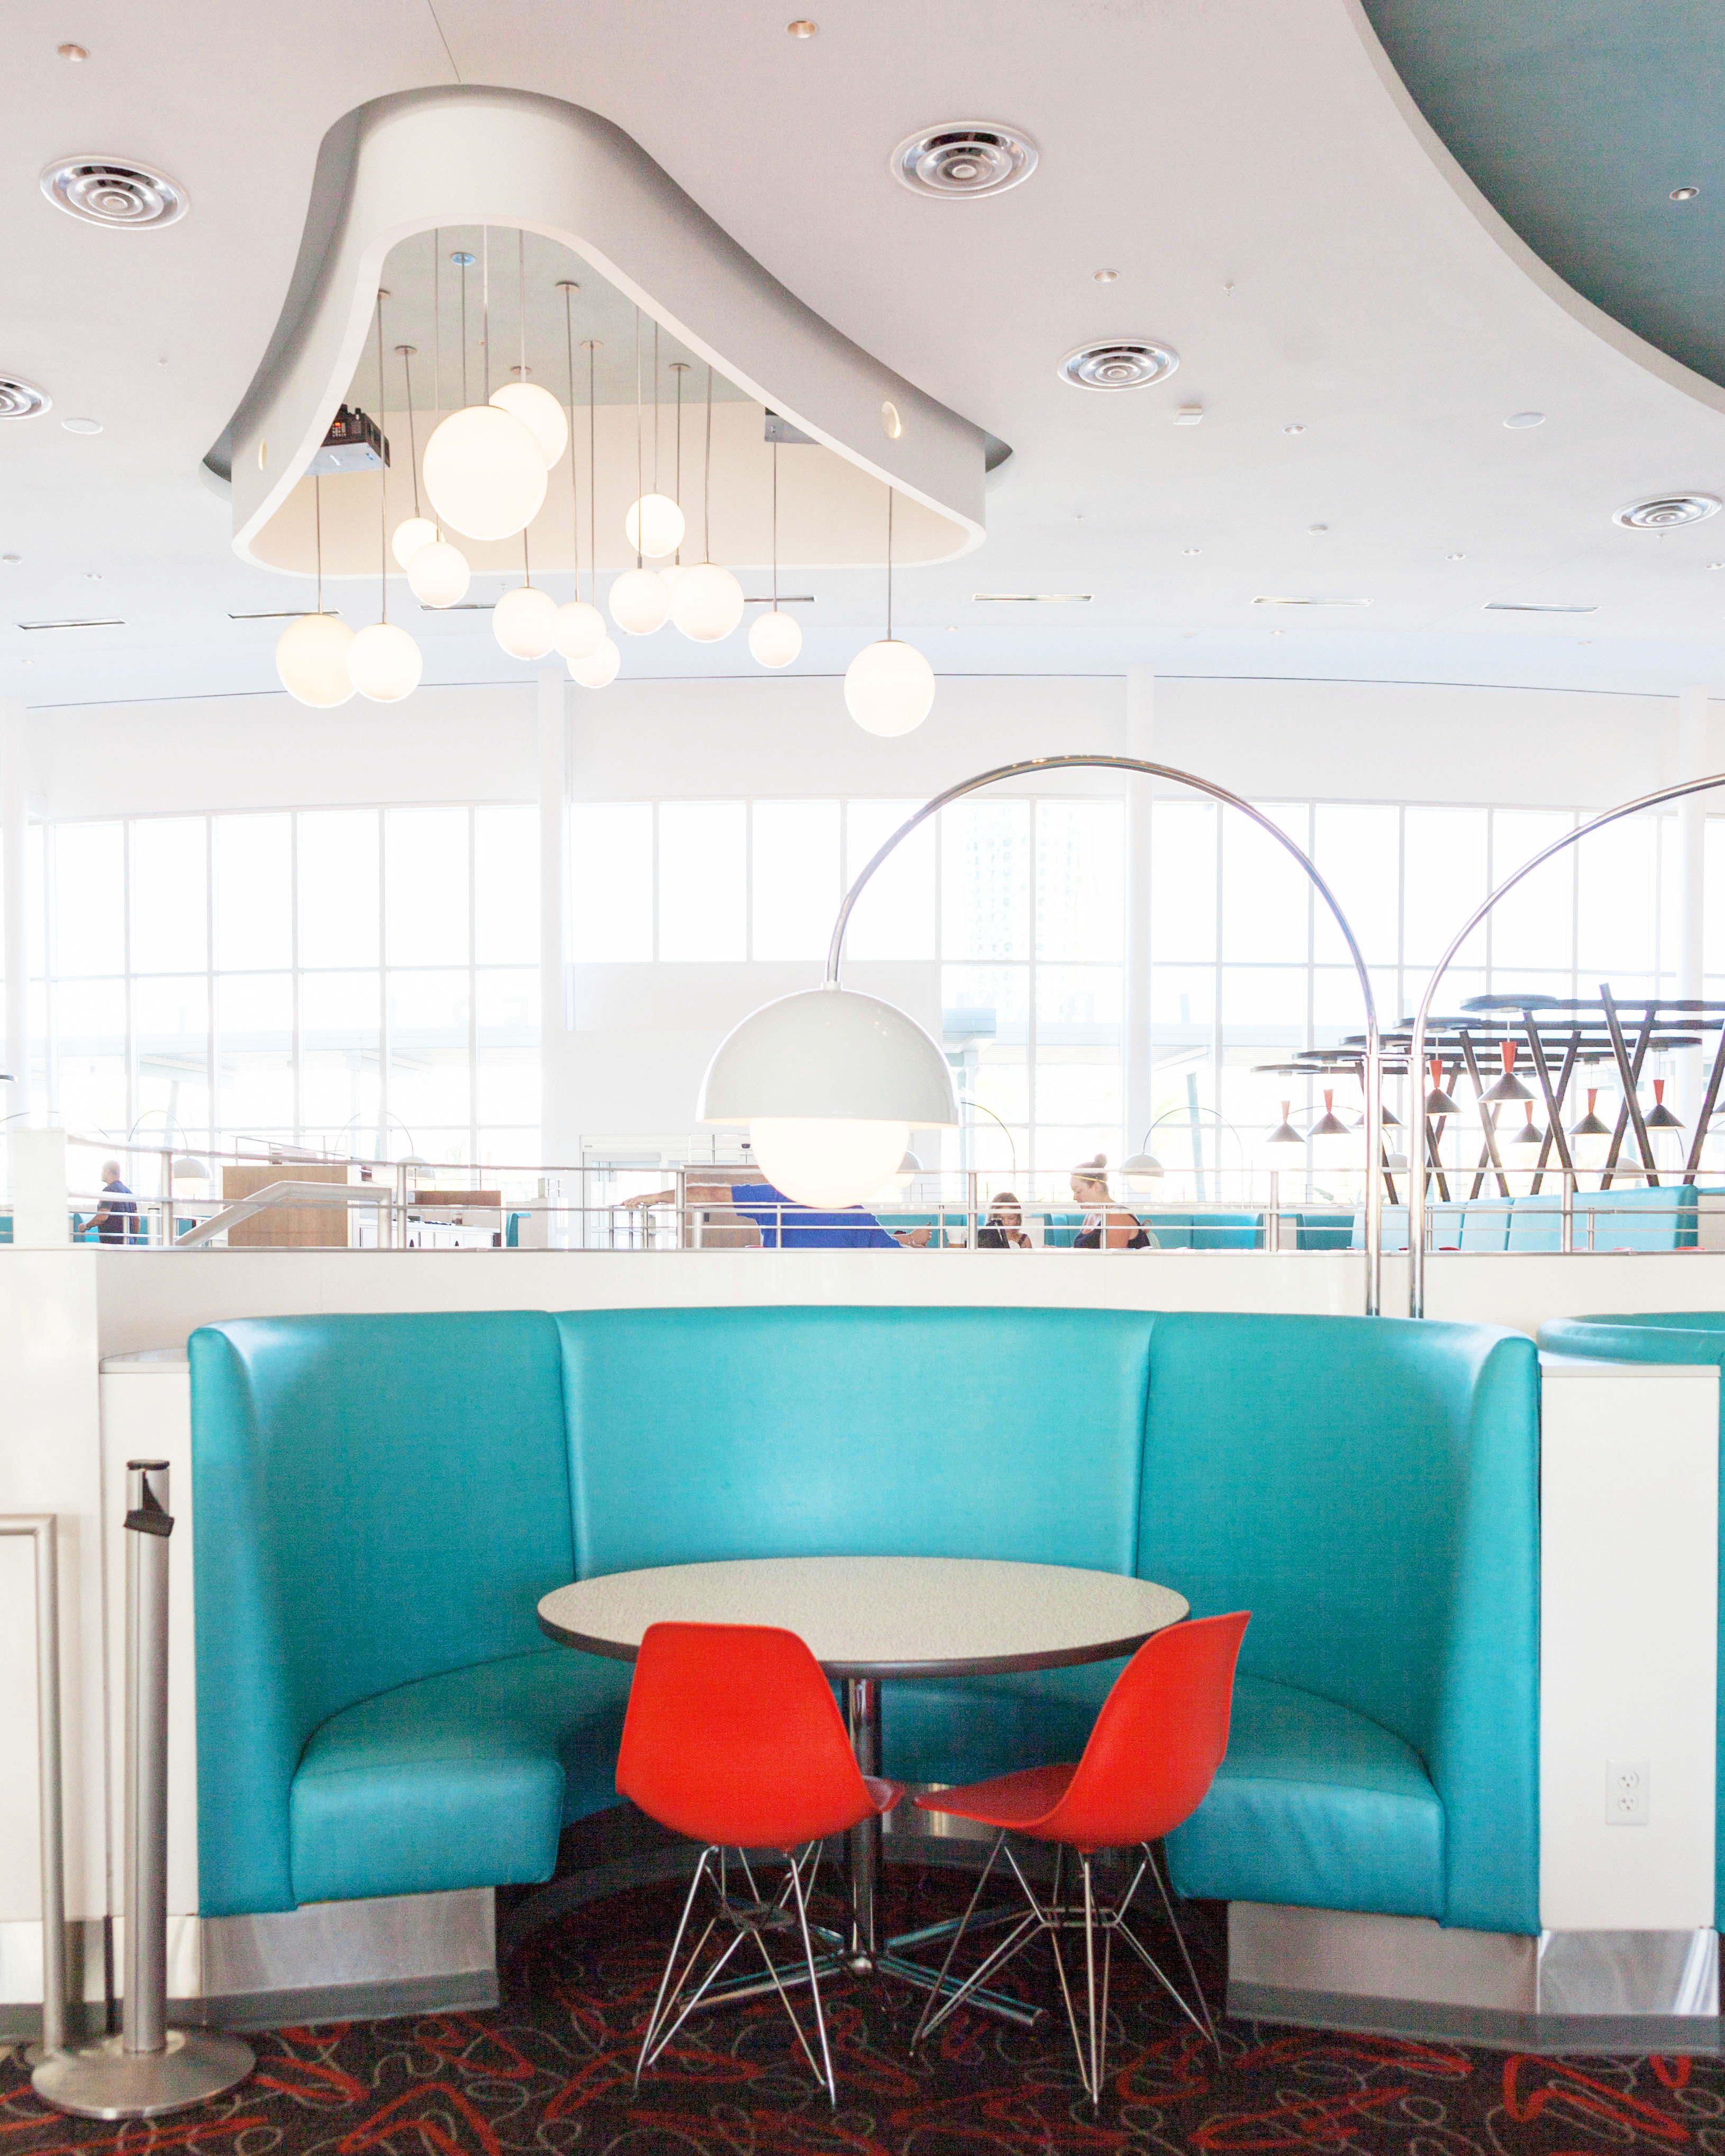
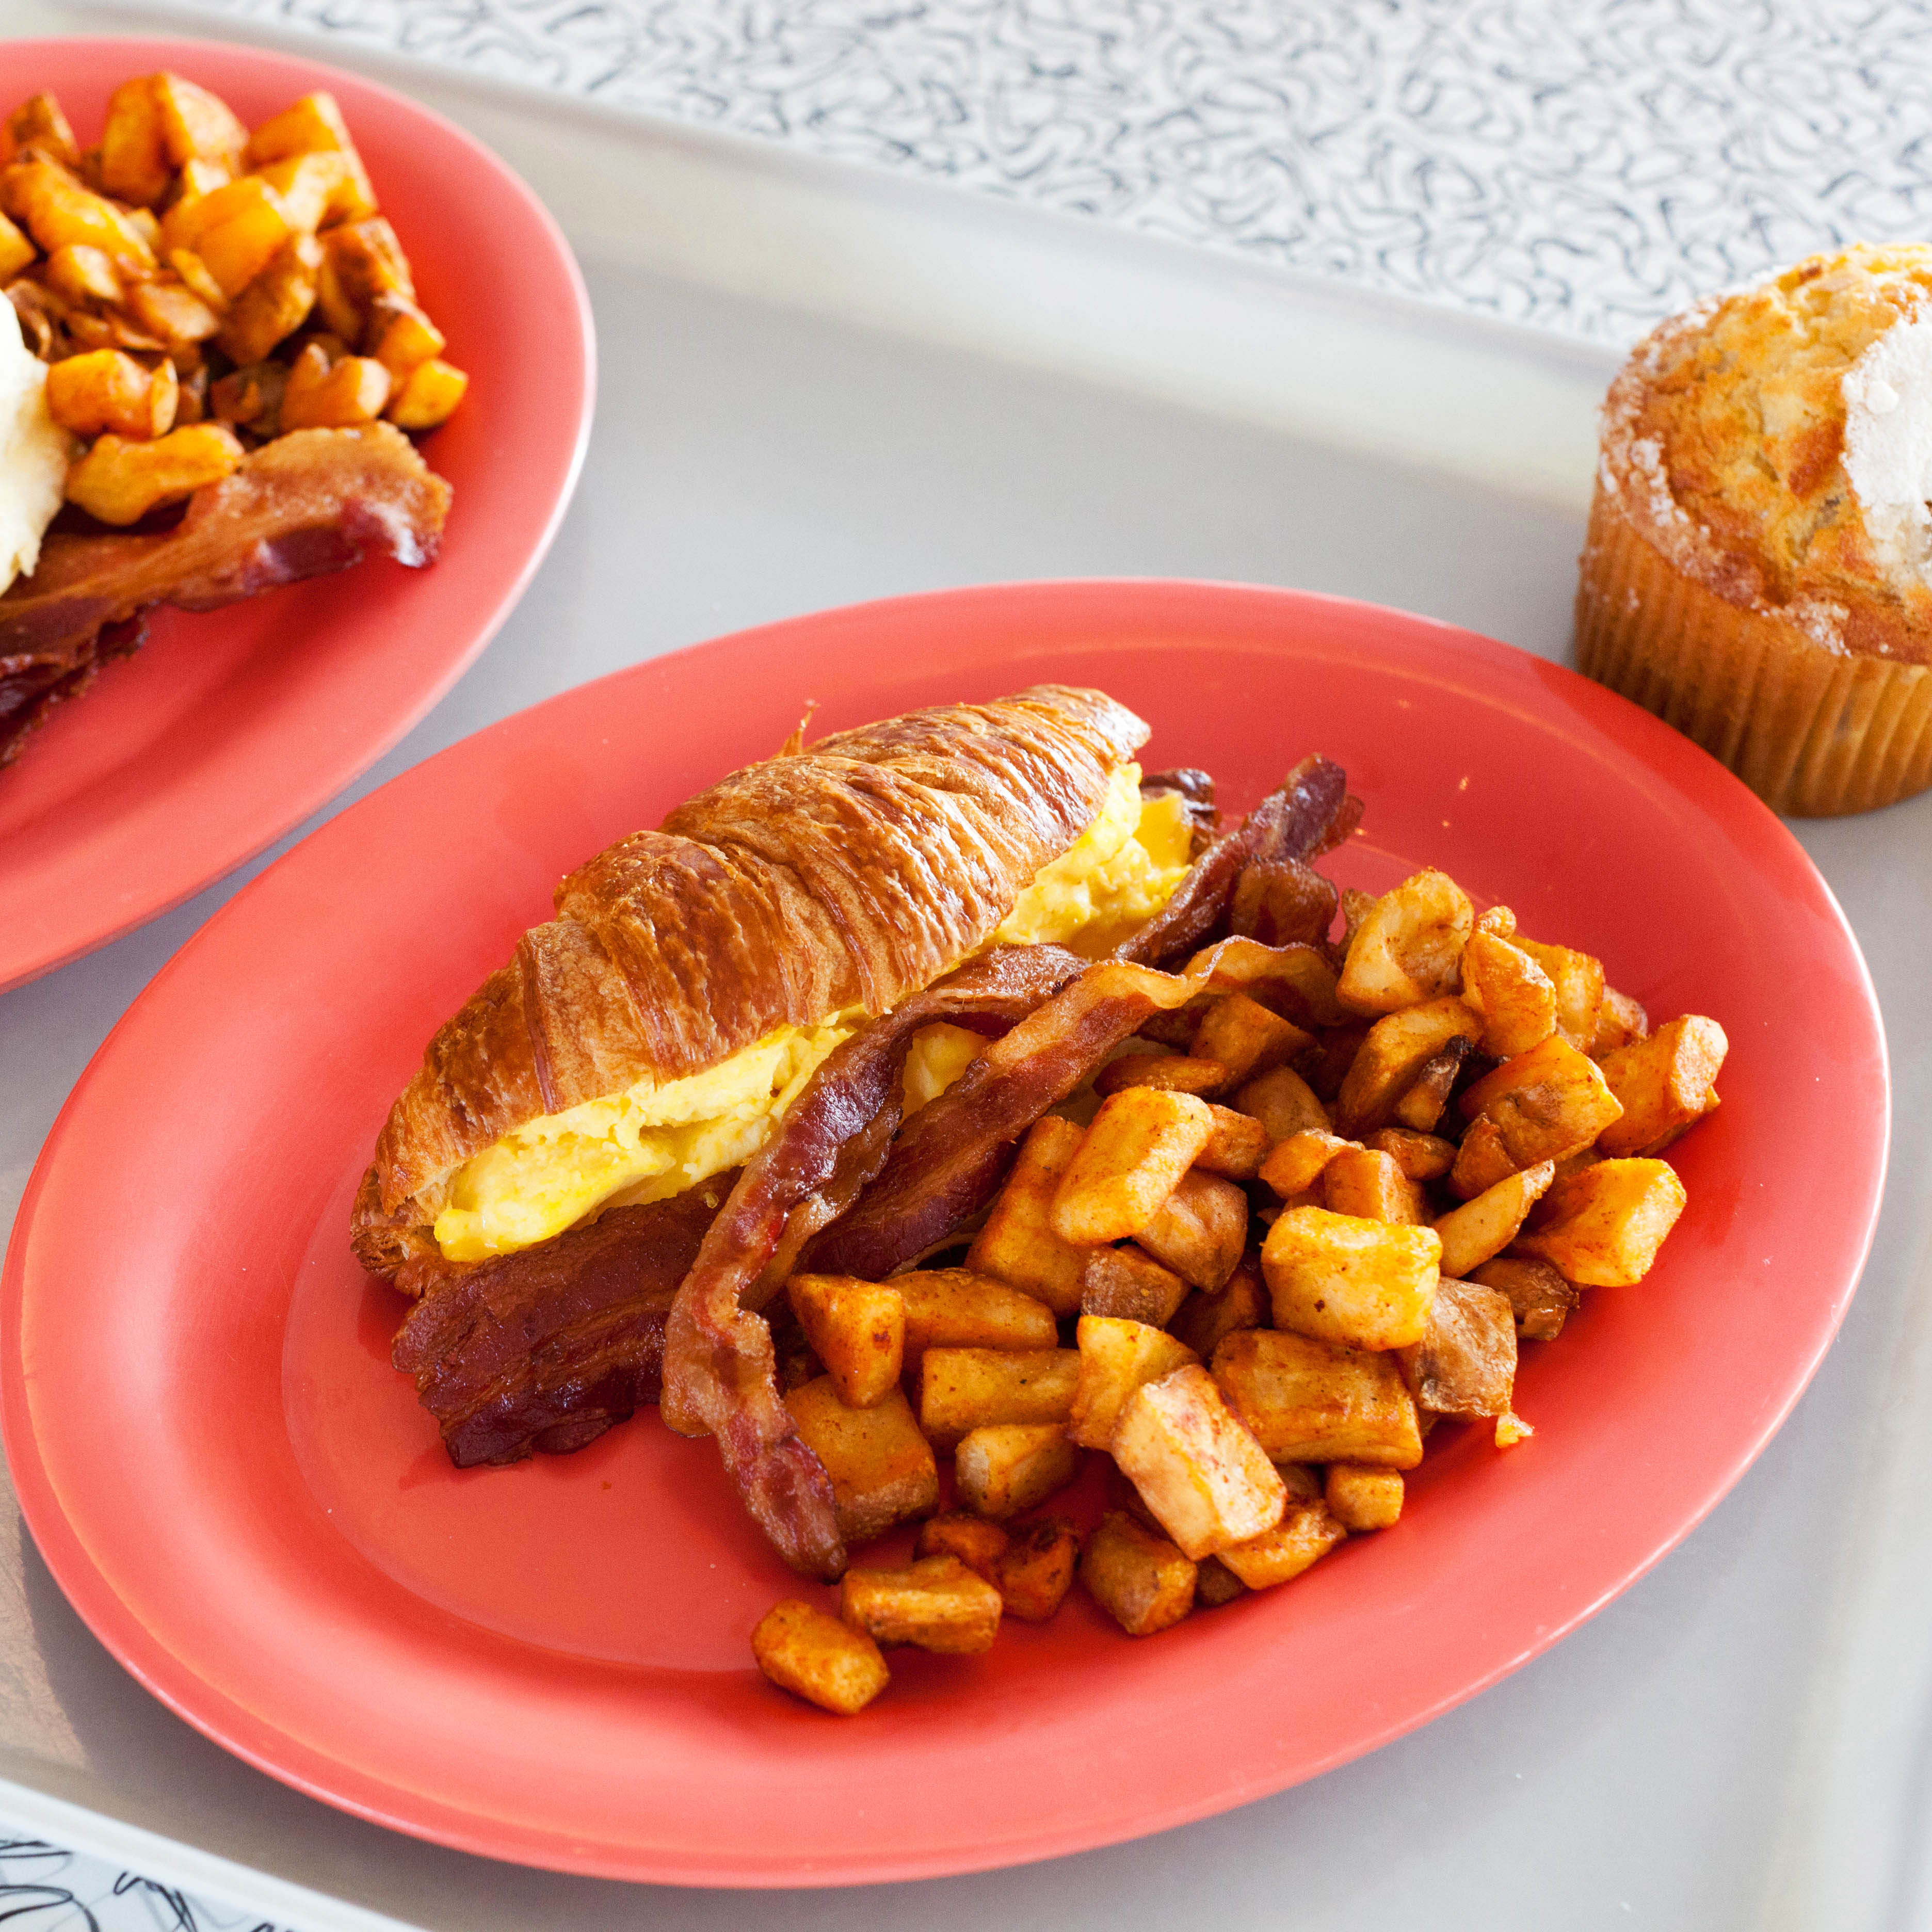
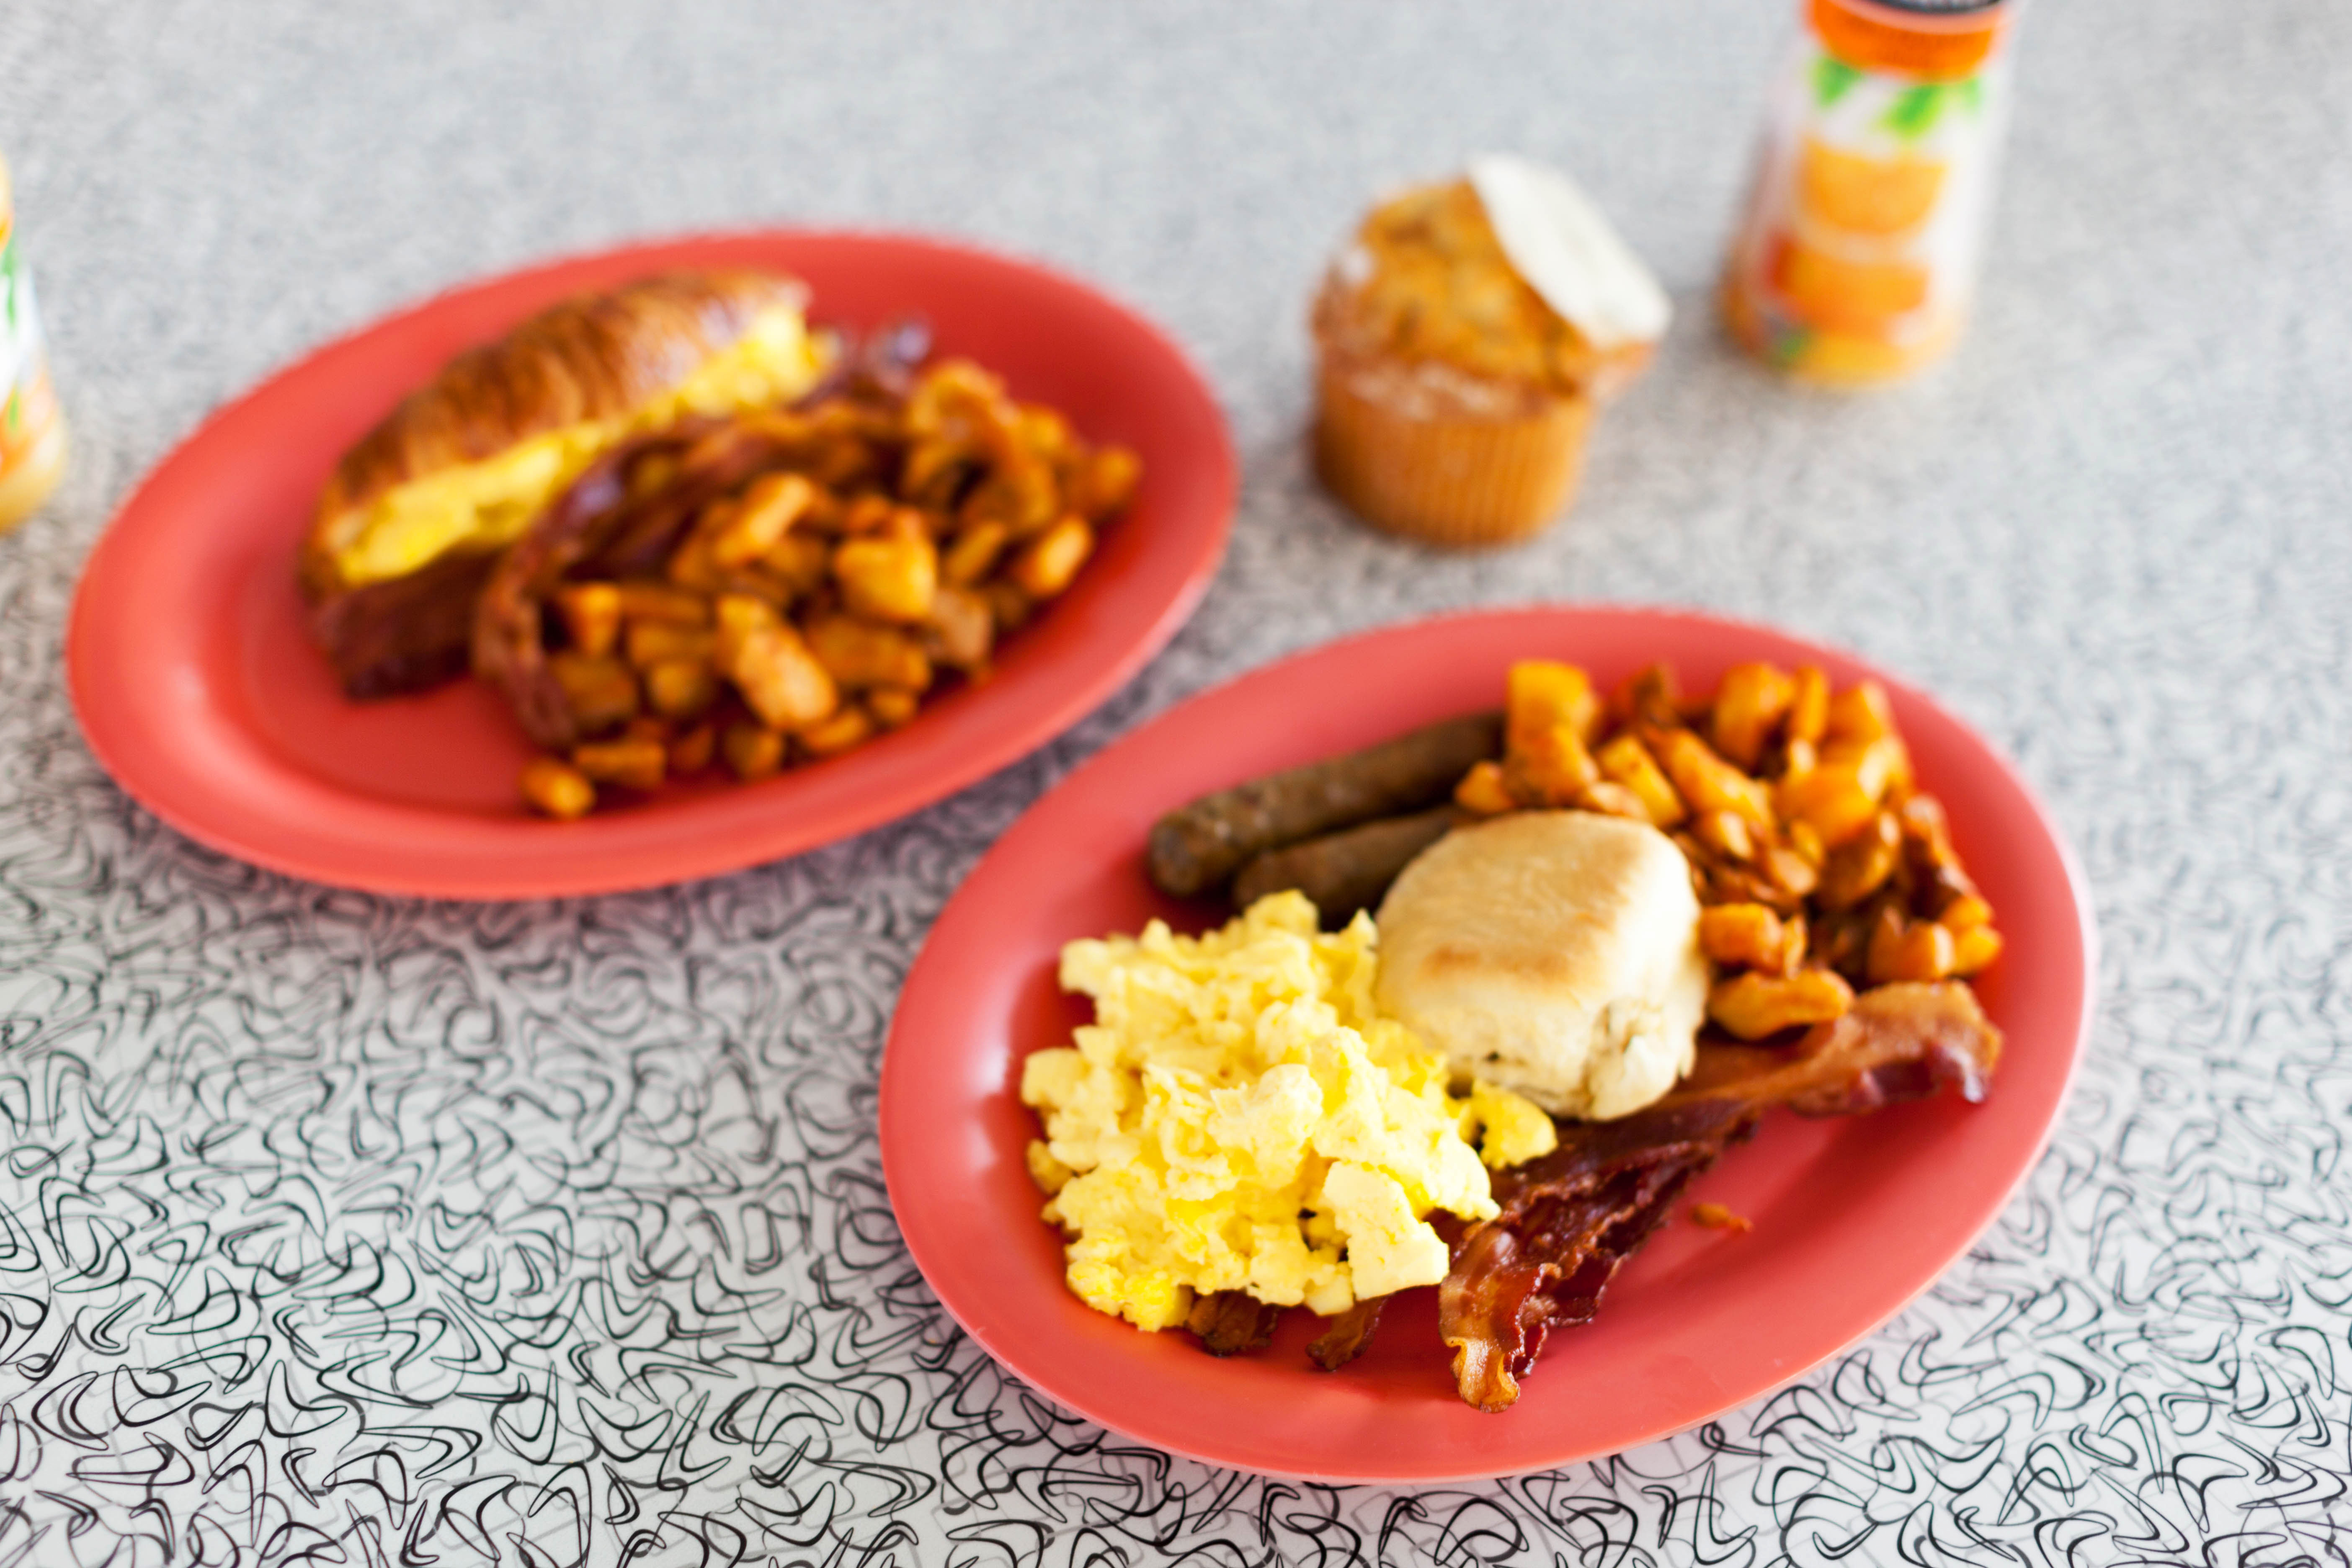
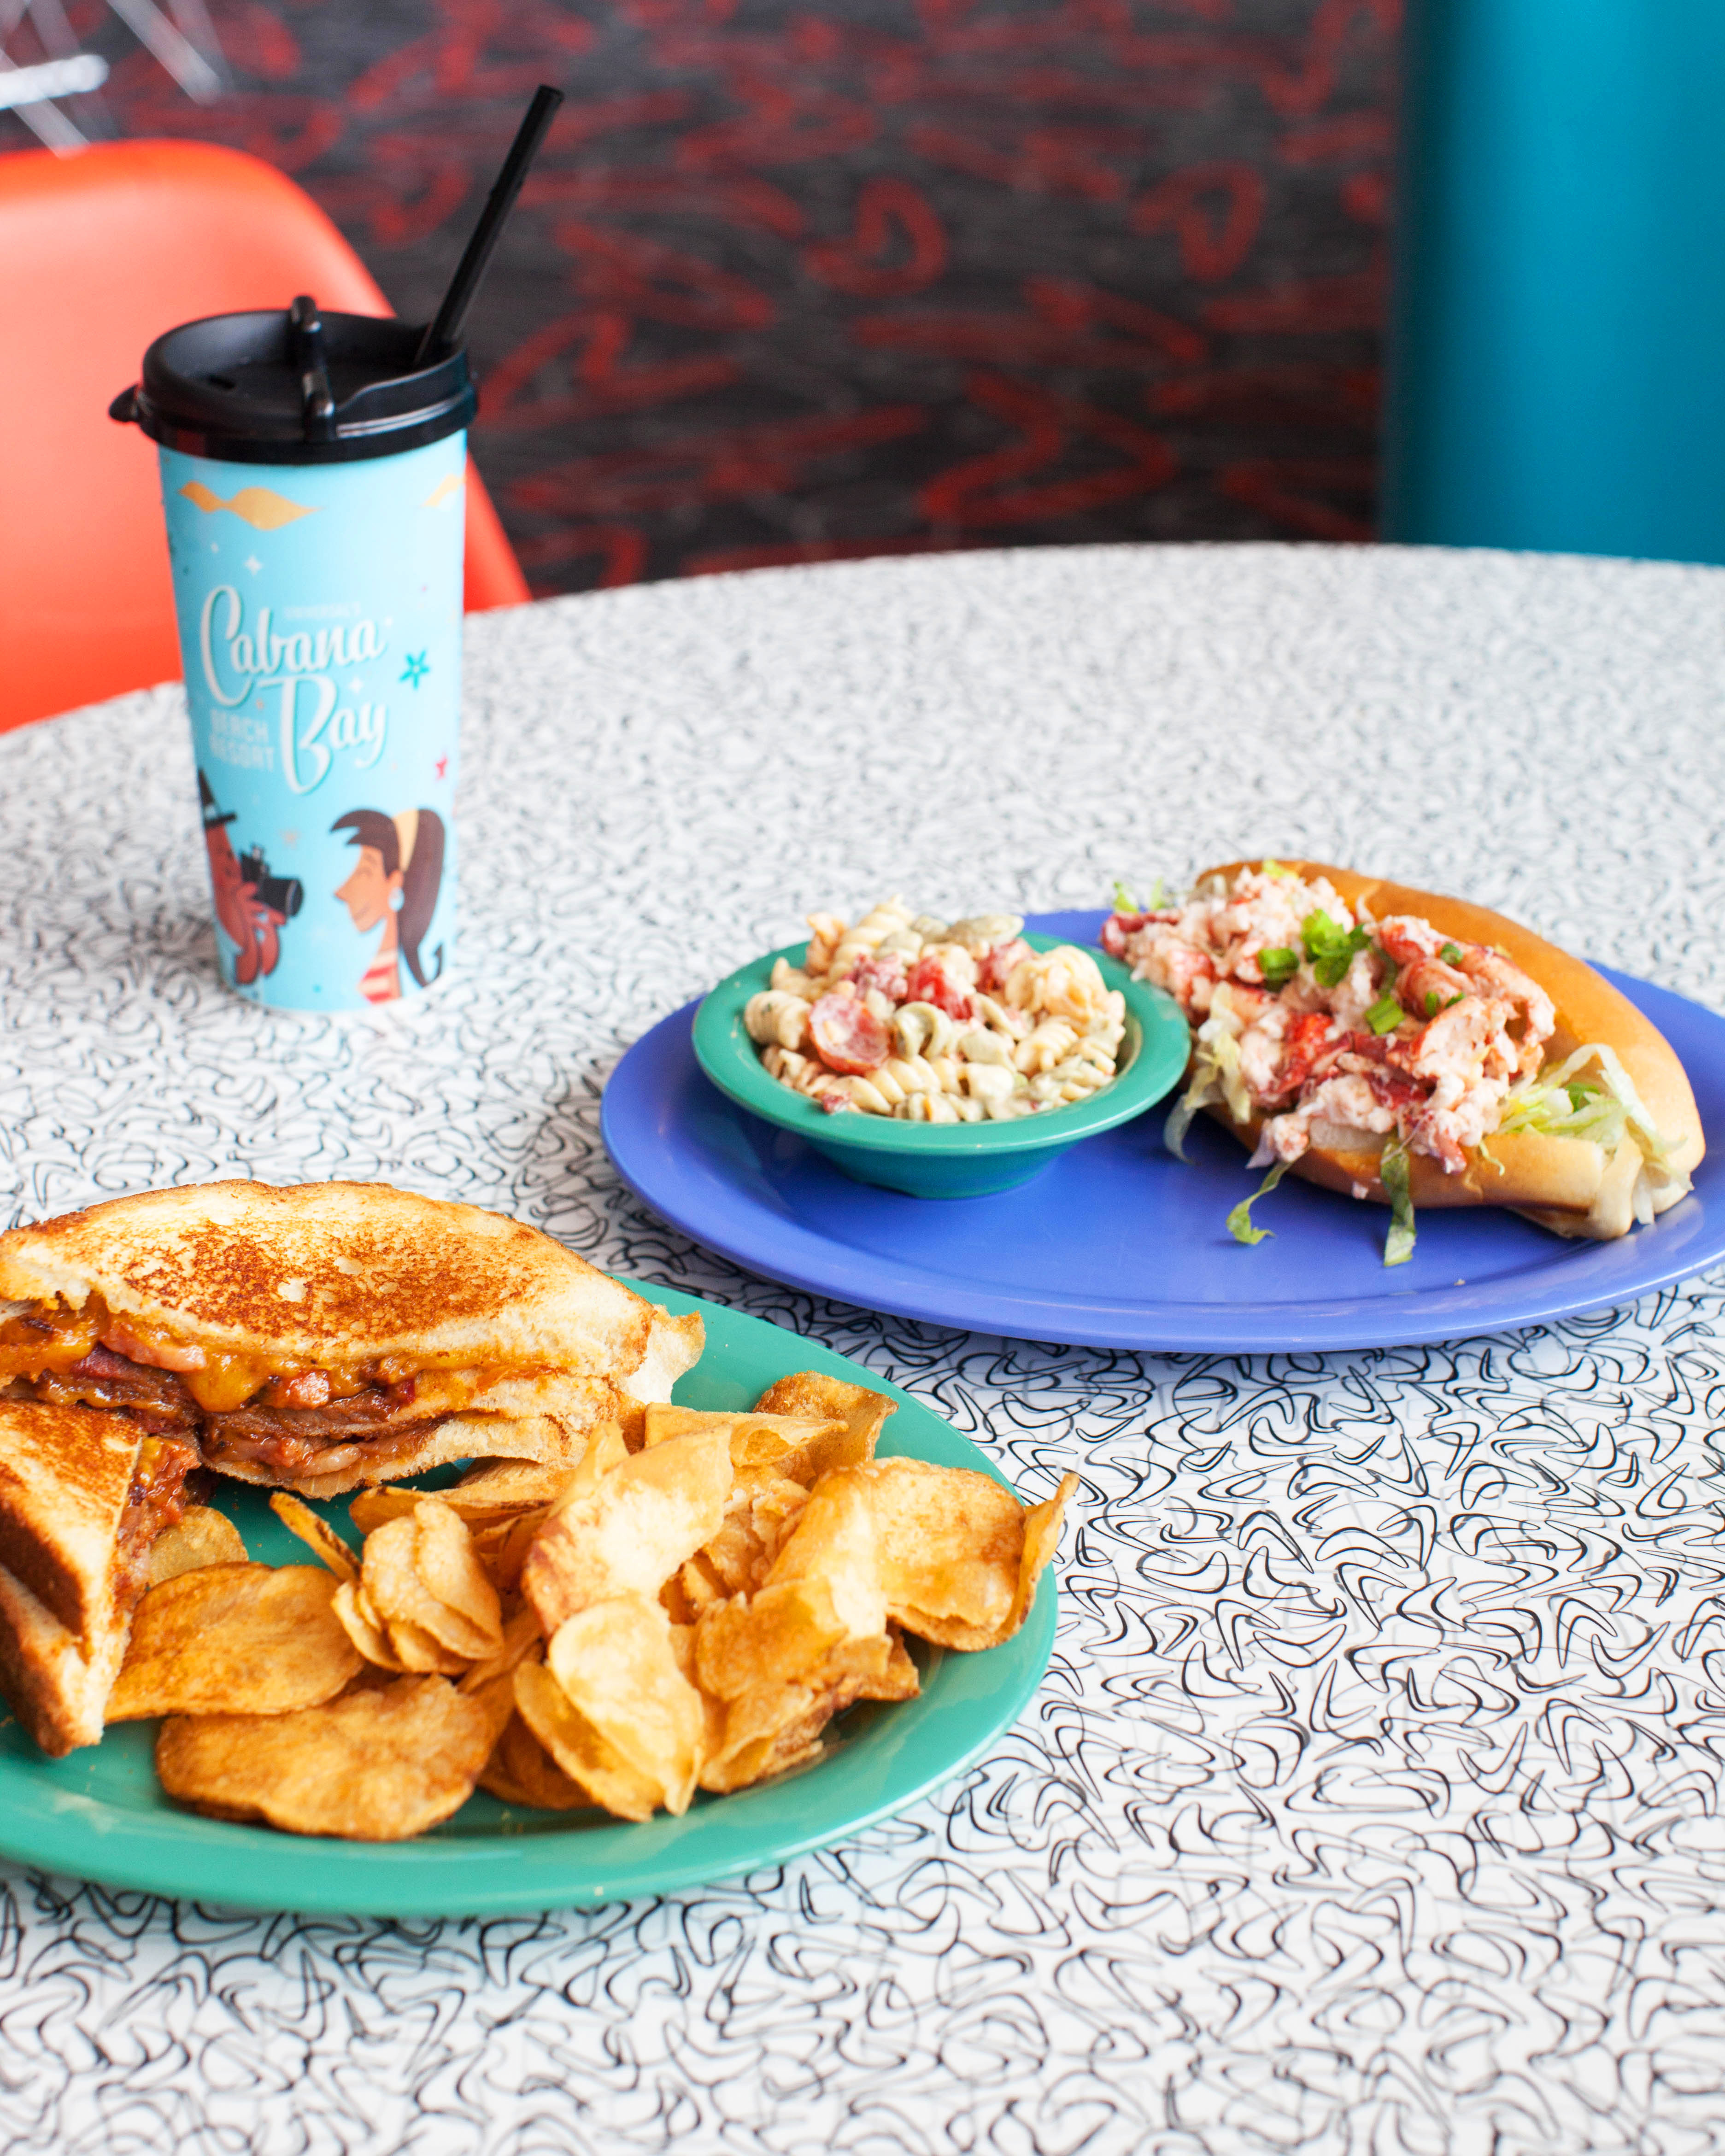
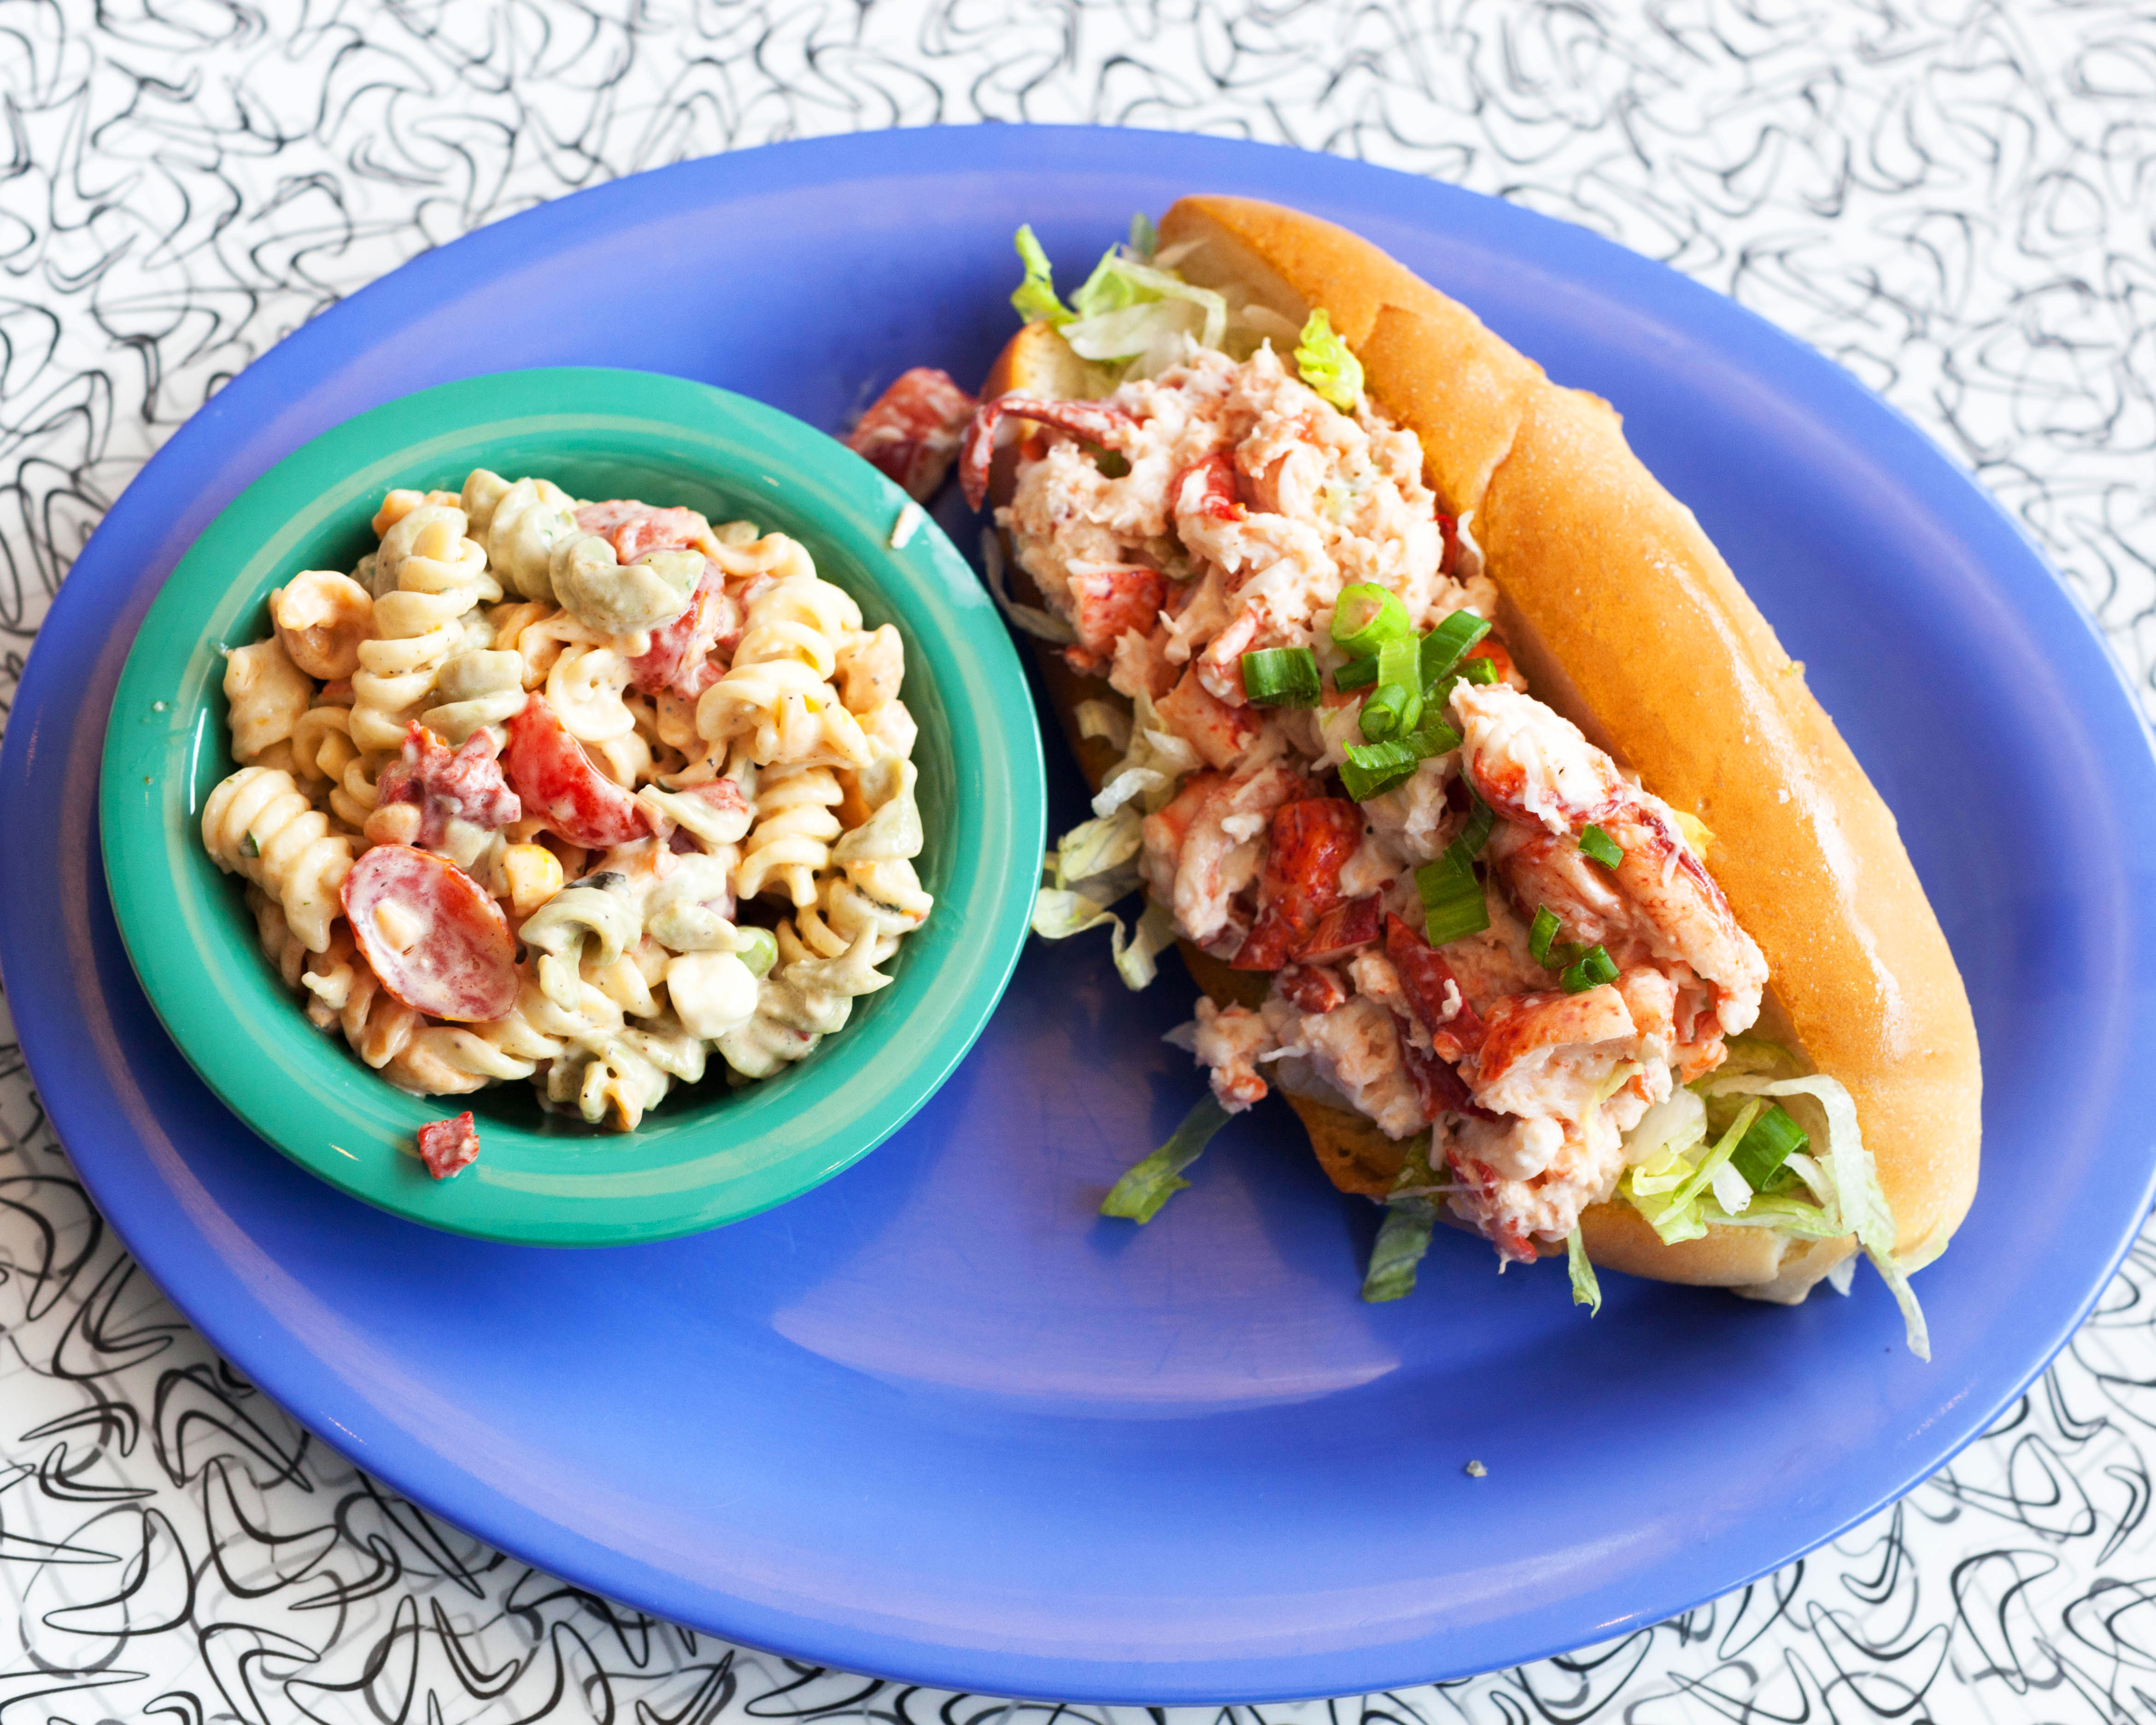
 Speaking of food and drinks, the hotel has the most adorable dining room where they serve breakfast, lunch, and dinner.
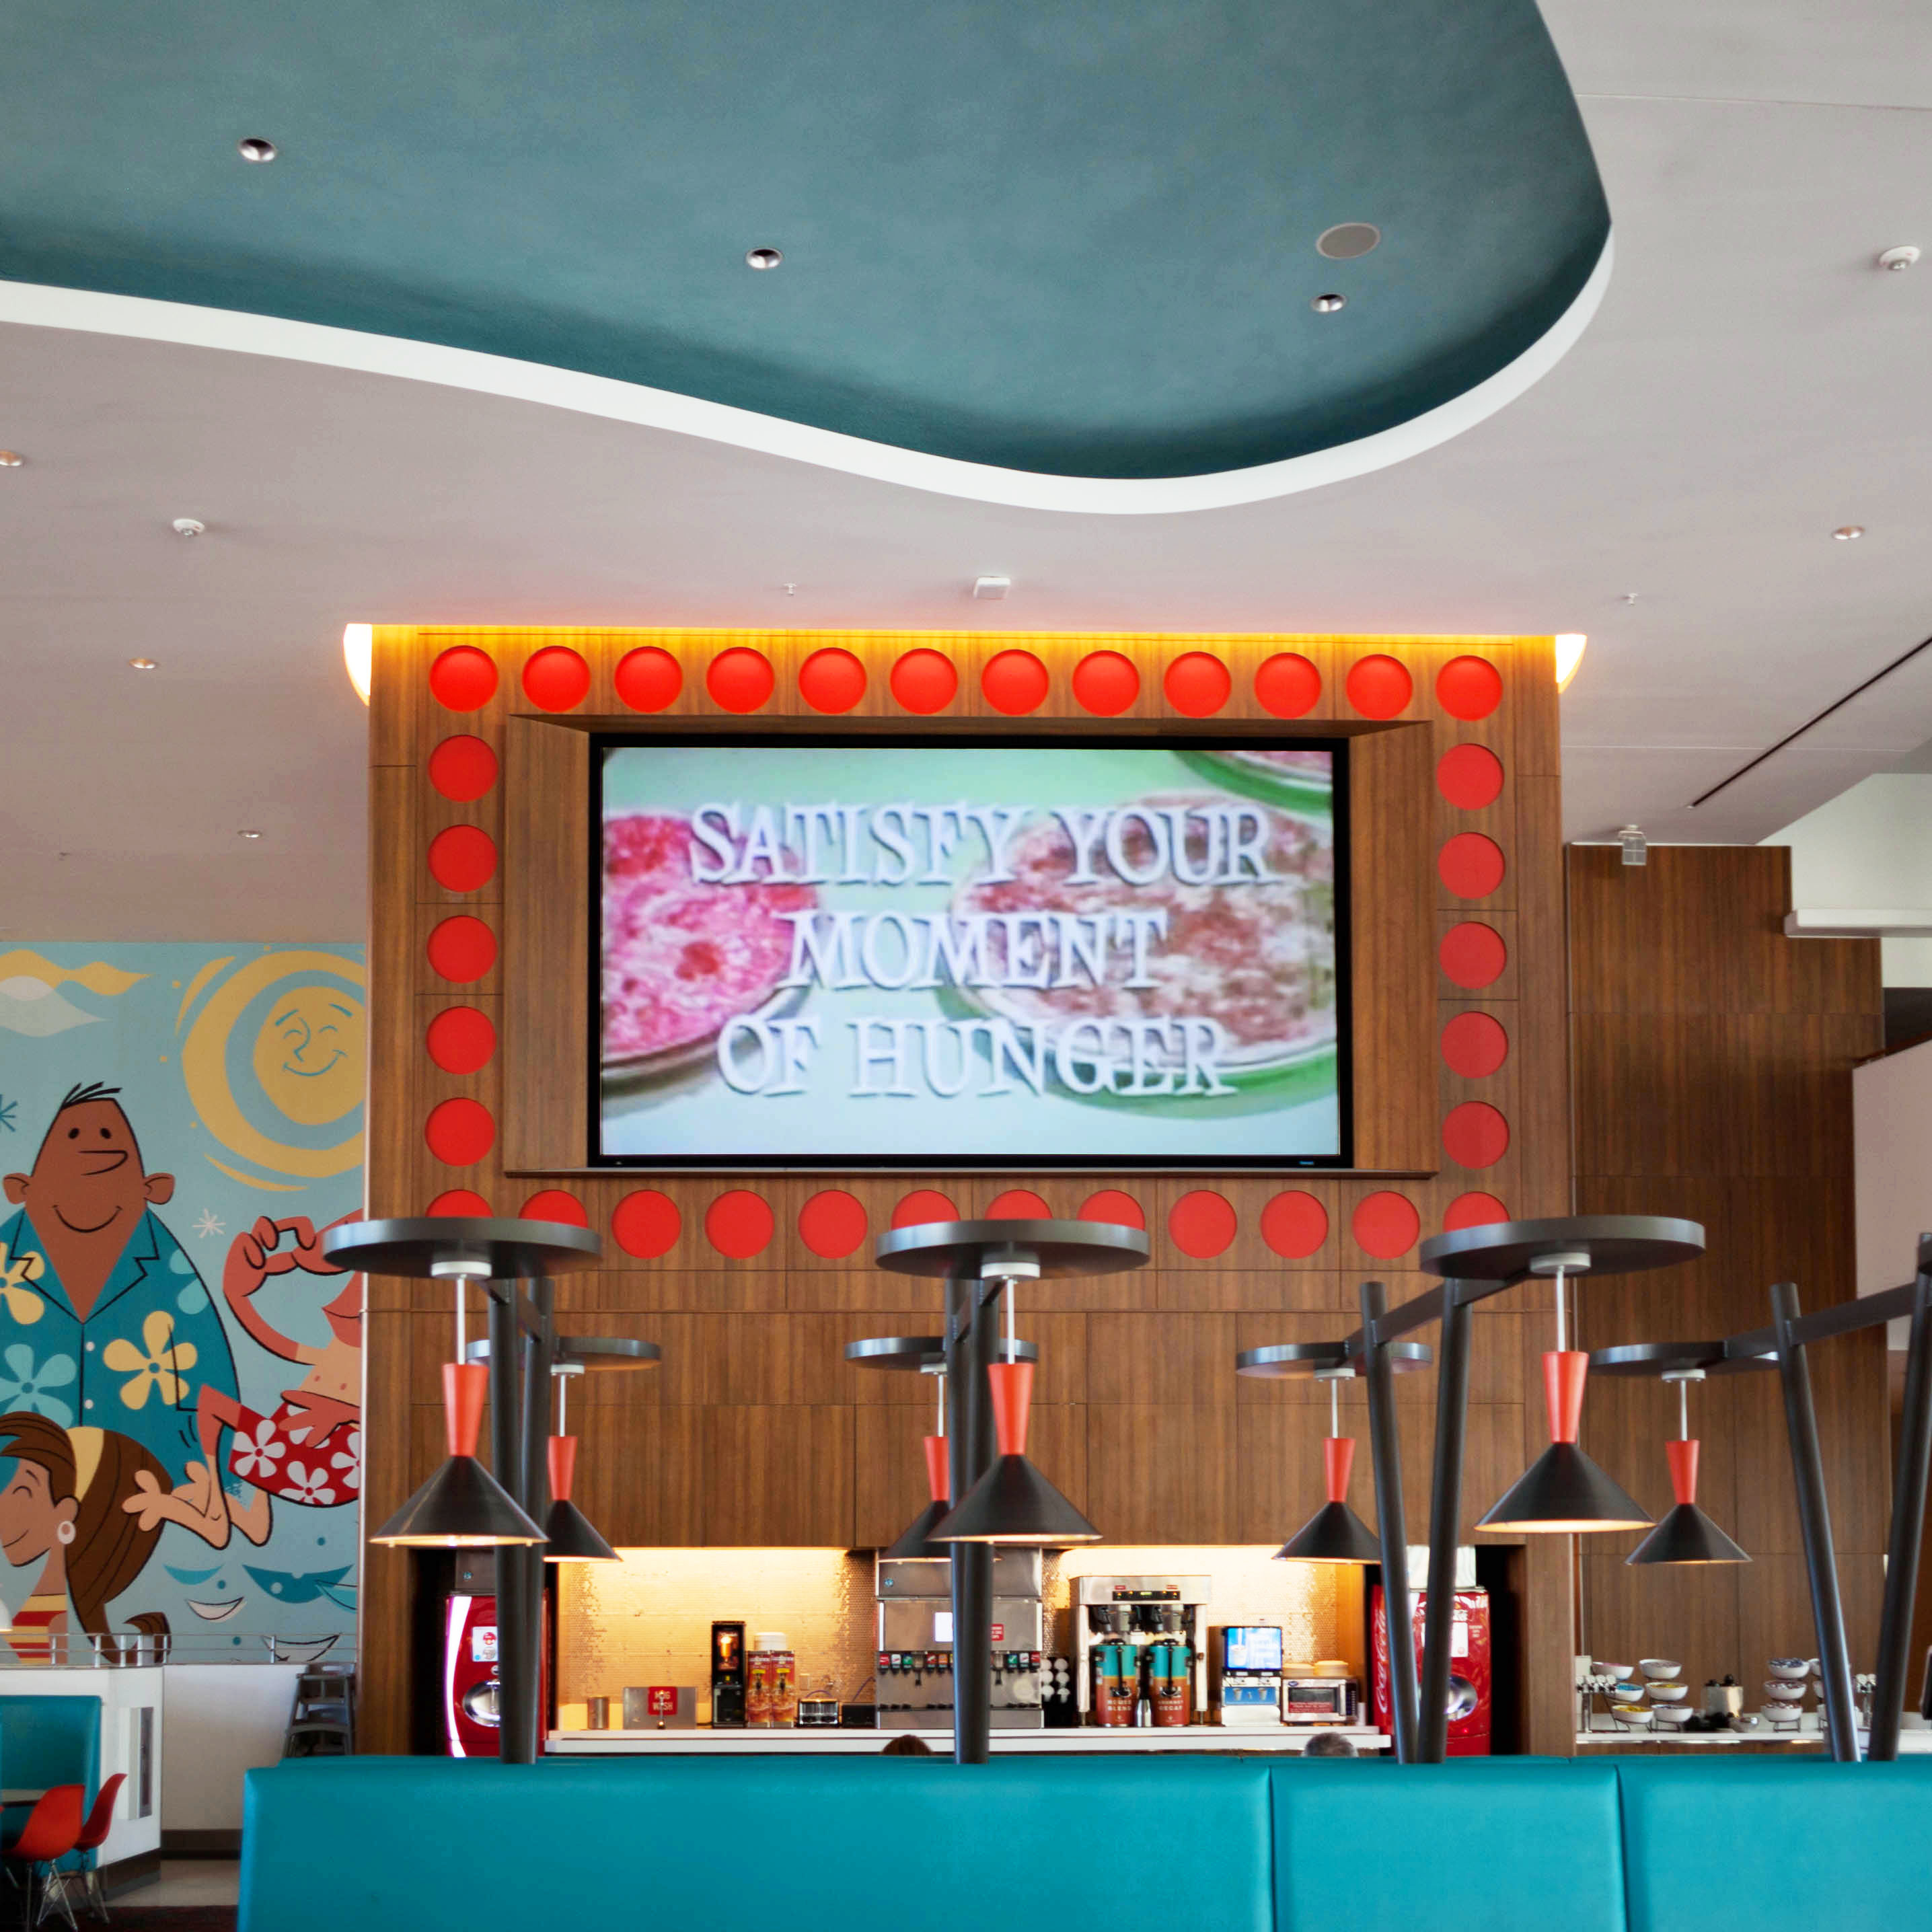
 And as for the drinks, the bowling alley serves up some strong novelty cocktails, but there’s also a pool side bar and a lounge in the lobby.
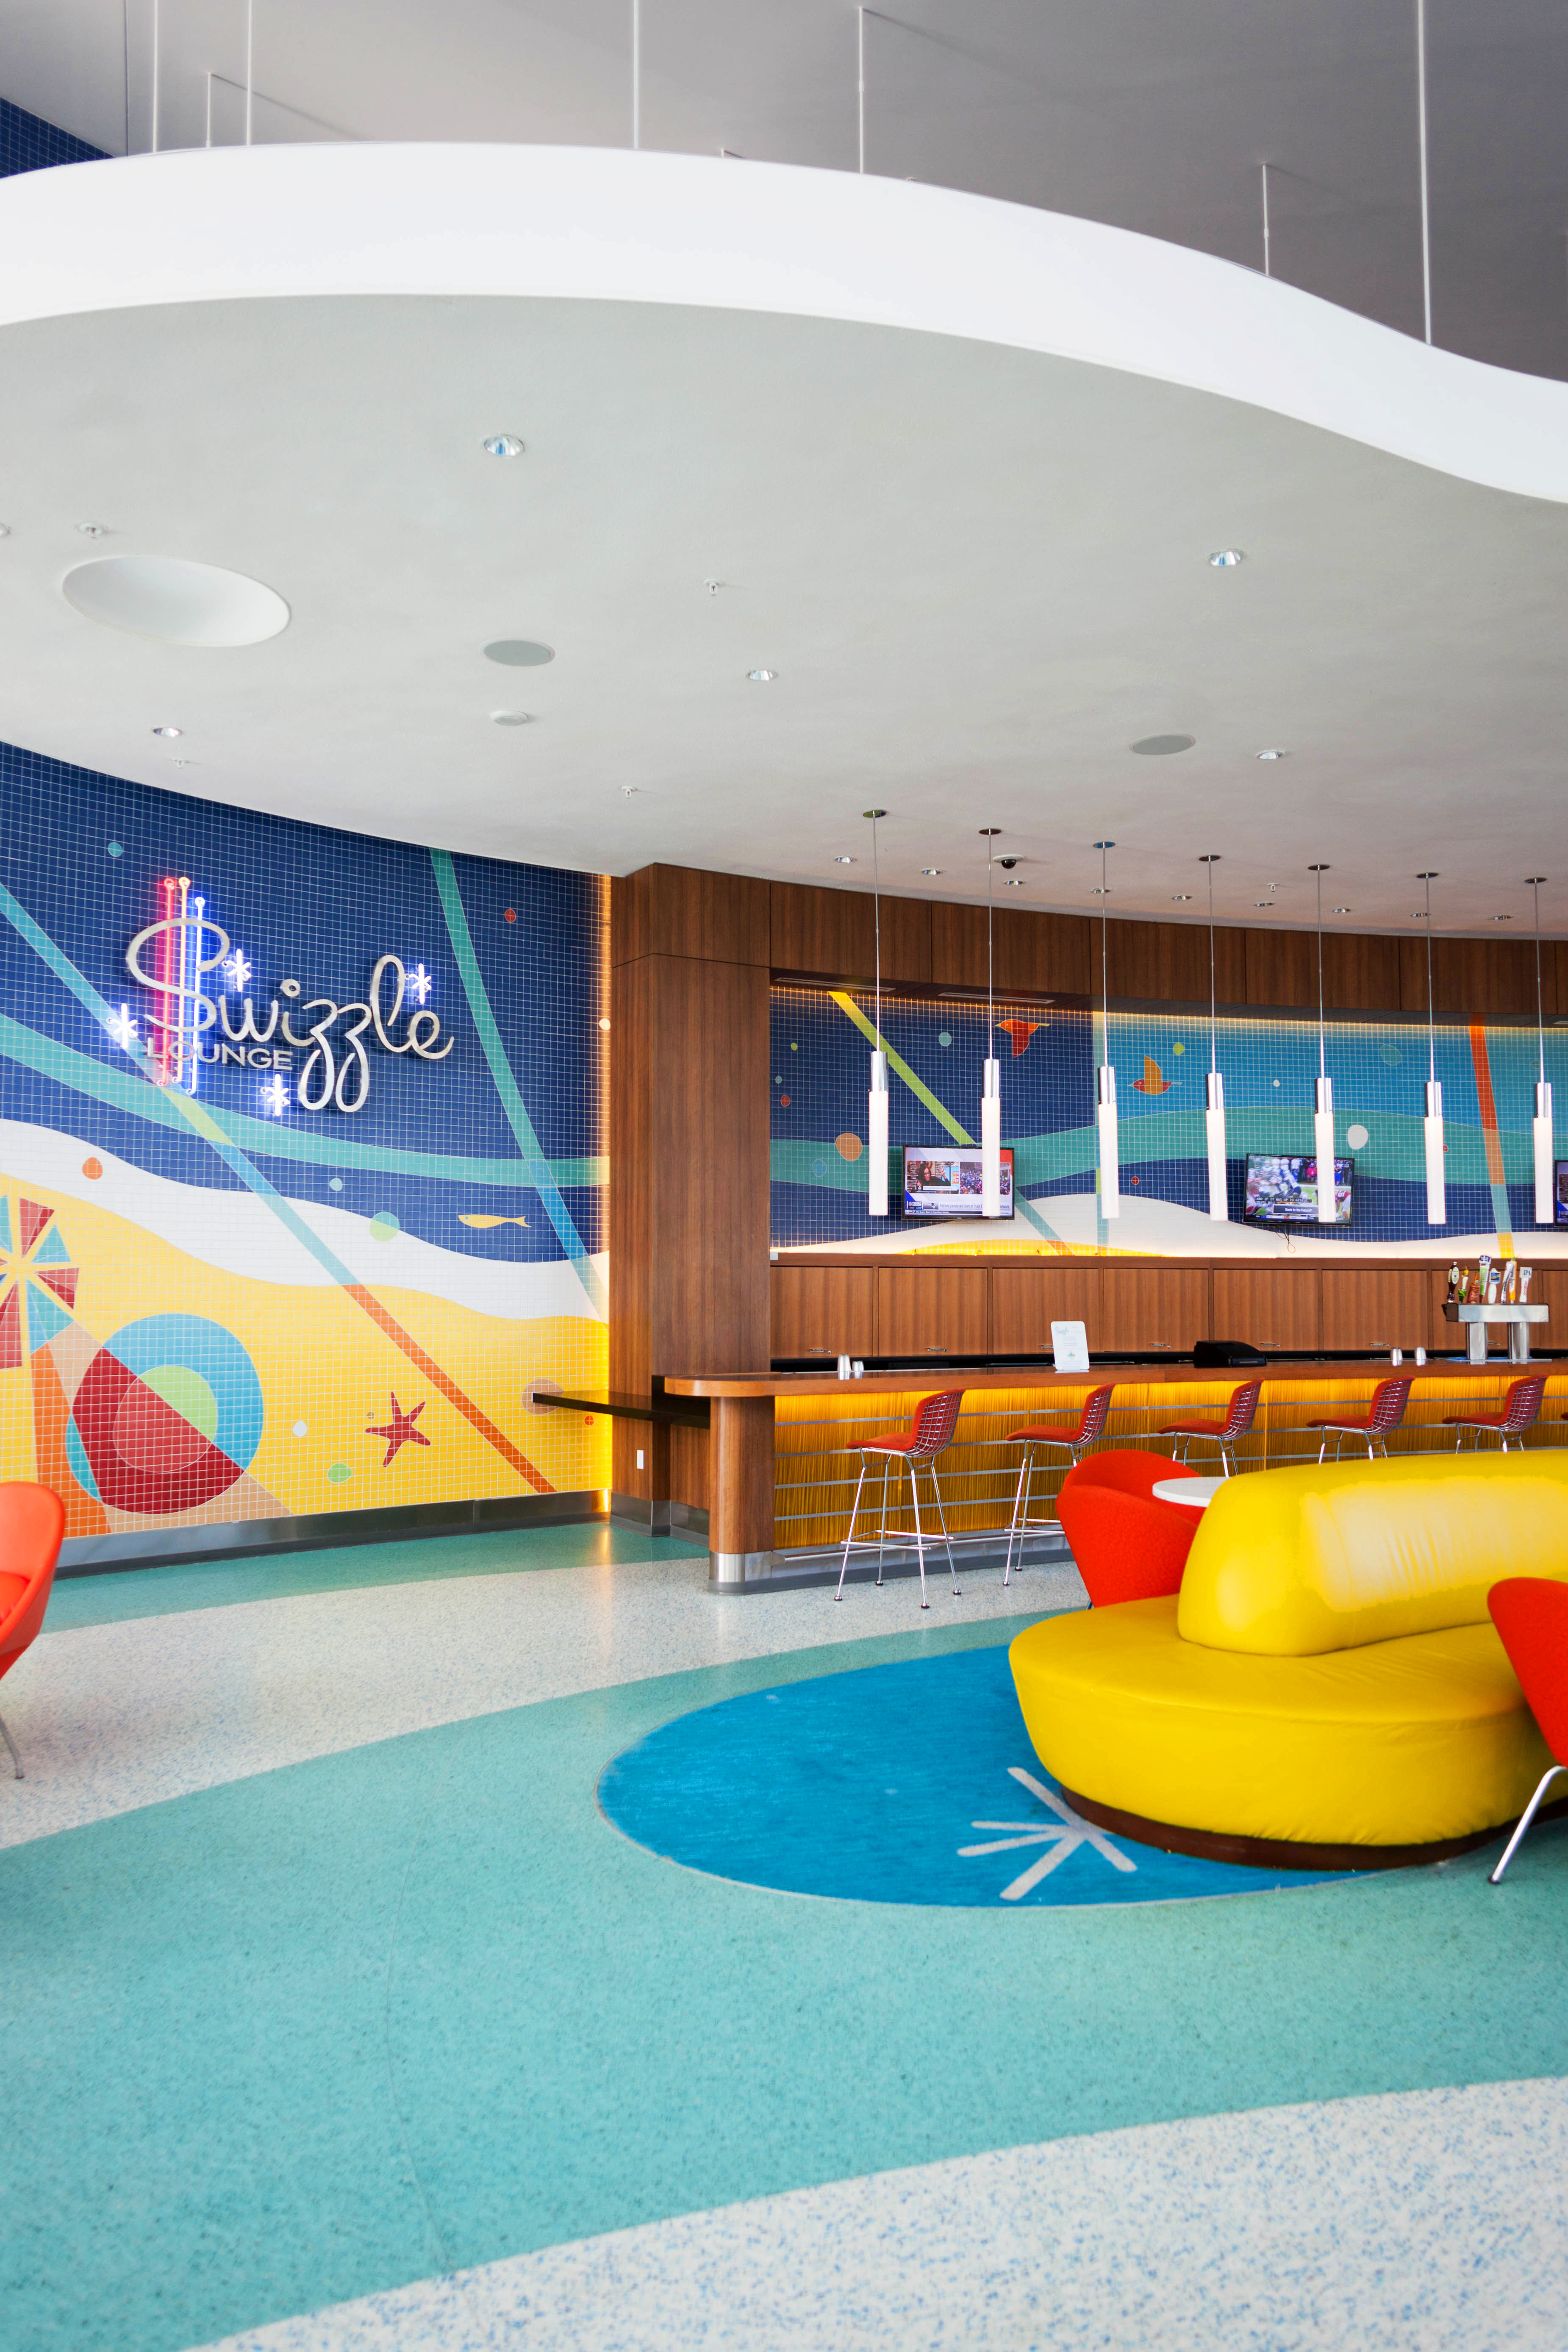
 I didn’t take pictures of the pool areas in order to respect the other guests’ privacy, but they feature cabana rentals, a lazy river, and waterslides!
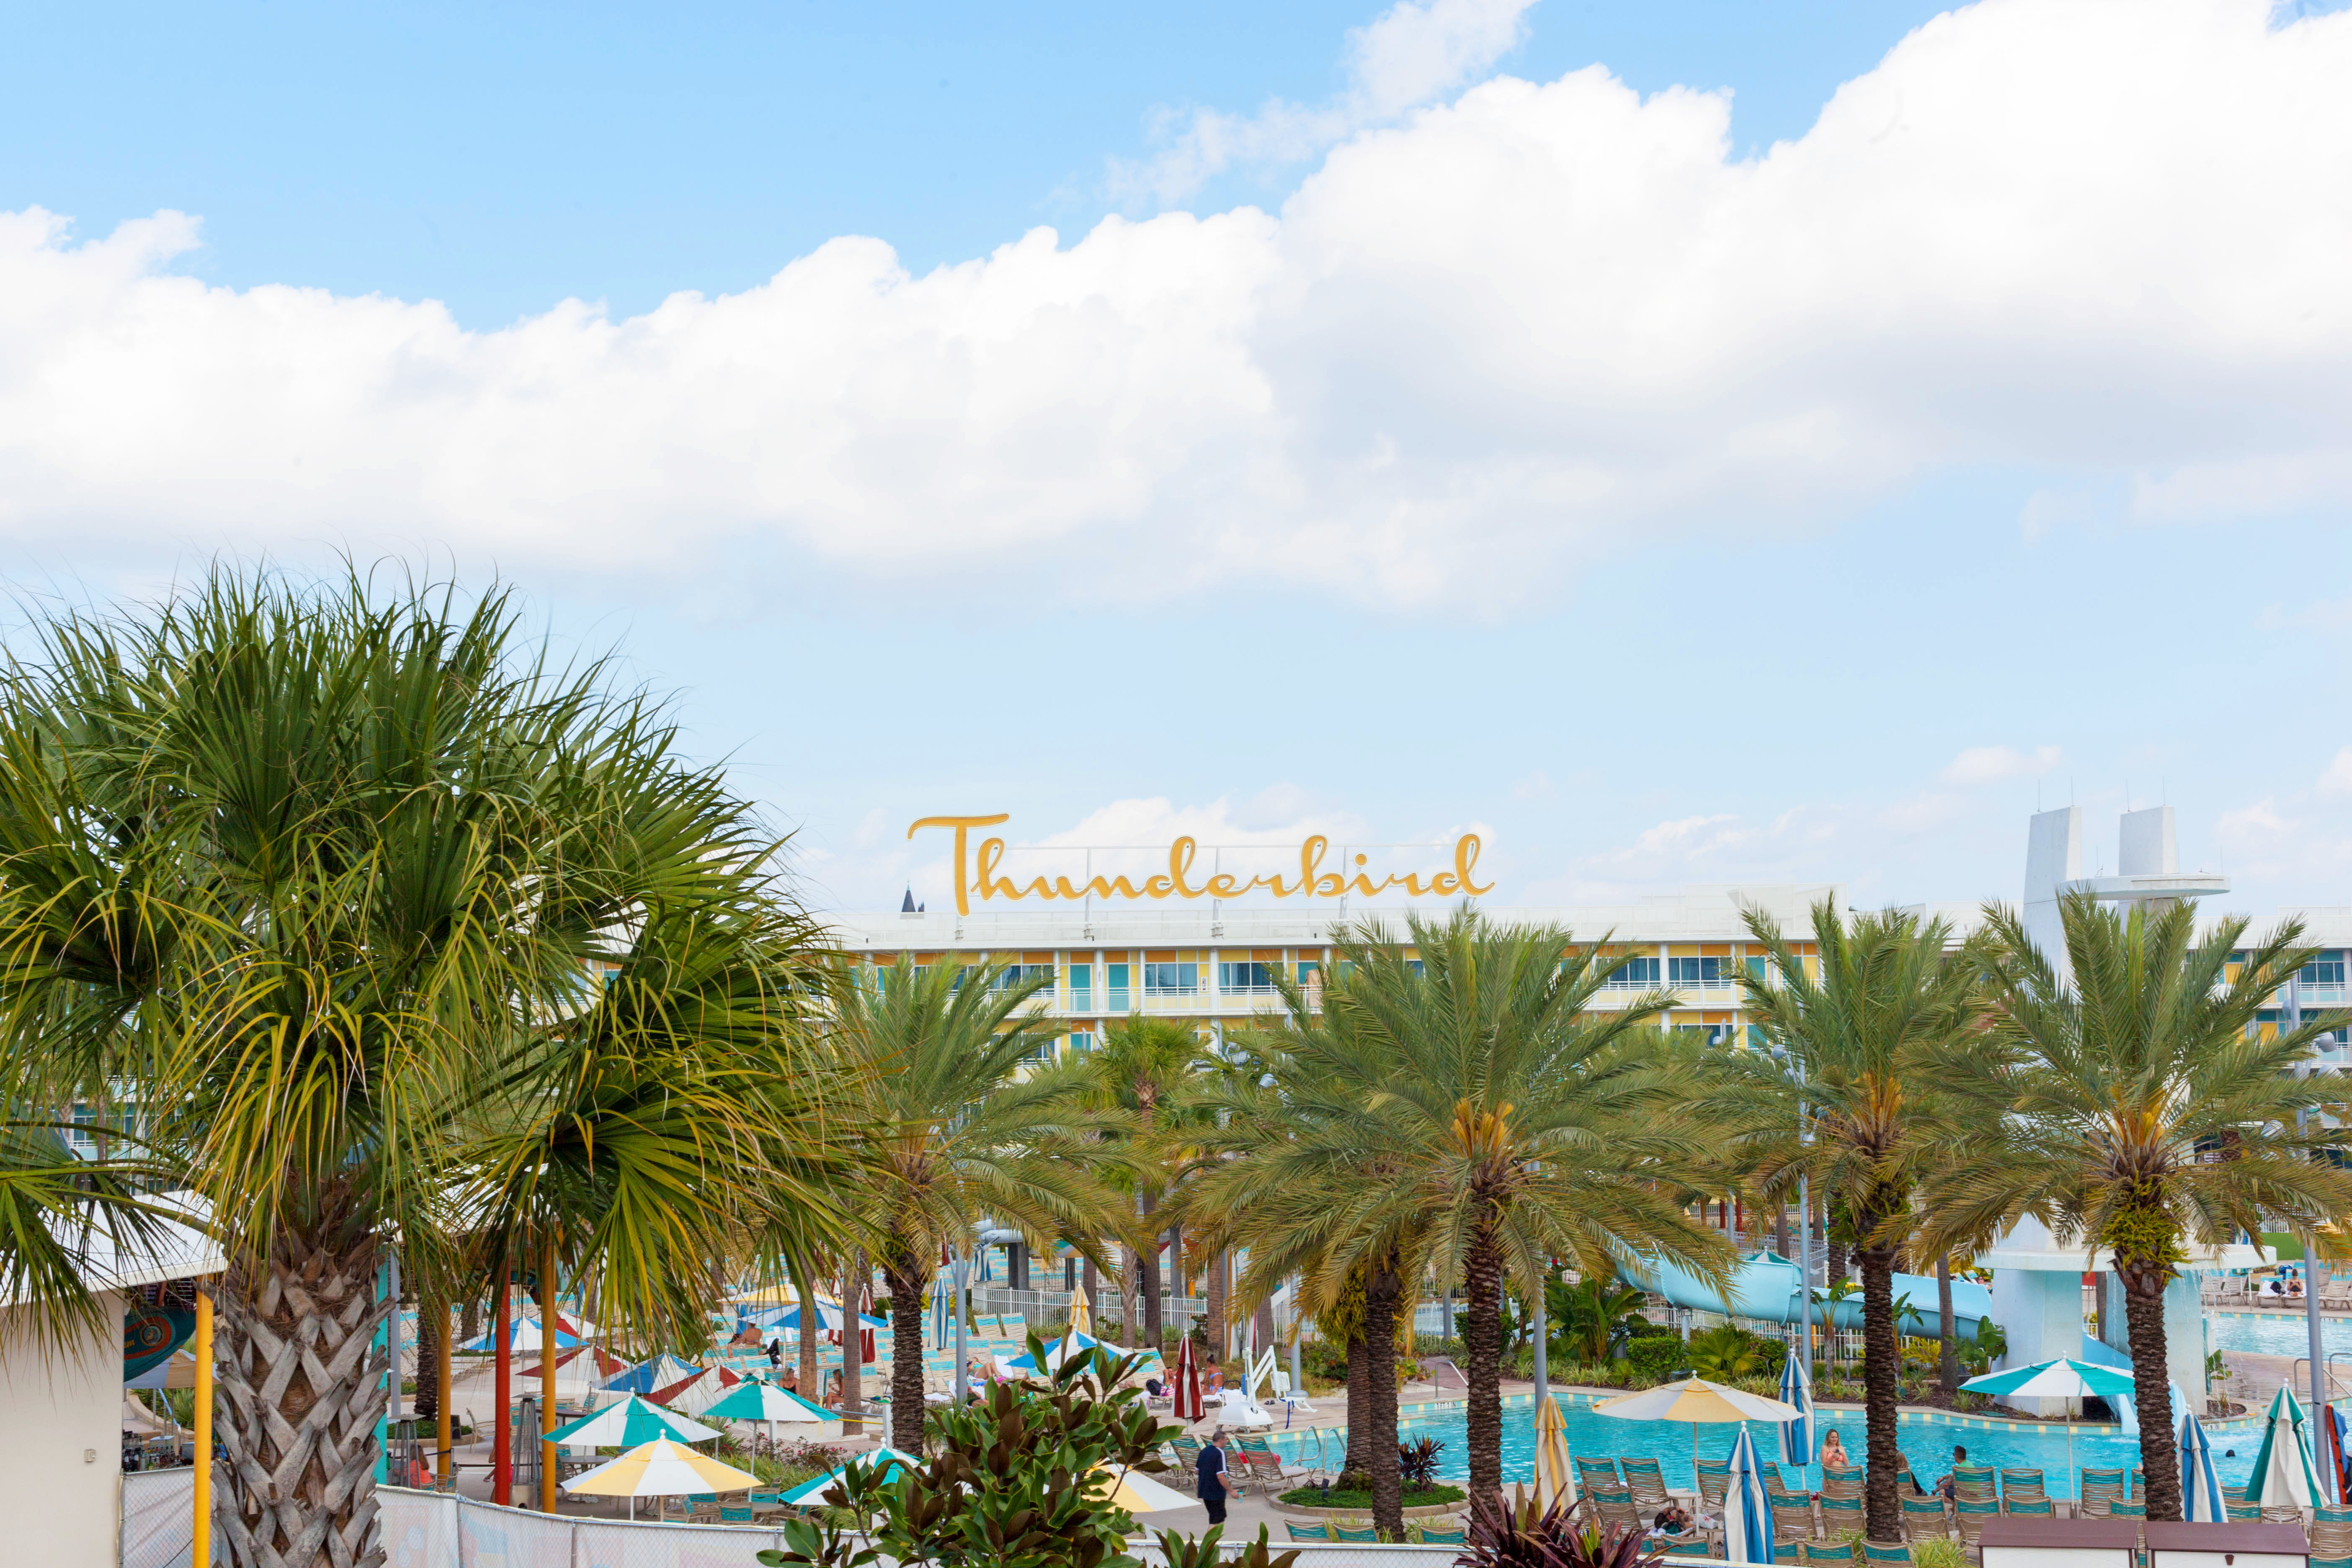

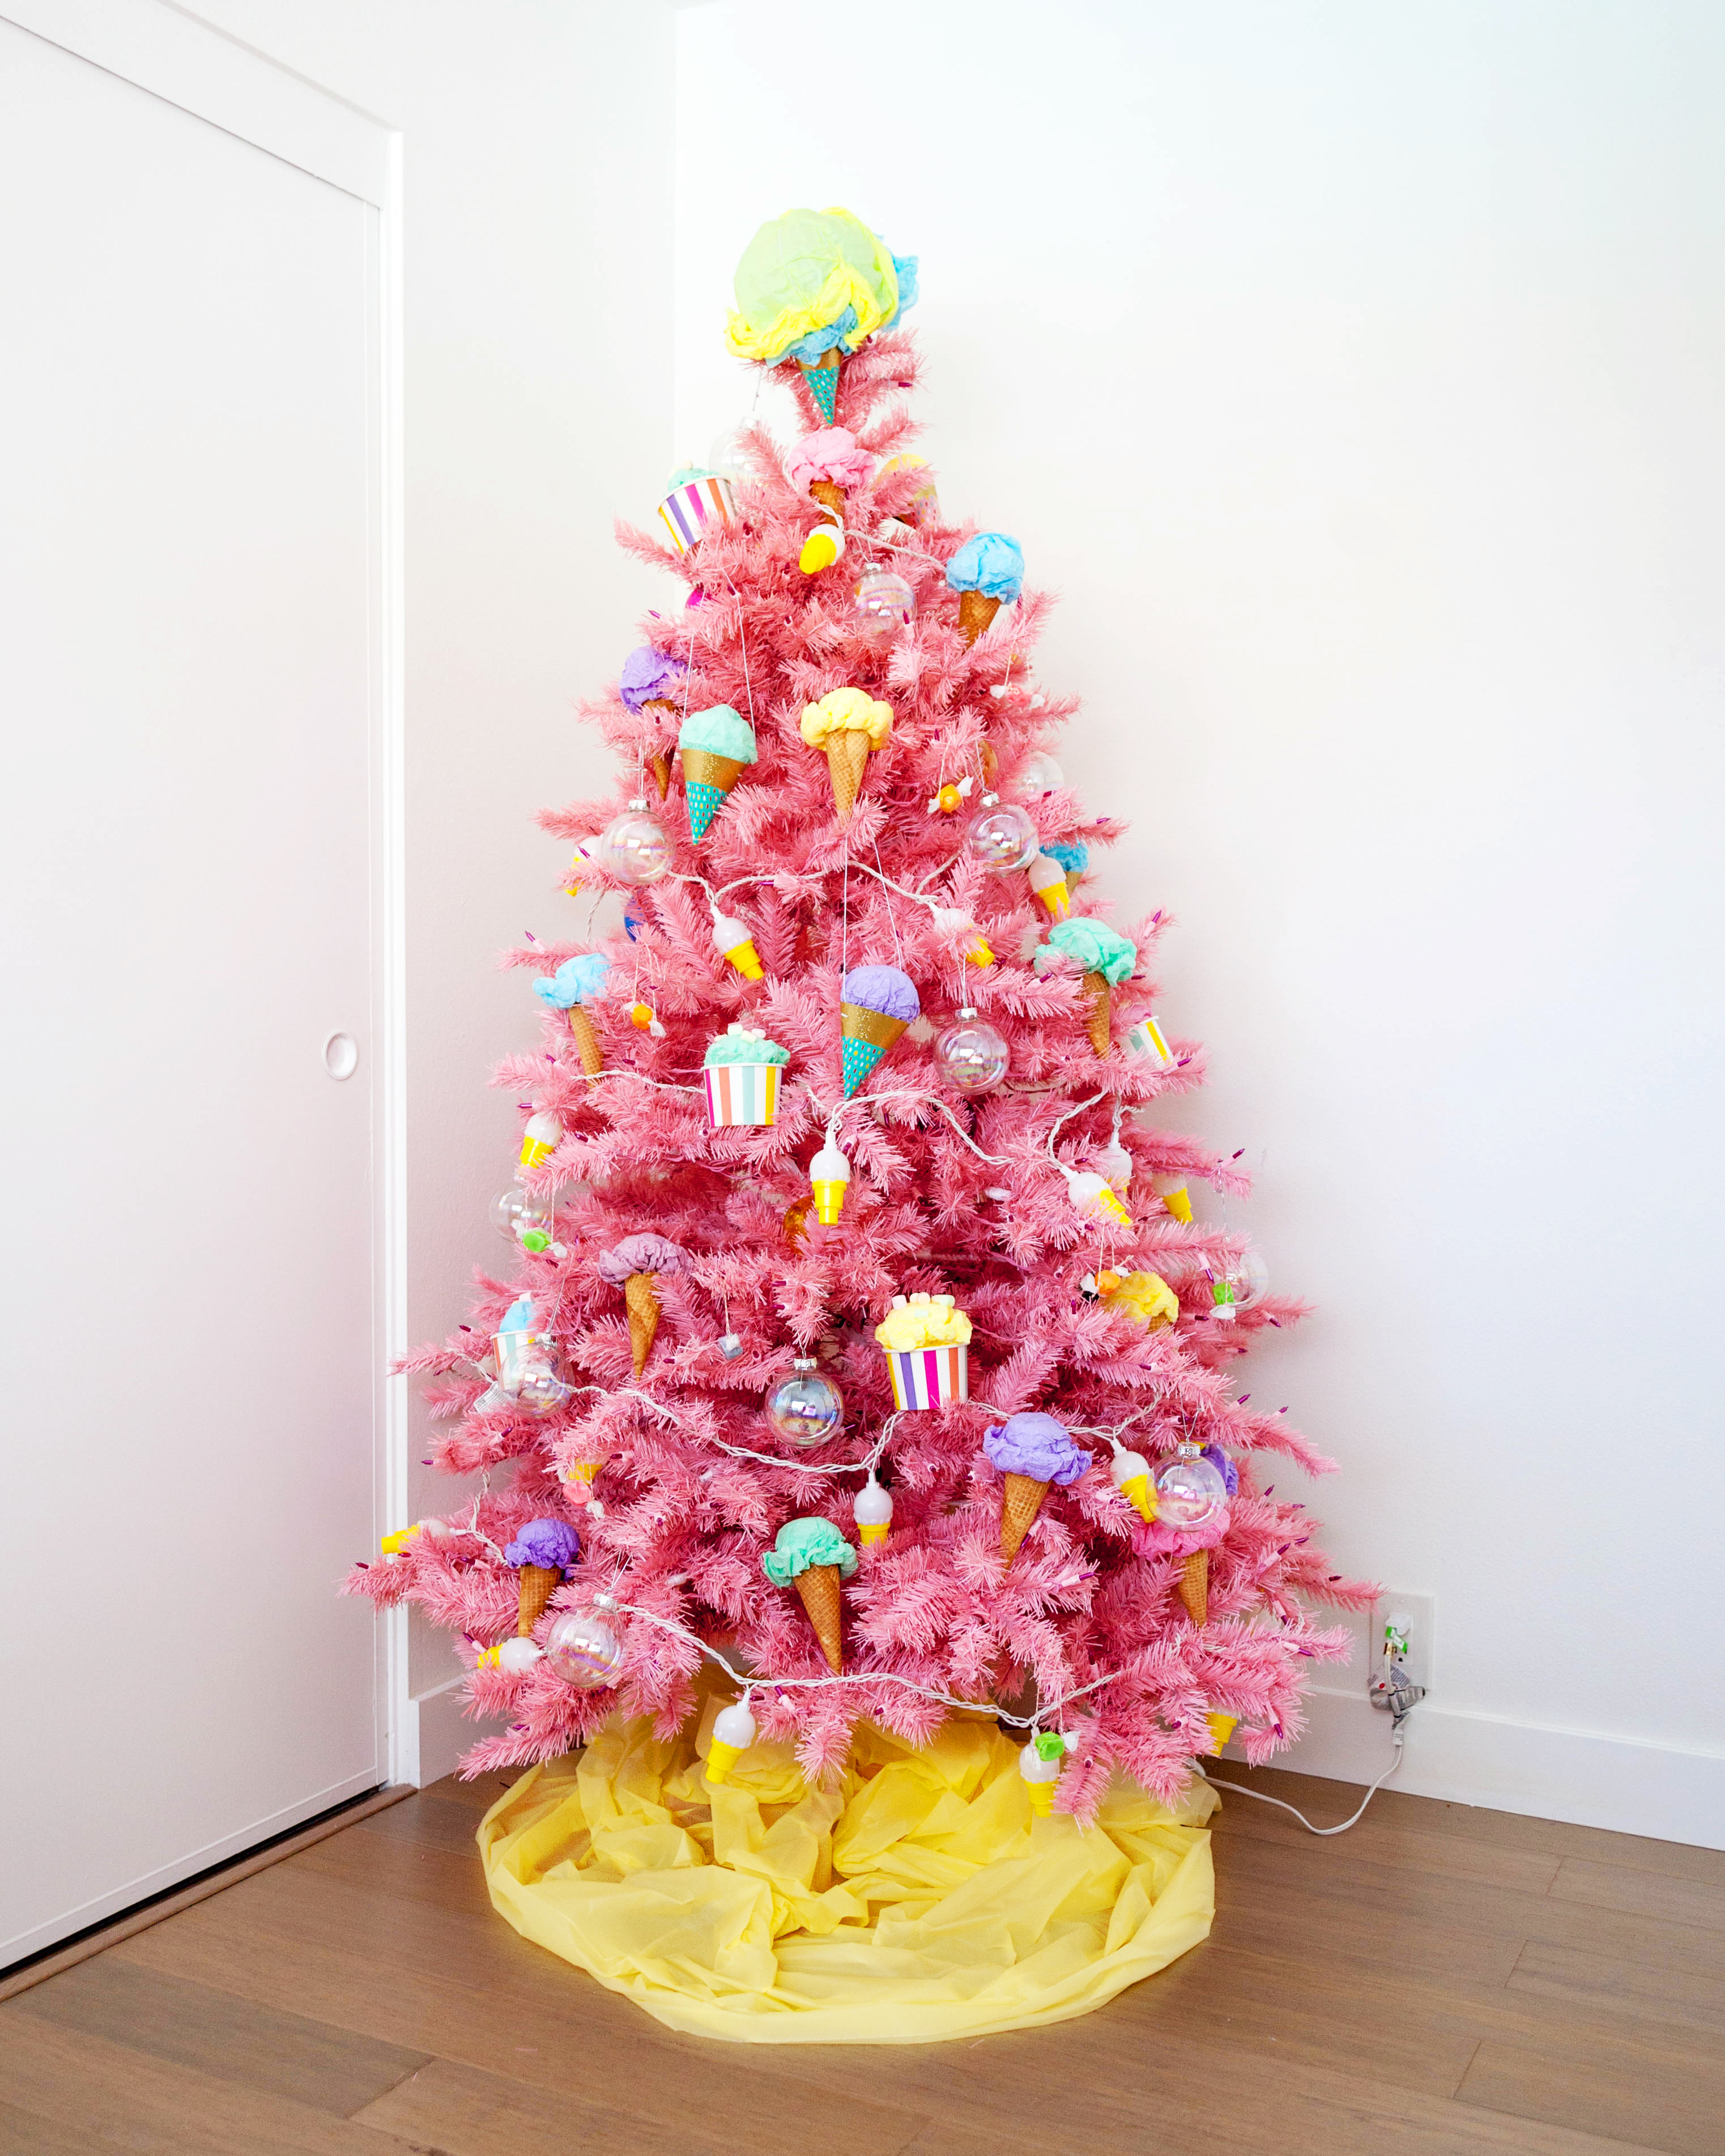

 Then I used colorful mini marshmallows and candies to decorate them!
 For snow cones I used tissue paper and party hats!
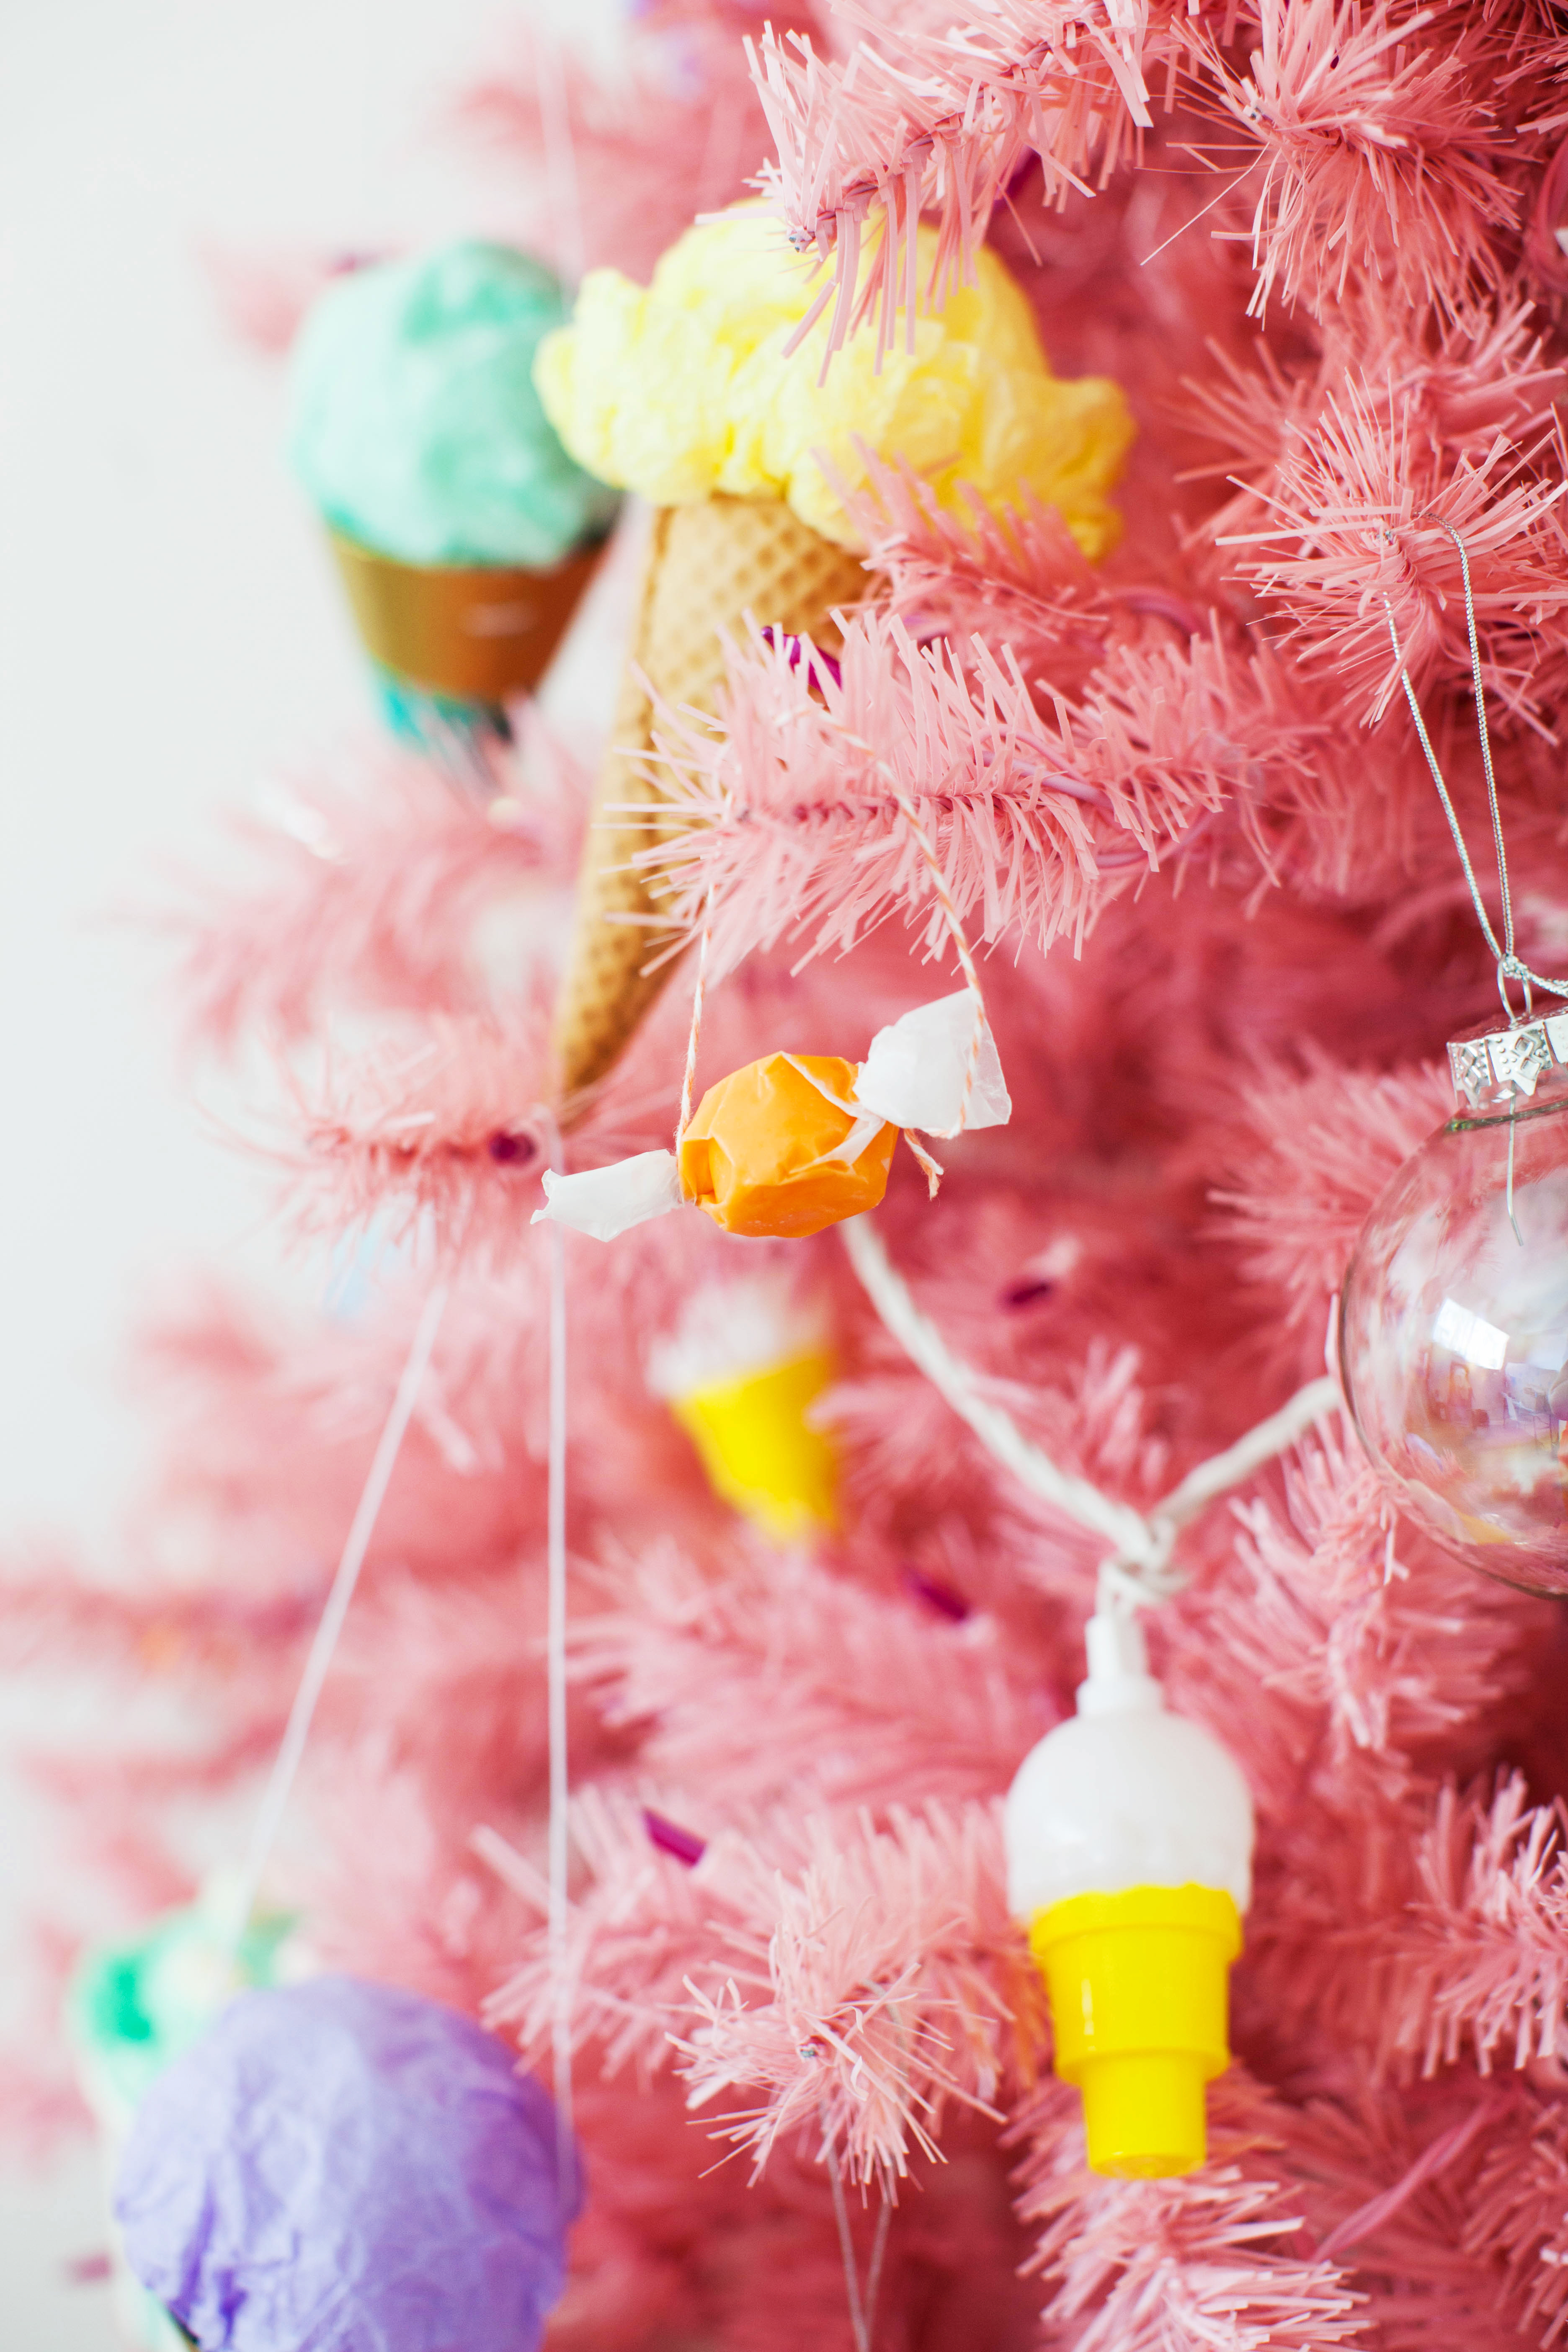
 Can’t forget the sprinkles! I filled
  To top it all off I used the rest of my tissue paper and a party hat to make a giant ice cream cone.
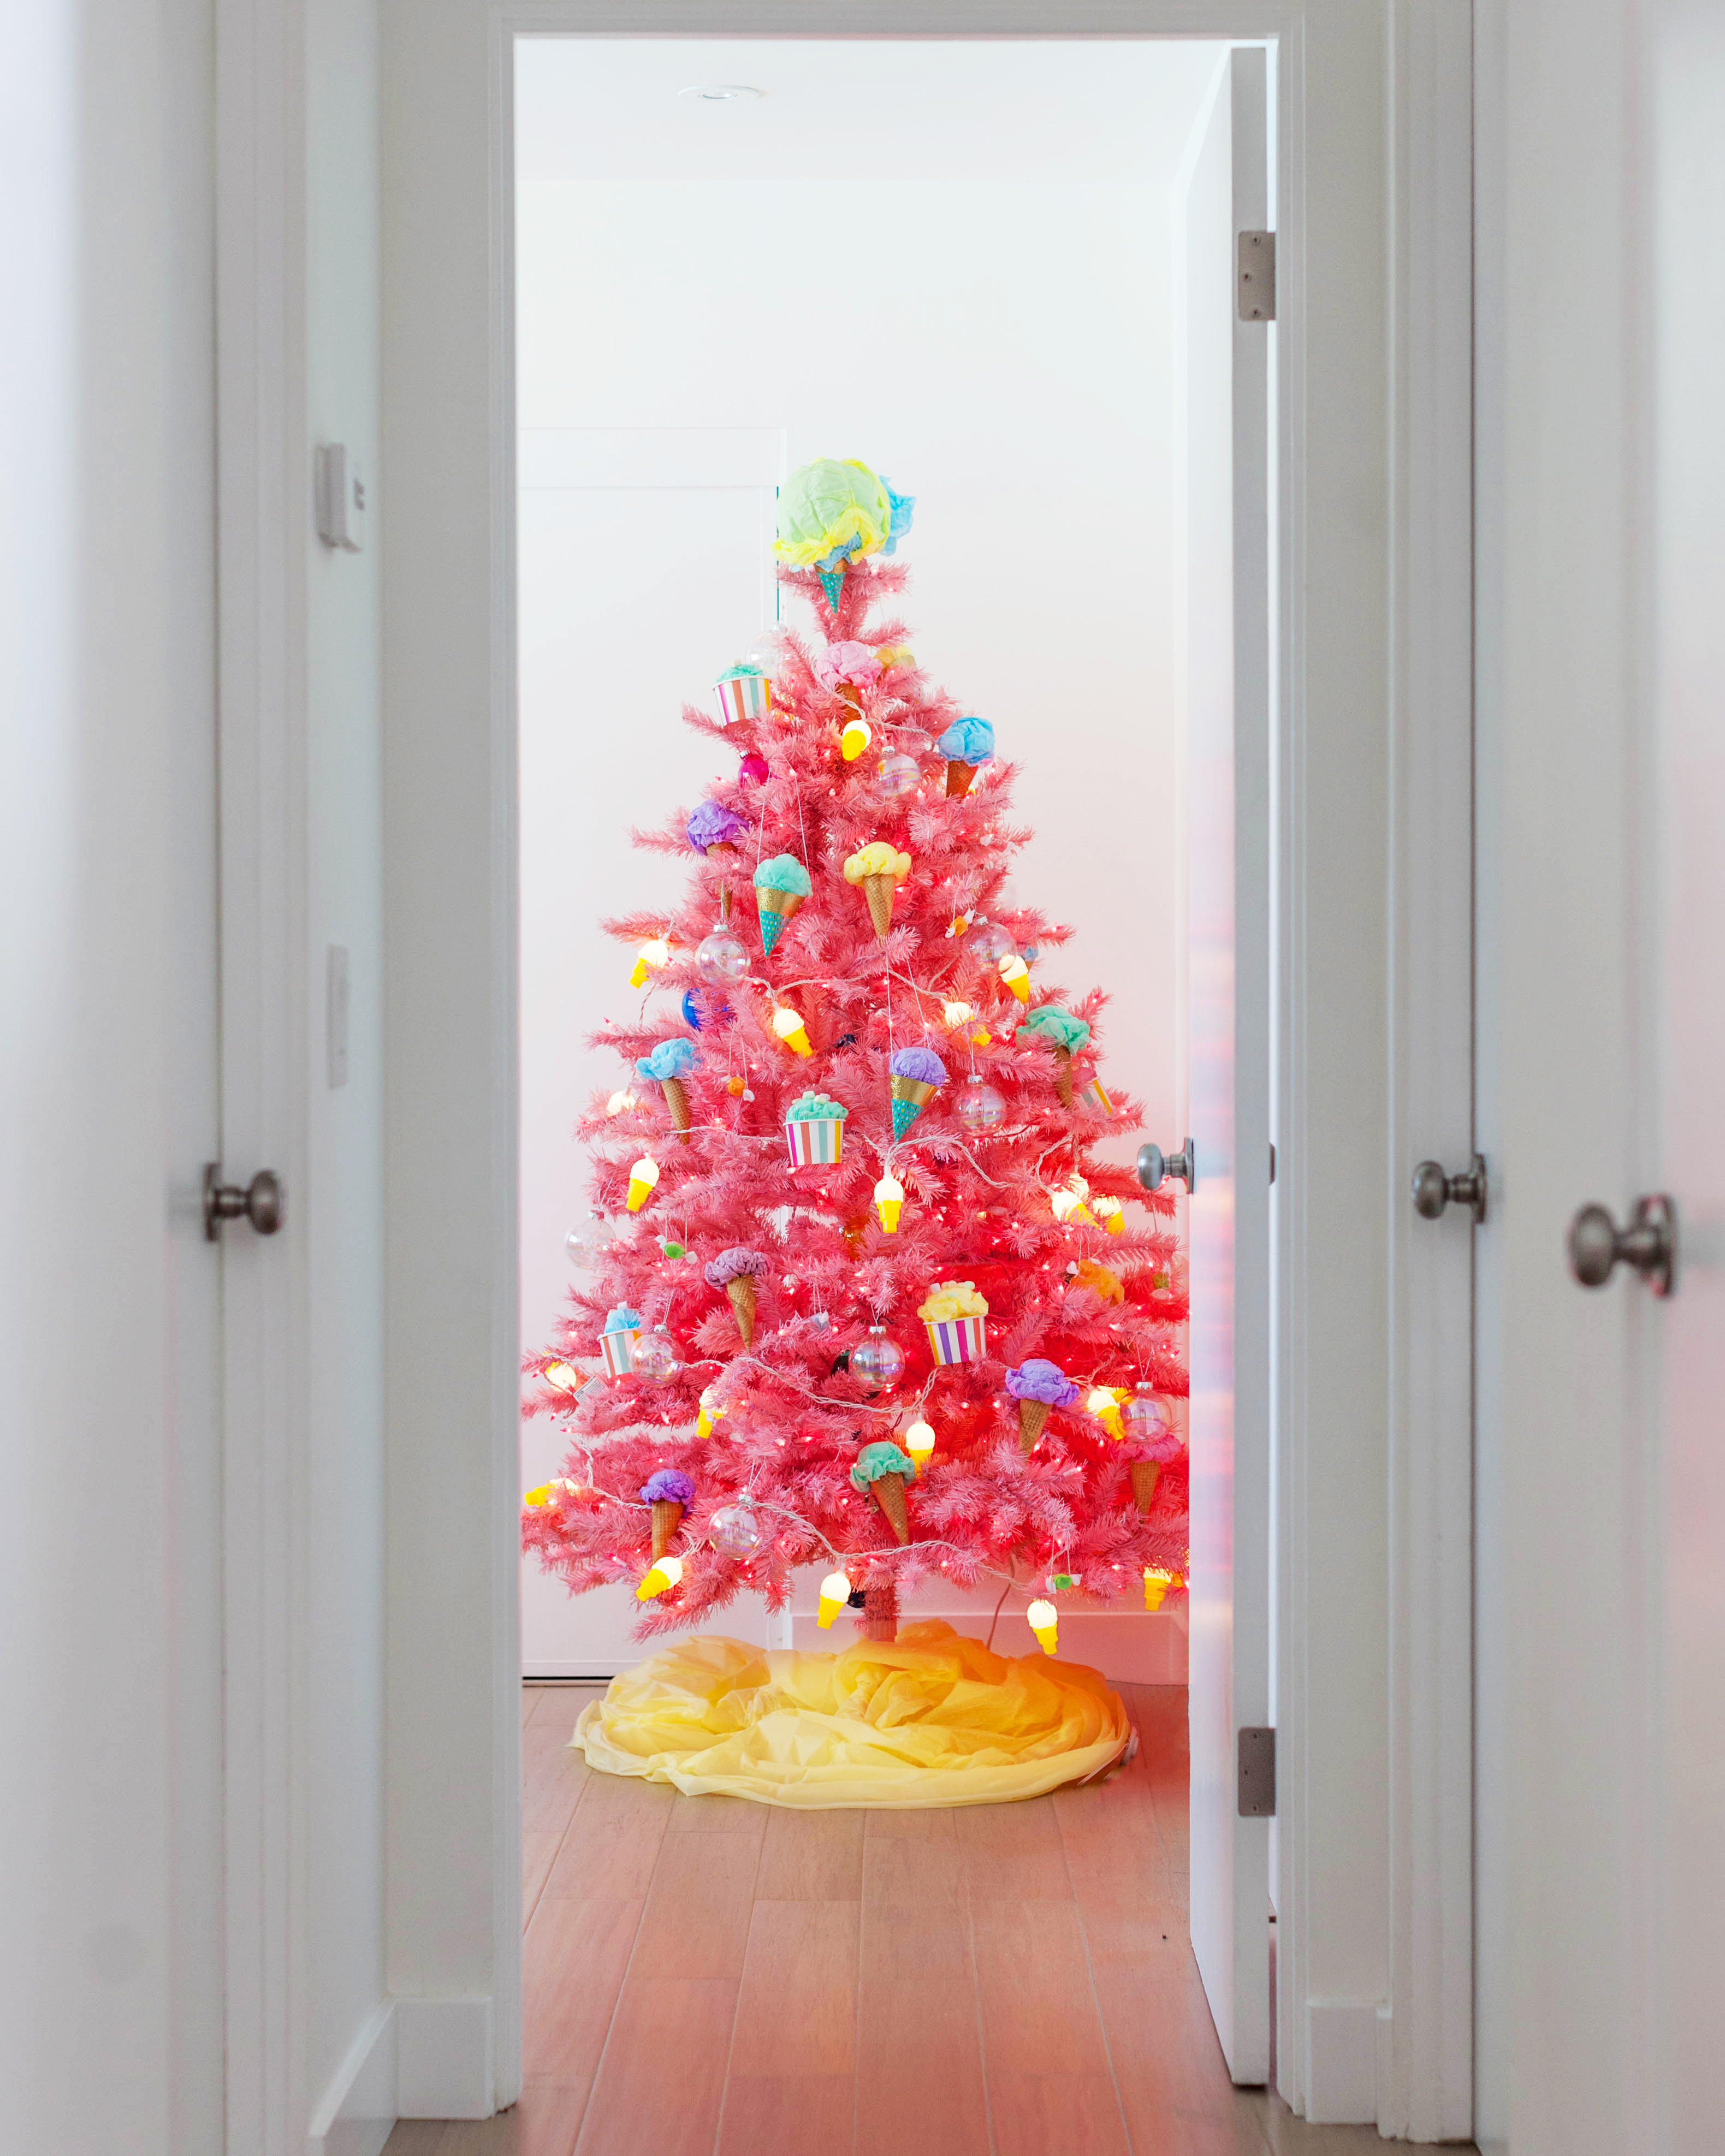
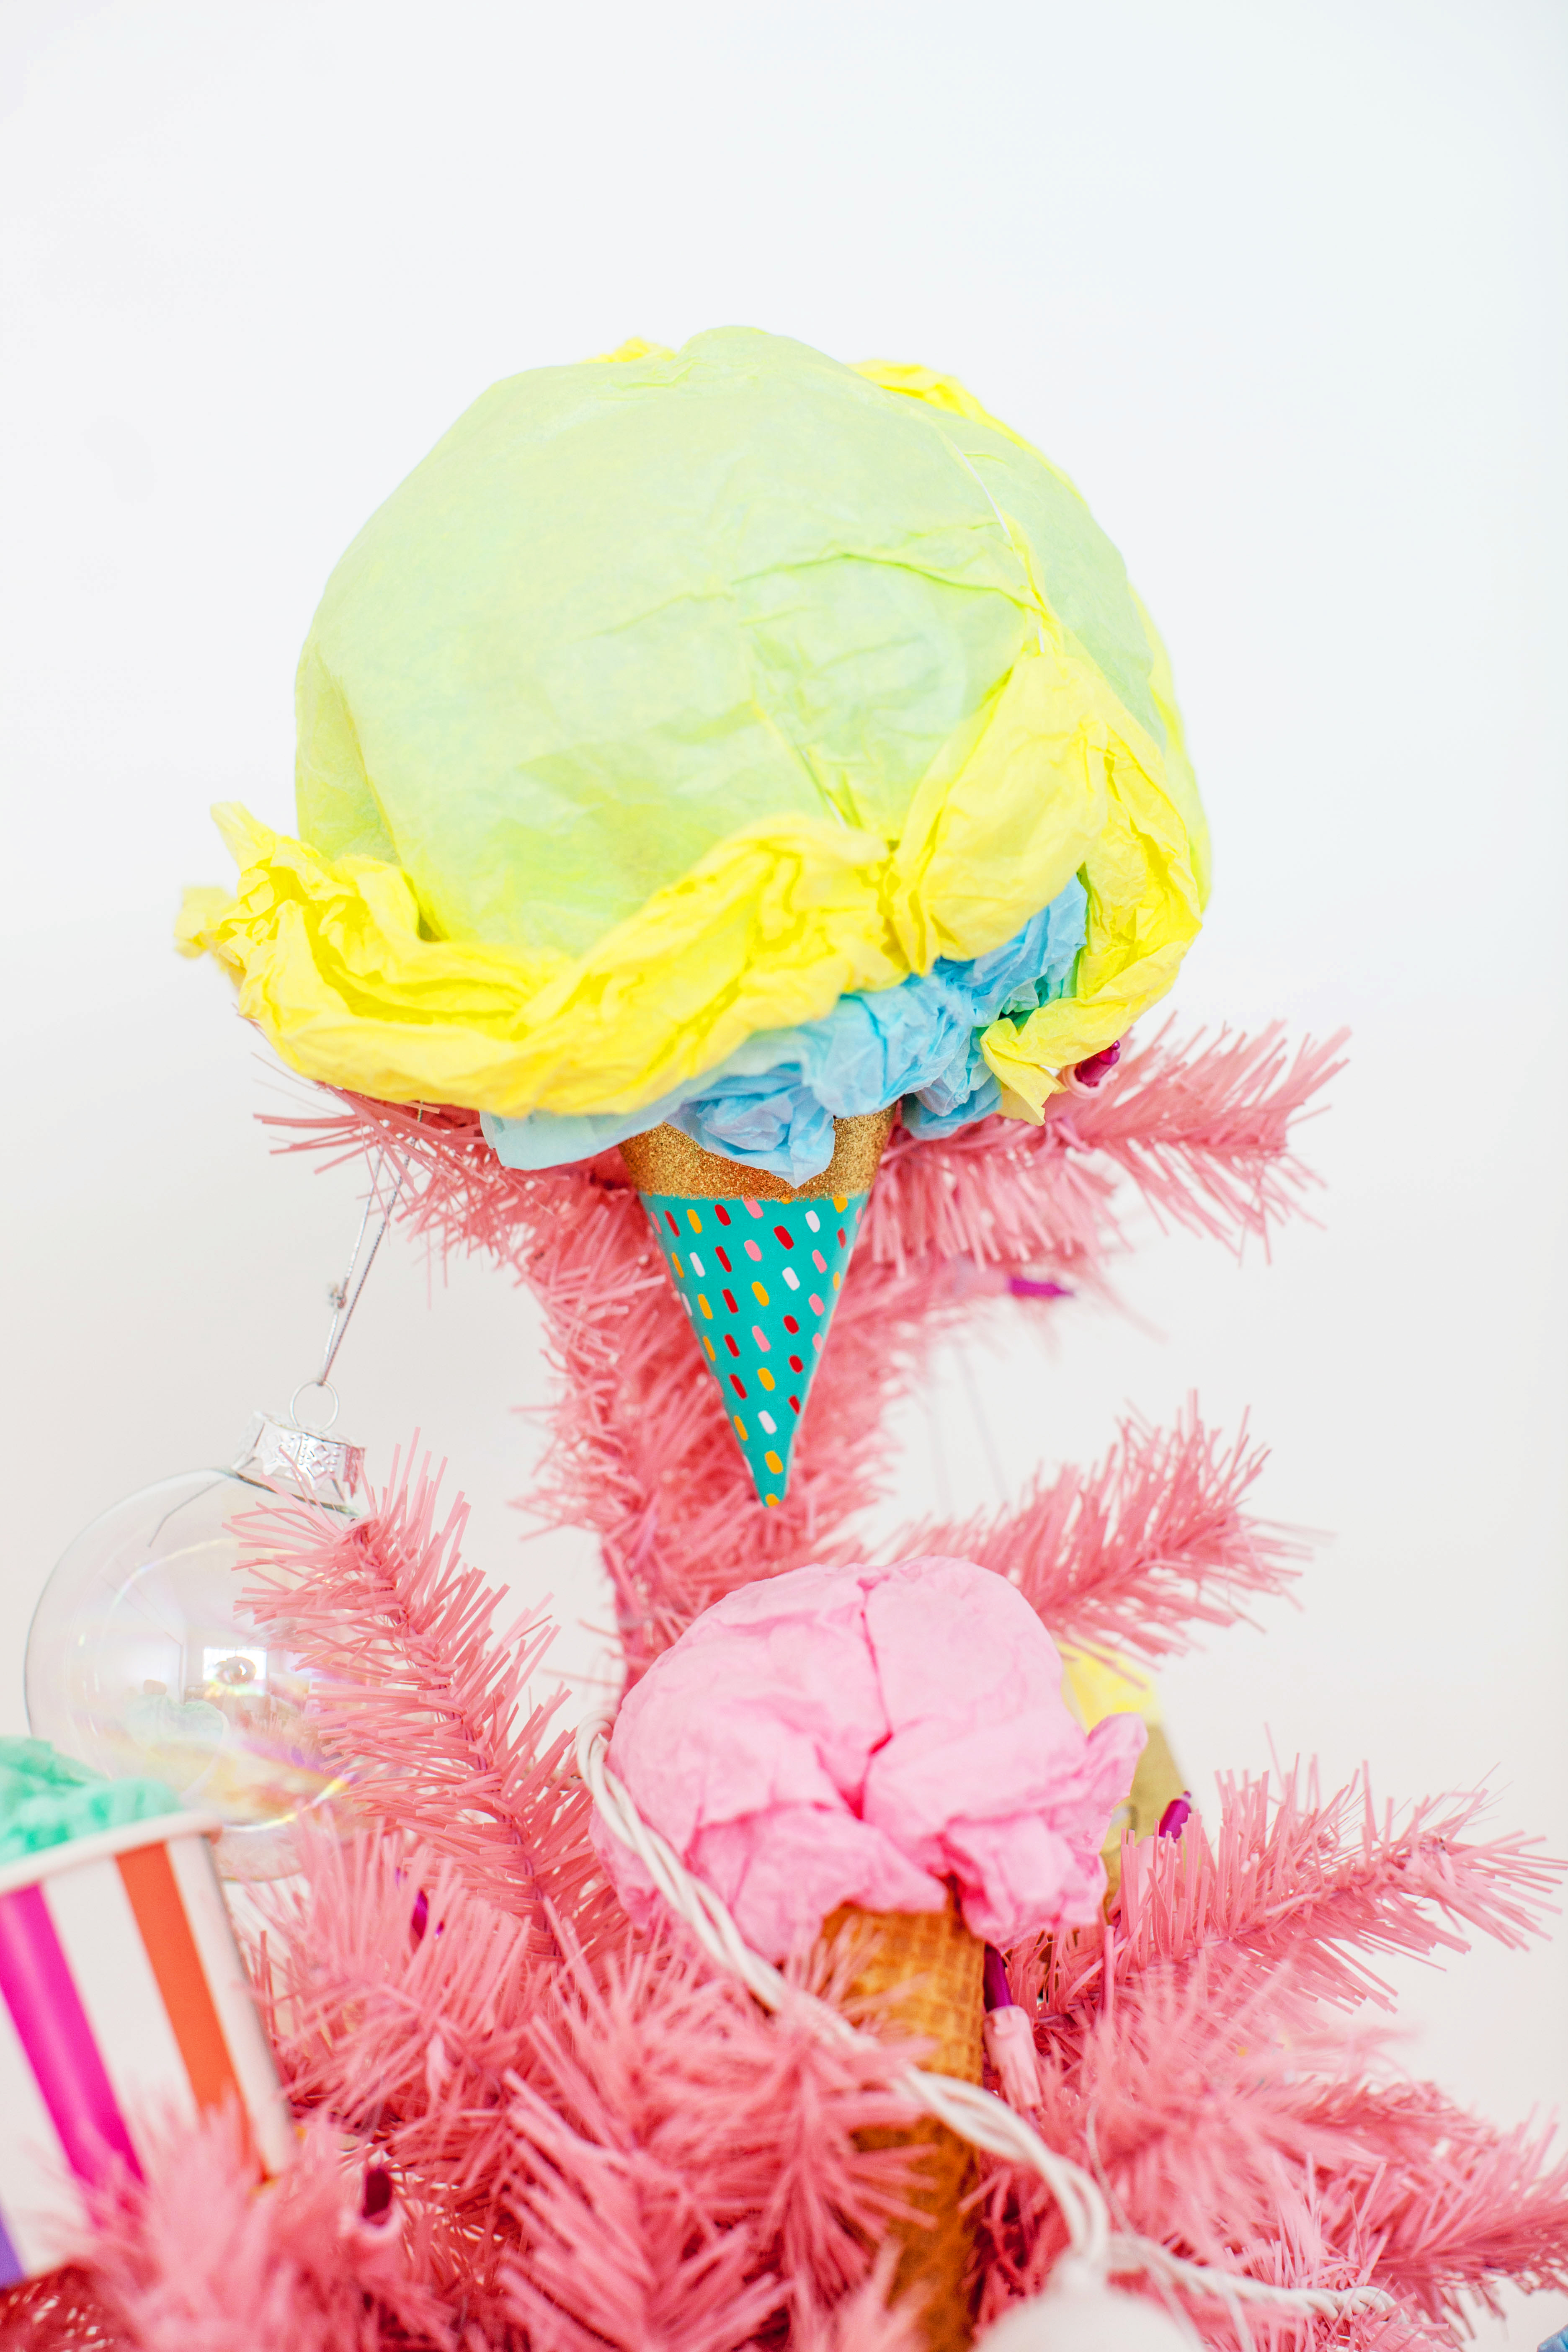


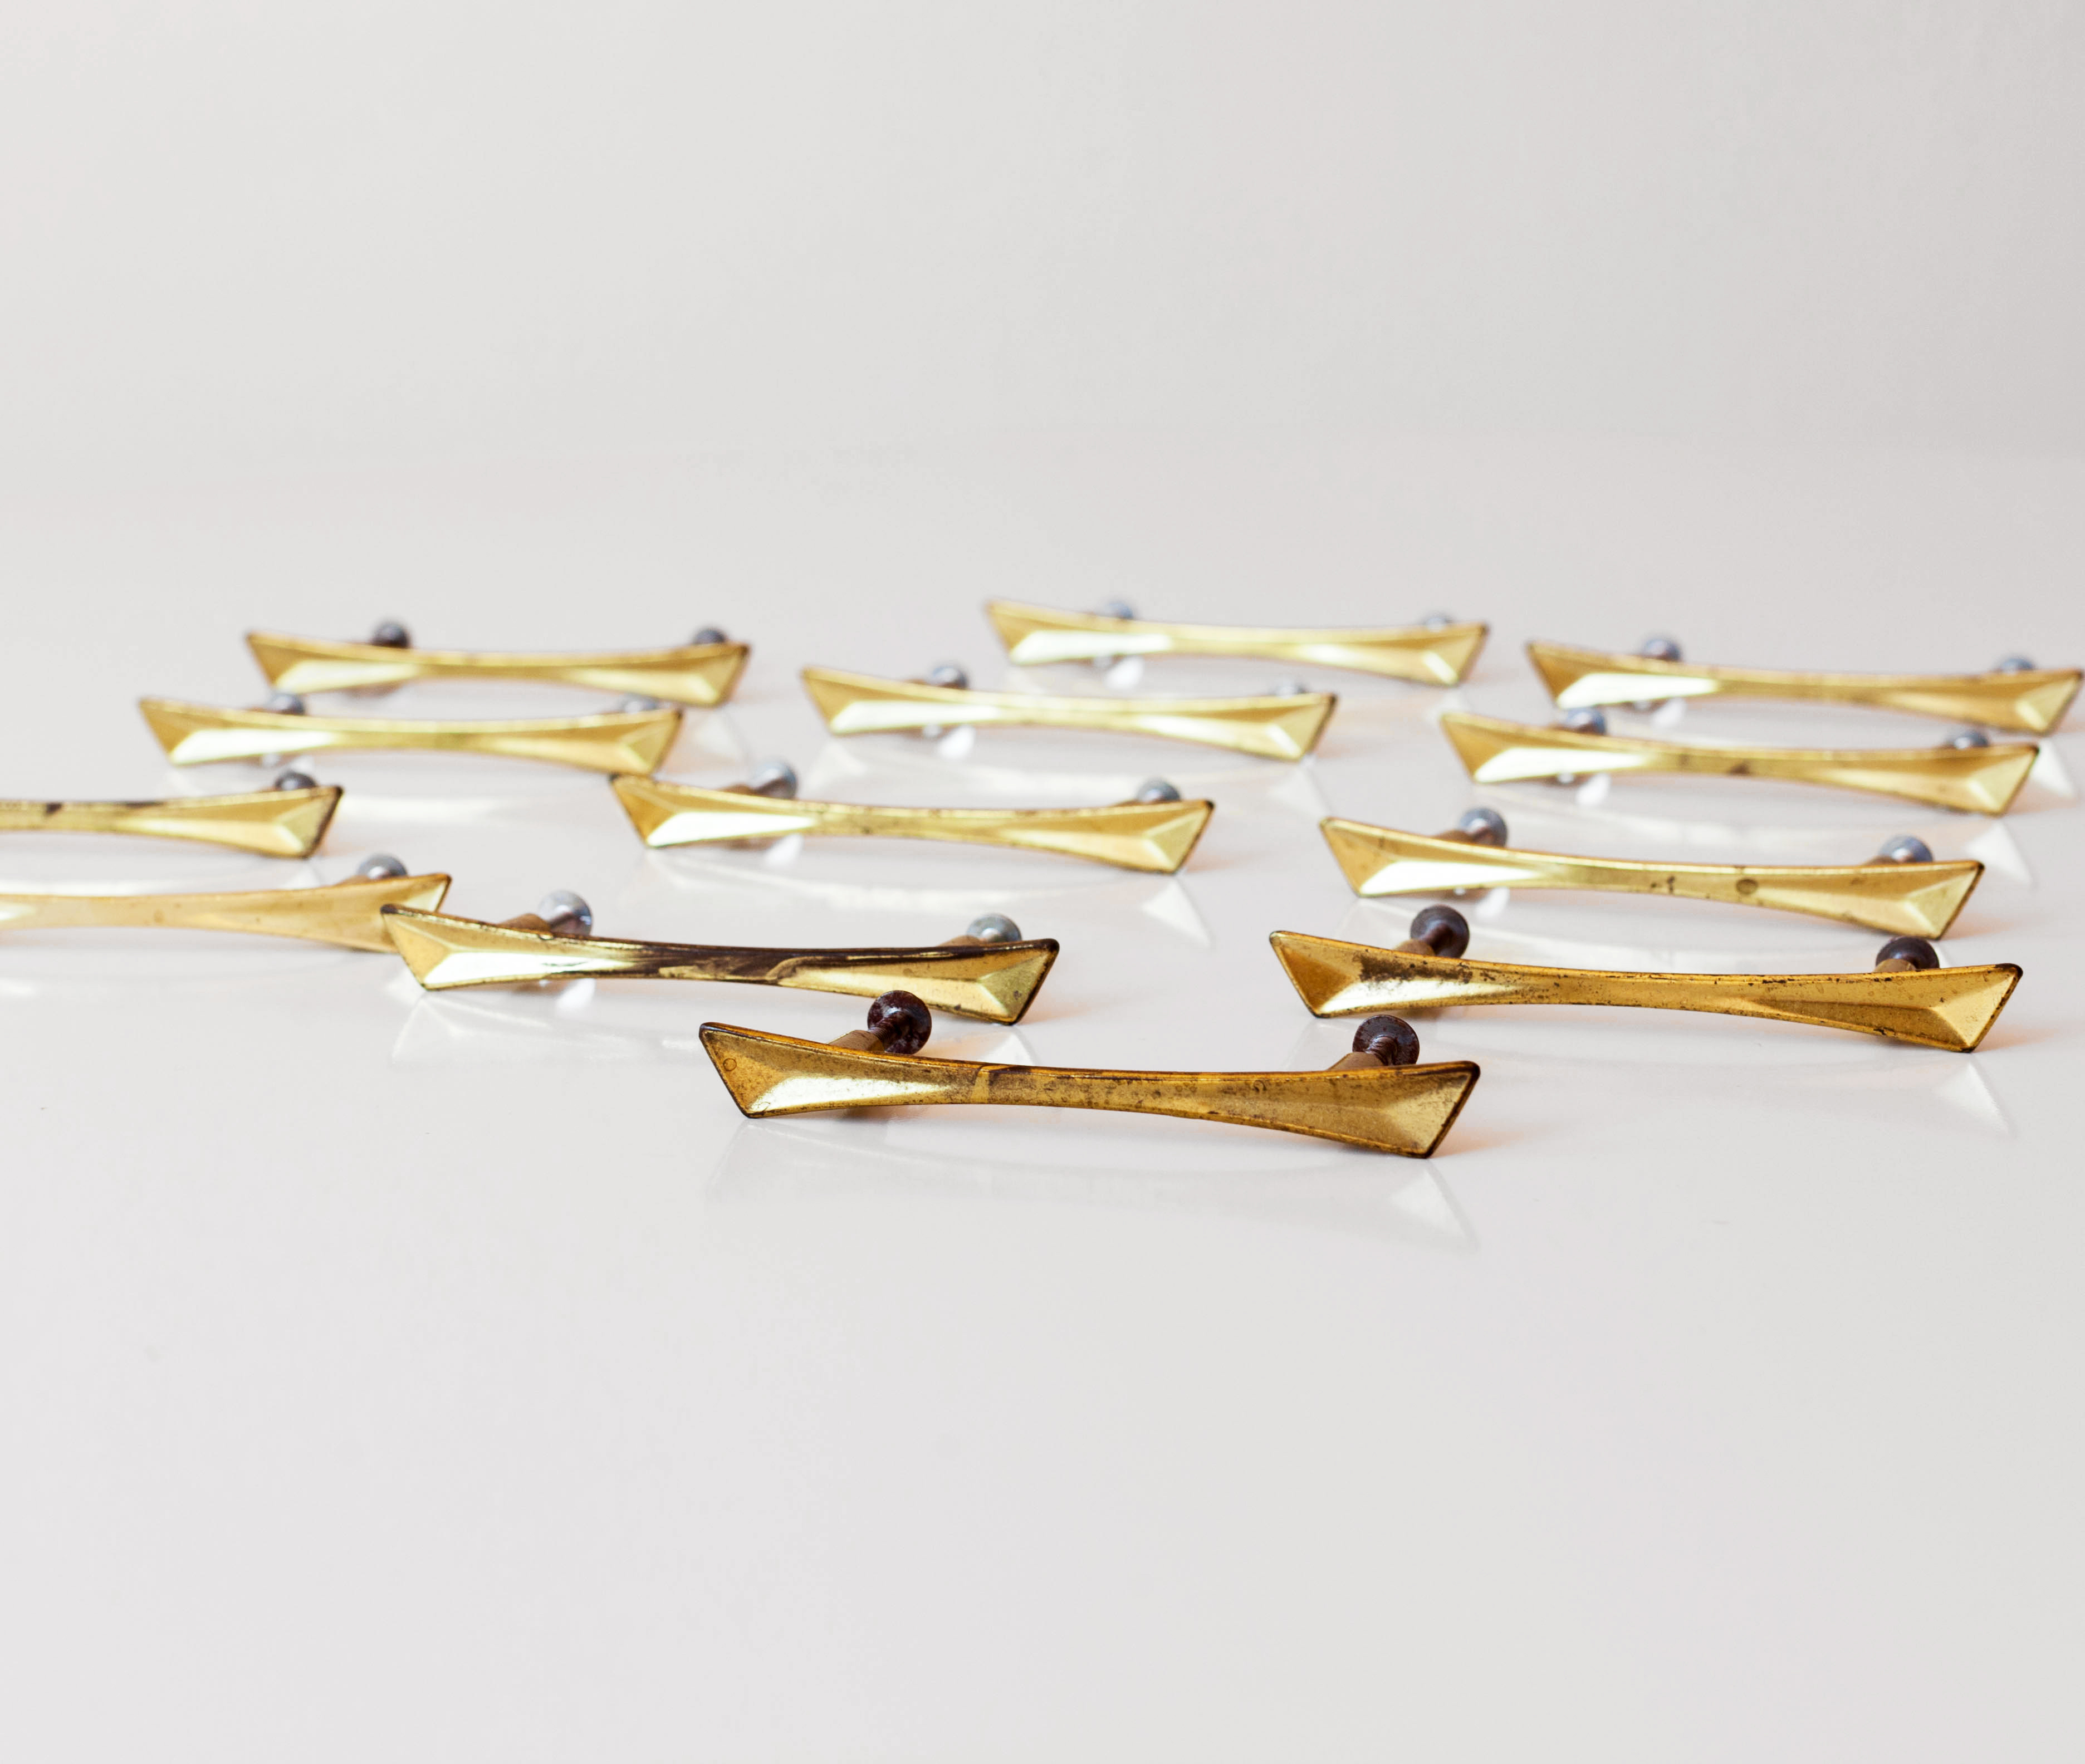
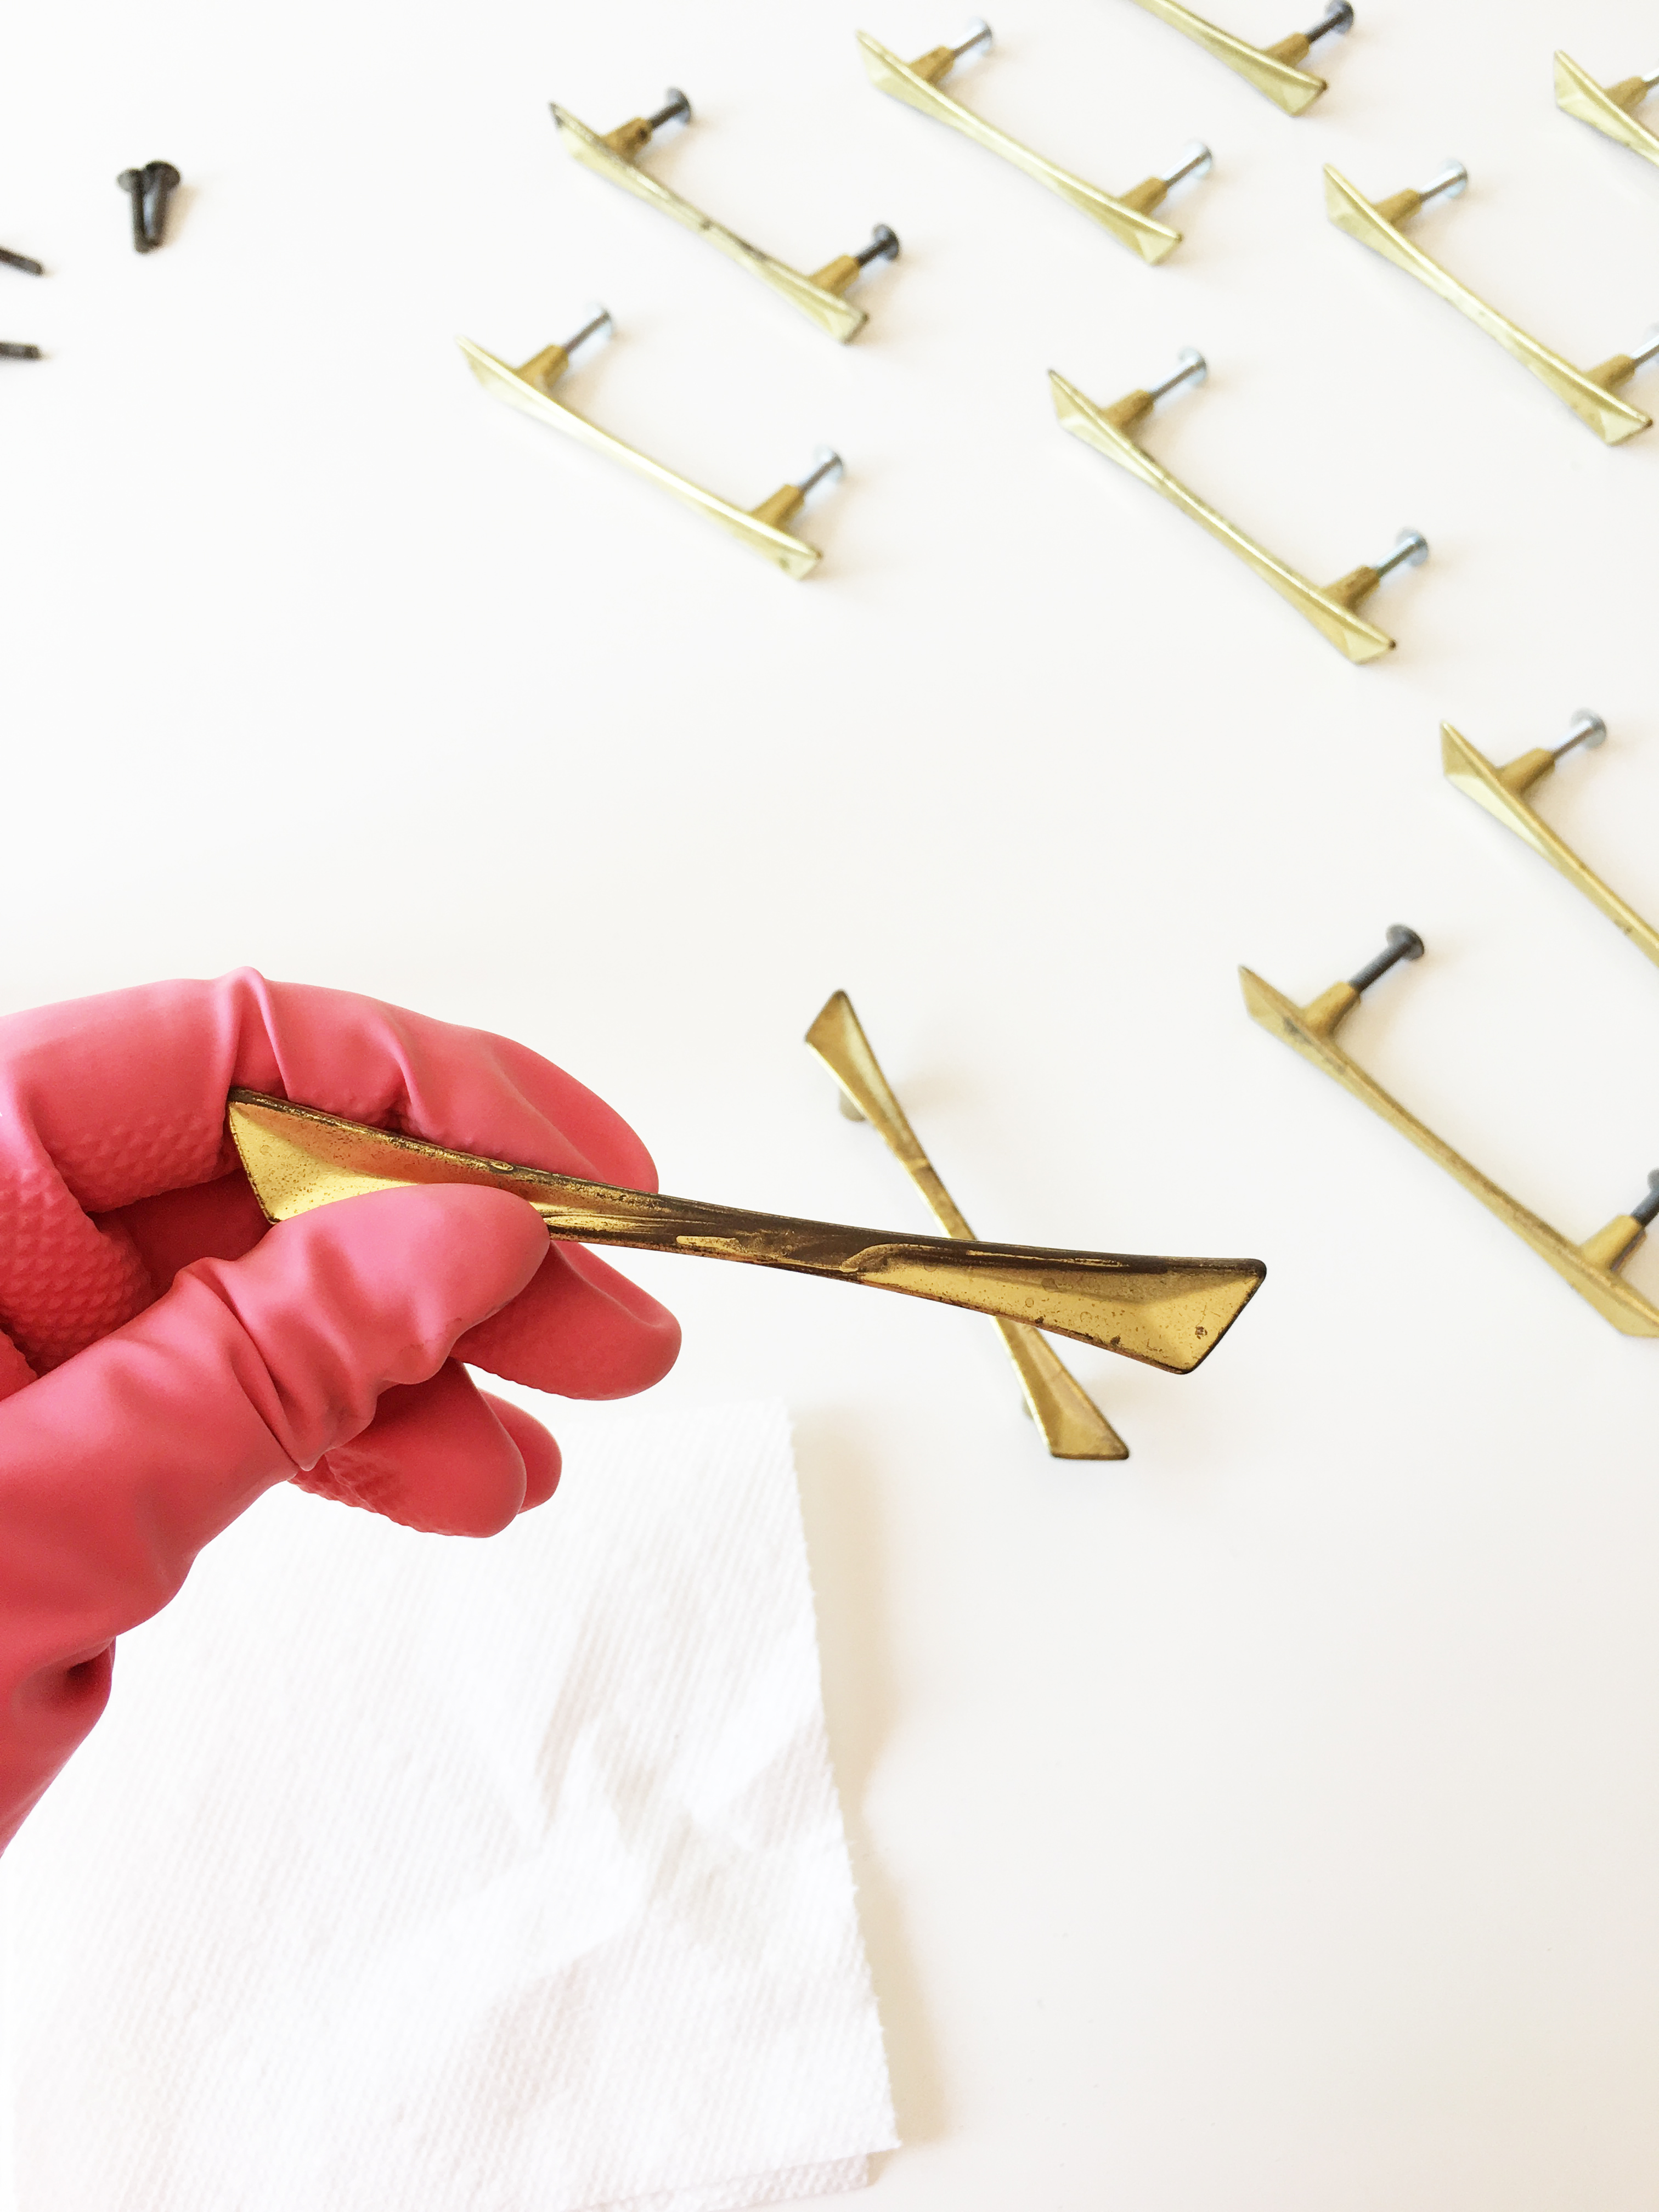 Cover the brass in metal polish and rub into the metal.
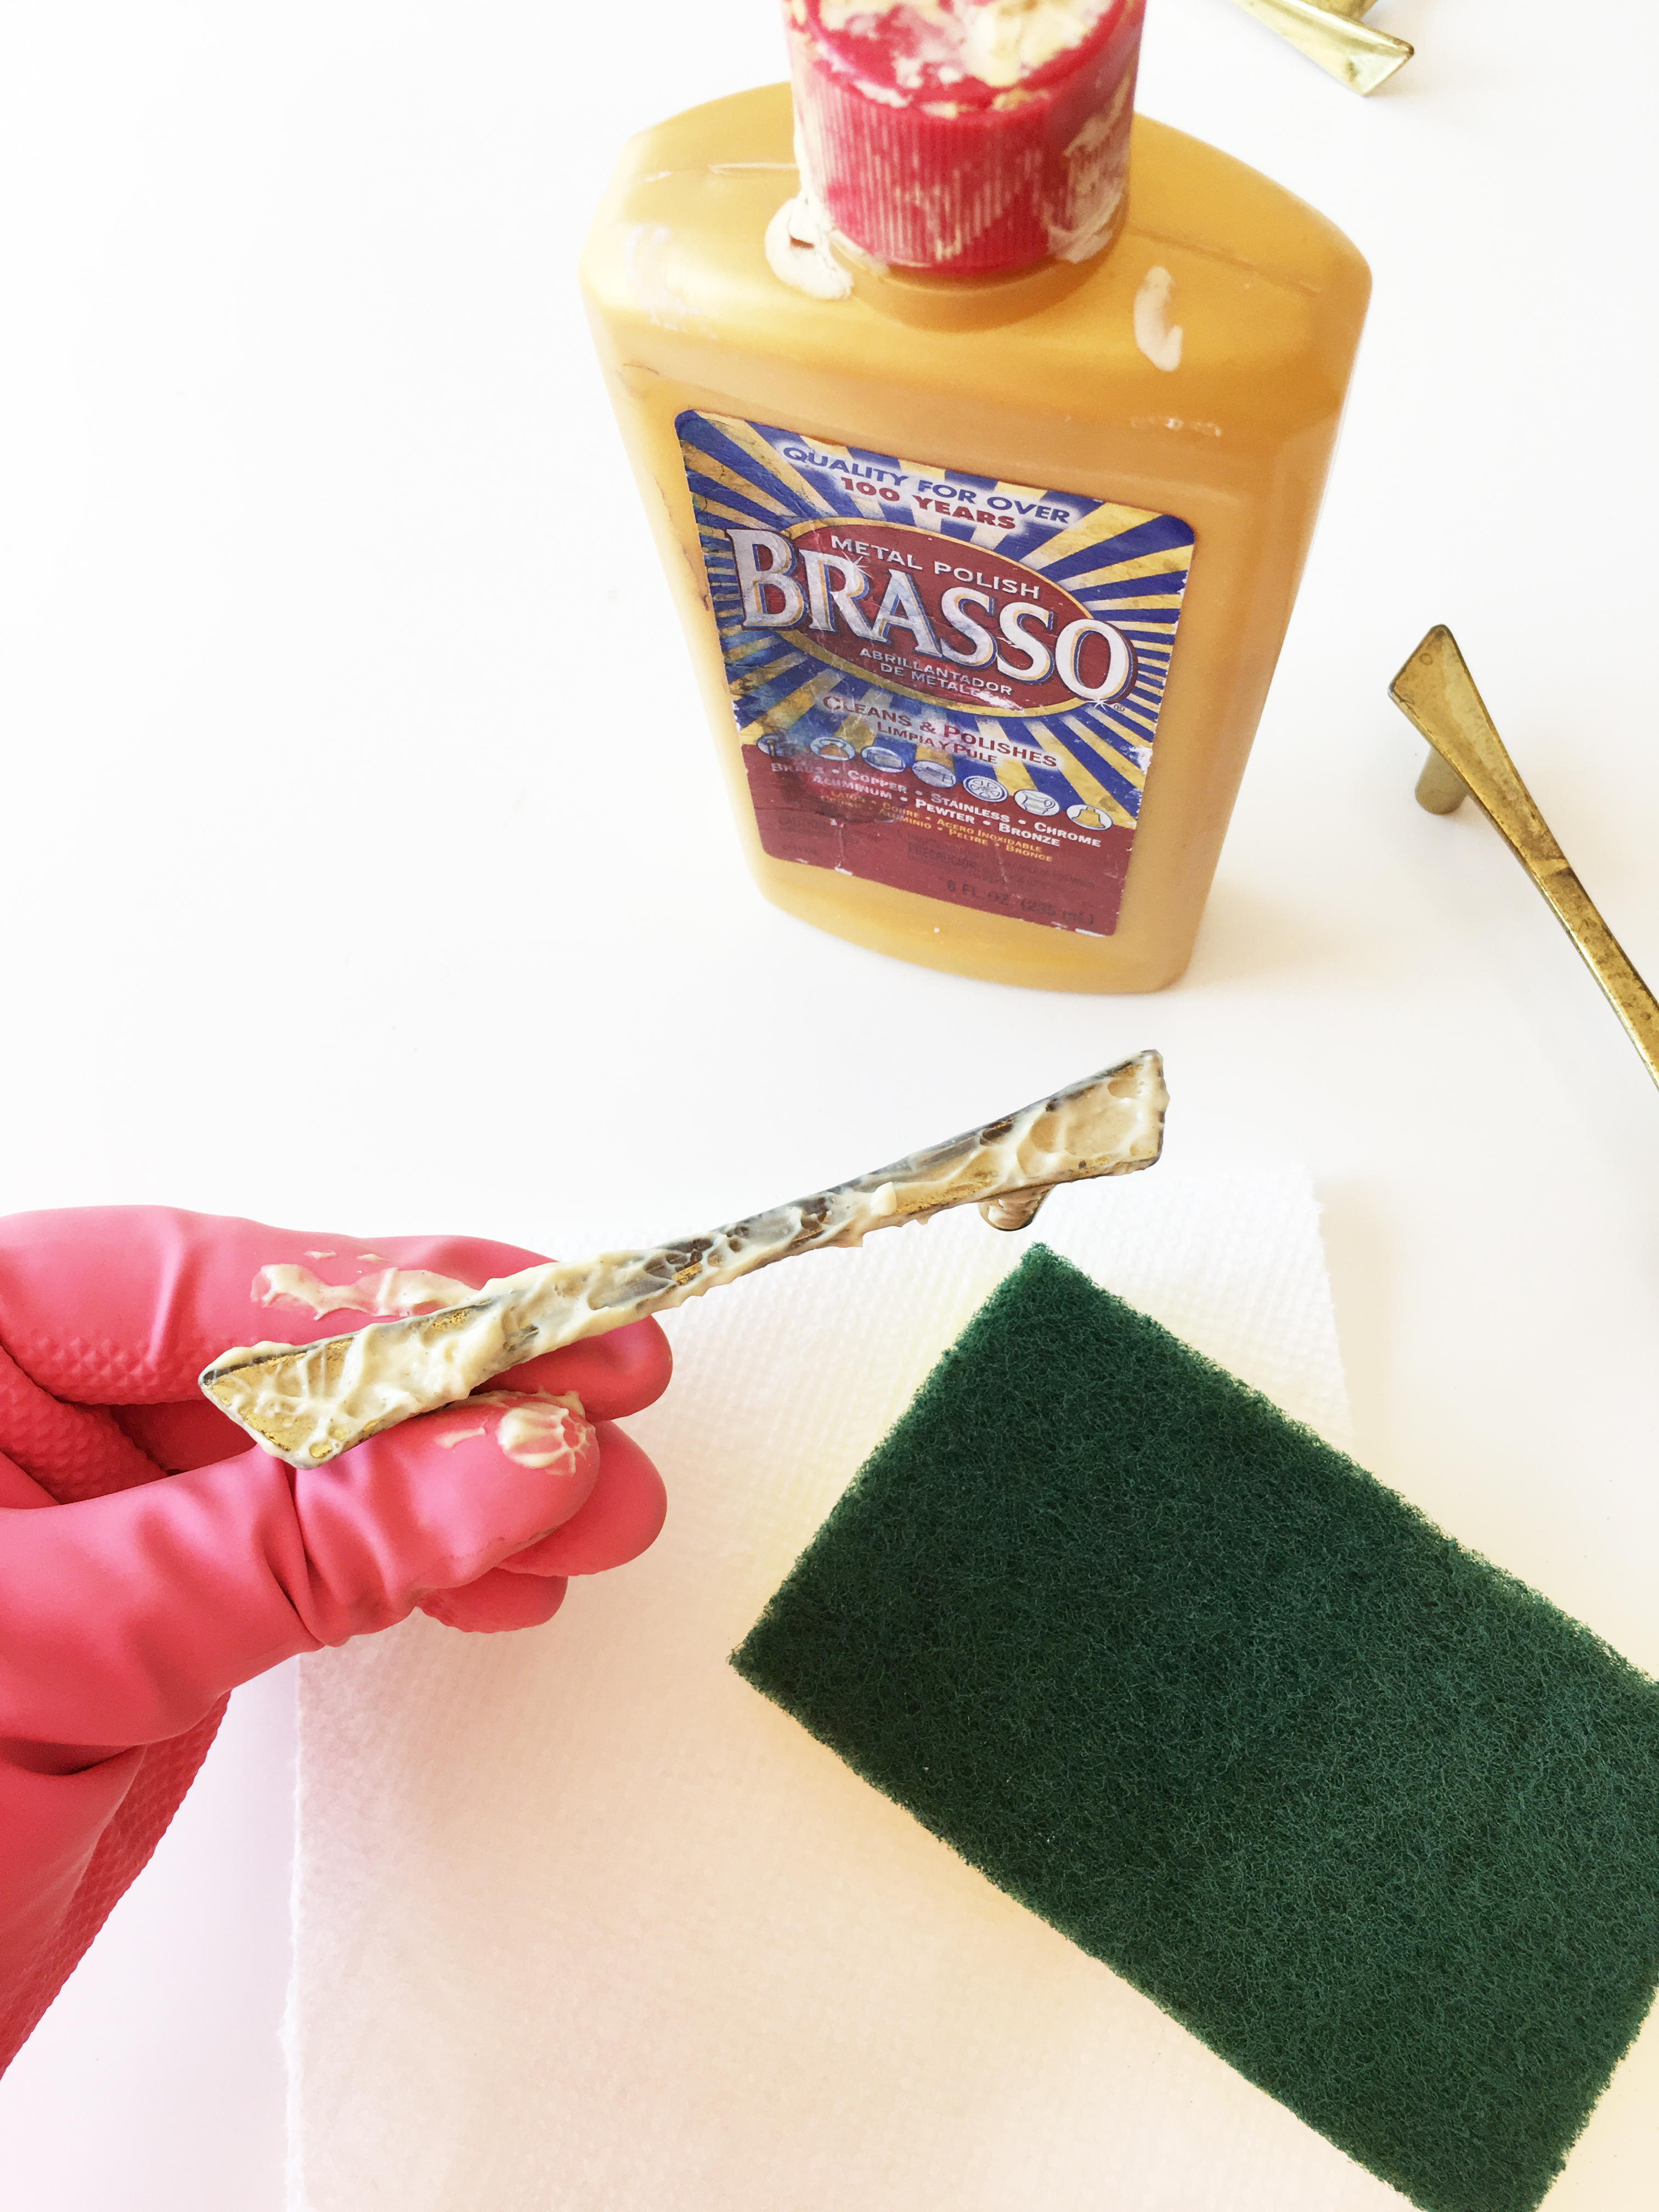 Then use a soft cloth to buff and massage the metal, you’ll notice black and green residue coming off on your cloth. That’s the tarnish! Keep going.
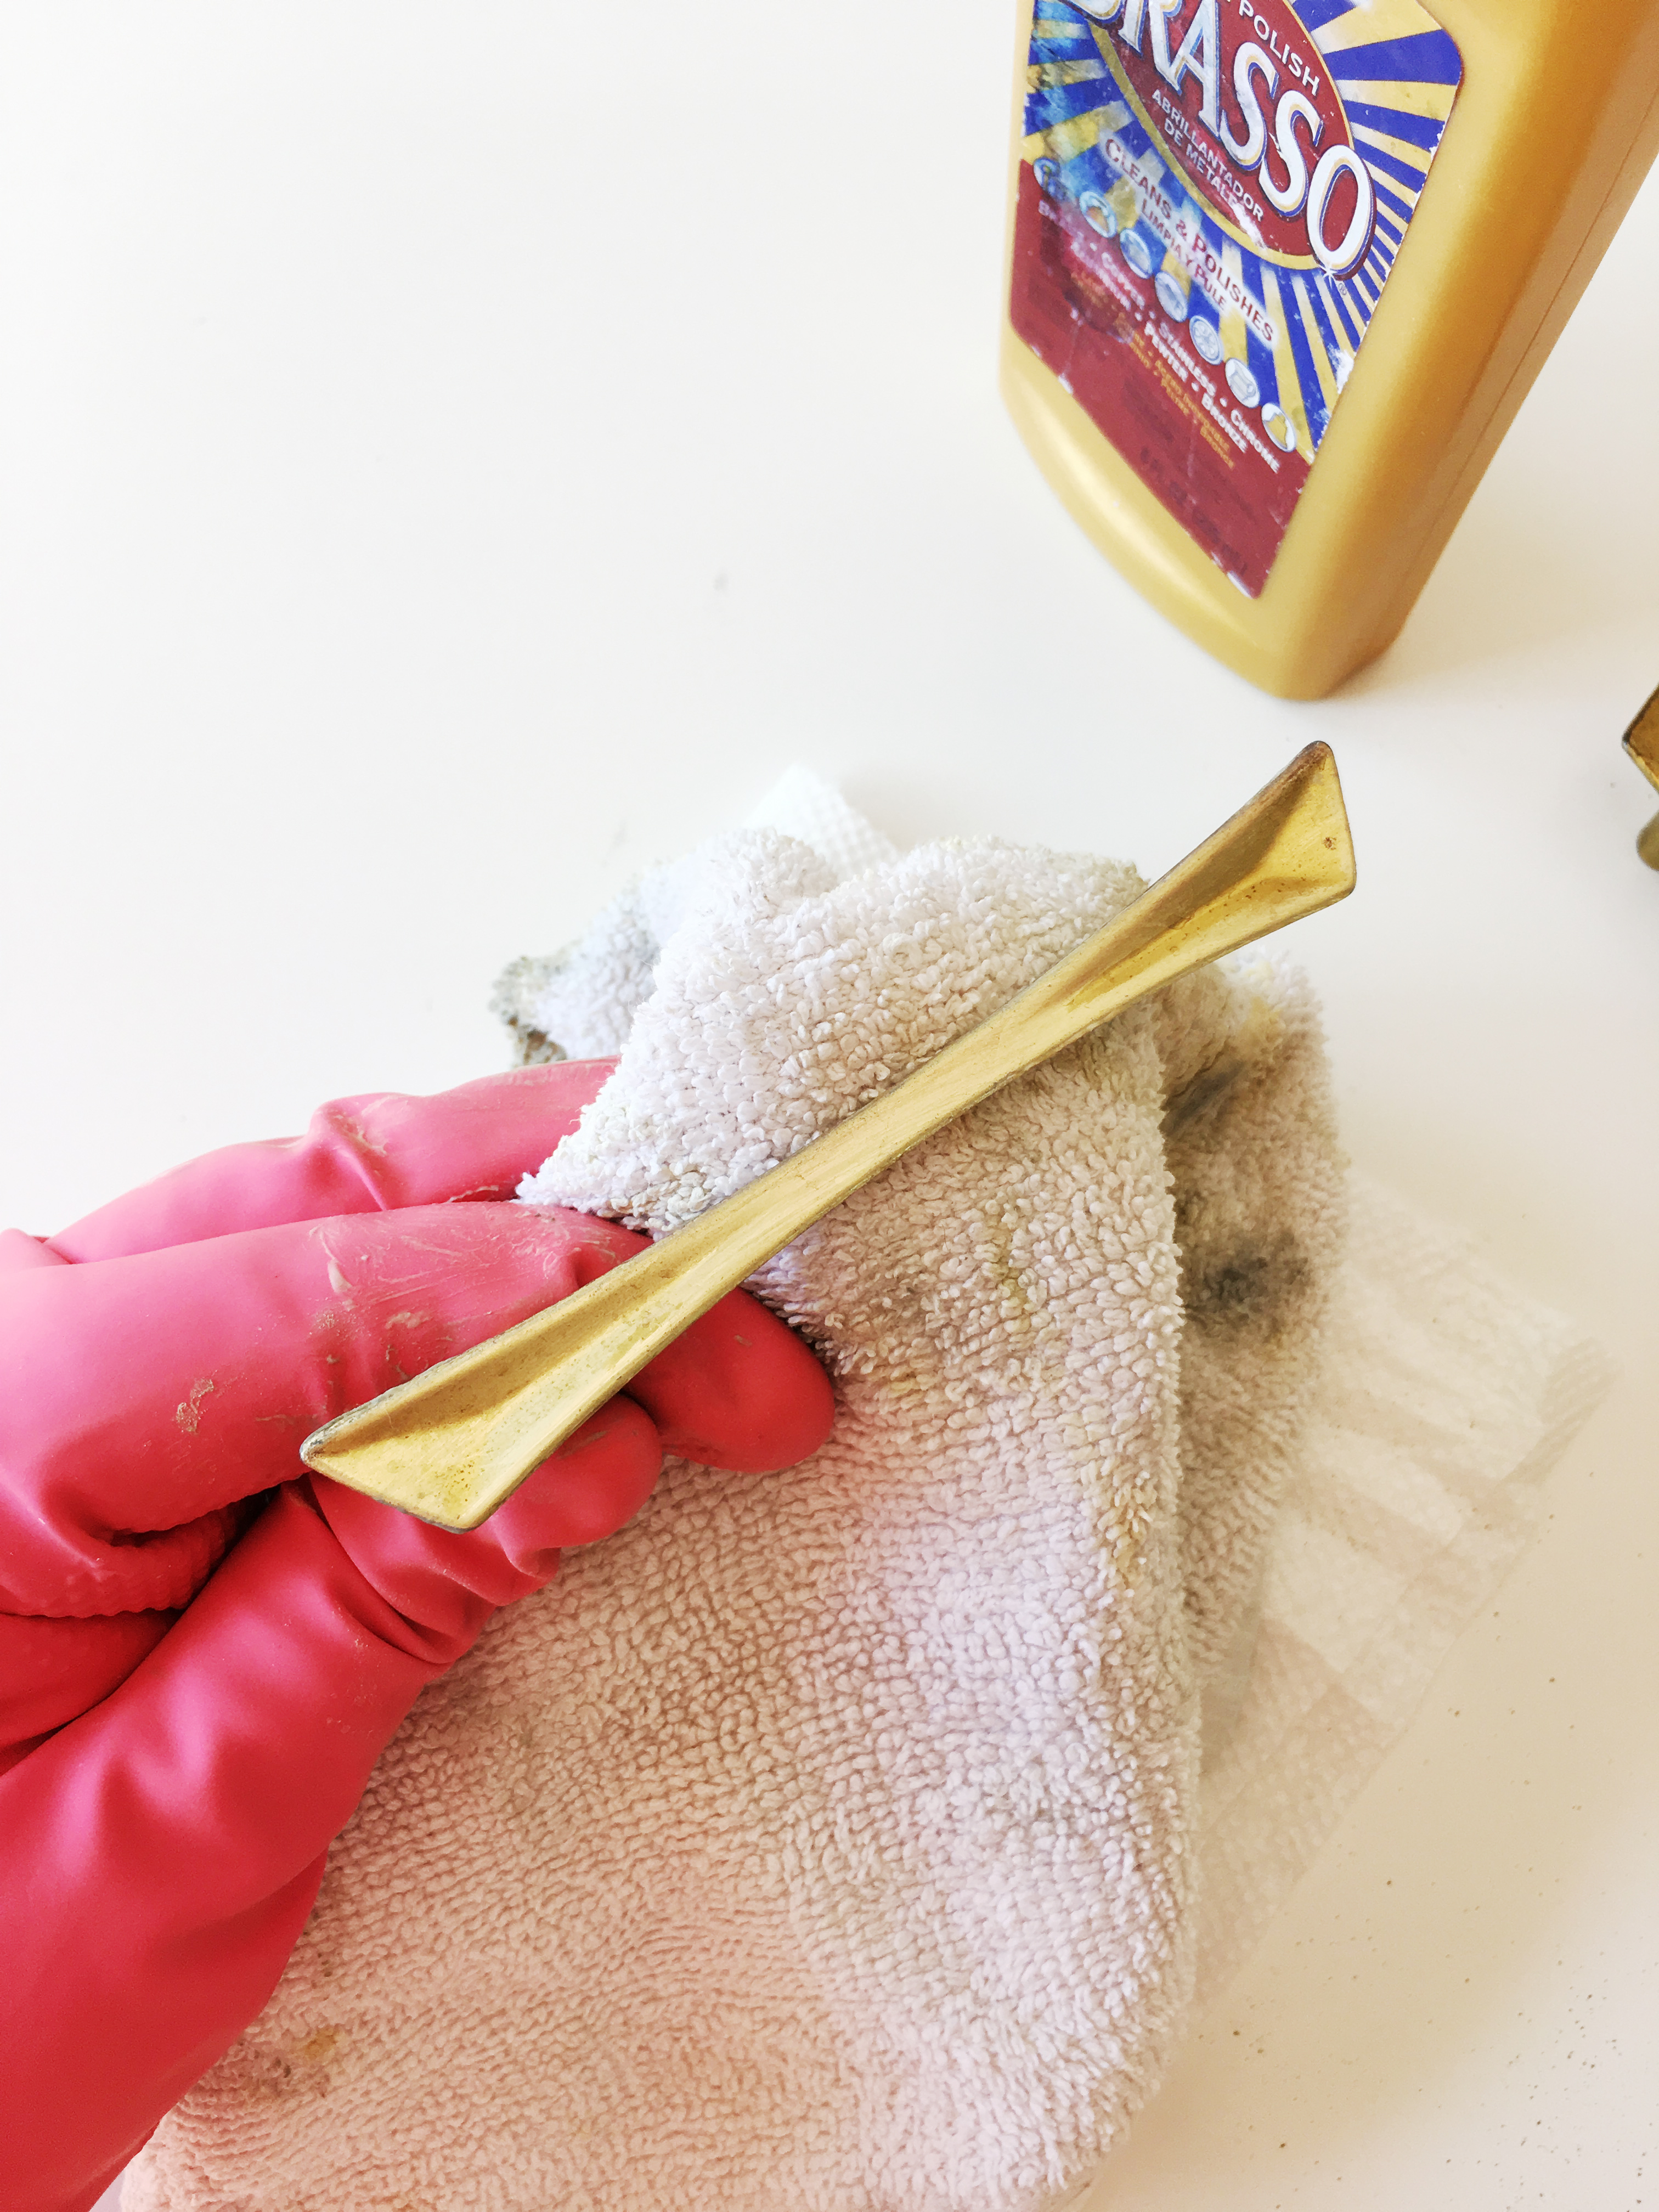 Keep polishing until there is no more residue coming off on to your cloth and the metal is sparkling new. Reapply more product if needed. This can take awhile depending on how tarnished your pieces are, but be patient.
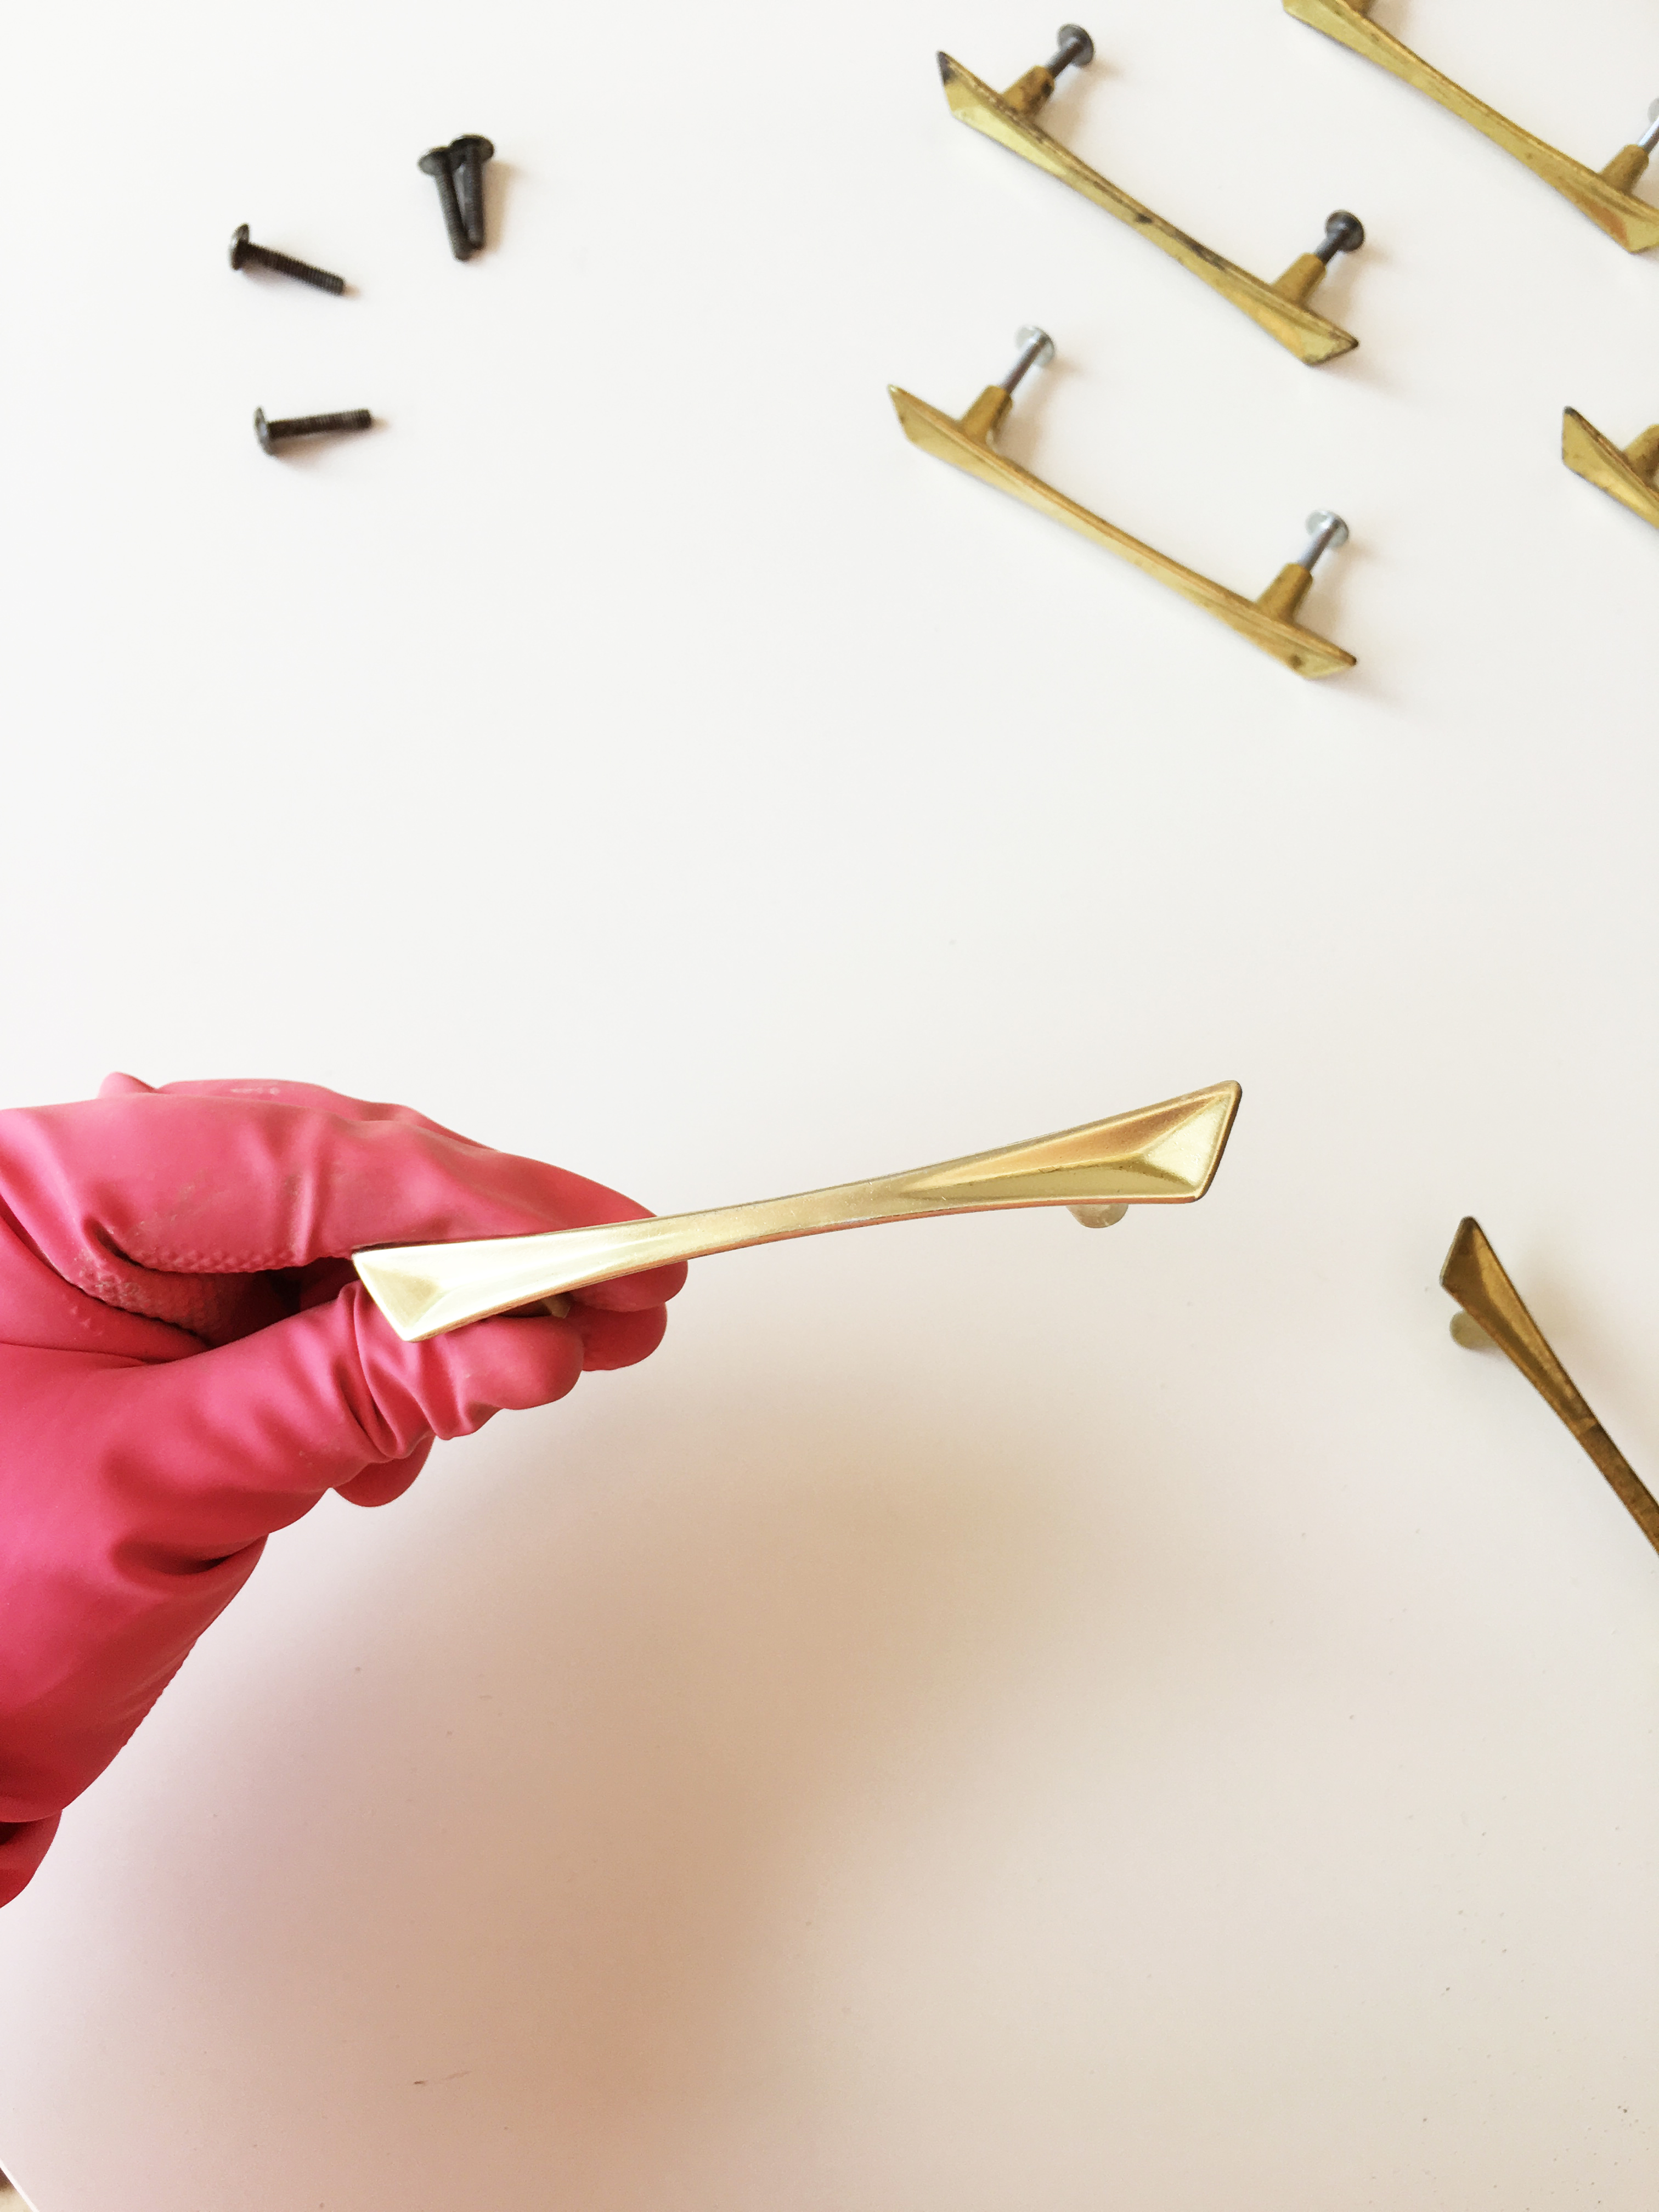 Once all the tarnish is removed, give it a nice little polish with a clean cloth to remove any remaining residue or product.
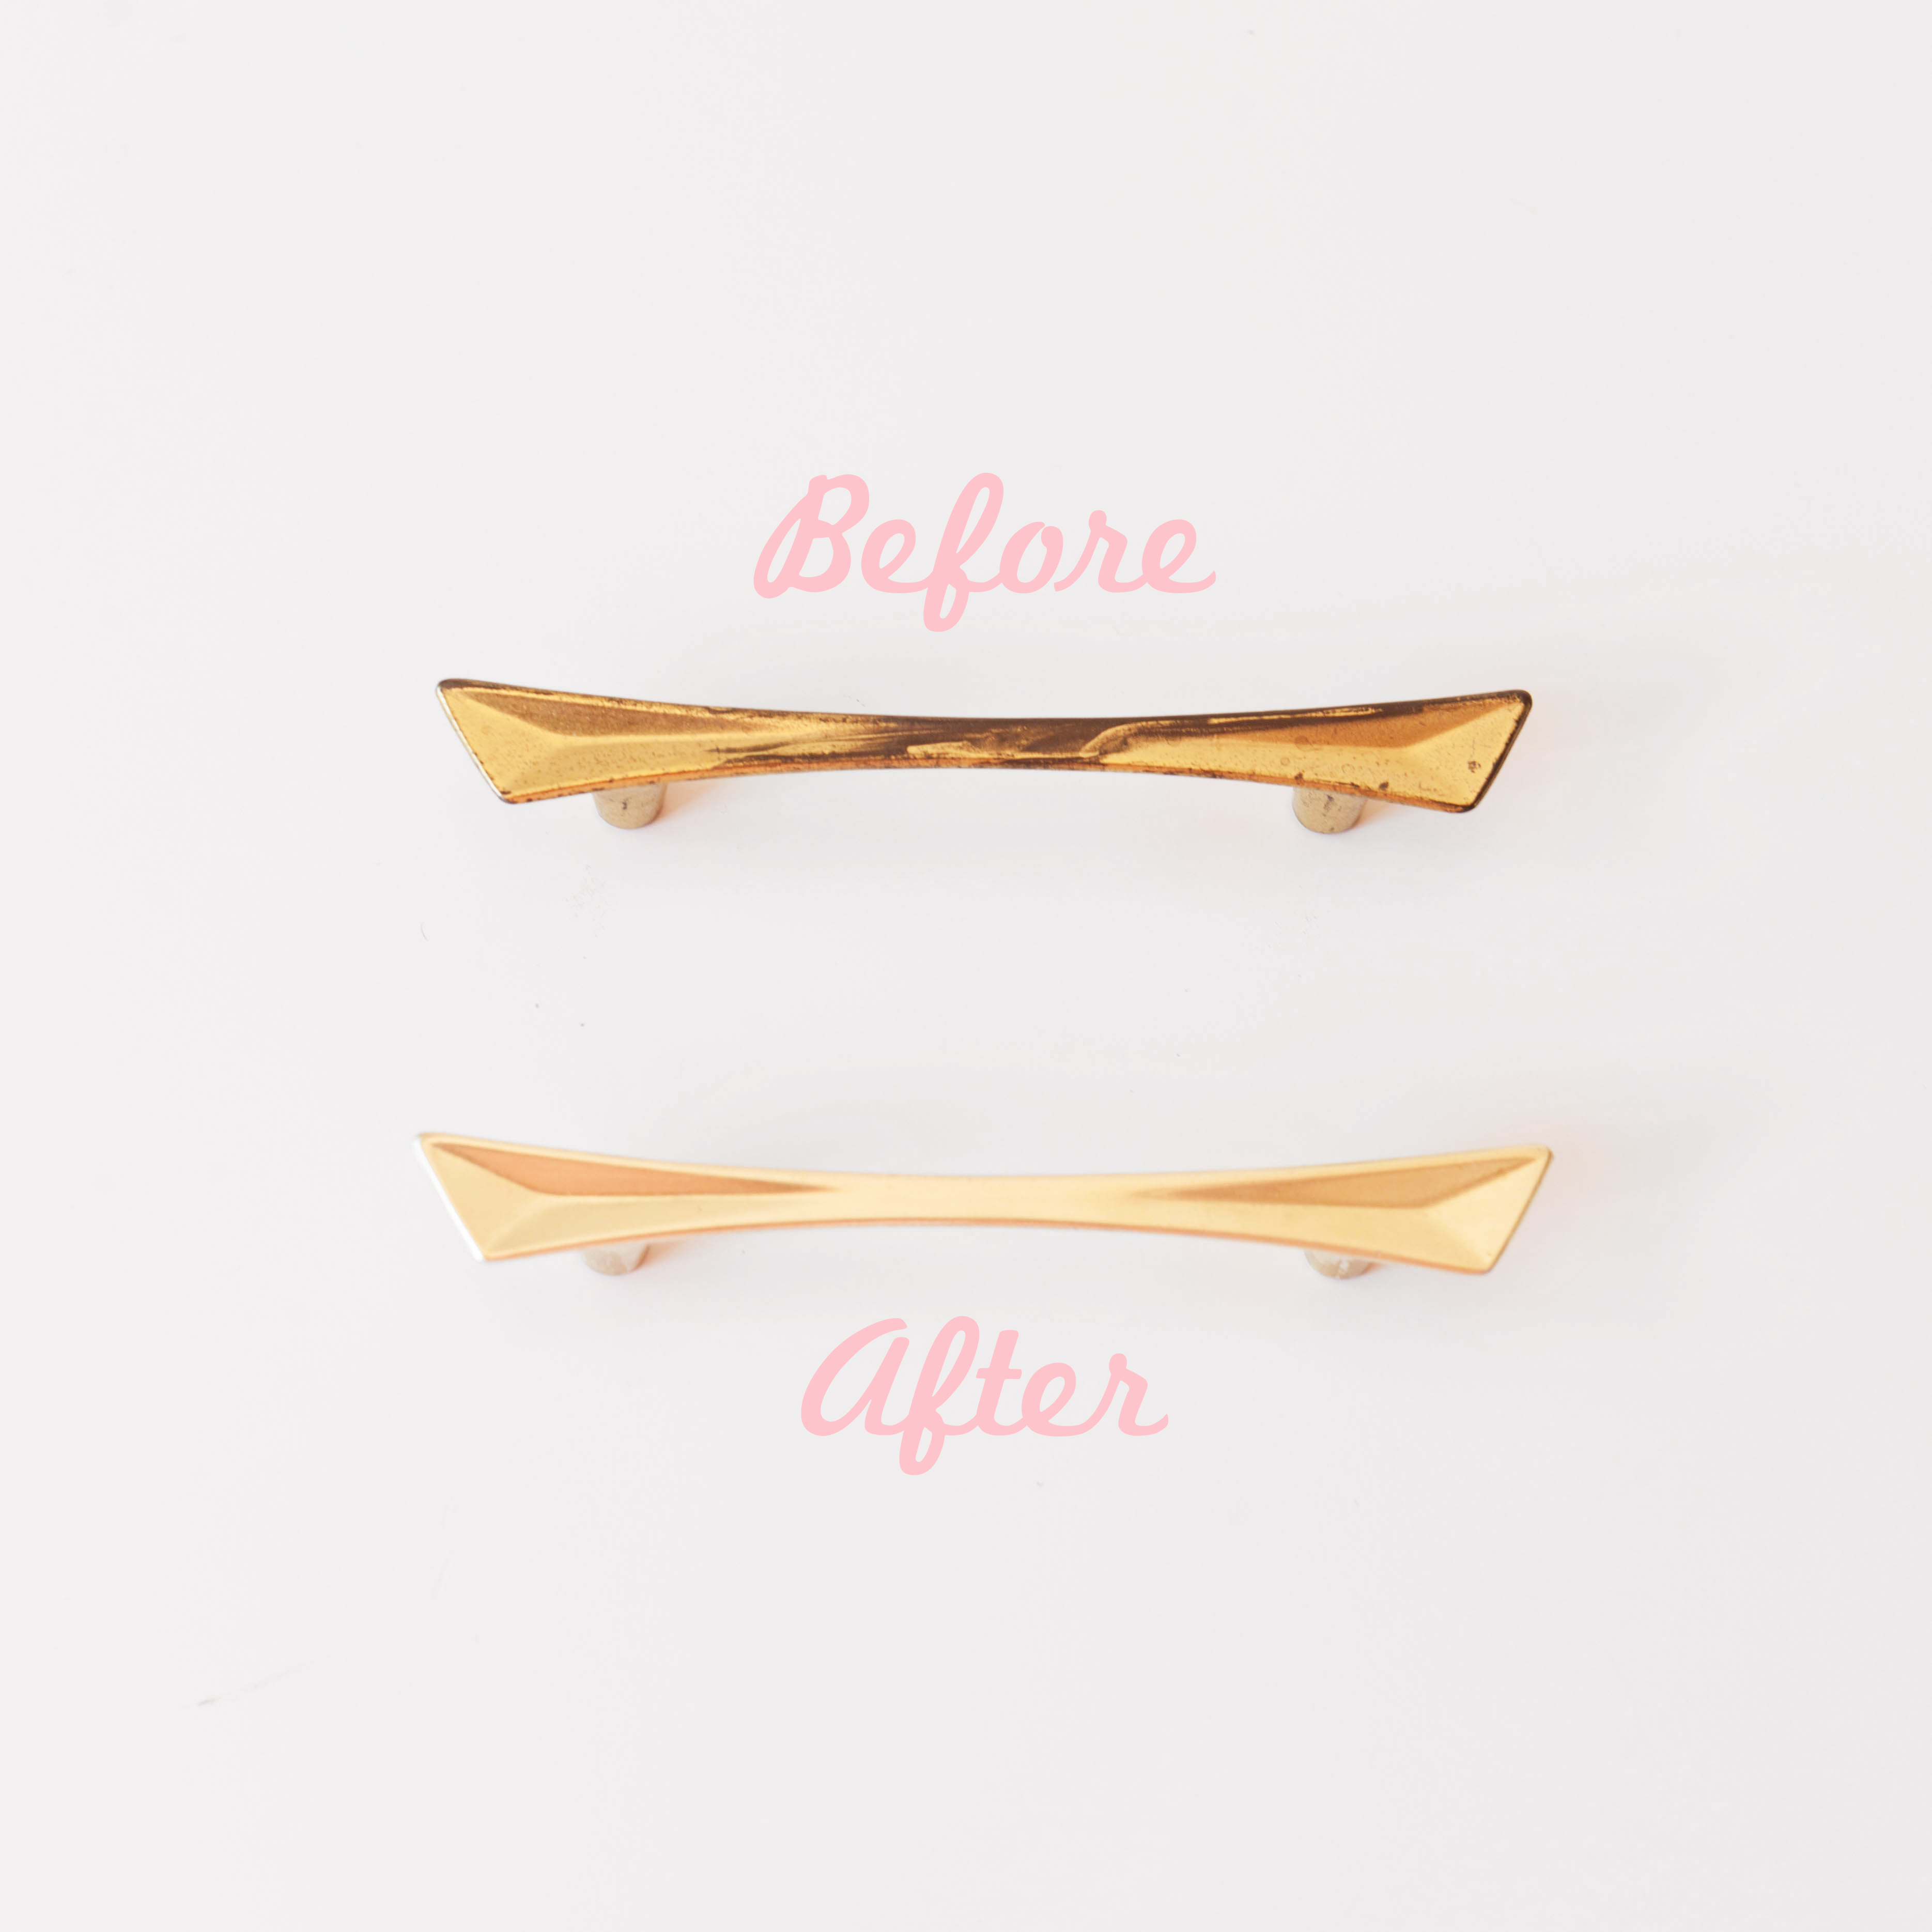 Tada!! Good as new. Now put down the paint and pick up the polish!
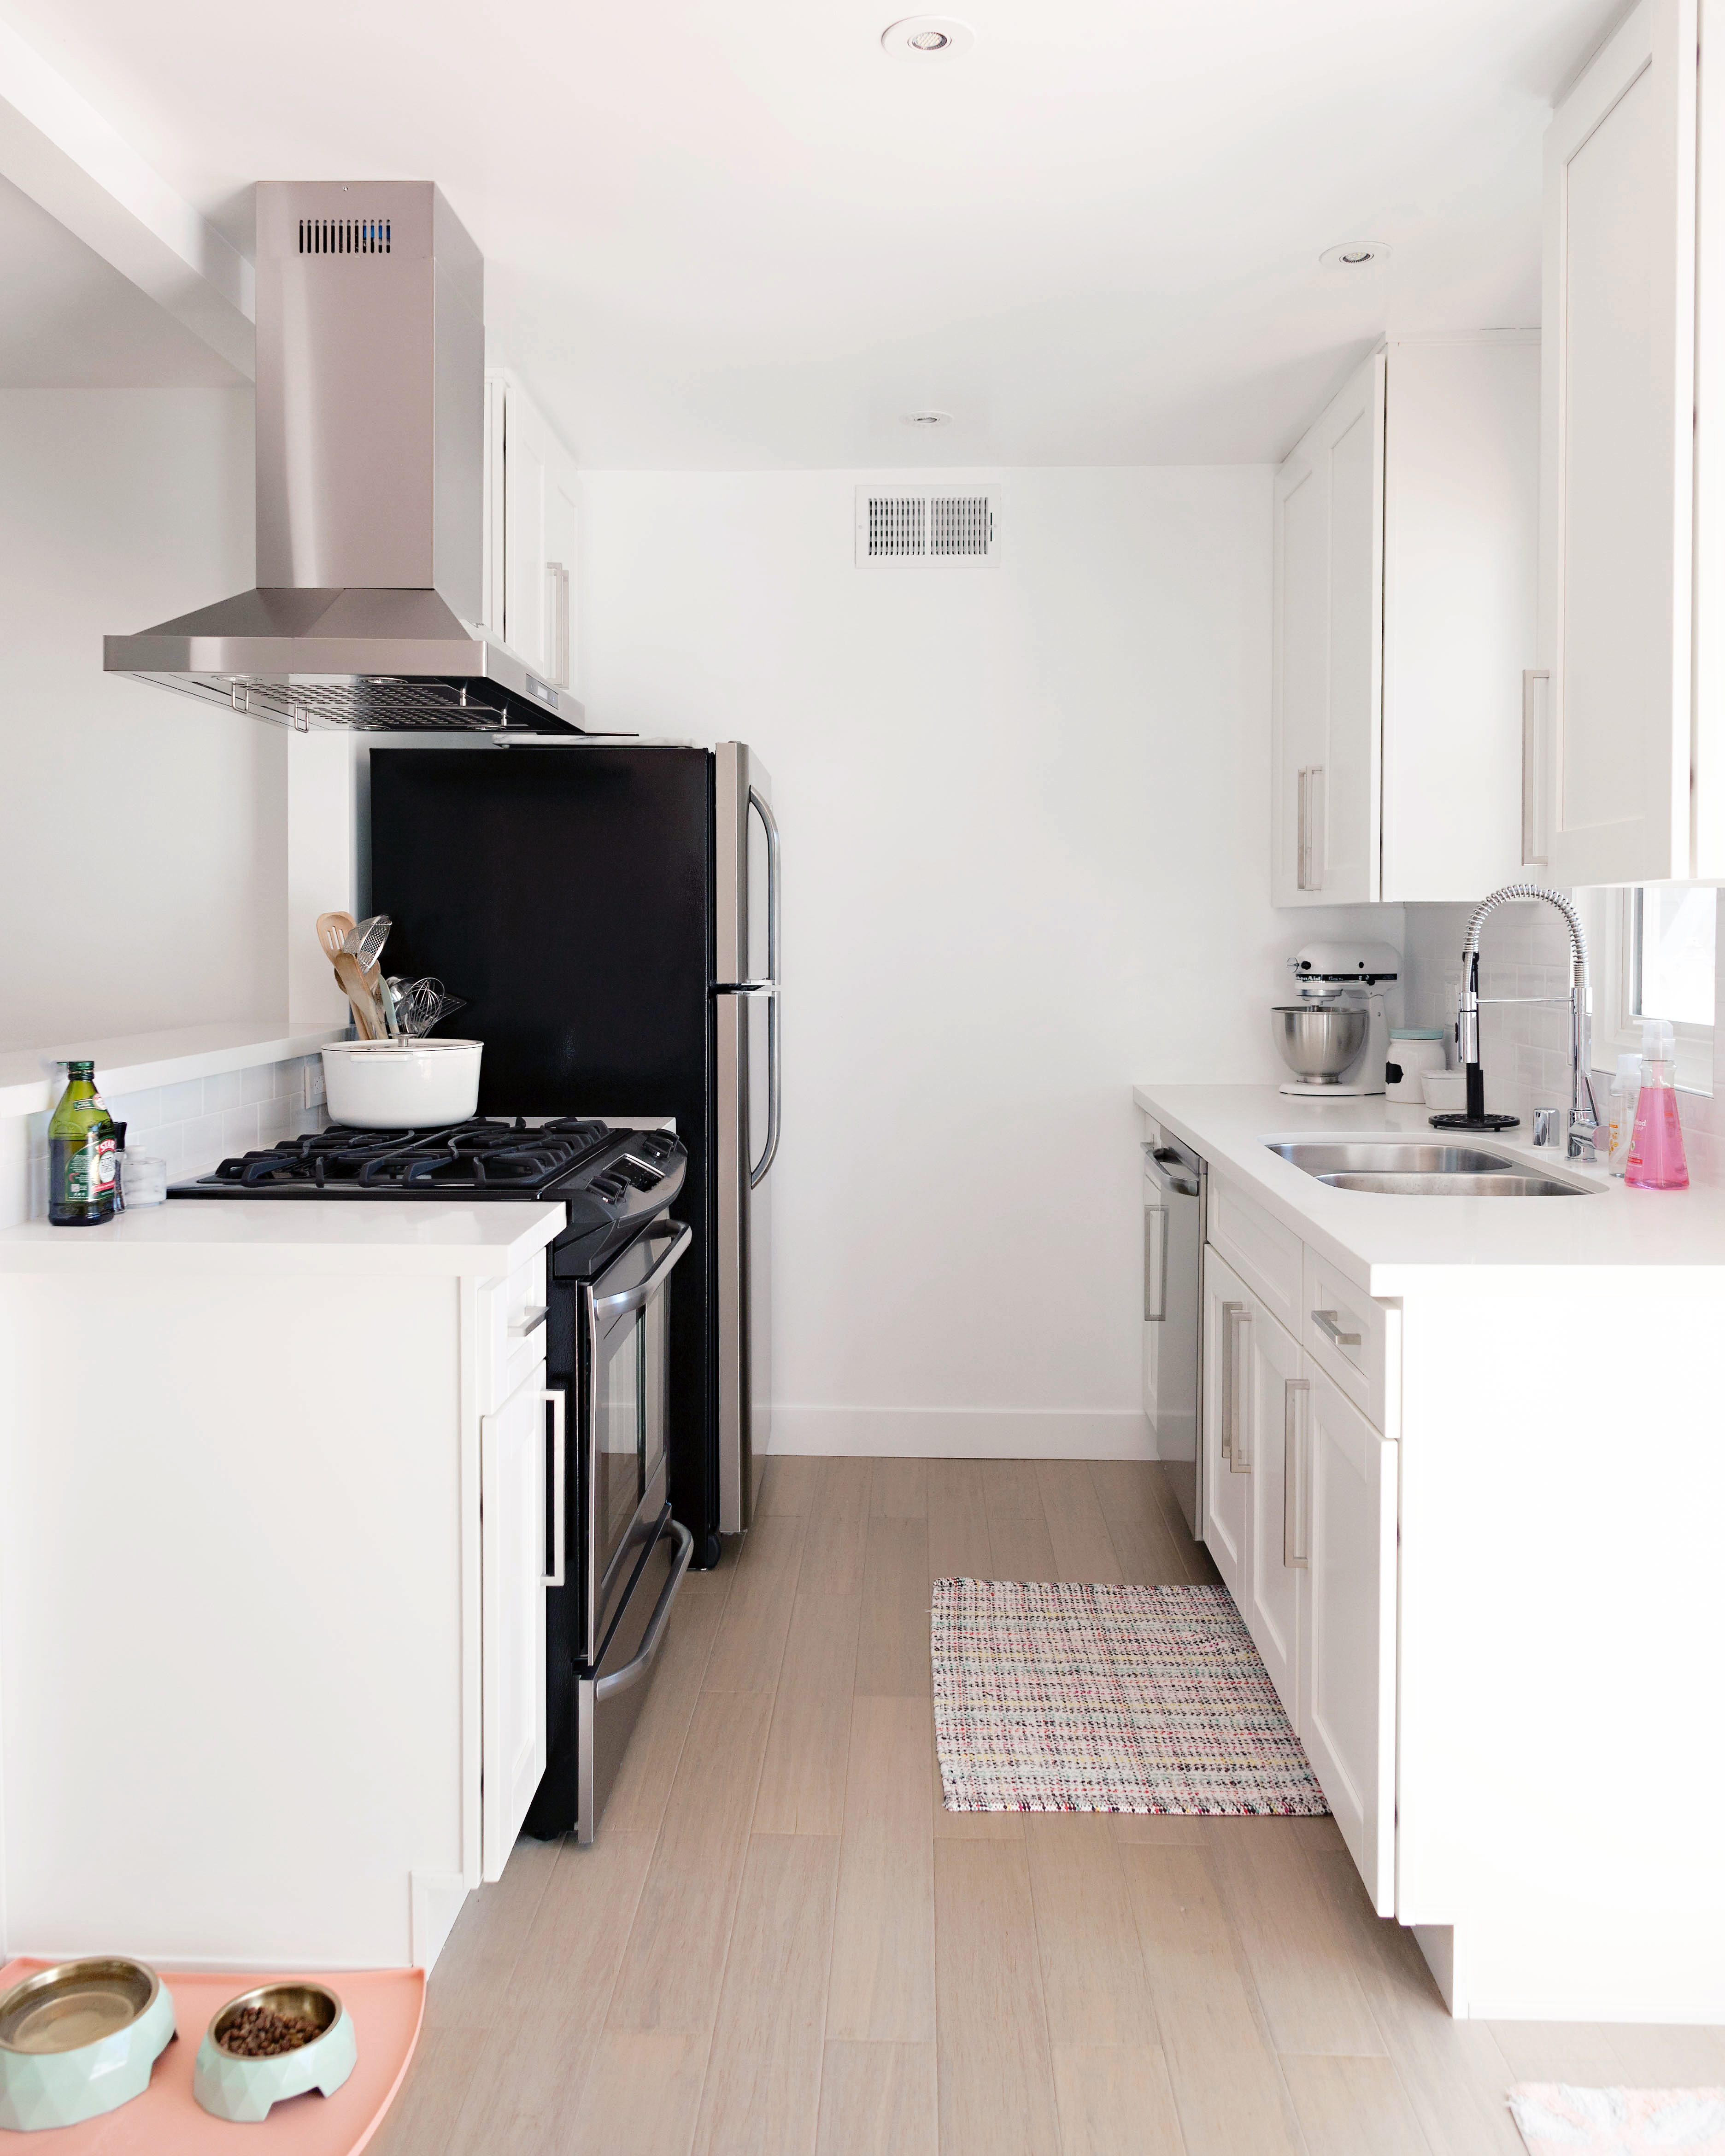


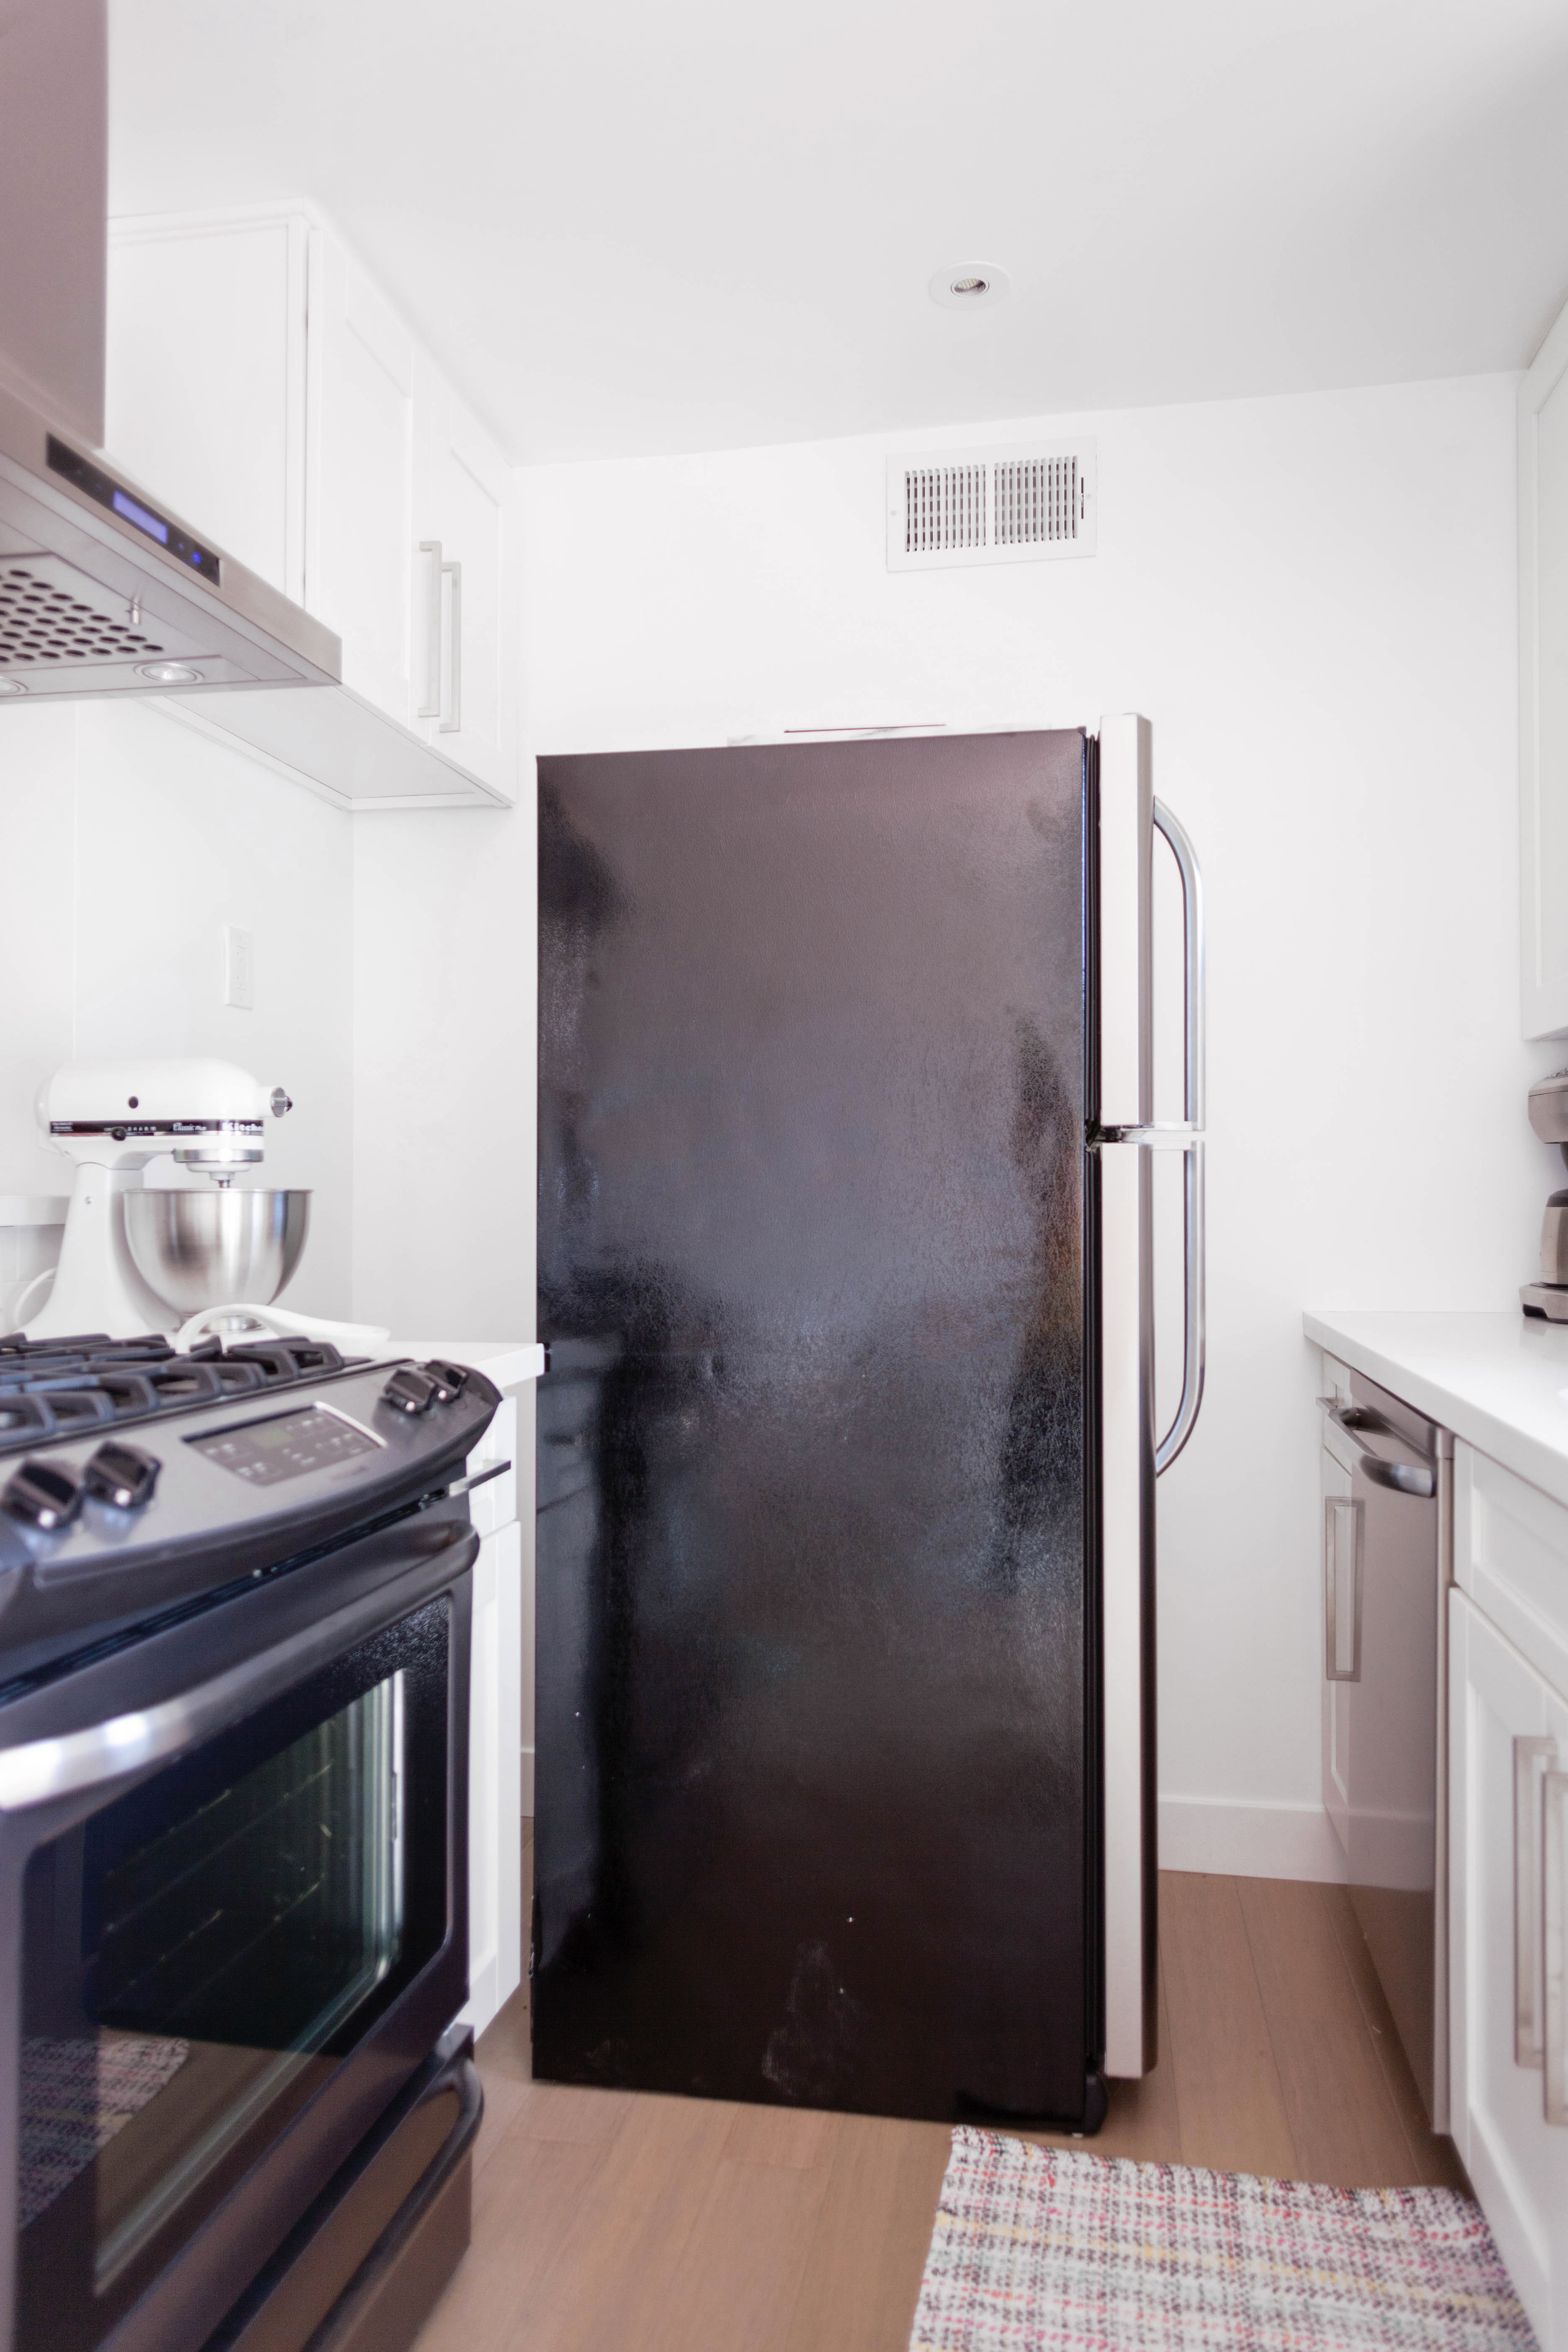
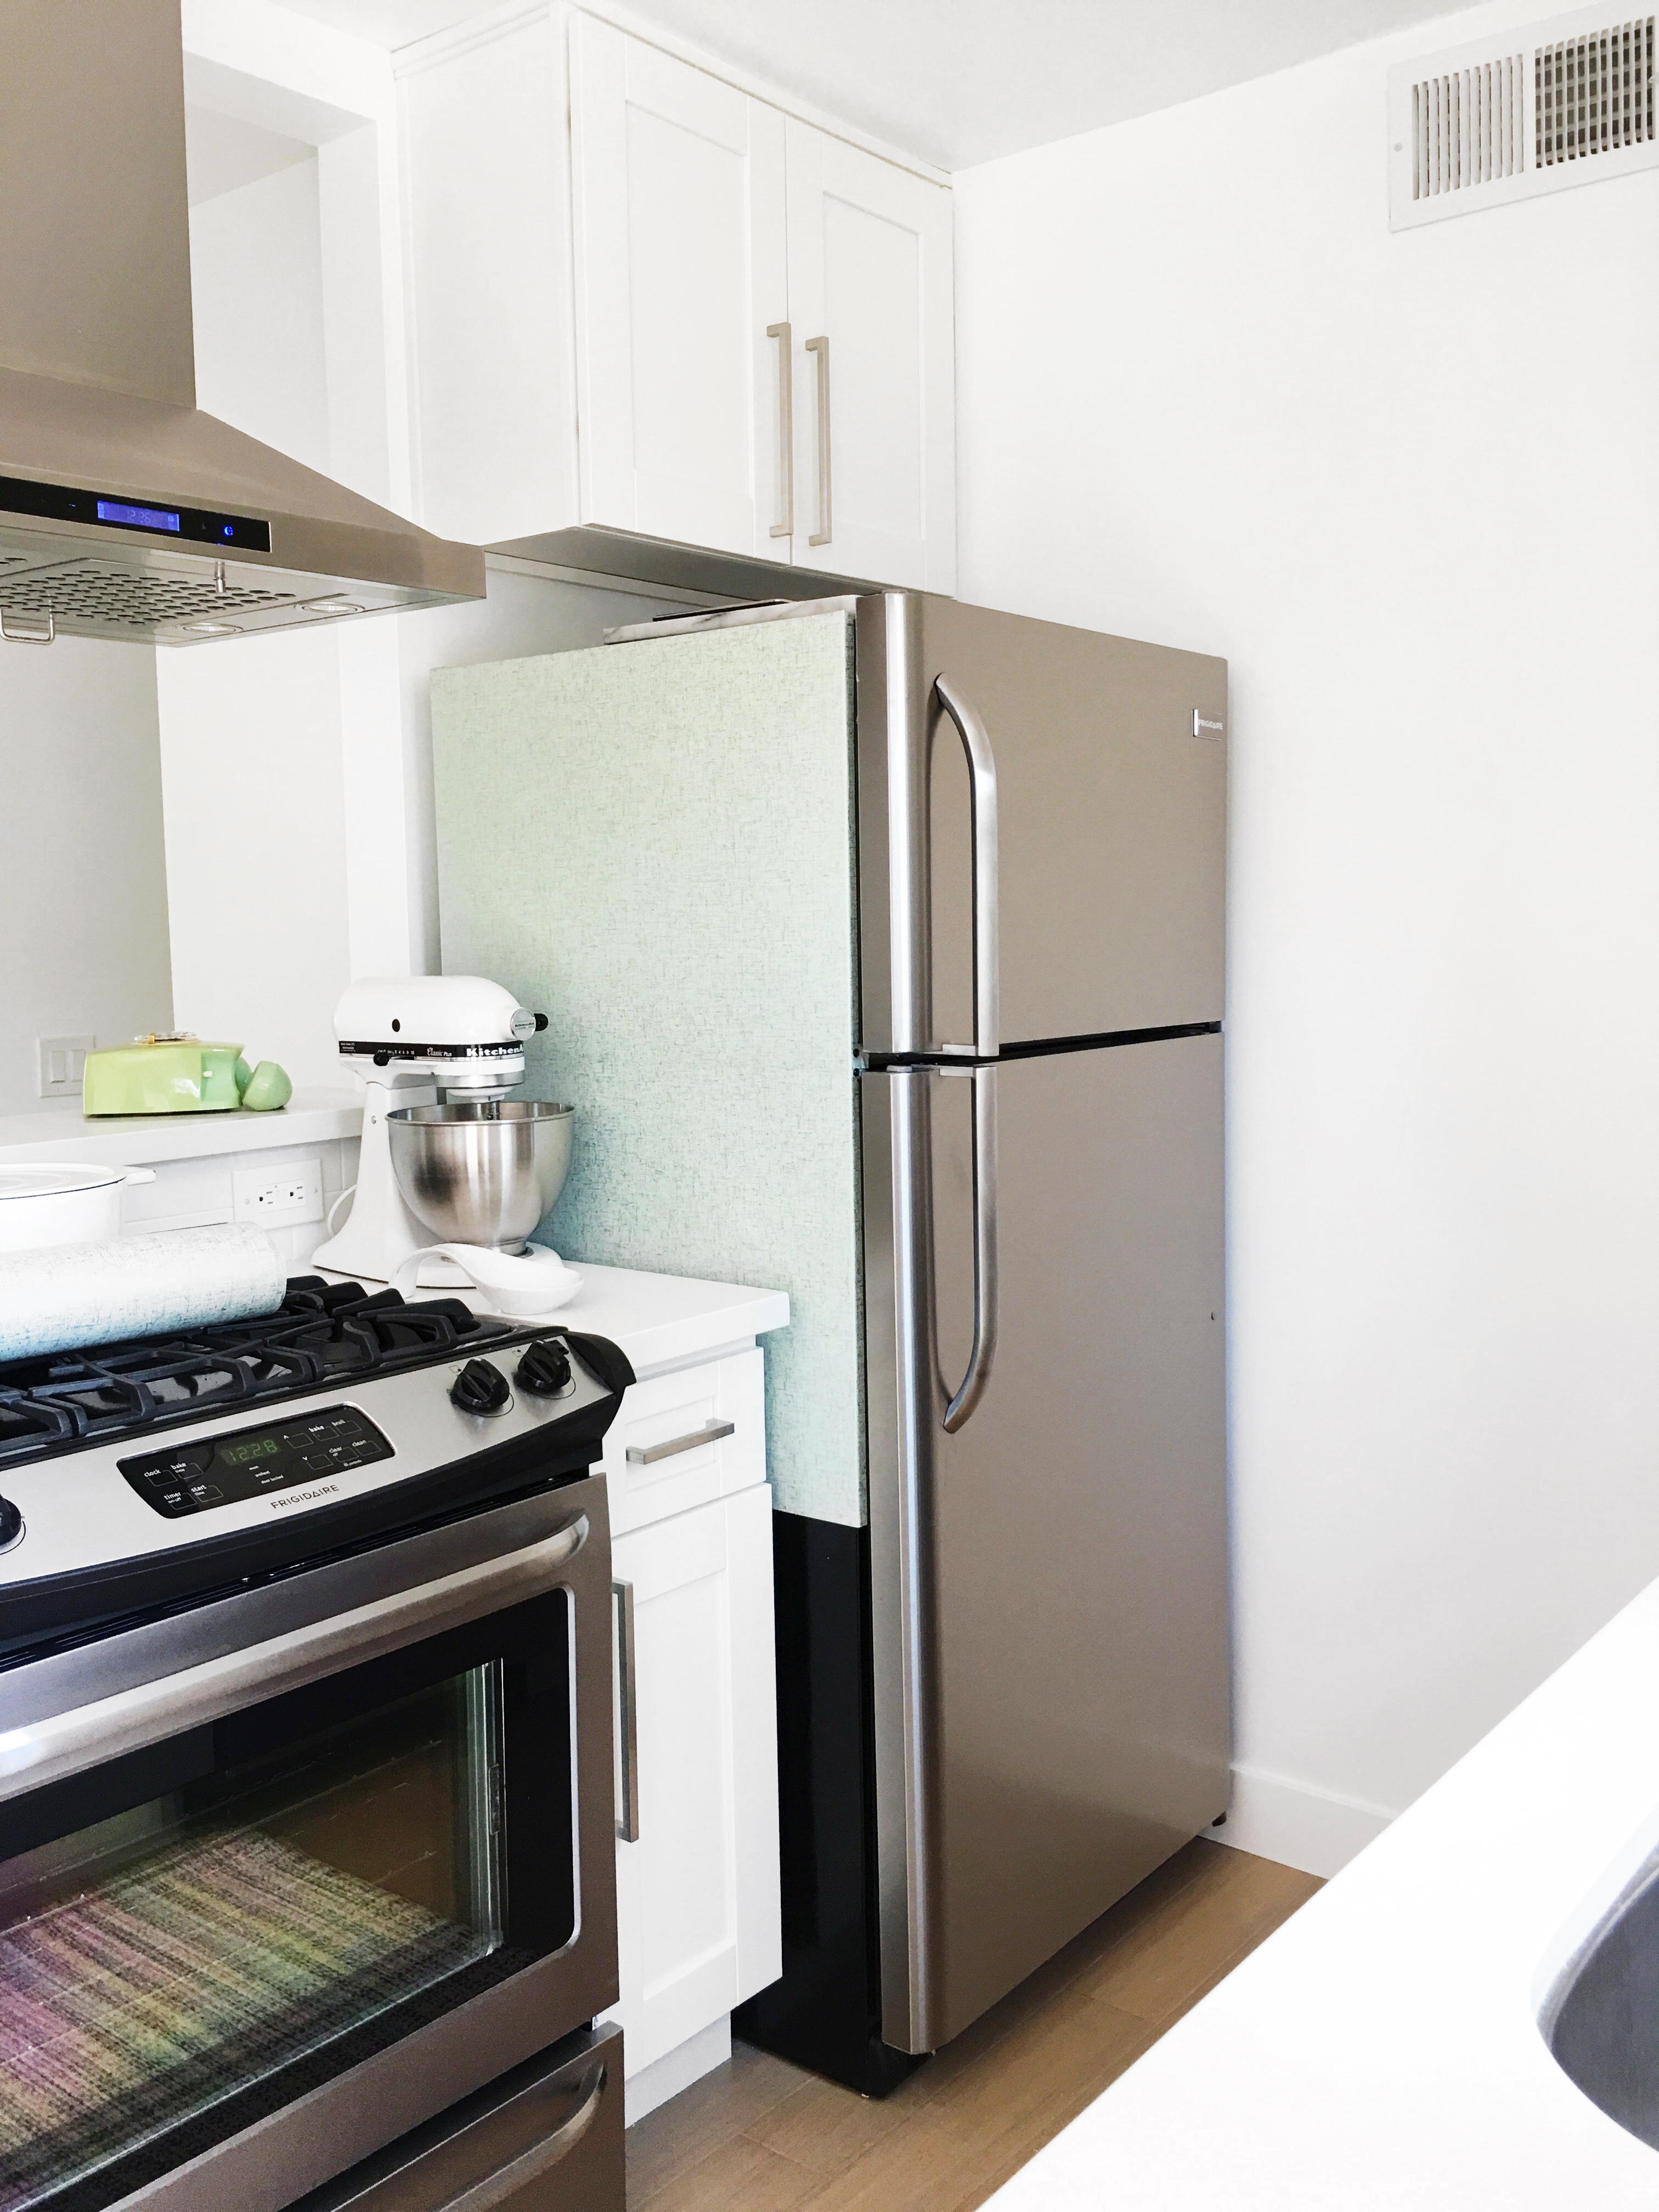
 What an improvement! The refrigerator no longer stands out like a sore thumb and adds a nice subtle color and more retro flair to the space. It also gives it a nice smooth texture which makes it way easier to clean than the bumpy texture that it had before. I love it!
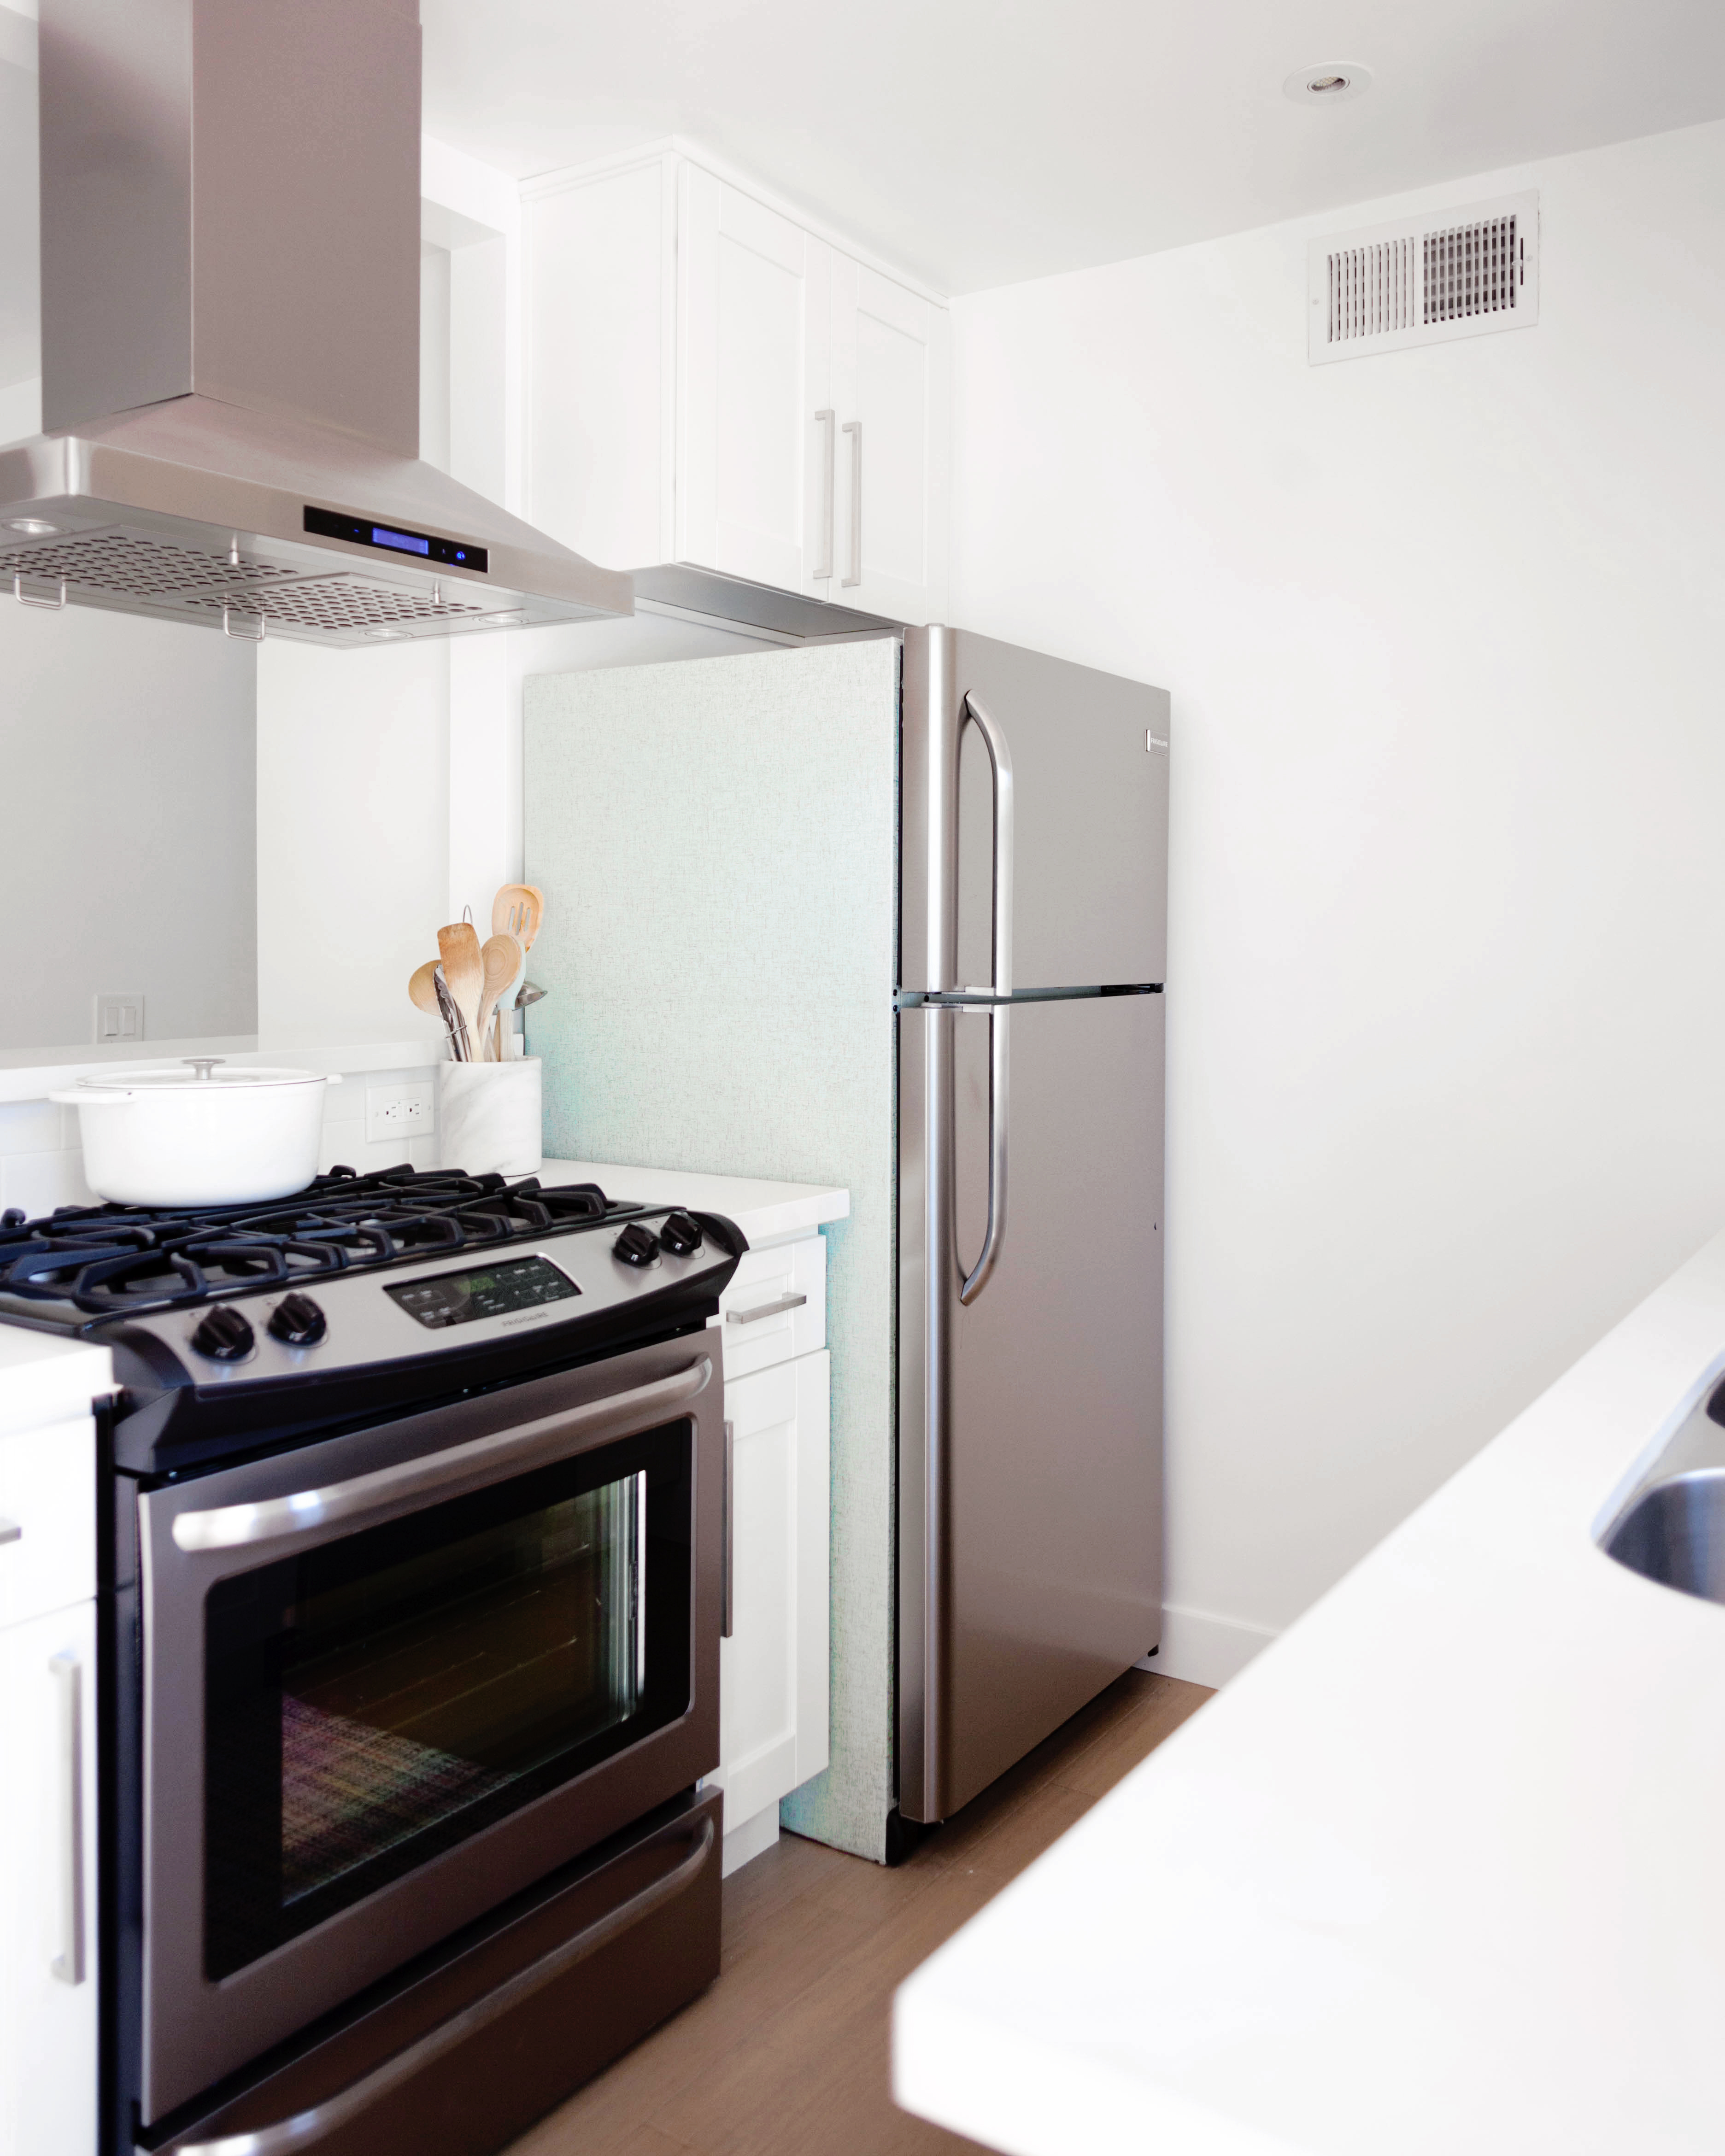
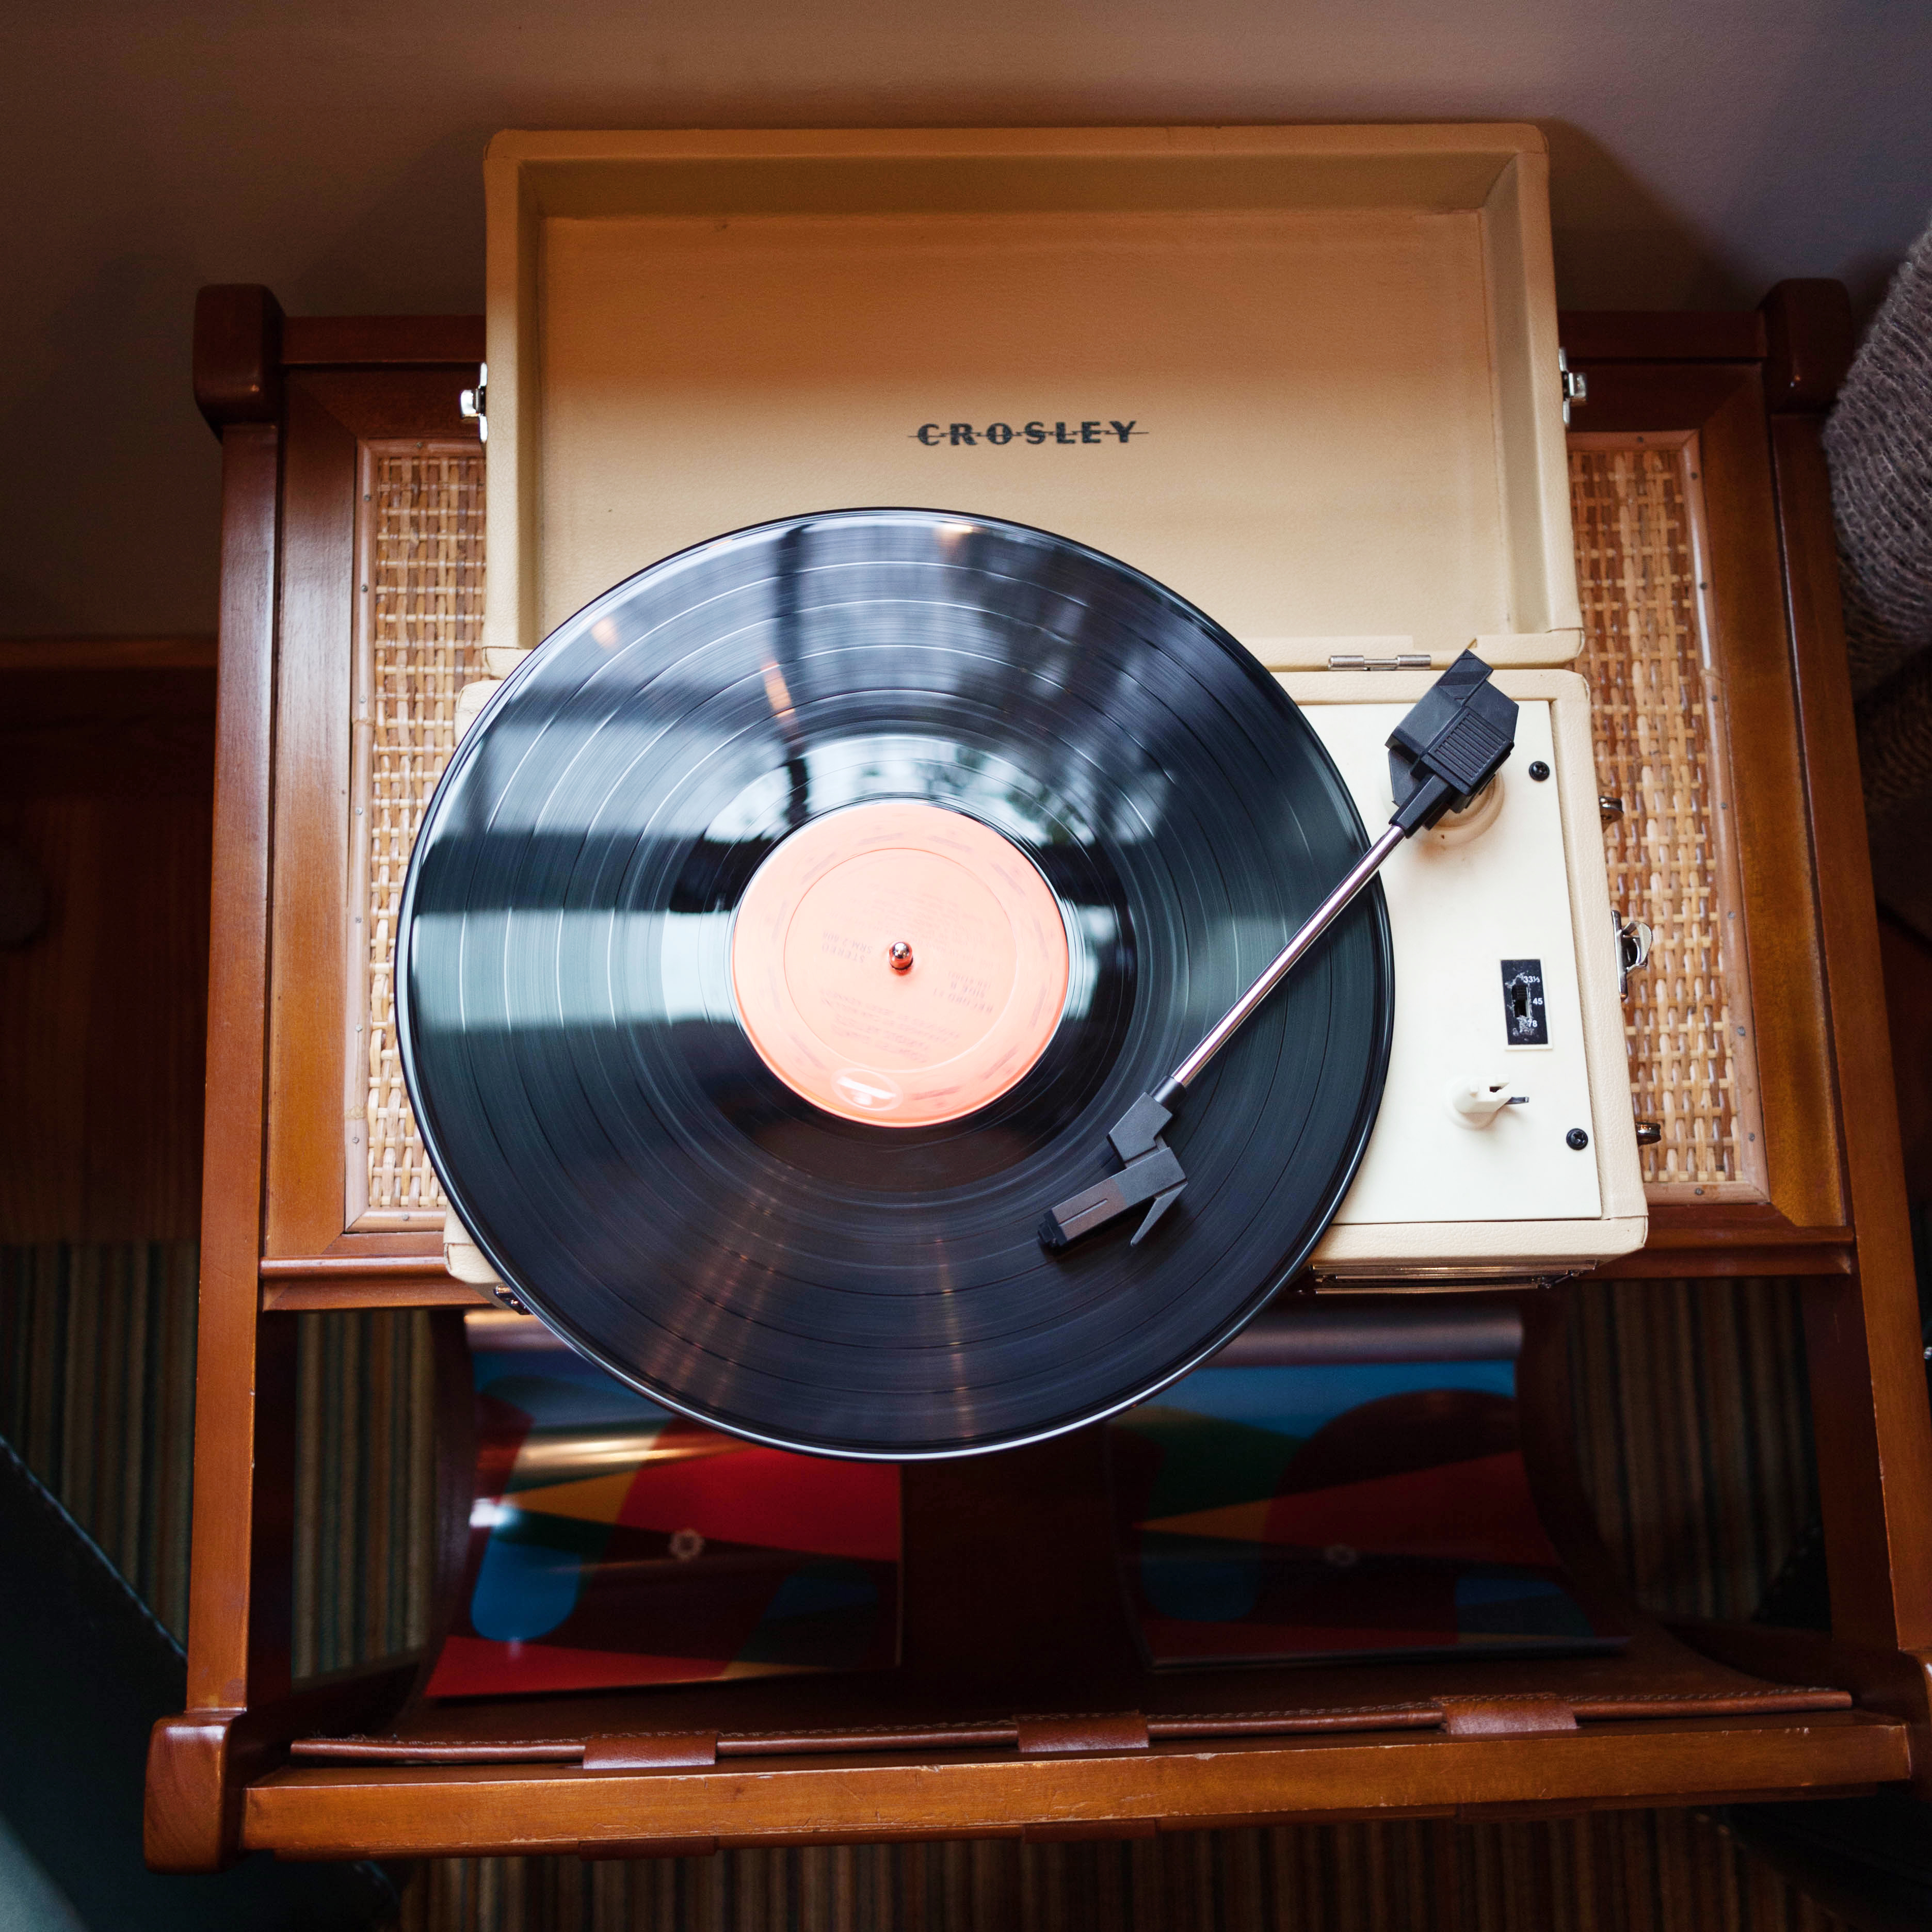
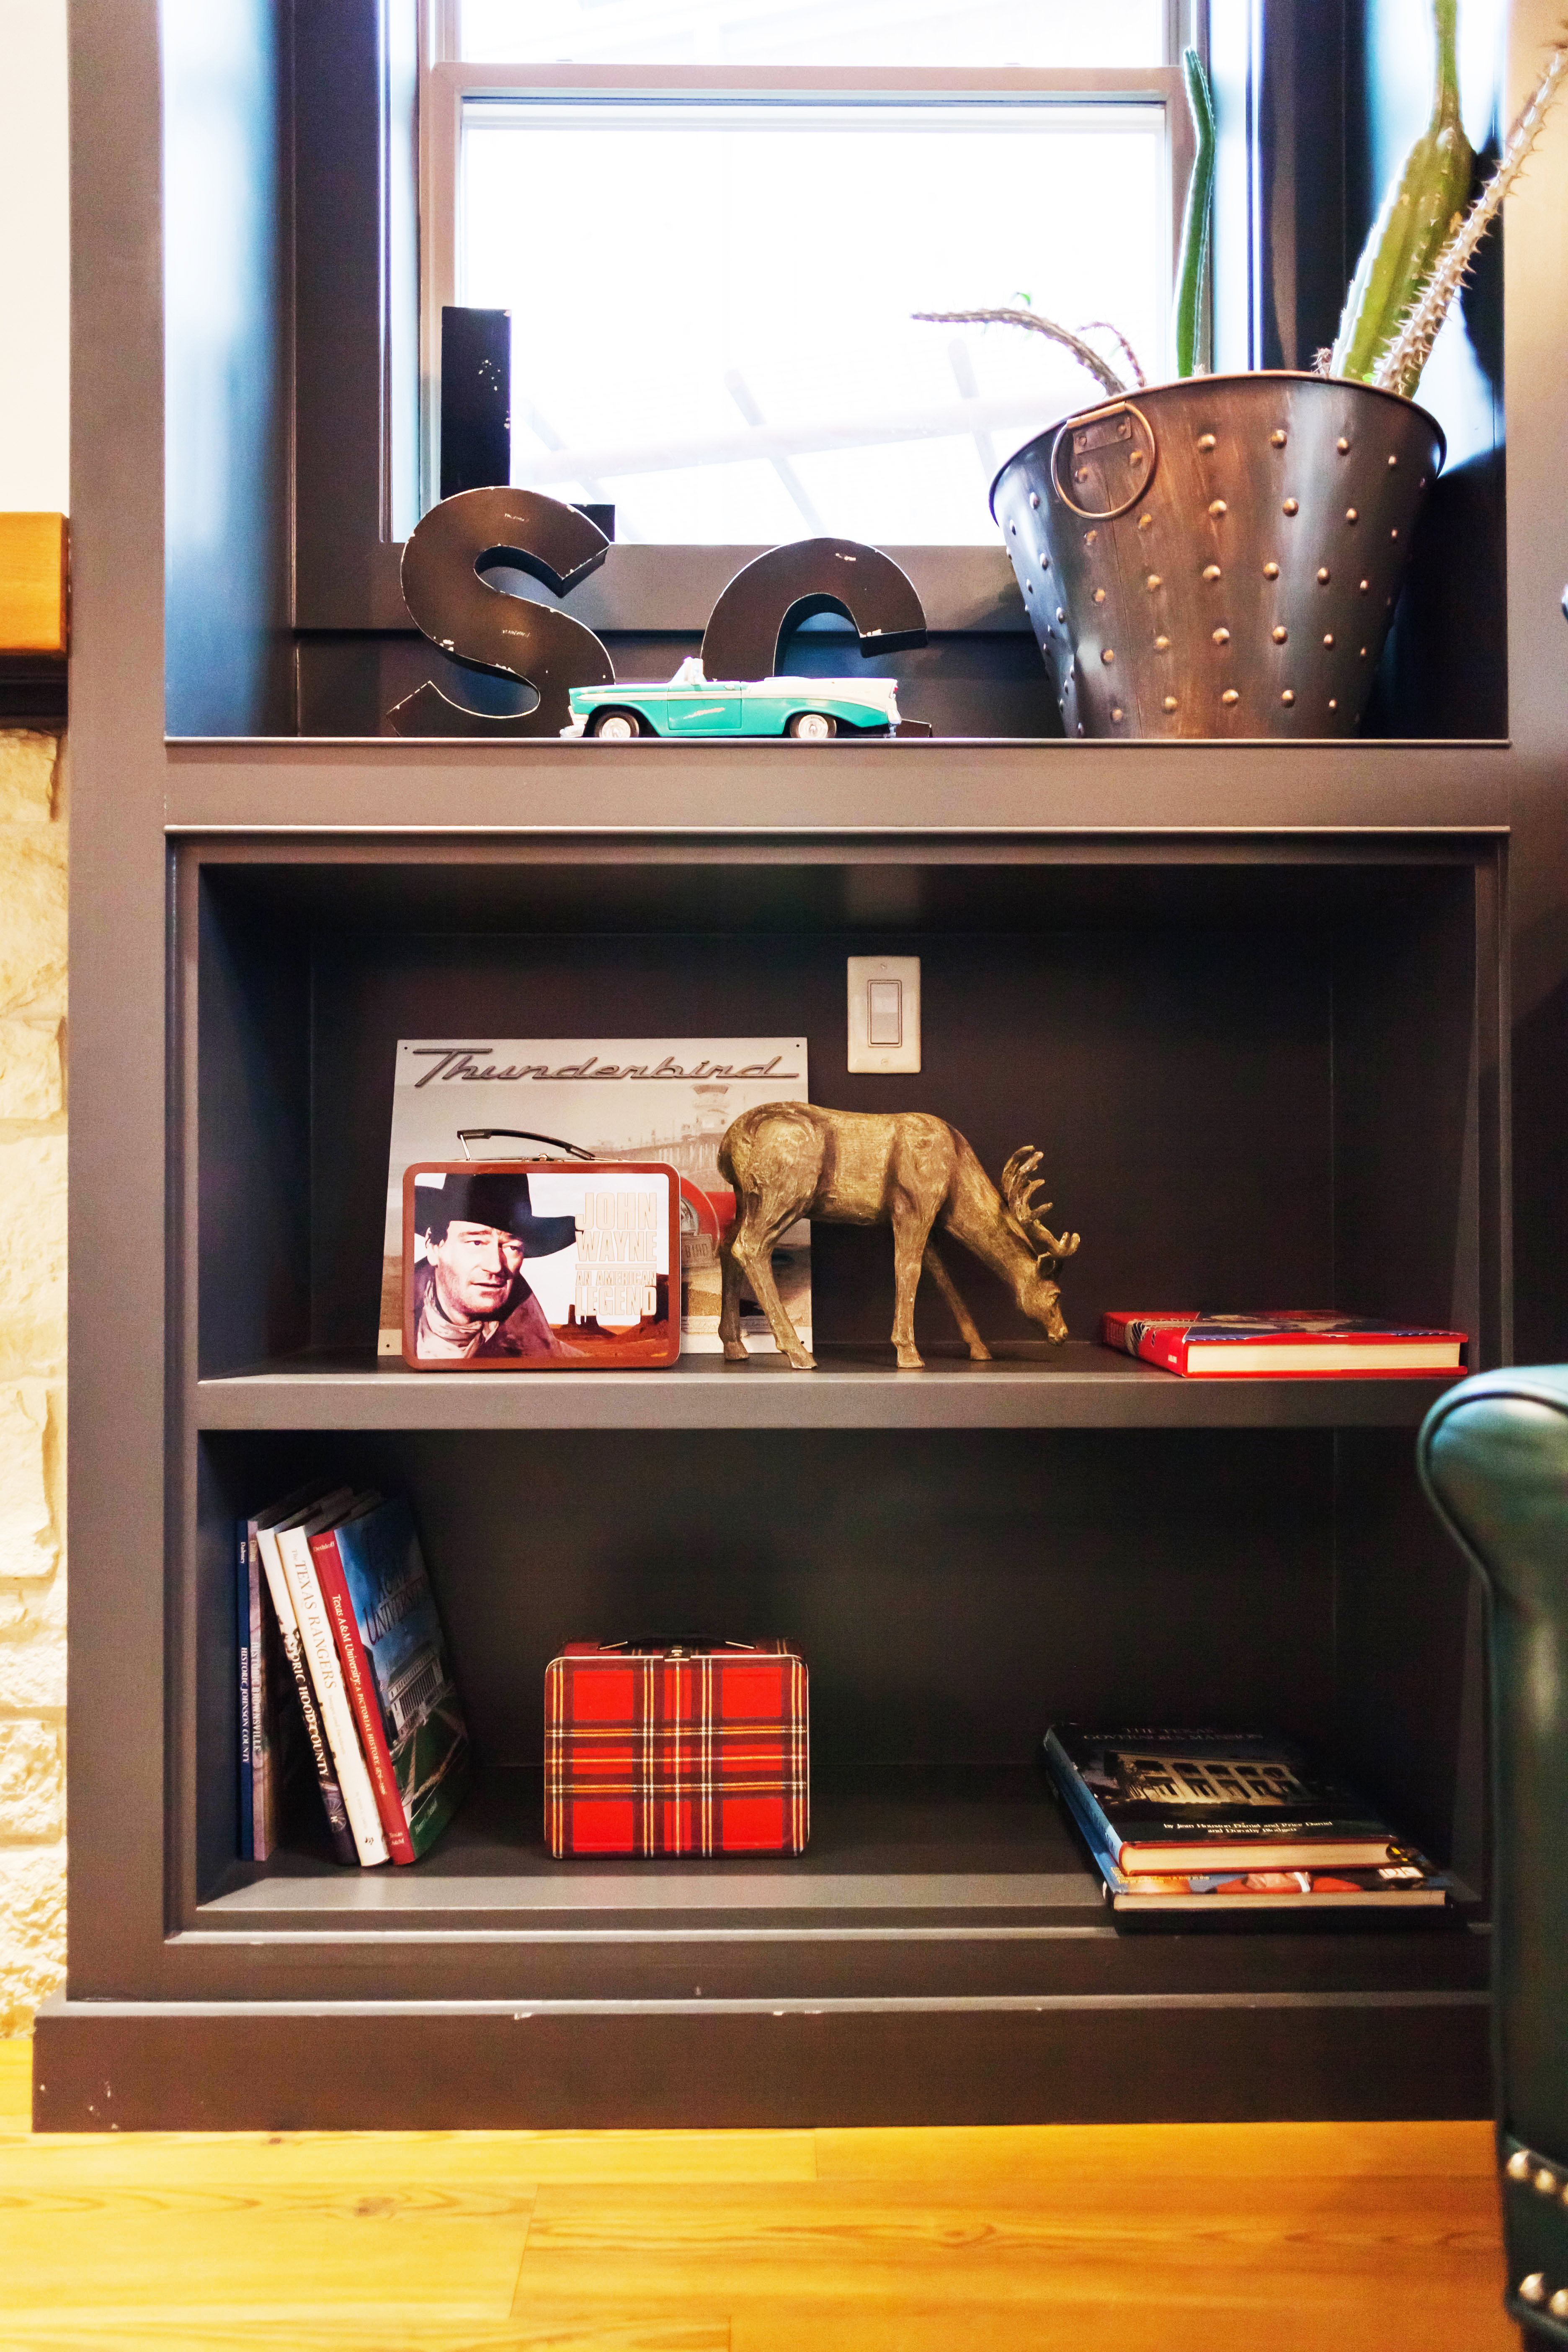
 The lobby was warm and inviting, decked in leather and hides, with western memorabilia displayed on the mantle and shelves. A turntable played old school country records which felt very “Welcome to Texas”.
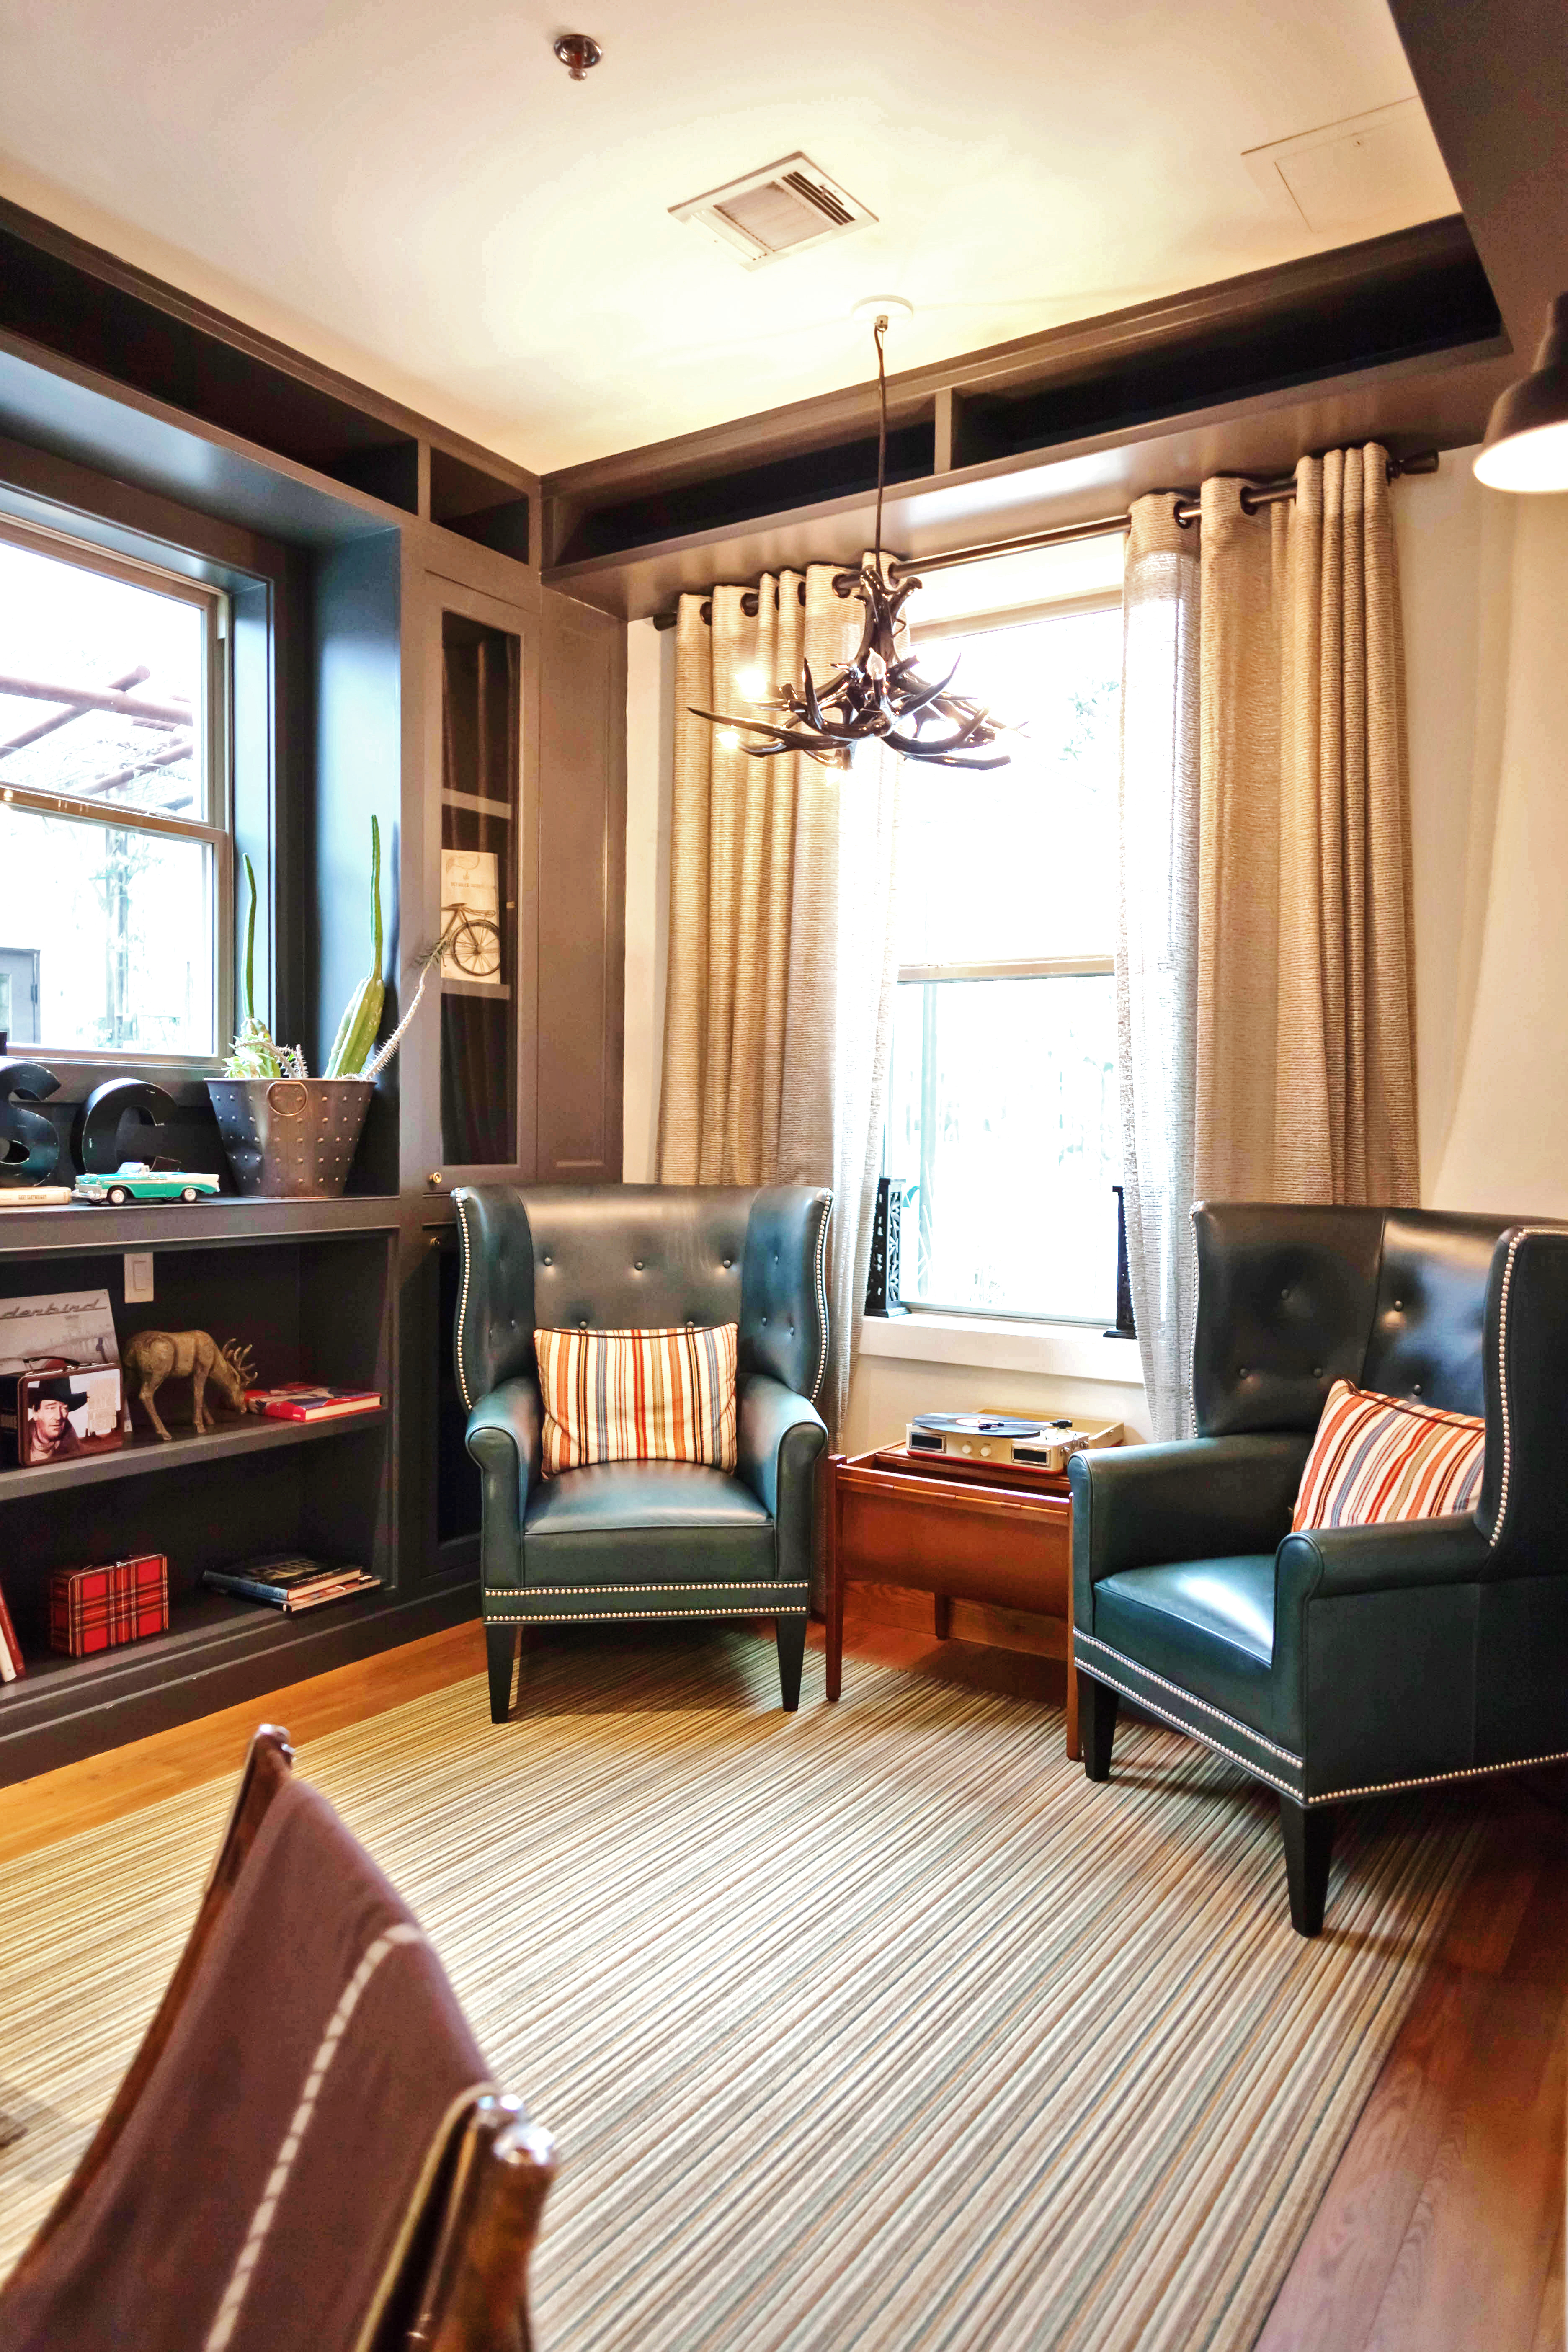
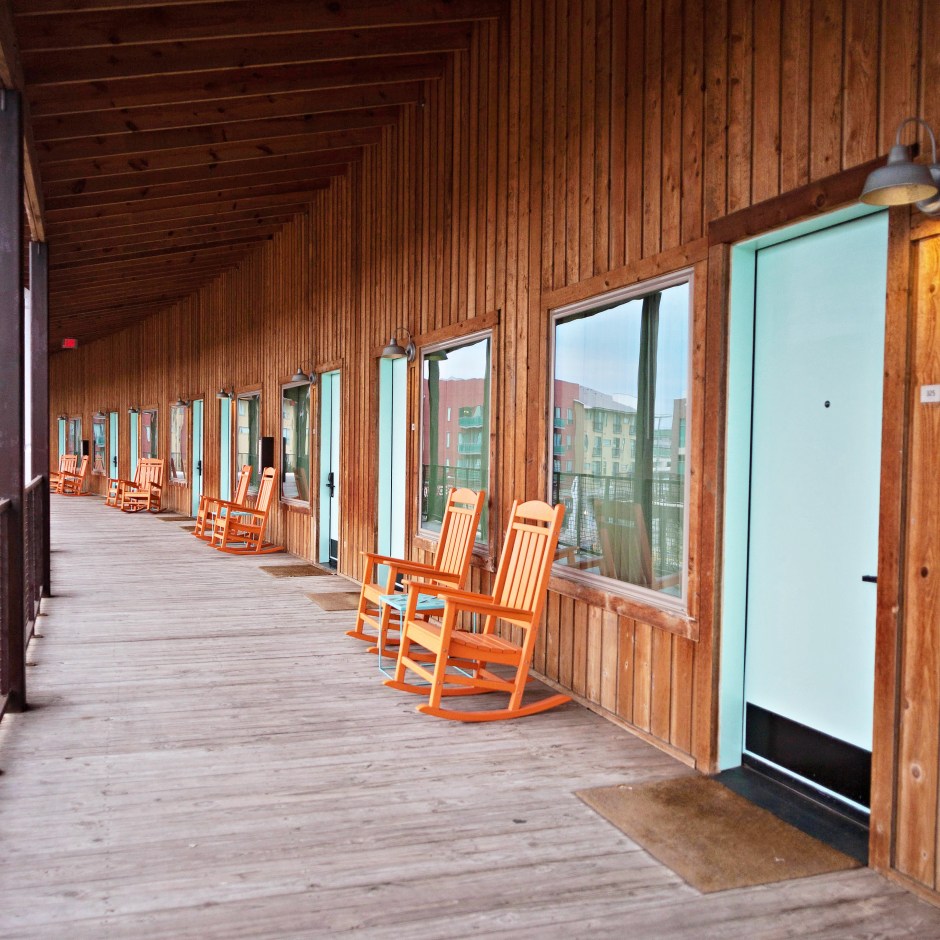
 This room seemed like a great place to hang out on such a dreary overcast day but I couldn’t wait to make it to my room.
 The pathways are lined with orange rockers and aqua doors, one of my favorite retro color combinations everrrr. This sight made me so happy!
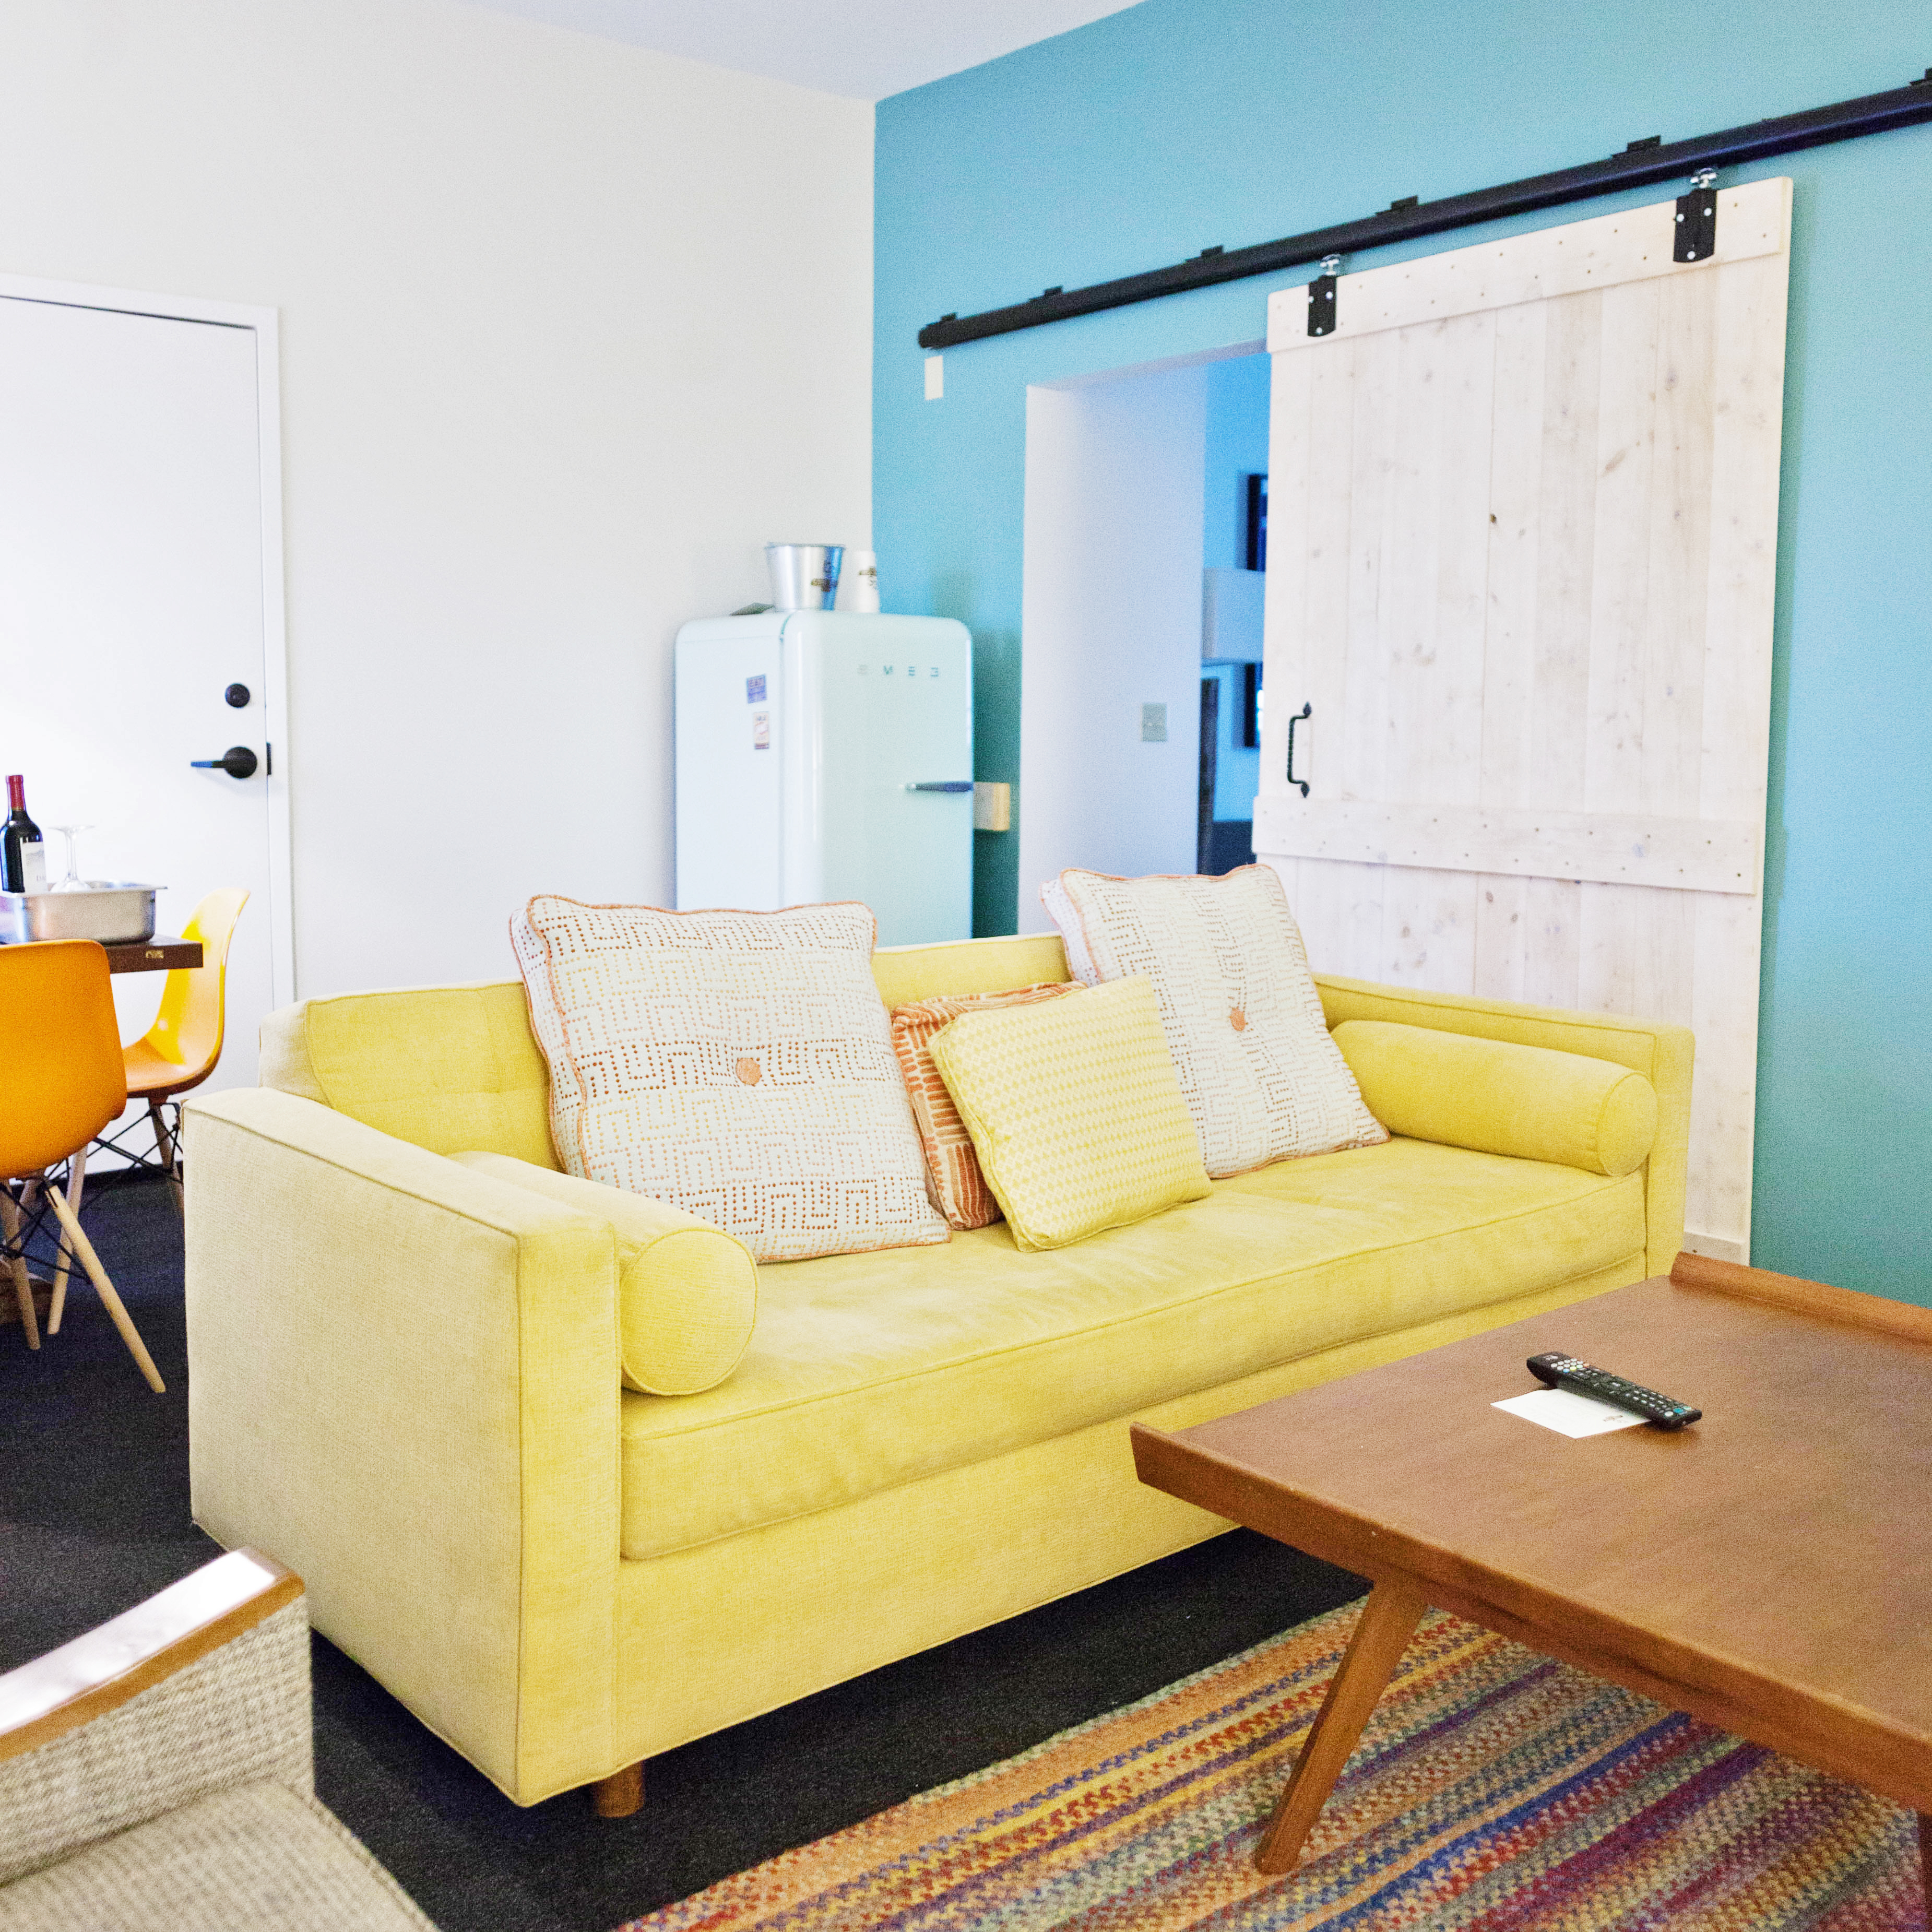
 There was also a little dining table surrounded by Eames style molded plastic chairs that was covered in fairly priced mini bar snacks. The good stuff even!
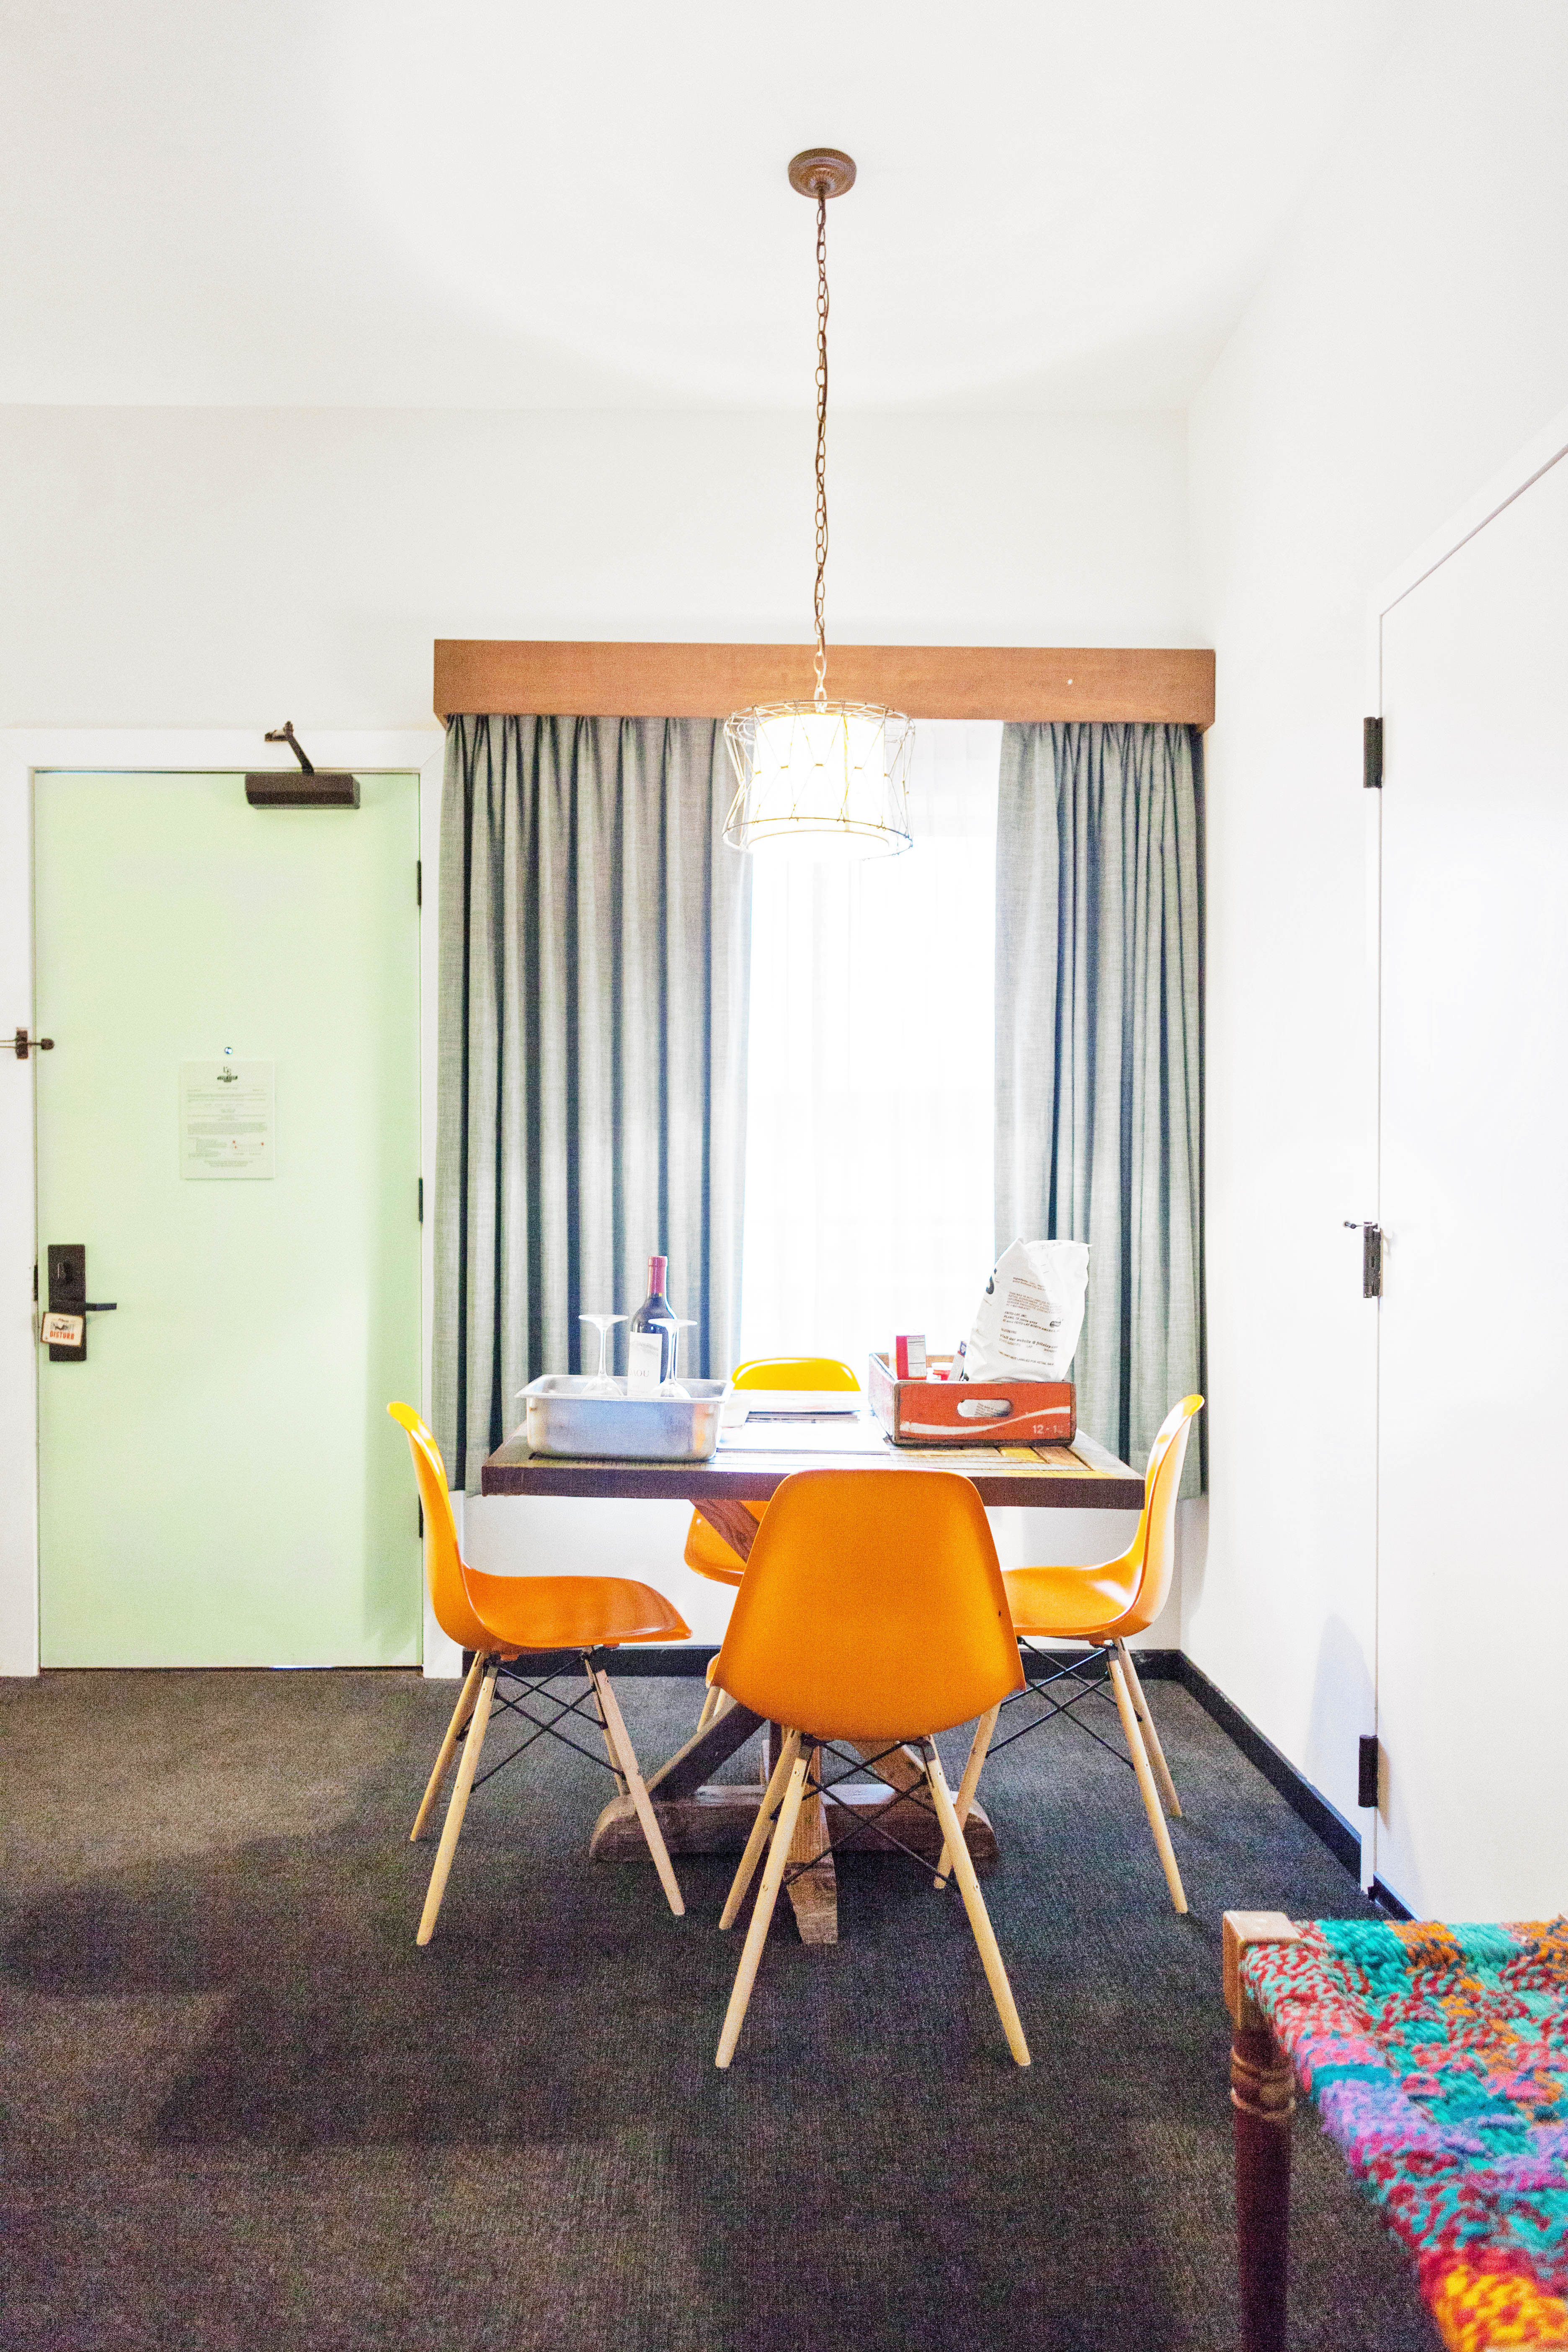
 My favorite part about this room was probably the bathroom though. You’ll see why.
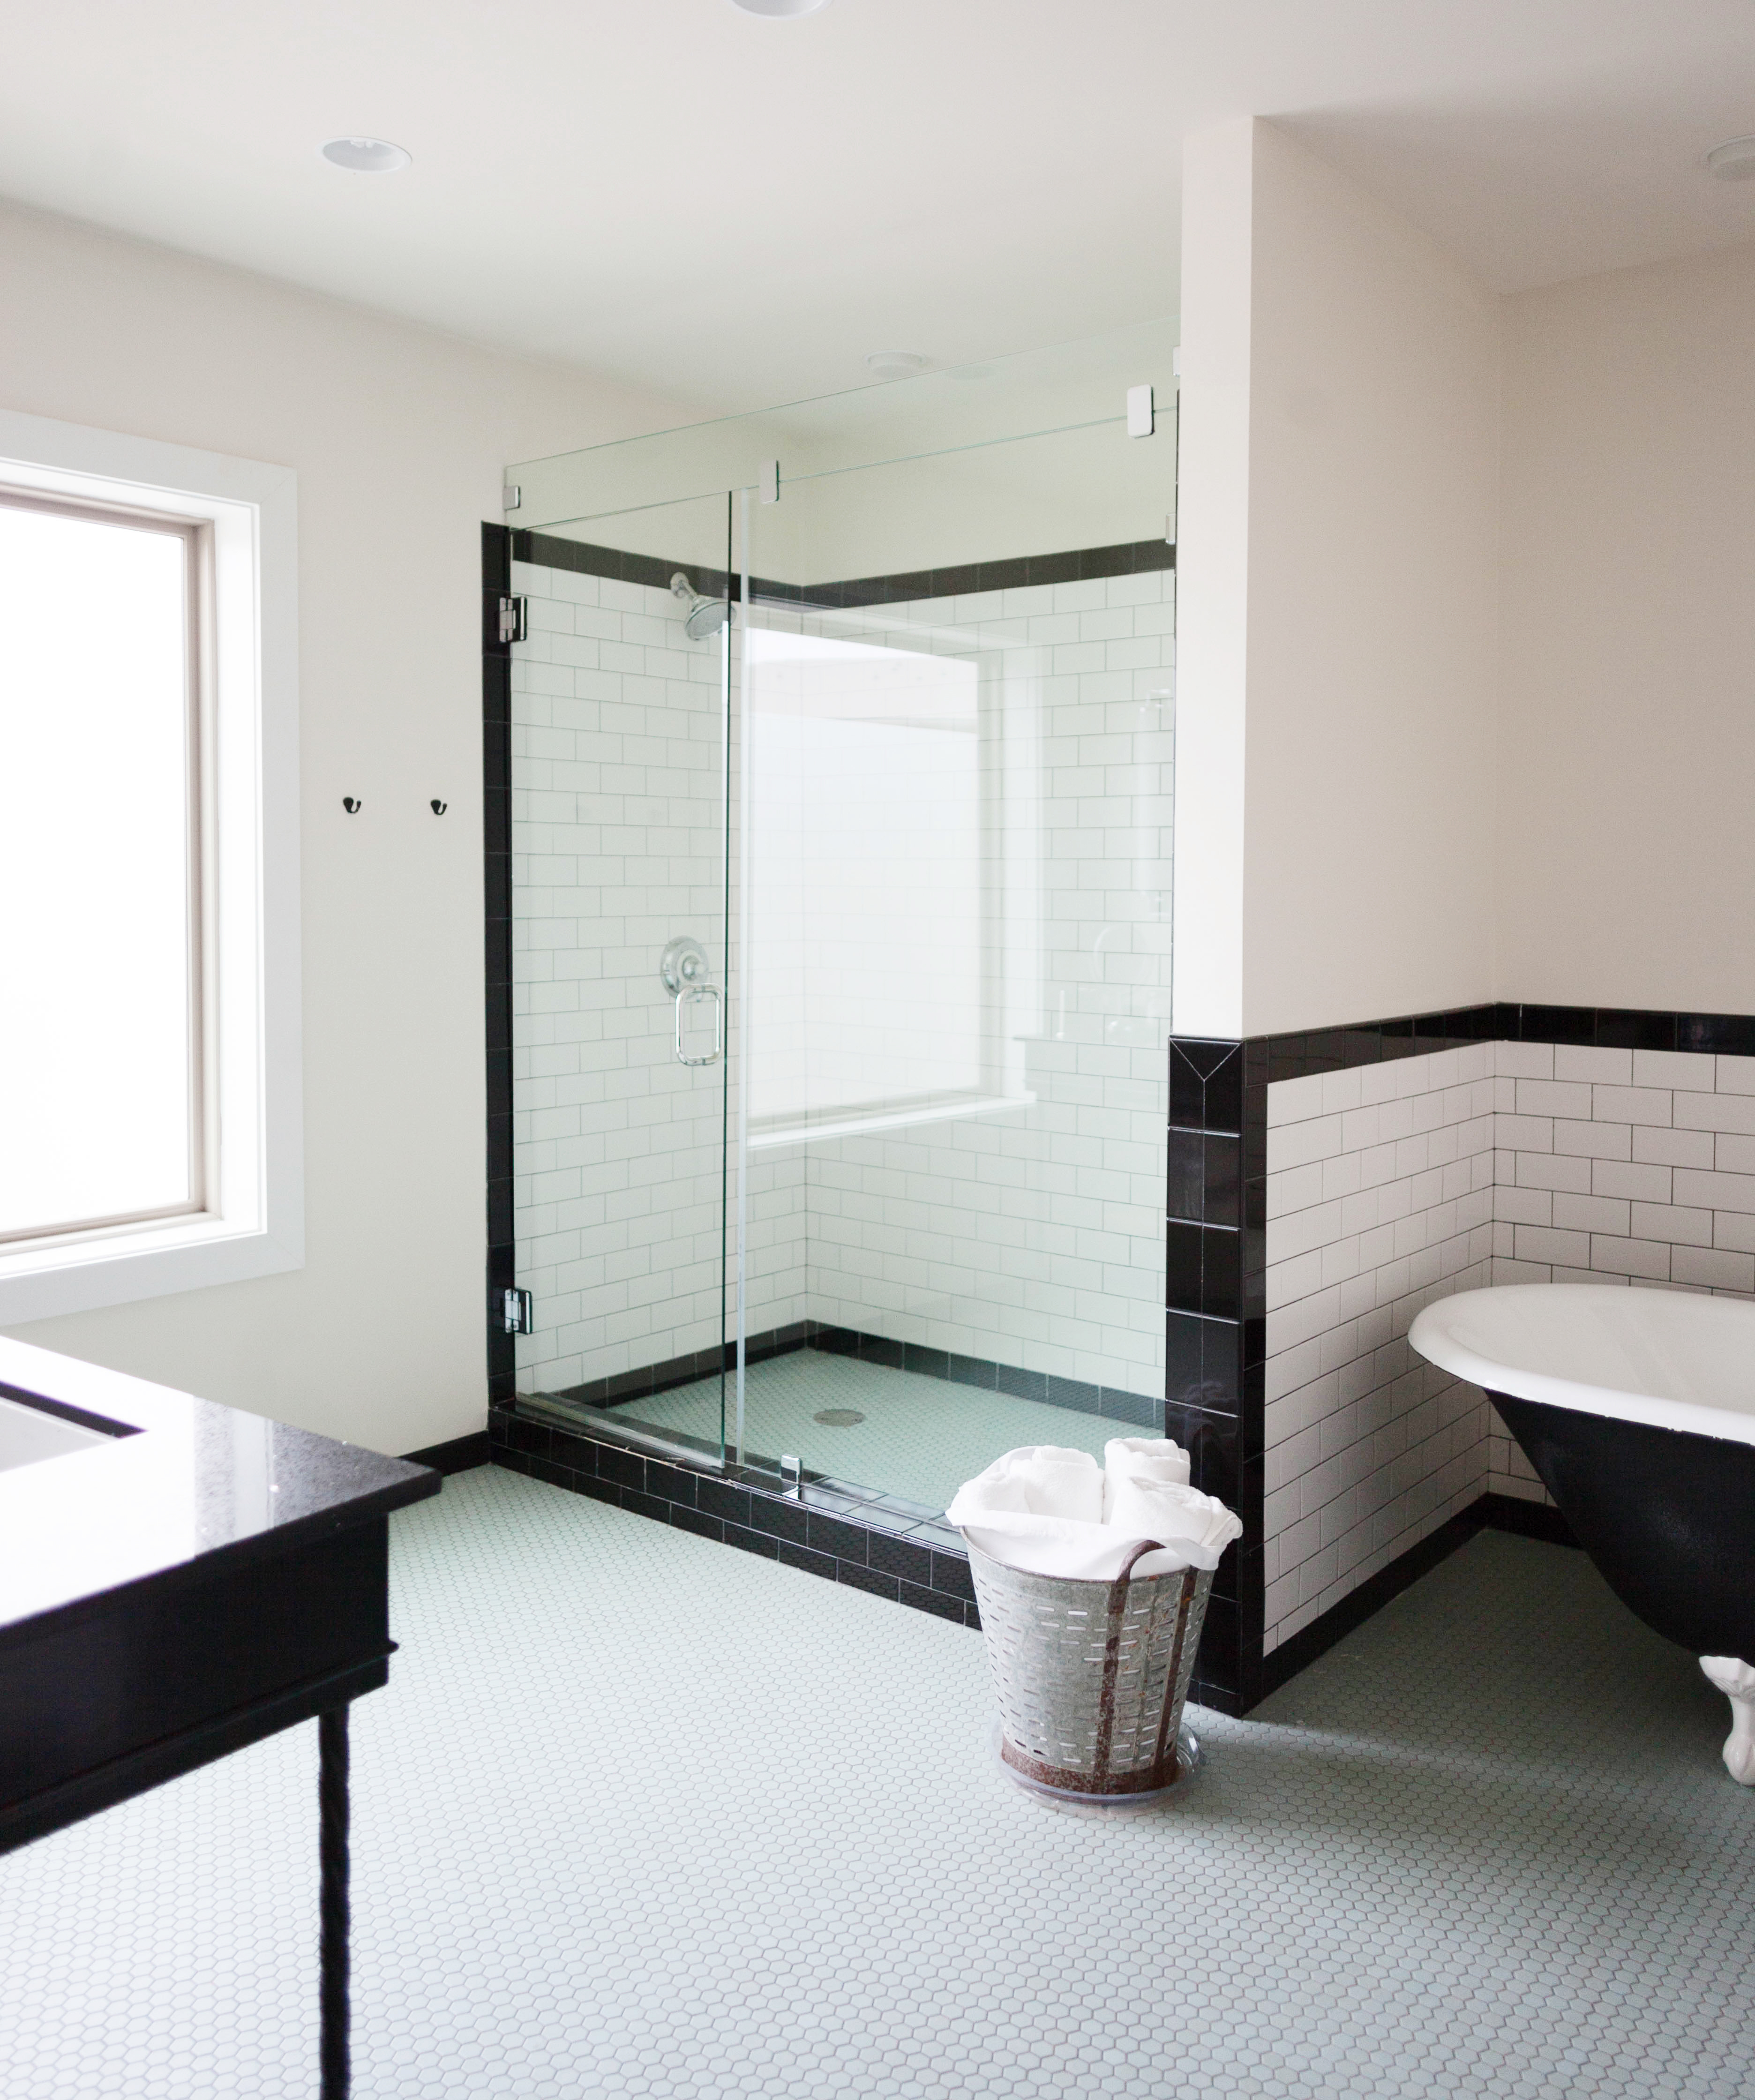 This shower and claw foot tub saved my lifeeee! It was just the thing I needed after a 9 hour drive.
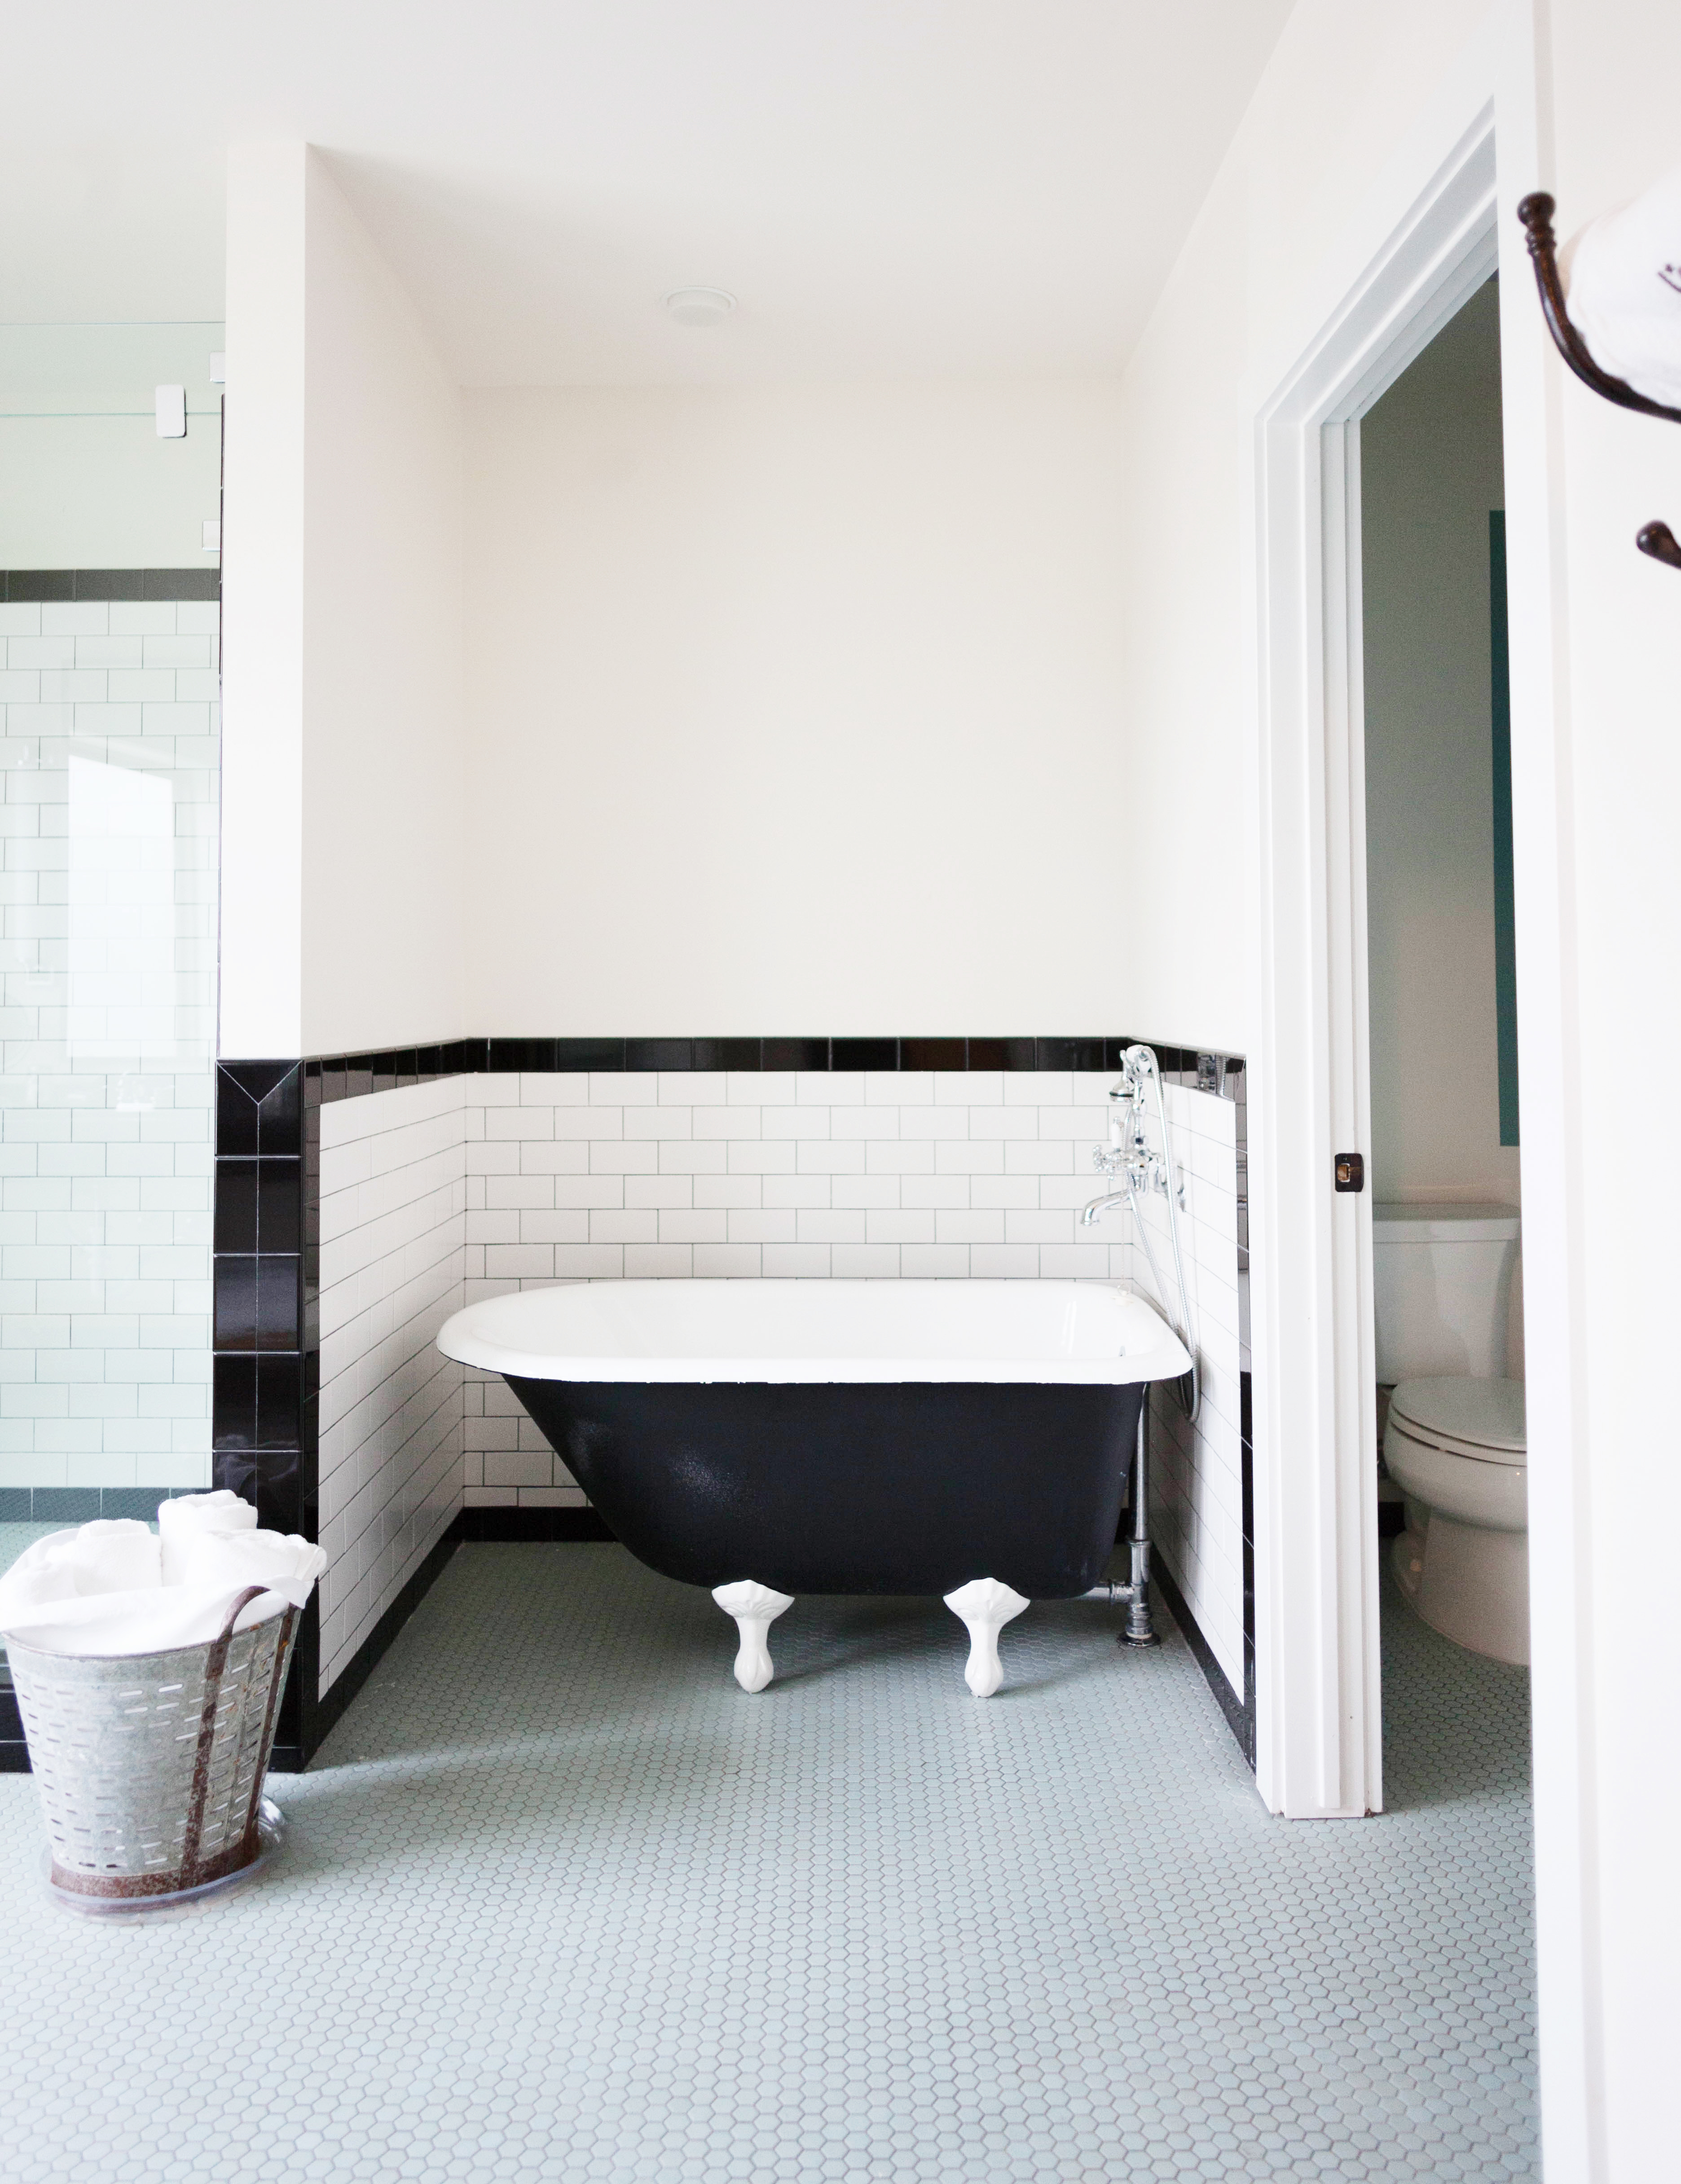 Plus how pretty is it?! I love the penny tile floor and black and white color scheme.
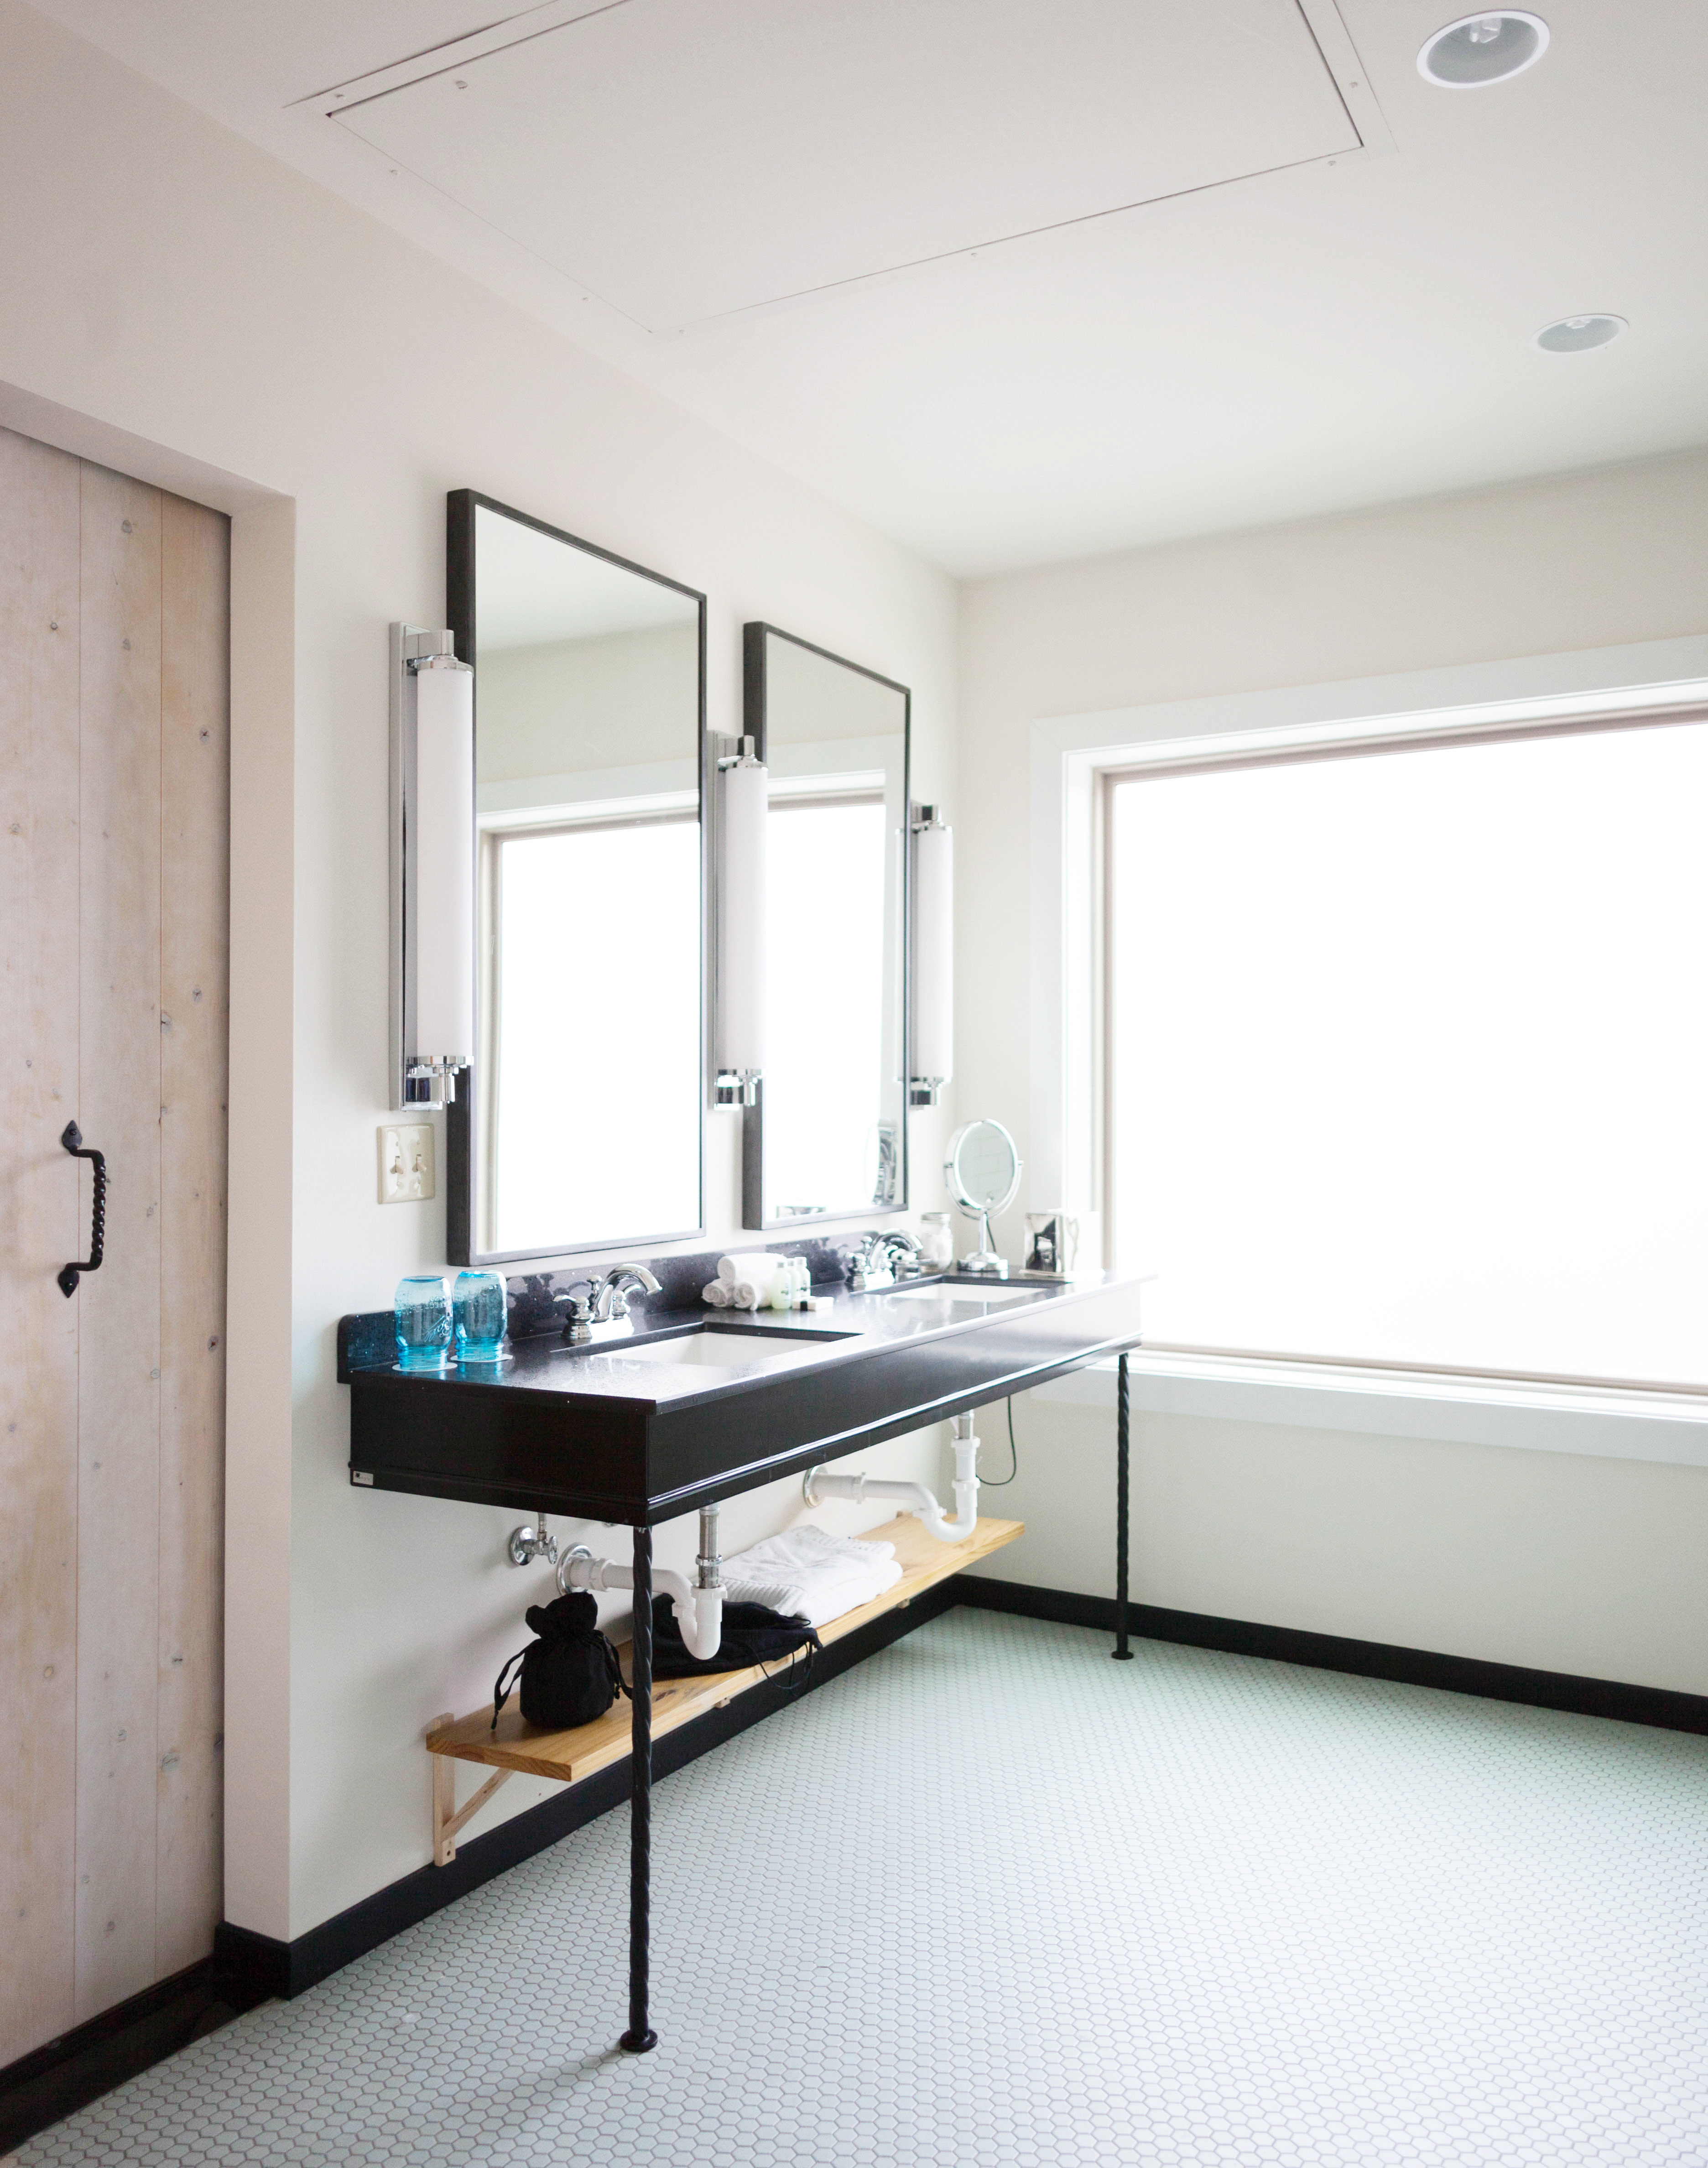
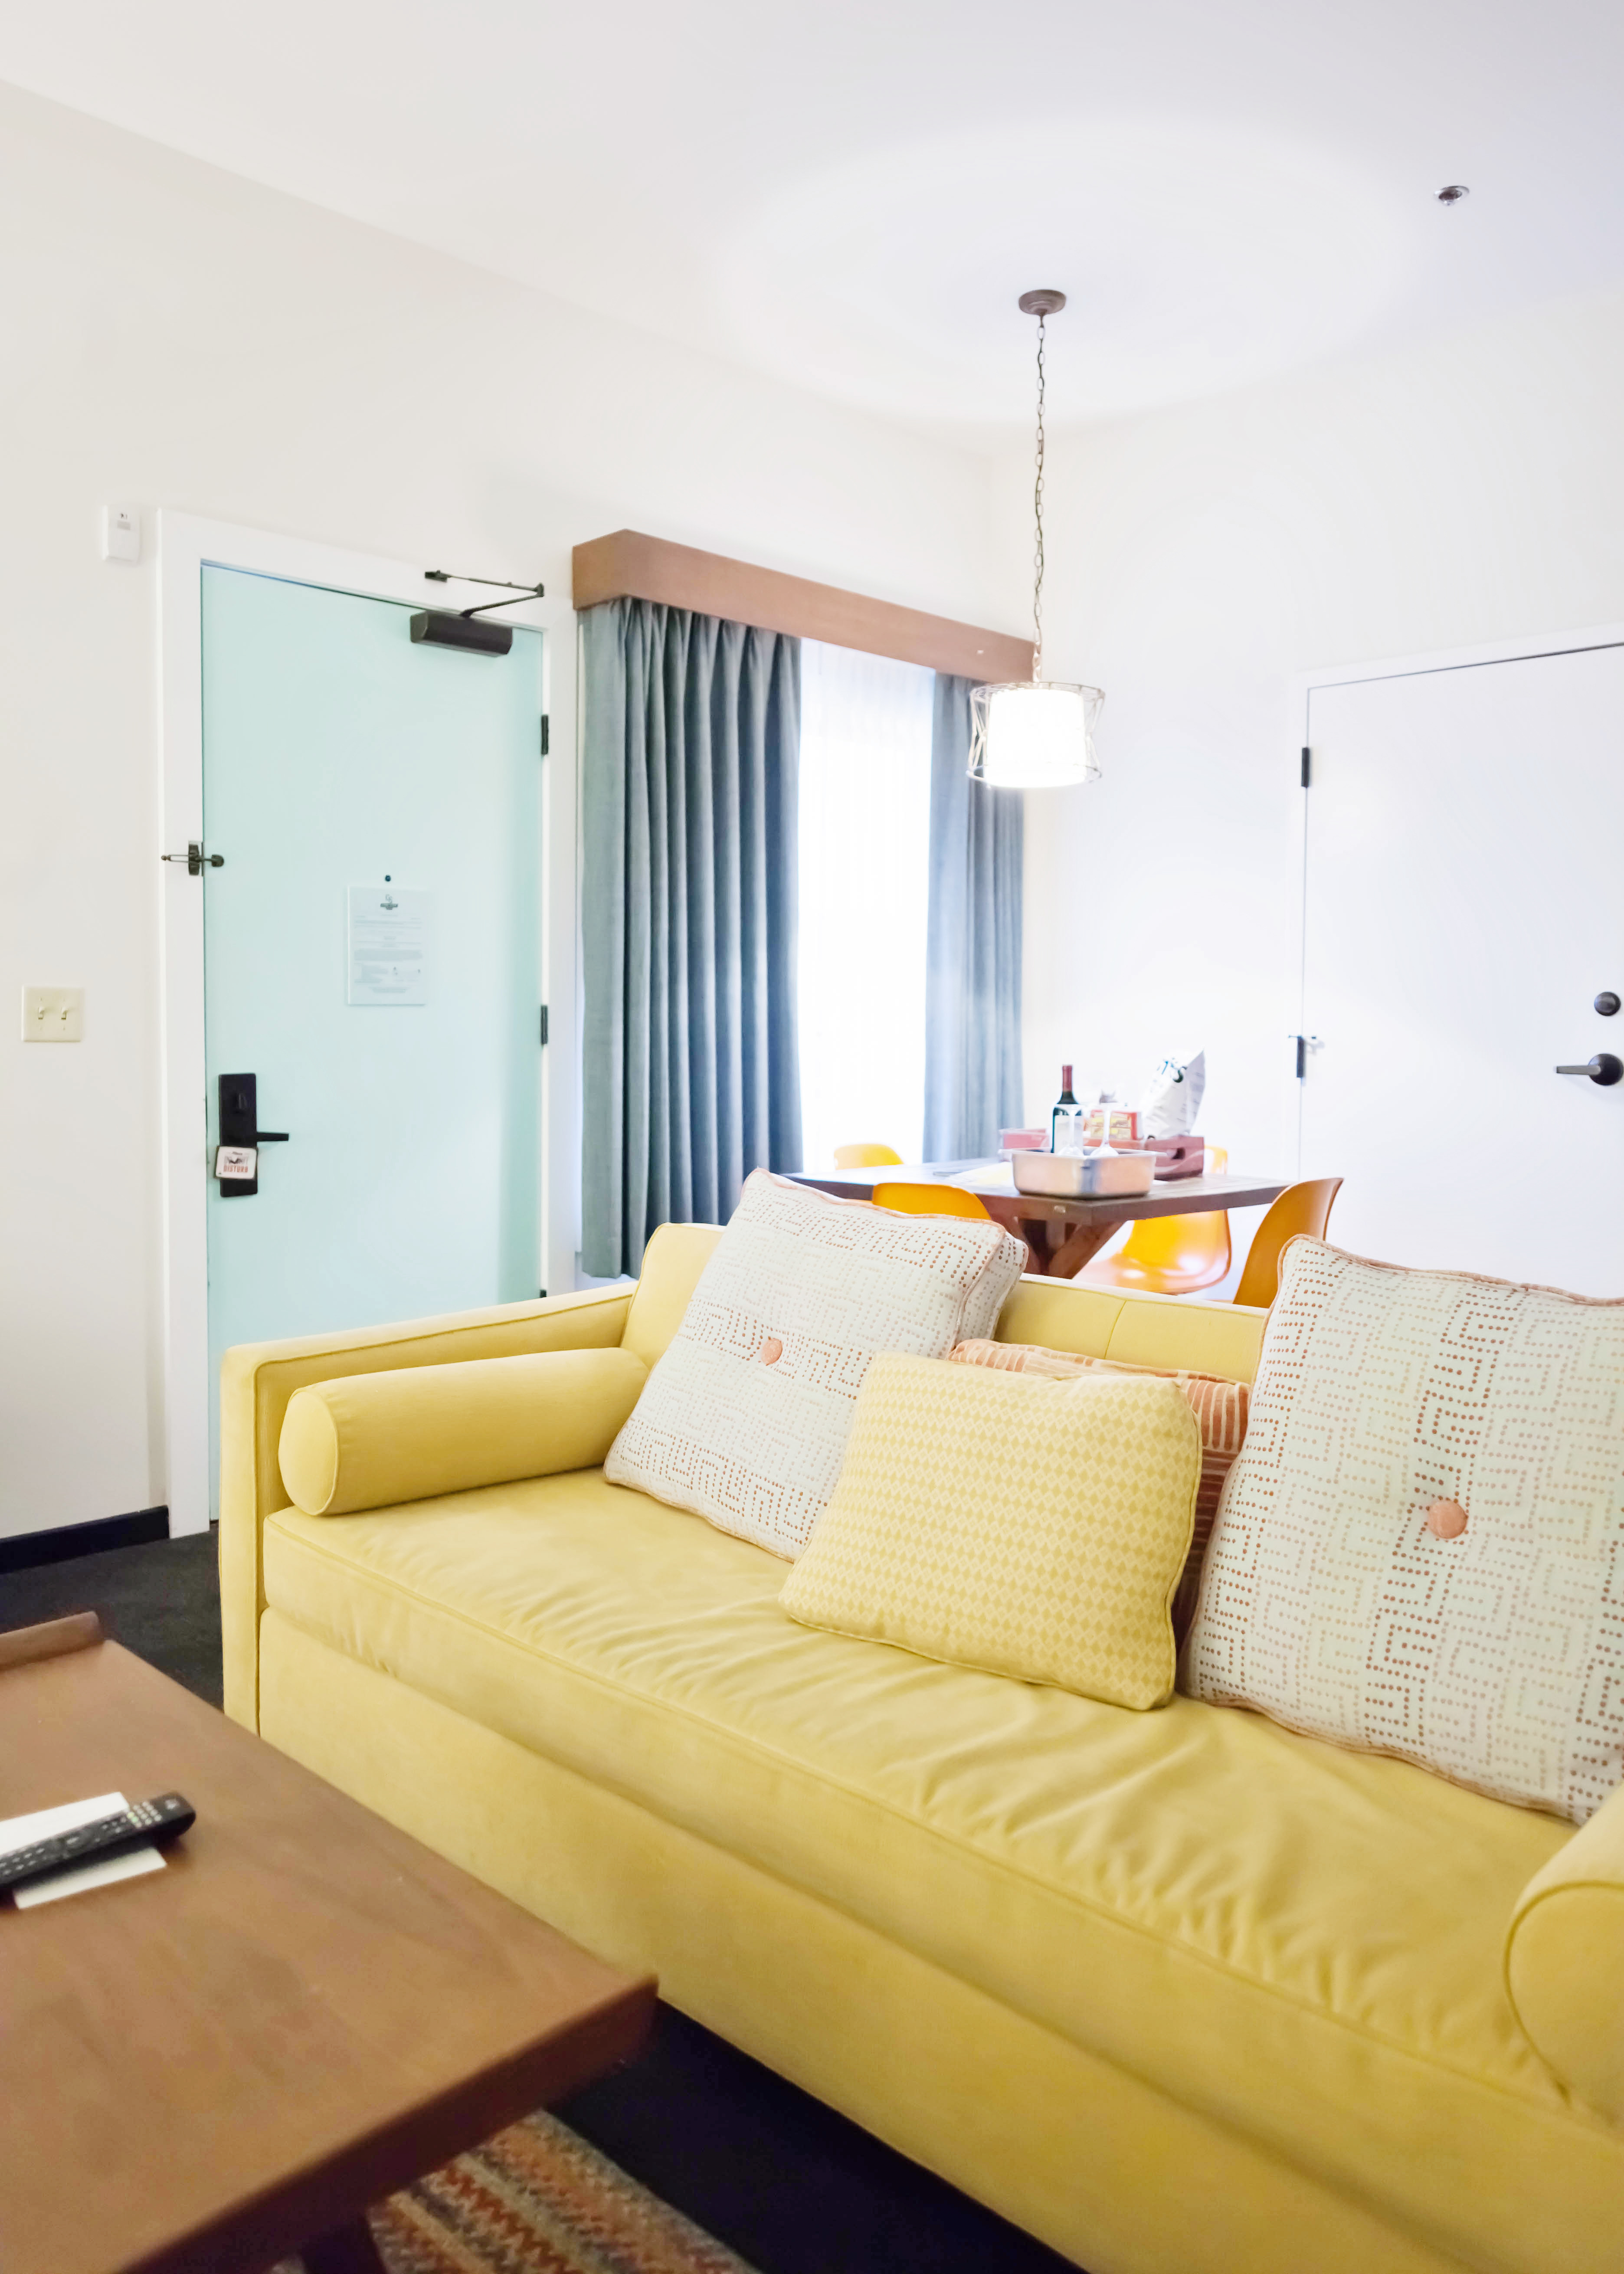
 Clean, crisp, white sheets and a fluffy mattress! This bed felt like heaven!
 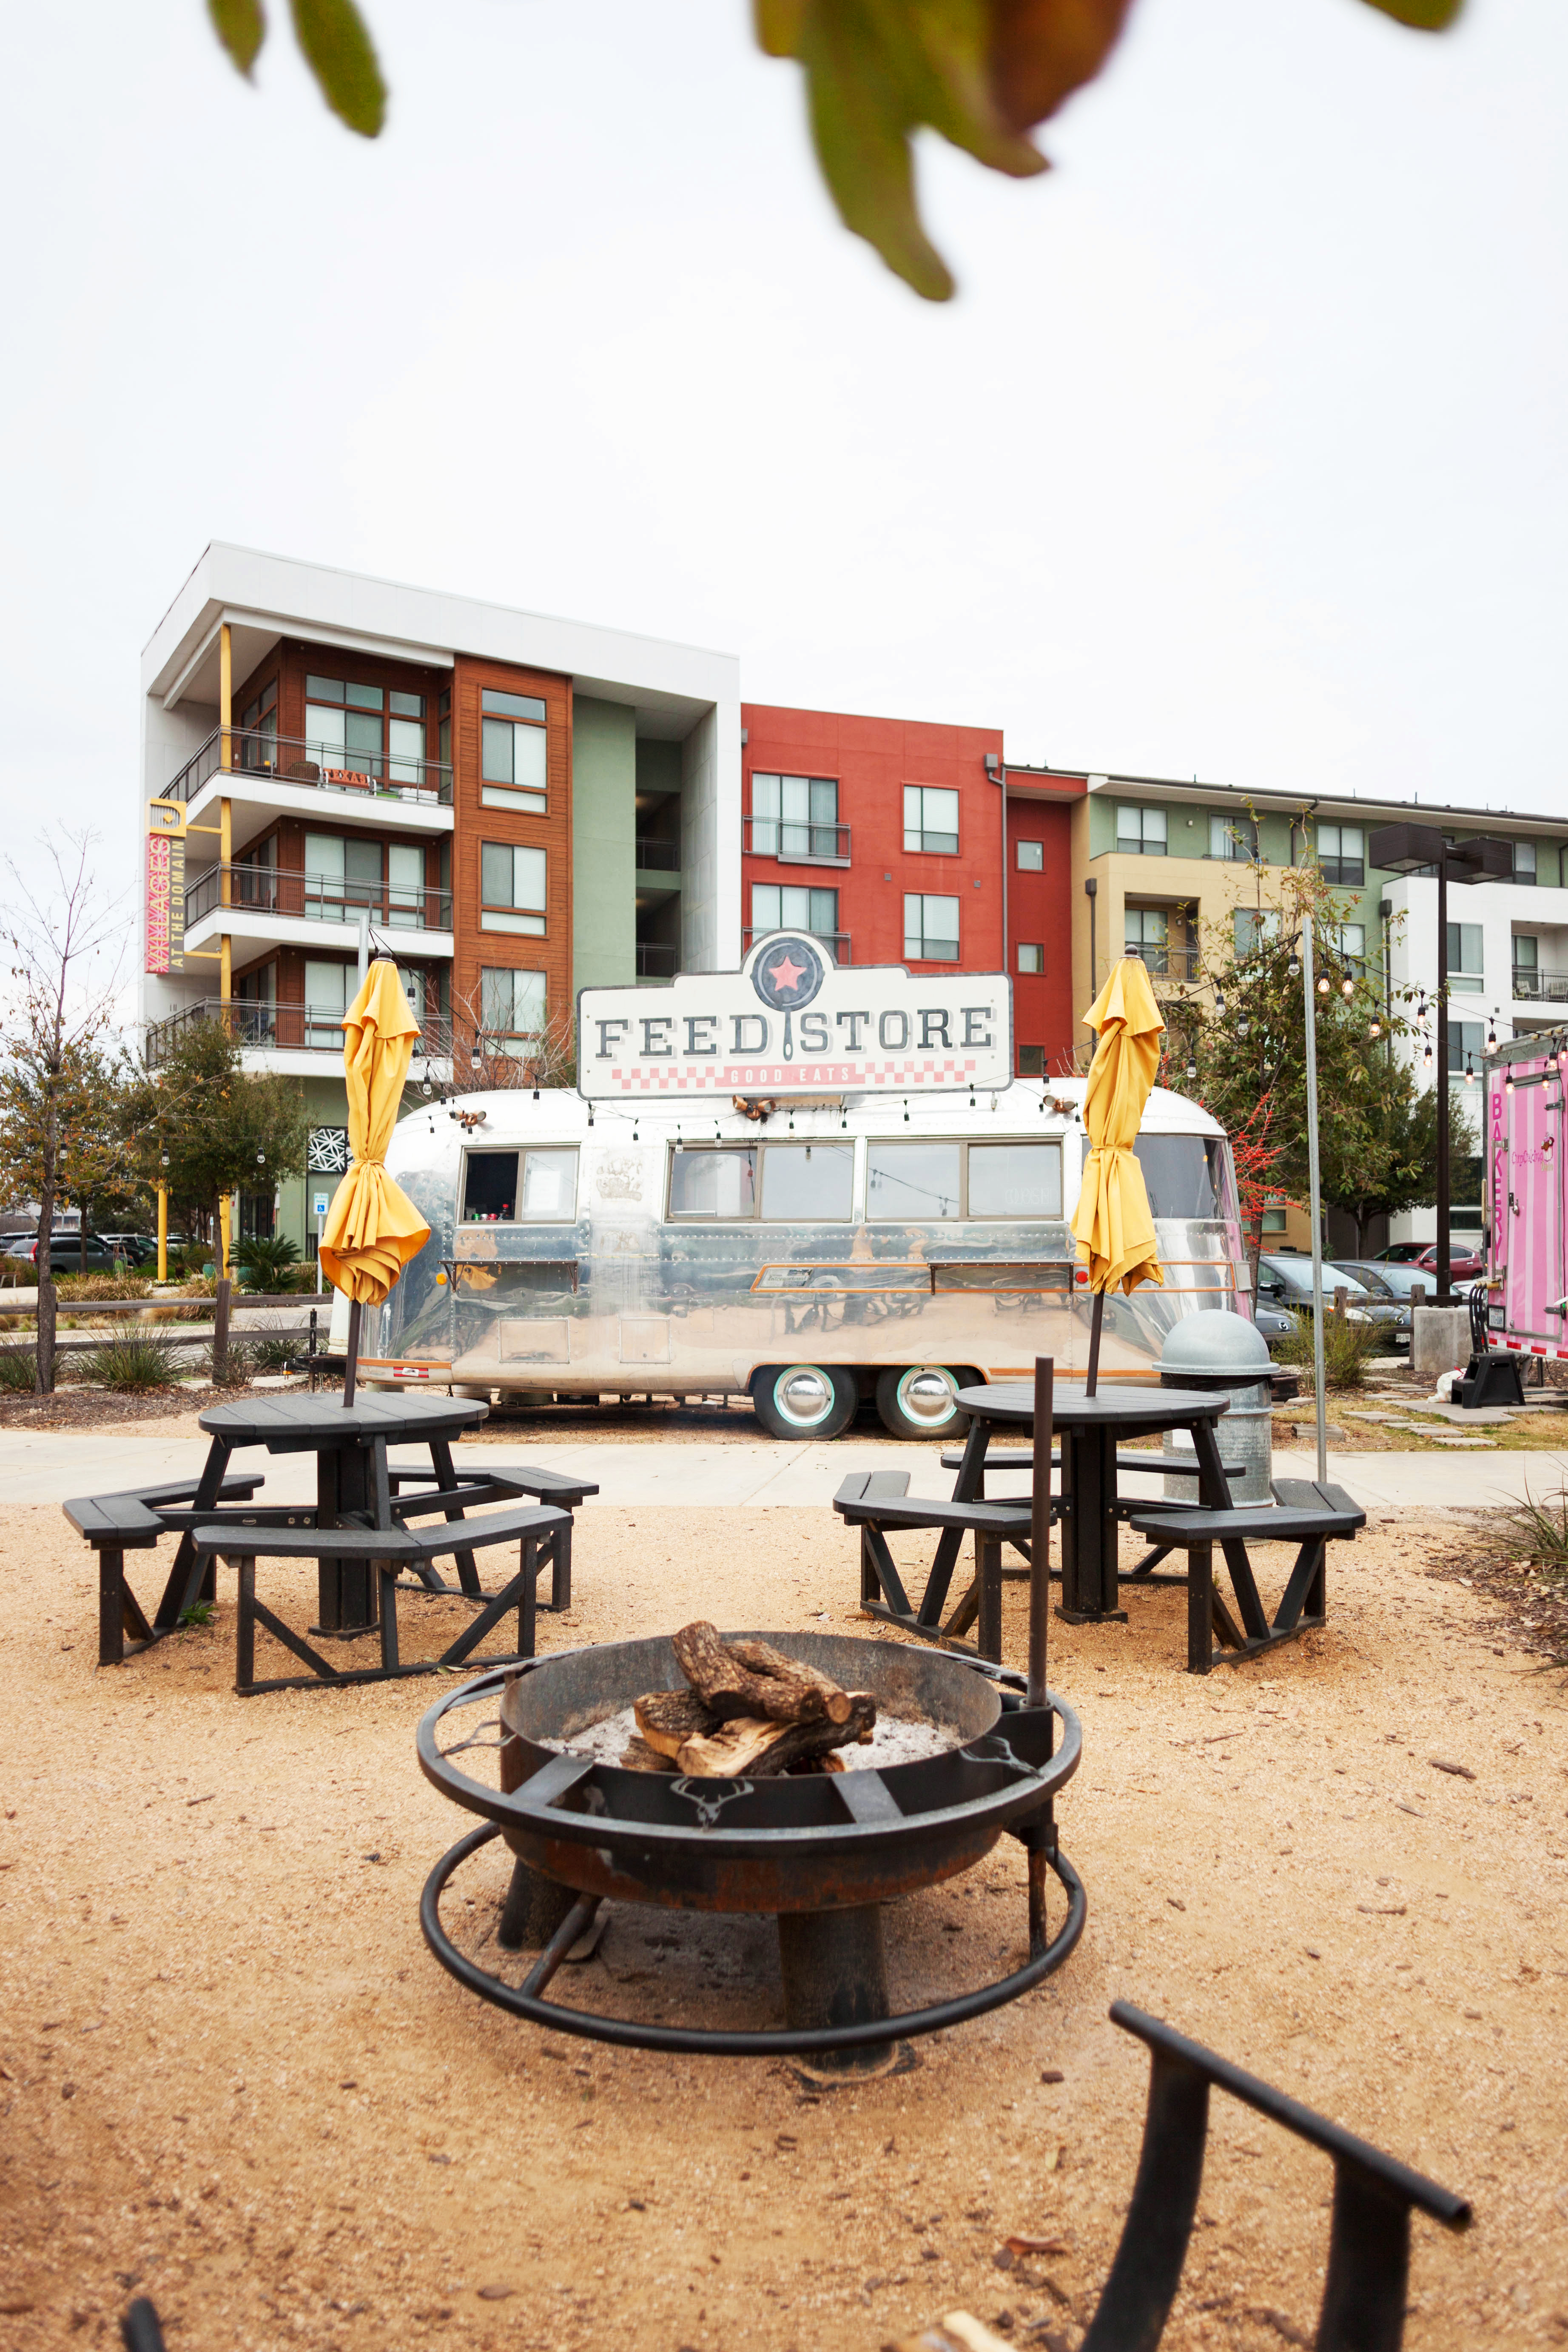 The grounds of the hotel have a few places to eat-
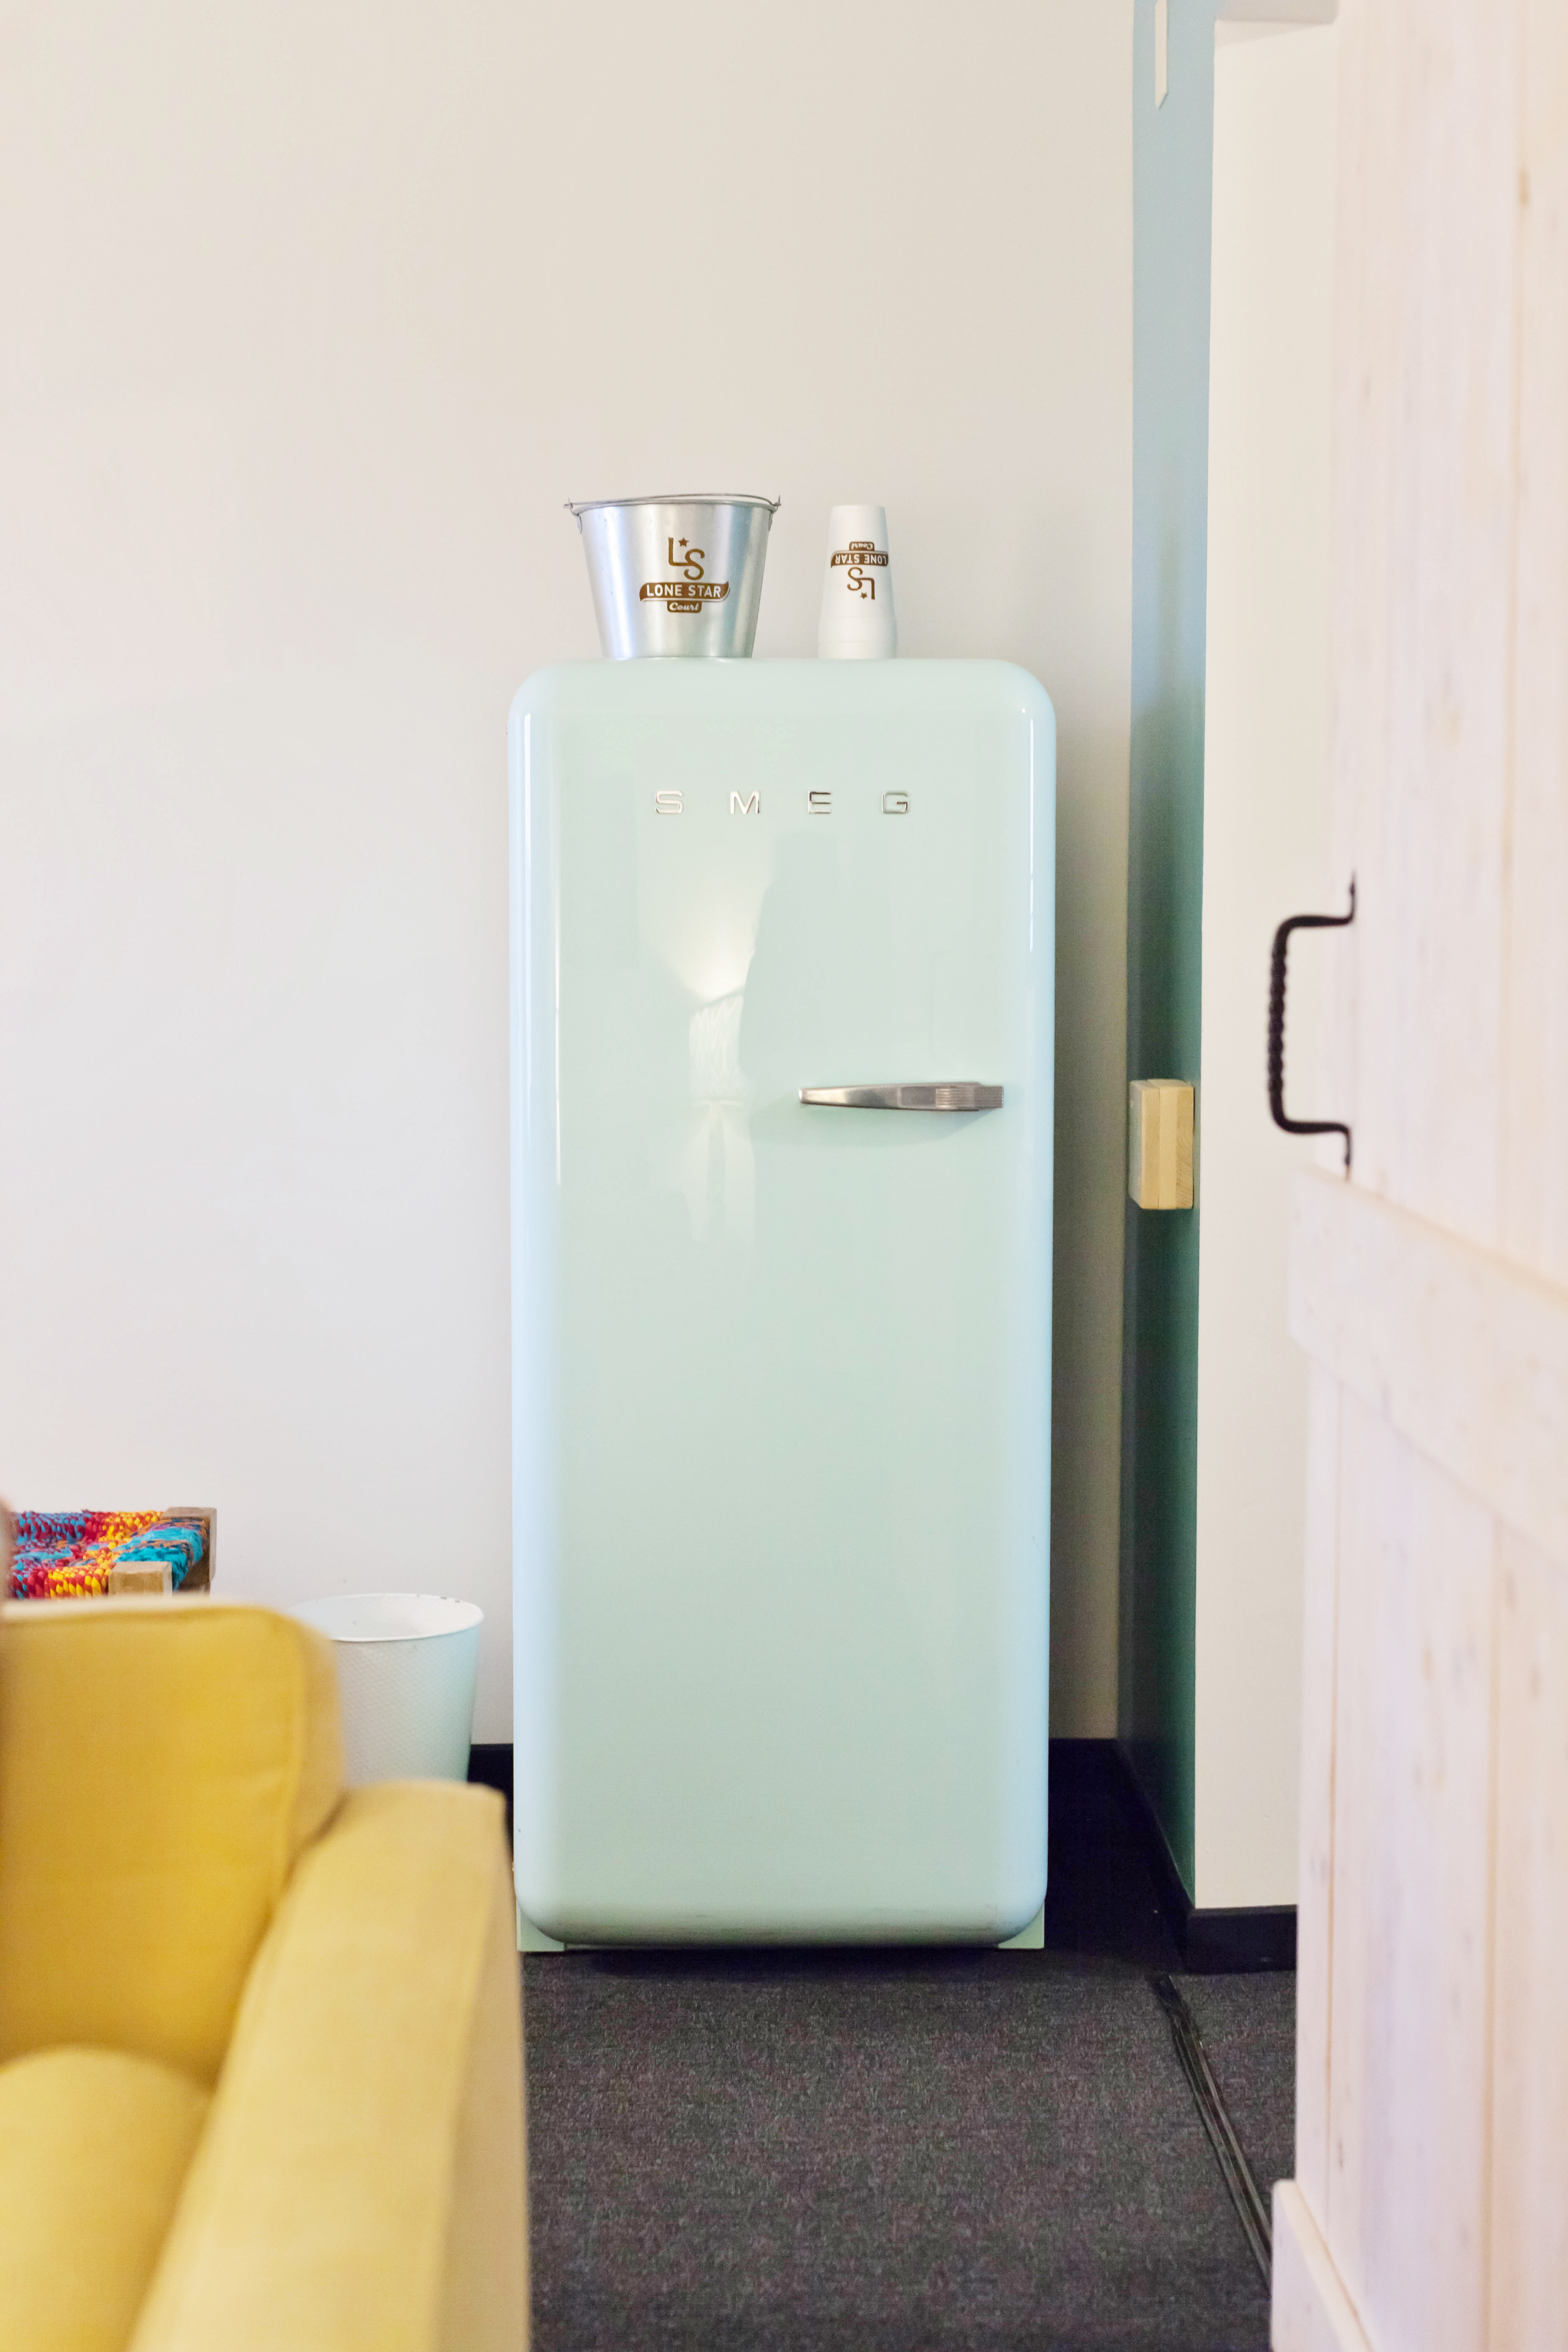
 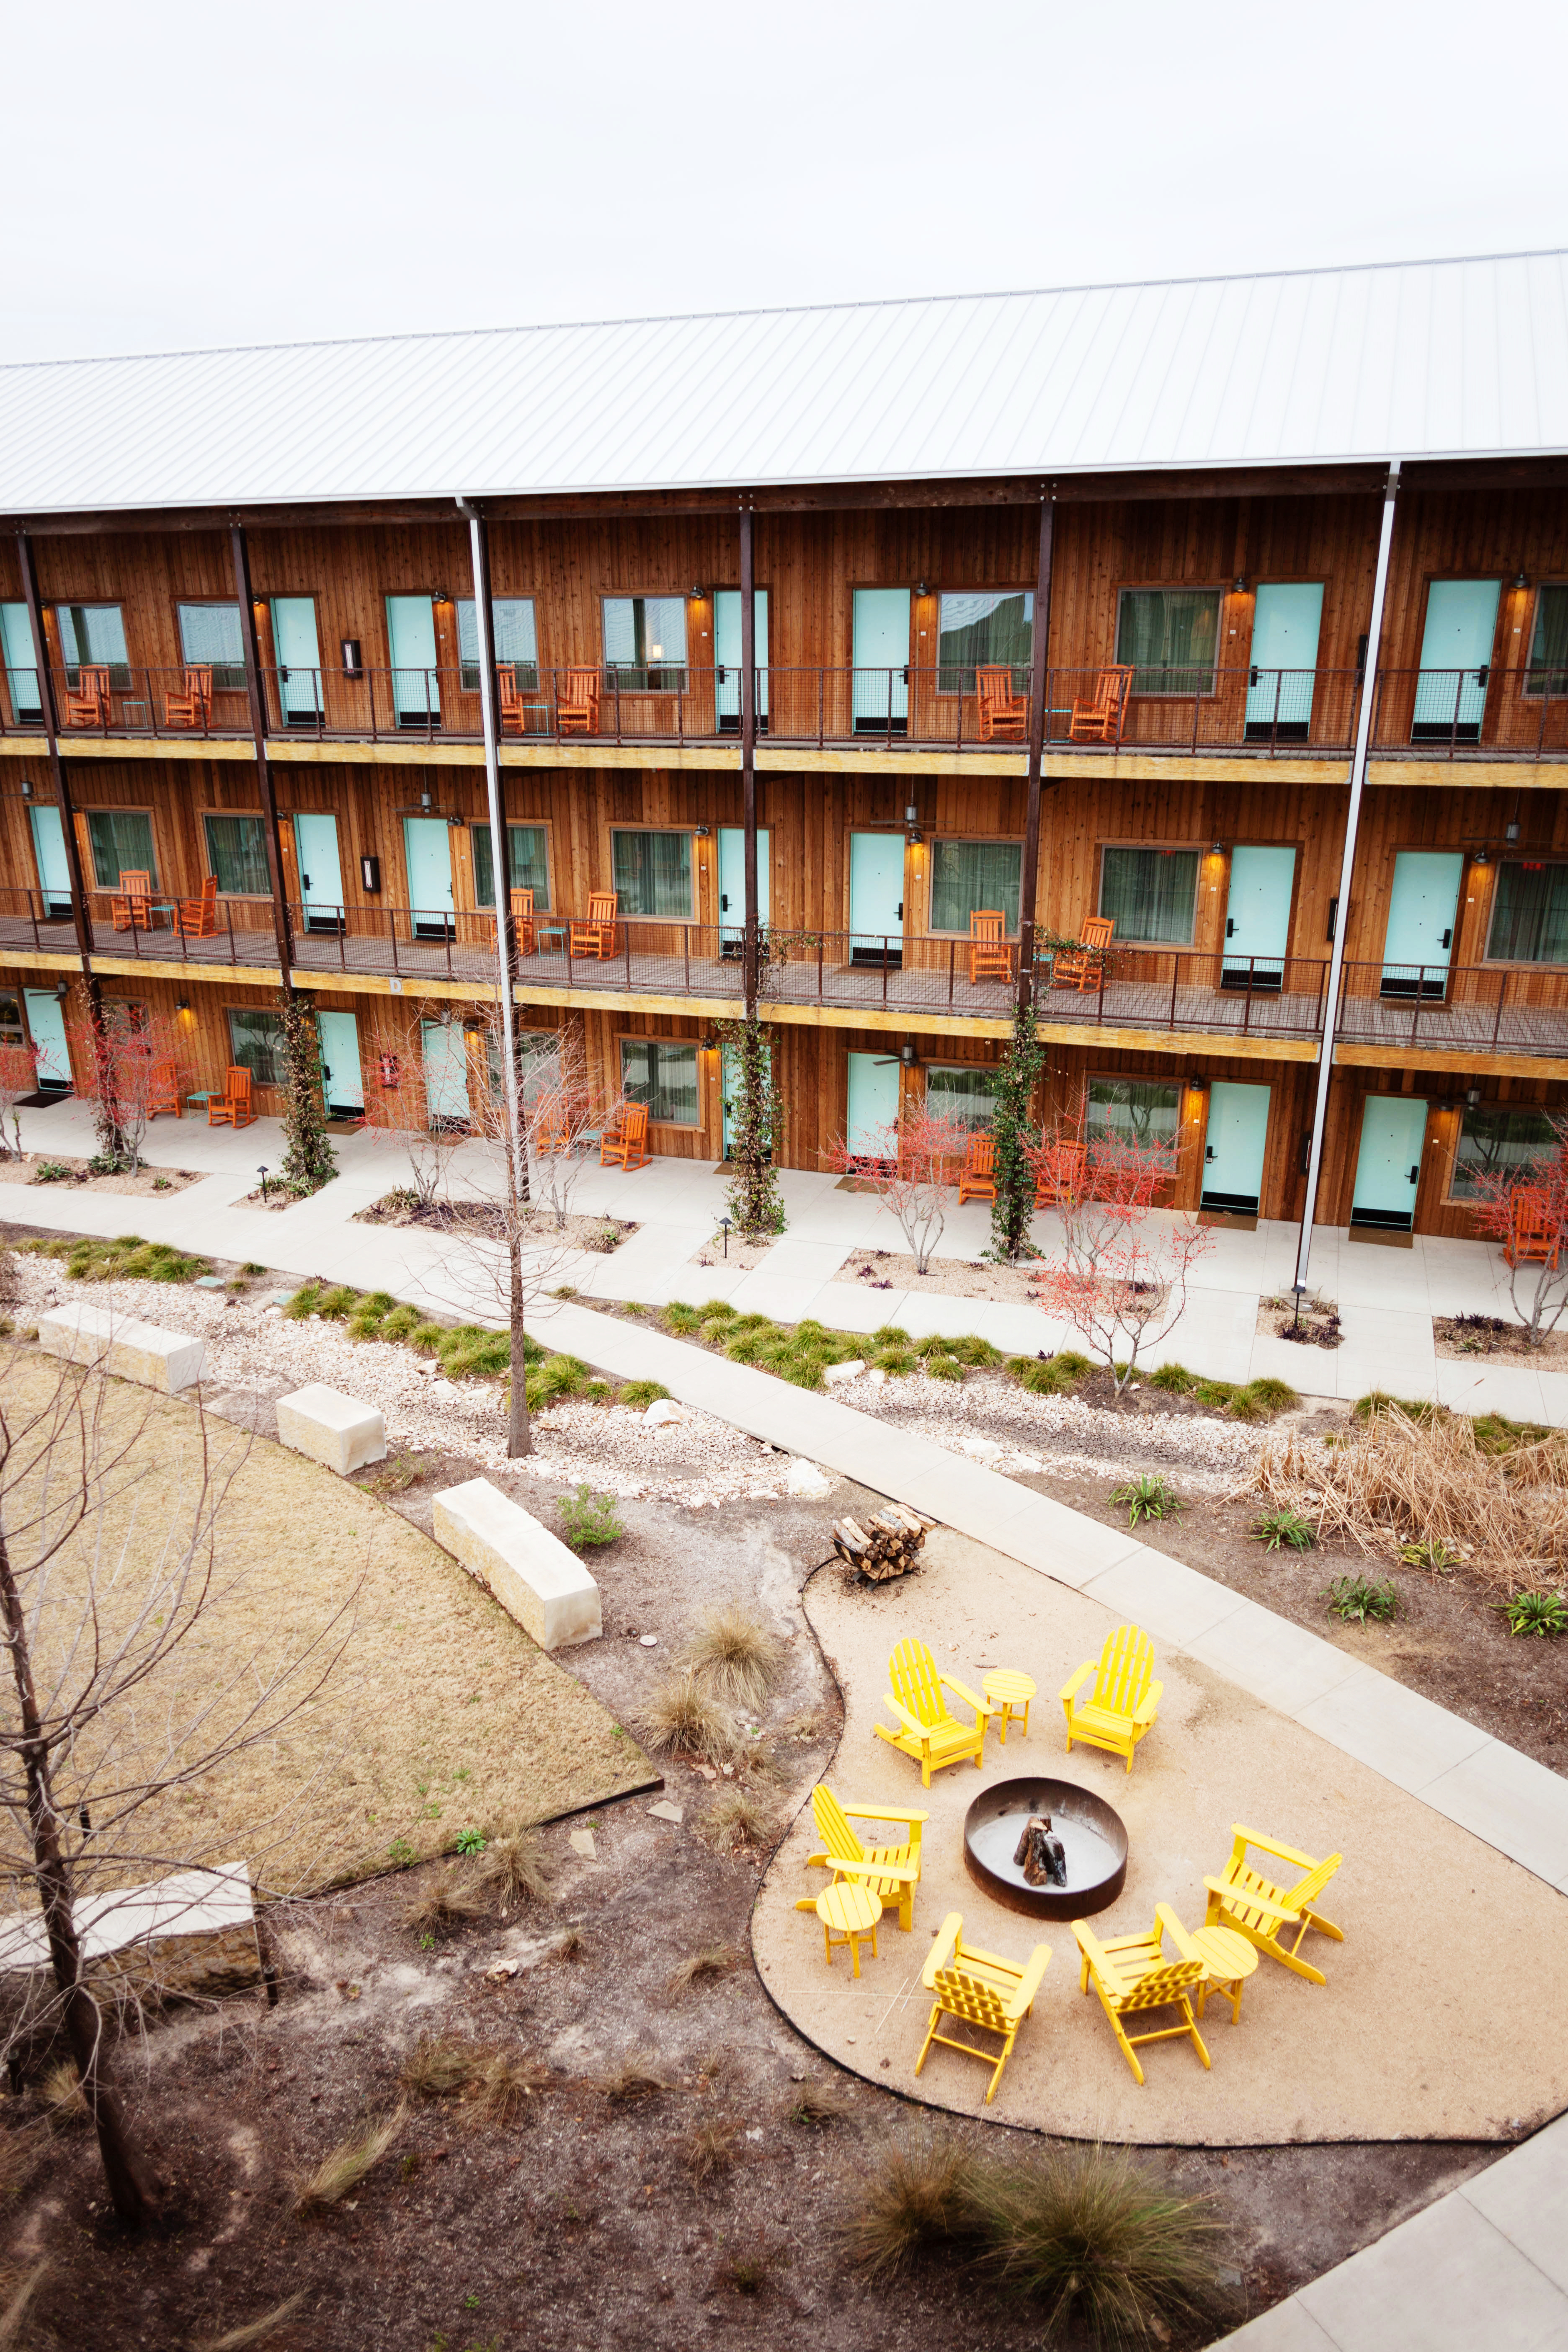 The grounds also have a ton of places to hang out around firepits and a pool.
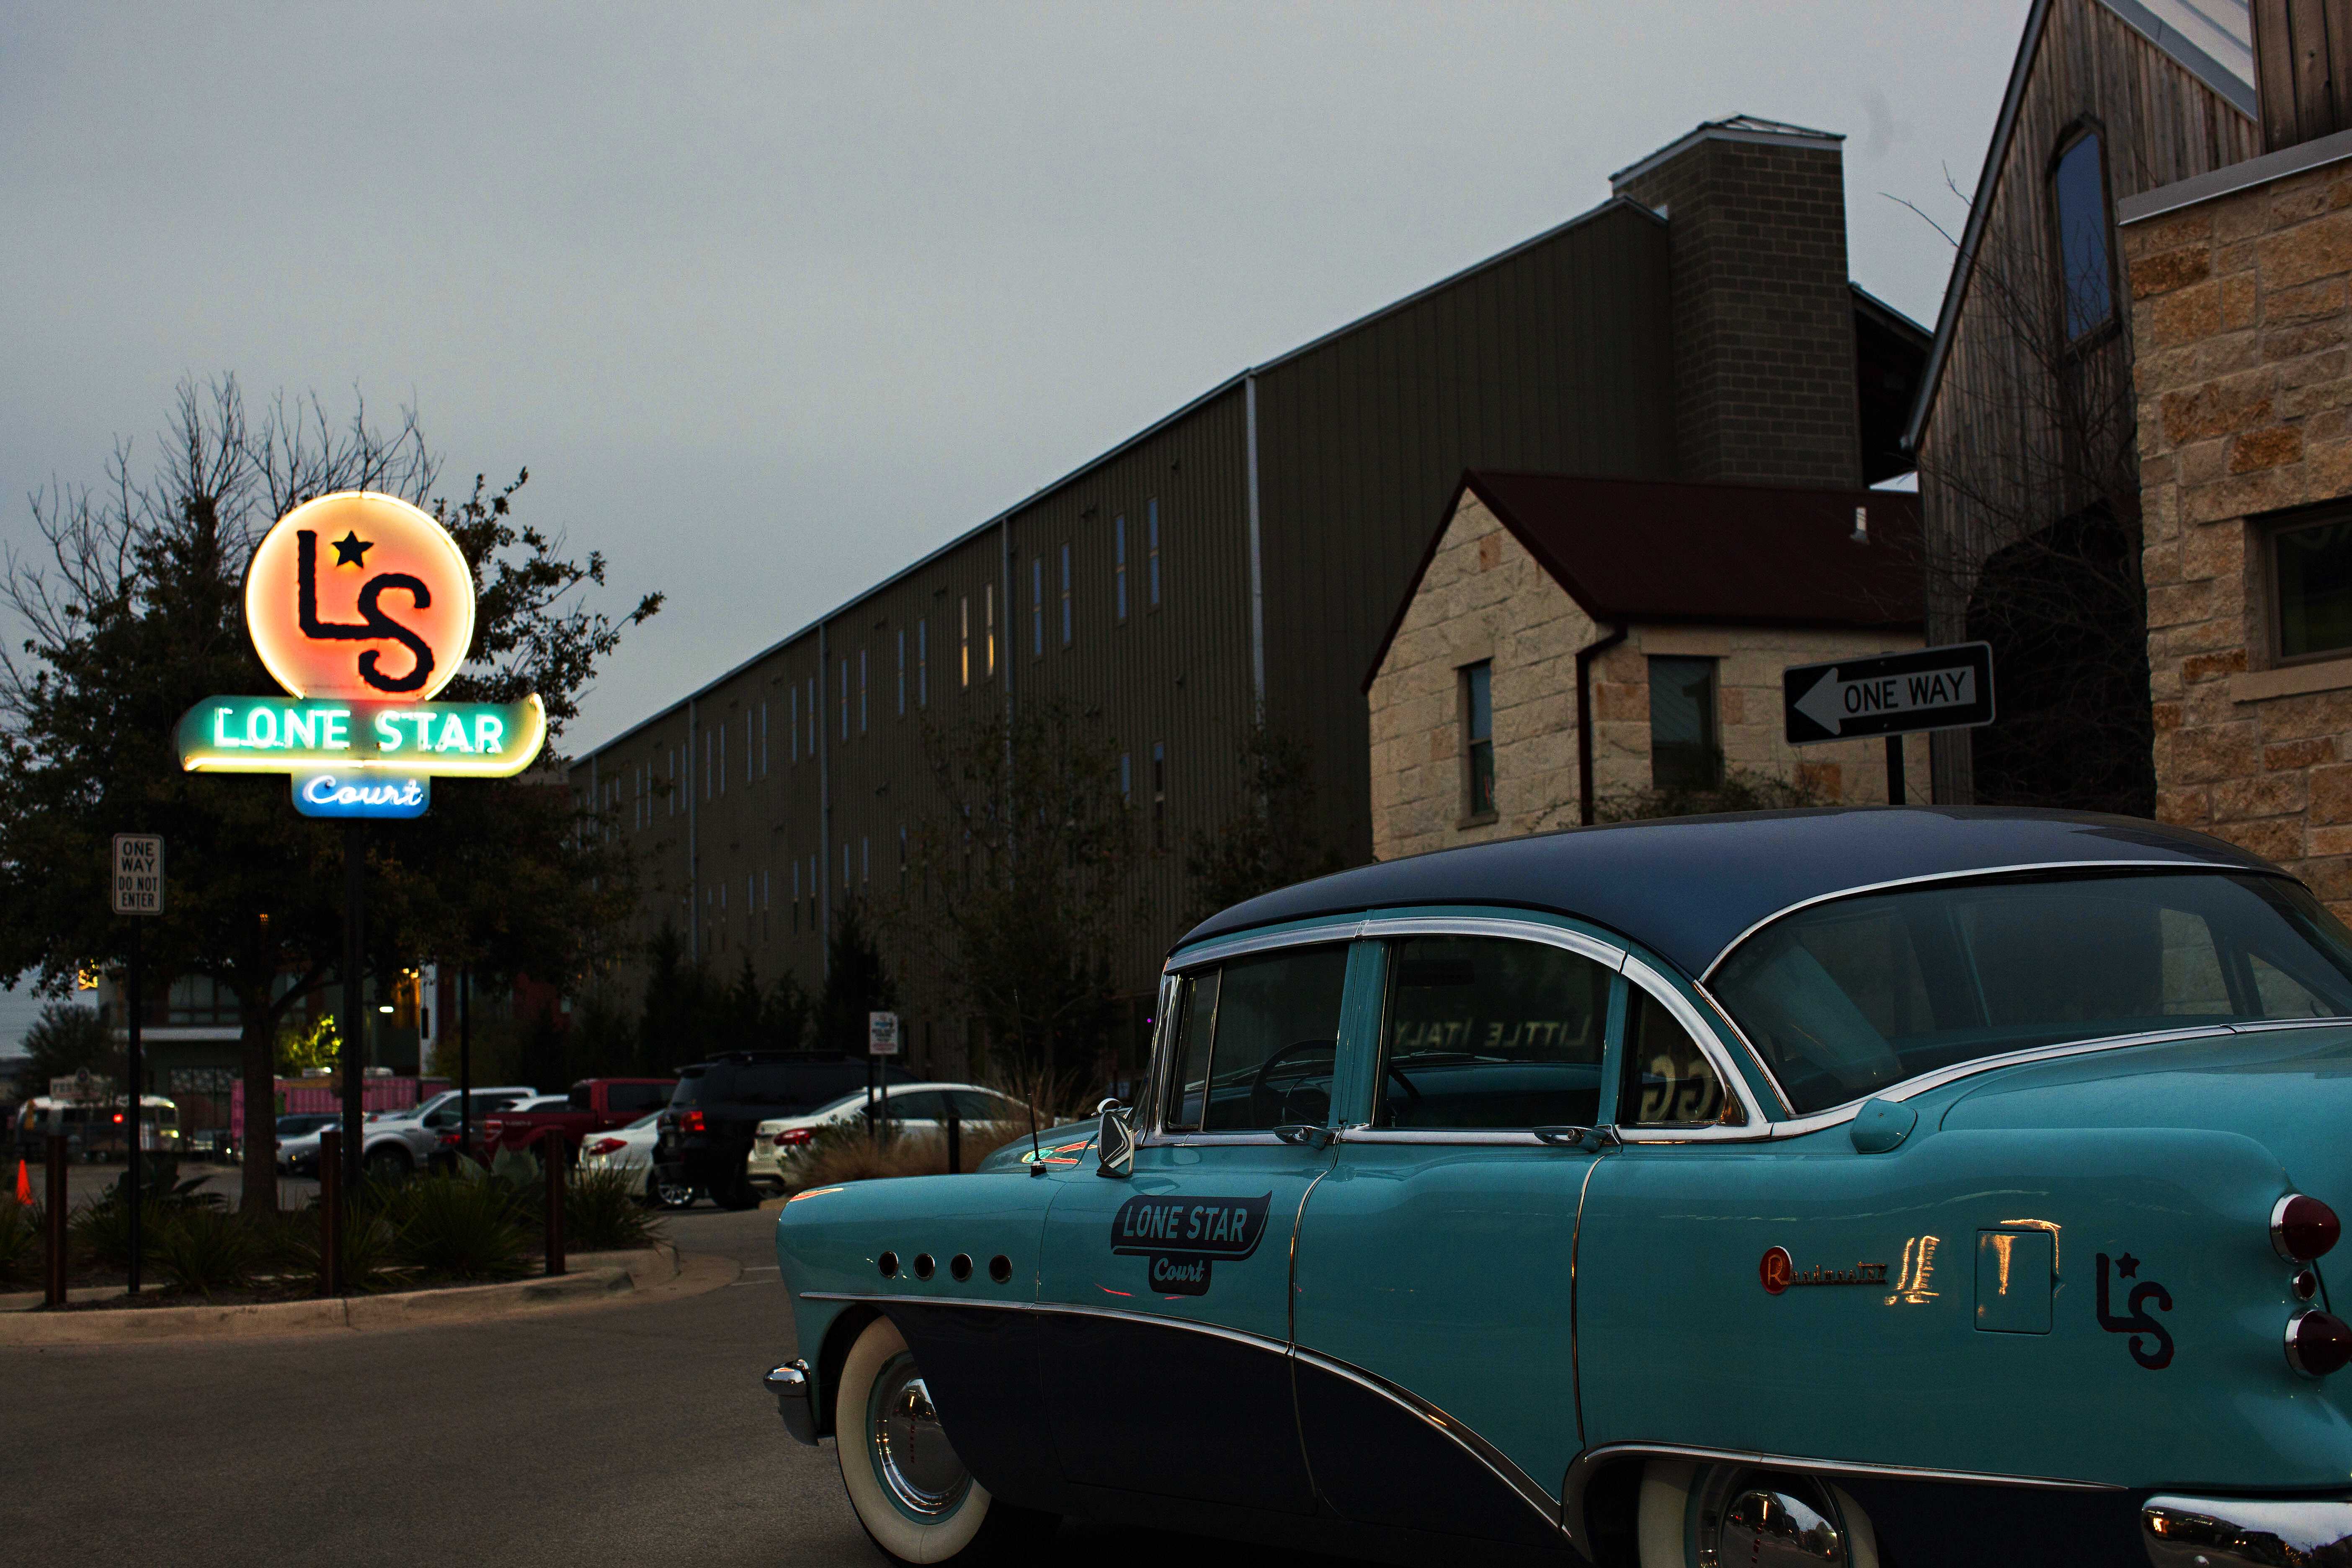
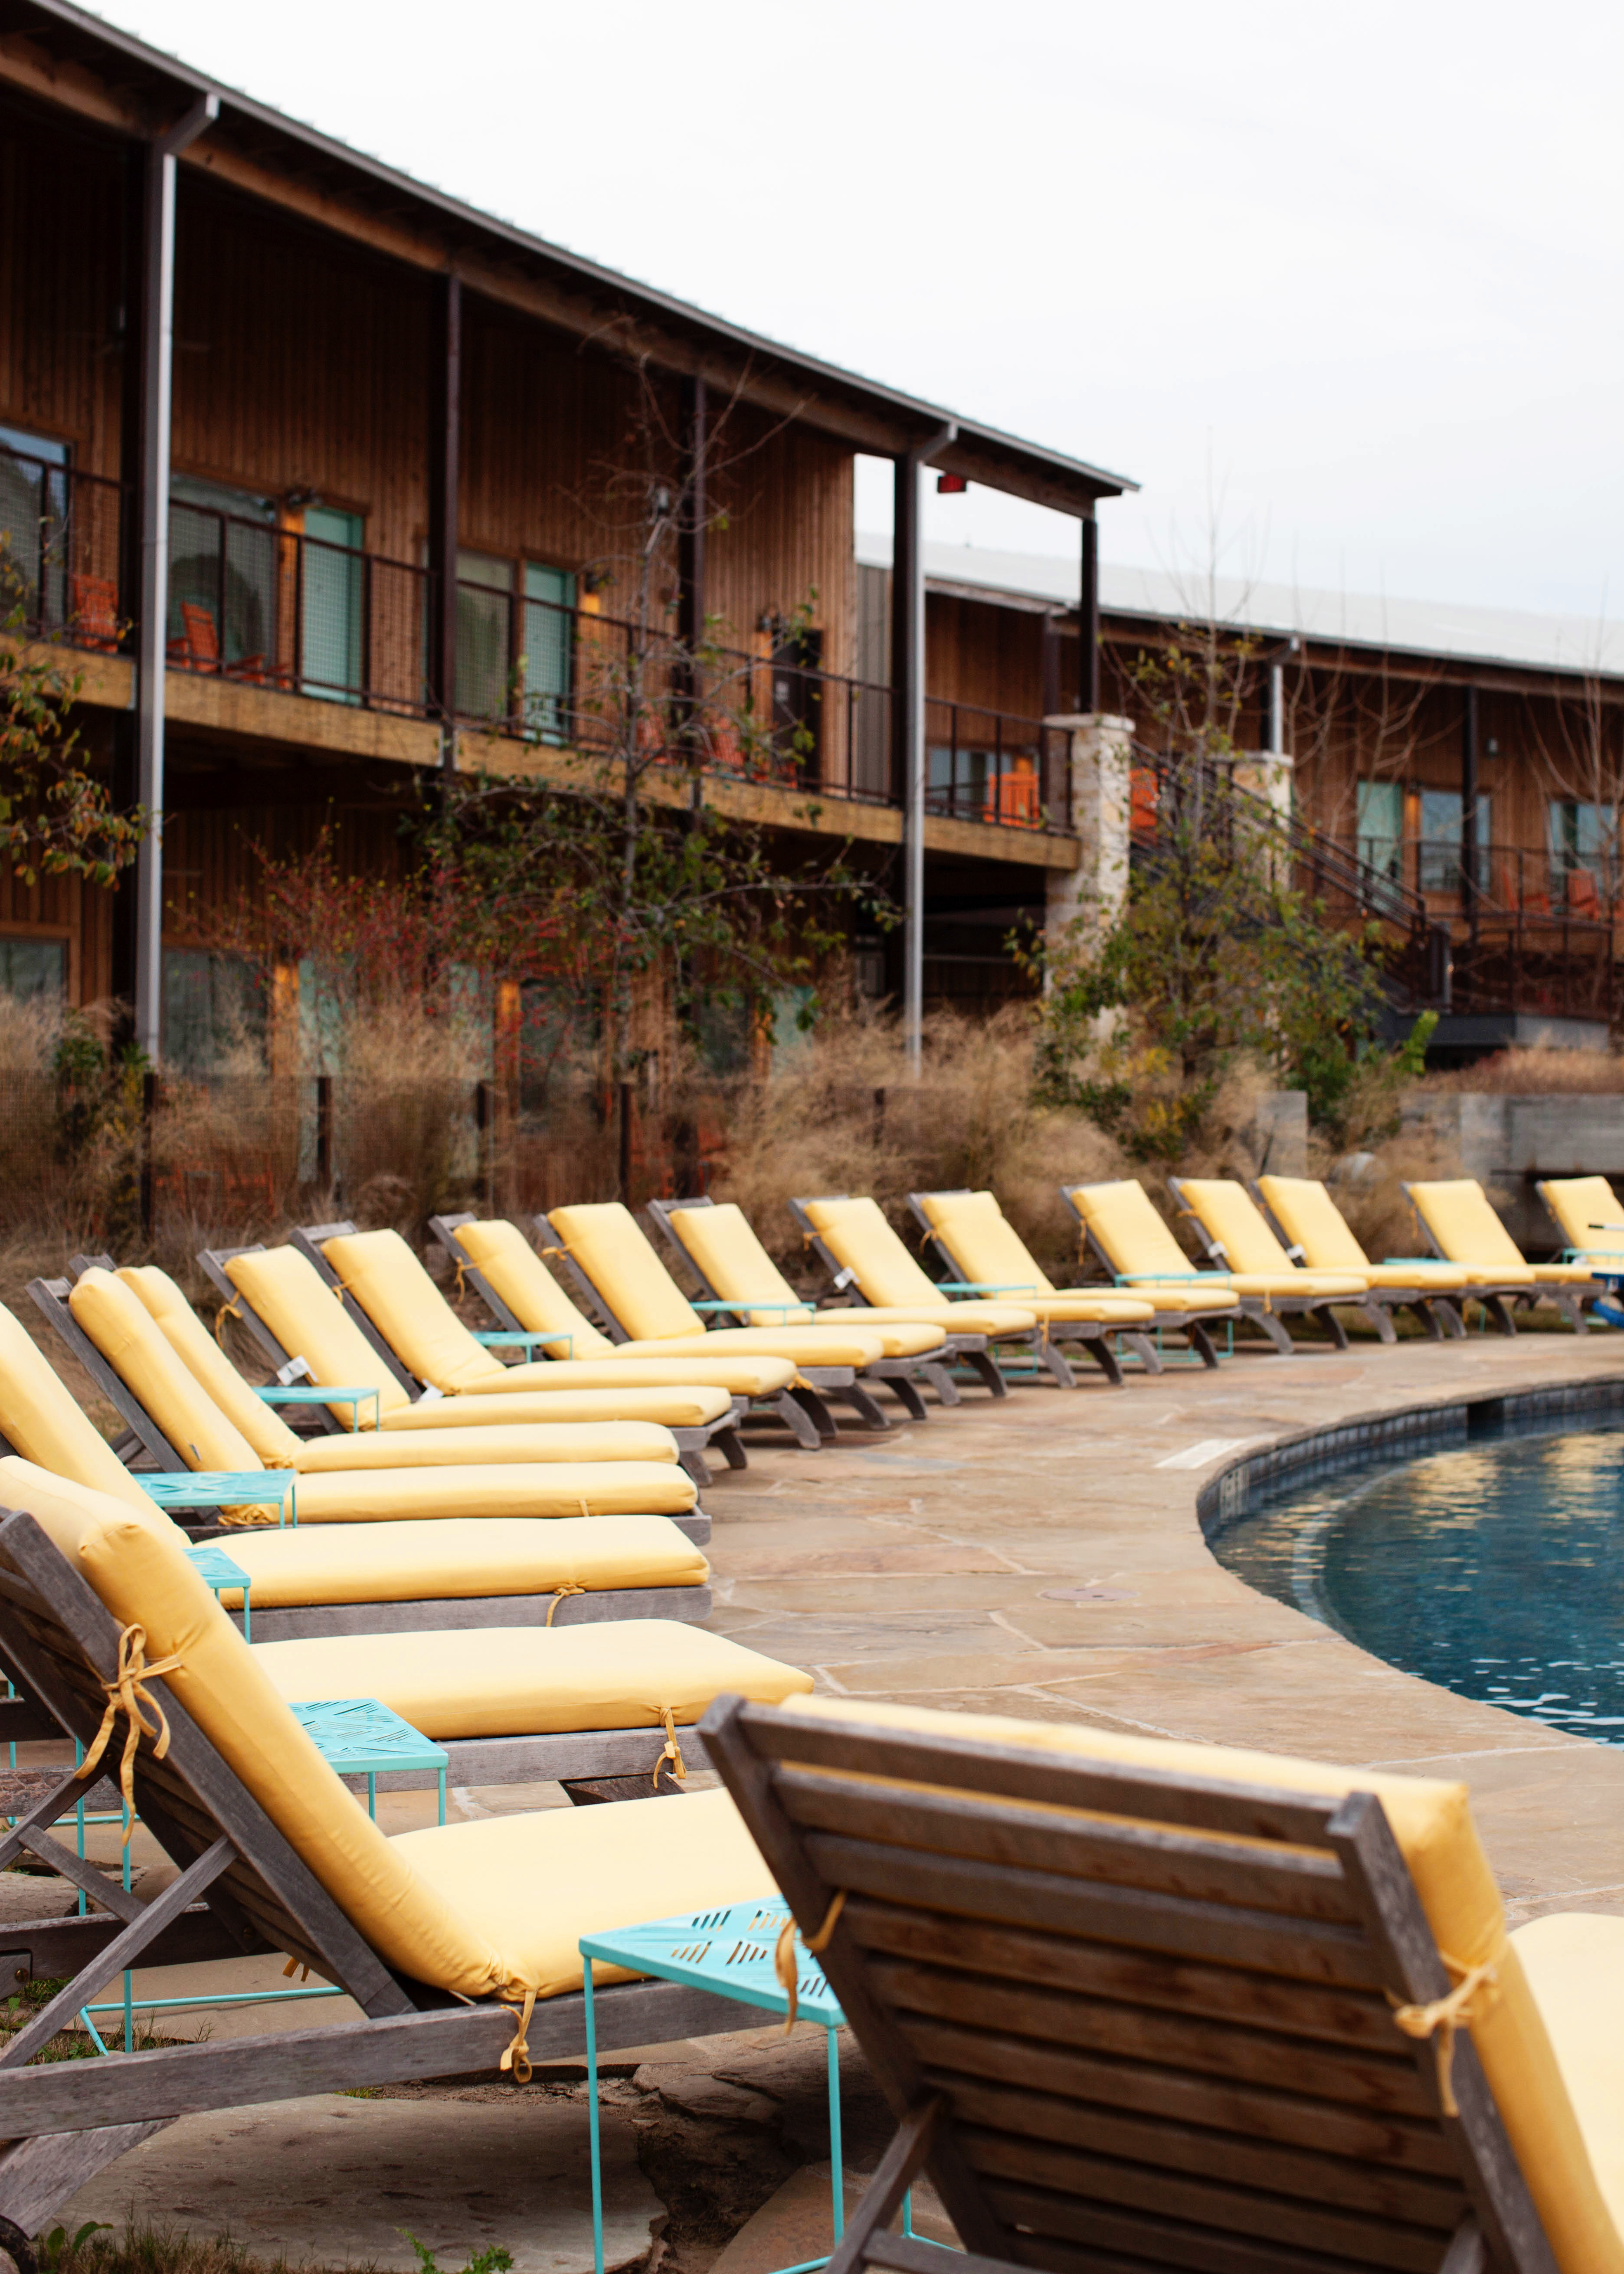 Lone Star Court is conveniently located next to a mall and lots of shops and restaurants, but when you’re in the court you kind of feel like you’re in their little world. One where you can relax in rocking chairs and drink a cocktail out of a mason jar while listening to the sounds of country western.
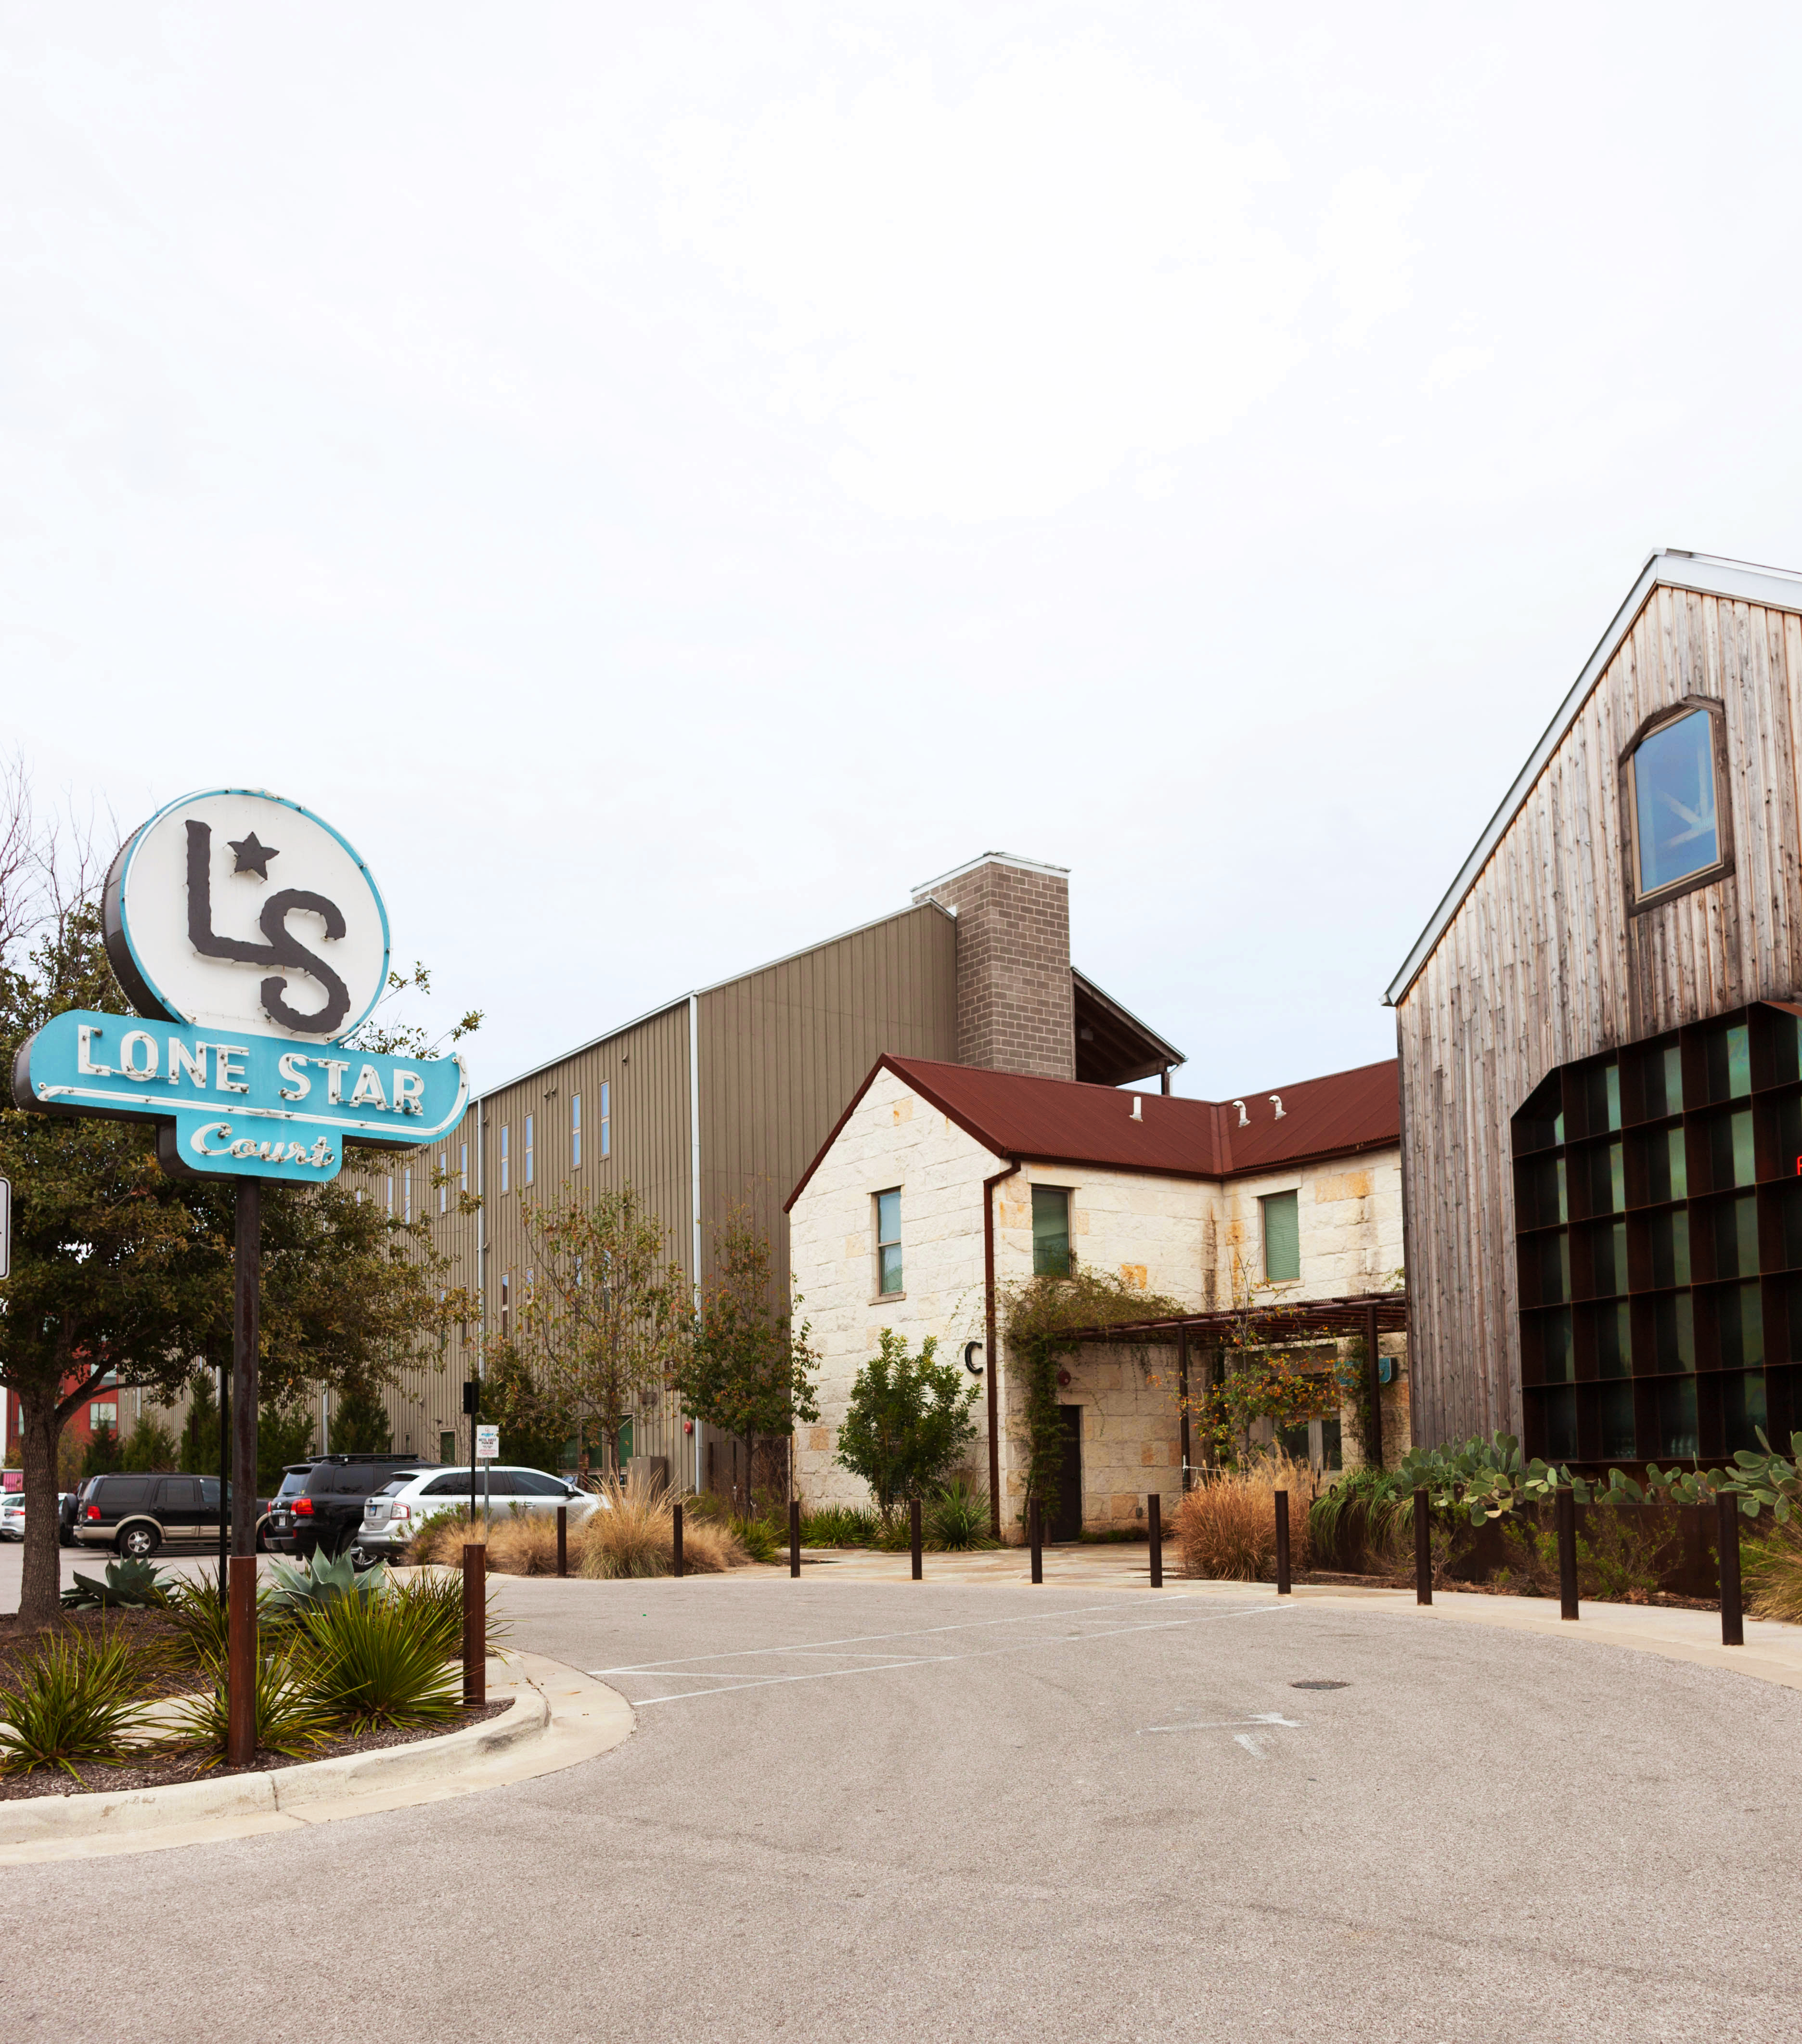
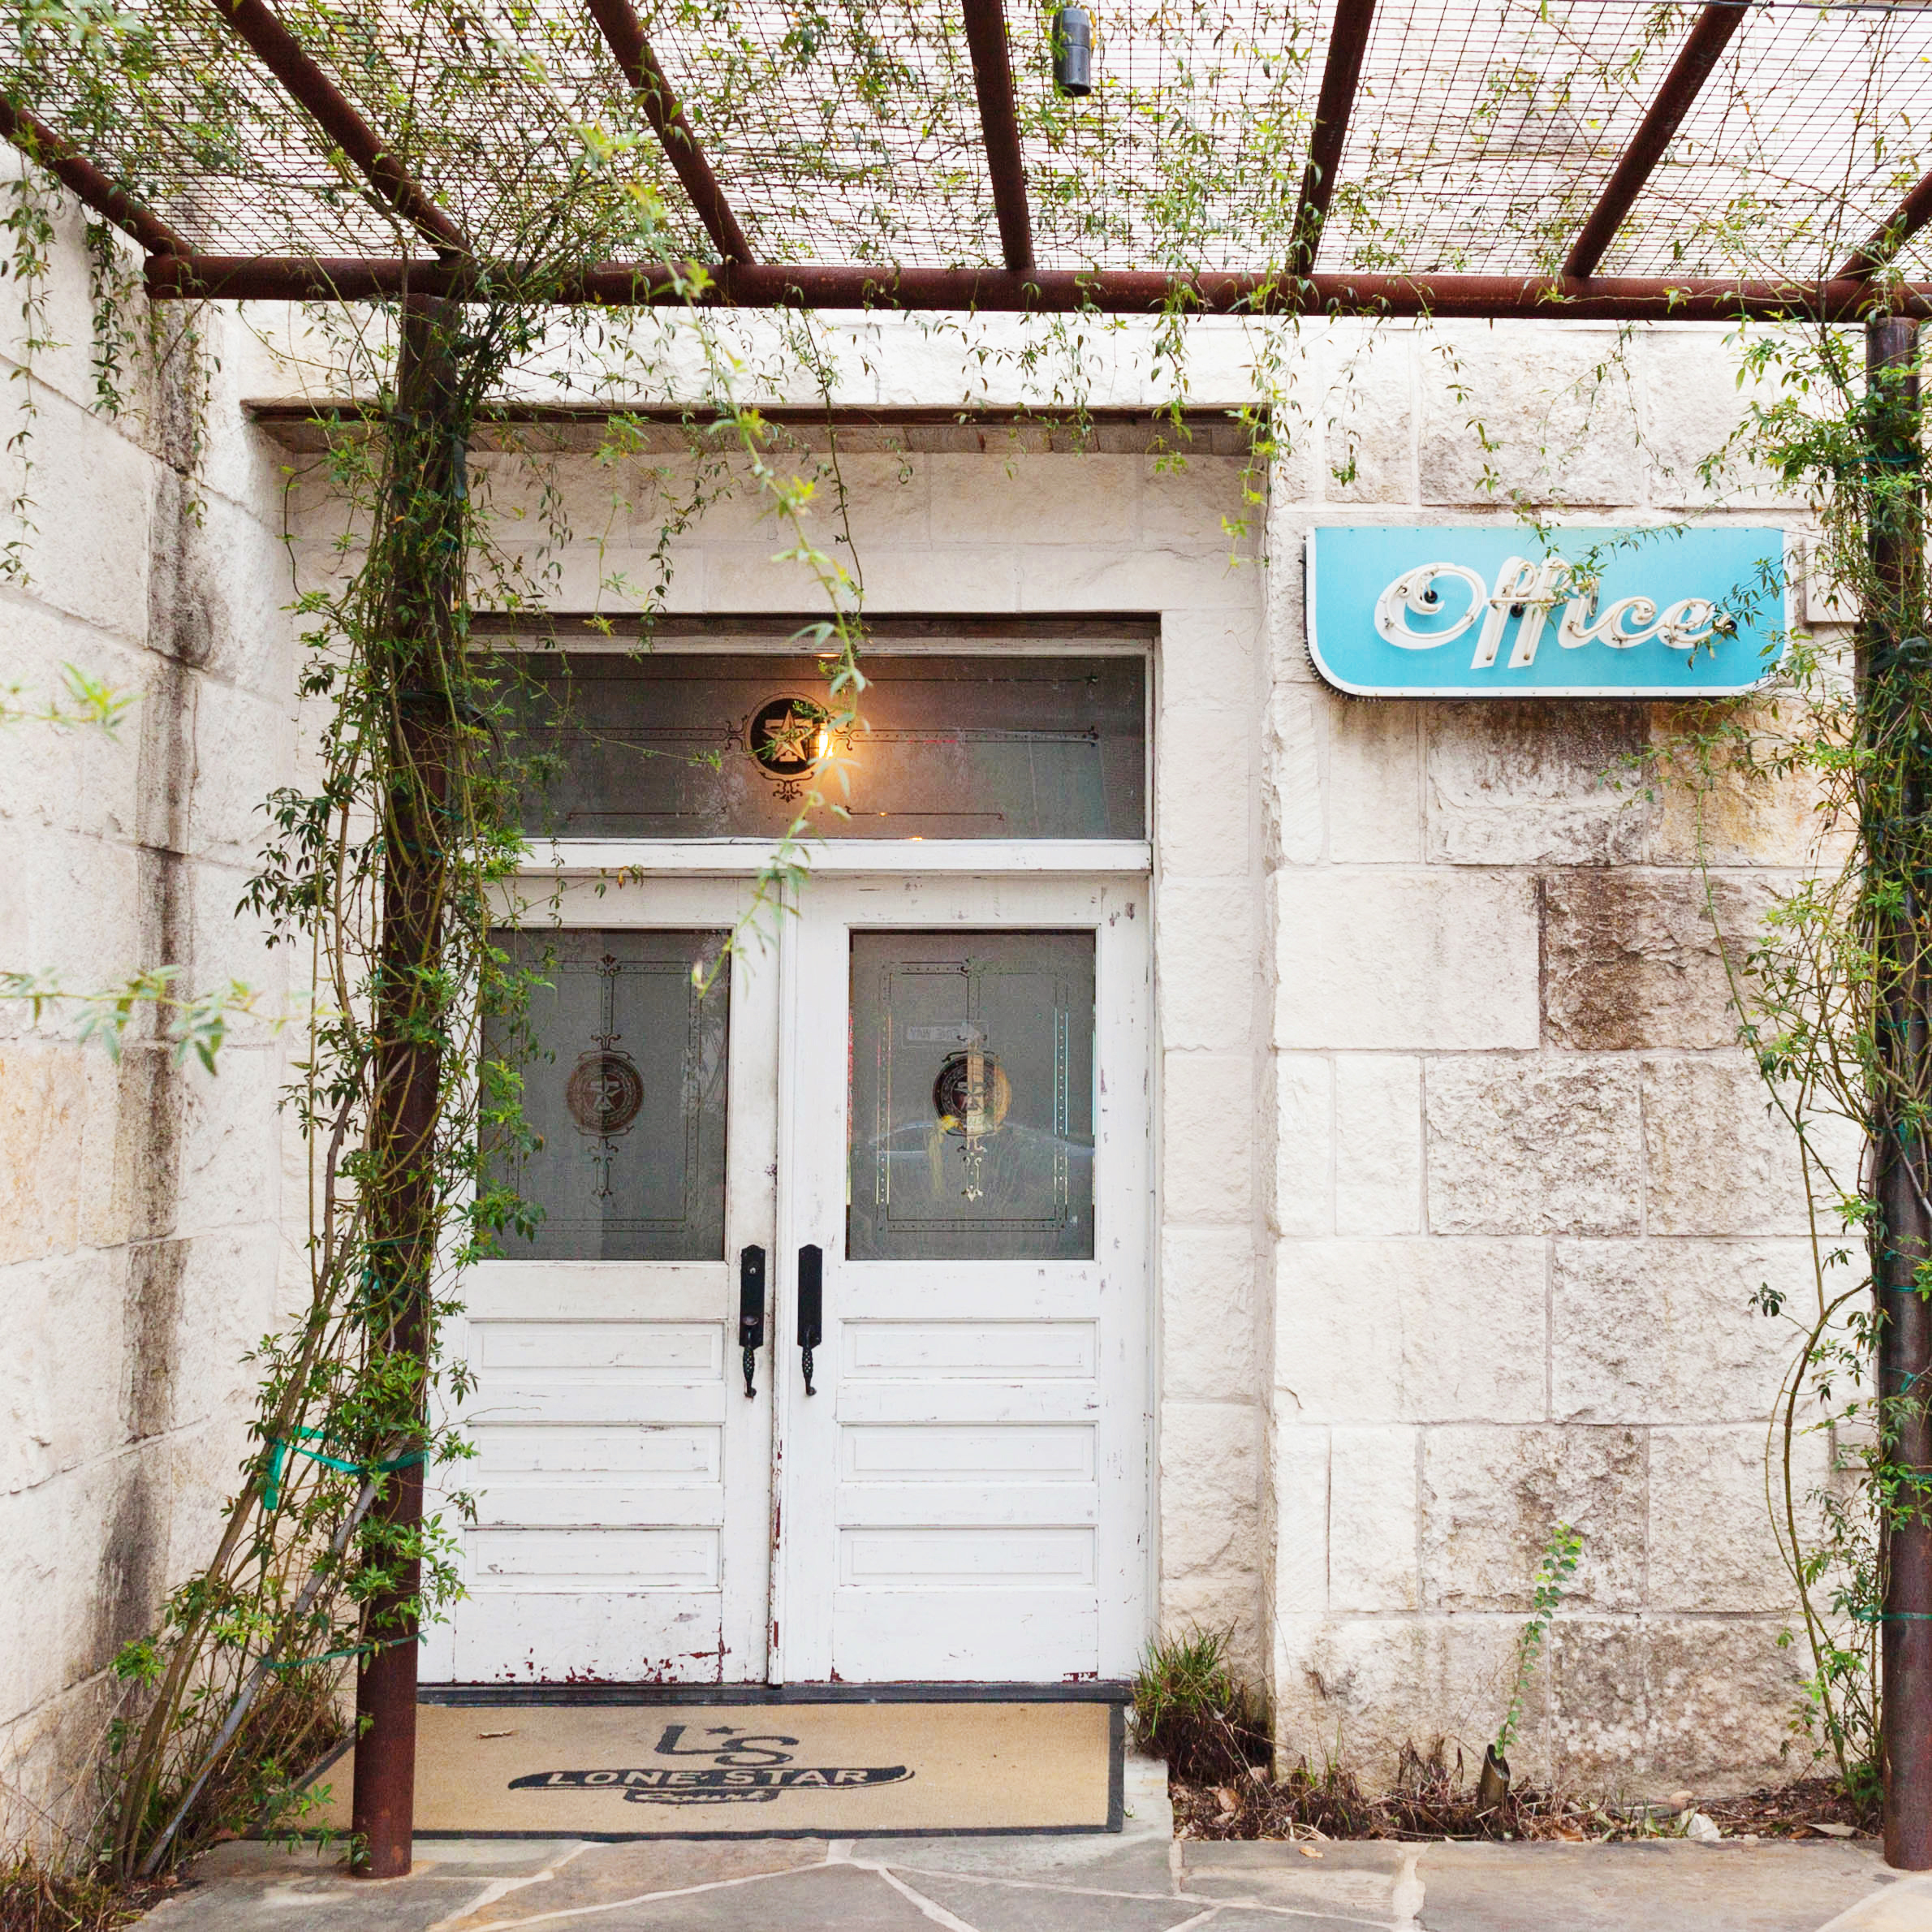
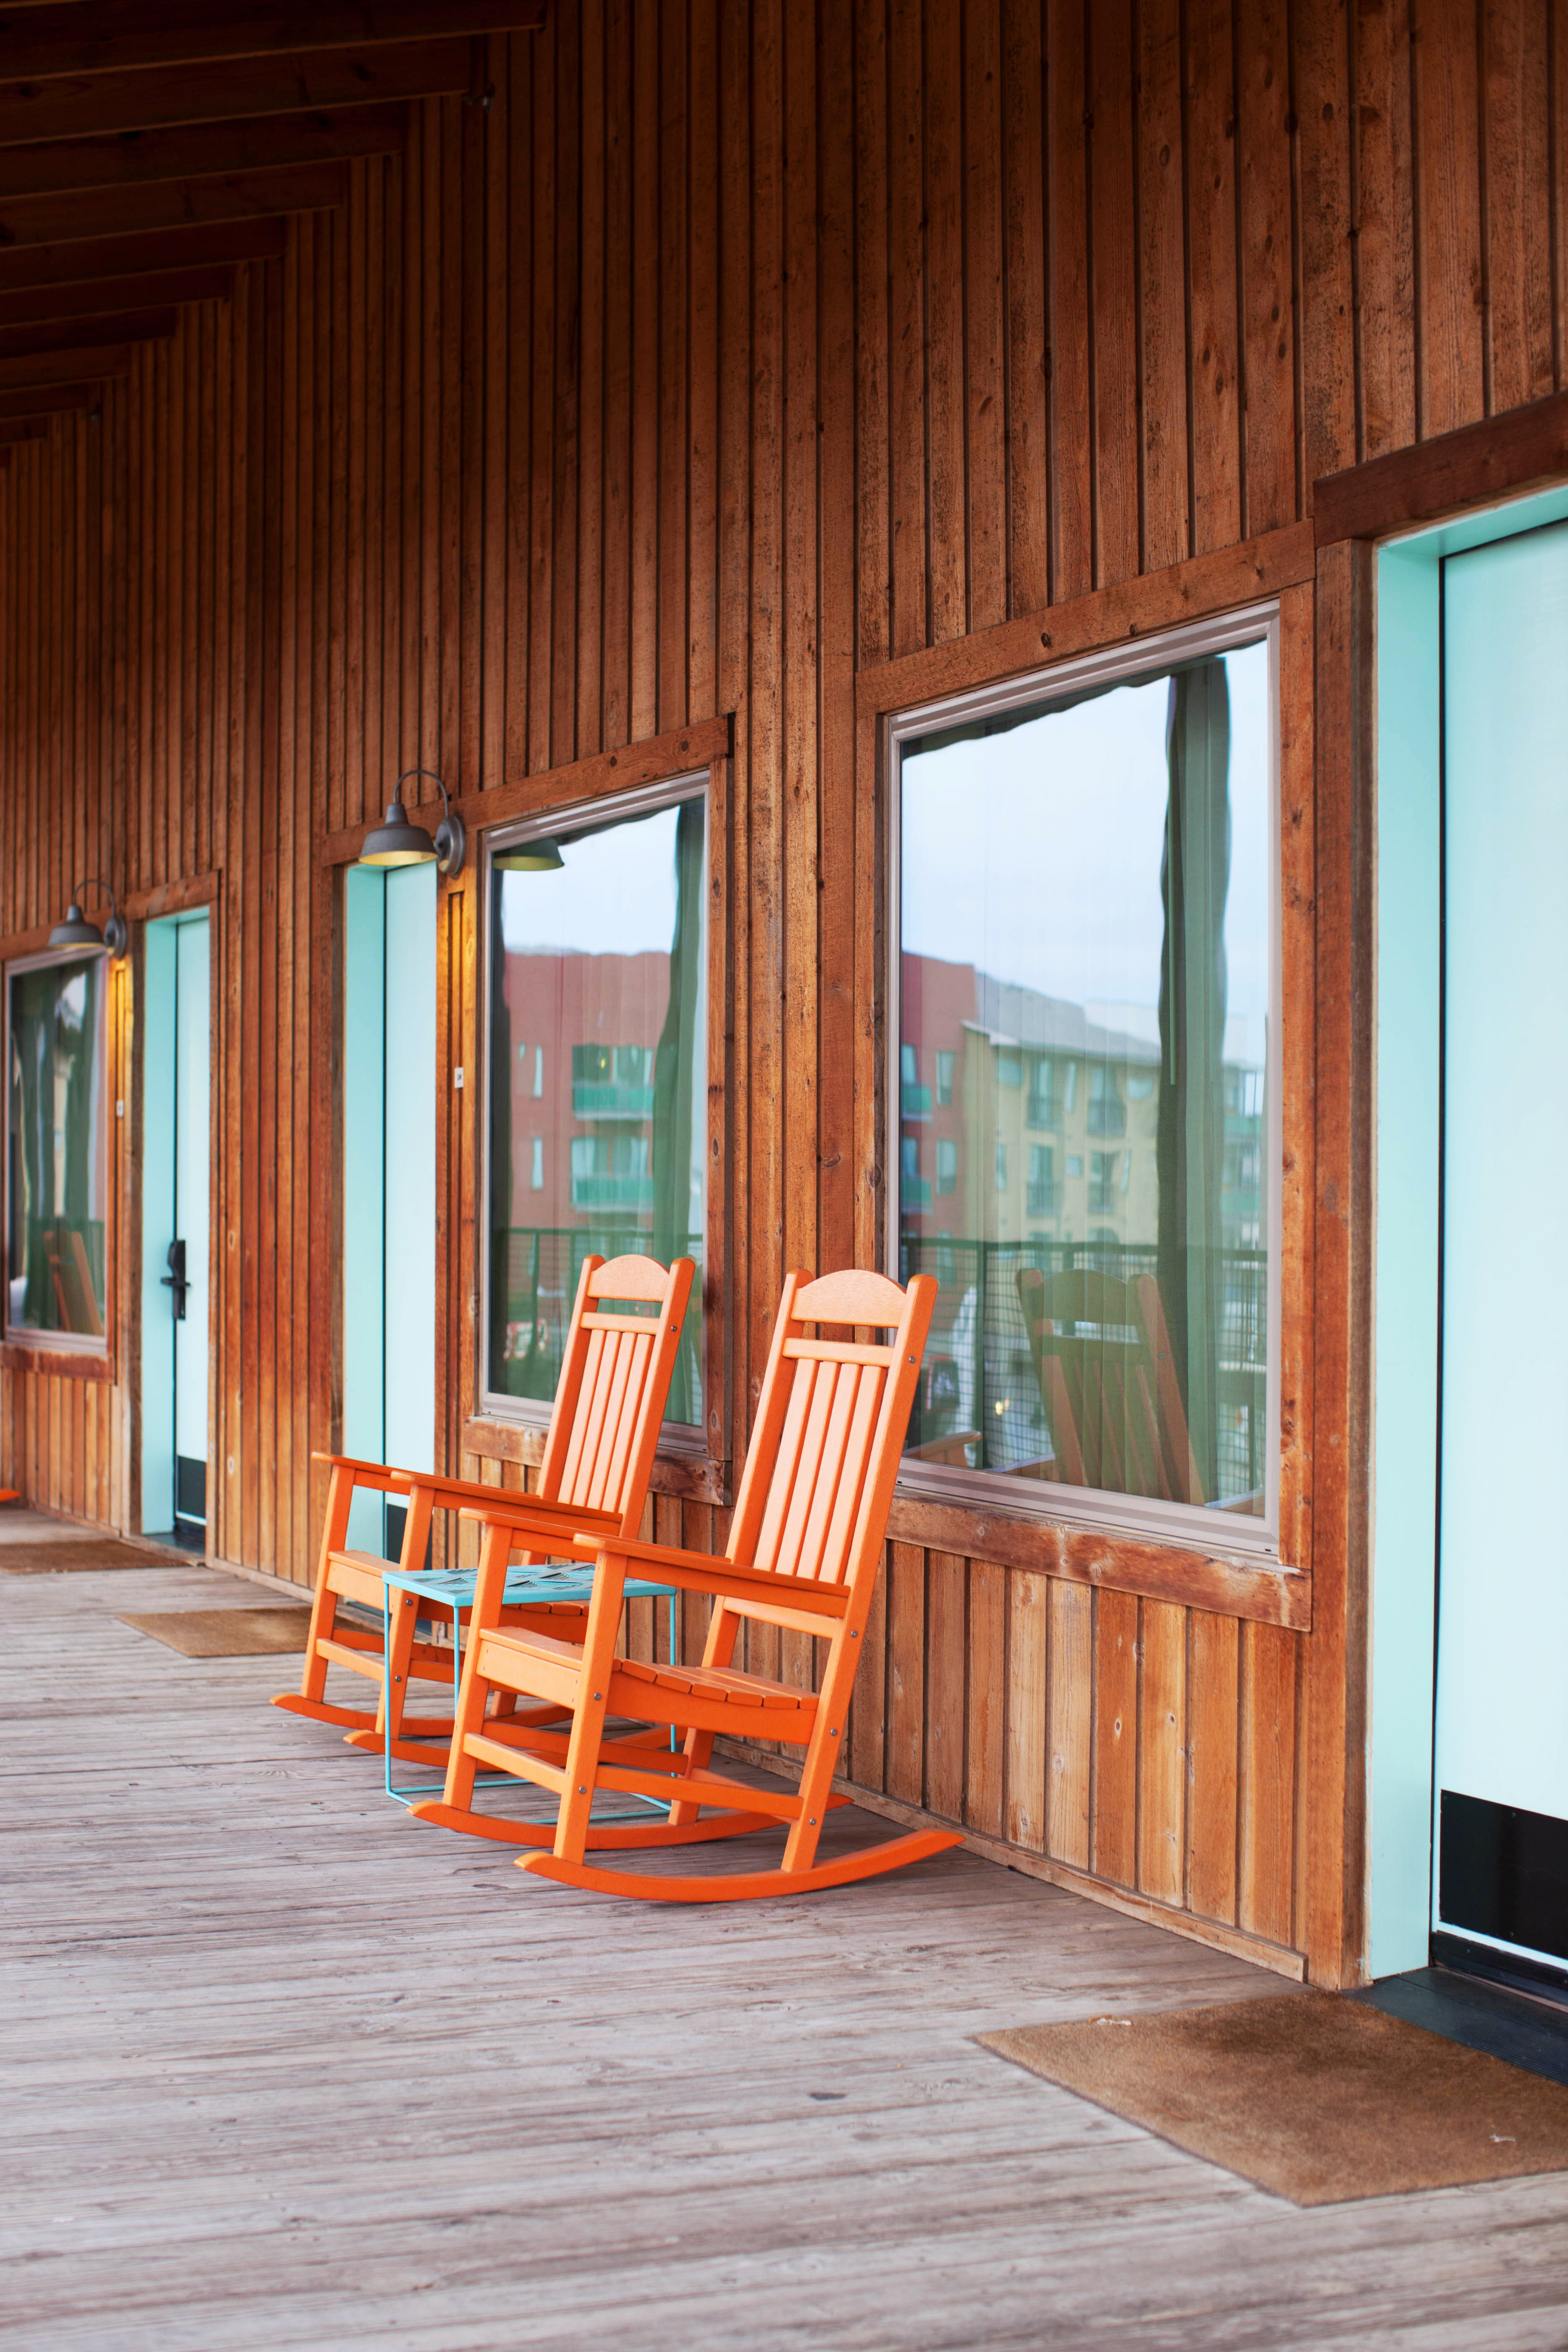 If you want retro vibes with tons of modern conveniences, check out Lone Star Court during your next visit to Austin.