Do you like the look of wallpaper but can’t commit to installing any? Same here. A lot of the projects I do in my apartment have to be temporary because I rent, so I’m always trying to find inexpensive and temporary solutions to my design problems.
When I redecorated my living room earlier this year I knew I wanted to do an accent wall behind my sofa, and I knew I wanted it to be a pattern. I’d heard of people using fabric as temporary wallpaper before and decided I wanted to give it a whirl. I fell in love with a fabric that I ended up scoring for $6, and the other materials are really inexpensive, so it was no big loss if it didn’t work out.
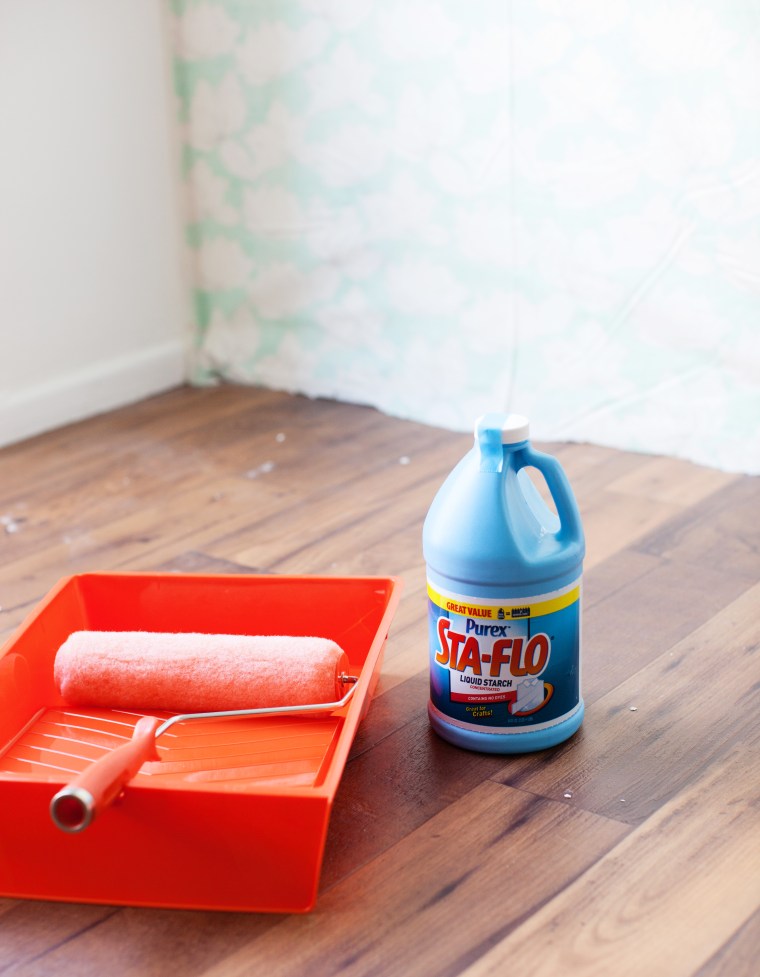
For this project you need fabric (I used a light weight cotton), liquid starch, push tacks, an exacto knife, and a paint roller. For everything I paid less than $20 total!
Side note: I did this project on the rainiest day of the year, so please excuse the lighting in some of the images!
First, I used push tacks to hang the fabric up on the wall. I tacked at the ceiling line and sides.

Then I used a paint roller to apply the liquid starch to the fabric.
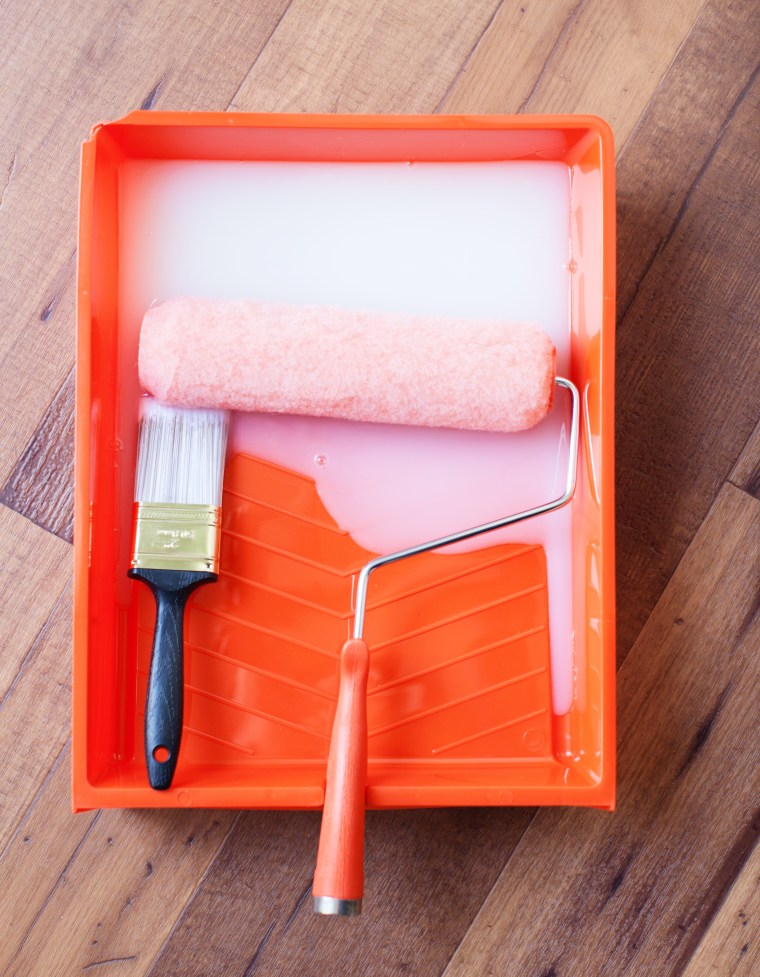

I started at the top, smoothing out air bubbles and wrinkles as I worked my way down. Make sure you saturate the fabric thoroughly so it sticks to the wall very well. I repeated the process for each piece, matching up the edges on the sides. This fabric had a label on one of the selvage edges, so I cut that off before applying it to the wall.
Let it dry thoroughly for several hours. I let mine dry over night.

Next, I used an exacto-knife to cut around the edges of the wall and around any details like air vents and electrical sockets. For any left over air bubbles, I just sliced them and re-saturated, then pushed any air out. 

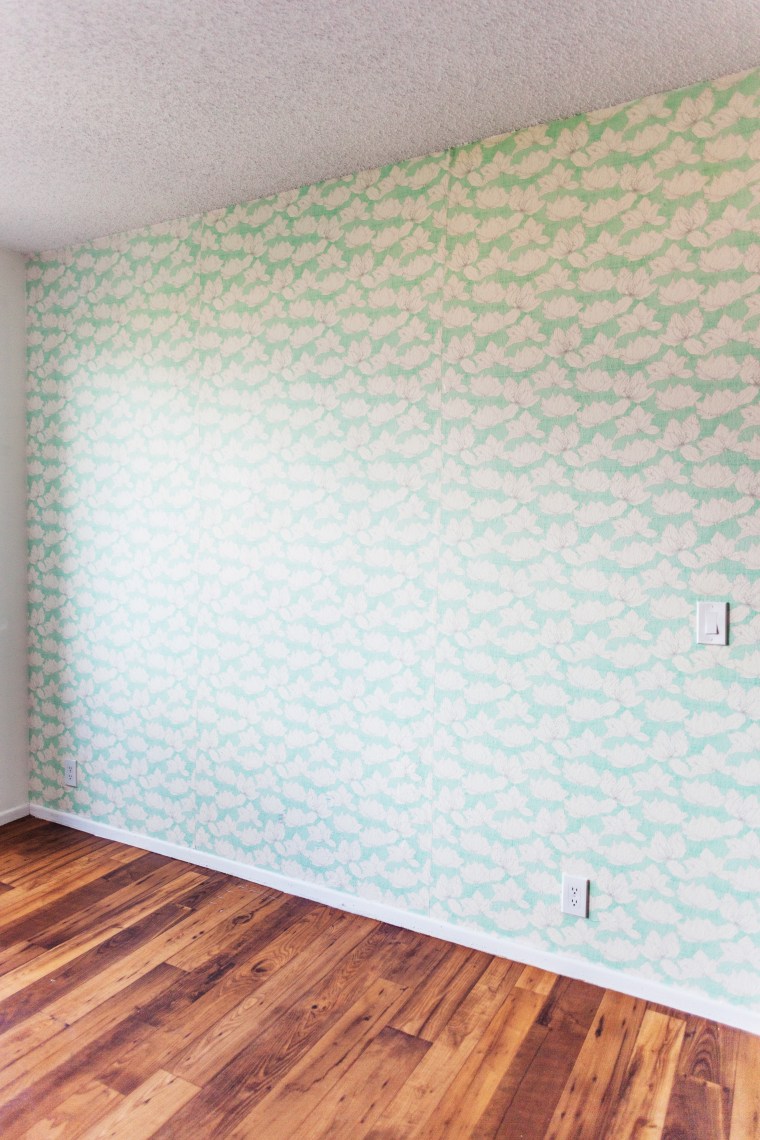
That it! I was actually shocked at how much easier it was to do than I imagined. It took me a few hours but wasn’t as labor intensive as I anticipated. Here’s how it turned out!


I love it!
To remove it all you have to do is set a corner with warm water and peel it straight off the one in one piece. I actually removed a piece and put it back up on the wall because I didn’t like the placement. The best part is this fabric can be laundered and reused whenever I choose to remove it!
Clean up is also a breeze. Just regular soap and water will do!
Have fun!

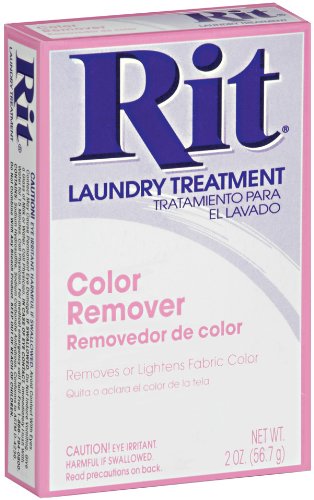
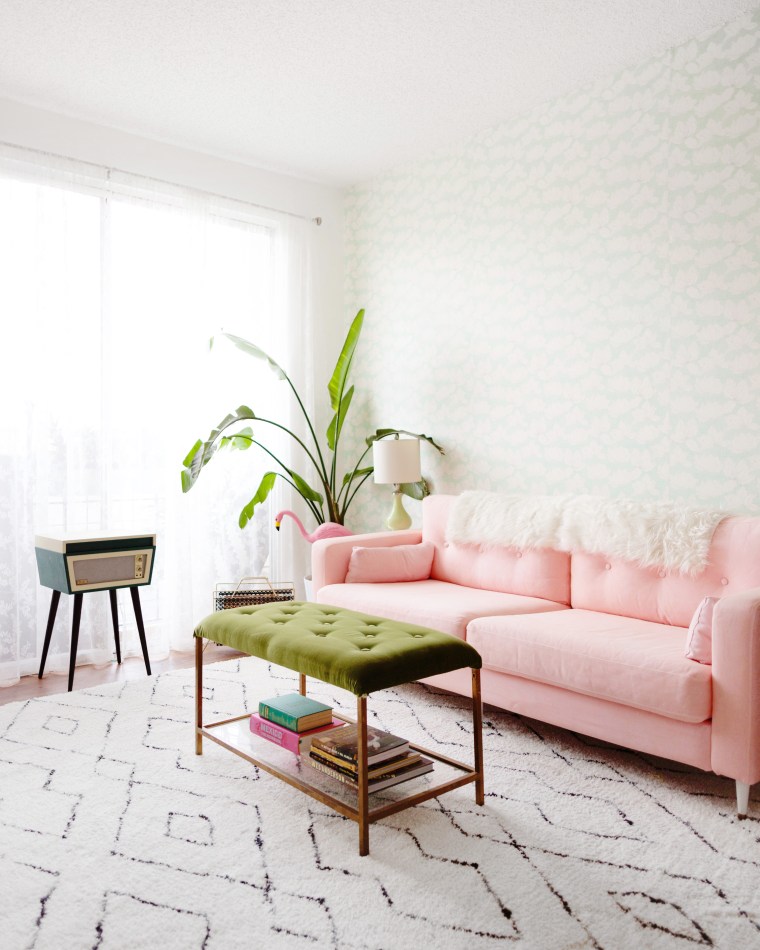
 Then I promptly had a minor freak out because it didn’t turn out the rosey/peachy/blush pink color that I wanted and that appeared on the box.


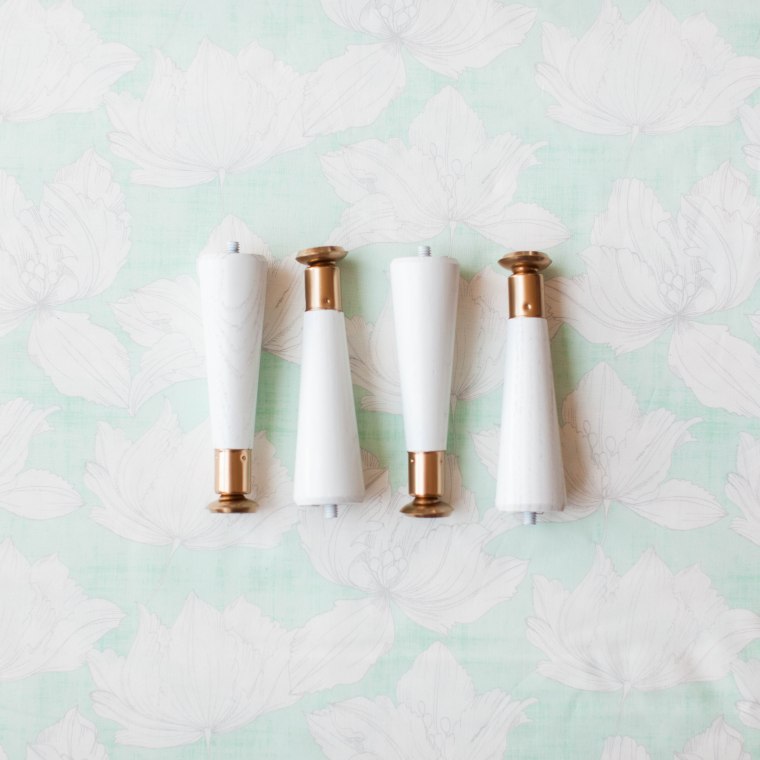
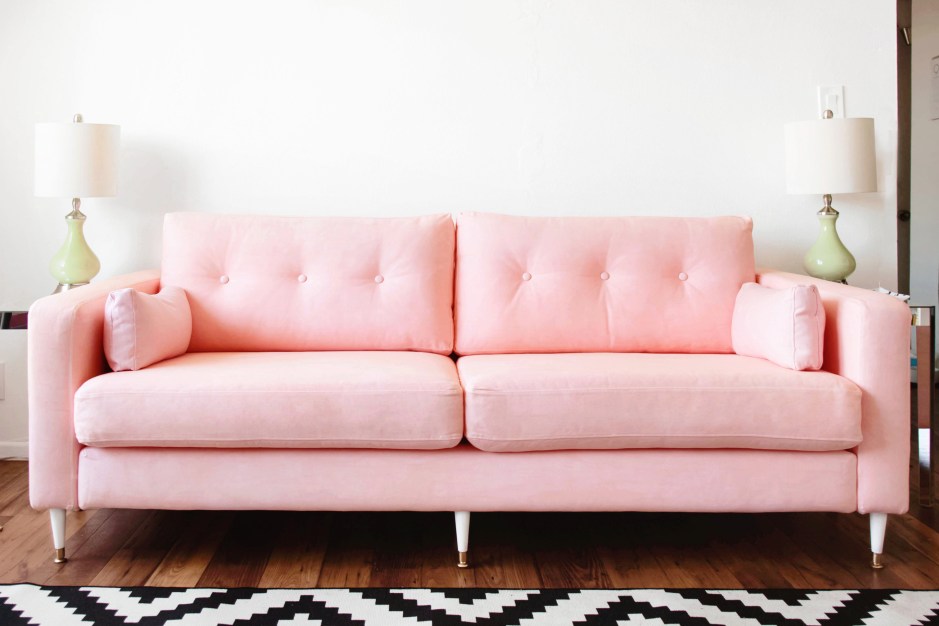
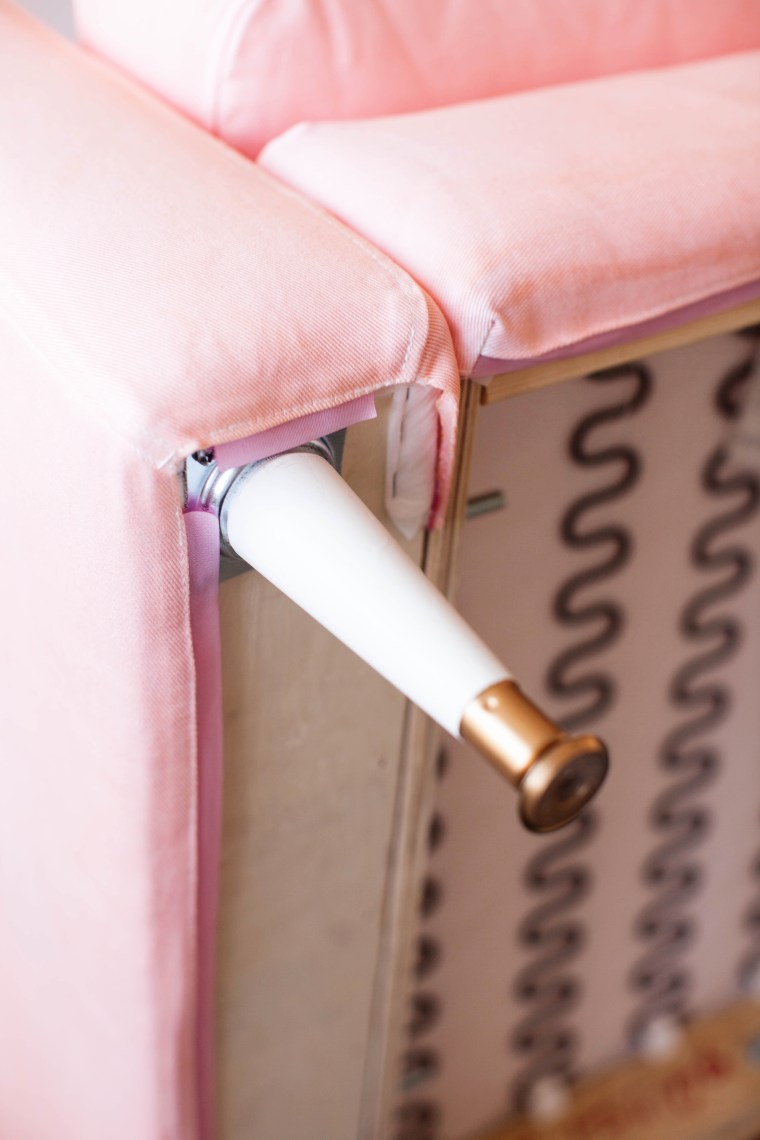 I wanted to have legs in the center of the sofa, too. Partly for more support, but mostly because I like the look of it.
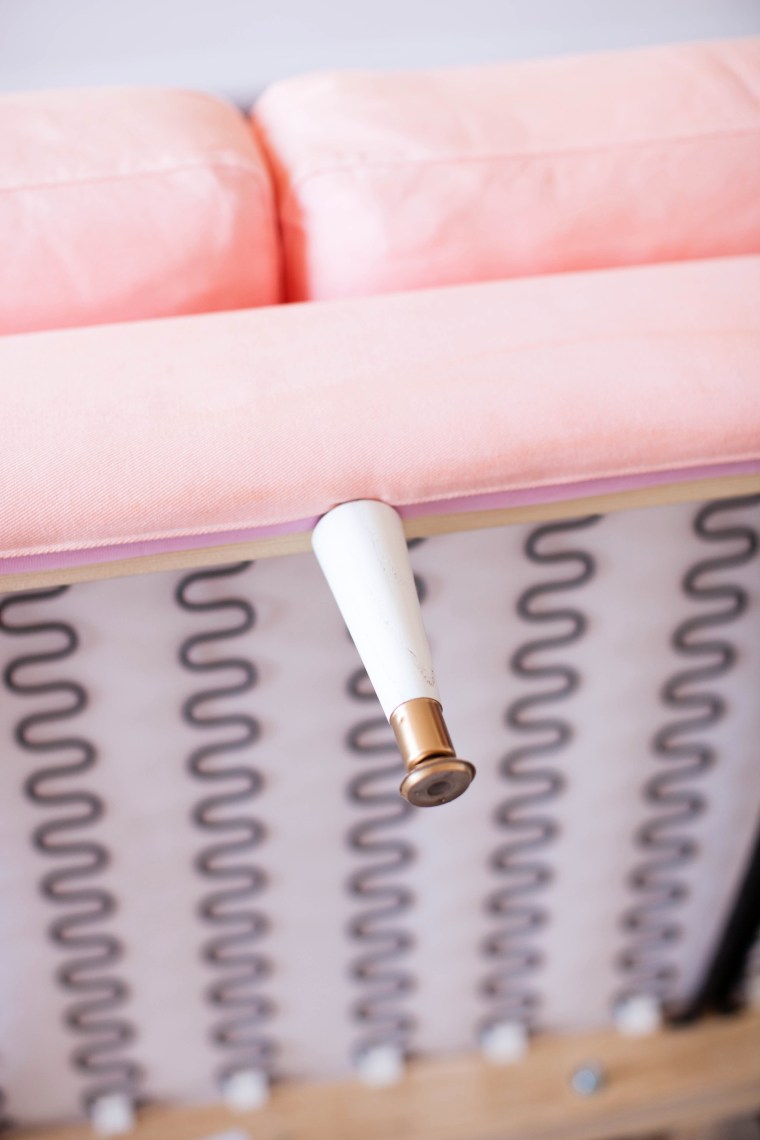
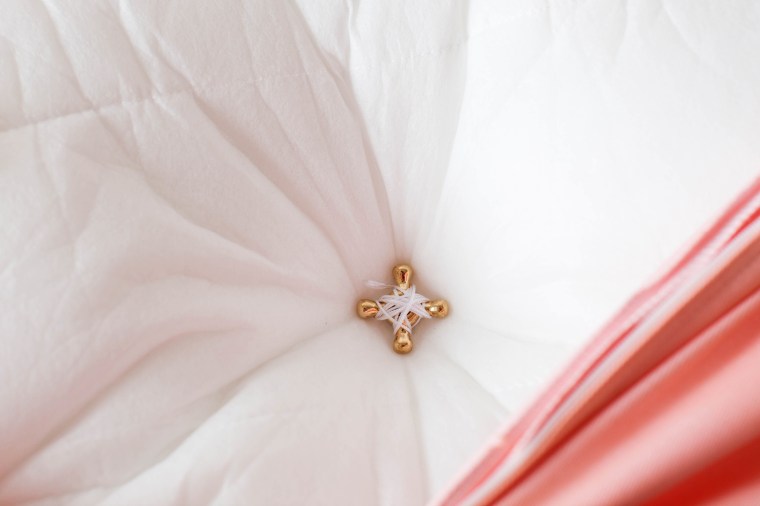

 I love the way the warm pink looks with the white and gold legs.
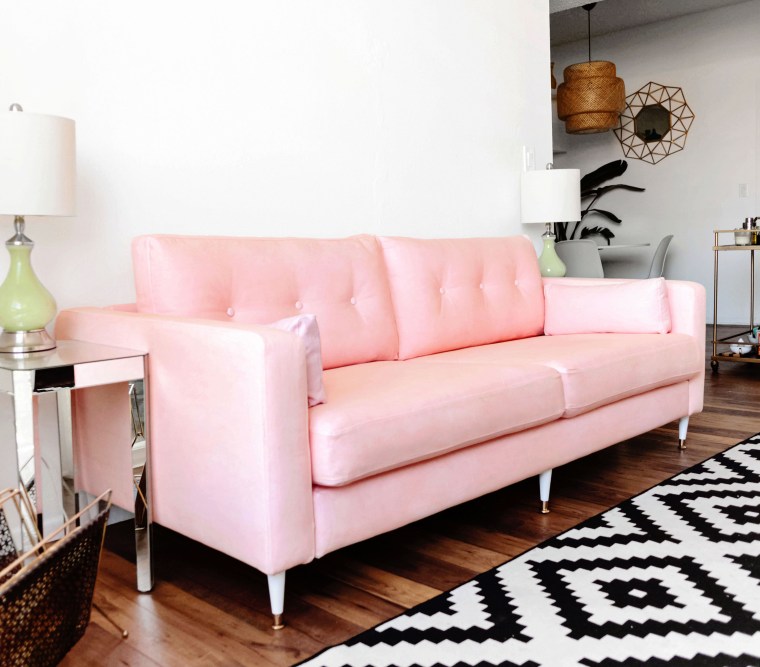 I’m so excited to finally have a dreamy pink couch! And for less than $300!
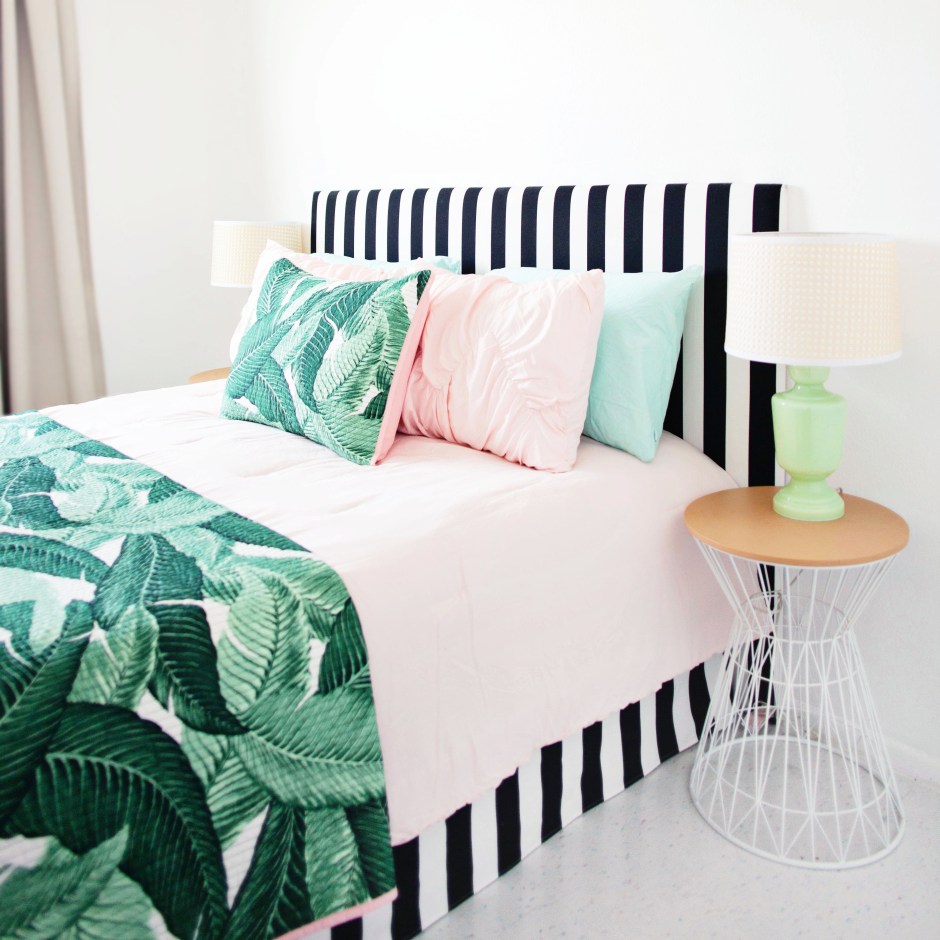
 The first thing you need to do is figure out how long your skirt needs to be. Measure the distance from the top of your box spring to the floor. Then add 3-4 inches for seam and stapling allowance.
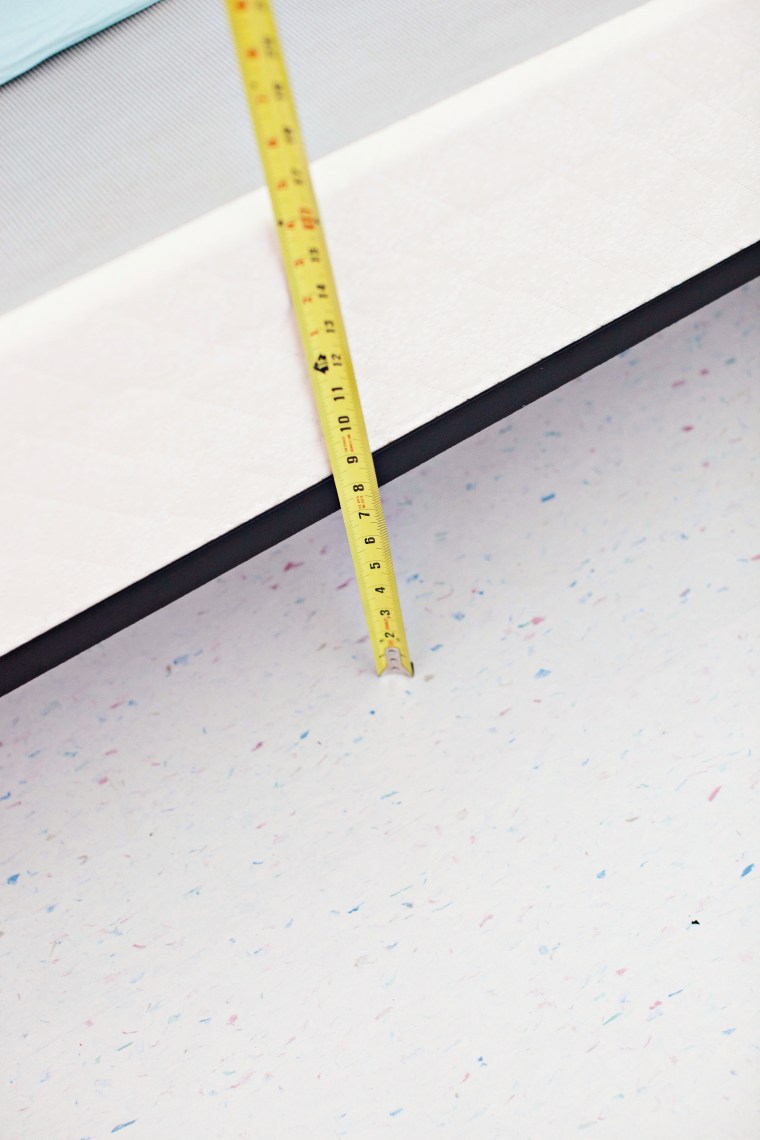 Mine was at 16 inches, so I cut 20 inch long strips of fabric. The fabric is 58 inches wide, so I needed 3 of these strips in order to cover 3 sides of my box spring.
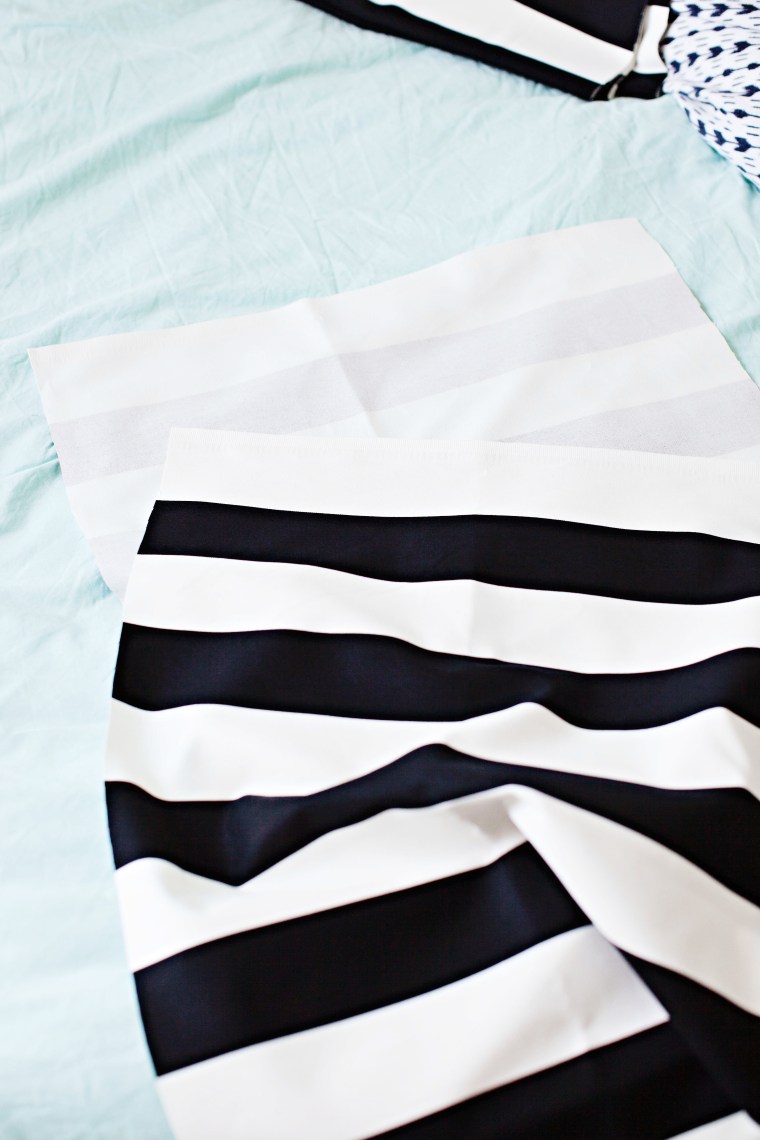 Next you need to make the hem. Fold over the long edge at 5/8″ and press.
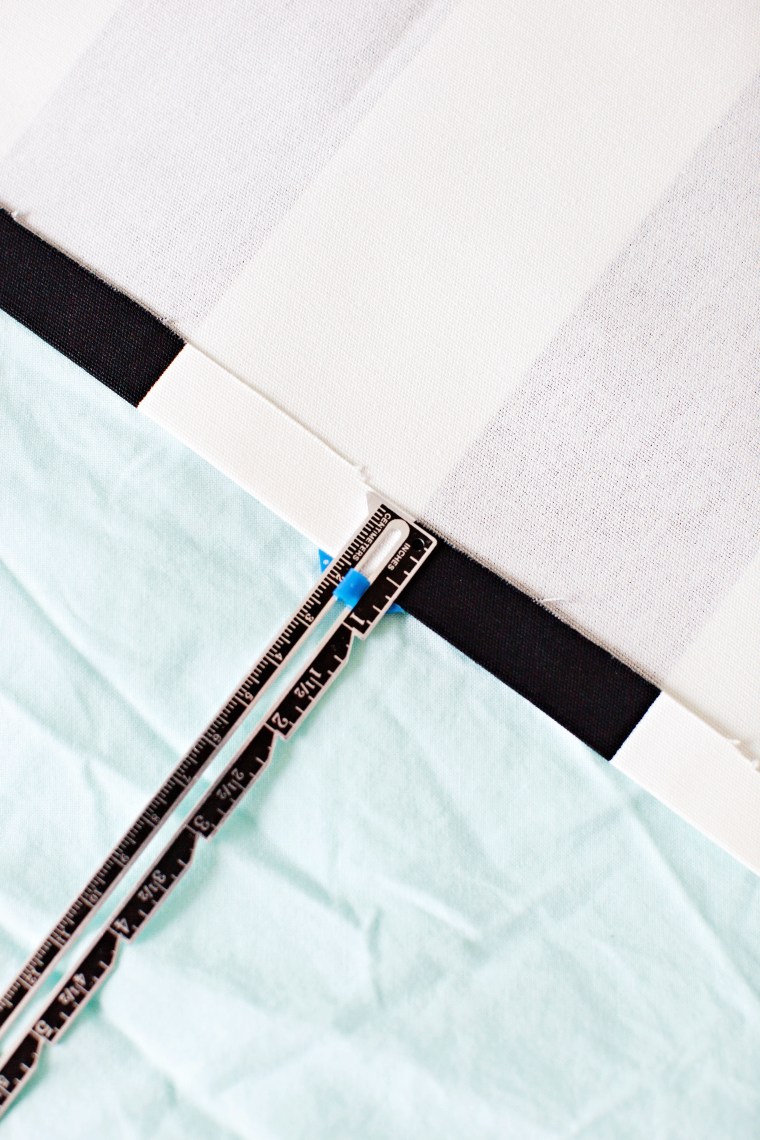
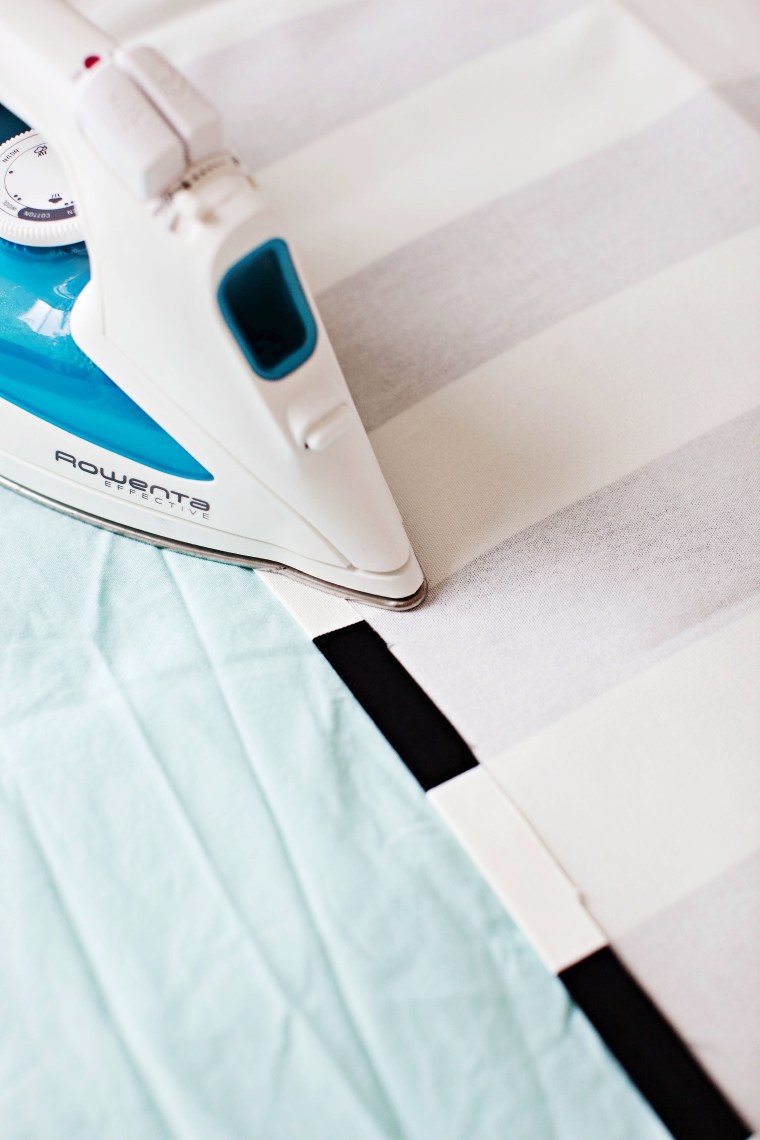 Then fold the raw edge under itself and press again.
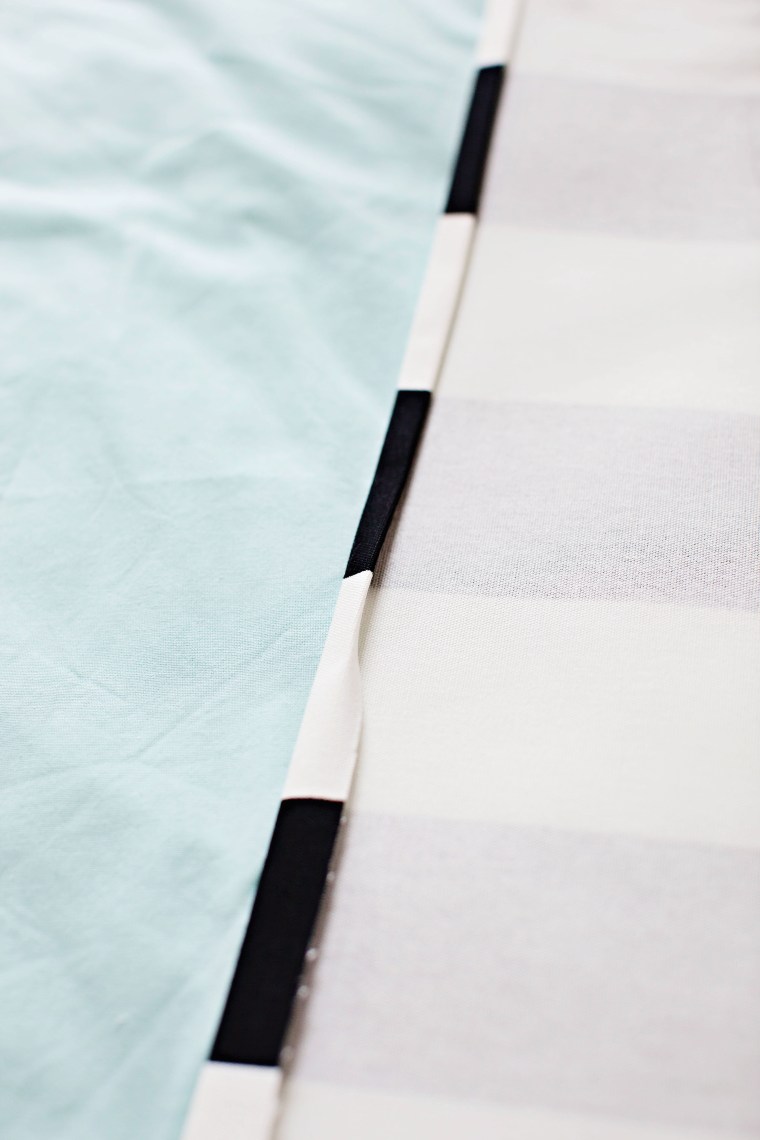 This creates a nice clean hem. Stitch at 3/8″. If you don’t have a sewing machine you can use iron-on hem tape.
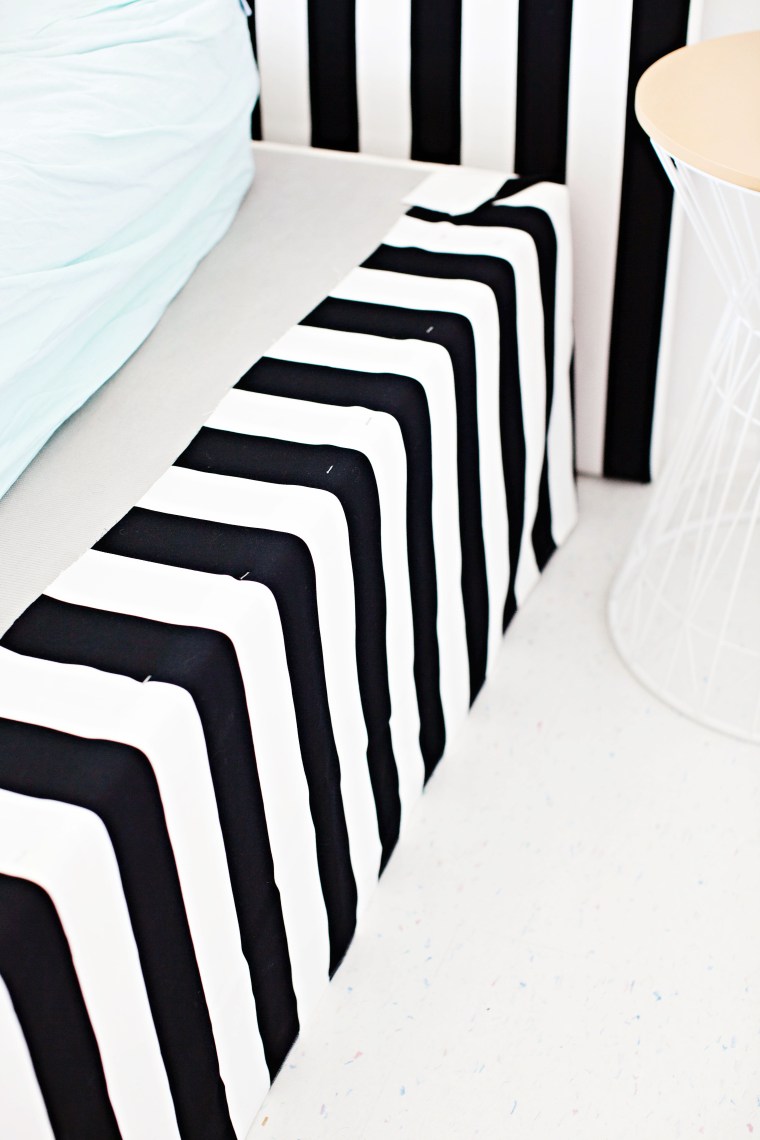
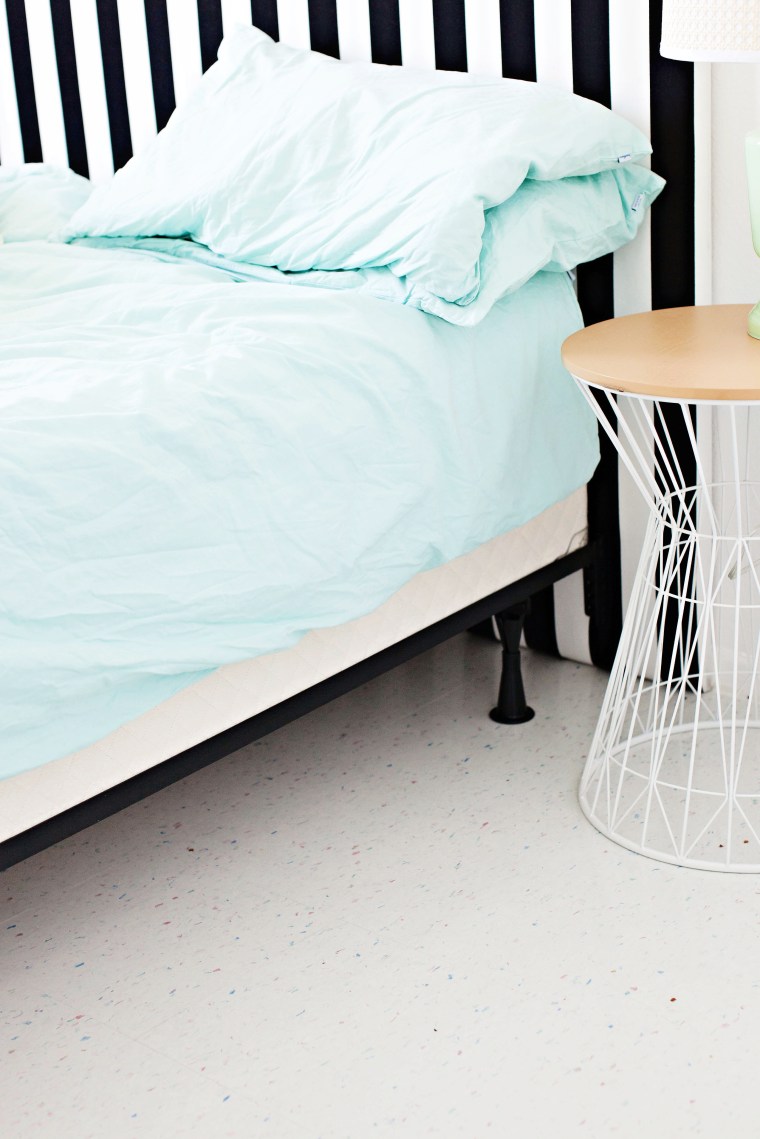
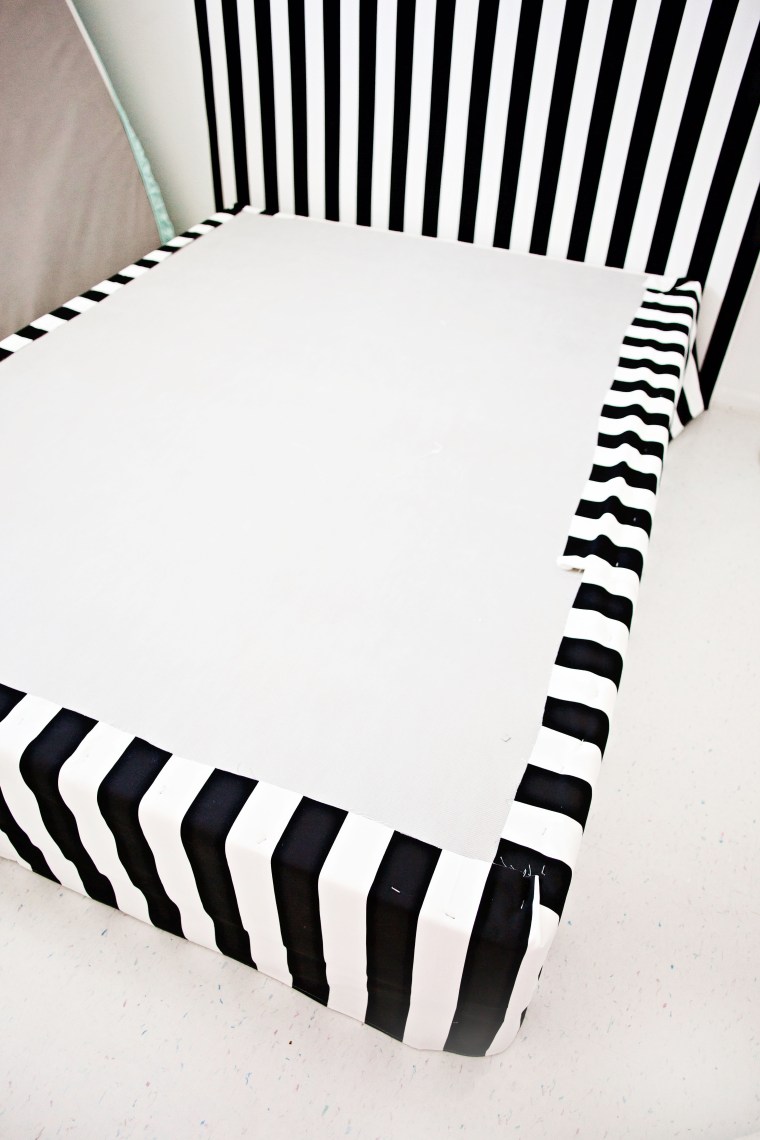 Continue all around the box spring. The mattress should cover the staples and it’ll look like a normal bed skirt!
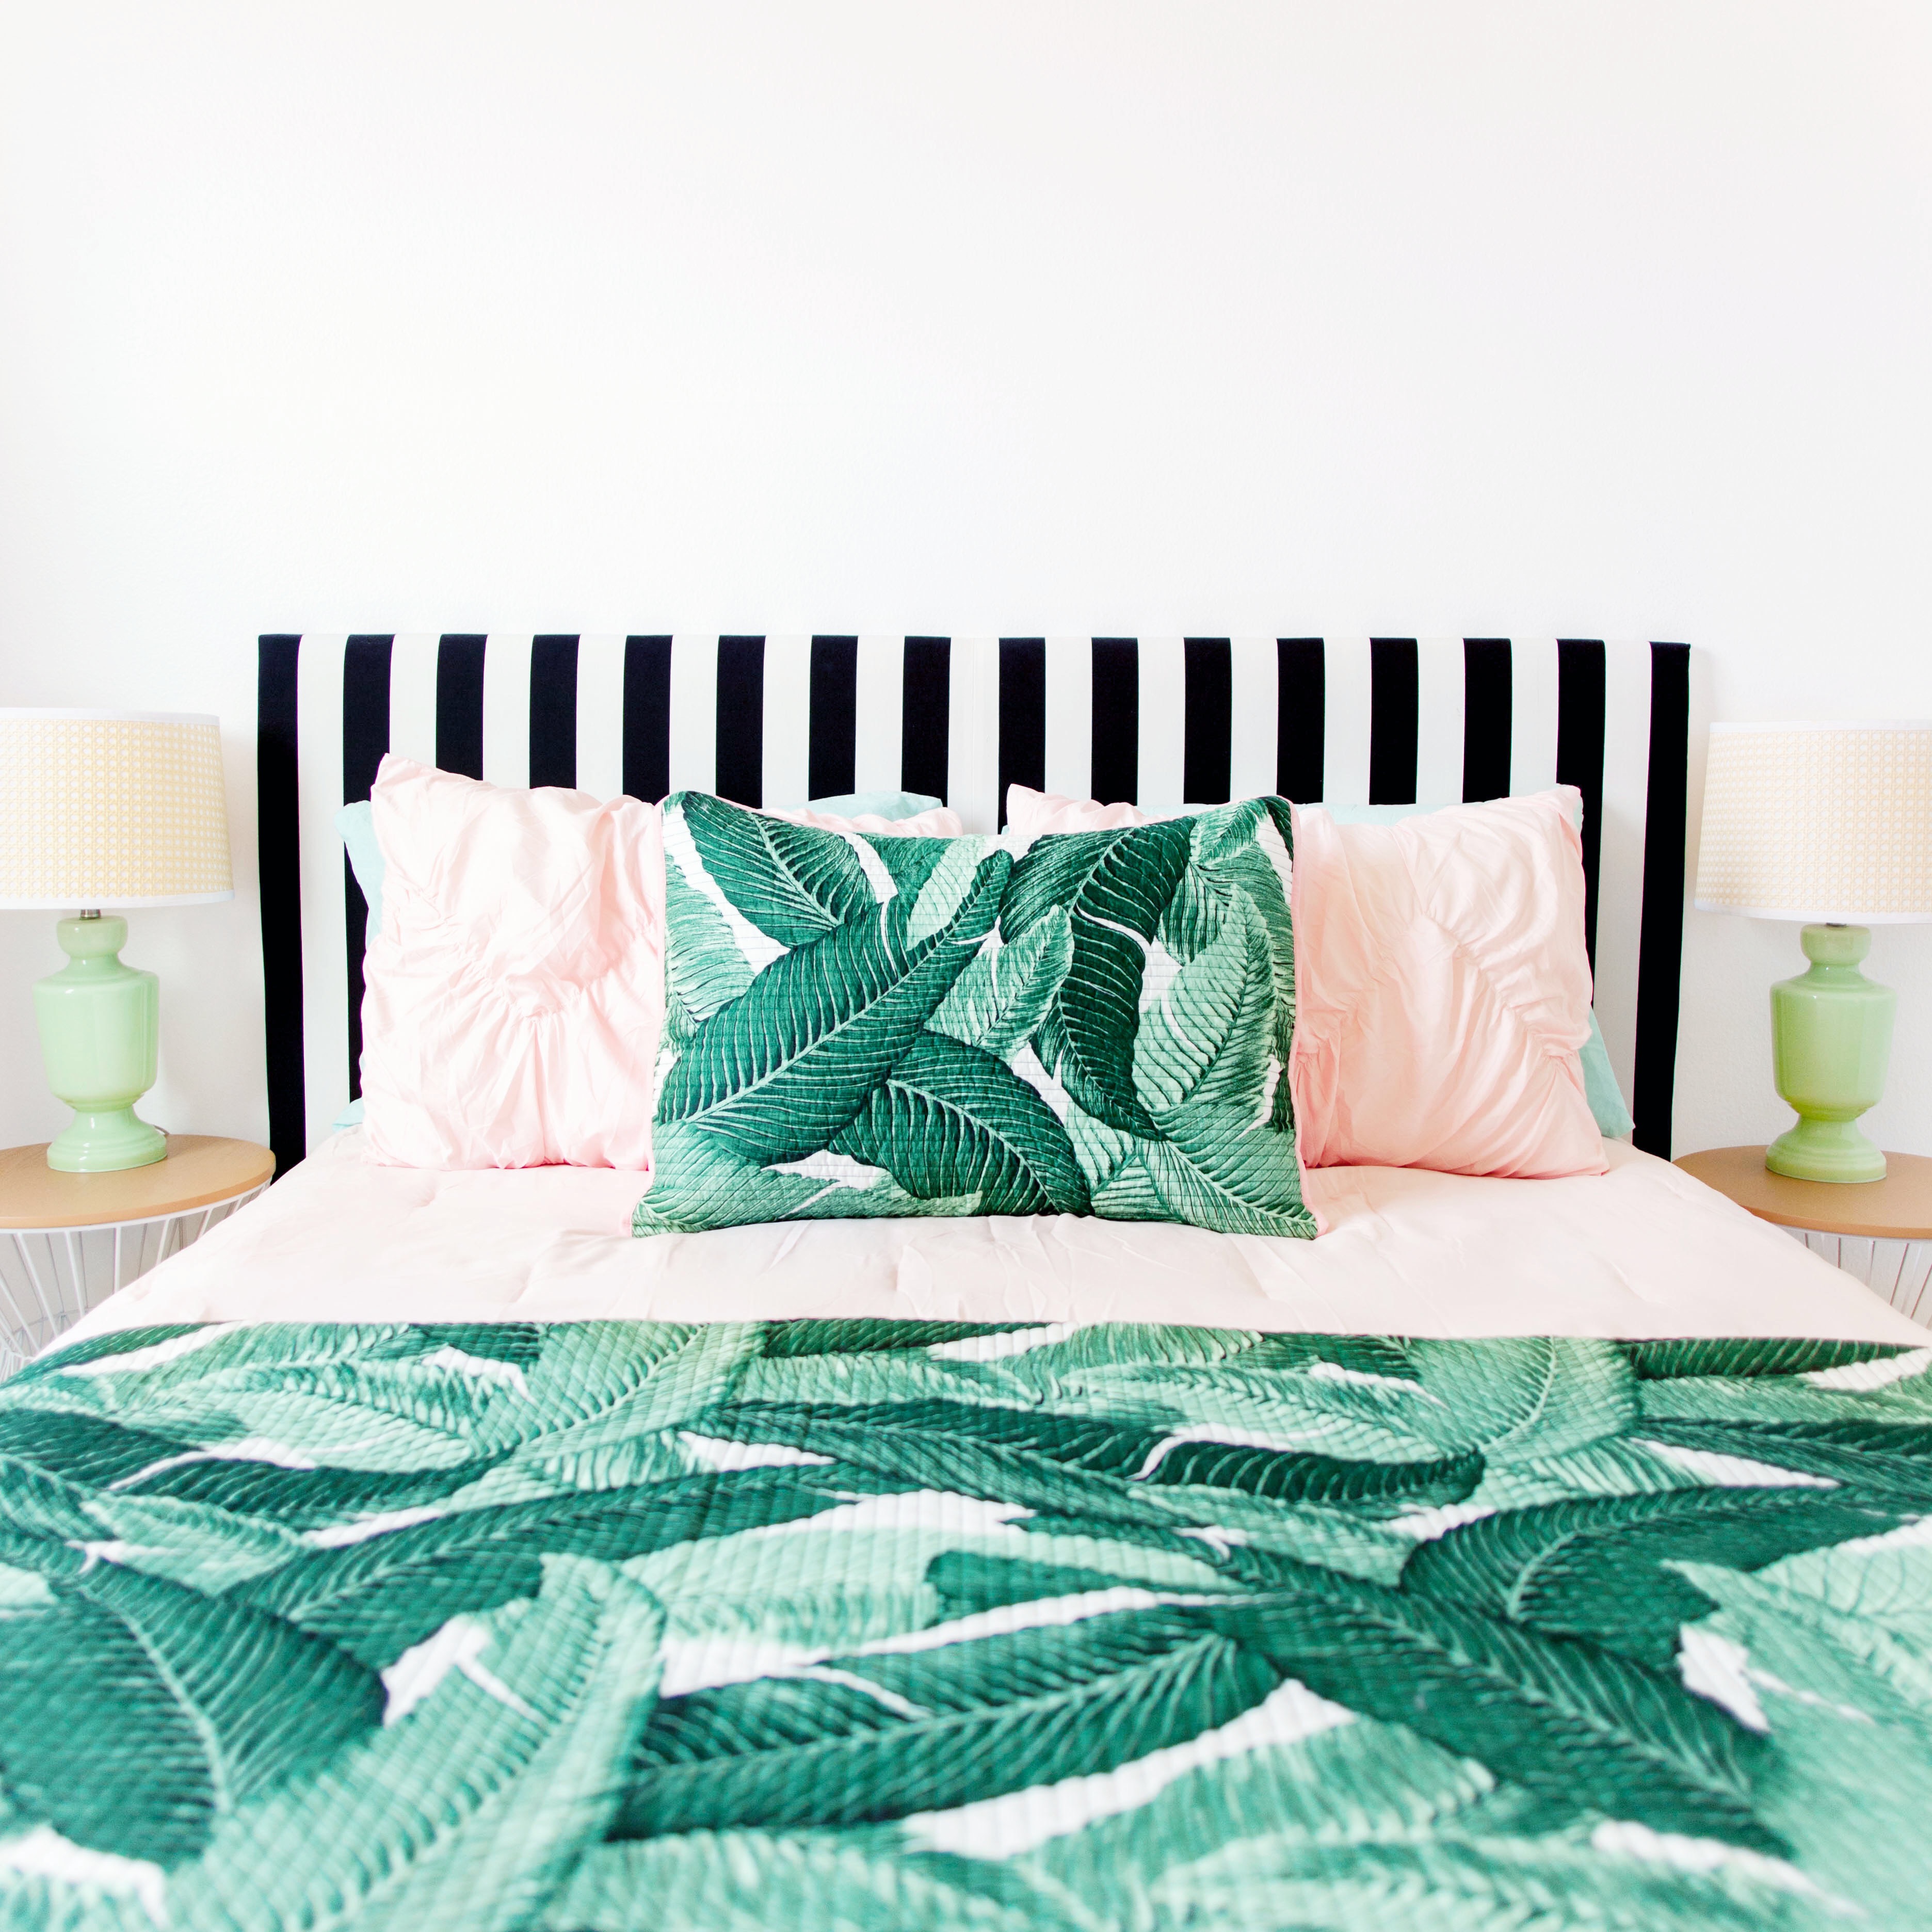
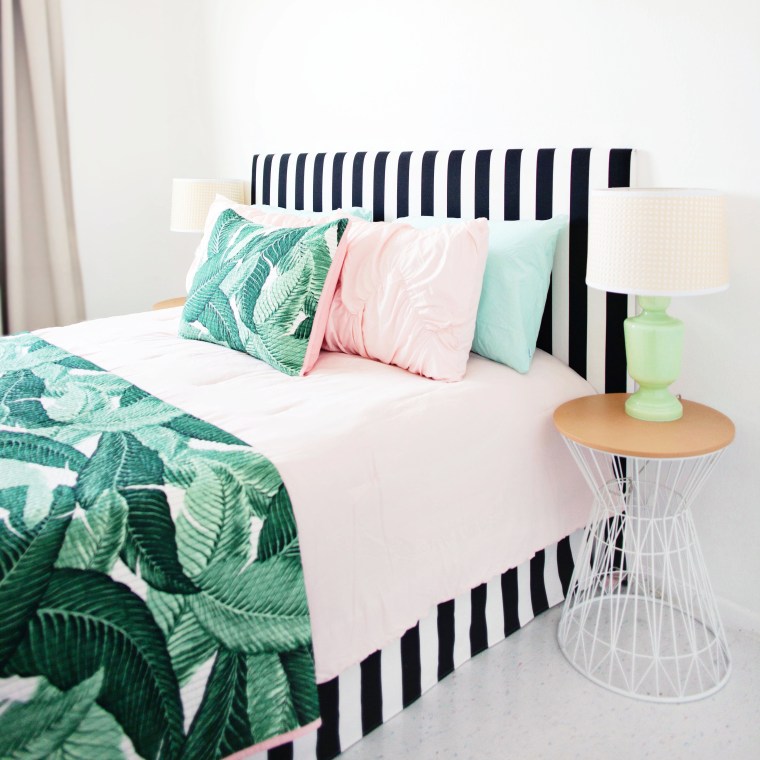 Finally, make your bed as usual and reward yourself with a nice nap.