DIY Yellow Fringe Blackout Curtains

You guys, let me start by saying I’m bummed because I lost all of the how-to pics from this project when my old computer died, BUT I still wanted to share how easy it is to make your own curtains.

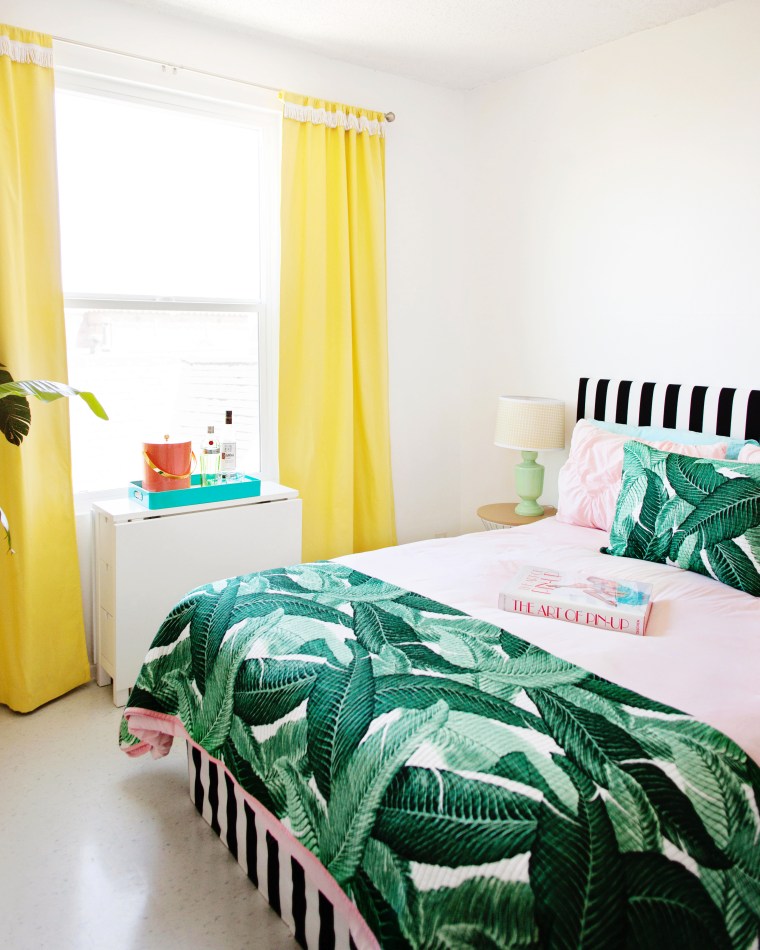
I couldn’t find any light blocking curtains that I liked for my bedroom so I took on the task of making my own. Curtains are the easiest thing to make if you can sew a straight line. All you need is enough fabric to make a panel long enough to fit your window and hem all four sides, leaving a big enough loop at the top to fit a curtain rod through. I found a really nice and inexpensive fabric in the perfect shade of buttercup yellow, but the problem was that it was too thin and let a lot of light through. We’re not morning people so this was a no-no. To remedy the problem all I did was lined my fabric with an old black out curtain from IKEA. Easy enough!


IMG_4254.jpg
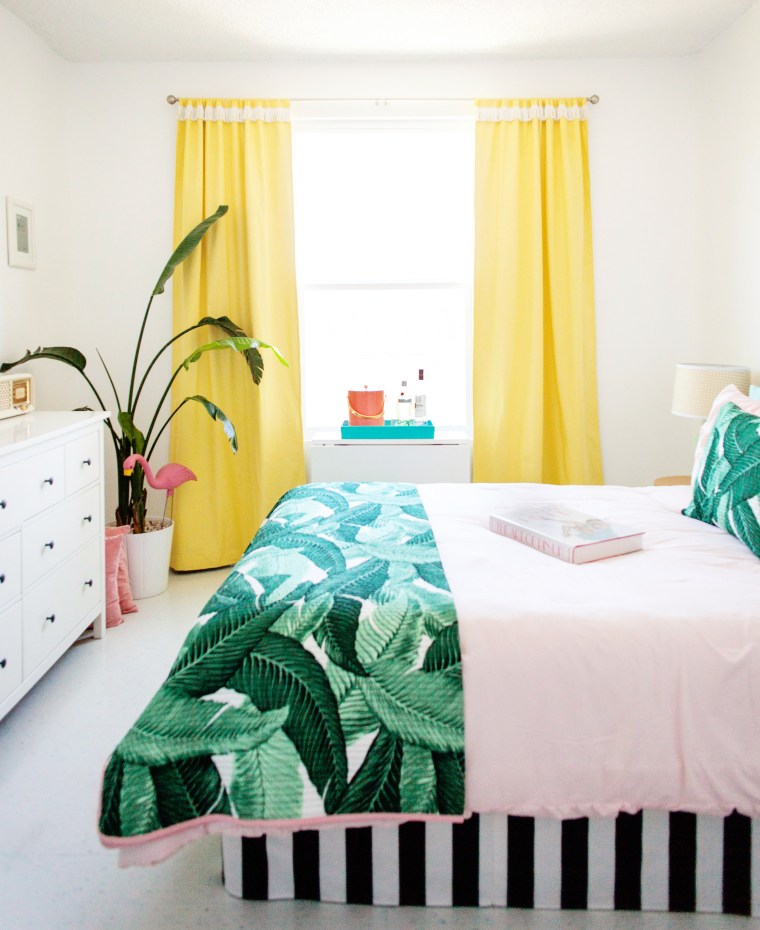
Doing that completely blocked any light from coming into my bedroom and also added some much needed weight and heft to the panel.

IMG_4264.jpgFor some extra flair I added a strip of vintage looking rope fringe to the top.IMG_4270.jpg


IMG_4252.jpg
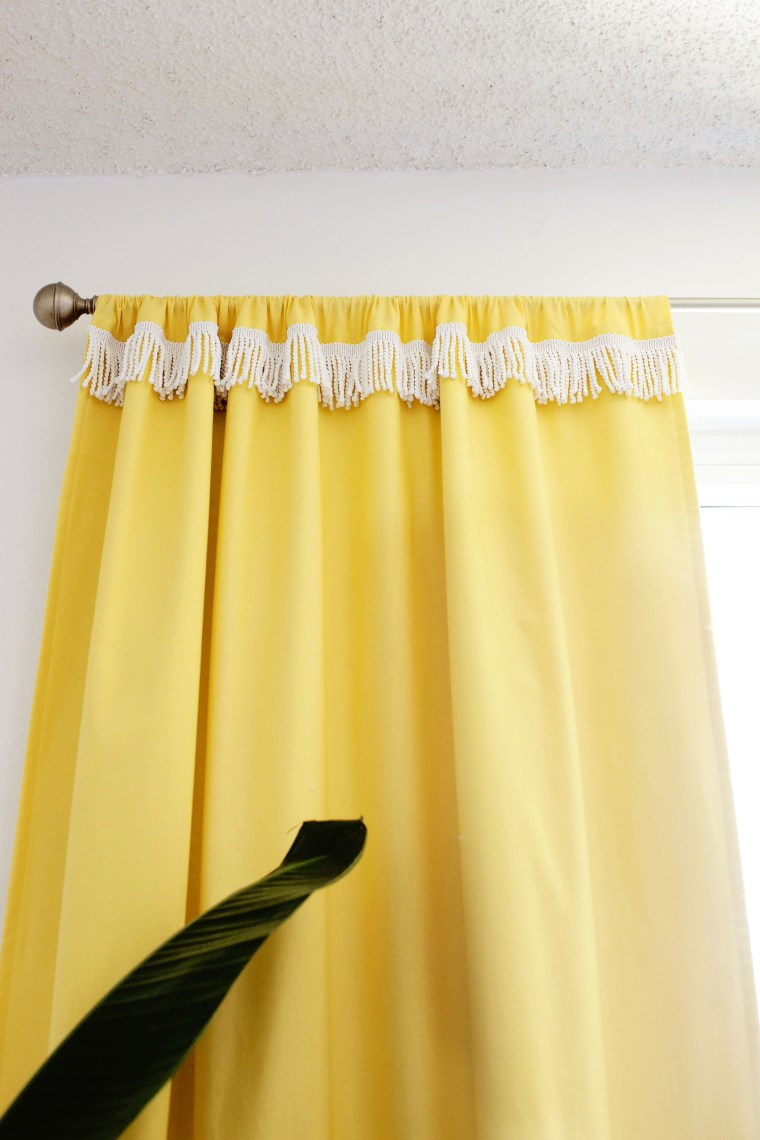
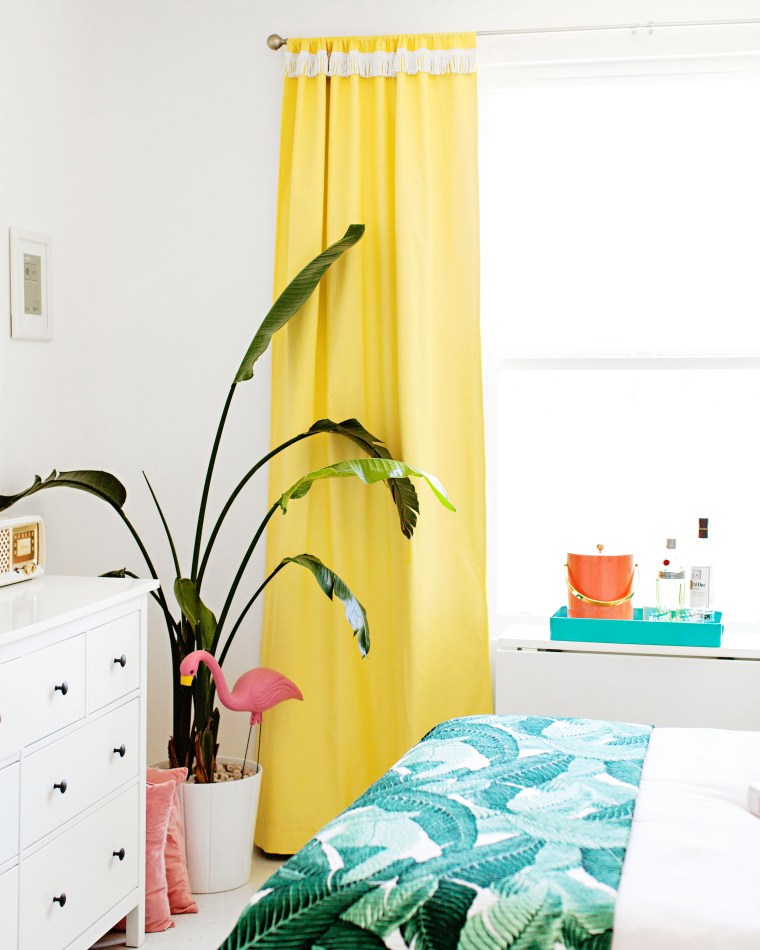
Tada! Stay tuned for more bedroom decor updates and be sure to follow along on Instagram.

DIY Striped Bed Skirt and Headboard

If you would have told me that finding a bed skirt would be the most difficult part of my bedroom makeover I wouldn’t have believed you. I thought I would just be able to pick up your run of the mill white skirt at any home goods store and be done with it. Nope. Of course not. Story of my life.

I had to exchange 3 bed skirts before deciding I was better off making one on my own. Either they were too short, too long, too sheer, or the wrong color. Who knew?! Luckily making your own custom bed skirt isn’t as hard as it may seem.

First of all, I wanted it to match my new DIY headboard so I picked up the same striped fabric from IKEA. The headboard isn’t really new, it was previously used as the backboard to my dining room banquette IKEA hack. The fabric for the bed skirt cost me about $16, much cheaper than bed skirts I was finding in stores.

DIY Bed Skirt Tutorial
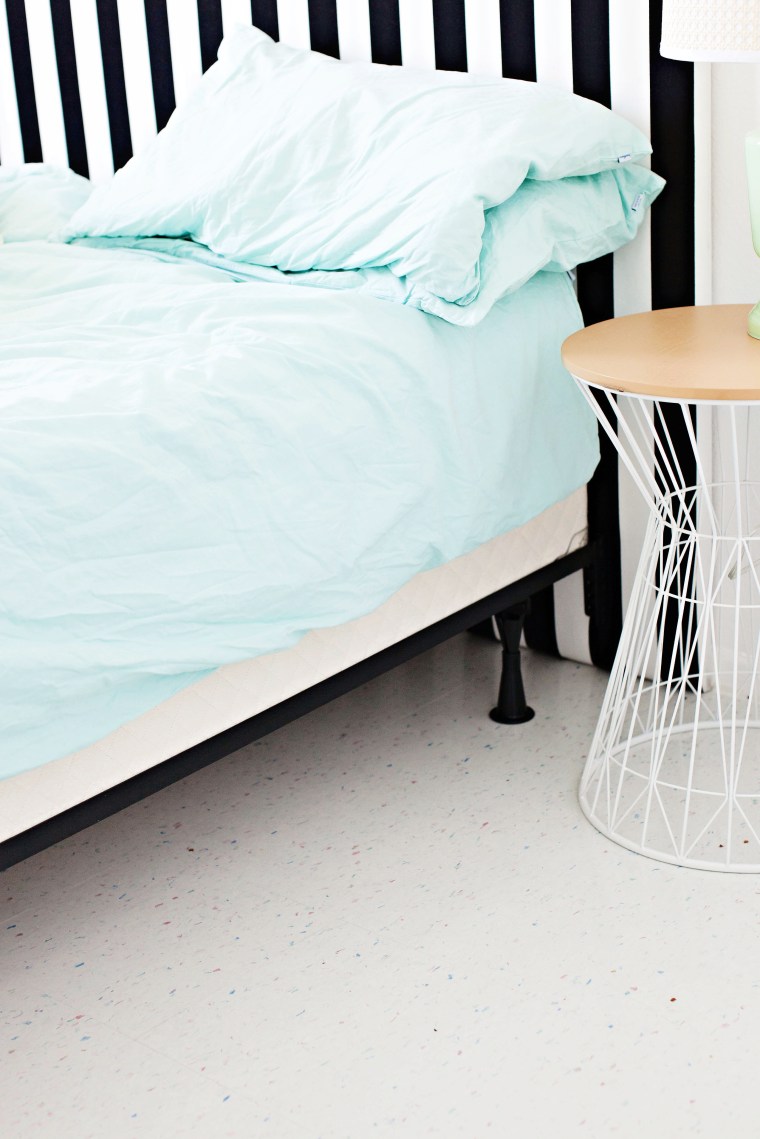
The first thing you need to do is figure out how long your skirt needs to be. Measure the distance from the top of your box spring to the floor. Then add 3-4 inches for seam and stapling allowance.DIY Bed Skirt Tutorial
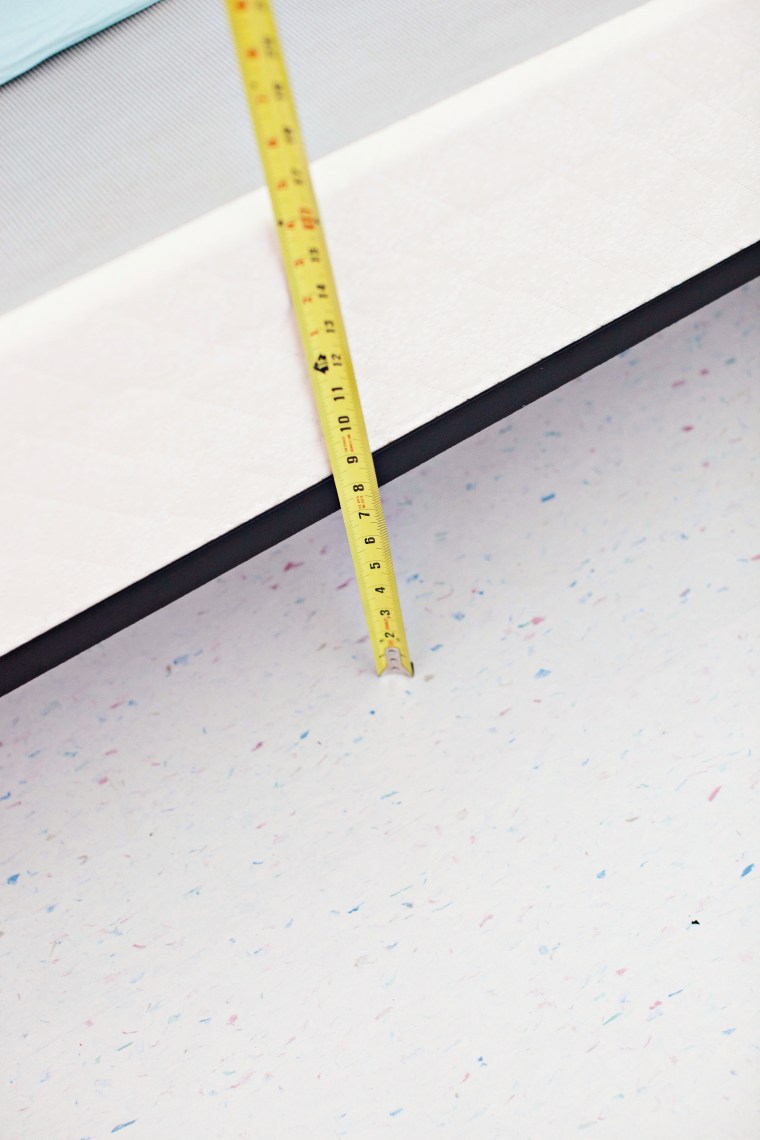
Mine was at 16 inches, so I cut 20 inch long strips of fabric. The fabric is 58 inches wide, so I needed 3 of these strips in order to cover 3 sides of my box spring.DIY Bed Skirt Tutorial
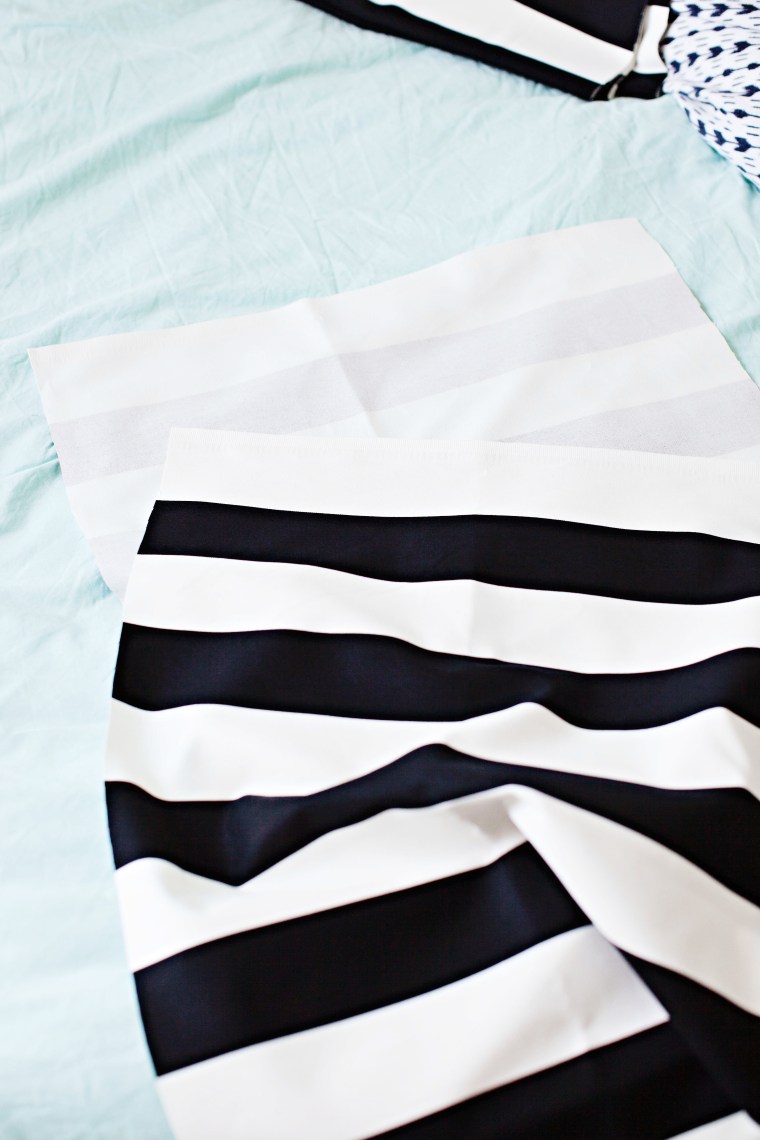
Next you need to make the hem. Fold over the long edge at 5/8″ and press.DIY Bed Skirt Tutorial

DIY Bed Skirt Tutorial
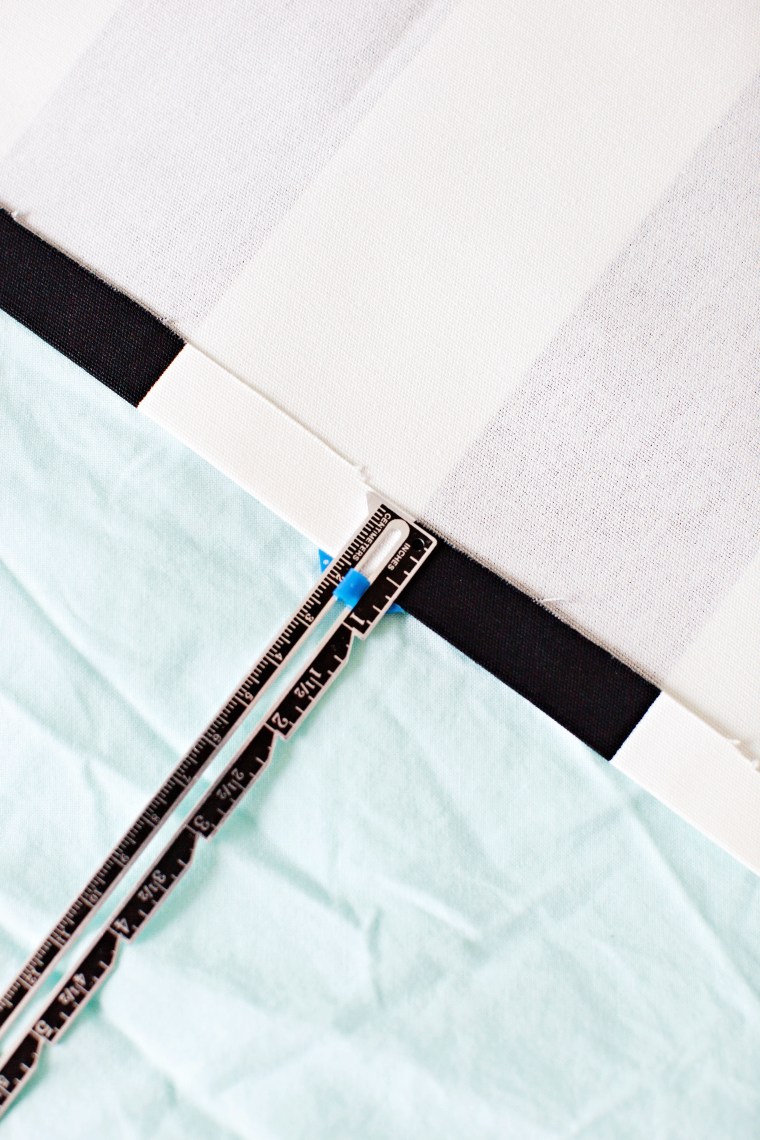
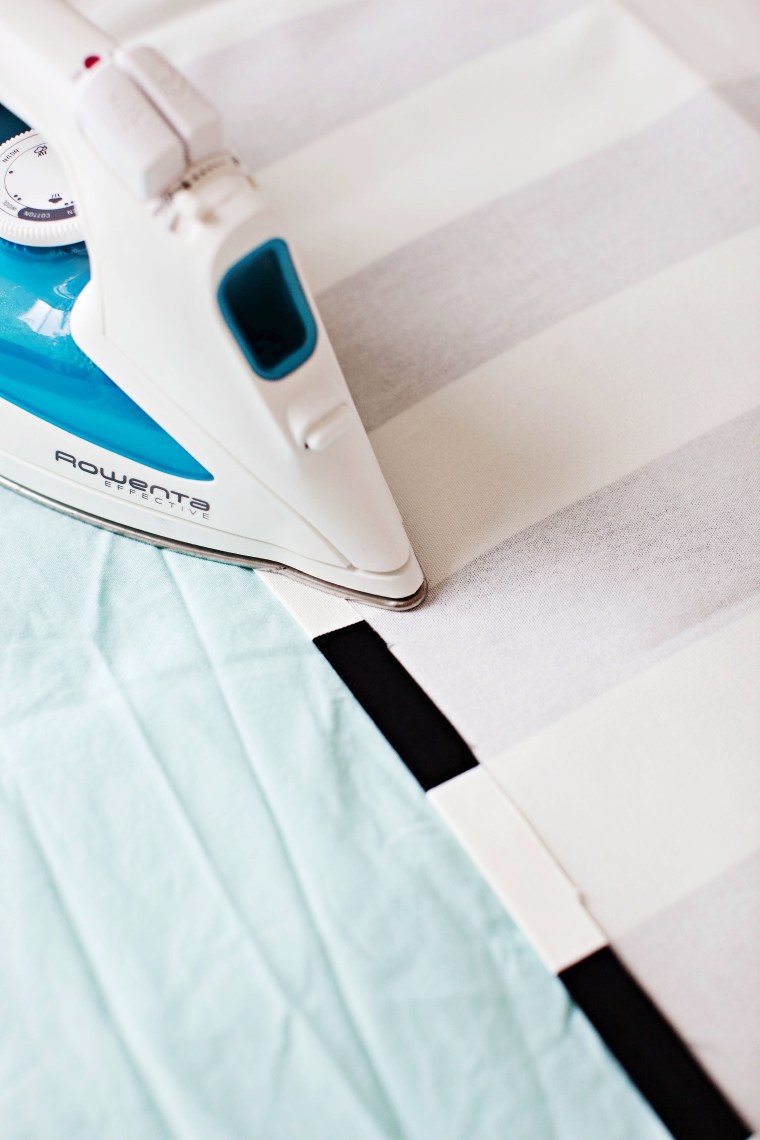
Then fold the raw edge under itself and press again.DIY Bed Skirt Tutorial 
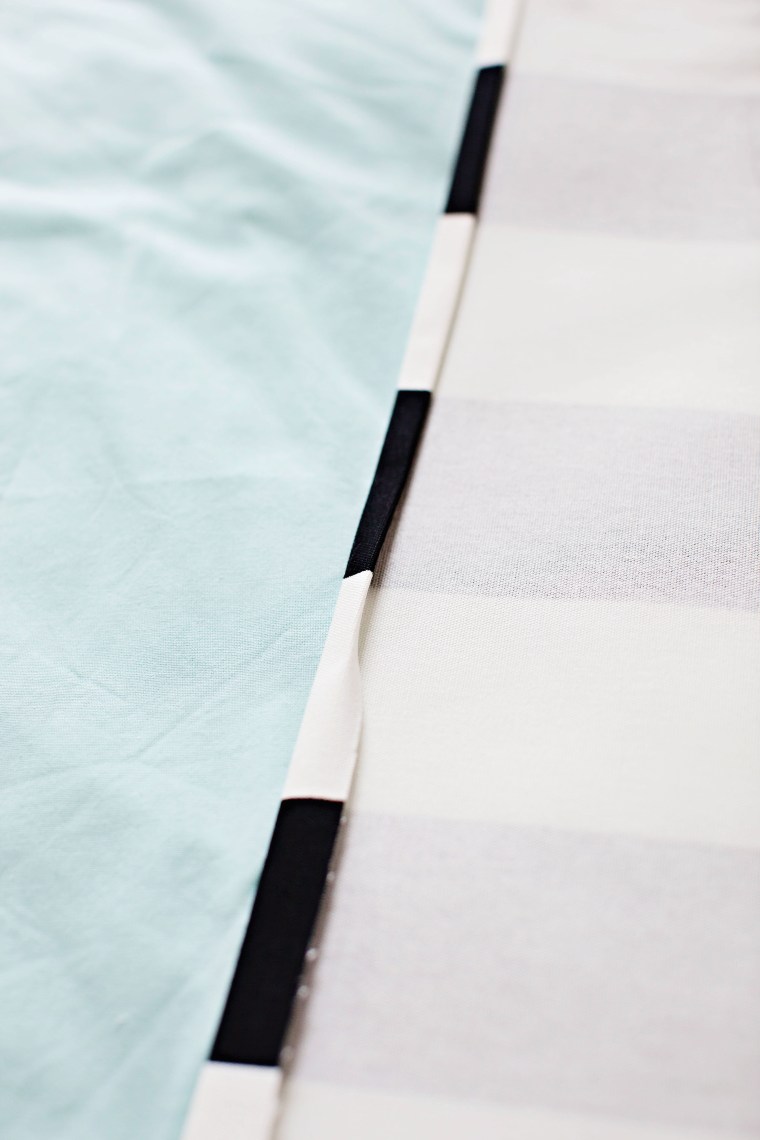
This creates a nice clean hem. Stitch at 3/8″. If you don’t have a sewing machine you can use iron-on hem tape.


Once that is done, stitch the strips together at the ends to create one long strip. Then staple the raw edge directly to the box spring, making sure the hem just barely touches the ground. If you don’t have a staple gun you can use flat head tacks. 

DIY Bed Skirt TutorialDIY Bed Skirt and Headboard Tutorial
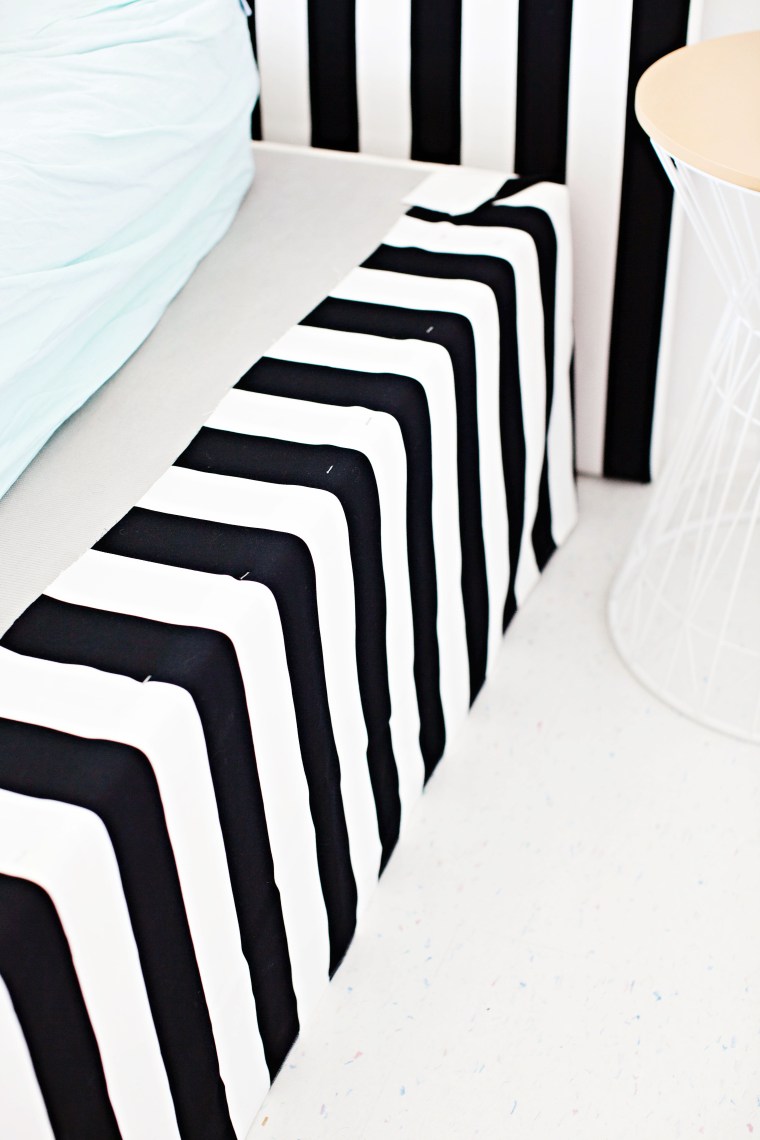
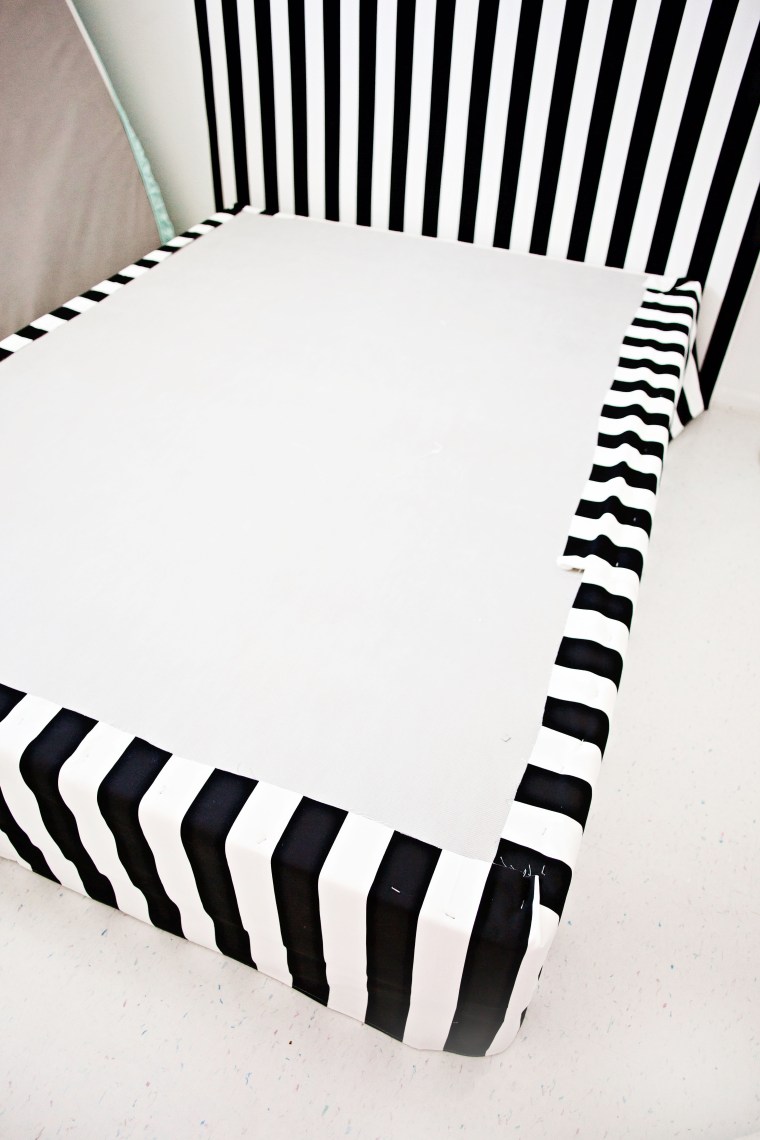
Continue all around the box spring. The mattress should cover the staples and it’ll look like a normal bed skirt!


DIY Bed Skirt and Headboard
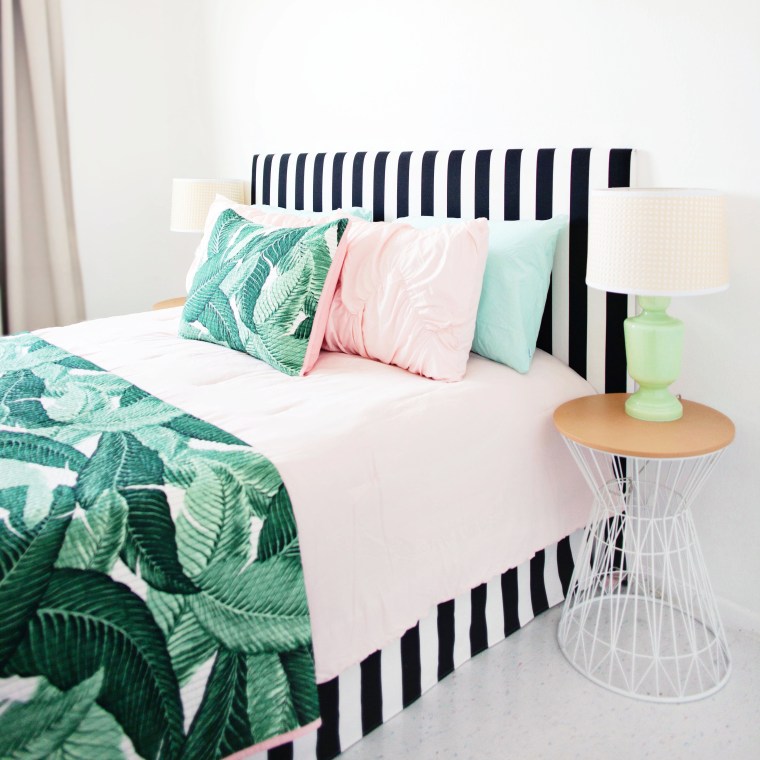
Finally, make your bed as usual and reward yourself with a nice nap.

For instructions on how I made the headboard, click here.

Peel and Stick Faux Tile Kitchen Backsplash | SmartTiles Review

If you’ve been following me on Instagram and Snapchat you’ll probably remember that I installed a white tile backsplash in my rental kitchen a couple of months ago. I didn’t want to post details about it right away just in case the product didn’t live up to its promises, but I’m happy to finally report that it has been great!When deciding on a backsplash I had some important requirements that had to be met. I’ve mentioned before that I rent so anything I decided on needed to be temporary, easy to install, and easy to remove. I also didn’t want anything that looked too fake and wouldn’t hold up over time. I came across the Metro Blanco peel and stick tiles from SmartTiles that met all of my criteria and decided to give them a try.

Peel and Stick Faux Tile Backsplash in Rental KitchenThey’ve been AWESOME. We use our kitchen a lot and I was worried they wouldn’t stick for long with all of the cooking and cleaning we do, especially behind our stove. So far they’re holding on strong and have held up to steam, 500 degree oven temps, pasta sauce splatter, and daily cleaning.

Peel and Stick Faux Tile Backsplash in Rental Kitchen
I could have taken progress photos but honestly, SmartTiles has wonderful installation videos that do it better than my photos could. All you need is a utility knife and a ruler. It’s really that easy.

Peel and Stick Faux Tile Backsplash in Rental Kitchen

They really have transformed my kitchen for the better. It no longer looks super basic and boring. My kitchen doesn’t get a lot of light, but these add some reflectivity and brighten up the space. (I had before photos but they got lost on my dead computer. Sad.)
Peel and Stick Faux Tile Backsplash in Rental Kitchen
My friends and family couldn’t tell that they weren’t real until I told them. They’re usually brutally honest with me so I can trust them.

Peel and Stick Faux Tile Backsplash in Rental Kitchen
If you’re looking for a temporary, easy solution for your kitchen definitely check out SmartTiles Peel and Stick Tiles.


DIY Mini Pumpkin Pie Thanksgiving Drink Stirrers

There’s nothing I love more than kitschy holiday decorations and cocktail accessories are no exception. What do you think of when you think of Thanksgiving? Pumpkin pie, right? Me too. That’s why I made these adorable mini pumpkin pie drink stirrers for all of the autumnal cocktails I’ve been drinking (specifically this spiced pumpkin pie nog cocktail).

DIY Pumpkin Pie Drink Stirrer
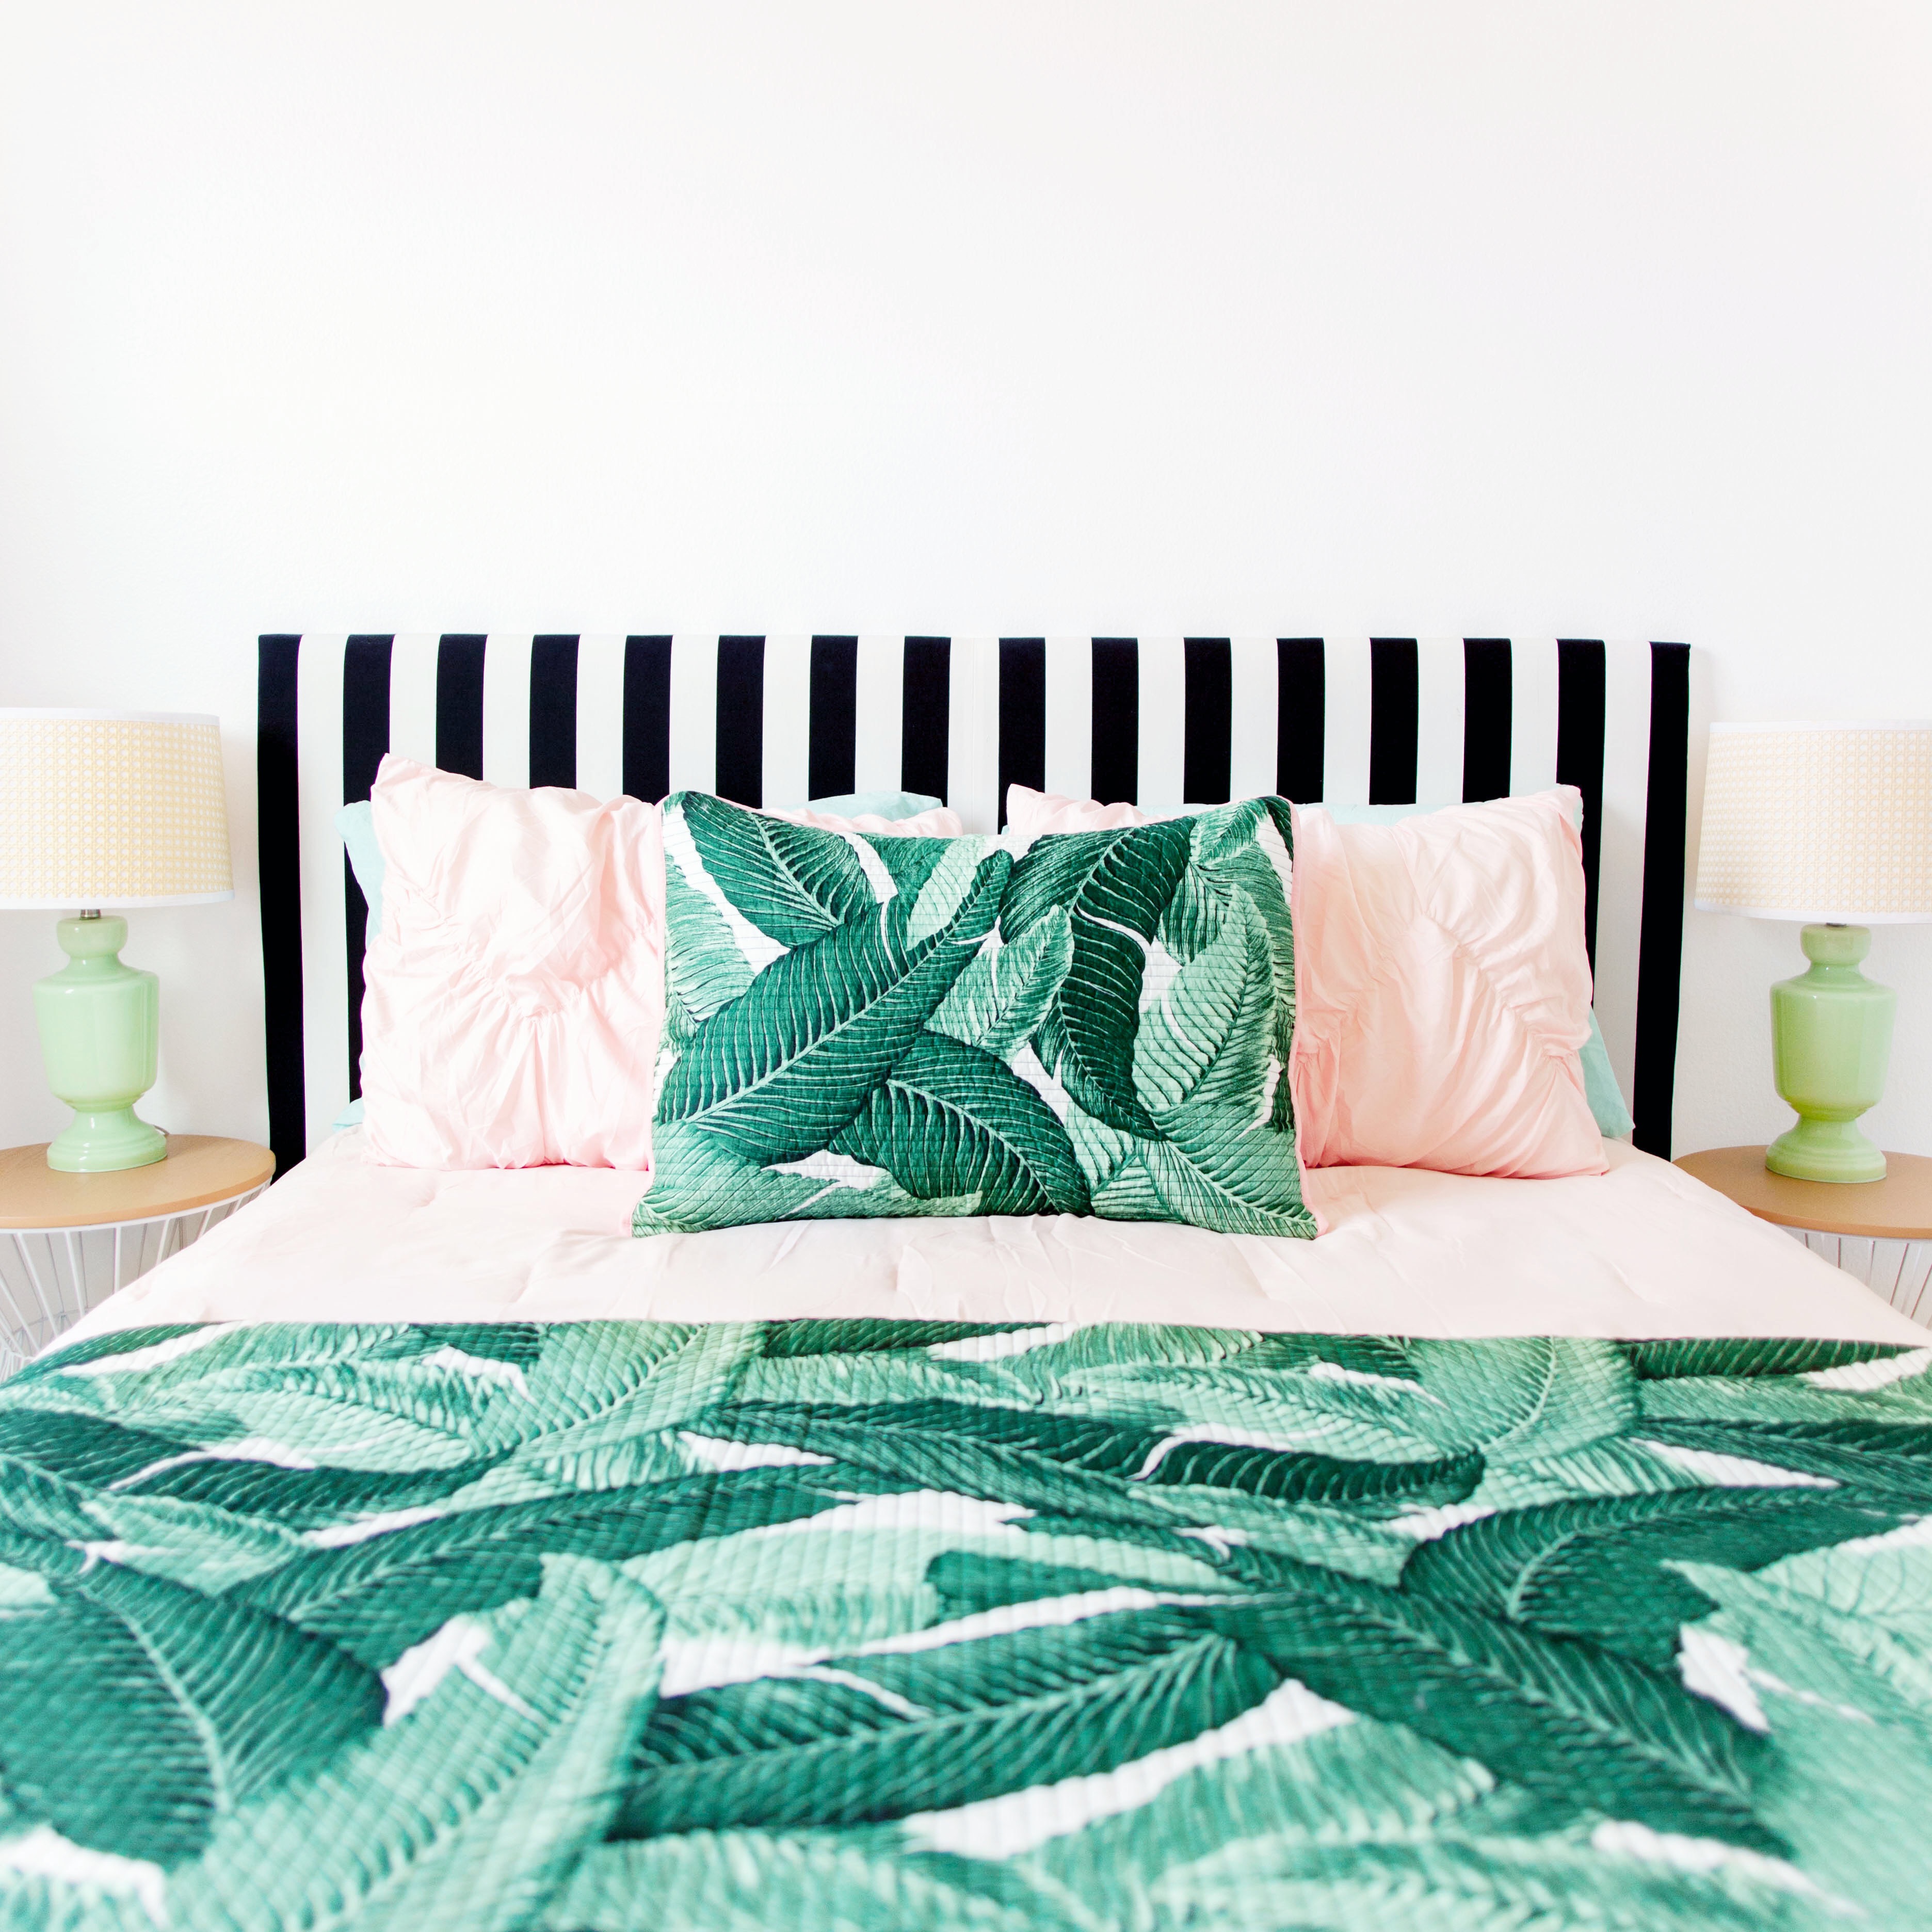
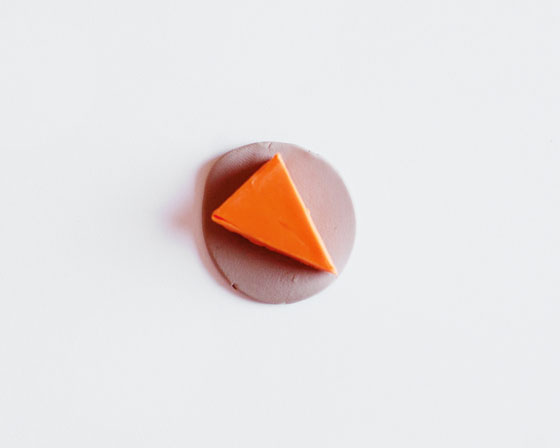
I love making miniature things out of clay. It’s so…therapeutic. These mini pumpkin pies were particularly easy and fun. Here’s how I did it.

What You Need:
Oven-bake Clay (orange, brown or tan, and white)

Plain 6 inch Drink Stirrers

First I cut out triangles out of orange clay. The easiest way to do this was to use a small, sharp knife to cut a 7cm think piece of clay to a 25cm x 20cm rectangle. Then cut it into a triangle.
Mini Pumpkin Pie Drink Stirrer

Mix some brown clay with a little white to get your desired shade of brown for the pie crust. Roll it into a ball and press it out into a 3cm thick disc. Place the orange triangle onto the disc.

Mini Pumpkin Pie Drink Stirrer

Pull up and flute the clay to create the crust.

Mini Pumpkin Pie Drink Stirrer

Then cut the remaining clay off.

Mini Pumpkin Pie Drink Stirrer

Roll white clay into snake-like shapes and spiral it onto itself to make a dollop of whipped cream.

Mini Pumpkin Pie Drink Stirrer

Next, use a cocktail stir to make a hole on the bottom of the clay pie.

Mini Pumpkin Pie Drink StirrerRemove the stick and bake at 275 degrees fahrenheit. Mini Pumpkin Pie Drink Stirrers
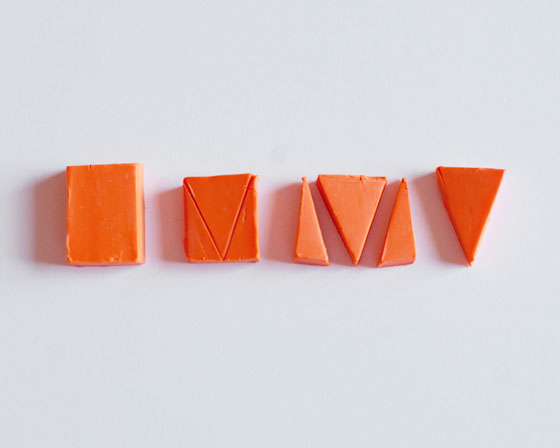
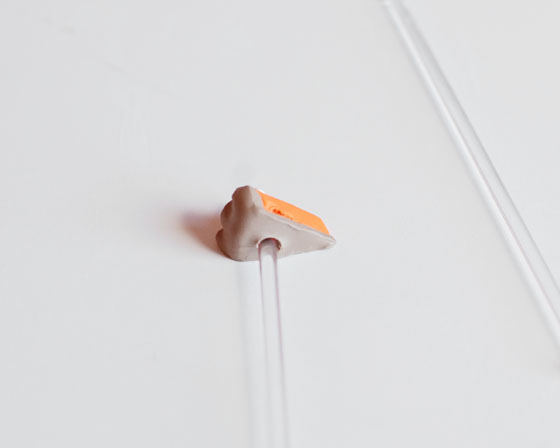
Using a little super glue, replace the cocktail stick into the pre-made hole.

And that’s it! Adorable, right? I got carried away and made a bunch of these as gifts. Happy drinking!

DIY Pumpkin Pie Drink Stirrer

DIY Decor: Metallic Gold IKEA EKBY BJÄRNUM Bar Shelves

One of the main challenges I always have while decorating my apartment is finding the decor I envision, at the prices I want. Neither of those are ever easy. Either I can’t find what I have in mind, or when I get close, somehow it’s the most expensive item in the store. I can drool over those high ticket items all I want, but let’s get serious, I’m no Rockefeller.

But it’s ok! This is where my handy-dandy DIY skills get to shine. This is where I get to do my favorite task of trying to figure out how to get the look I want for as little money as possible.

DIY Gold IKEA Bar Shelves For example, I wanted to expand my home bar area by adding 3 shelves above my bar cart. I wanted them to be gold to match said bar cart. My search pretty much turned up empty except for one option that was almost the right dimensions (from a store that will remain nameless) for over $100 per shelf. My other option was an IKEA favorite of mine that I’ve been keeping my eye on for a bit, and it just so happens that the EKBY JÄRPEN/EKBY BJÄRNUM combo was the perfect size, style, and price I was going for. The only drawback was that the brackets are only available in aluminum. Womp, womp.

EASY FIX.

DIY Gold EKBY BJARNUM IKEA Shelves via MelodramaThe right choice for me was clear and I’m glad I made it. Did I want to spend $300 on shelves from Unnamed Store, or around $60 for IKEA shelves and a can of spray paint? Um. DUH. The way I see it is if I can spend $60 total on a DIY version and use the extra $200+ toward other fun things like going away for the weekend or, I dont know, paying my bills, you’re damn straight I’m taking that route.

DIY Gold IKEA BJARNUM Shelves via MelodramaLet’s all just take a moment to reflect on the magic of spray paint. All I did was spray the brackets and screws with metallic gold chrome paint and it completely changed the vibe of the shelves. Done and done. So easy.

DIY Gold IKEA BJARNUM Shelves via MelodramaI styled them with the help of my growing glass and bareware collection, and a DIY framed print.

DIY Gold IKEA BJARNUM Shelves via Melodrama

Shelves: IKEA
Paint: Montana Gold – Metallic Goldchrome
Glassware: Baigelman Glass, Crate & Barrel, Target, Vintage
Bar Cart: Target
Chair: Vintage DIY
Floor Lamp: IKEA
Dresser: Vintage DIY
Lamps: Target

DIY: Stenciled “Welcome To The Shit Show” Door Mat

I’ve been in need of a new welcome mat for like a year now, but I haven’t found the right one that I loved enough to invest in. Luckily I spotted these colorful and inexpensive door mats at IKEA. I knew I could probably stencil my own design onto it, and for $8 I really had nothing to lose. It turned out perfectly and it’s totally me.

I couldn’t think of a more (in)appropriate way to welcome guests into my home than with “Welcome to the shit show”. There always ends up being something weird or unexpected happening when we have people over, so this is basically a fair warning of what you’re getting into when you come over.

DIY Stenciled Welcome MatTo make this happen, I had to first make a stencil. I printed my letters out and then used an exacto knife to cut the letters out of pieces of card stock.

DIY Stenciled Welcome Mat Tutorial

DIY Stenciled Welcome Mat TutoriallI repeated a letter in the beginning of each new stencil so I could align it with the last letter stenciled. That way everything would be in line properly.

After I decided where I wanted the stencils to go, I just taped them to the mat and used a sponge to put regular craft paint on.

DIY Stenciled Welcome Mat TutorialKeep the details of the letters by leaving pieces of them connected, you can fill them in later.

DIY Stenciled Welcome Mat TutorialUse a small brush to fill in any spots and do any touch ups that are needed. After it dries a bit you can use a small pair of scissors to clip away any mistakes and sharpen up the lettering.

DIY Stenciled Welcome Mat TutorialLet it dry over night before putting it out. I don’t know how well the paint will hold up to being stepped on, but I can always go back and do touch ups, so I’m not worried about it.

DIY Stenciled Welcome Mat

DIY Stenciled Welcome Mat

DIY: Tropical Retro Inspired Decoupage Easter Eggs

Unlock this Exclusive Content on Patreon

DIY: Mid-Century Googie Style Glass Mugs

Sometimes I find myself perusing the tablewares section for things I totally don’t need but always end up buying anyway. One of my most recent unnecessary purchases were these little 69 cent glass mugs from IKEA. I figured I could use them for something or another, and I thought the shape was pretty cool, but I thought they needed something to jazz them up. I decided to give them a midcentury, googie style makeover using craft paint and painters tape.

DIY Glass Paint Stenciling

First I found some midcentury style clip art and printed it so I could make my stencil. I used an exacto knife to cut the shapes into painters tape.

DIY Glass Painting

Then I applied the tape to the glass in a random pattern.DIY Glass Paint Stenciling

I used a screen printing method to apply the paint. This is where you put on a drop of paint and use a squeegee to drag it across and fill in the stencil to create a smooth finish. You can use a sponge or brush, too, but it probably won’t have as smooth of a finish.

DIY Glass Paint Stenciling DIY Glass Paint Stenciling

Make sure to remove the tape before the paint dries. Otherwise the tape will take the paint off with it.

DIY Glass Paint Stenciling

DIY MidCentury Painted Glass Mugs

Let the paint dry for about an hour and then place into a cool oven and set the heat to 350 degrees. Let bake for 30 minutes and then shut the oven off. Let the glass cool in the oven and then remove. The paint will be cured and washable.

DIY MidCentury Painted Glass Mugs

Pretty neat looking cups for 70 cents, huh?

DIY MidCentury Painted Glass Mugs

Home Decor: Colorful Vintage Illustration Gallery Wall // DIY Gallery Wall Tips

I’m always changing things up in this small, little apartment of mine. I was craving a little more color on my living room walls, so I planned on ditching the large abstract canvas and doing a gallery wall instead.

The LA Apartment of Melodrama blogger Krys MeloI’d been thinking about doing a gallery wall for awhile but art, even prints in the quantity I needed, were turning out to be too expensive for my project’s budget. I’m a big fan of vintage illustrations like the kind you’d find in The Saturday Evening Post, so when I came across a bunch from the 1950s, I ran to get frames immediately. Ok, more like power walked.

Framed vintage illustrations for gallery wallGallery walls can be scary! Whether you’re doing a random pattern or lining them up strategically, putting that first hole in the wall is scary business when you’re not sure if you’re going to like how it’s all laid out once it’s up there. I hate patching nail holes more than anything, and I don’t even know where the touchup paint is, so I had to get this right the first time.

Gallery wall tip - Use paper cutouts with nailholes marked first to get the right arrangement without putting unnecessary holes in your walls

One of my favorite tips for creating gallery walls is to cut pieces of paper to the size and shape of your wall decor. Mark where all of the nails should go, and tape the paper pieces up on the wall to get a better idea of where everything will go. I rearranged my pieces at least 4 times until I got a spacing I was happy with. Measuring is fine, but I like to actually see everything up on the wall before I start making holes. Once I was happy with it, all I needed to do was hammer the nails into the pre-marked paper.

Vintage Illustration Gallery Wall from Melodrama

I hung every picture up and used a level to make sure they were all straight and in line, because when one is out of place everything looks wacky. That’s something I’ll probably have to go back and do every once in awhile but it’s SO WORTH IT. If you have a problem with your pictures staying straight, try using a little piece of gum tack on the back corners of the frame.

Vintage Illustration Gallery WallThe illustrations add a lot of fun color and fun vintage character into the room. I’m definitely happy with it.

Vintage Gallery Wall from Melodrama blogger LA Apartment

DIY: IKEA FADO Lamp Turned Jack-o-Lantern

I can be a bit of a Halloween traditionalist, you guys. I like my October nights lit by the faces of Jack-o-lanterns and I like those Jack-o-lantern faces to be classic. However, I still like to mix things up sometimes, and get serious, it’s not exactly practical for me to have carved pumpkins sitting around as light sources for the entire month. When I saw the orange FADO at IKEA, I didn’t just see a colorful orb lamp, I saw a potential Jack-o-lantern.

fado-table-lamp__0275795_PE413950_S4

The FADO is a pretty cool lamp on its own. It has a spherical shape that is a throwback to the mid-century space age era and it gives off a nice, soft, glowing light.

Pulling this off is really as simple as drawing or painting a Jack-o-lantern face onto the lamp. I used chalk to draw my ideal face shapes and then painted over it using a charcoal colored chalk paint. You can use a sharpie, a paint pen, or whatever you’d like. I just liked the chalk paint texture against the frosted glass of the FADO. It also looked more vintage to me that way.

IKEA FIDO Lamp turned Jack-o-Lantern

I love this little guy. Look how cute he is! And the glow sets the perfect mood light for Halloween movie watching.

IKEA FIDO Lamp turned Jack-o-Lantern