
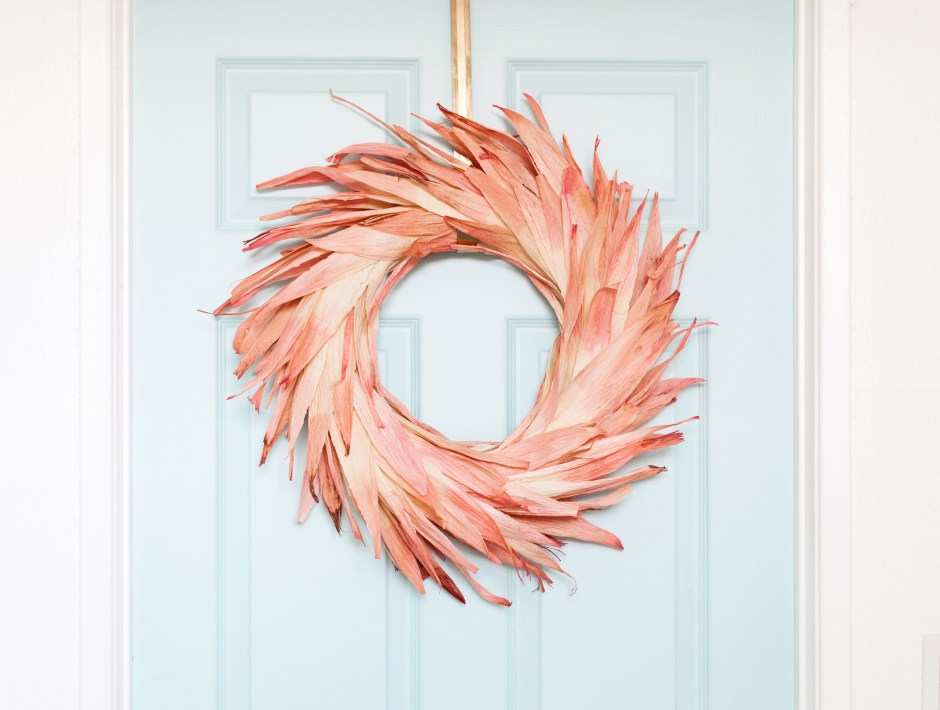
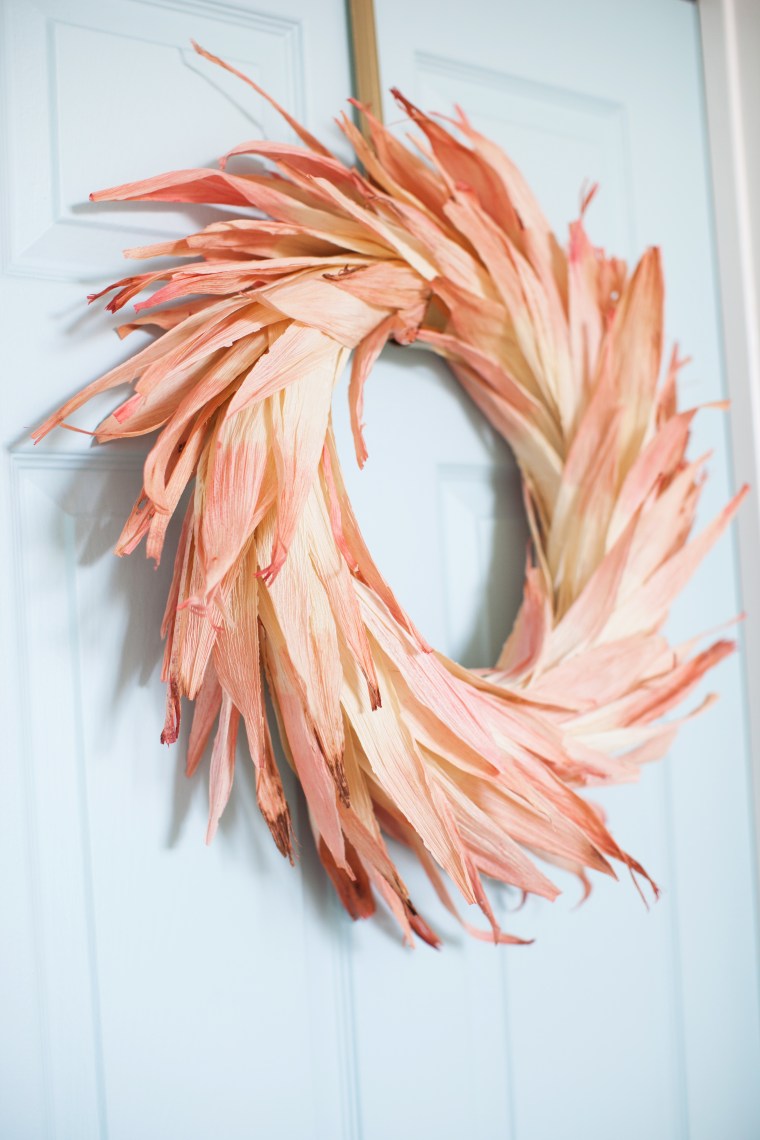
I’m totally one of those people who likes to hang a wreath to celebrate every season. For Thanksgiving this year I wanted a to bring in some natural elements while keeping a pop of color. Since it happens to be the time of year when I buy corn husks for tamales, I figured I would try to use some of the corn husks to make an autumn wreath! I wasn’t sure if it would work out the way I envisioned but it totally did!
This wreath is extremely cheap and easy to make. Here’s what you’ll need:
Foam or Straw Wreath Form
Corn Husks (I used an 8oz pacakge)
Colored Dye (I used Rit. Food coloring and easter egg dye also works.)
Hot Glue Gun
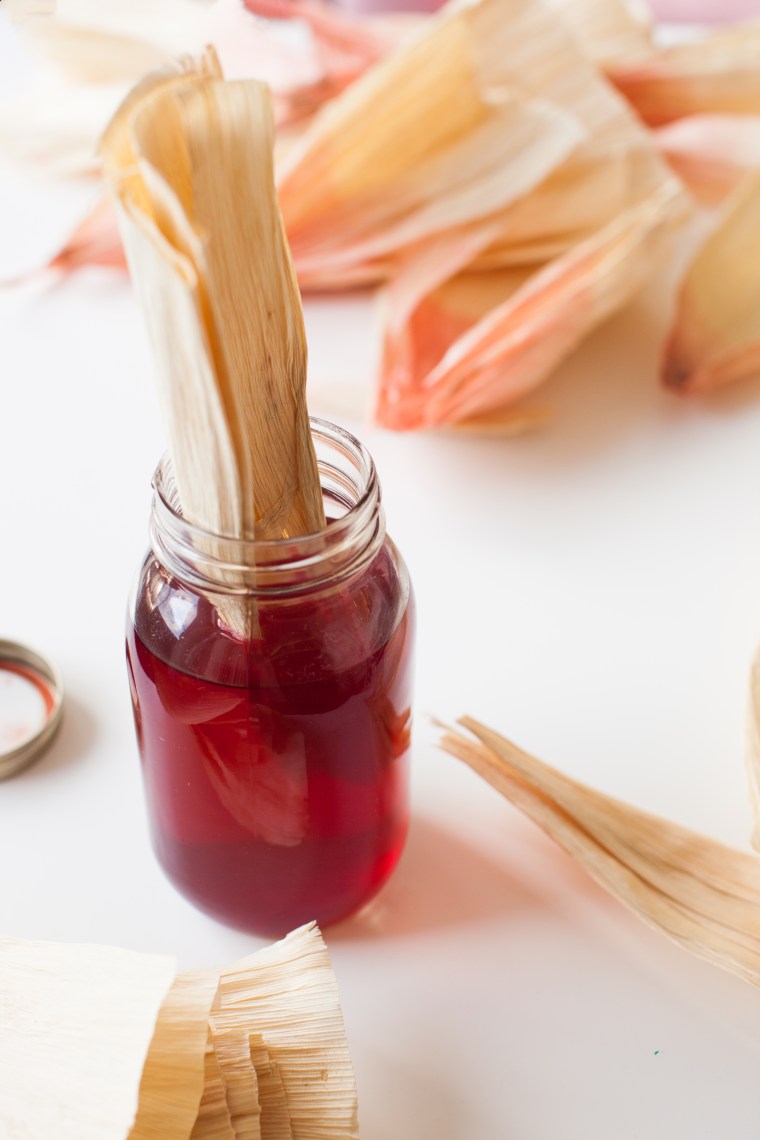
First you’re going to mix up the dye color of your choice and then soak the corn husks until the level of color you desire is achieved. I chose to only dye the tips of my husks for an ombre effect.
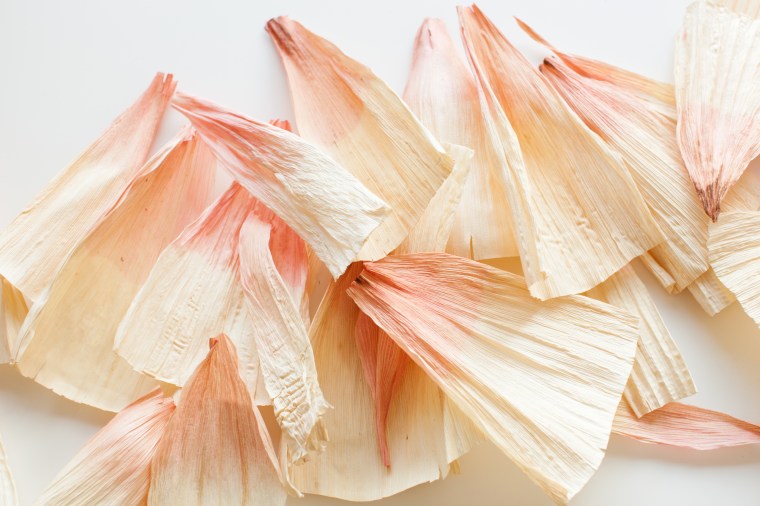
Let the husks dry completely before assembling your wreath.
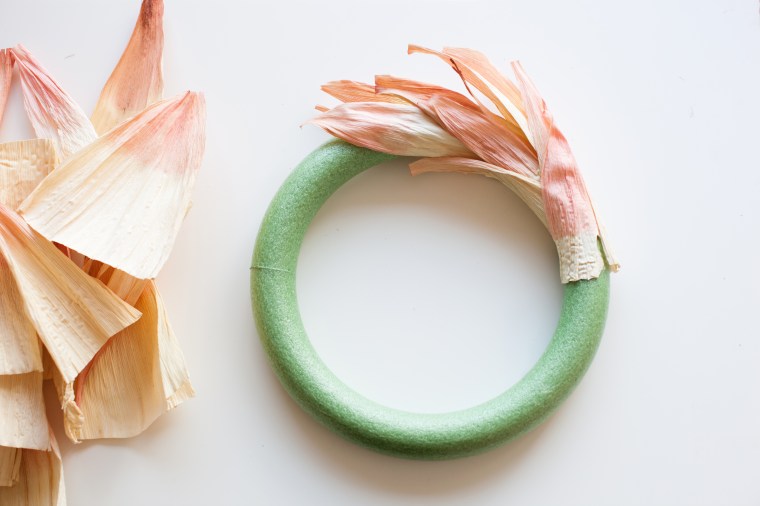
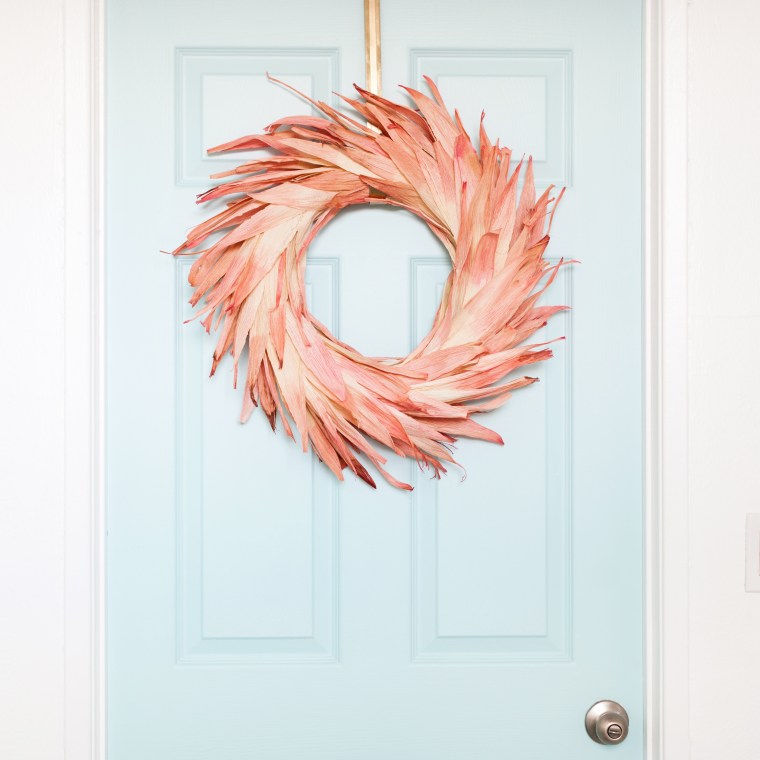
Next, using a hot glue gun, start gluing the husks to the wreath form in one direction, layering the husks all the way around until the wreath form is covered. Split up the husks into thinner pieces for more depth and keep adding in more husks until you reach your desired volume.
And that’s it! Easy peasy.
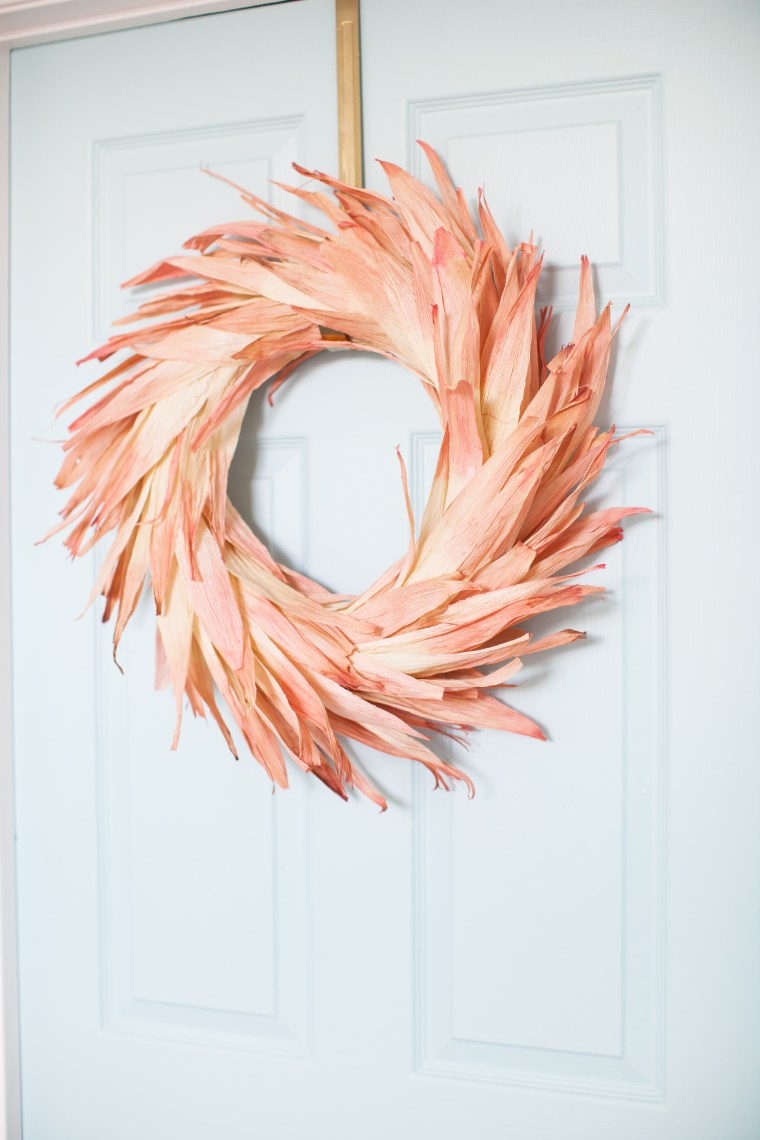
I love the way it looks like feathers! I’m in love with the way it turned out and will probably keep it up throughout winter too.
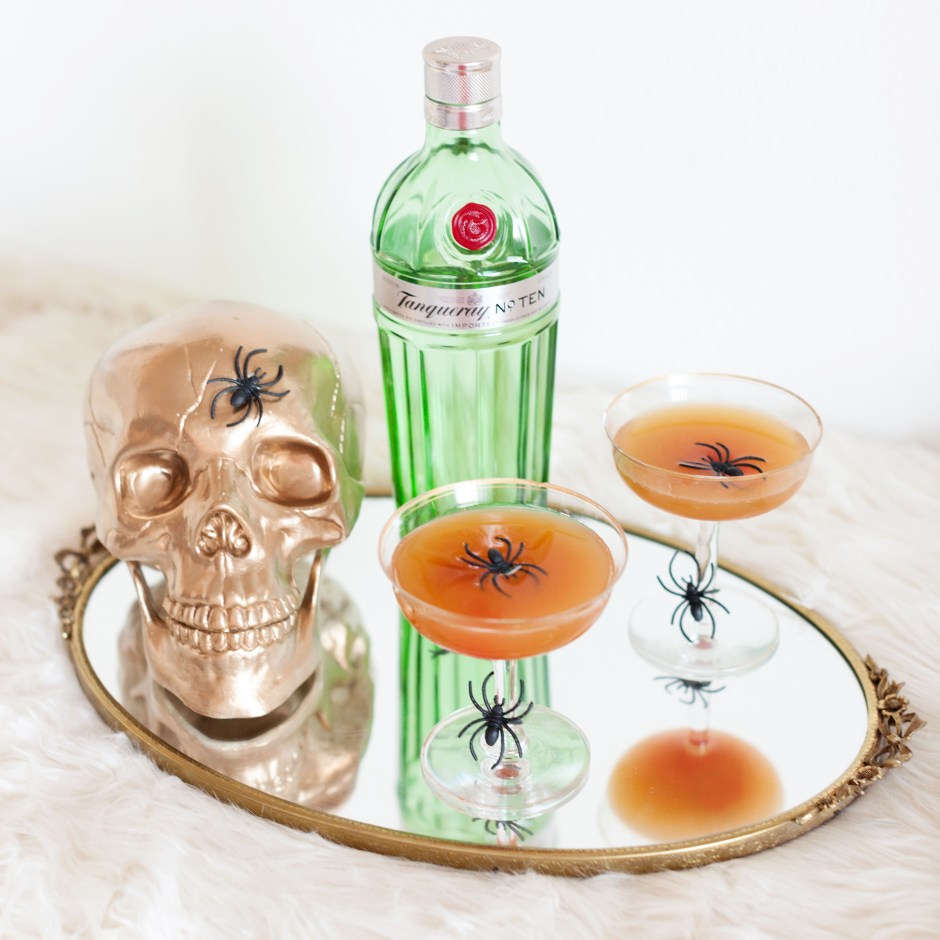
 Satan’s Whiskers Cocktail
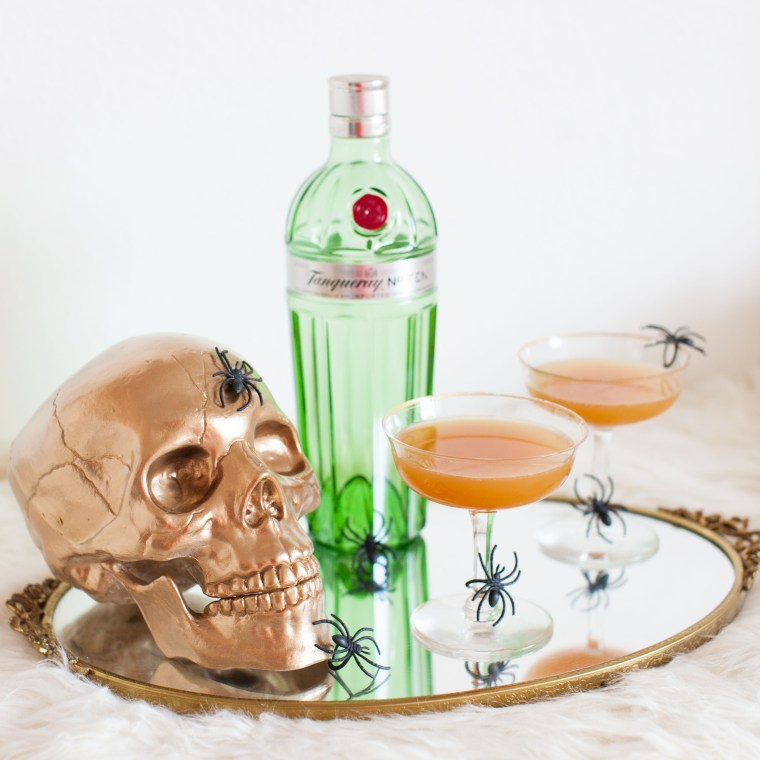 Recipe from The Official Mixers Manual by Patrick Gavin Duffy, 1934.
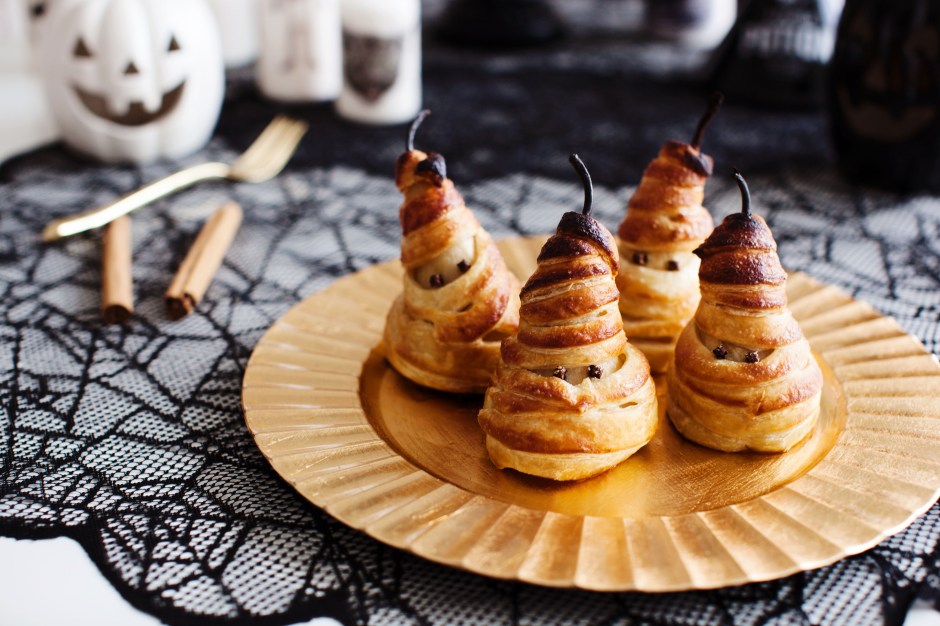
 This adorable dessert will take your Halloween shindig to the next level. Here’s how you make them.
 Add the pears to the pan. Bring back to the boil, reduce the heat to a simmer and cook for 15 minutes. Reserving the syrup, remove the pears from the pan with a slotted spoon and set aside to cool on kitchen paper. Use a melon baller or small teaspoon remove the core from the pears.
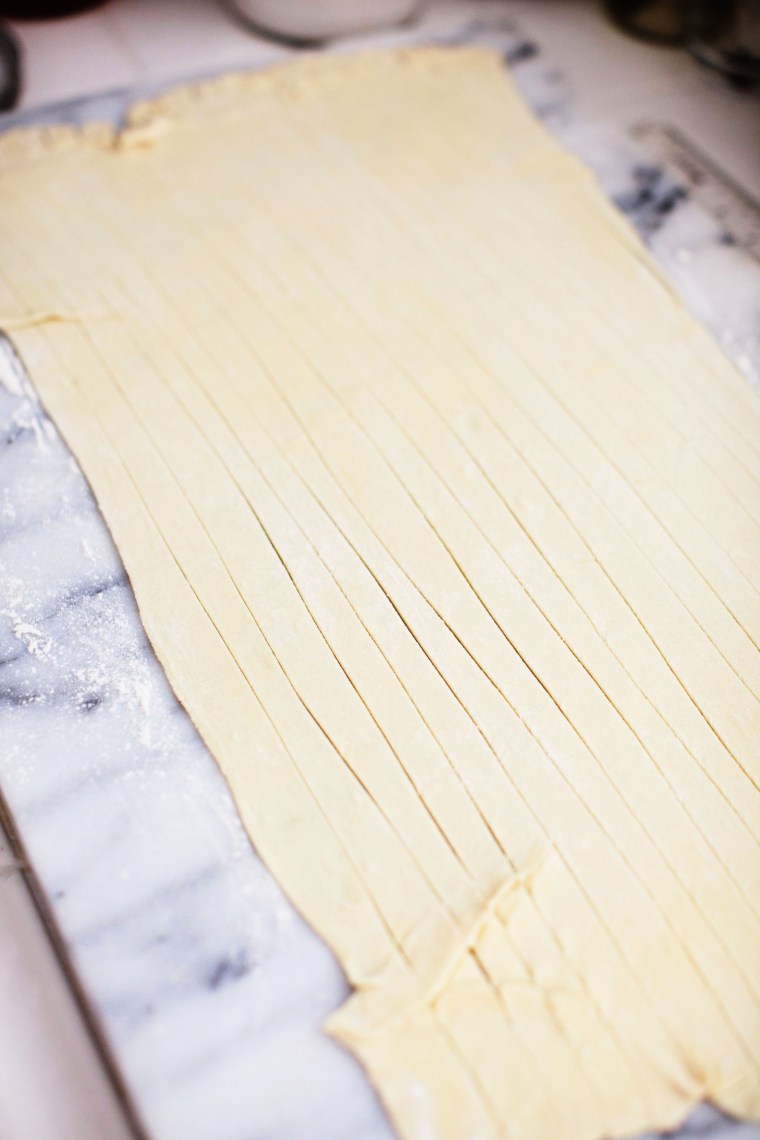 Brush the pears with the cooled sugar syrup and starting from the bottom, wrap the pastry strips around the pears. When you come to the end of the pastry strip, brush the end lightly with syrup and press to adhere to the next pastry strip. Leave an opening near the center of the pear for the eyes. Continue wrapping until you reach the top of the pear. Place two cloves into the pear where you want the eyes to be.
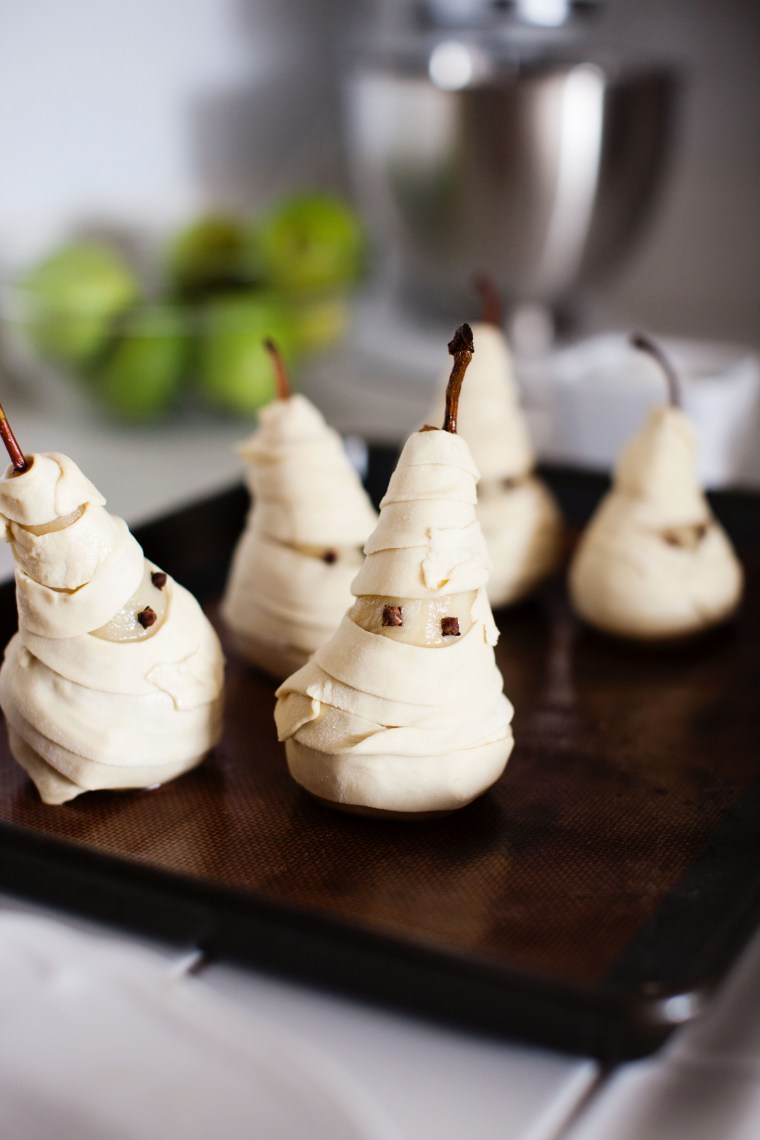 Preheat the oven to 400F. Place the pastry covered pears on a baking tray. Brush the pastry with beaten egg and sprinkle with granulated sugar. Bake for 25-30 minutes.
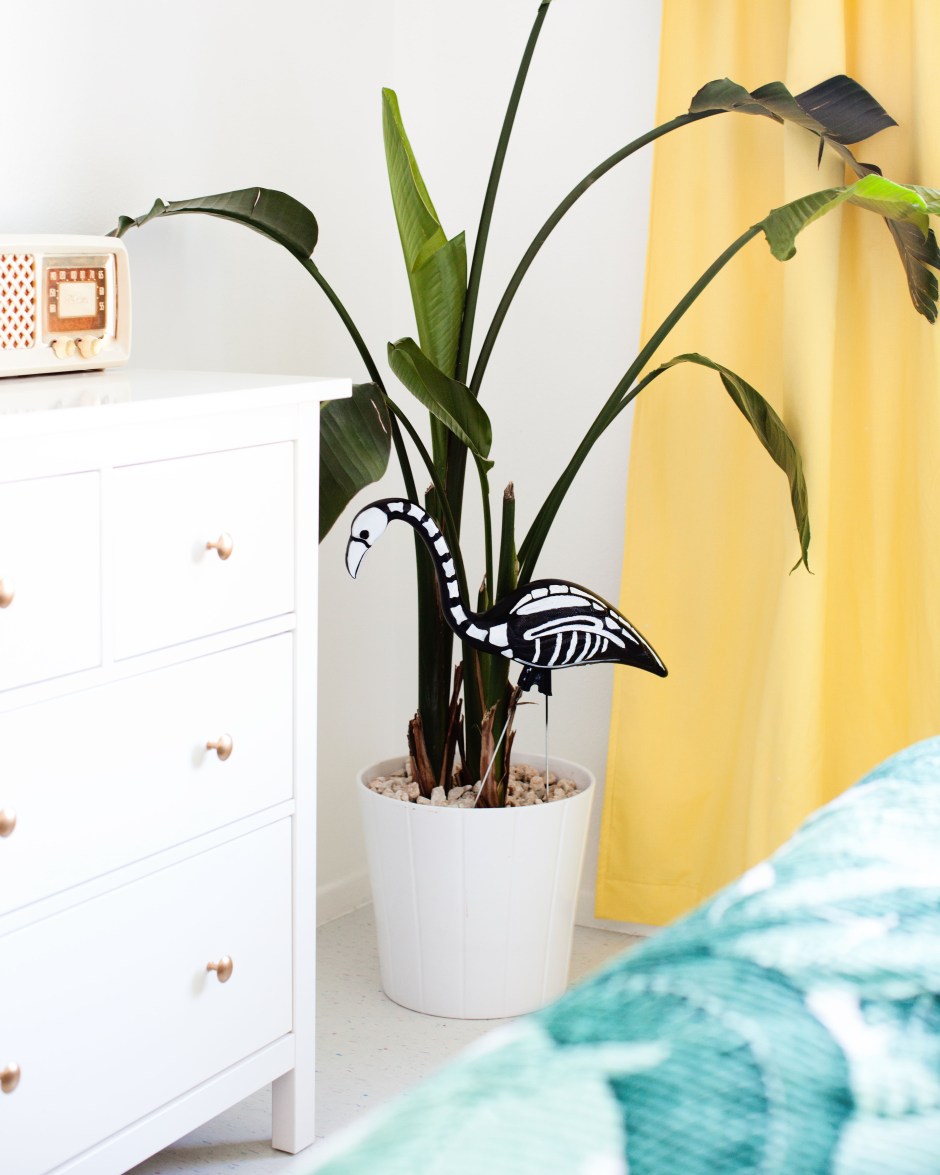
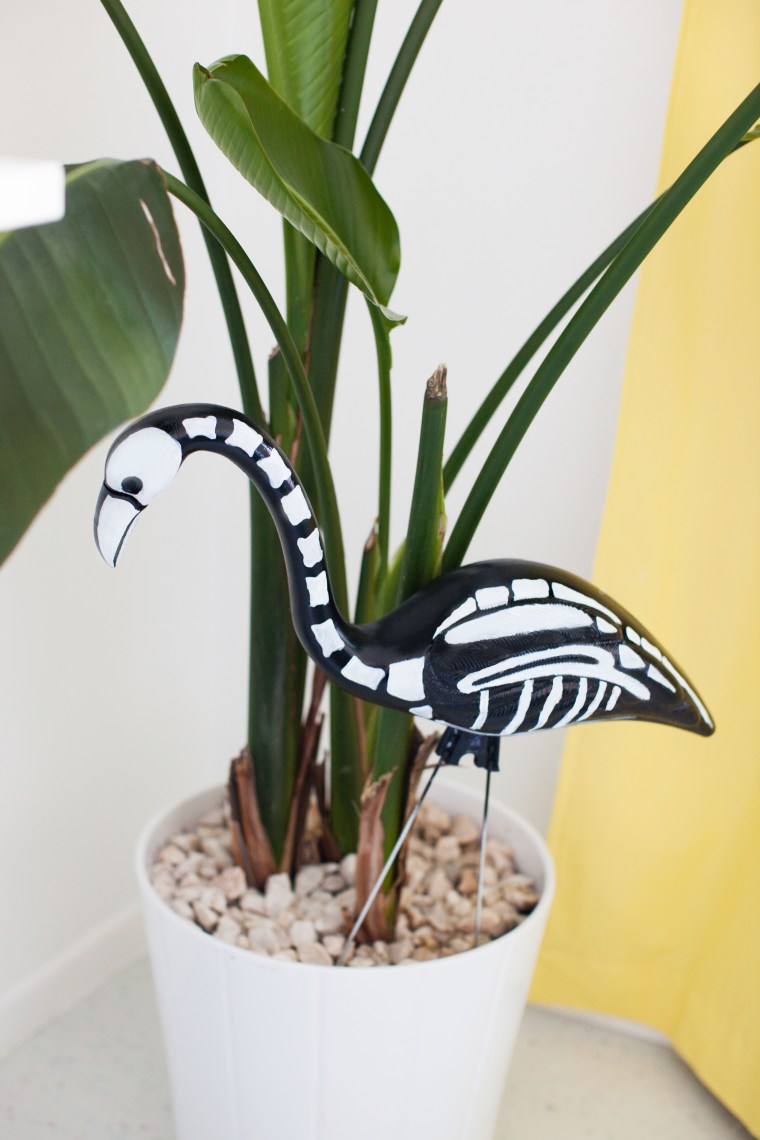 I’m not an expert on bird anatomy so you’ll have to forgive my crude interpretation of a flamingo skeleton. Listen, I did my best!
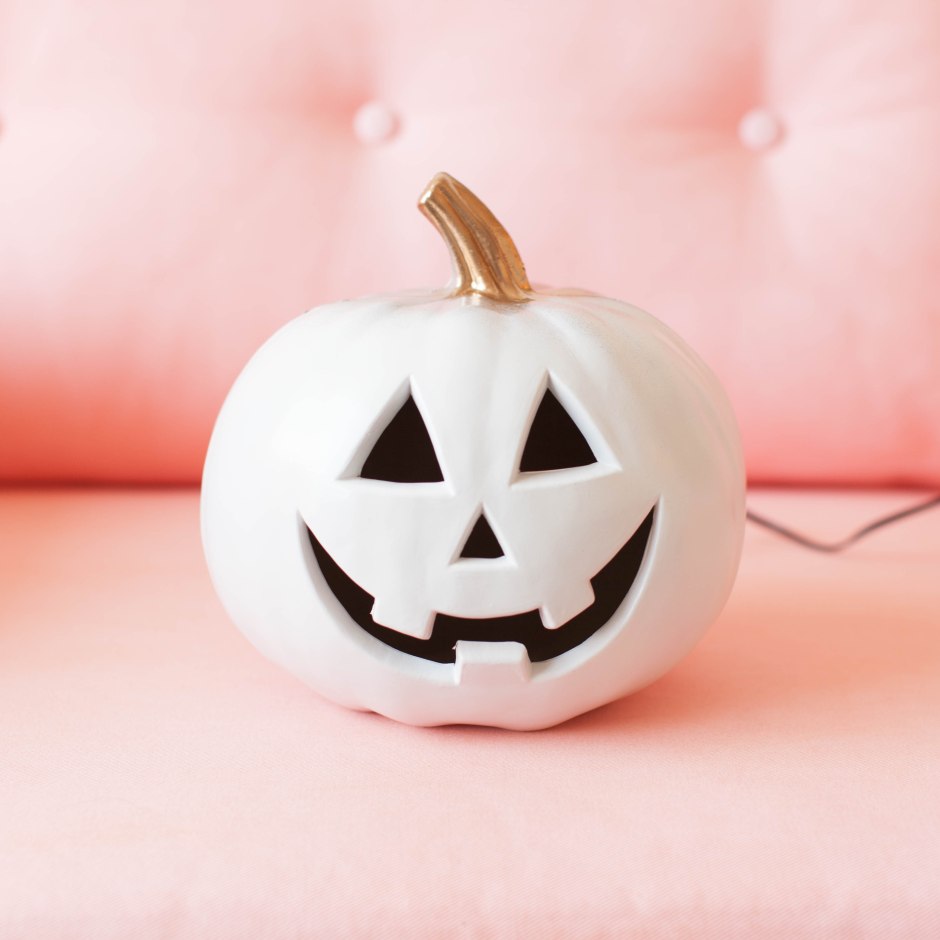
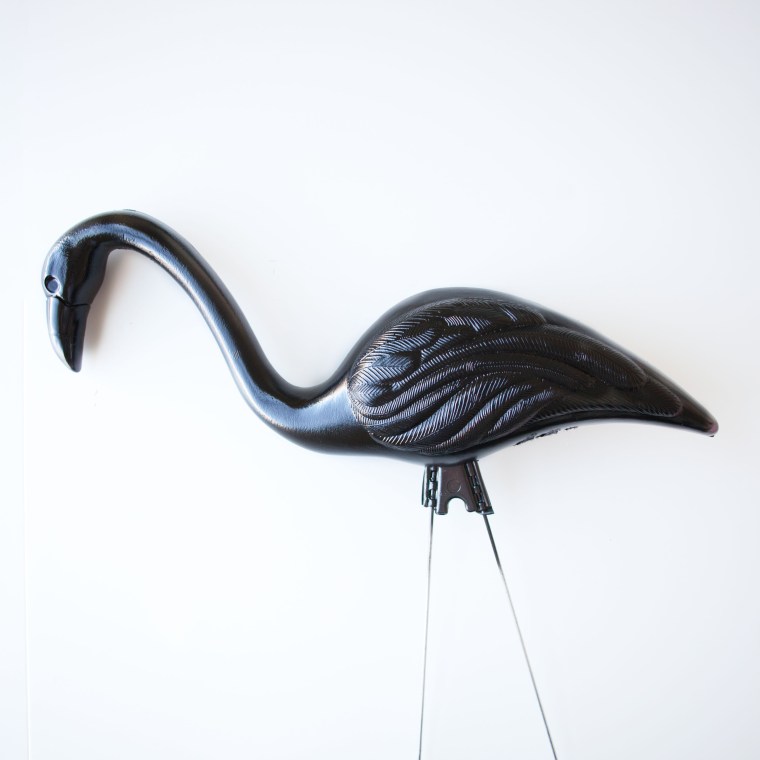
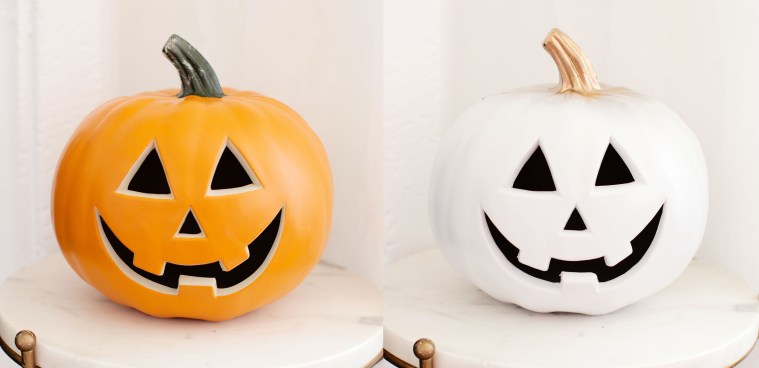
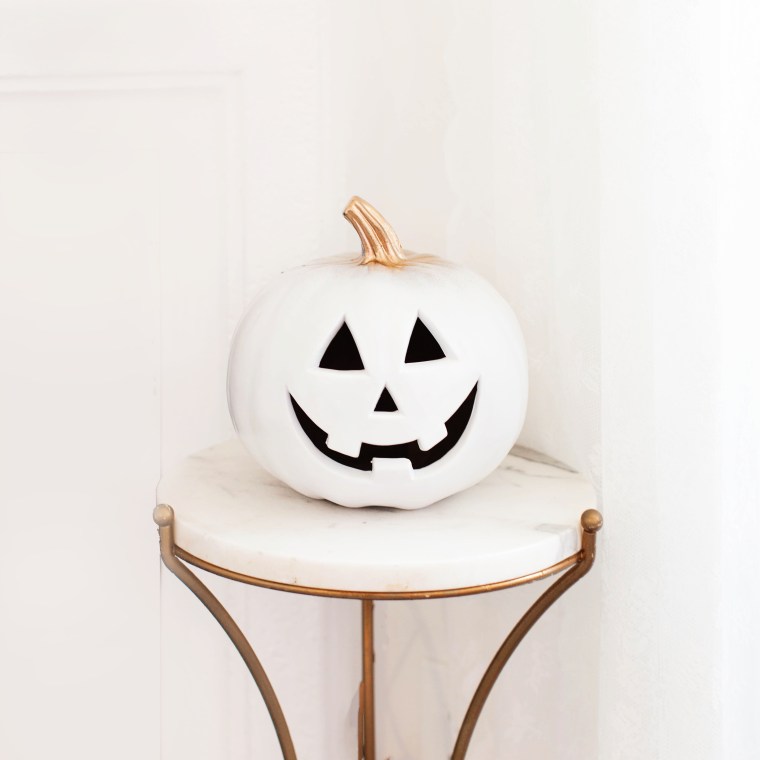
 Spray paint. That’s all you need. I went with gold and white of course.
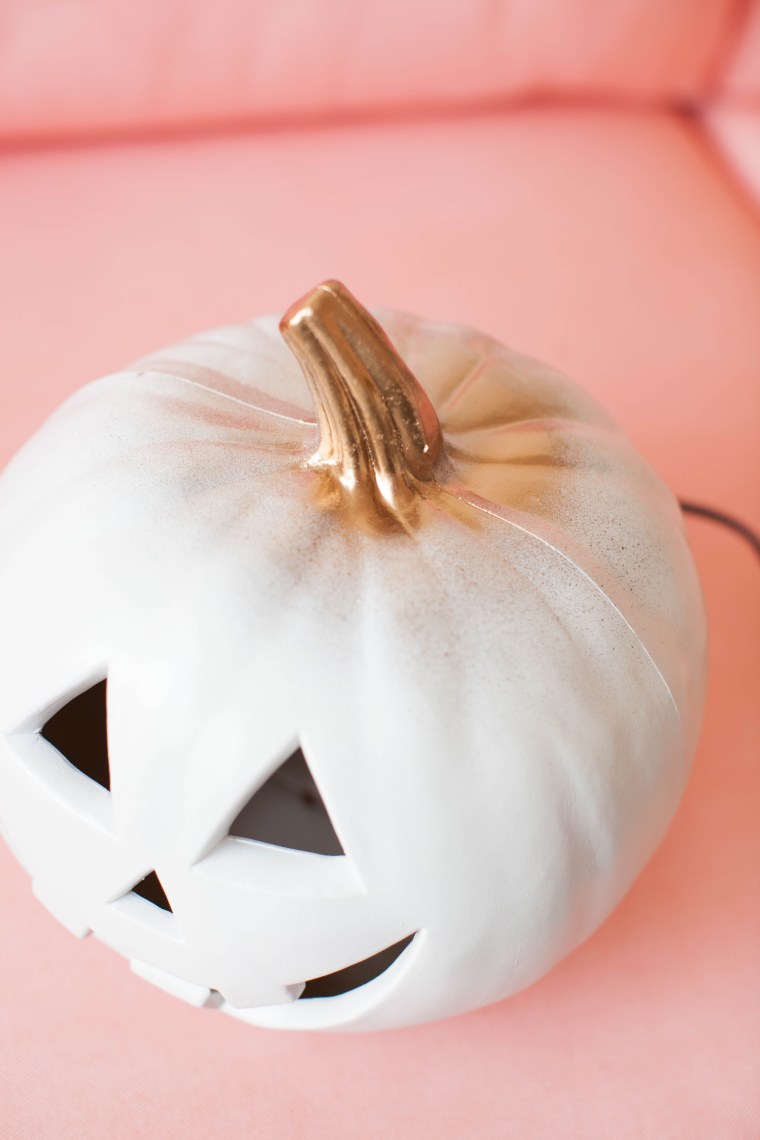 I painted the entire pumpkin with white satin paint (satin or gloss work best) and then sprayed the stem gold. I didn’t use tape or anything around the stem because I like the way the gold over-spray looks on the top of the pumpkin.


 This was originally a concept I had for a gingerbread house but I thought they made perfectly fine gingerbread cookies and gave up on the other four walls. Can you blame me based on my questionable cookie decorating skills?
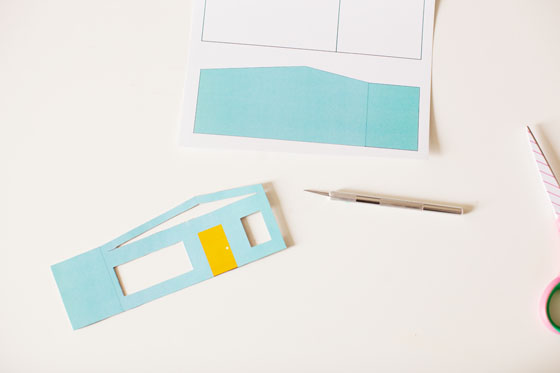
 You can also trace the pattern onto cereal or gift boxes. To color them you can digitally fill the pattern in with color before printing, or you can use paint, crayon, or colored pencils to fill it in. Then use cardboard pieces for the roof and base. Whatever works for you!
 You can use miniature trees and accessories like cars, animals, and snowmen to bring the scene to life, and as you can see every house has a tree up in the window.
 For this one I used paper straws to hold up the carport.
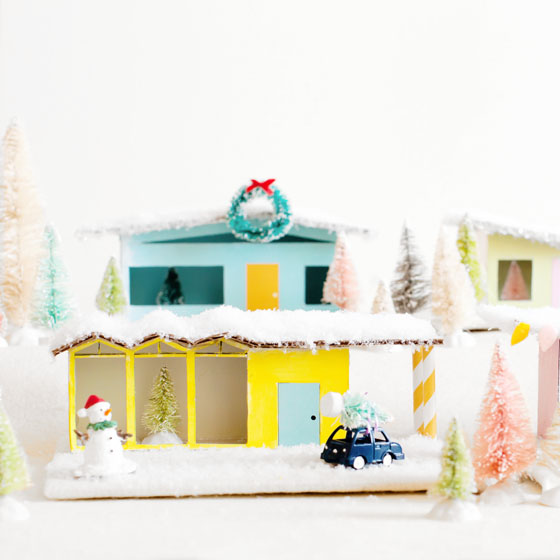 And for this house I cut light shapes out of scraps of felt and glued them on.

 The only problem I had was finding the right tree skirt to cover up the wooden planks that is holding it up. I found a couple that I liked but they weren’t quite right so I used them as inspiration and make my own using felt and pom-pom trim.
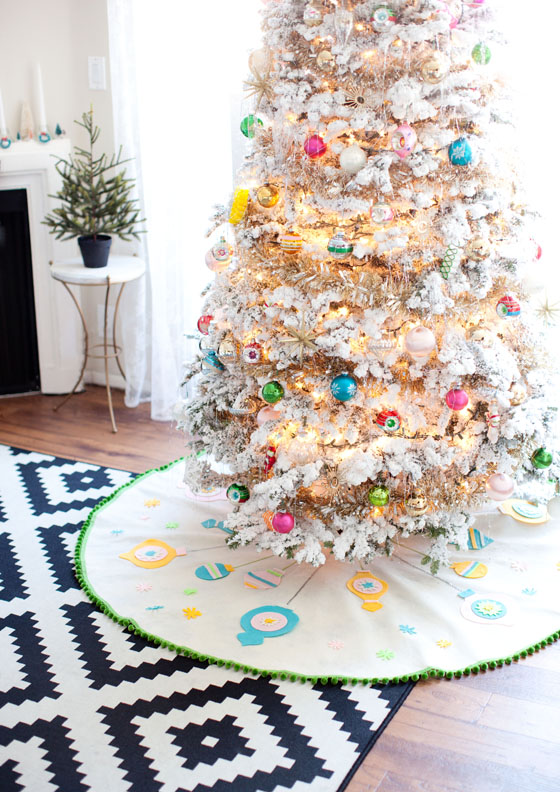
 Keep marking your measurement until you get to the other side. You should have something that looks like this. Mark the corner to make the hole for the middle, too.
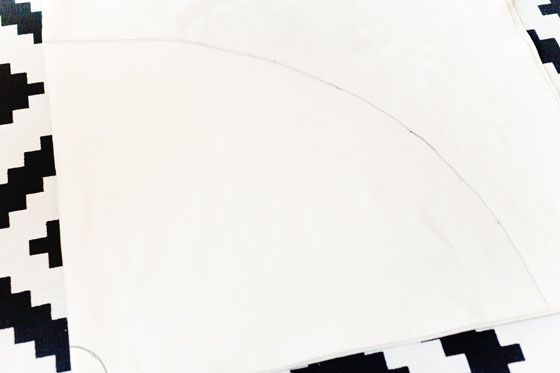 If done properly you should have a circle tree skirt.
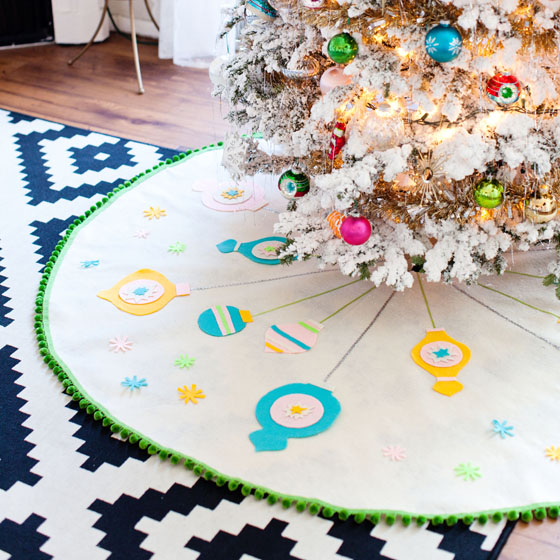
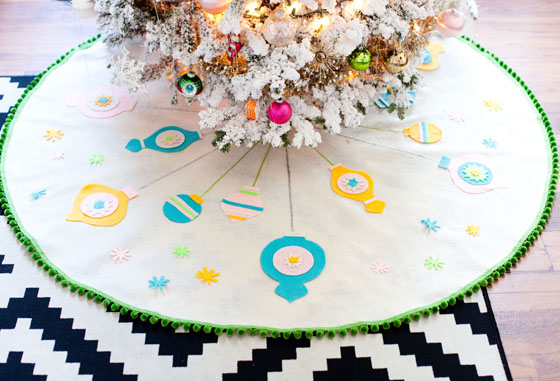 You can use cookie cutters, templates, or free hand any decorations of your choice and cut them out of felt. I went with the vintage ornament theme and free-handed different ornament shapes. I used fabric glue to glue them on.
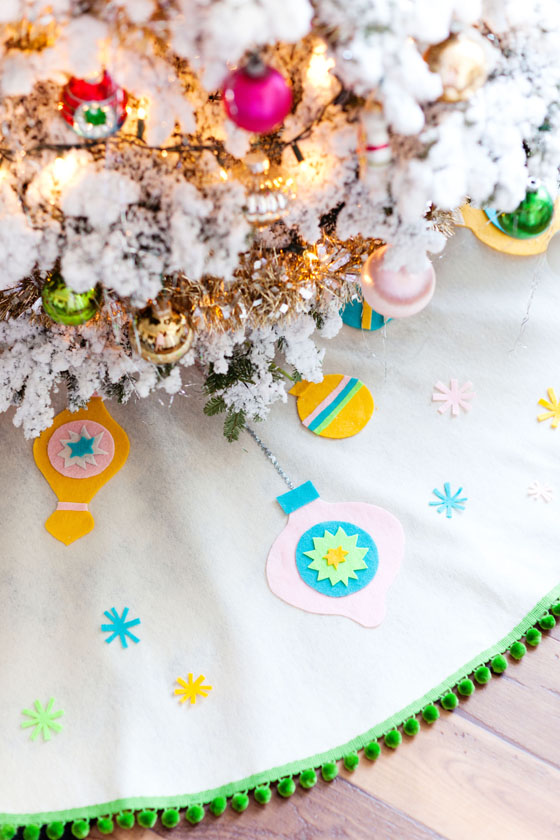 I glued on silver baby rick-rack and thin ribbon as the strings for my ornaments.
  The last thing I did was glued on pom-pom trim. Seriously so easy and adorable.
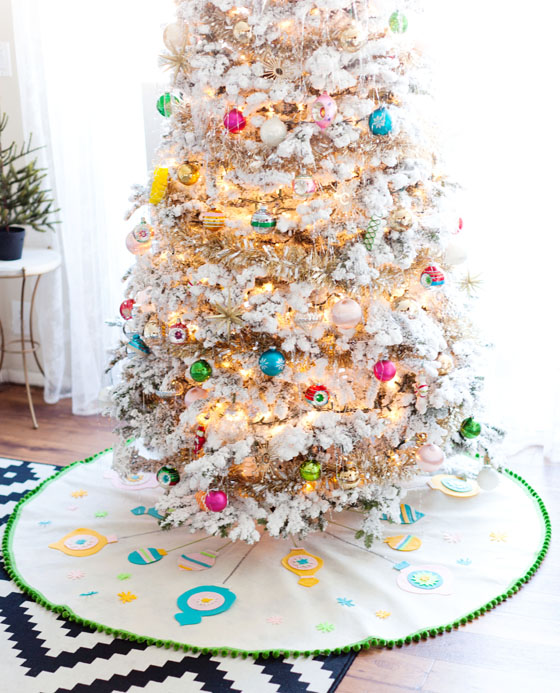 I’m so happy with the way this turned out and even happier that I didn’t have to lug out my sewing machine. The total project cost me around $25 so that’s also a bonus!
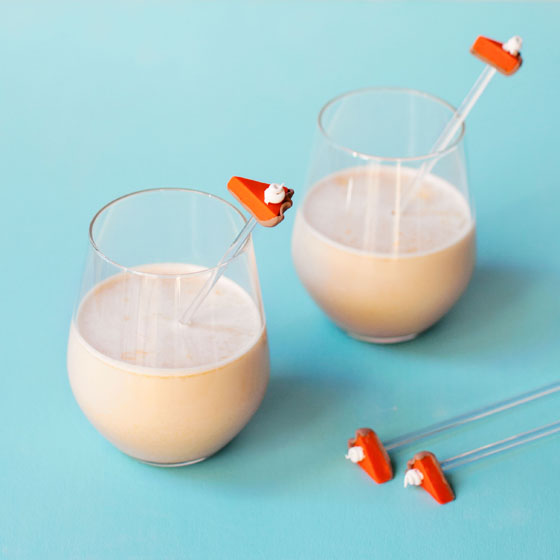
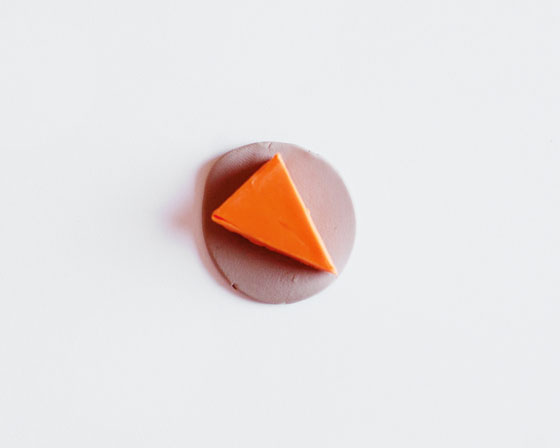
 I love making miniature things out of clay. It’s so…therapeutic. These mini pumpkin pies were particularly easy and fun. Here’s how I did it.
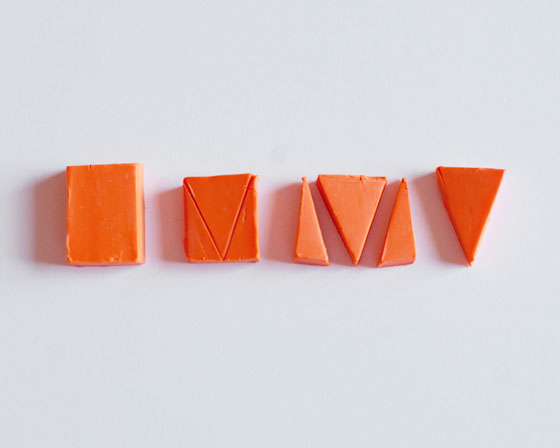

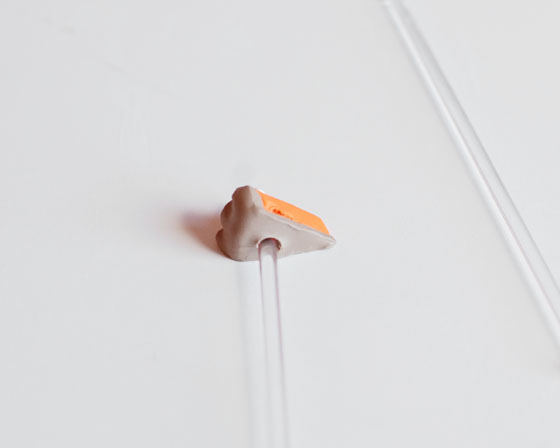
 Using a little super glue, replace the cocktail stick into the pre-made hole.