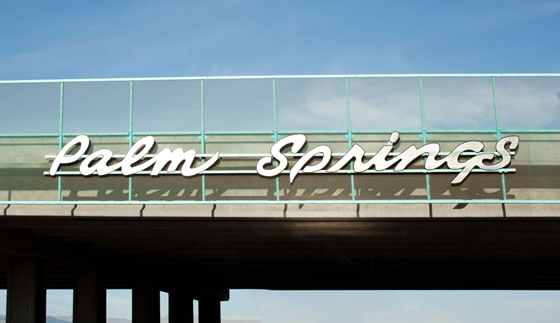
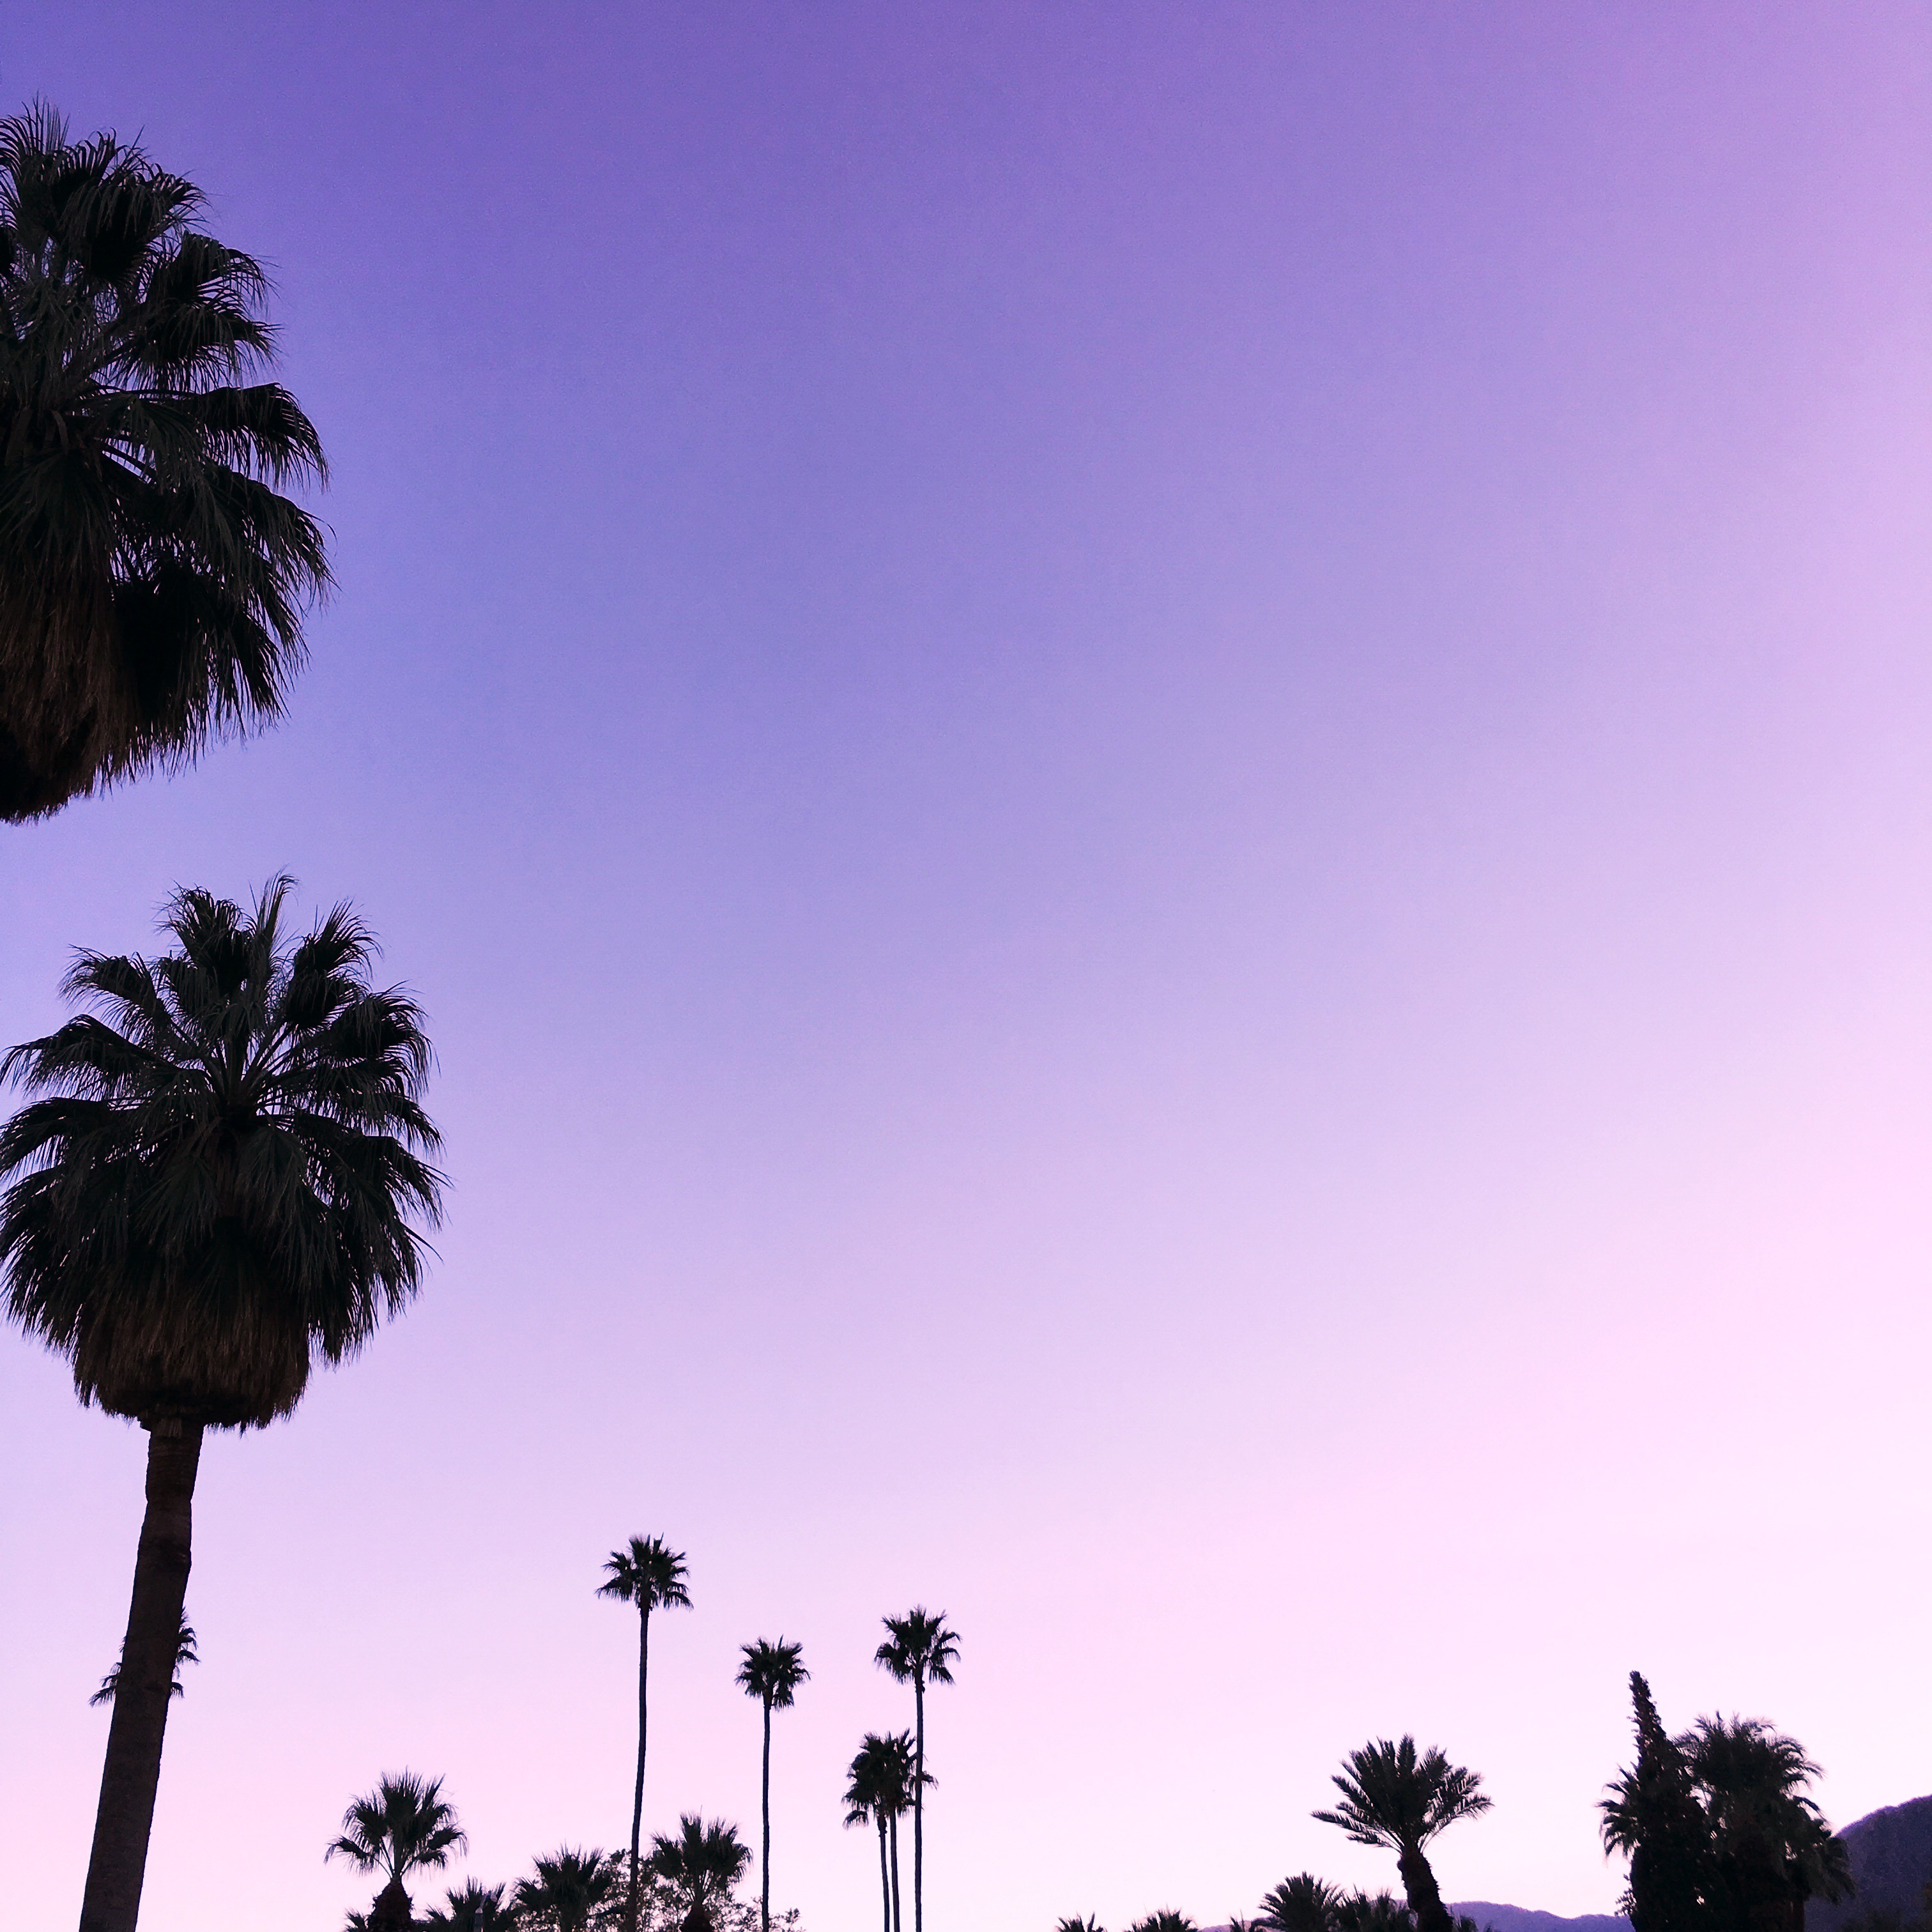
Warning: This is a very image heavy post, but I just can’t help myself.
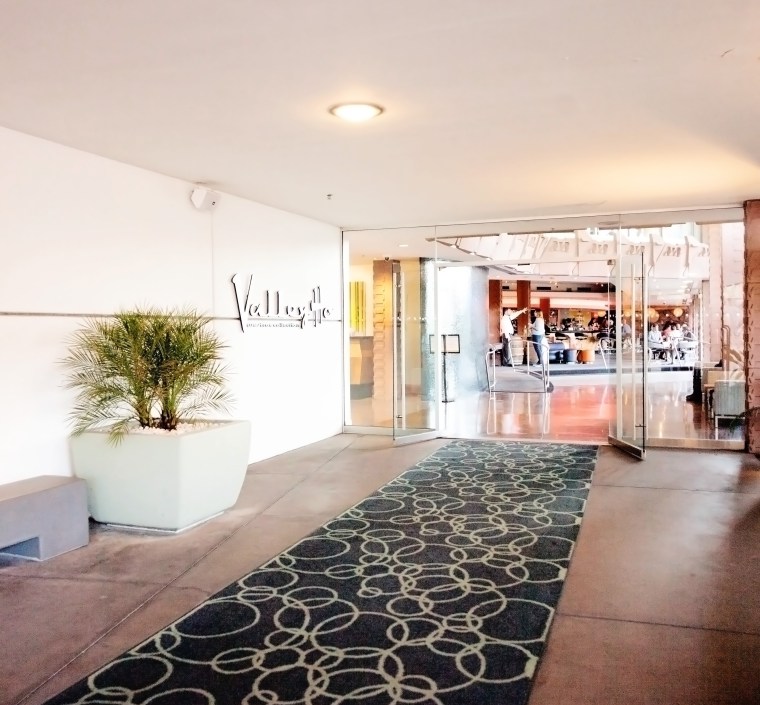
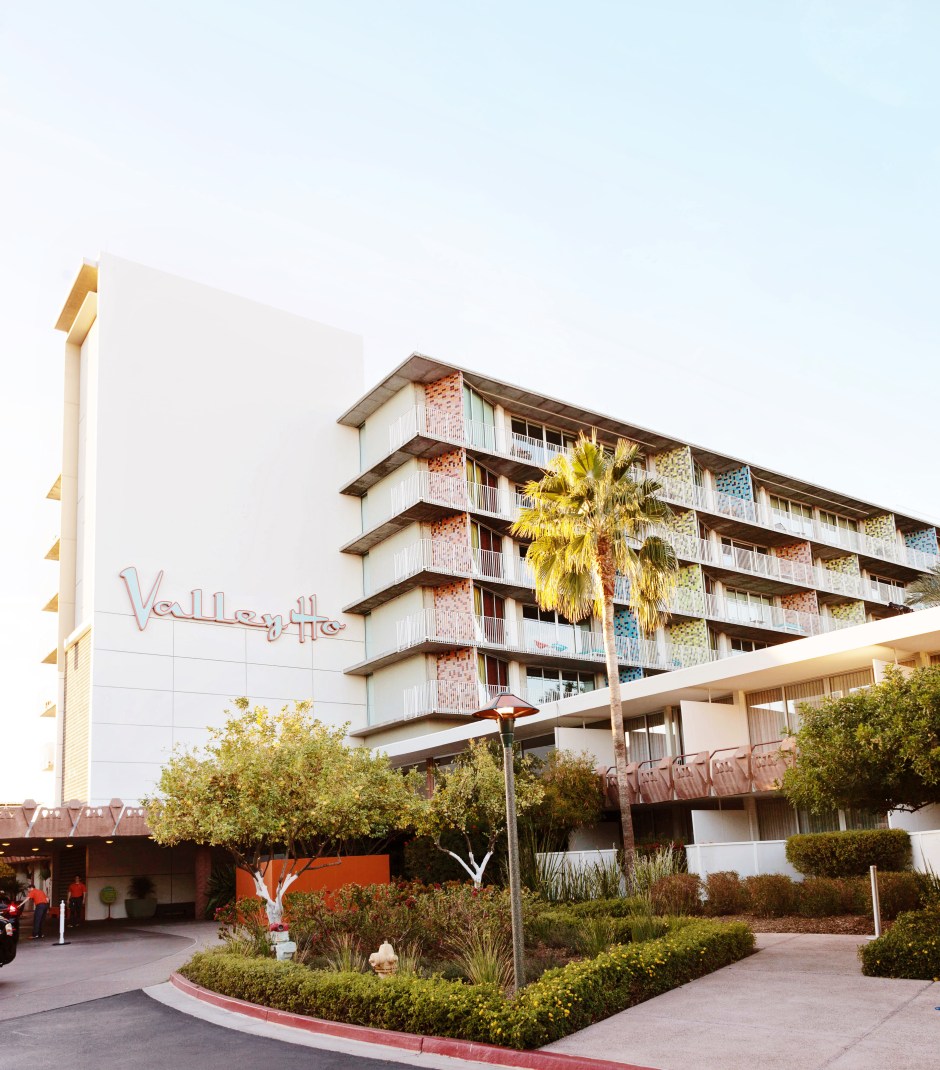
Last month we had the pleasure of staying at Hotel Valley Ho in Scottsdale, Arizona. It was the first stop on our three week long road trip to Florida and boy oh boy was it a good way to start off the trip.
 Hotel Valley Ho has a very interesting history, so let me lay some on you real quick.
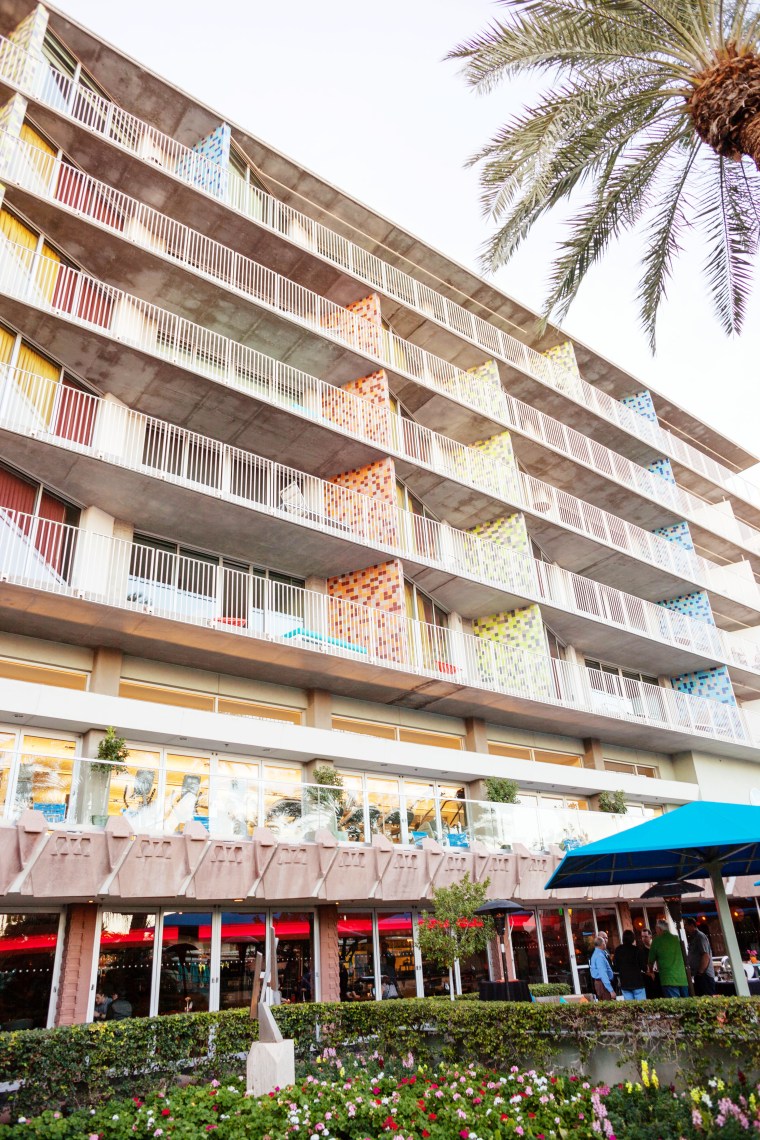
Designed by Edward L. Varney (a student of Frank Lloyd Wright), Valley Ho opened its doors in 1956 and was an impressive example of what we now know as mid-century modern architecture and design. Upon opening it quickly gained popularity with numerous celebrities and trendsetters of the time. Robert Wagner and Natalie Wood even celebrated their wedding reception at the hotel in 1957.Unfortunately, during the 70s the hotel was bought and was stripped of its design and fell into disrepair until it finally closed in 2001. Plans to demolish the structure were considered until architecture and history enthusiasts rallied to save it. Thanks to those efforts it’s now a registered historic landmark.
 In 2002, the hotel was bought by Westroc Hotels & Resorts and underwent renovations by Allen+Philp, an architecture and interior design group from Phoenix. In 1958, Edward L. Varney proposed building a tower above the lobby, but it never came to fruition, until 2002 when it was built under Westroc’s owenership. The years long renovations were a success and stayed true to the spirit of the original style and era, and thus the Valley Ho we know today opened in 2005 on December 20th, exactly 49 years after its grand opening.
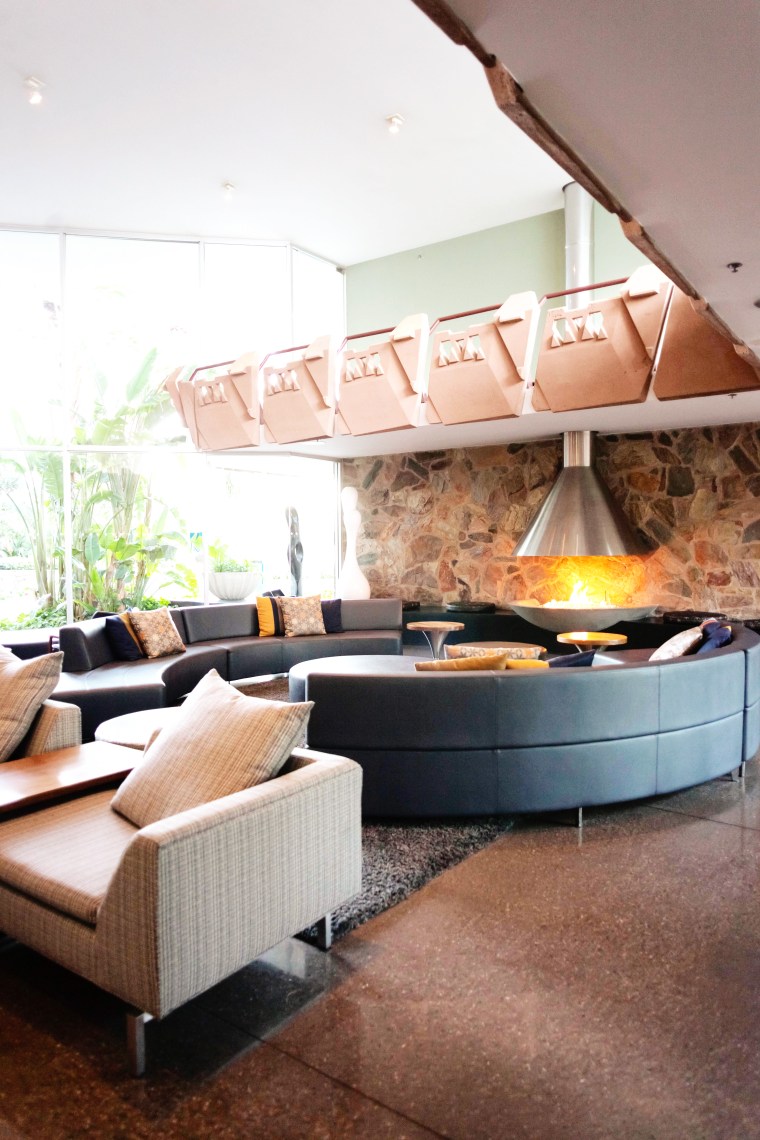
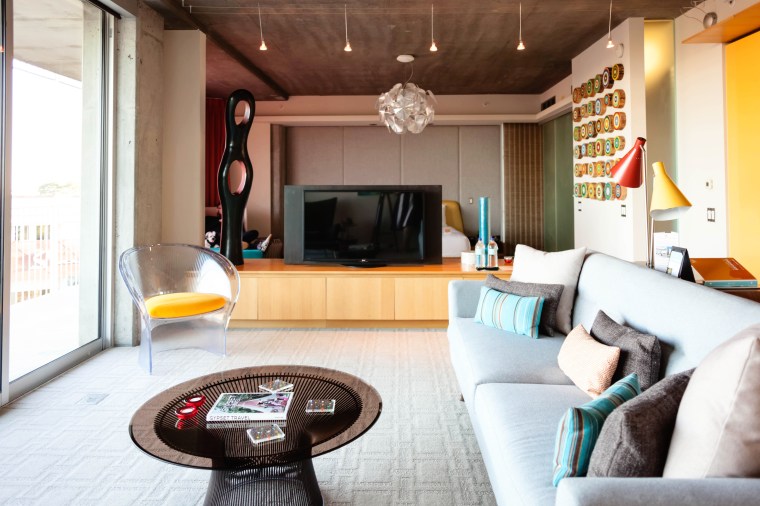
The lobby immediately feels like a time warp with its glass walls, cast and poured concrete details, and natural stone walls. All perfect examples of mid-century desert style. 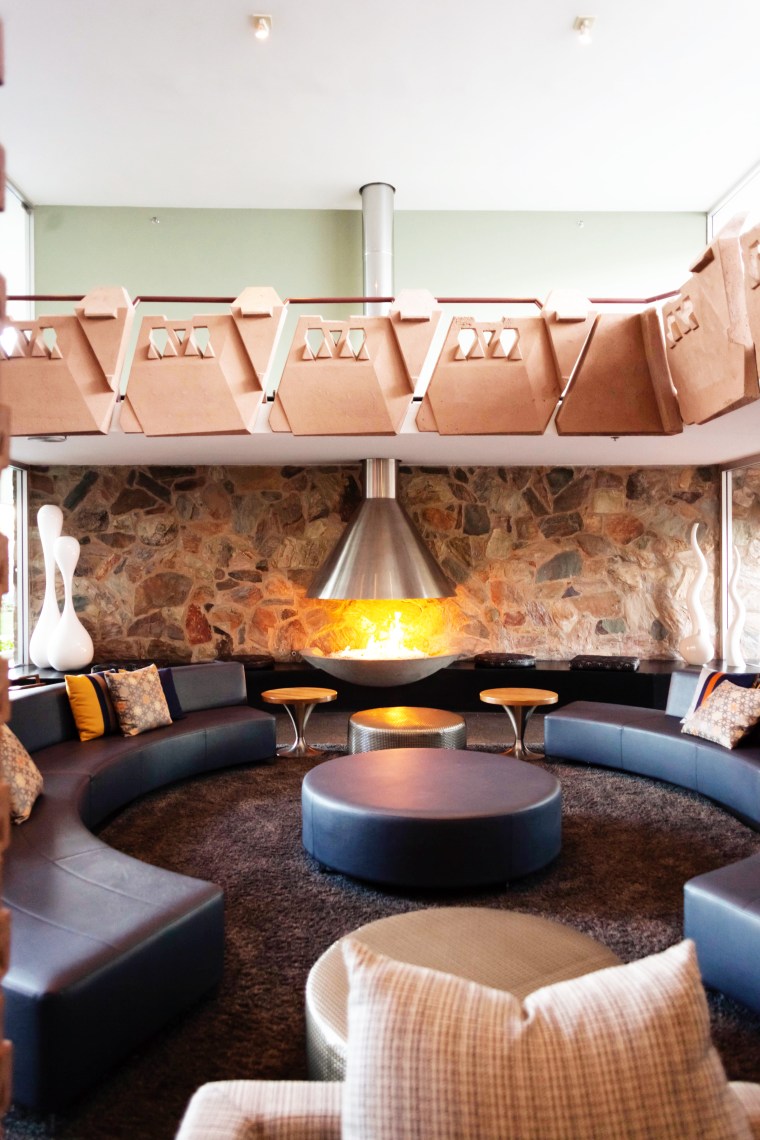
Retro style furnishings, including large curved sectionals, shag carpet, and woven textiles surround a space-age fireplace.
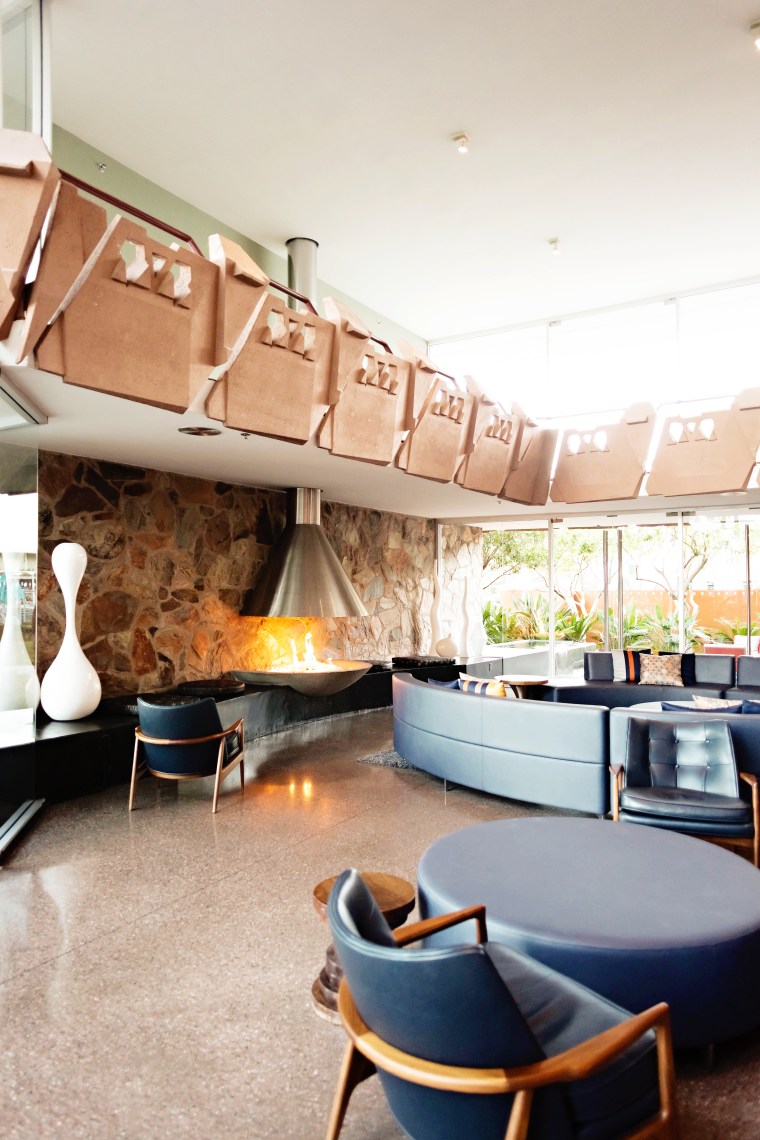
The high glass walls flood the room with light and give you a sense of being within the desert landscape.
This is a great place to grab drink by the bar, or just hang out and mingle with other guests if you want to escape your room for a bit. Rumor has it that sometimes late at night Jimmy Durante would play the piano in the lounge for the other sleepless guests.

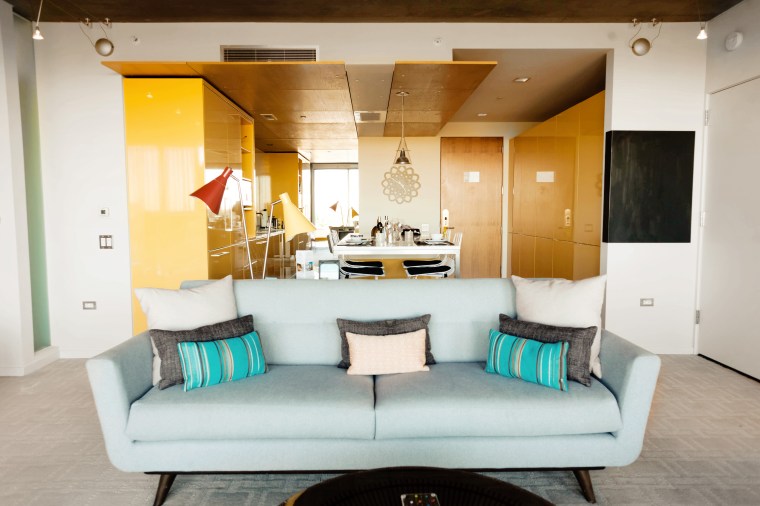
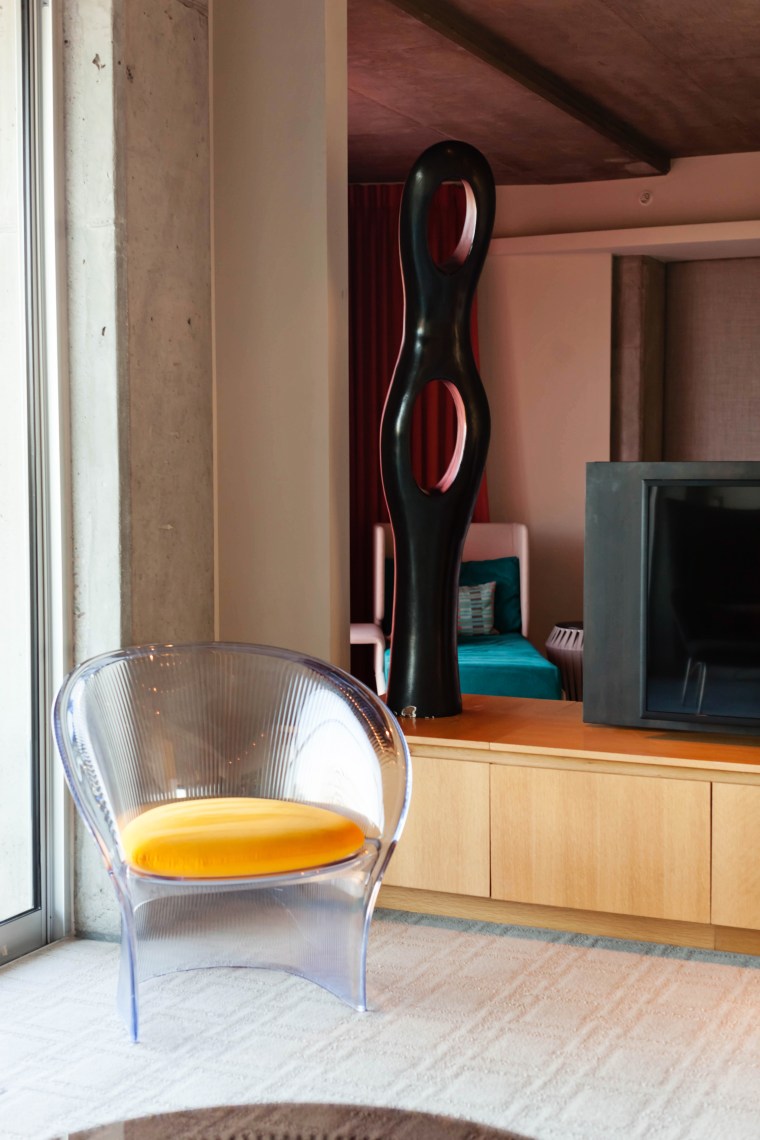
We had the pleasure of staying in a King Tower Suite for the night. 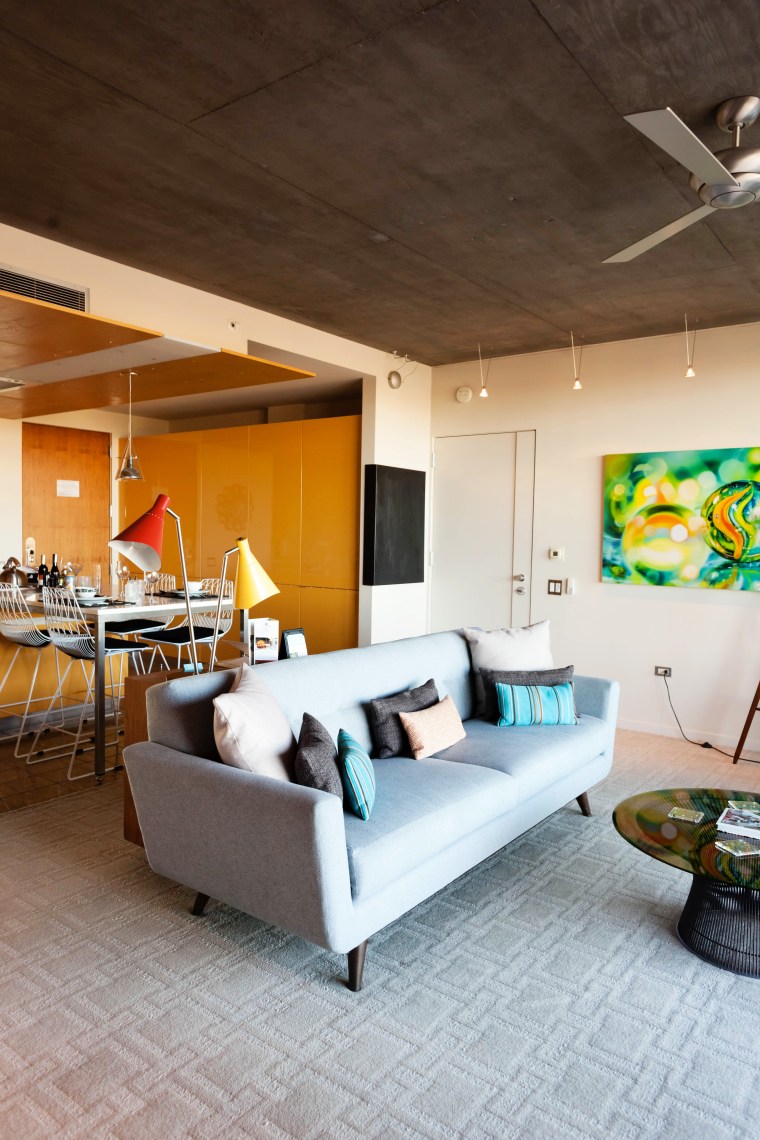
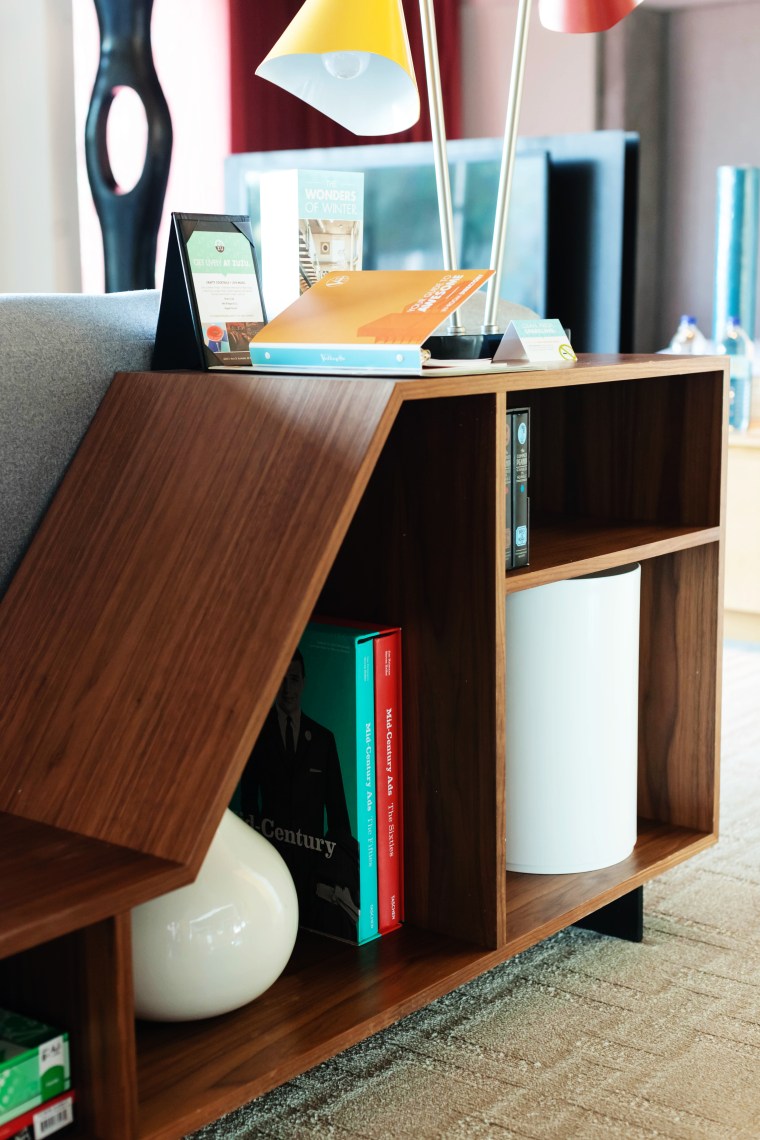
The suite is definitely impressive and features a living space, adjacent bedroom, expansive bathroom equipped with a washer and dryer, a large patio over looking the pool, and a fully stocked kitchen. It’s decked out with mid-century modern furniture and plenty of modern conveniences.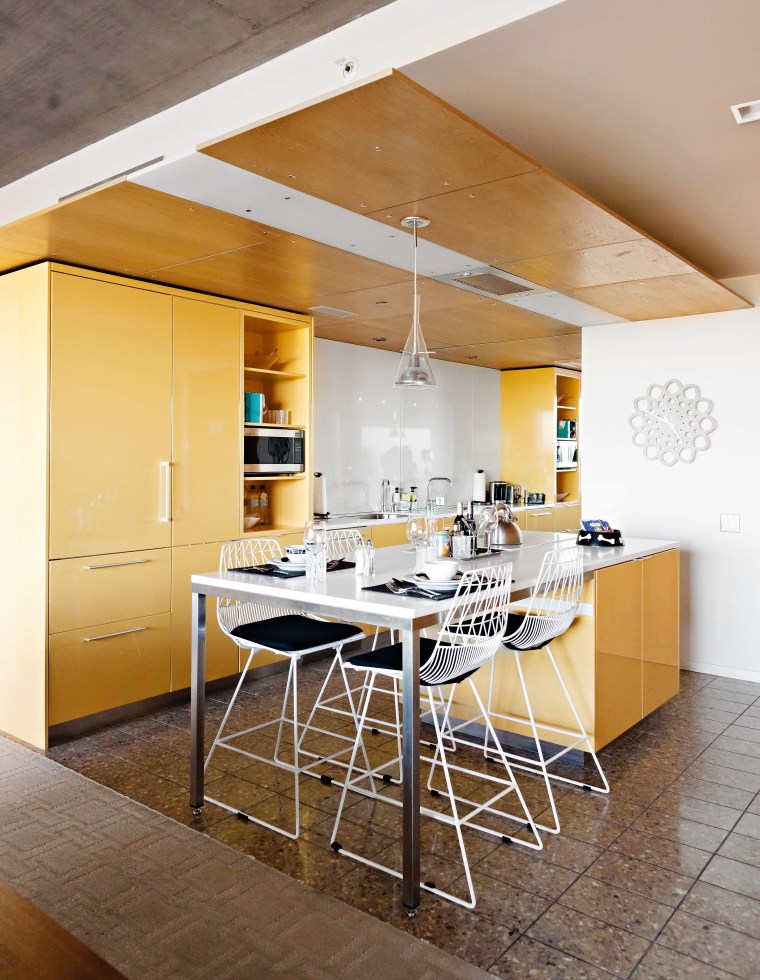

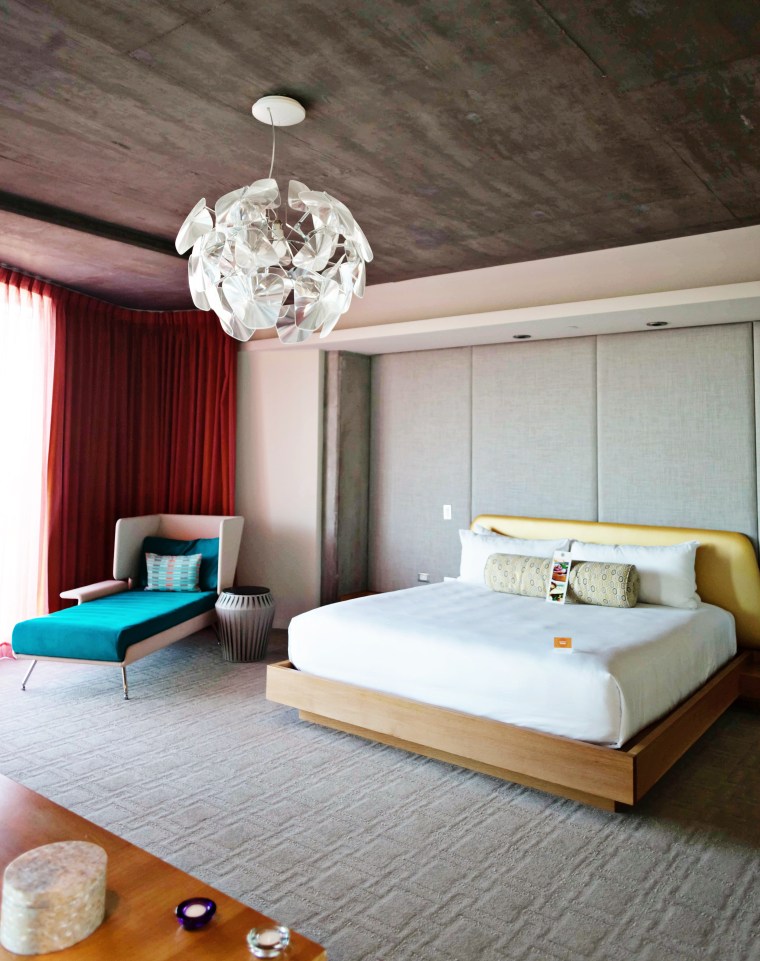
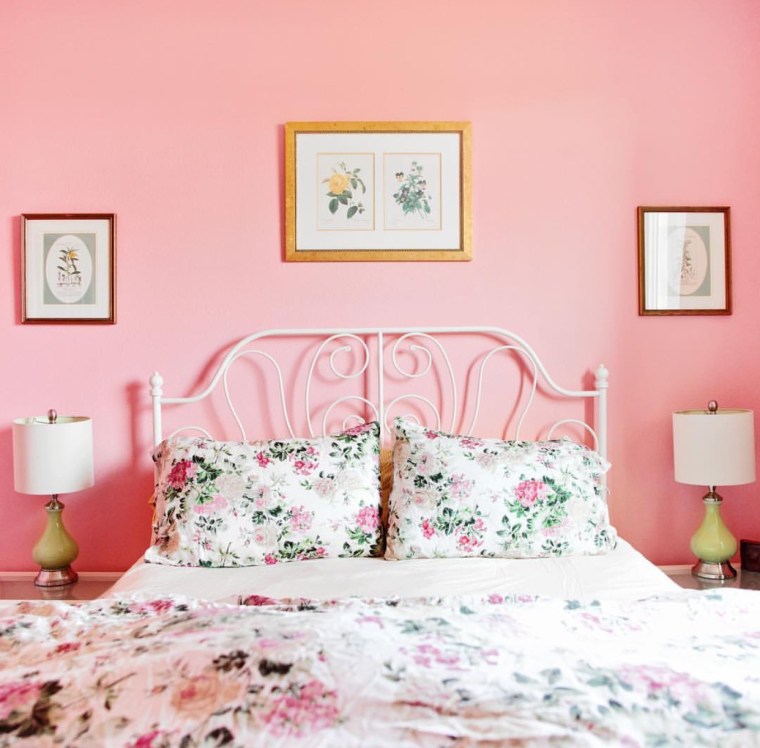
The bedroom area has a comfortable king sized bed, chaise lounge, and a light fixture that gets honorable mention because I need it in my life ASAP.
 Did I mention the hotel is also extremely dog friendly? Well it is! Pandora definitely enjoyed it.
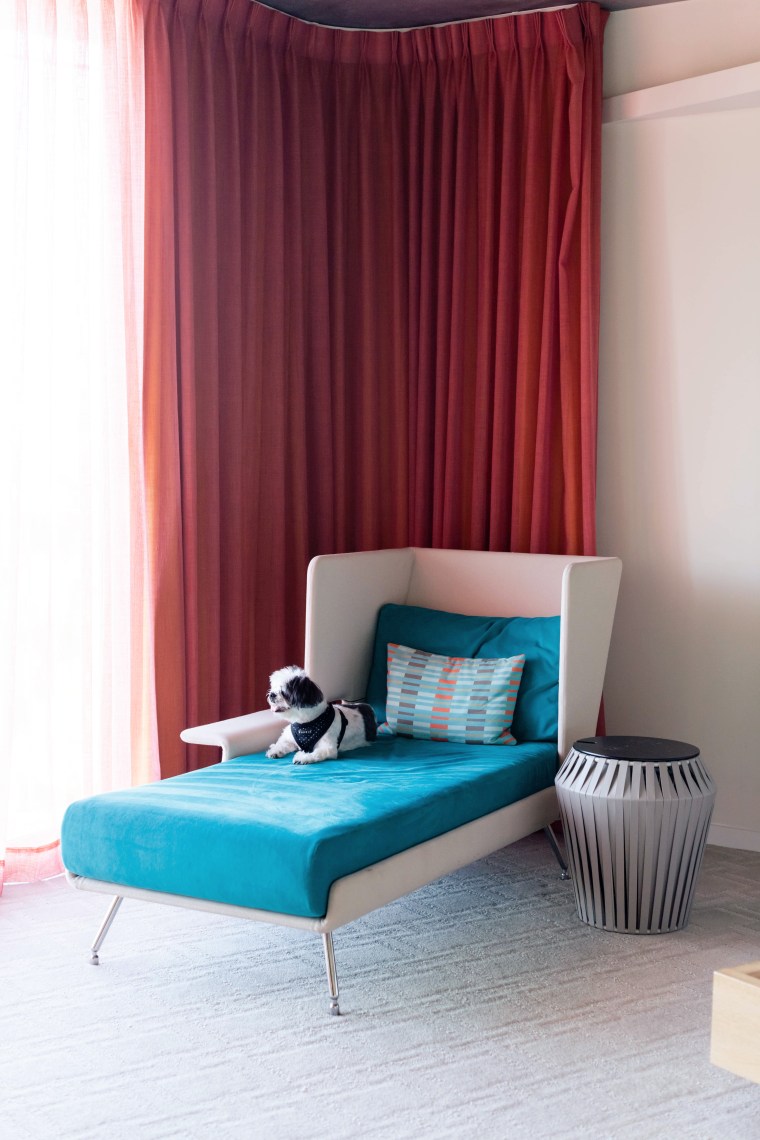
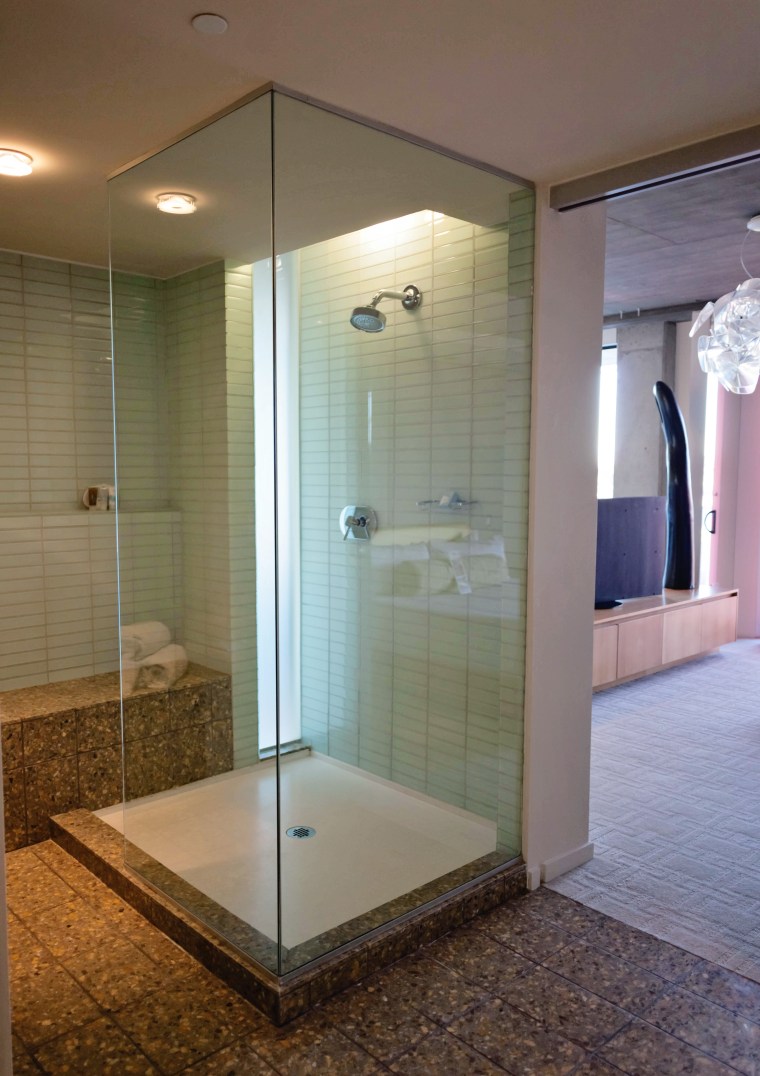
The expansive bathroom is a little on the dim side, but is equipped with a walk in closet, laundry, double sinks, and an amaaaazing shower. 
The room overlooks the main pool area and has gorgeous views of the sunset which you can watch while lounging on the patio furniture.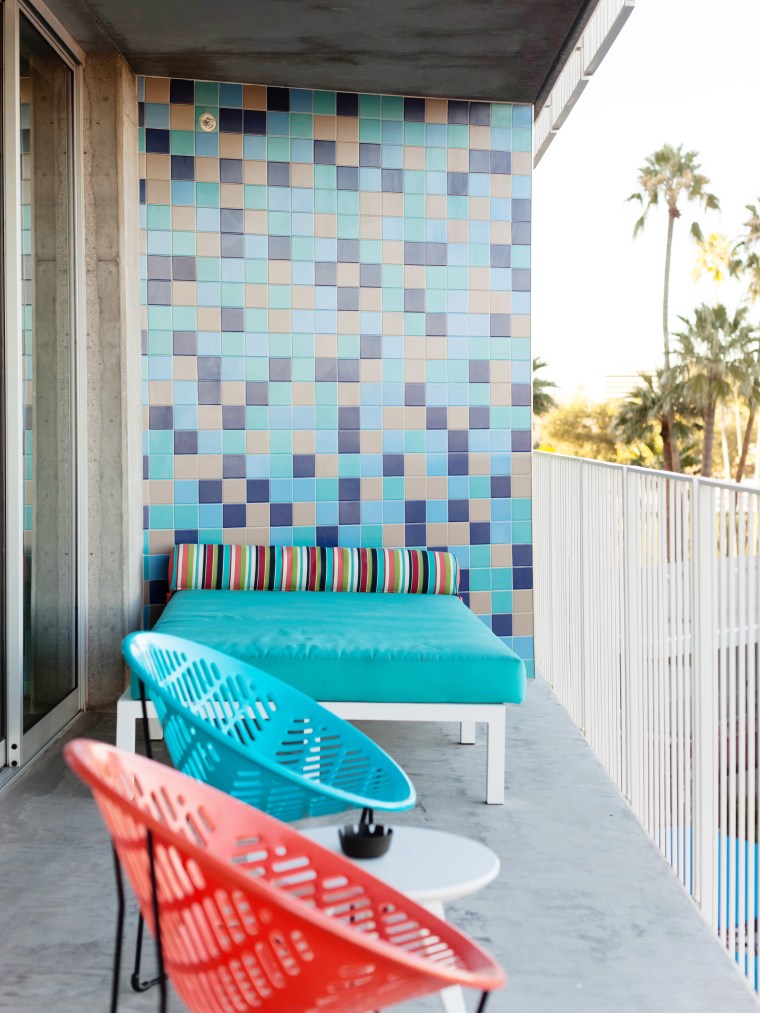
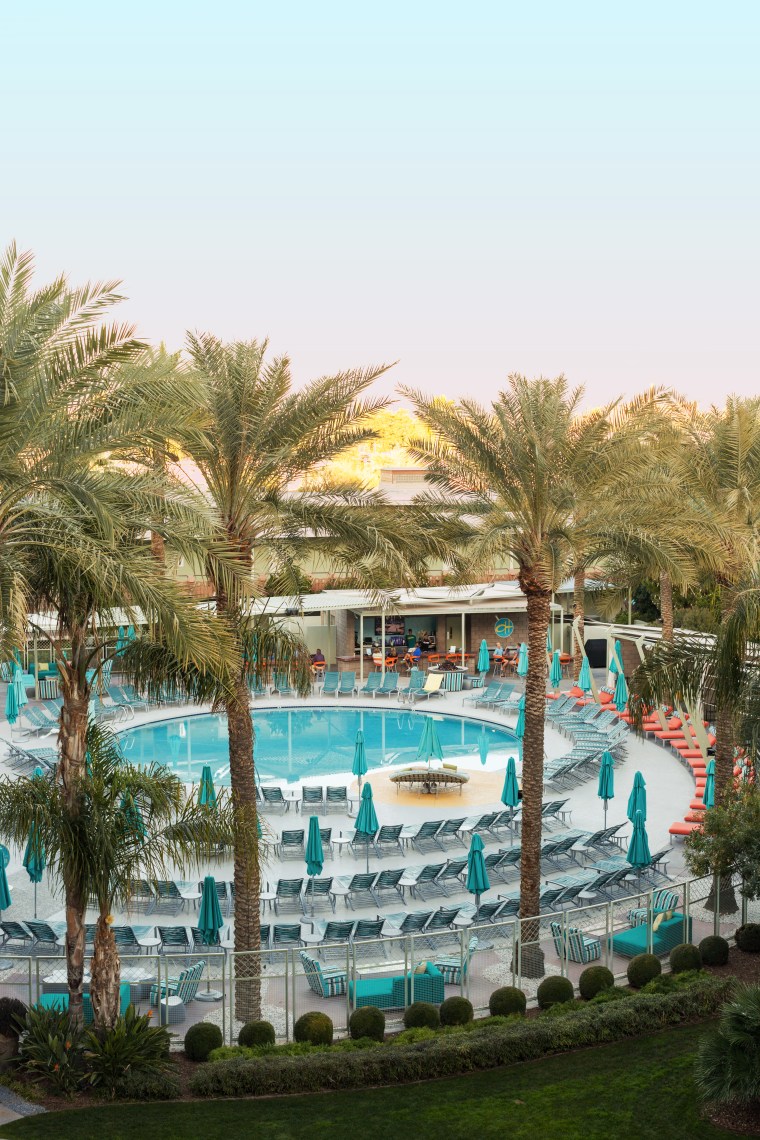 Outside, the lush property is nothing short of break taking.
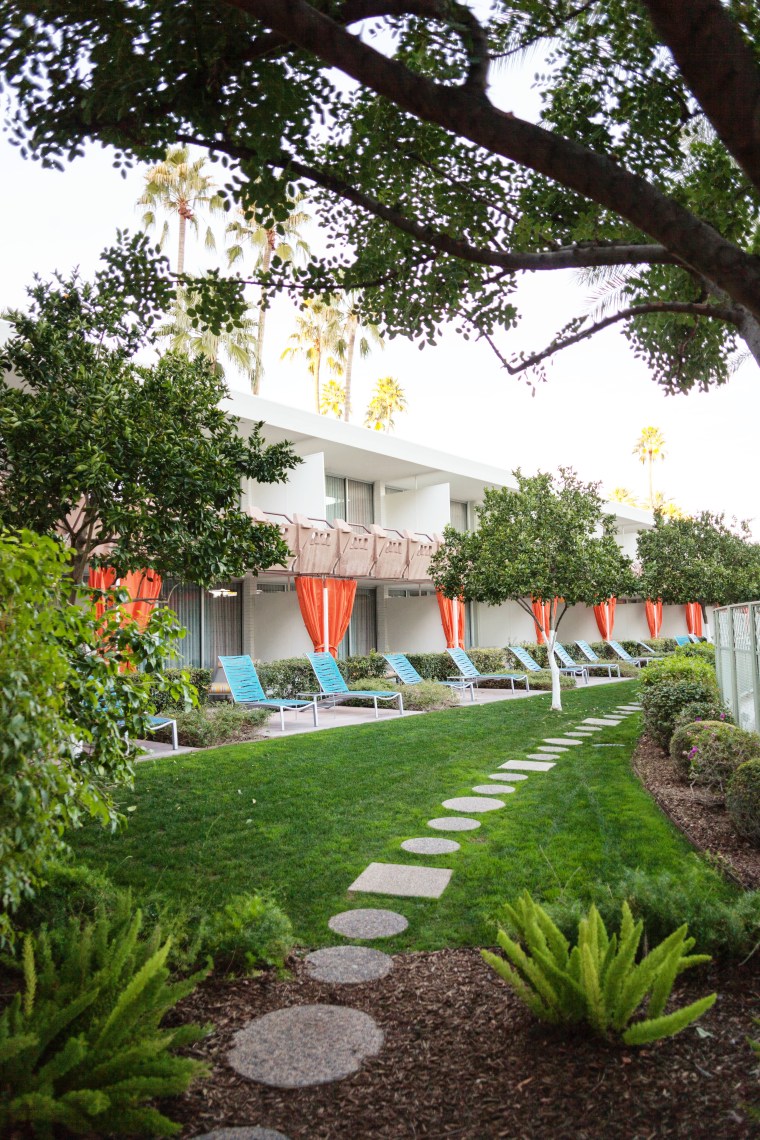
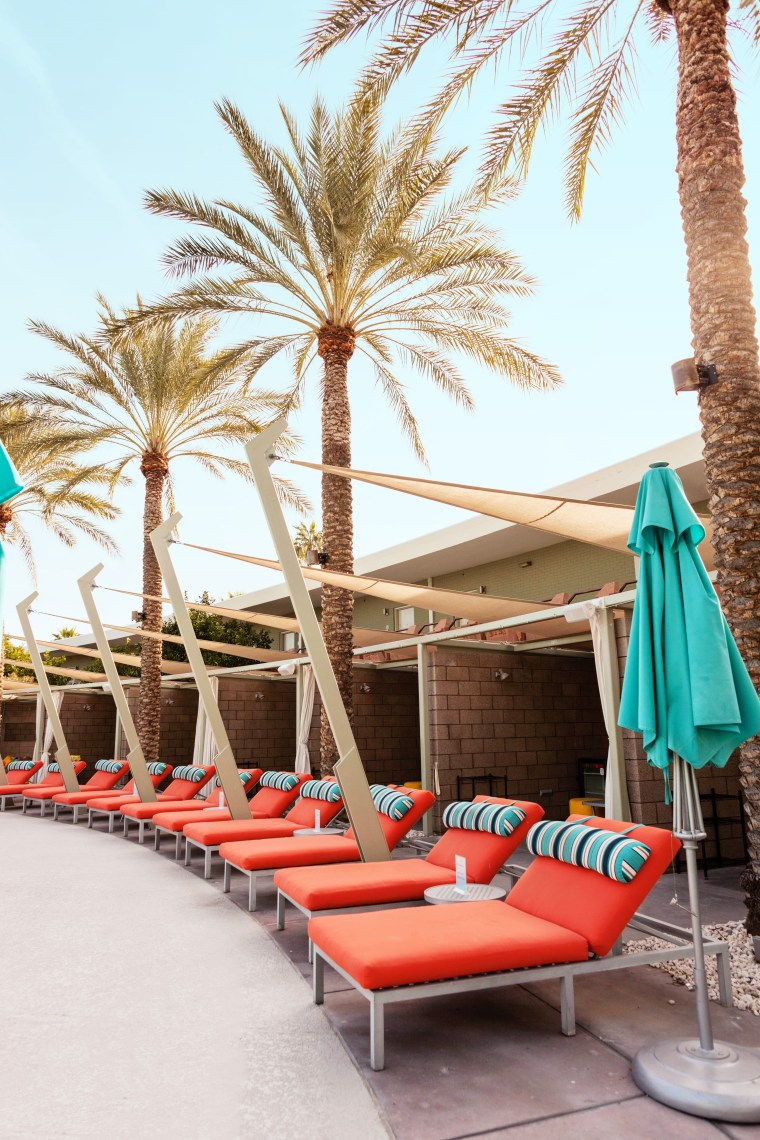
The property features two pools – The “OHasis” Pool, a relaxing lap pool.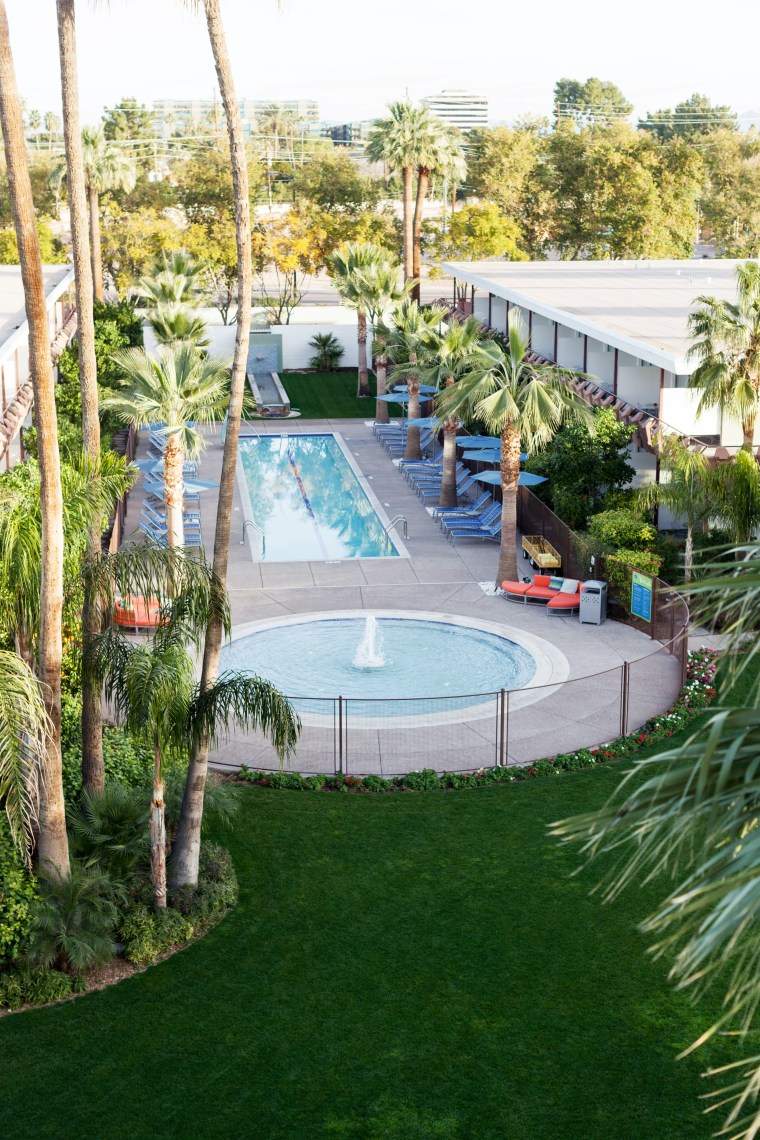 And the OH Pool – the more lively hot spot with private cabanas, a hot tub, cocktail bar, and live music.
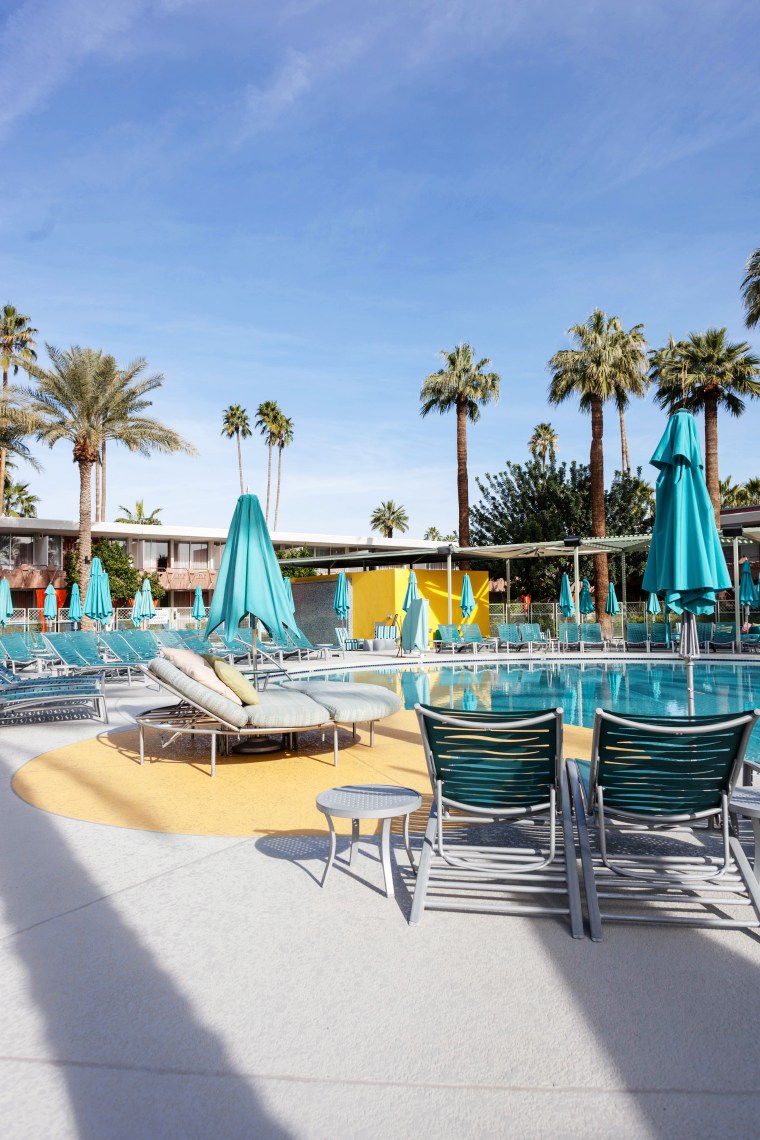
Can we talk about all of this color?? Serious heart eyes.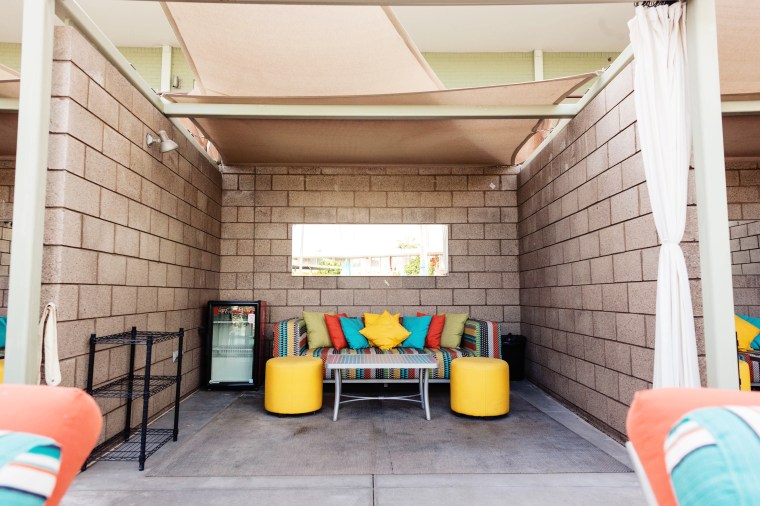
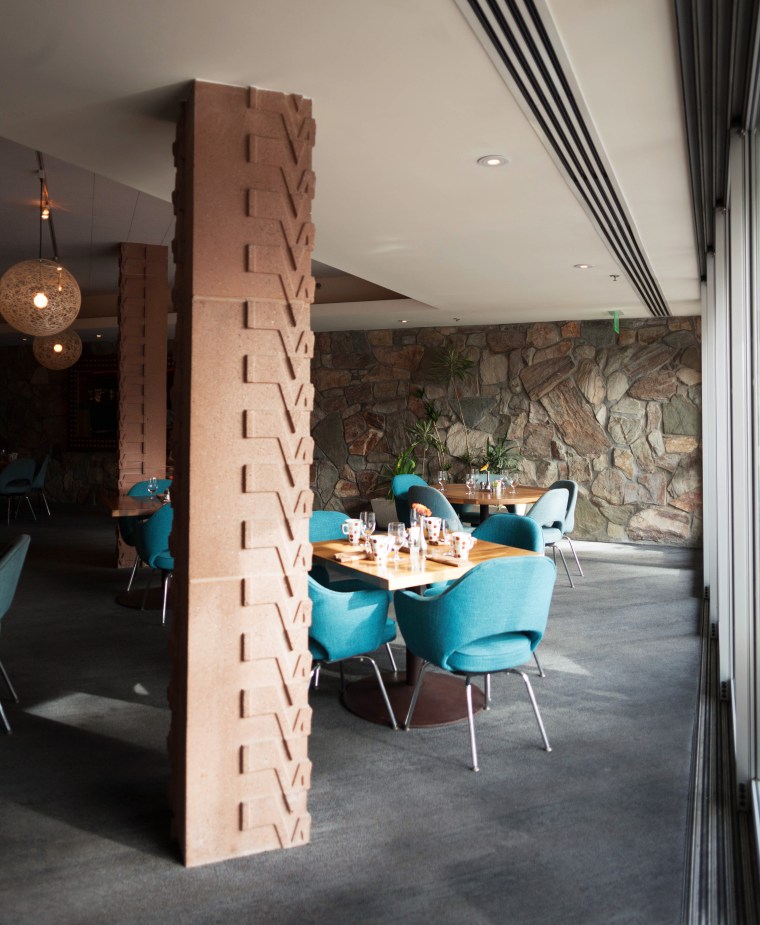
The hotel also features delicious on-site dining at Zuzu. 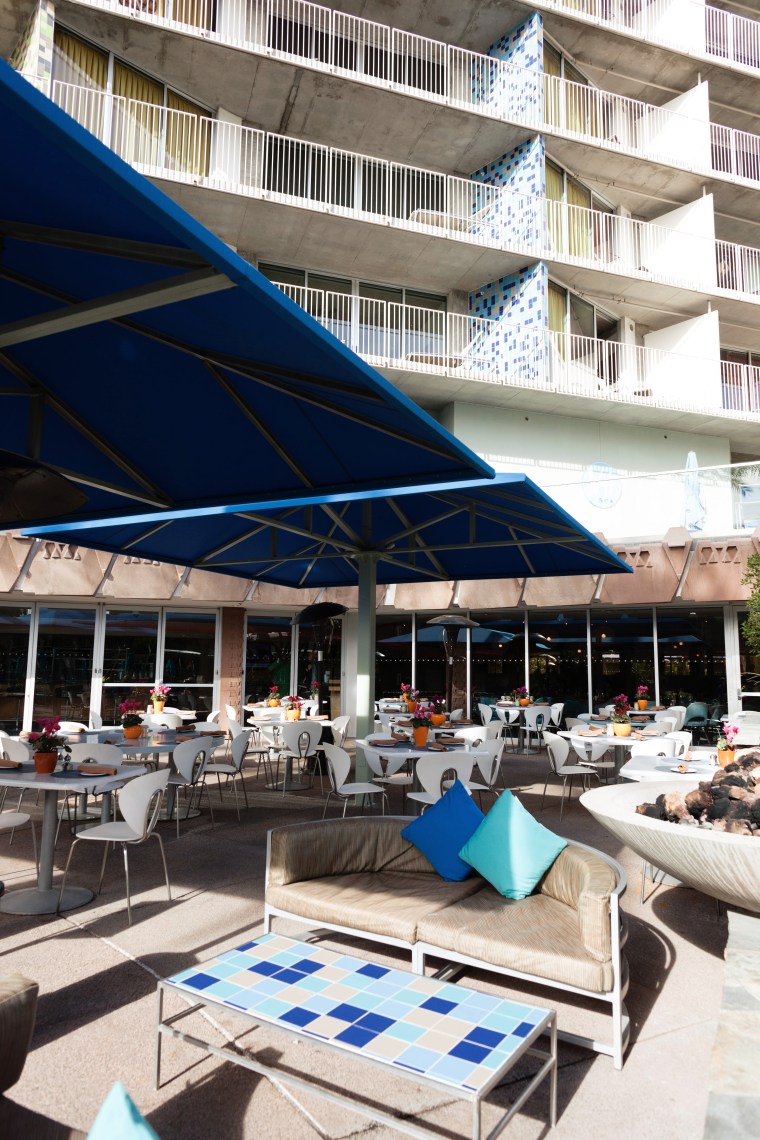 Here you’ll find seasonal American food and stylish mid-century design including a curved diner-style counter, stone walls, globe lights, and round booths.
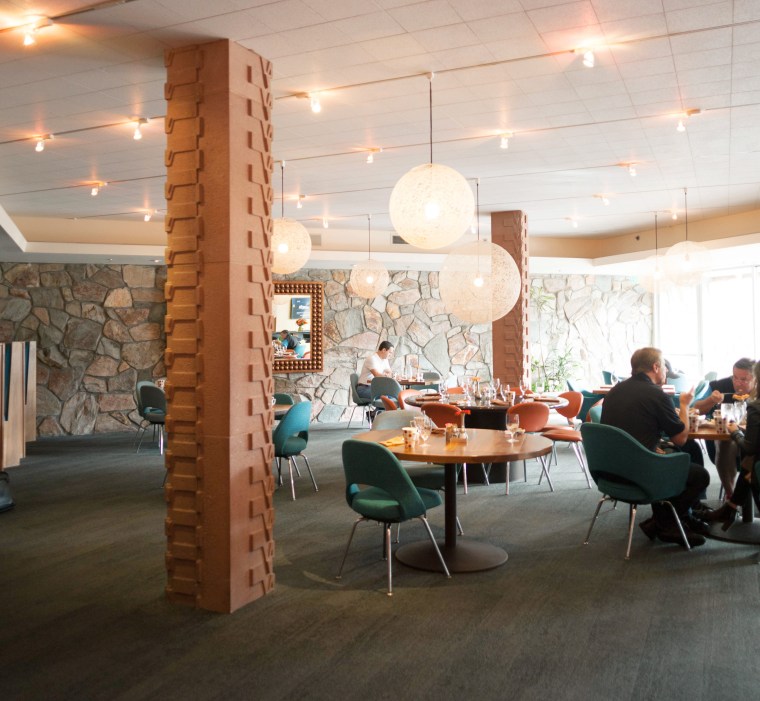
 We had dinner there and were not left disappointed. I wish I was able to take pictures, but it was dark and I didn’t want to be the annoying person photographing all of their food.
 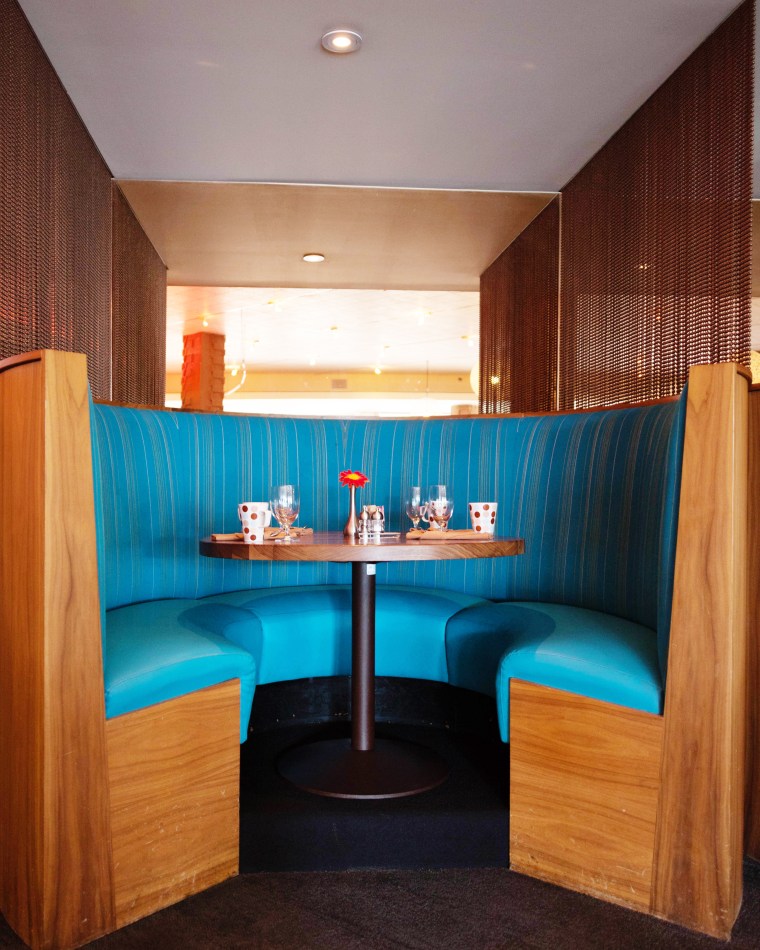 We dined in a cozy booth and I can honestly tell you that everything we ordered was great, especially the drinks. Our server, MJ, was very helpful with his suggestions and helping us navigate the menu. We started off with the roasted tomato and goat cheese casserole and a round of their seasonal cocktails. For our meal, I had the seared salmon in a tomato broth and my husband had the short ribs that came with the most amazing green chile grits. I stole them. Delish.
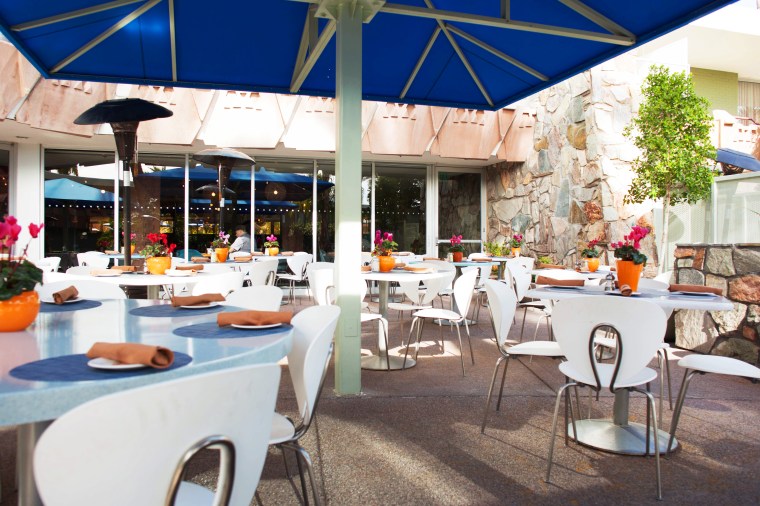 The next morning we ate breakfast on the patio at Zuzu before hitting the road and it hit the spotttt! We shared stuffed french toast (yessss), eggs, bacon, the works. They even brought out eggies and a water bowl for the dogs. Two thumbs way up.
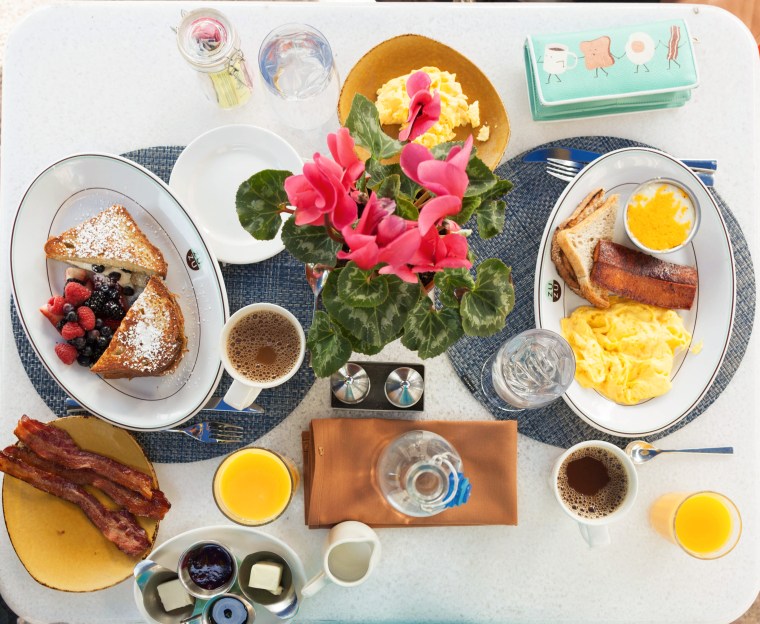
 I can’t get over what a great experience we had during our stay here. From check-in to check-out everything was exceptional. One night definitely wasn’t enough and I hope to go back again soon. If you’re planning a visit to the Scottsdale/Phoenix area, I highly recommend paying a visit to Hotel Valley Ho. Especially if you’re a fan of mid-century architecture and design. It’s well worth it!
Big thanks to Hotel Valley Ho for a wonderful stay.


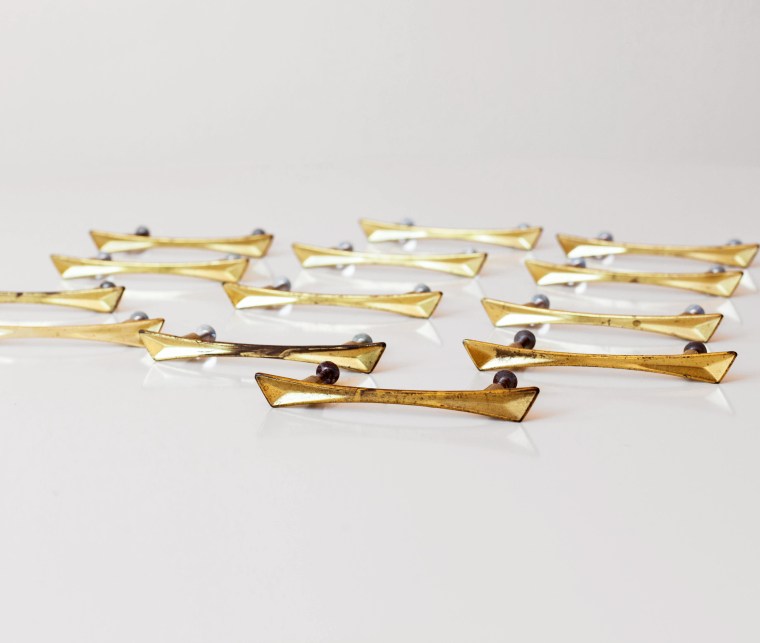
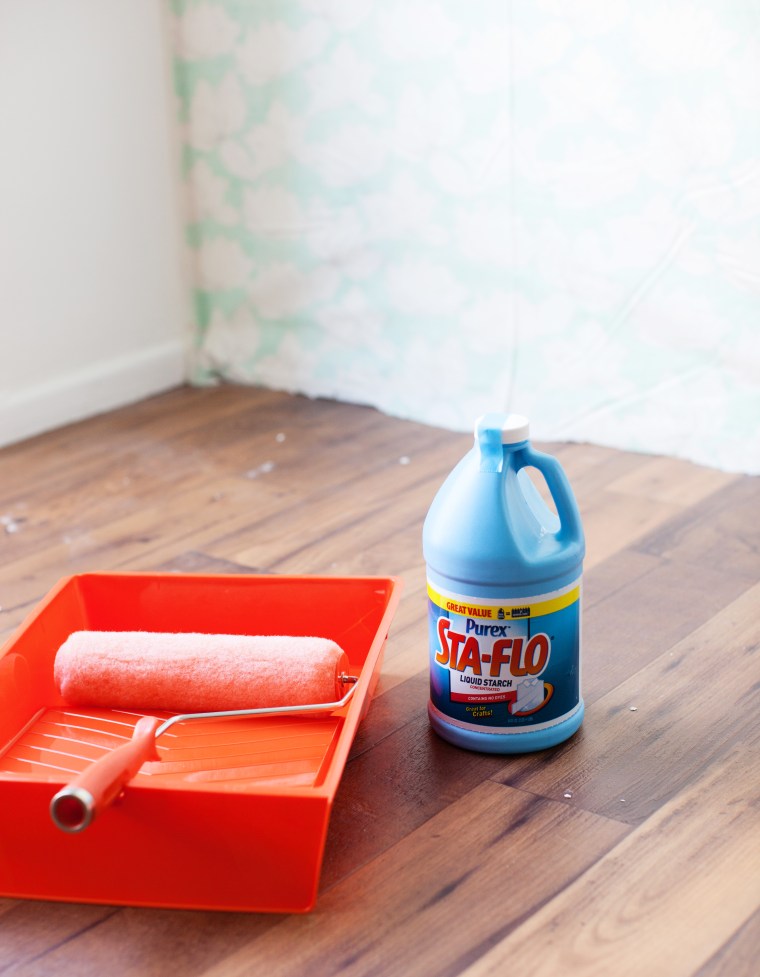
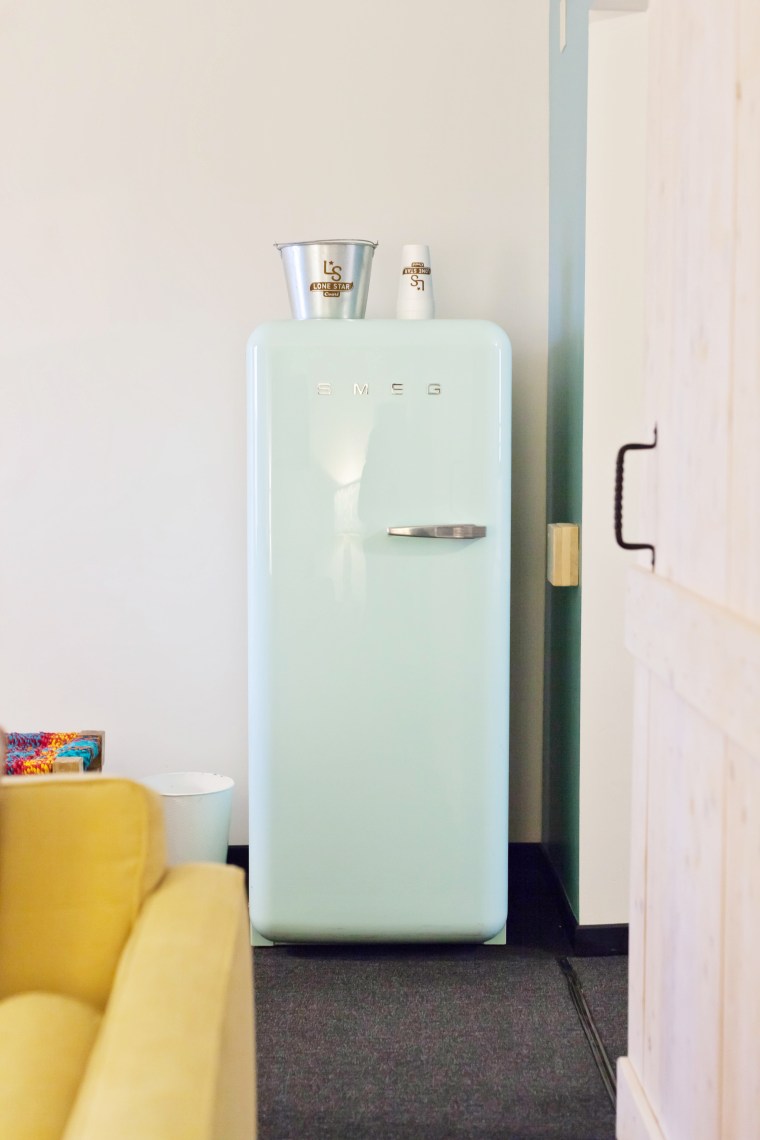
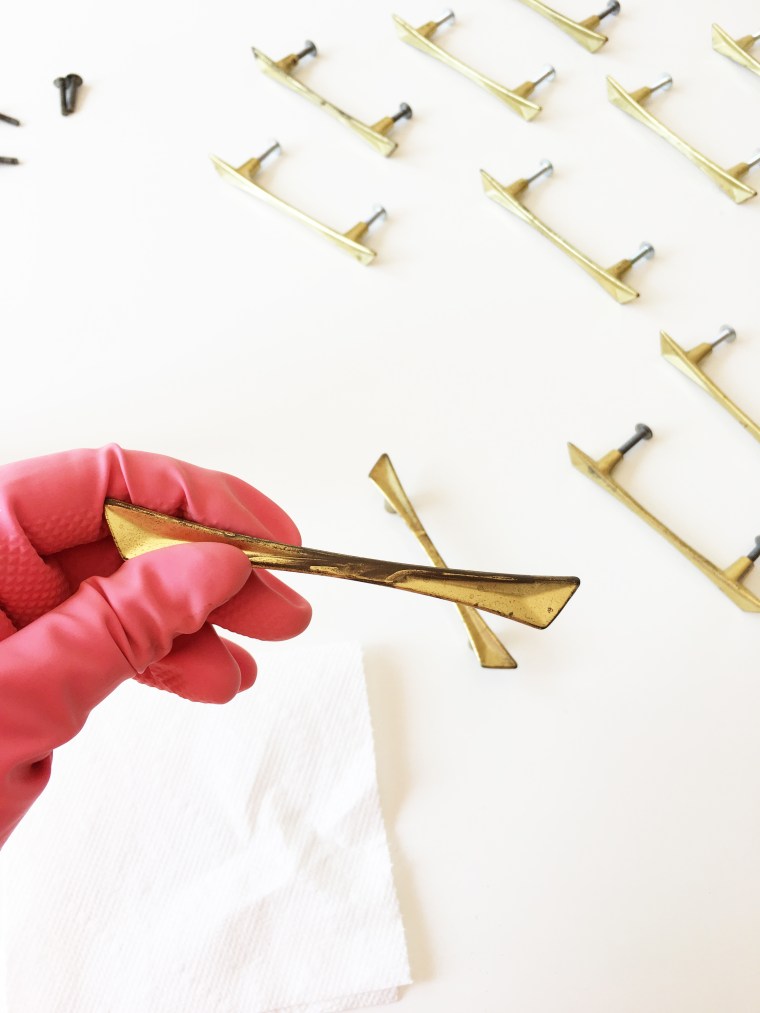 Cover the brass in metal polish and rub into the metal.
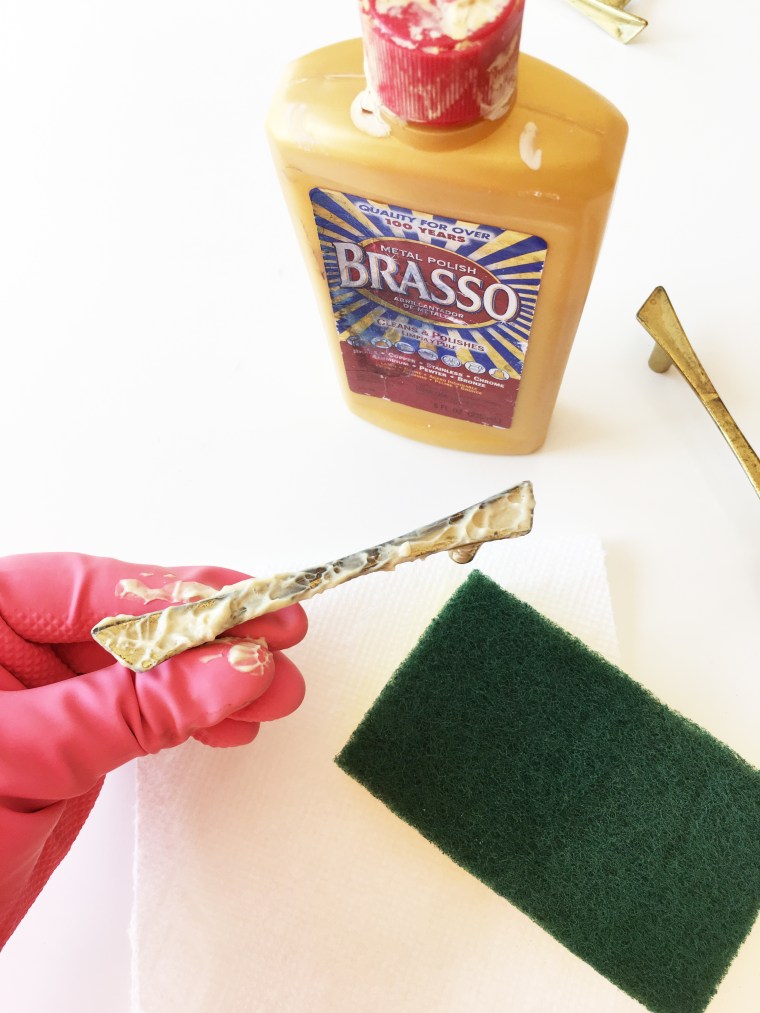 Then use a soft cloth to buff and massage the metal, you’ll notice black and green residue coming off on your cloth. That’s the tarnish! Keep going.
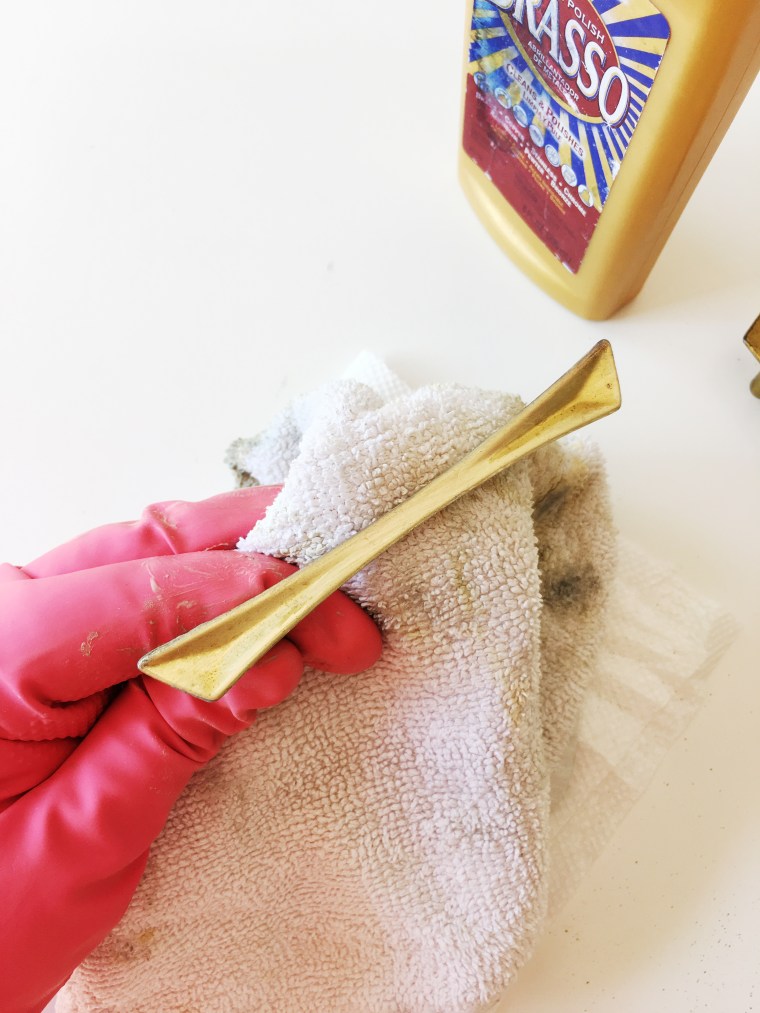 Keep polishing until there is no more residue coming off on to your cloth and the metal is sparkling new. Reapply more product if needed. This can take awhile depending on how tarnished your pieces are, but be patient.
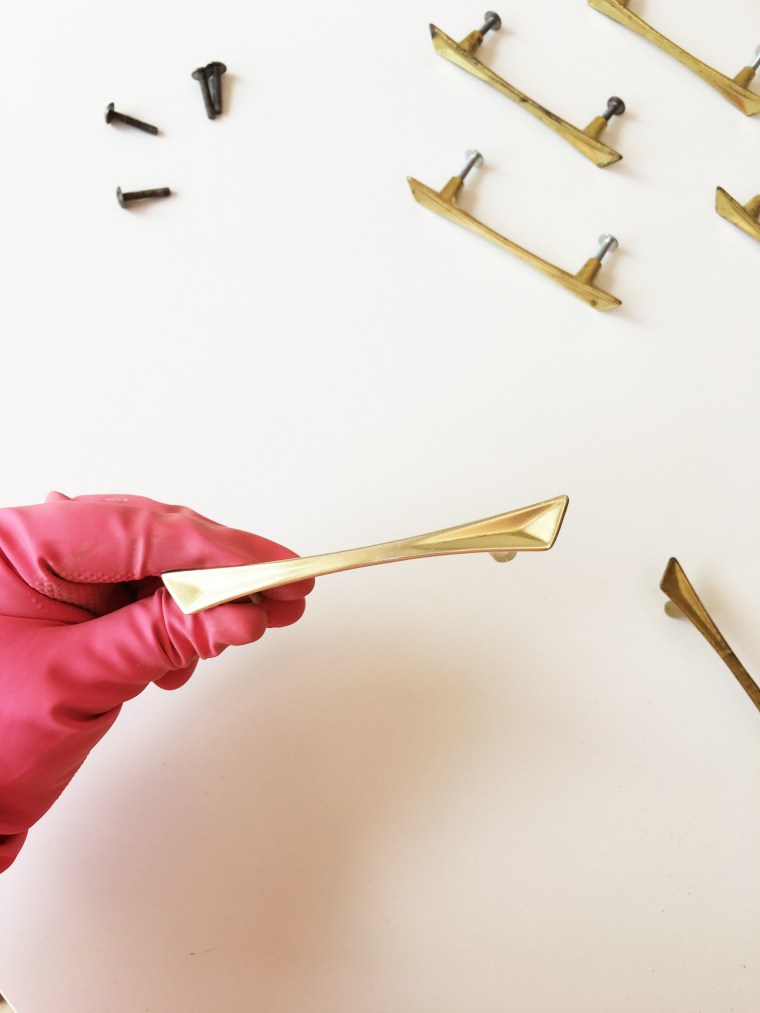 Once all the tarnish is removed, give it a nice little polish with a clean cloth to remove any remaining residue or product.
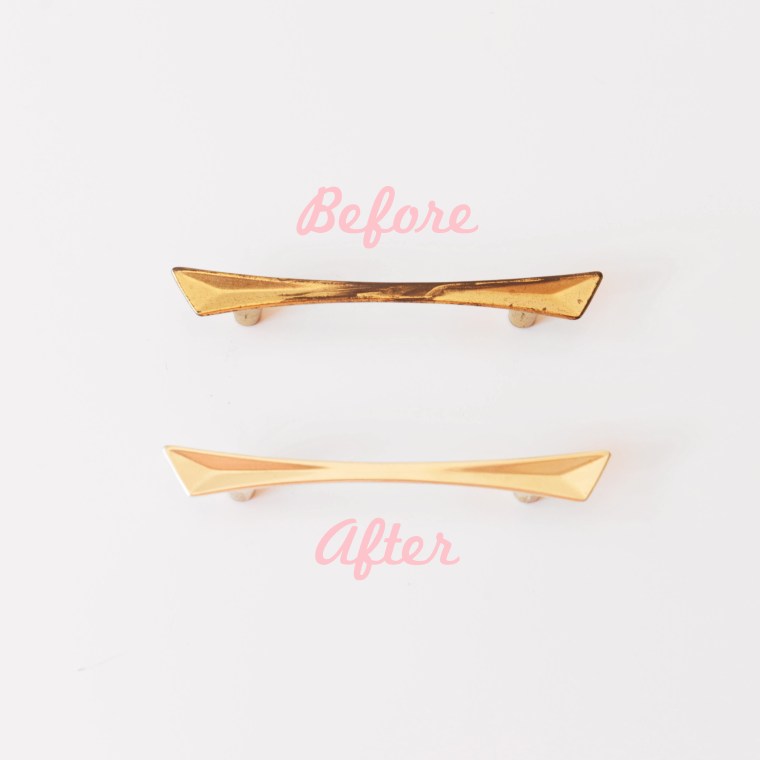 Tada!! Good as new. Now put down the paint and pick up the polish!
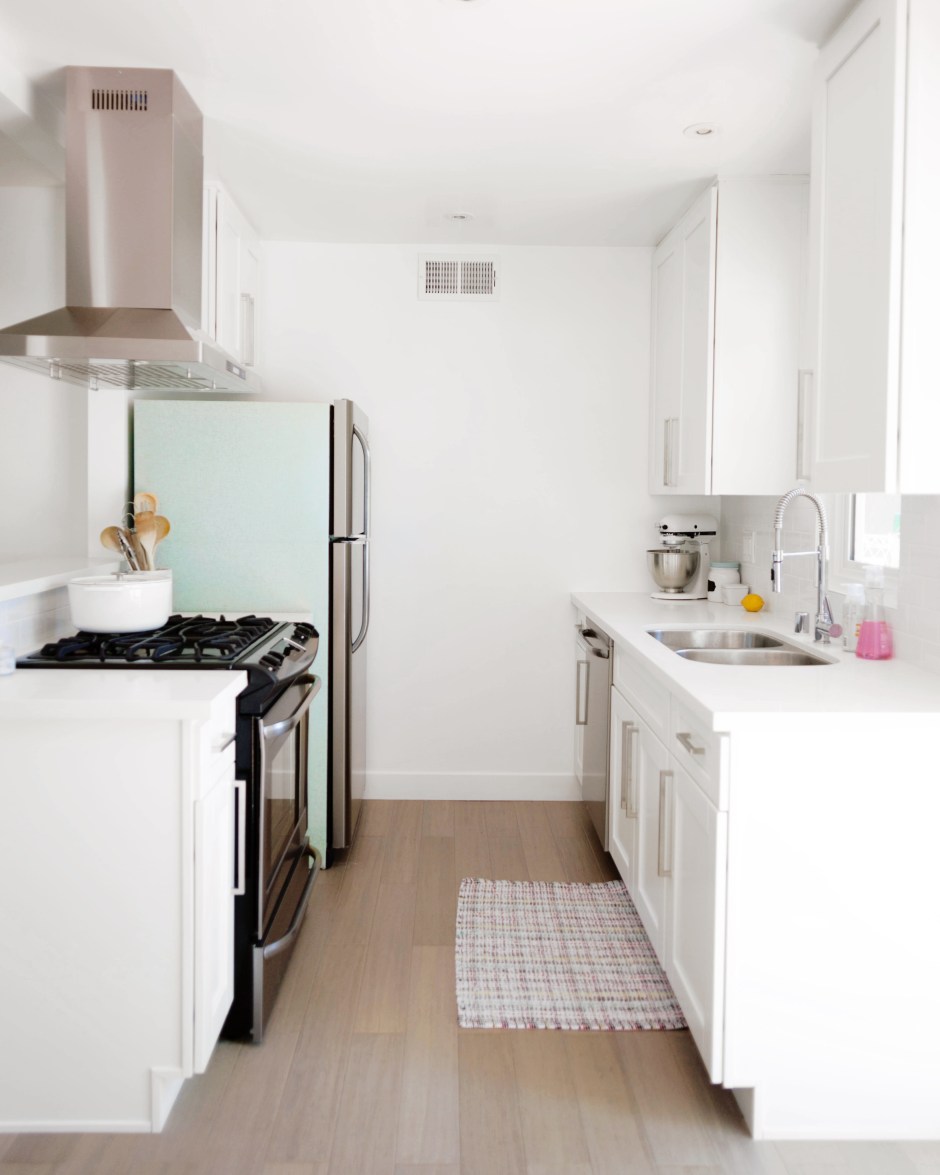
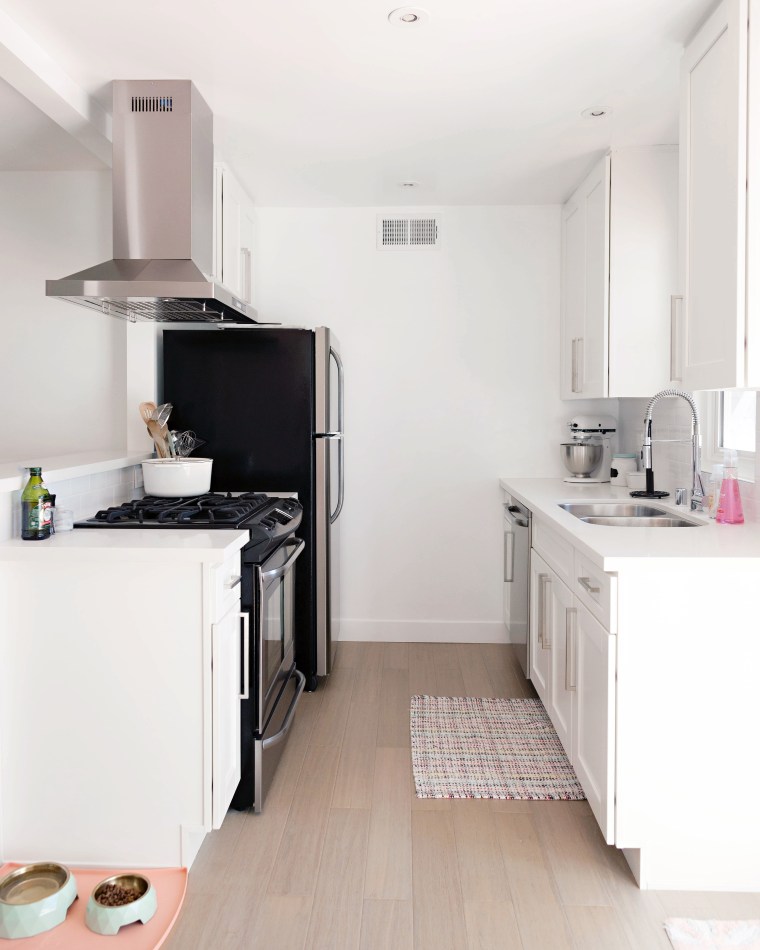


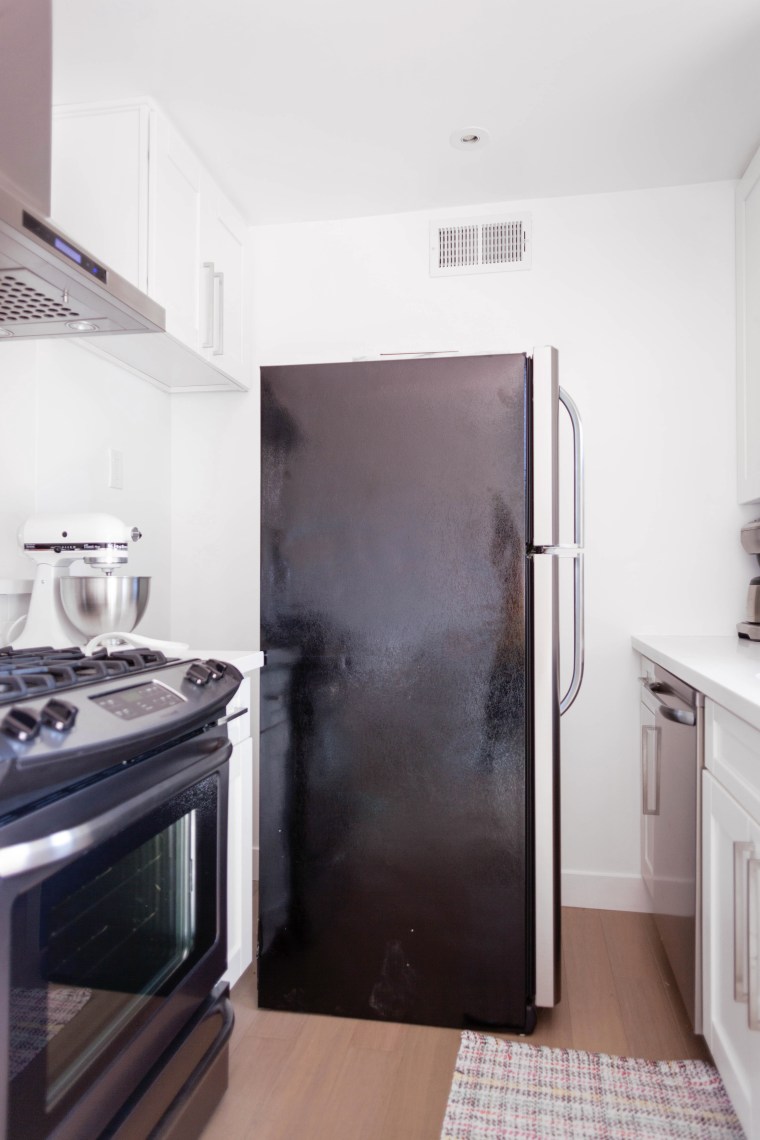
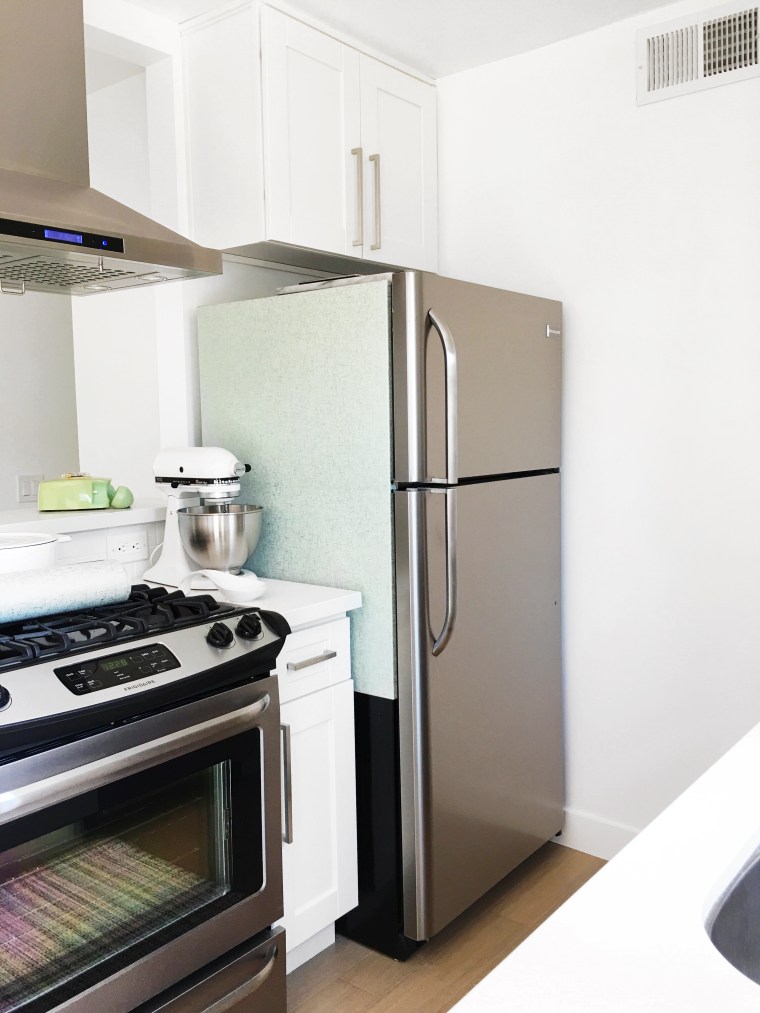
 What an improvement! The refrigerator no longer stands out like a sore thumb and adds a nice subtle color and more retro flair to the space. It also gives it a nice smooth texture which makes it way easier to clean than the bumpy texture that it had before. I love it!
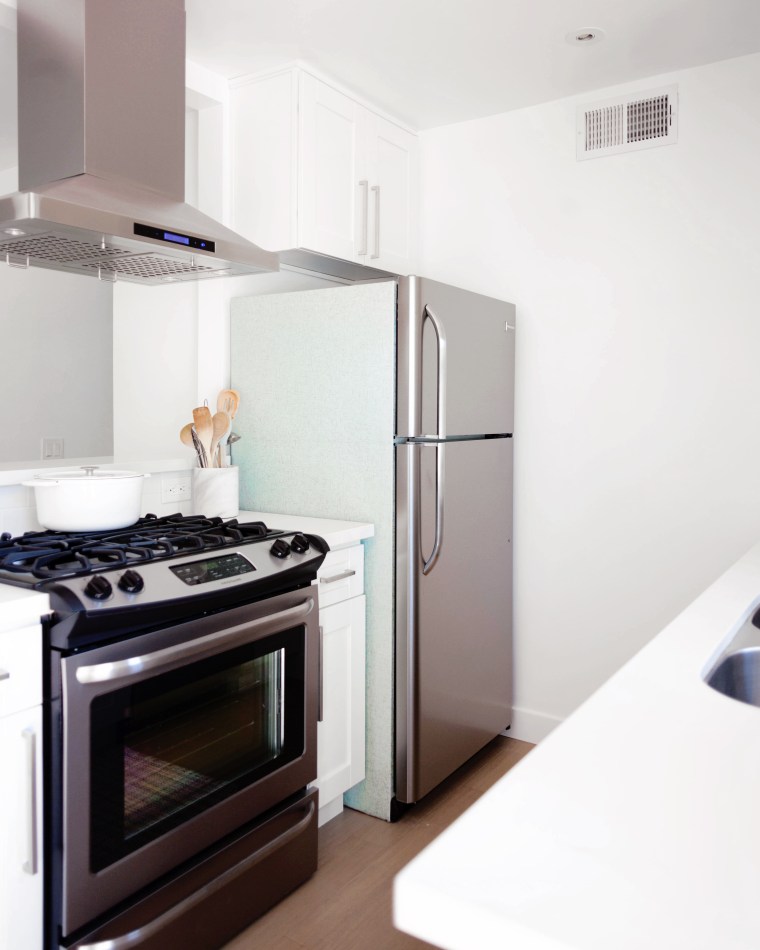
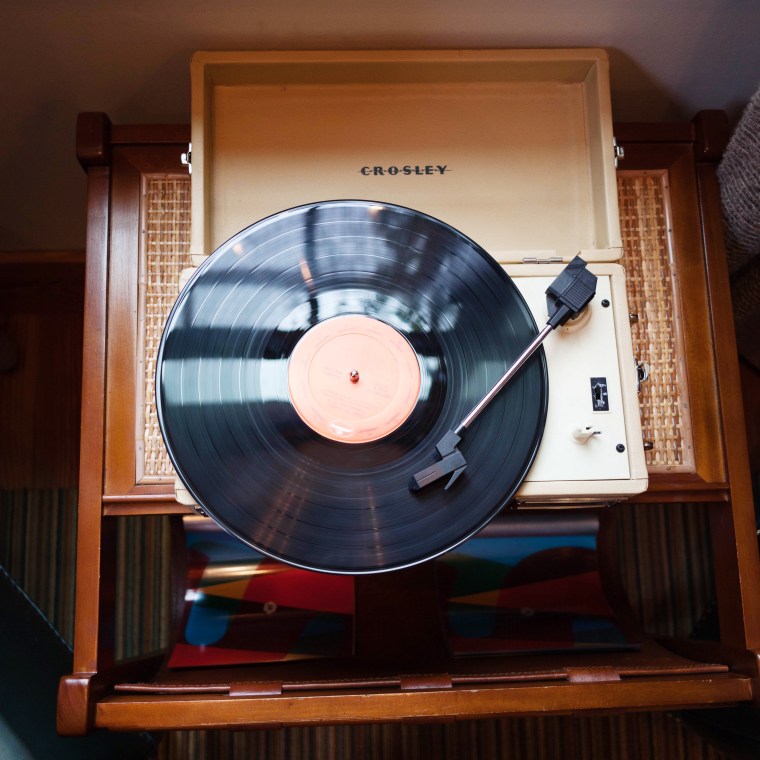
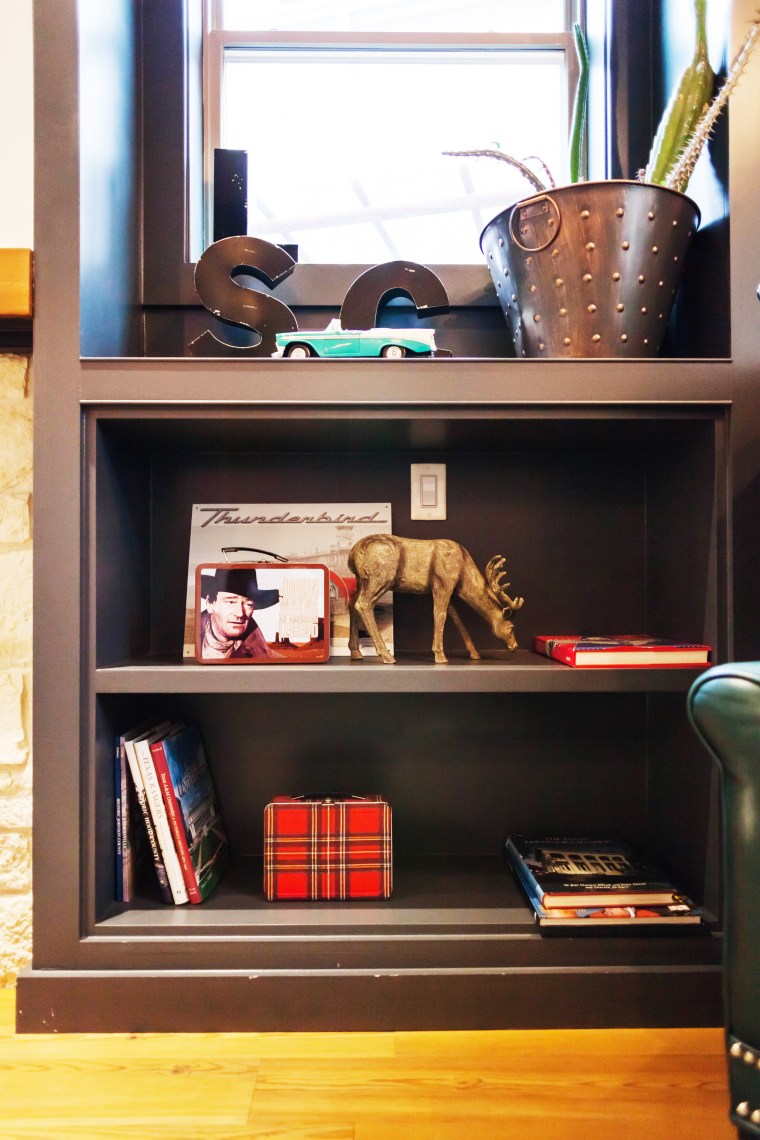
 The lobby was warm and inviting, decked in leather and hides, with western memorabilia displayed on the mantle and shelves. A turntable played old school country records which felt very “Welcome to Texas”.
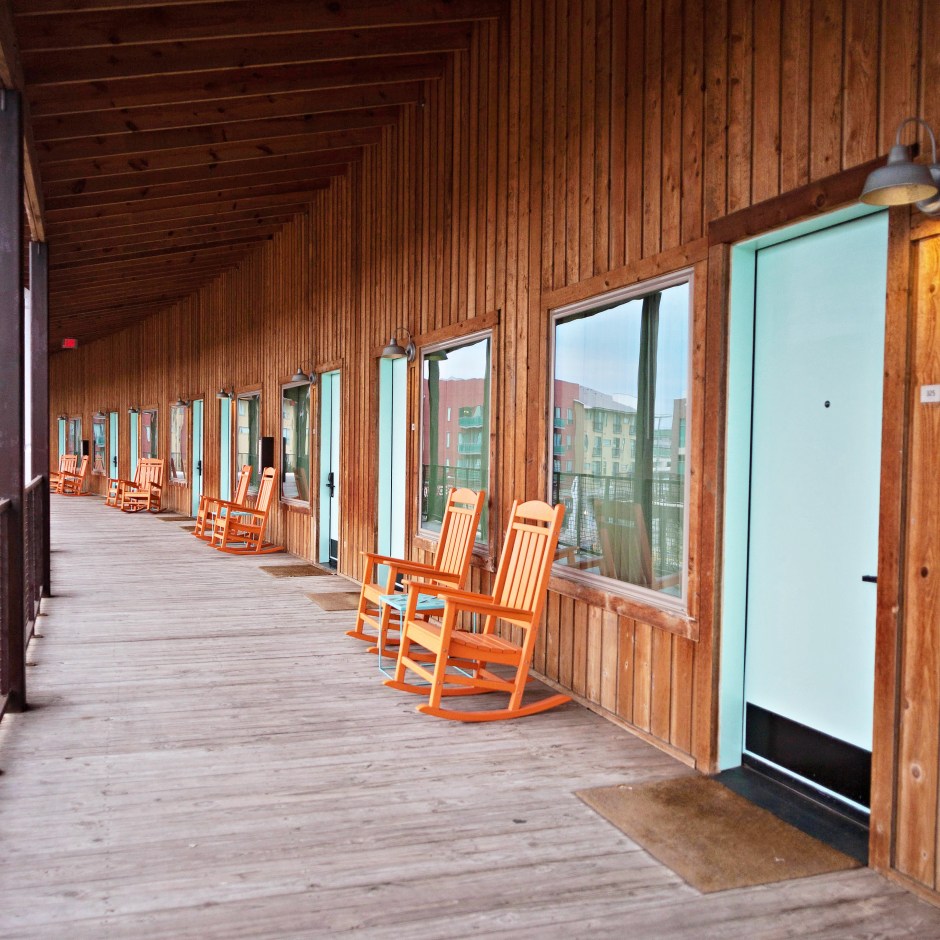
 This room seemed like a great place to hang out on such a dreary overcast day but I couldn’t wait to make it to my room.
 The pathways are lined with orange rockers and aqua doors, one of my favorite retro color combinations everrrr. This sight made me so happy!
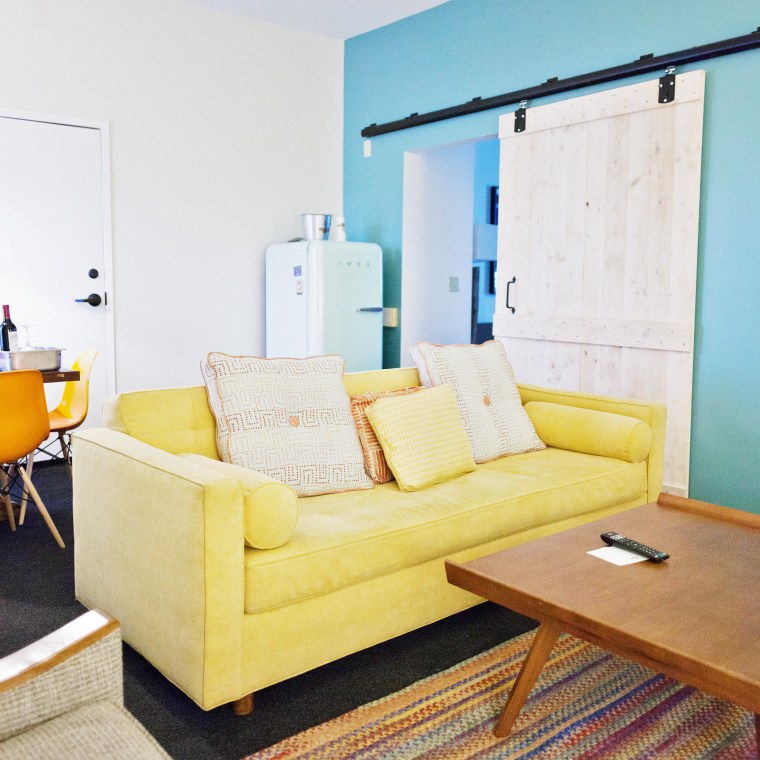
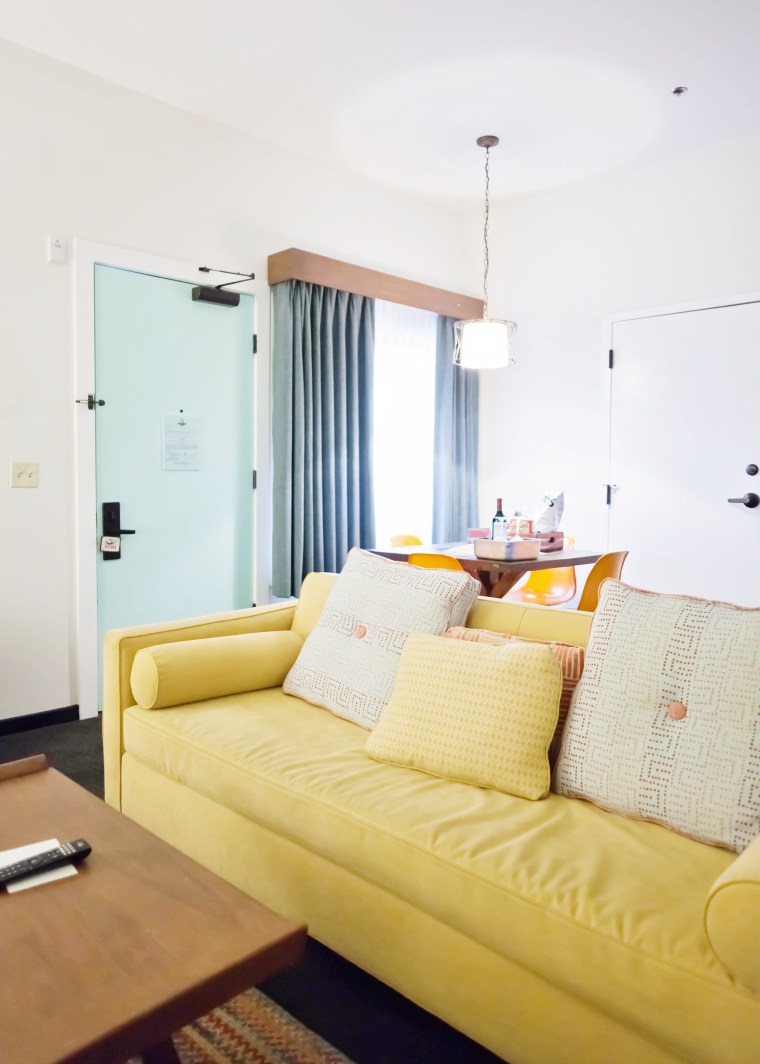 There was also a little dining table surrounded by Eames style molded plastic chairs that was covered in fairly priced mini bar snacks. The good stuff even!
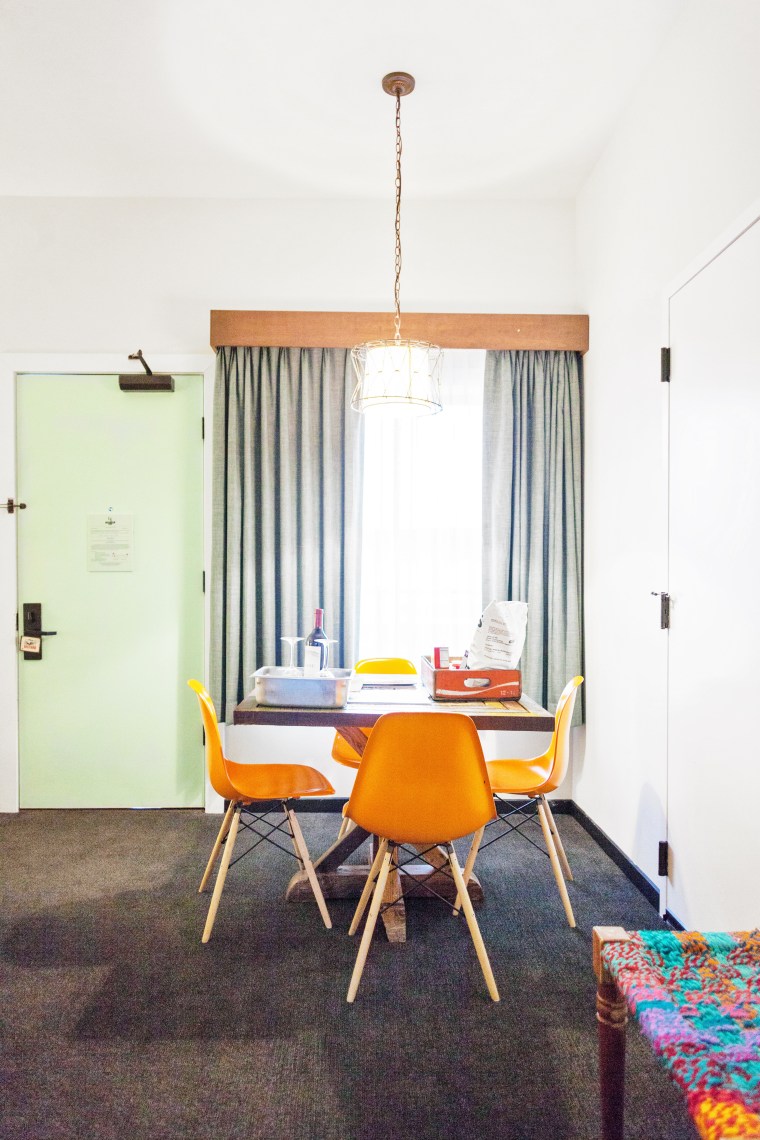
 My favorite part about this room was probably the bathroom though. You’ll see why.
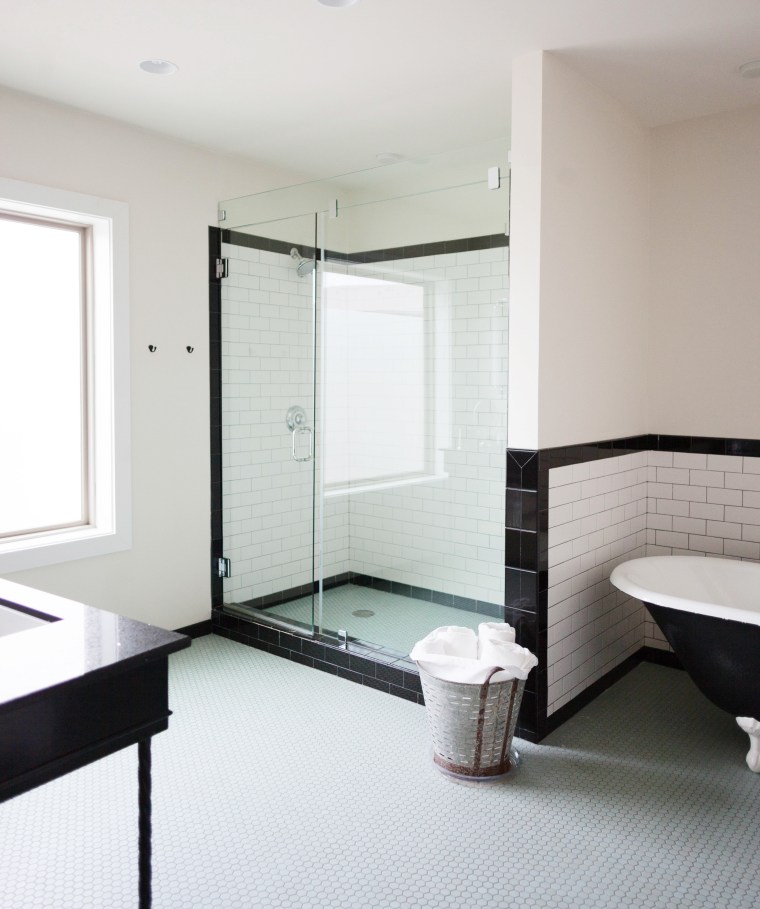 This shower and claw foot tub saved my lifeeee! It was just the thing I needed after a 9 hour drive.
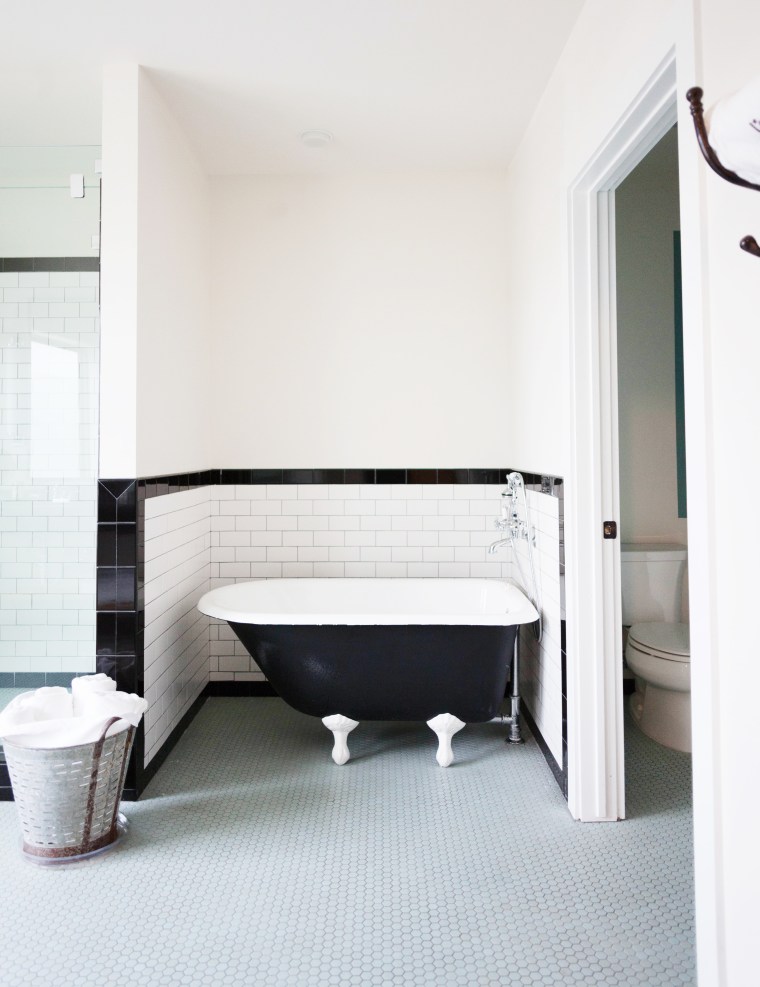 Plus how pretty is it?! I love the penny tile floor and black and white color scheme.
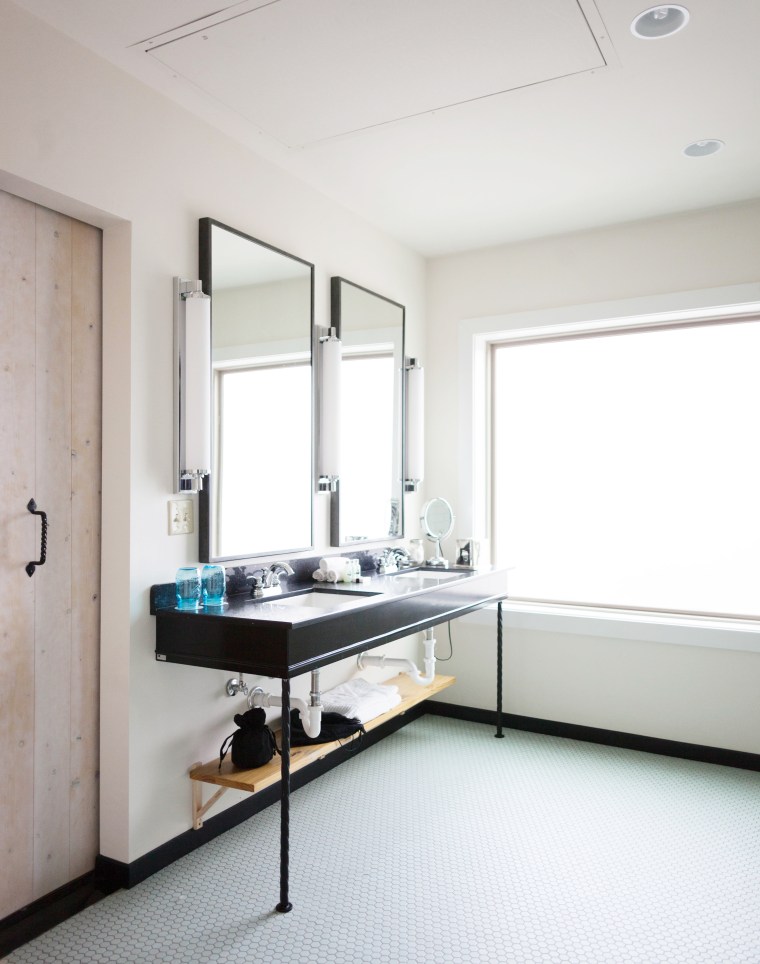
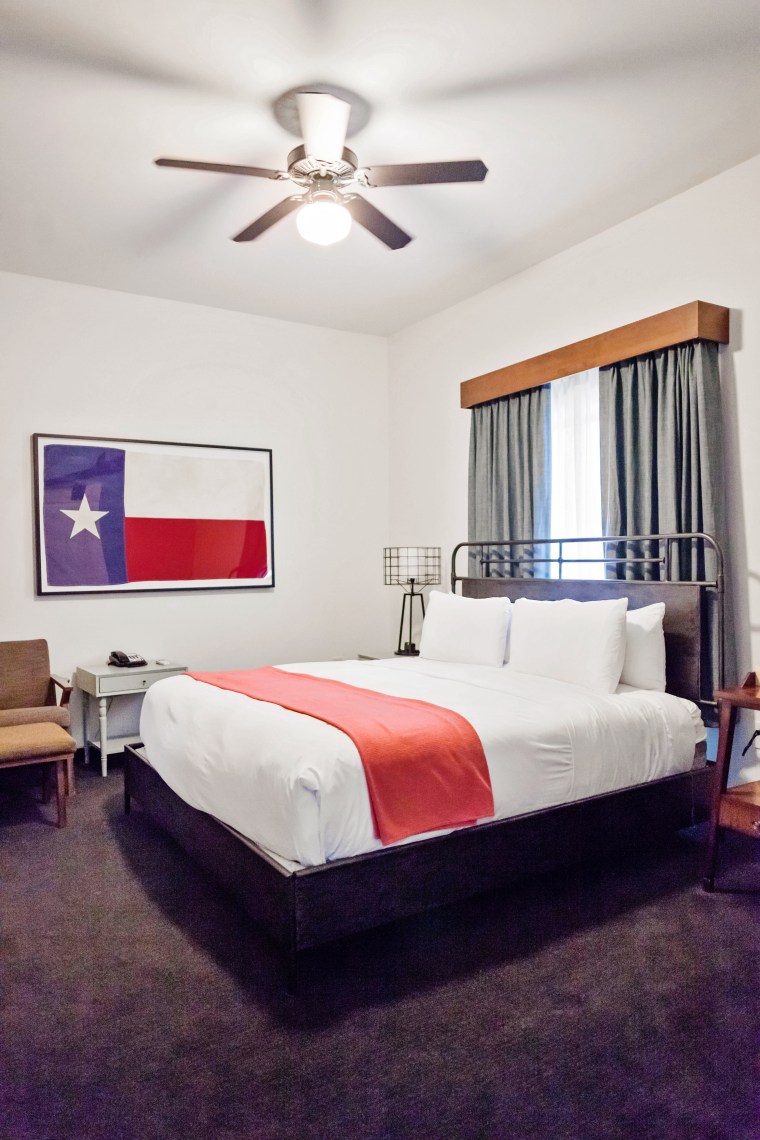 Clean, crisp, white sheets and a fluffy mattress! This bed felt like heaven!
 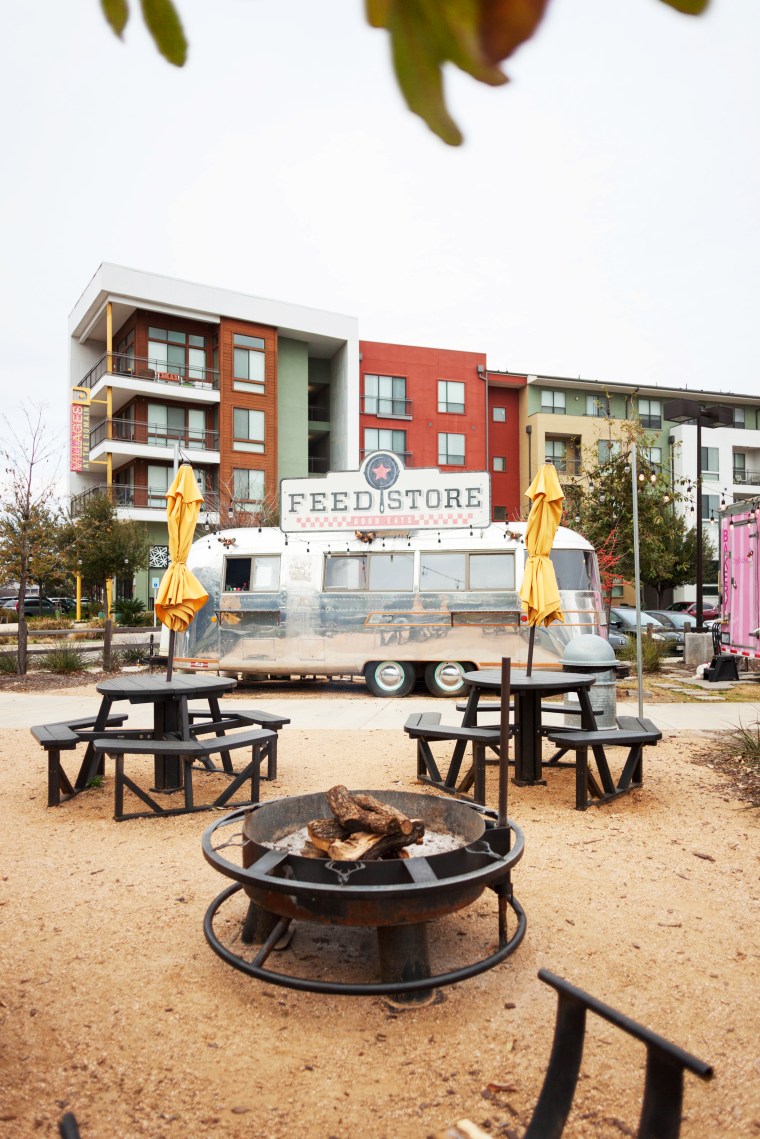 The grounds of the hotel have a few places to eat-
 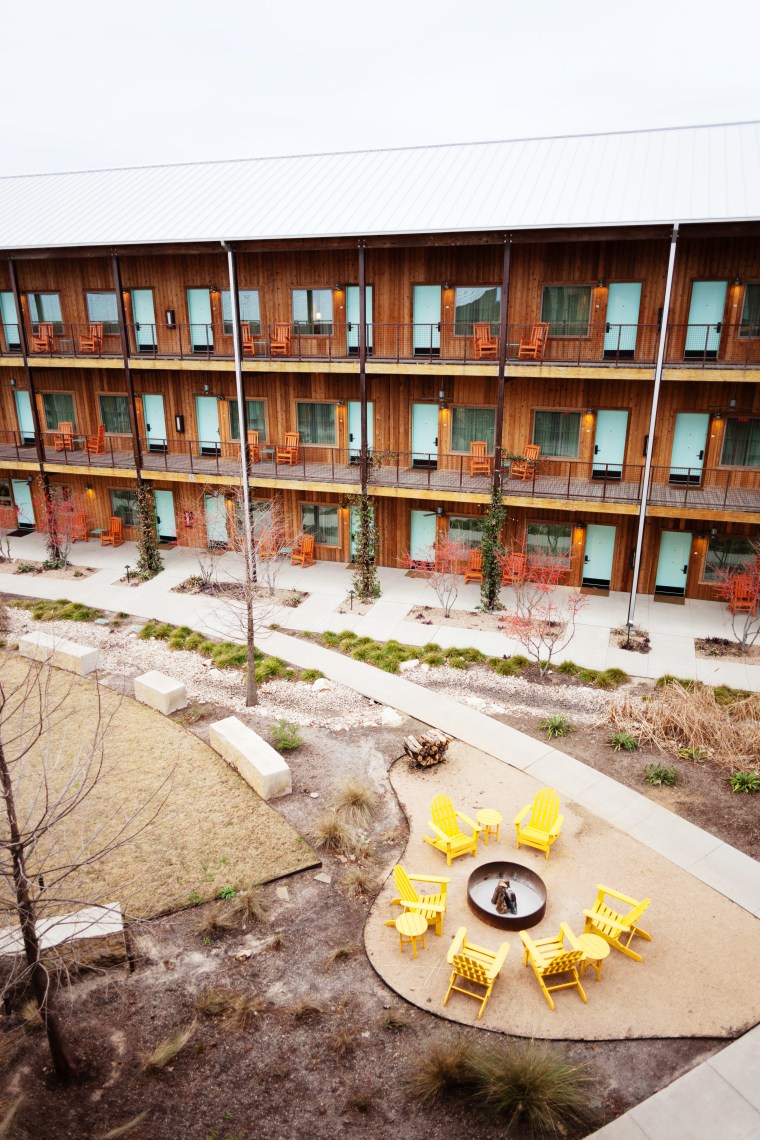 The grounds also have a ton of places to hang out around firepits and a pool.
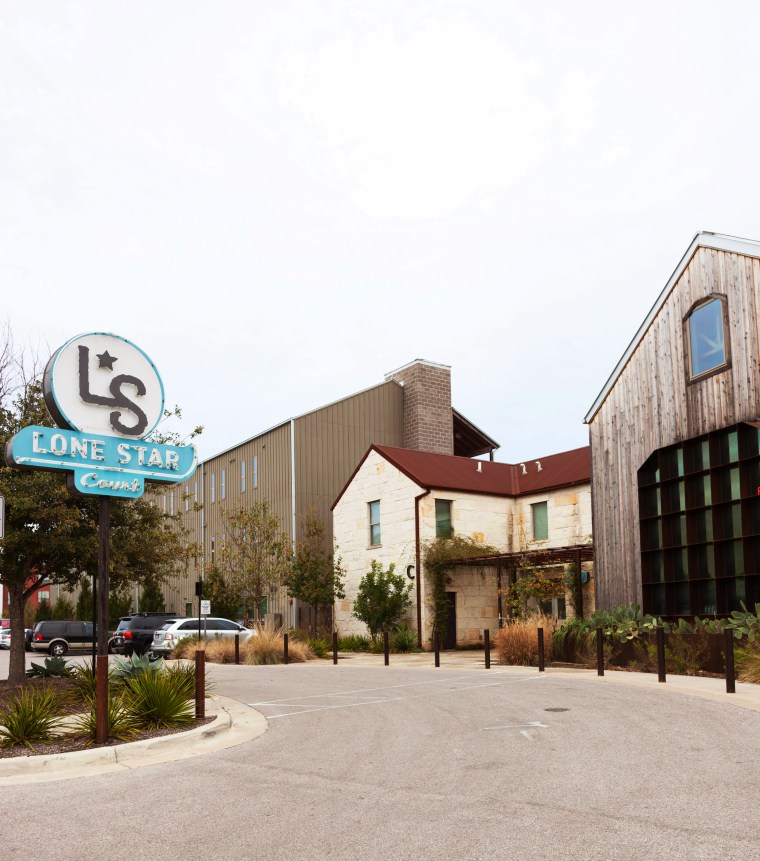
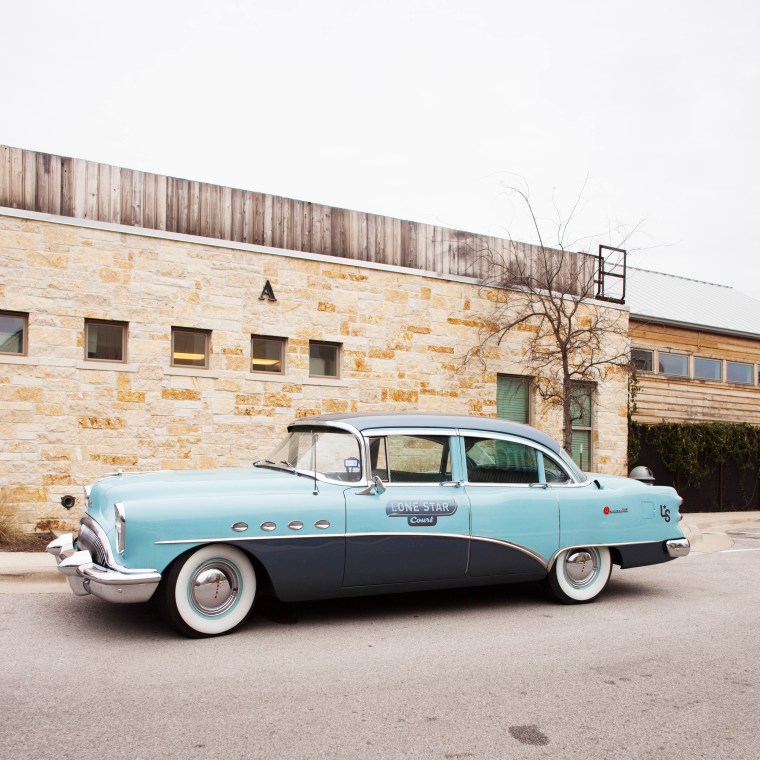
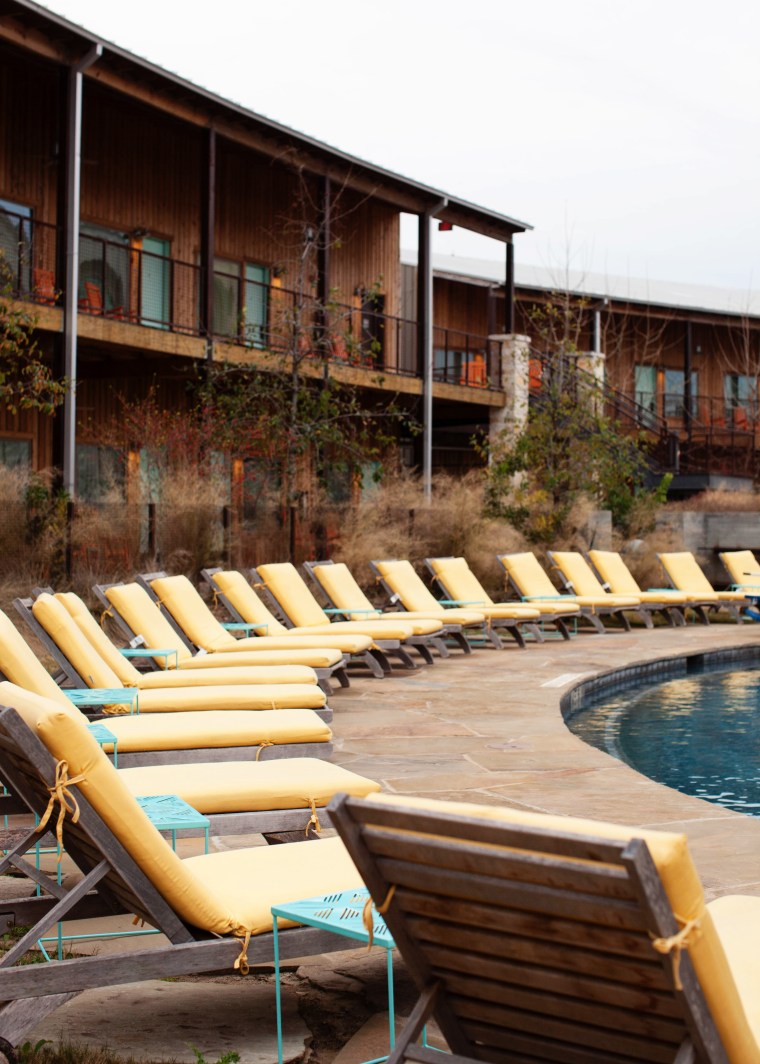 Lone Star Court is conveniently located next to a mall and lots of shops and restaurants, but when you’re in the court you kind of feel like you’re in their little world. One where you can relax in rocking chairs and drink a cocktail out of a mason jar while listening to the sounds of country western.
 If you want retro vibes with tons of modern conveniences, check out Lone Star Court during your next visit to Austin.
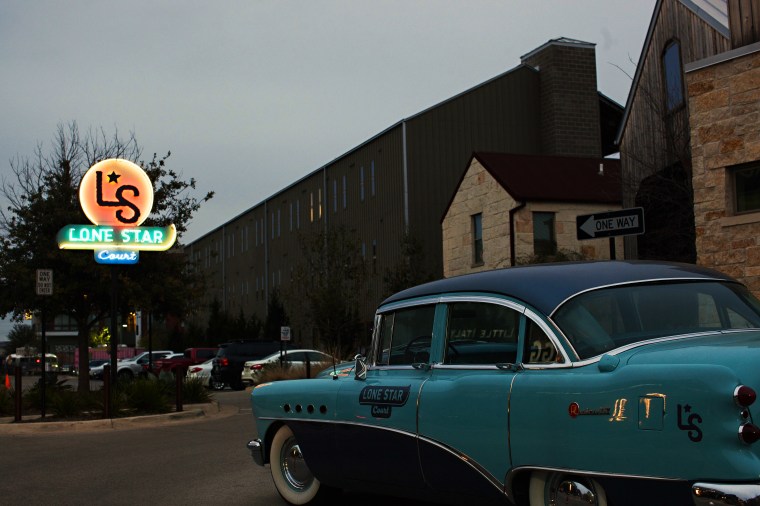
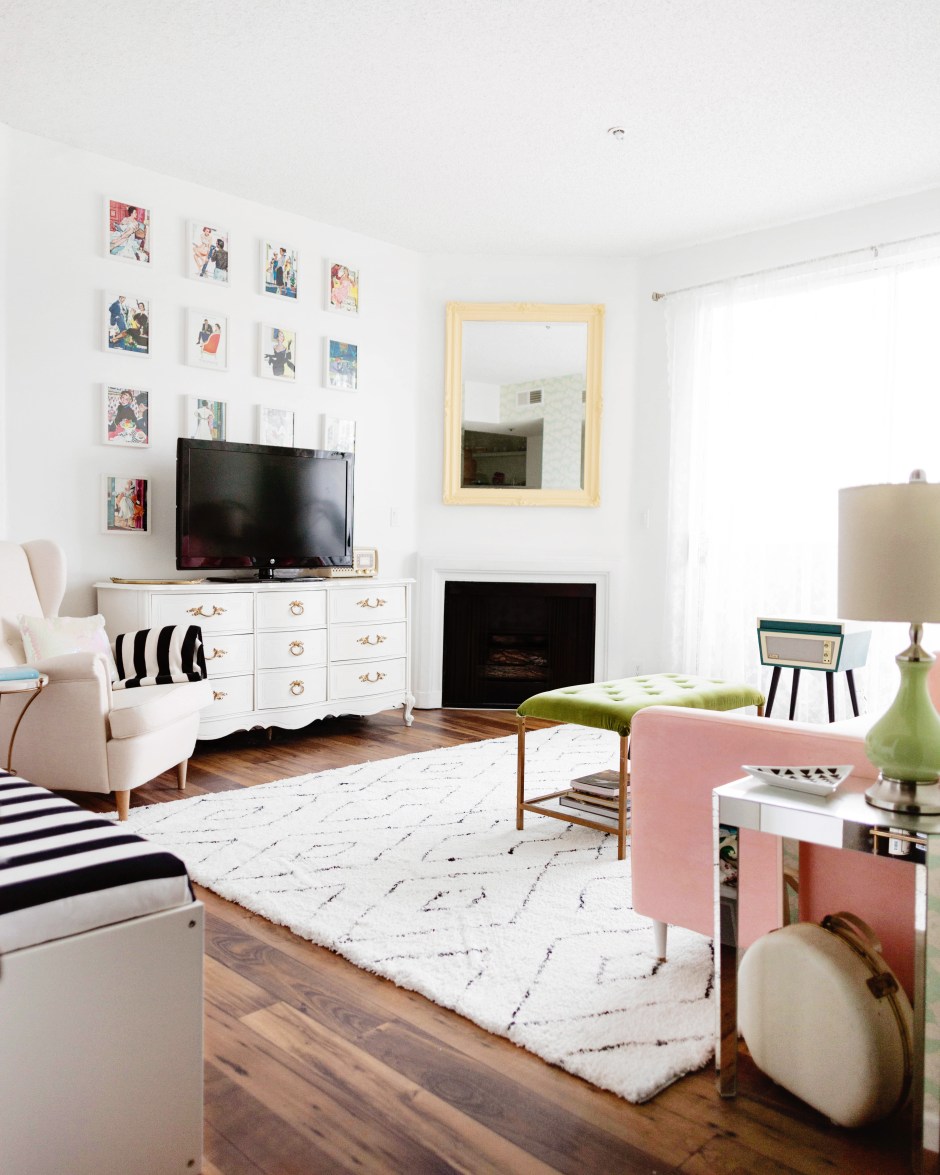

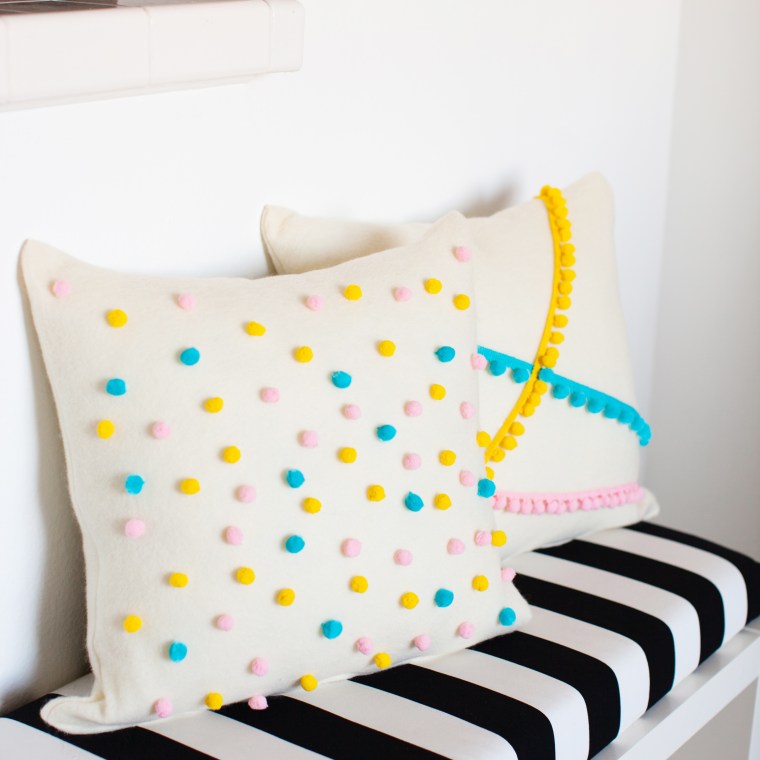
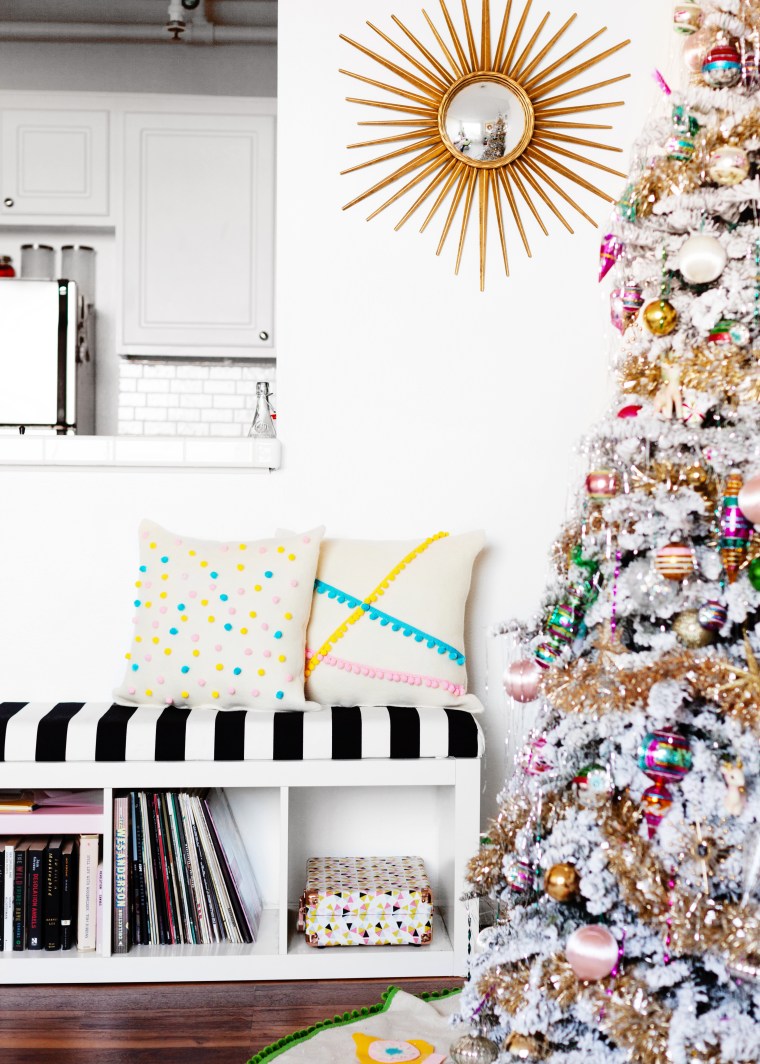
 Here are a couple of my favorites.


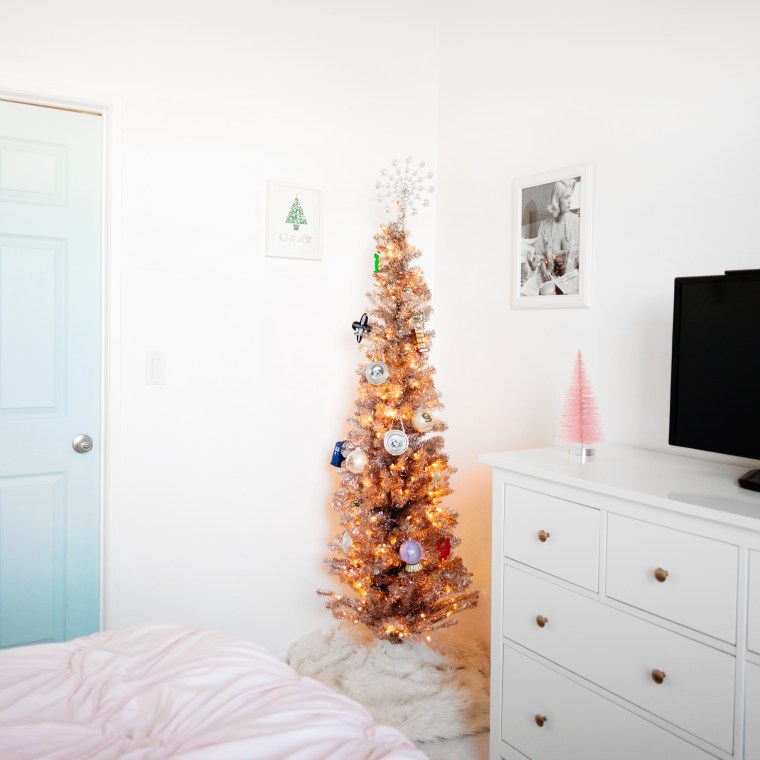
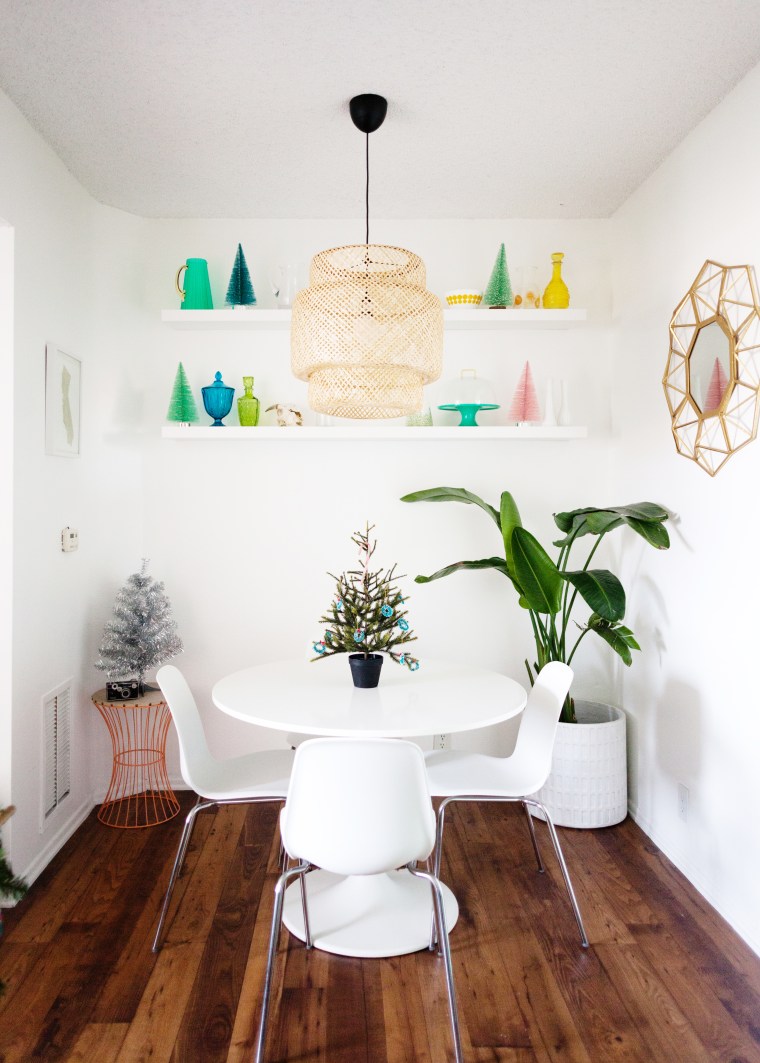 In the dining room I used large bottle brush trees from Target to decorate my shelves and then stuck in two more baby trees for good measure.
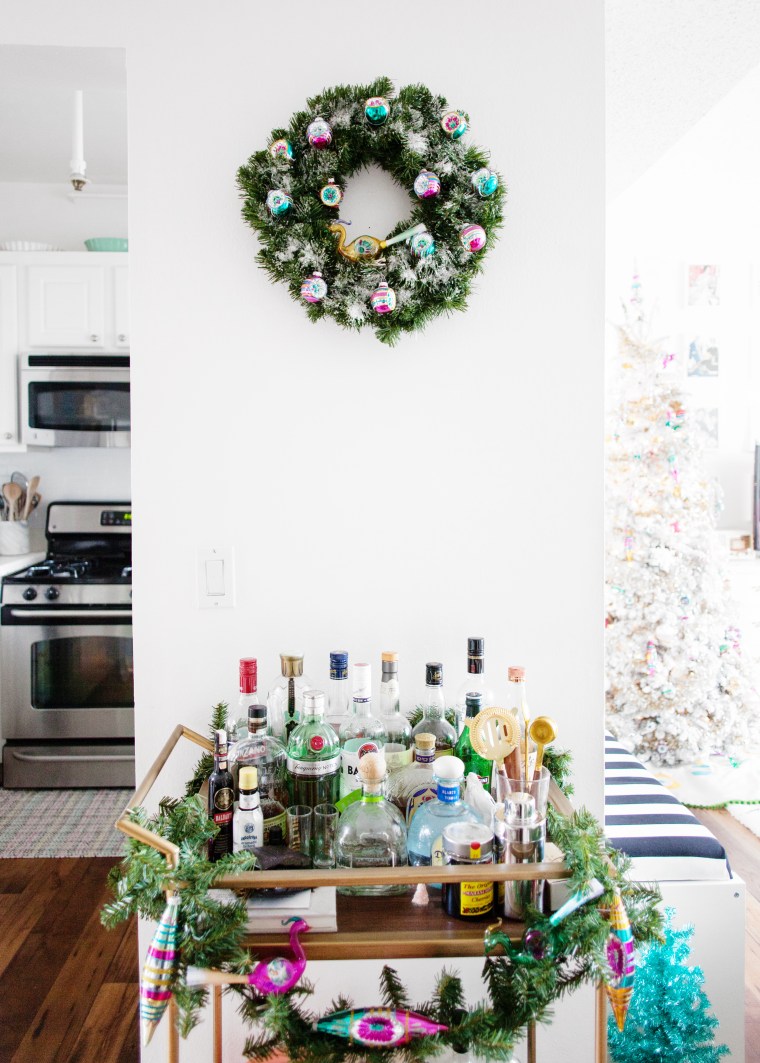 I got a little more festive on the adjacent bar, of course. I used Shiny Brite ornaments and epsom salts to dress up a cheapy $5 plain wreath and garland.
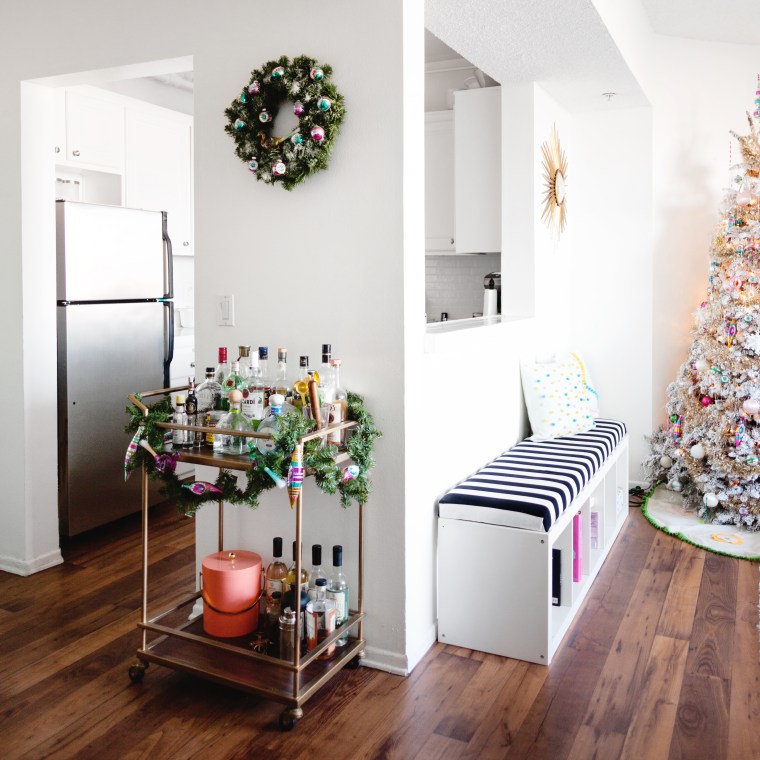
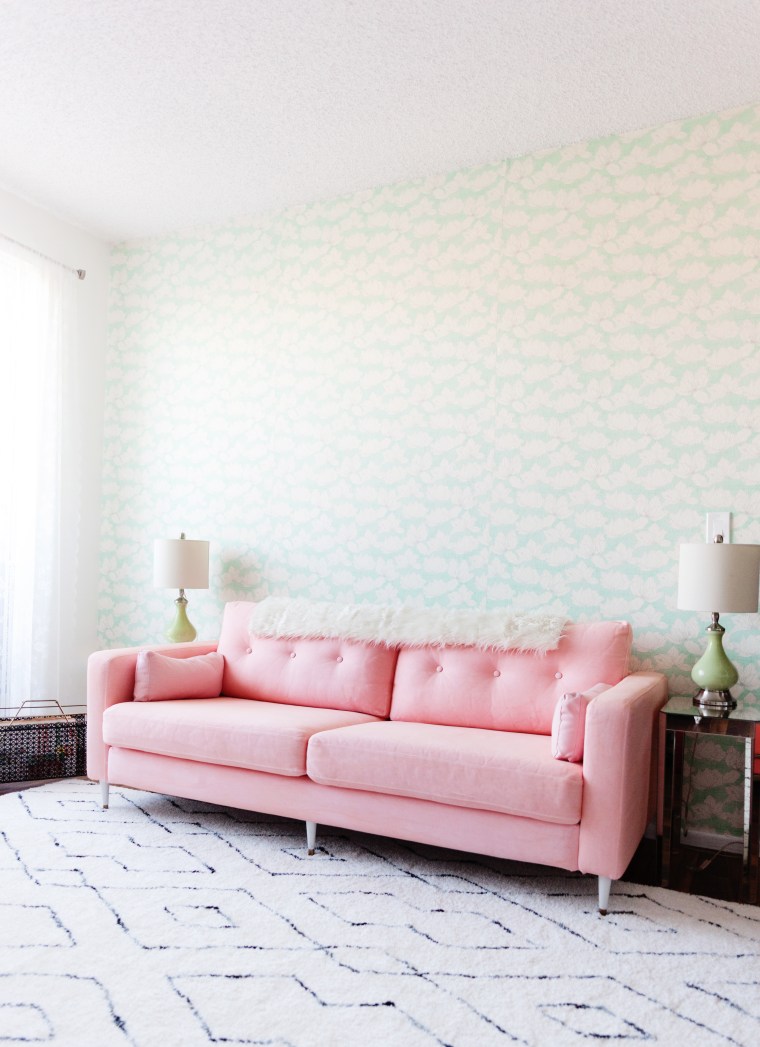
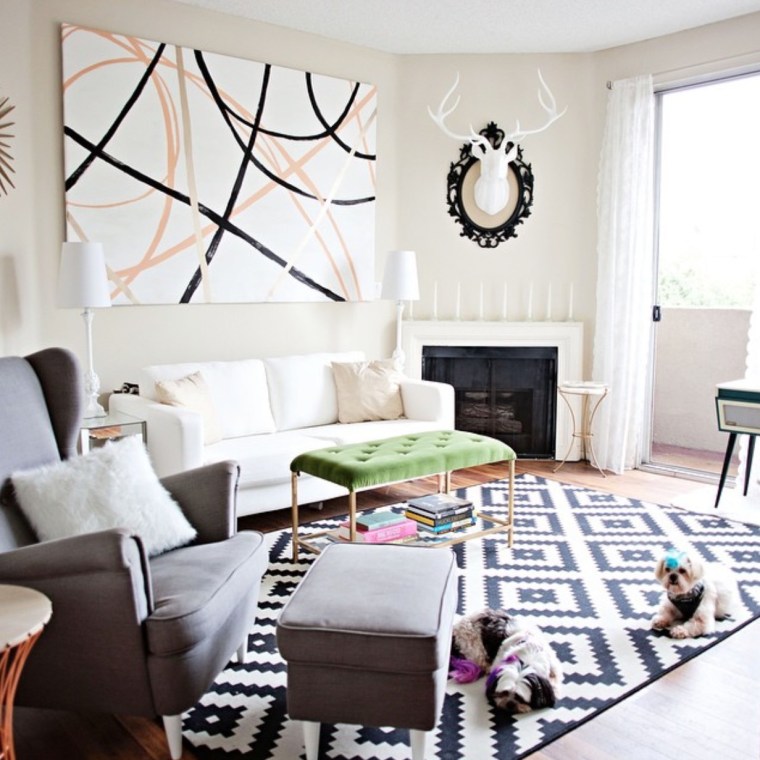
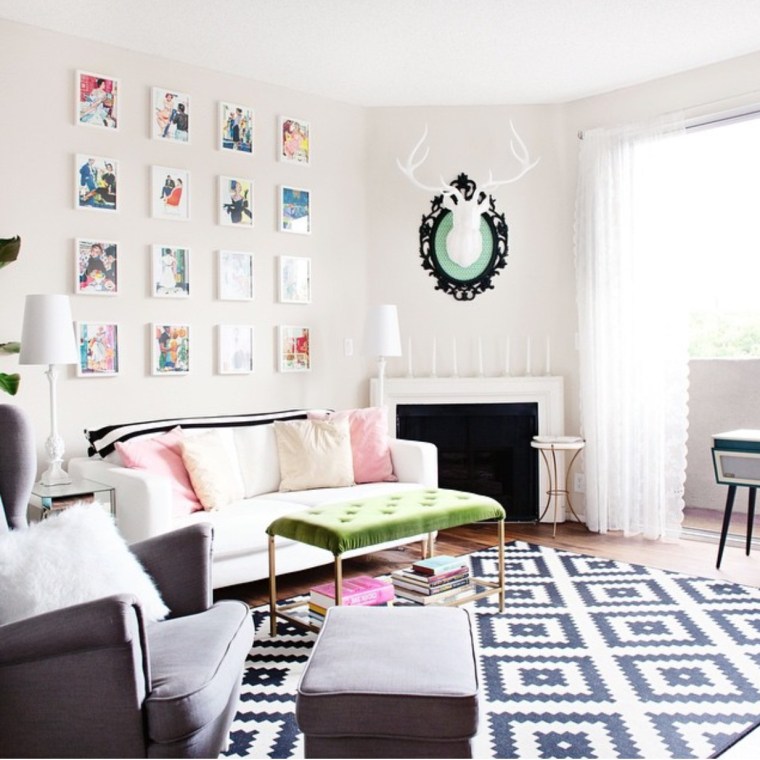
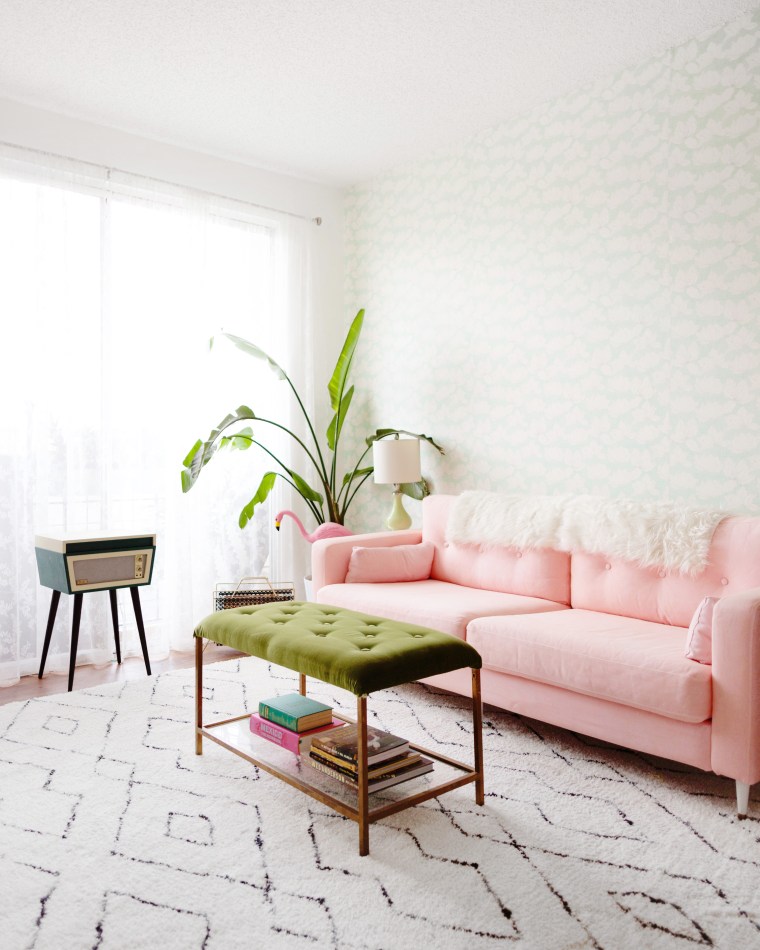
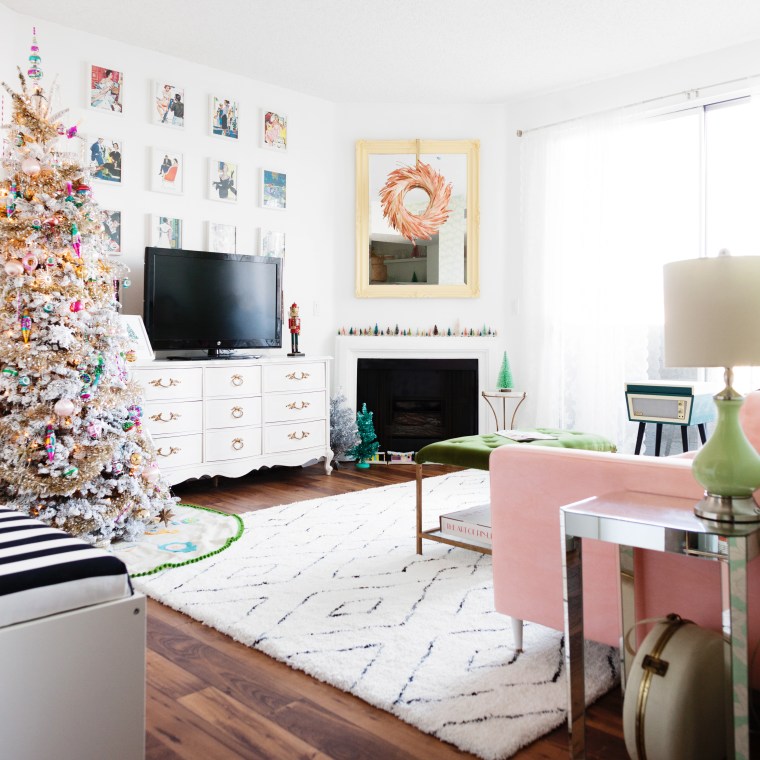 The living room is definitely the most festive place in the apartment! I spy a
 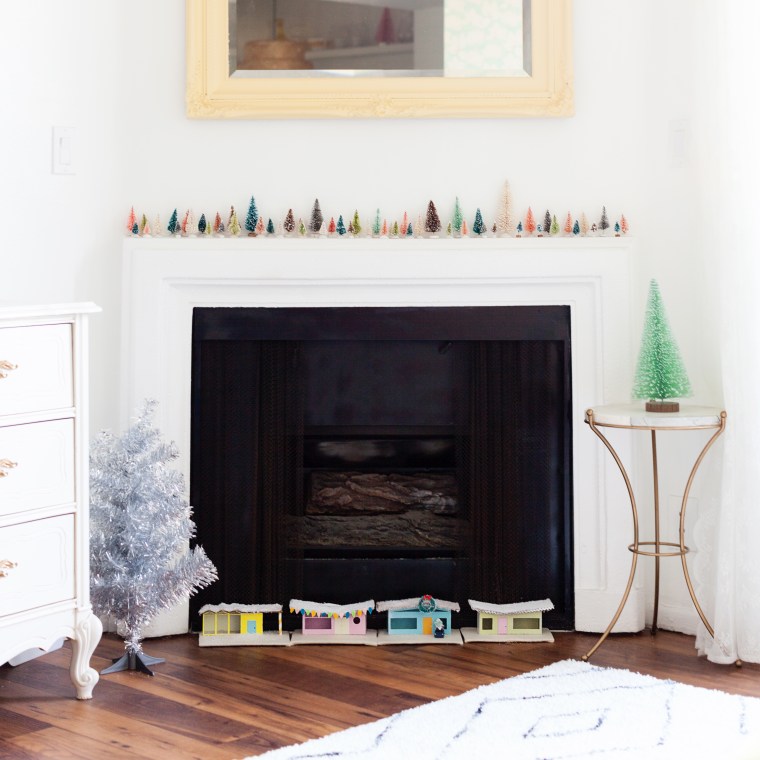 I also decorated the fireplace with my collection of bottle brush trees and
 And then there’s
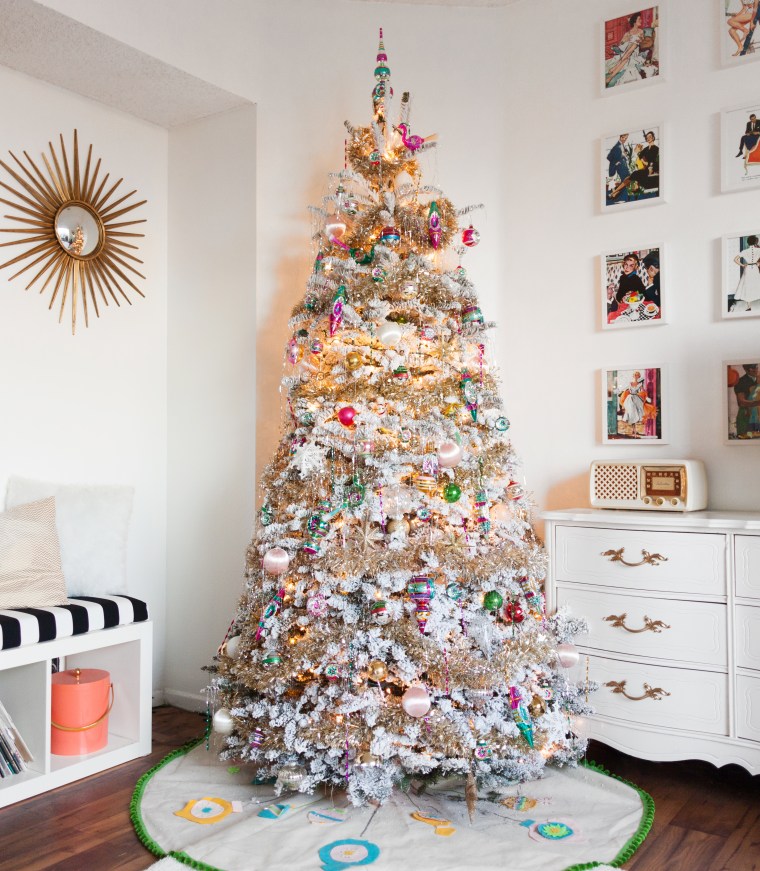
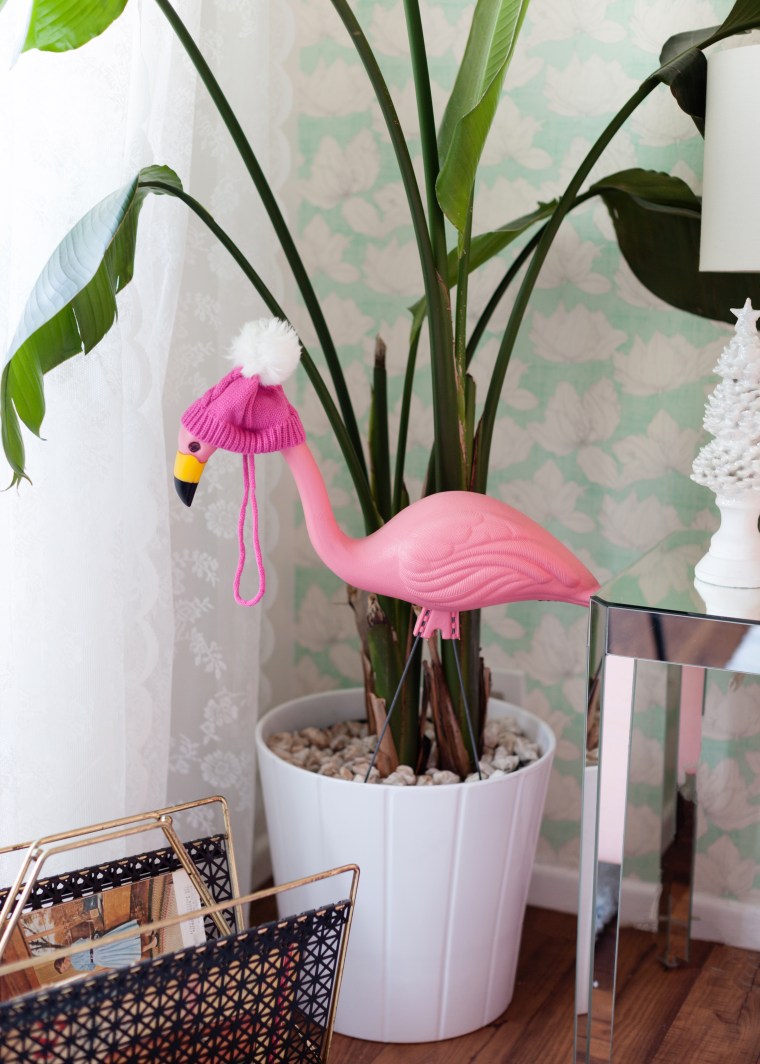 I got this hat for my dog but she hates it so Frank the flamingo got a festive little makeover.

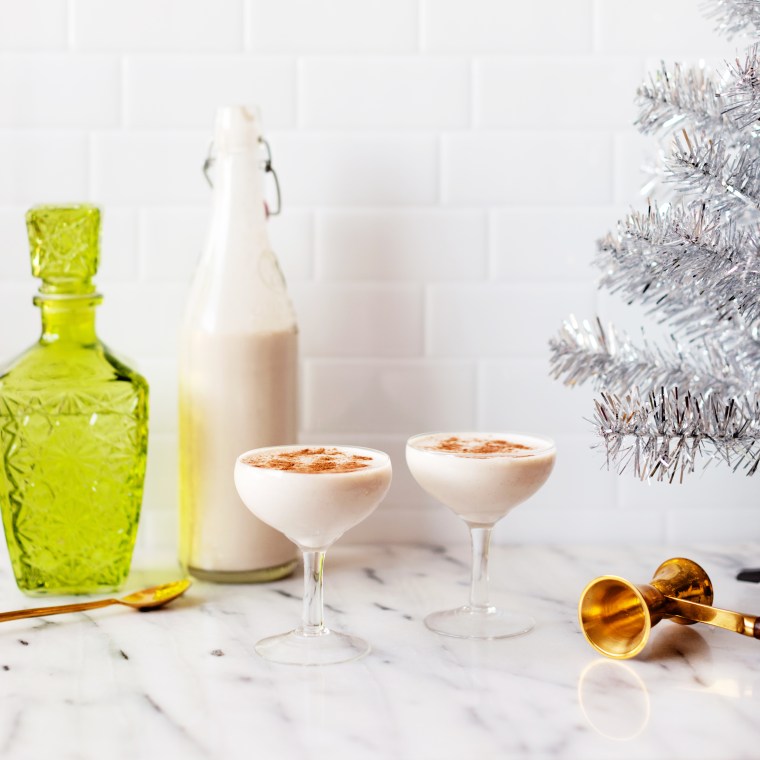 Here’s our favorite recipe given to us by my aunt. Thanks, Titi Pily!
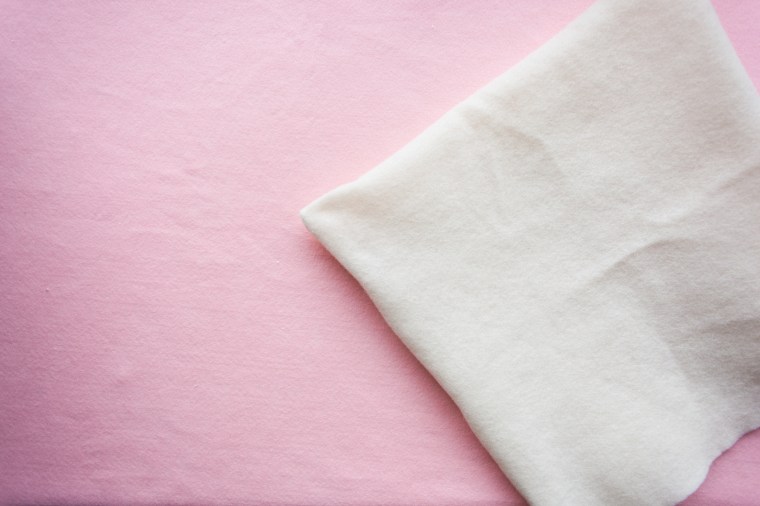
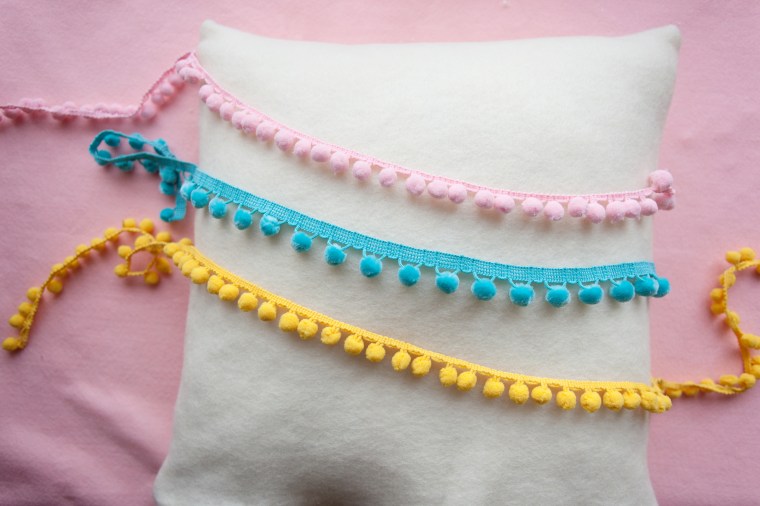
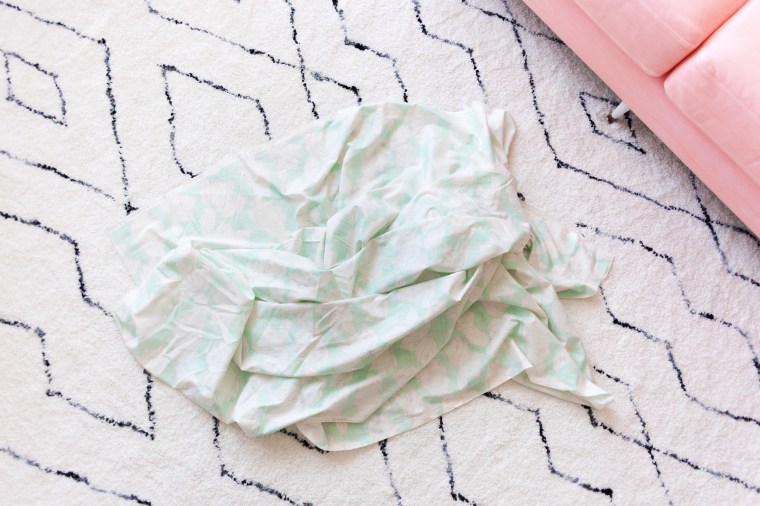
 Sew the pieces together at the sides, leaving one side open.