Around this time of year I always get the urge to change my decor up in at least one room. Chalk it up to spring fever I guess. Anyway, after having such a successful attempt at wallpapering a focal wall in my bathroom with Tempaper’s tropical print, I decided I was confident enough to go wild and do new look and wallpaper the entire bathroom. As soon as I saw Tempaper’s new peel and stick flamingo print I knew it was meant to be and immediately jumped on the chance.
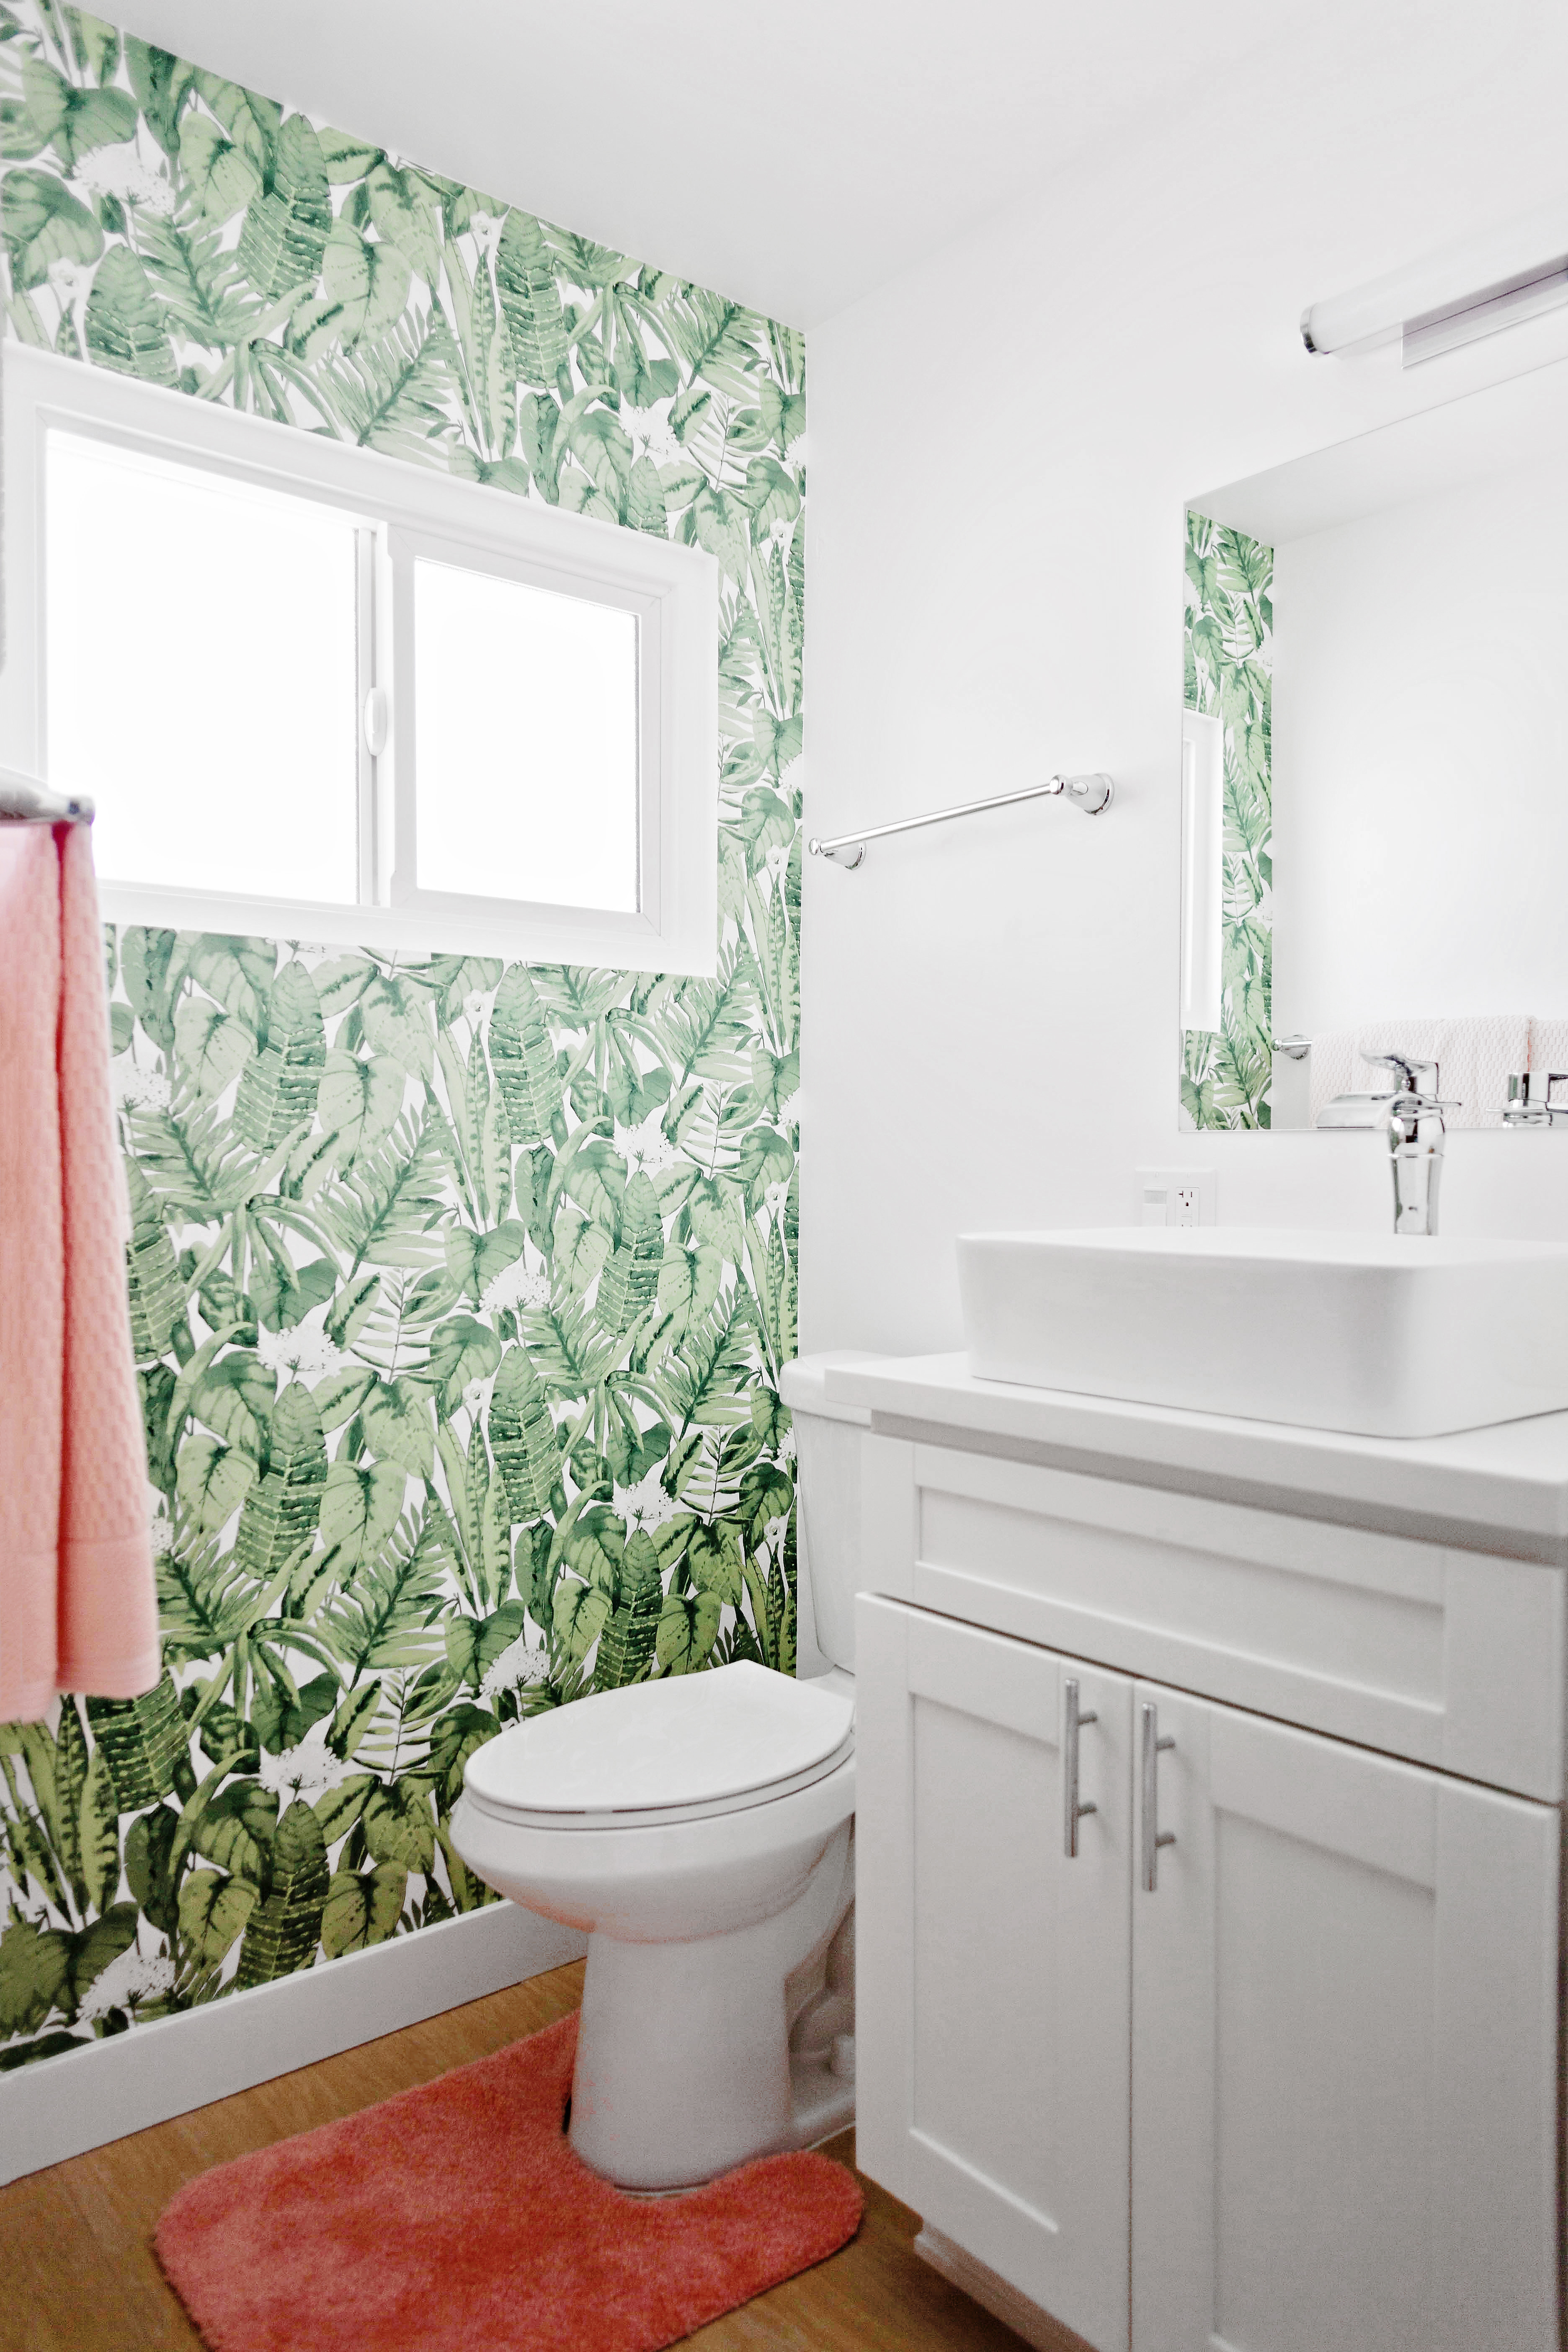
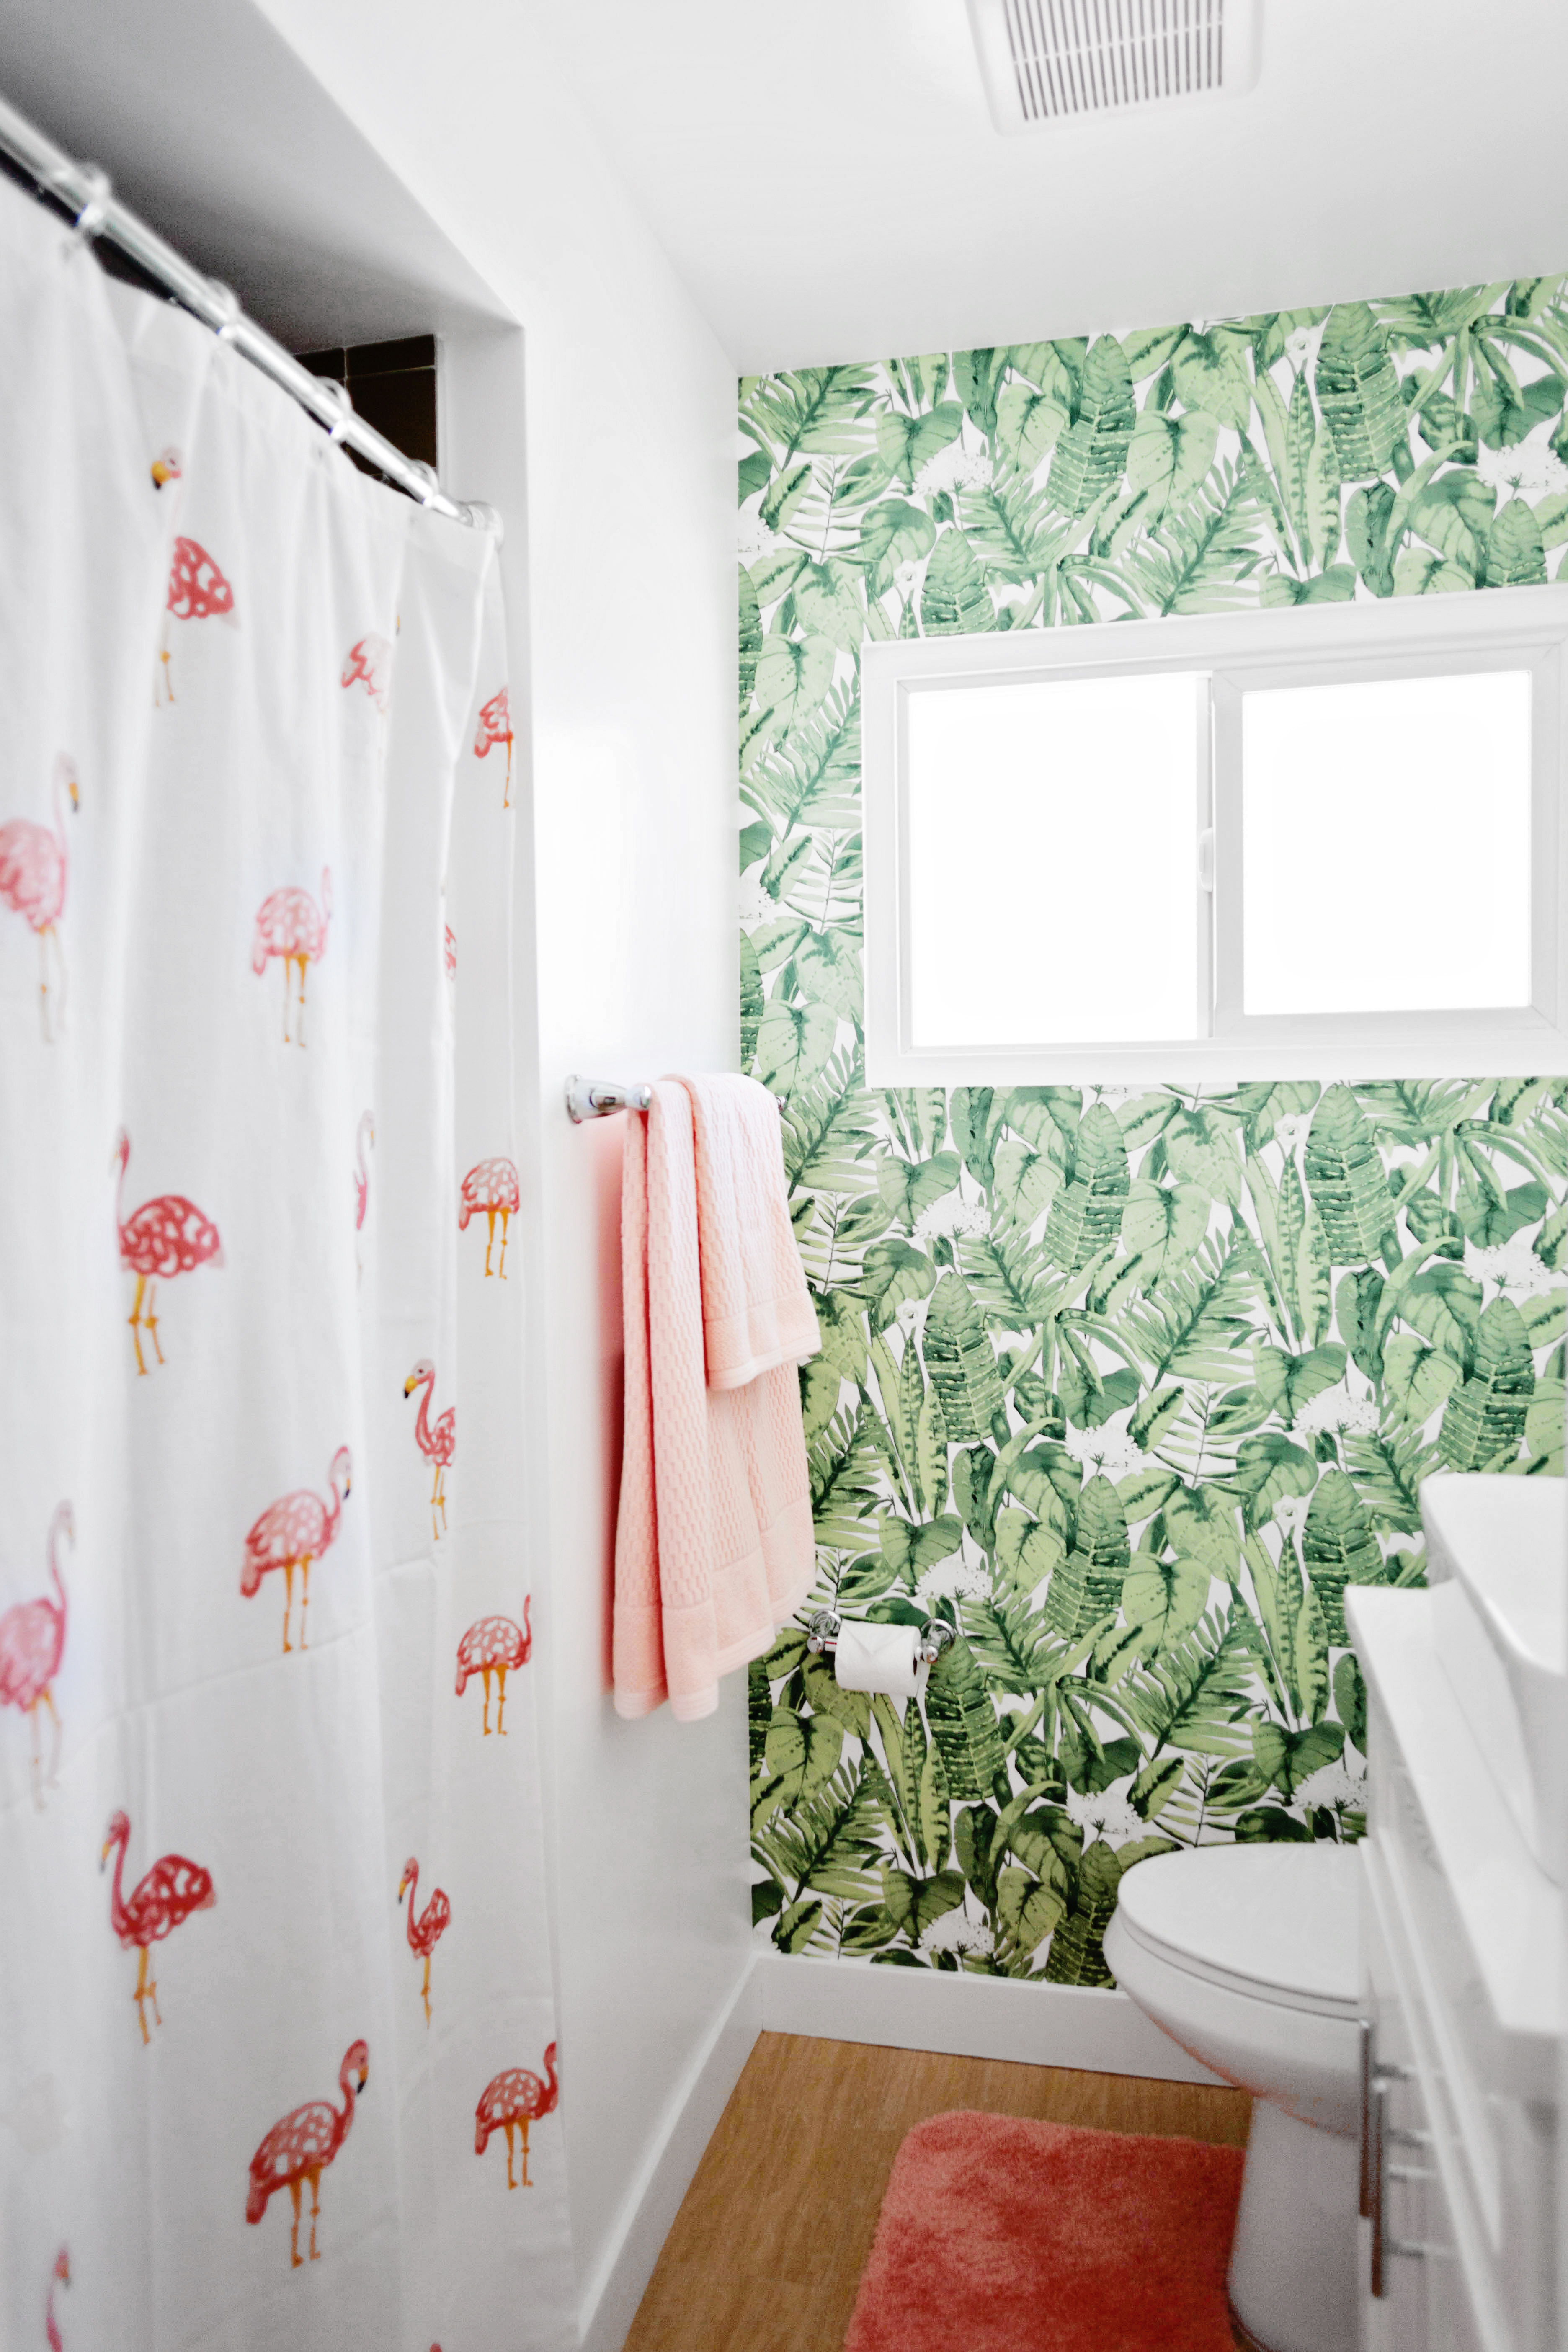
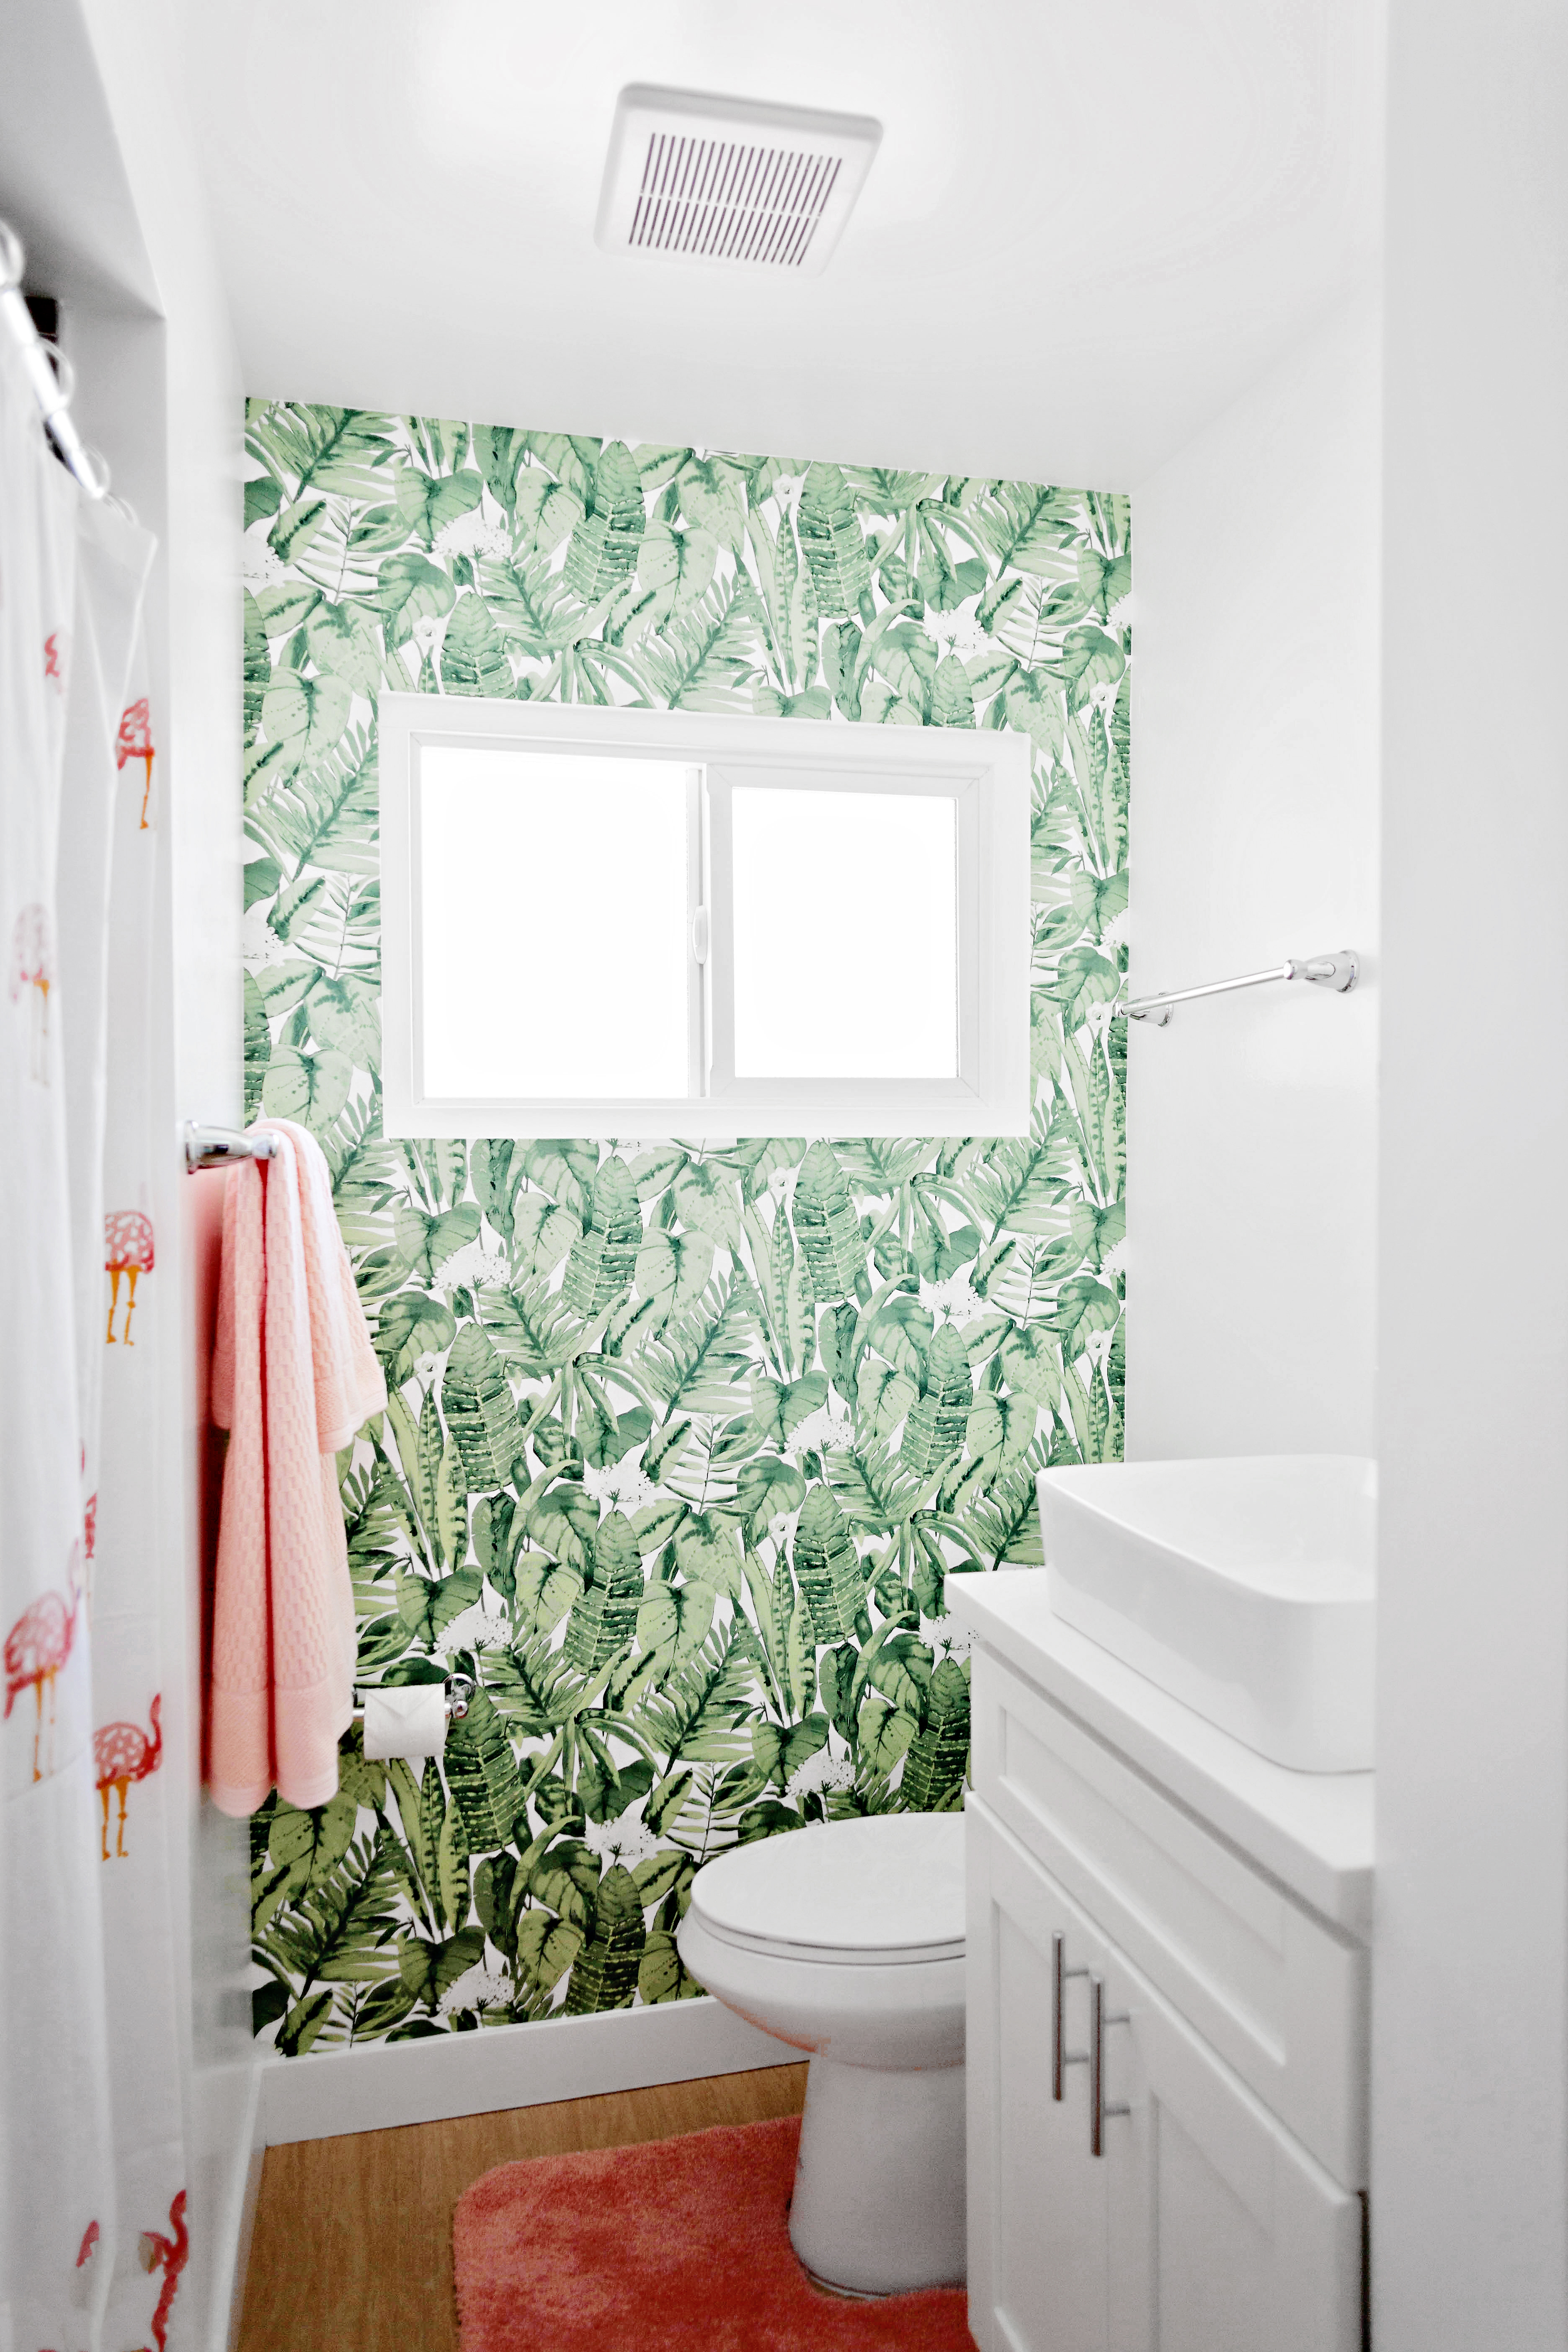
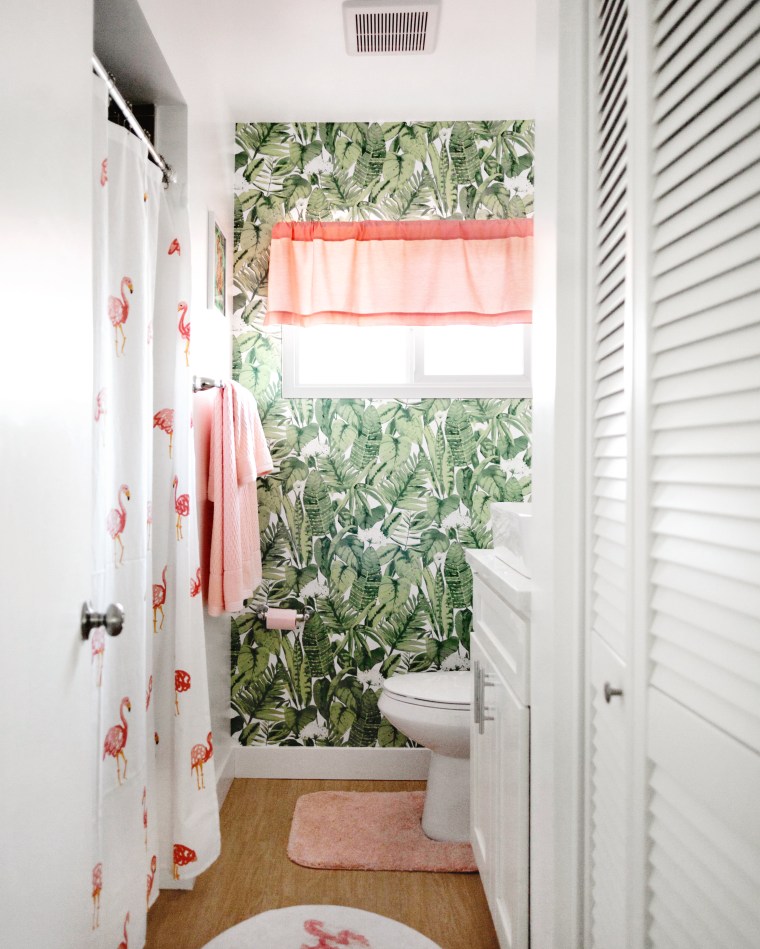
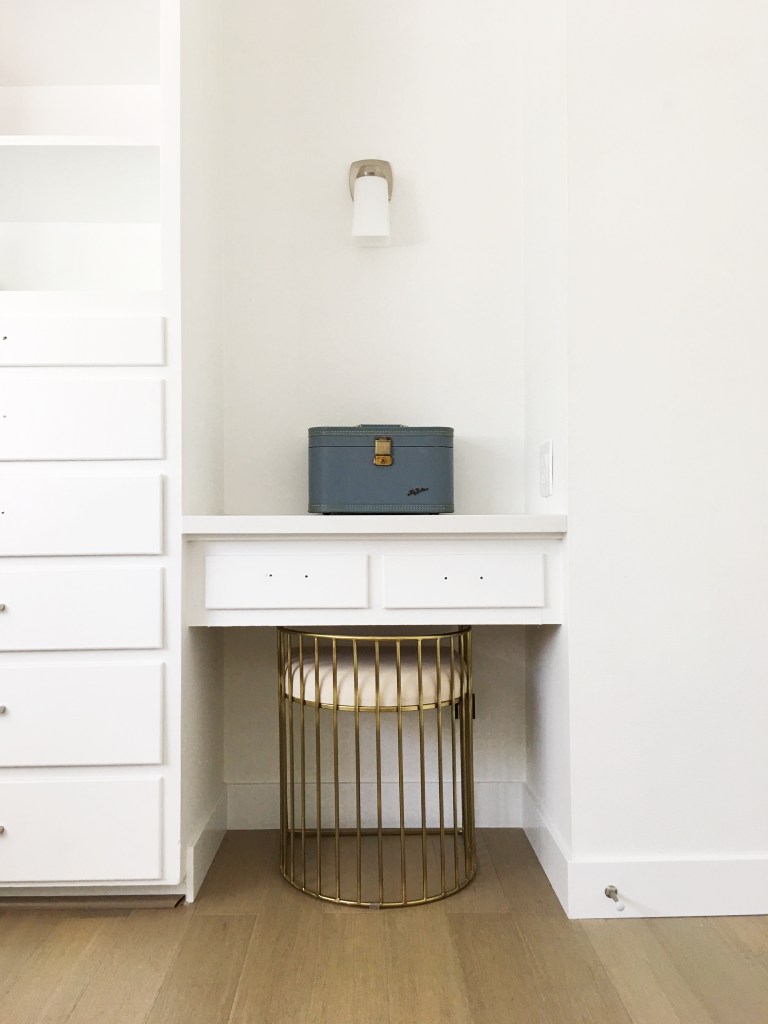
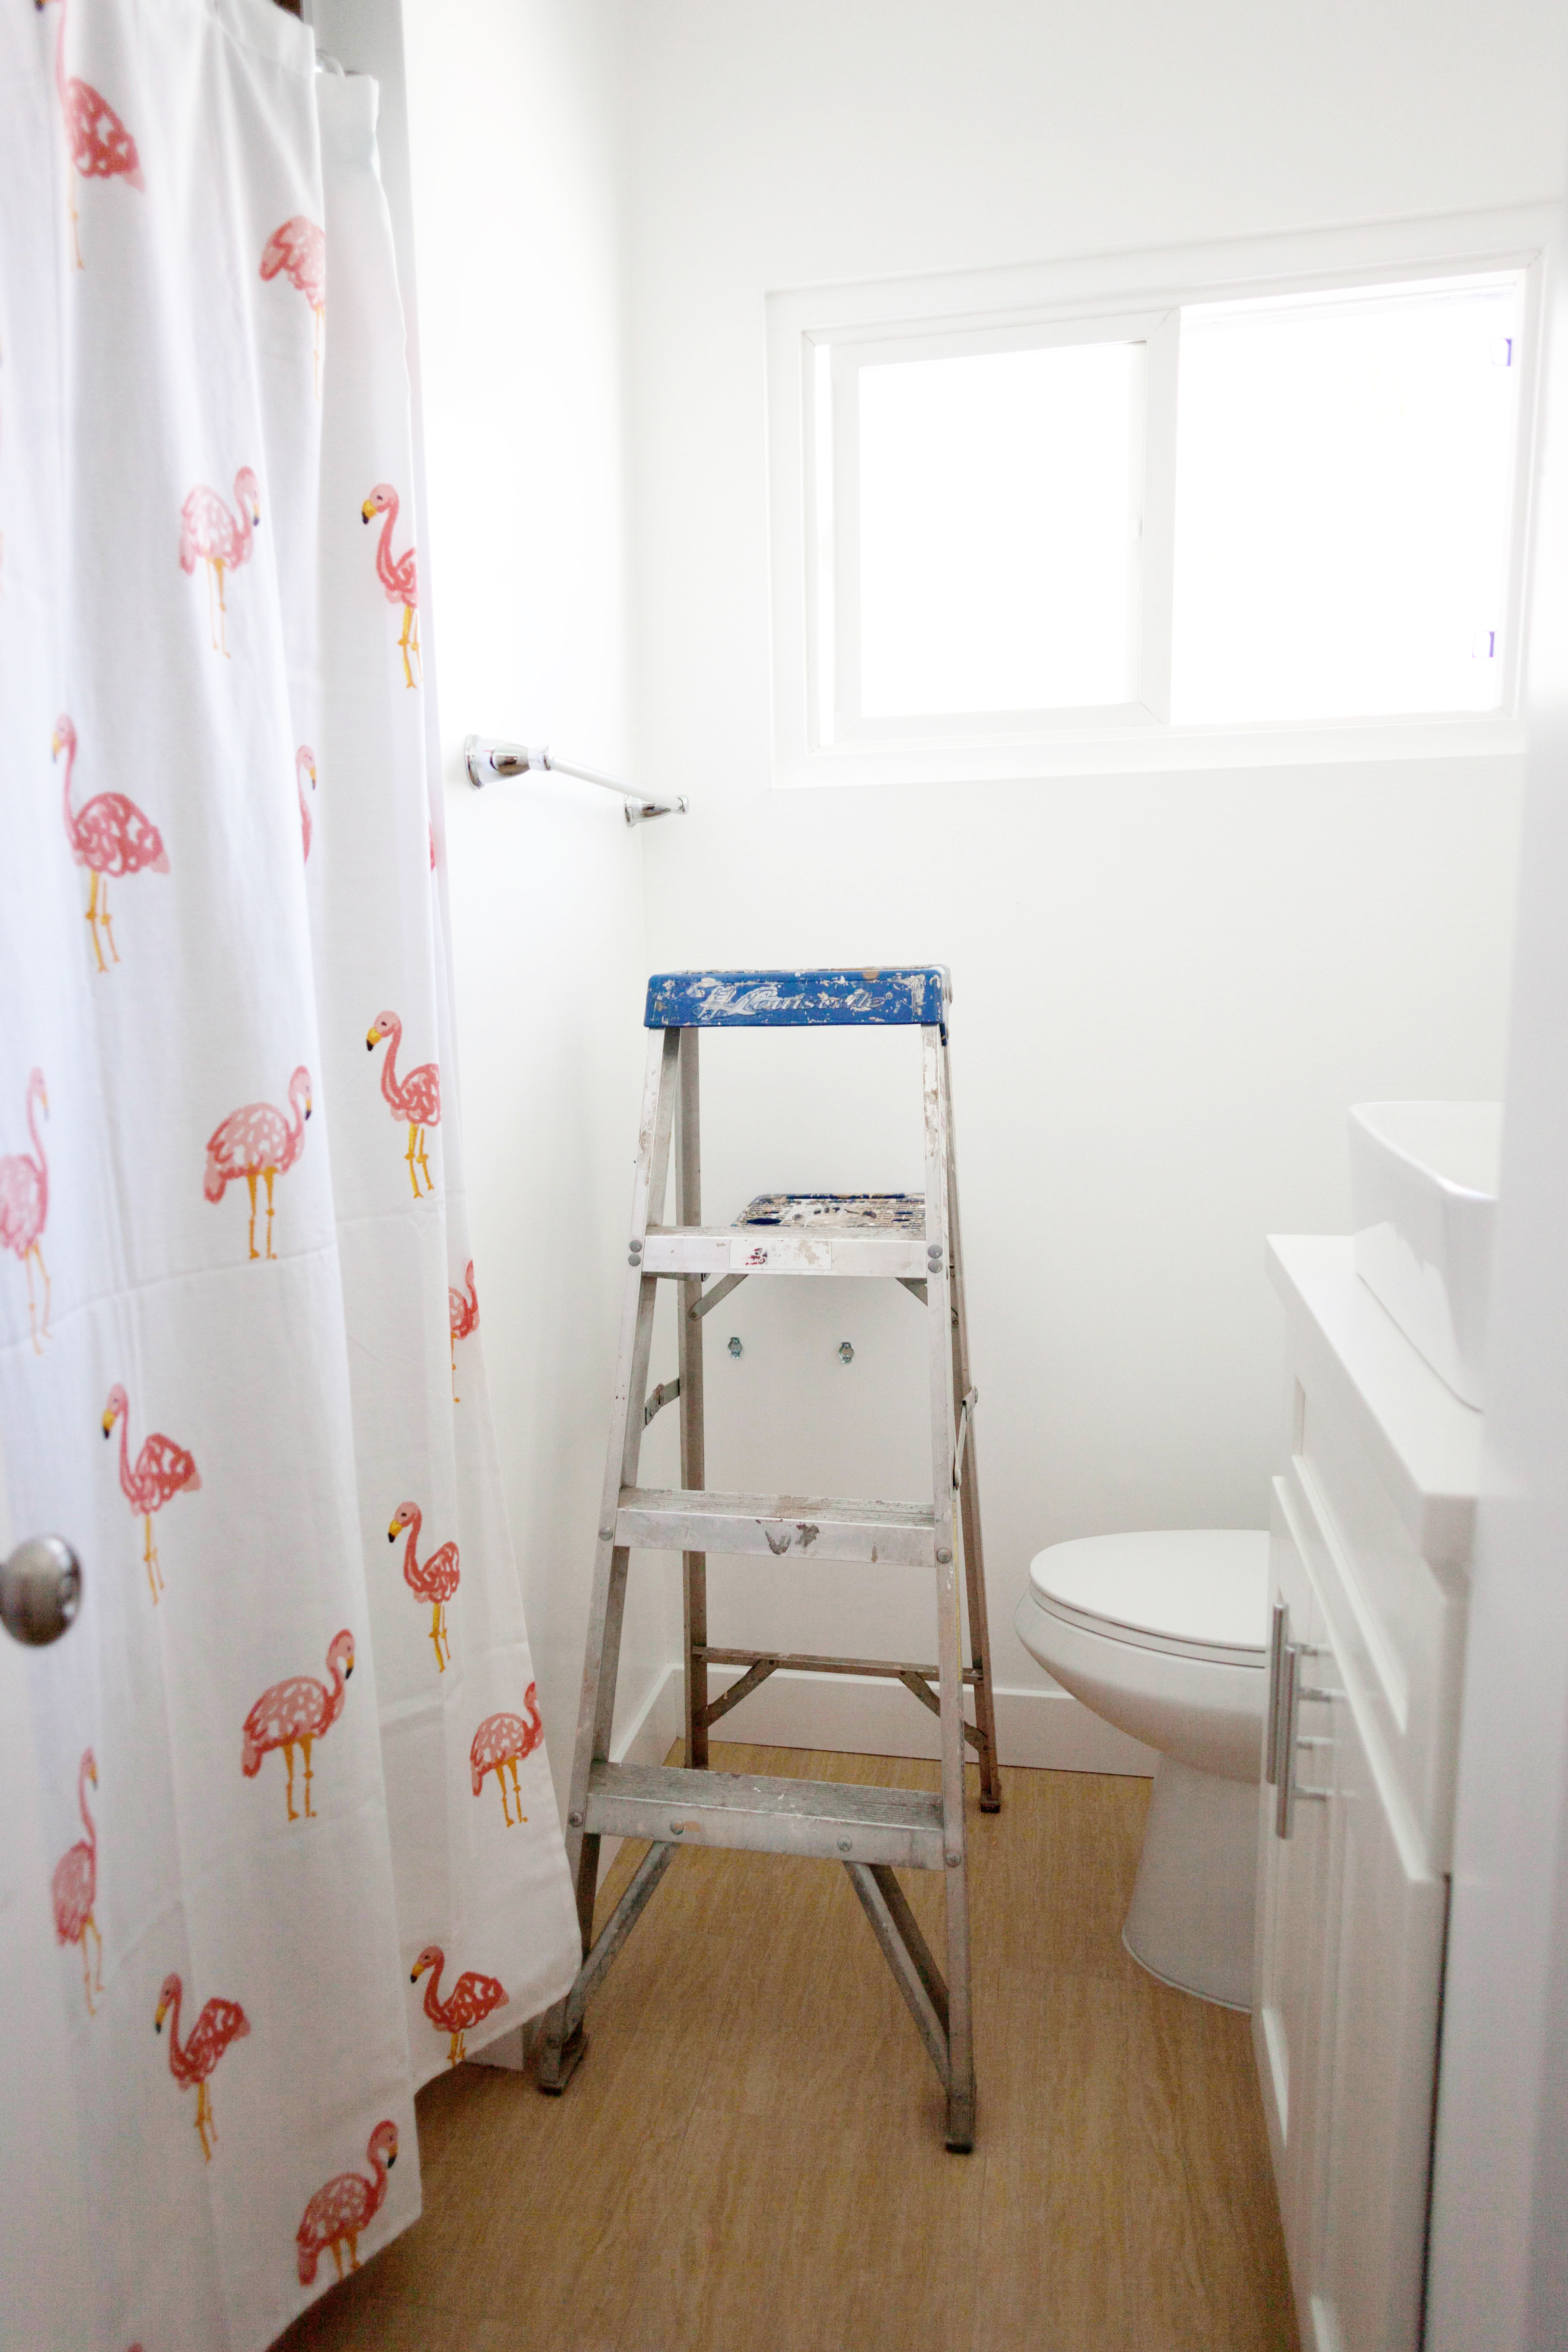
To quickly jog your memory, this is what my bathroom looked like before.
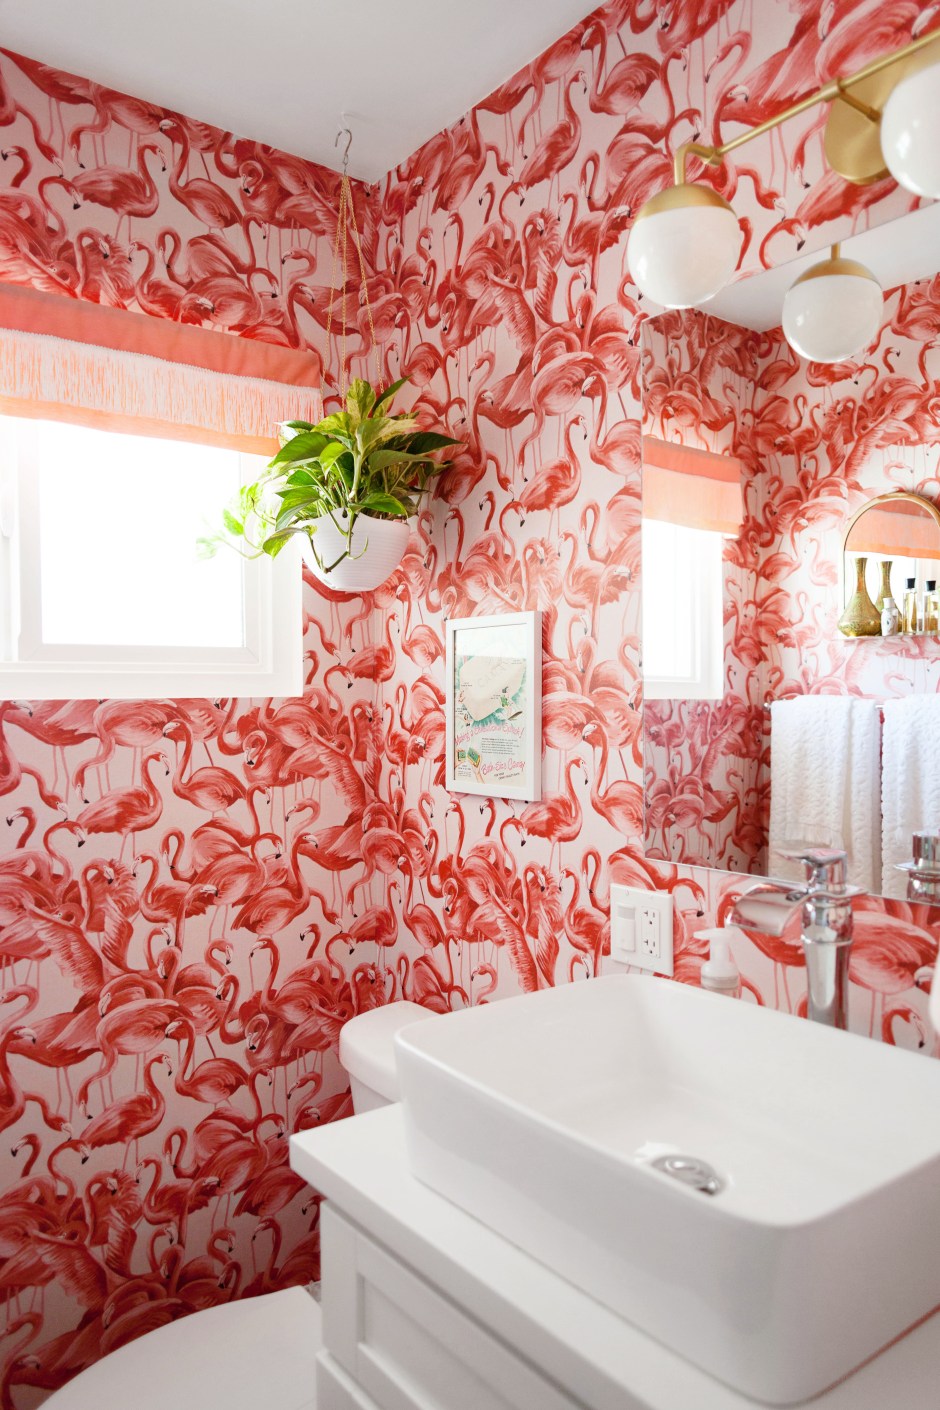
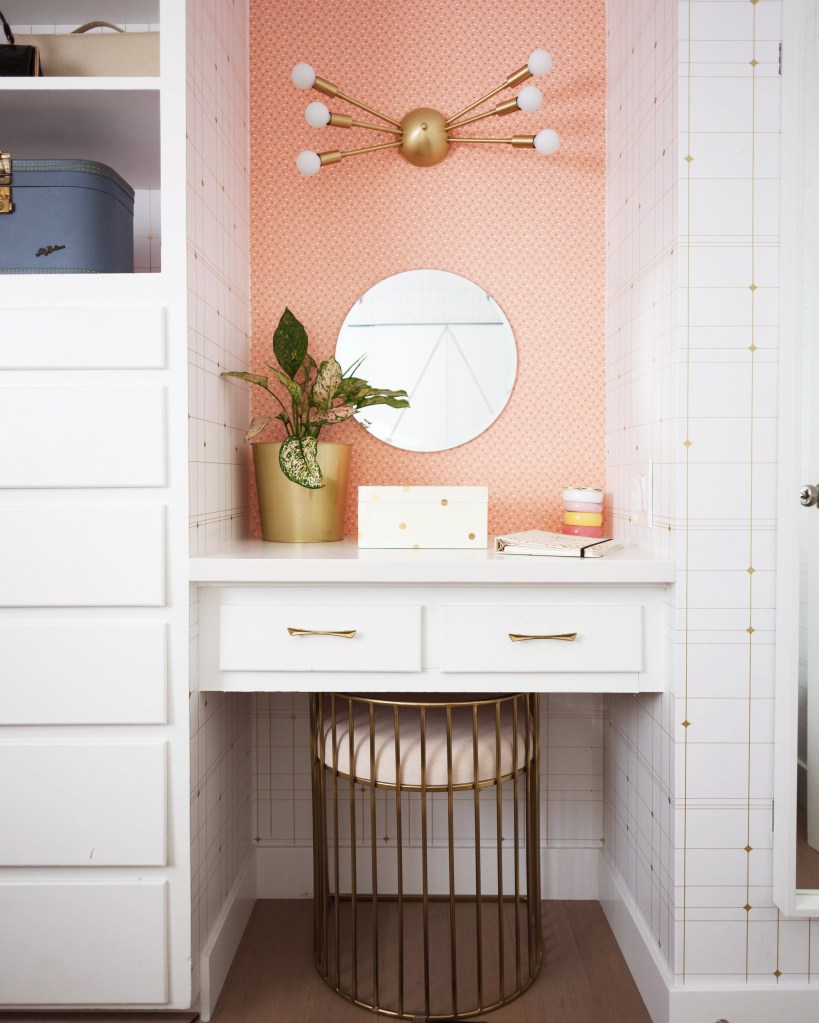
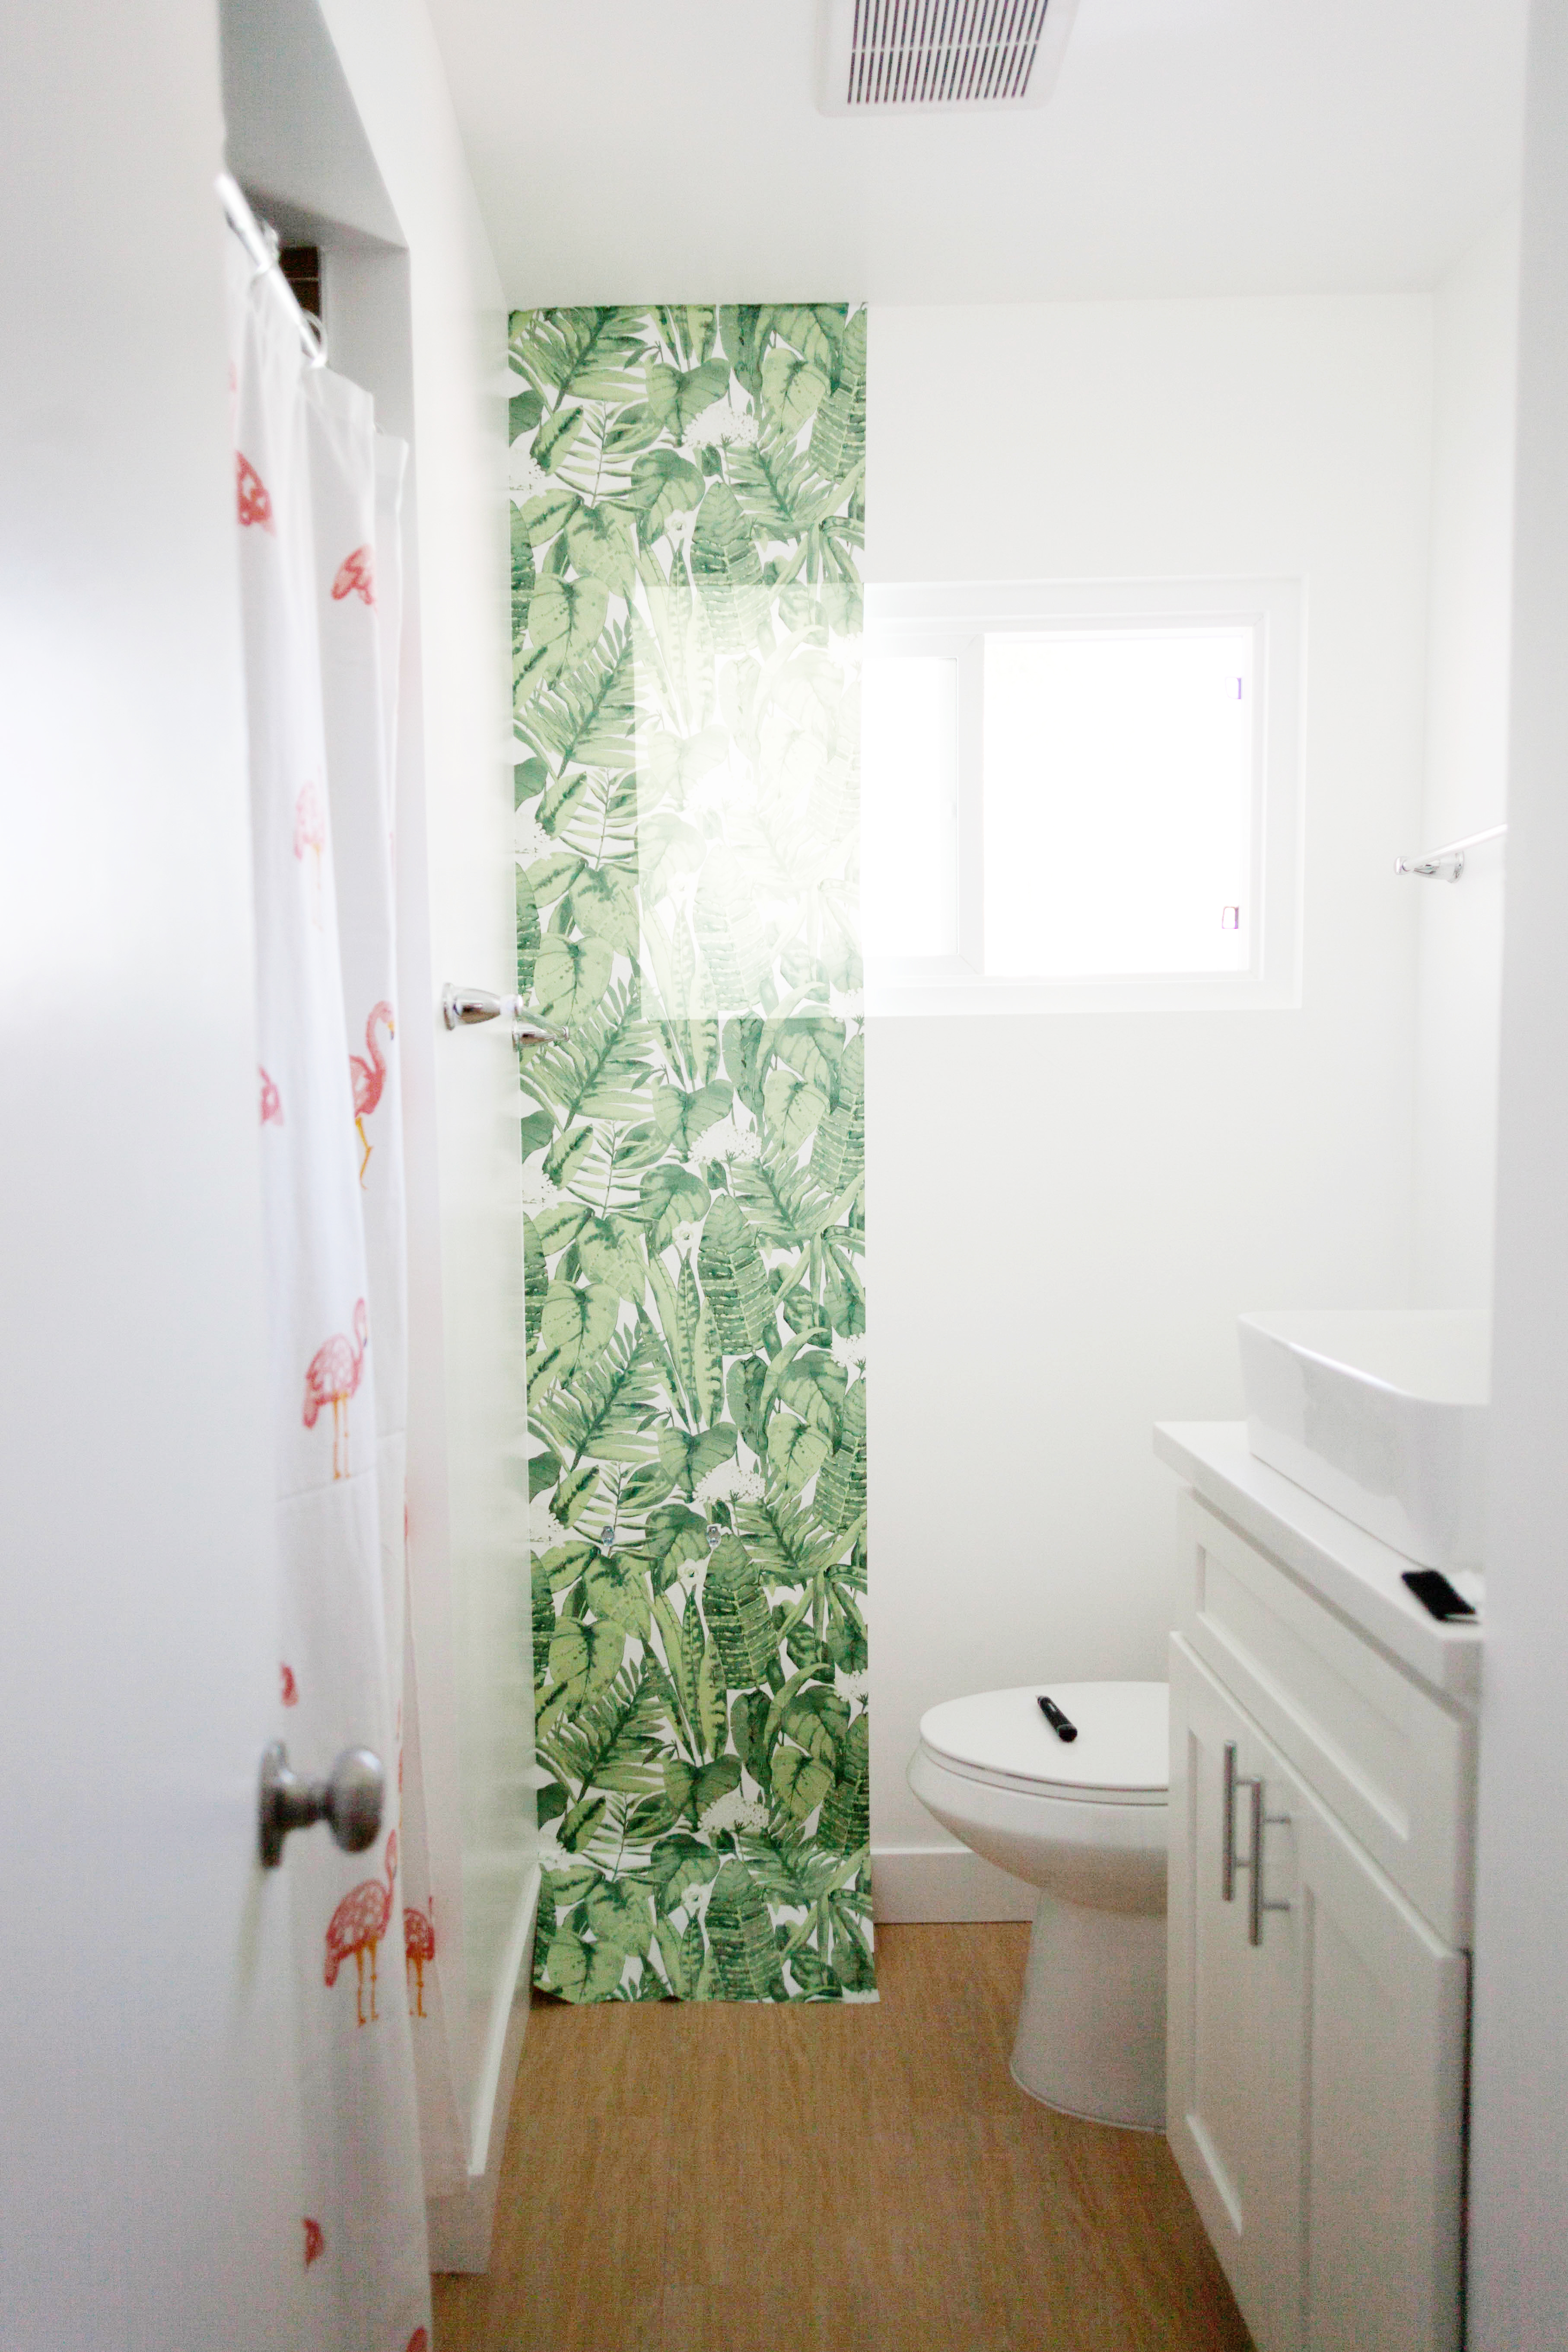
 And here’s the new new!
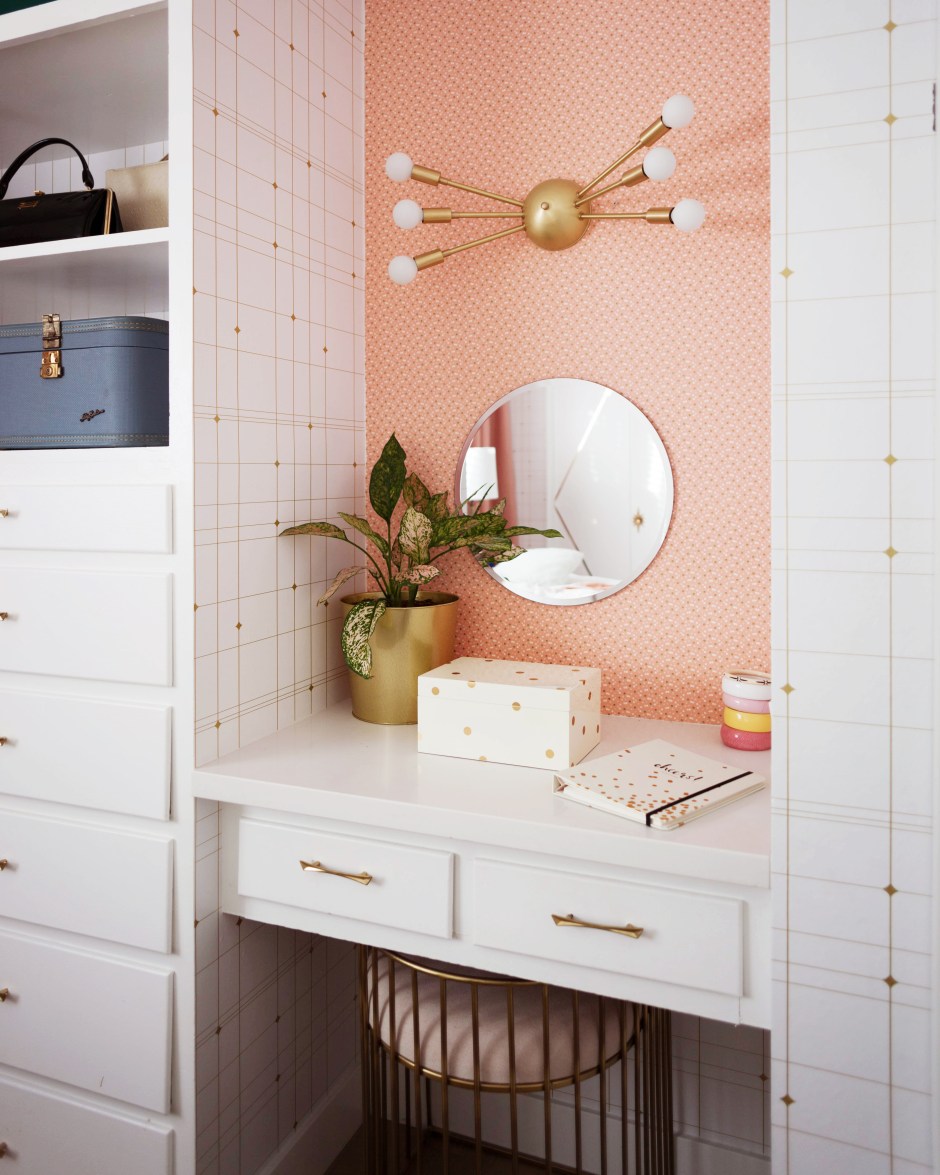
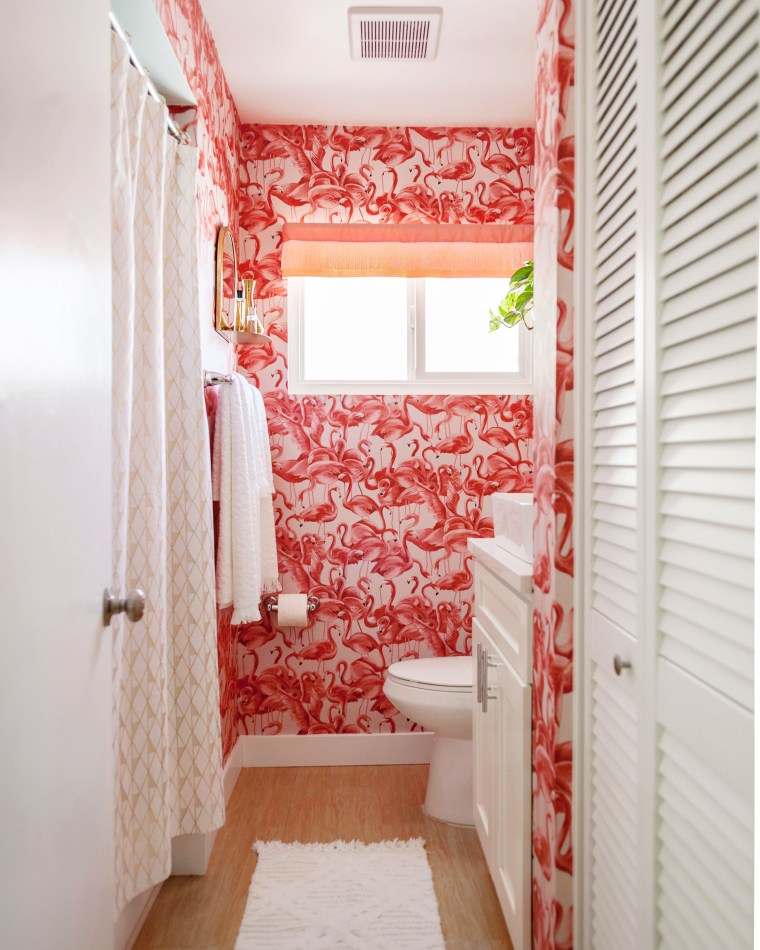 It’s kind of crazy how it makes the room feel bigger. I thought it might feel closed in with so much pattern on the walls, but nope! It works. The print is so lovely. It’s a lovely mix of soft pink and reddish pink that looks amazing against white and gold. As always it was easy to work with and very forgiving. You can refer to my previous post for installation tips that work for me.
  I also added a few new accessories.
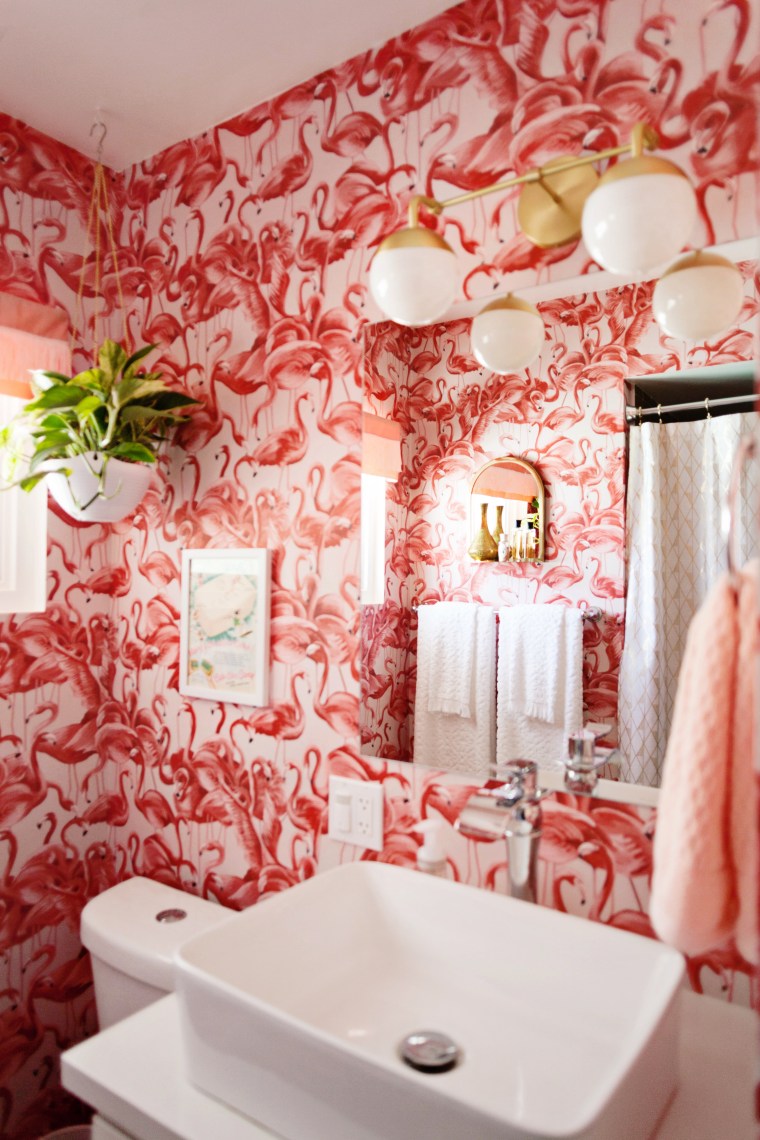
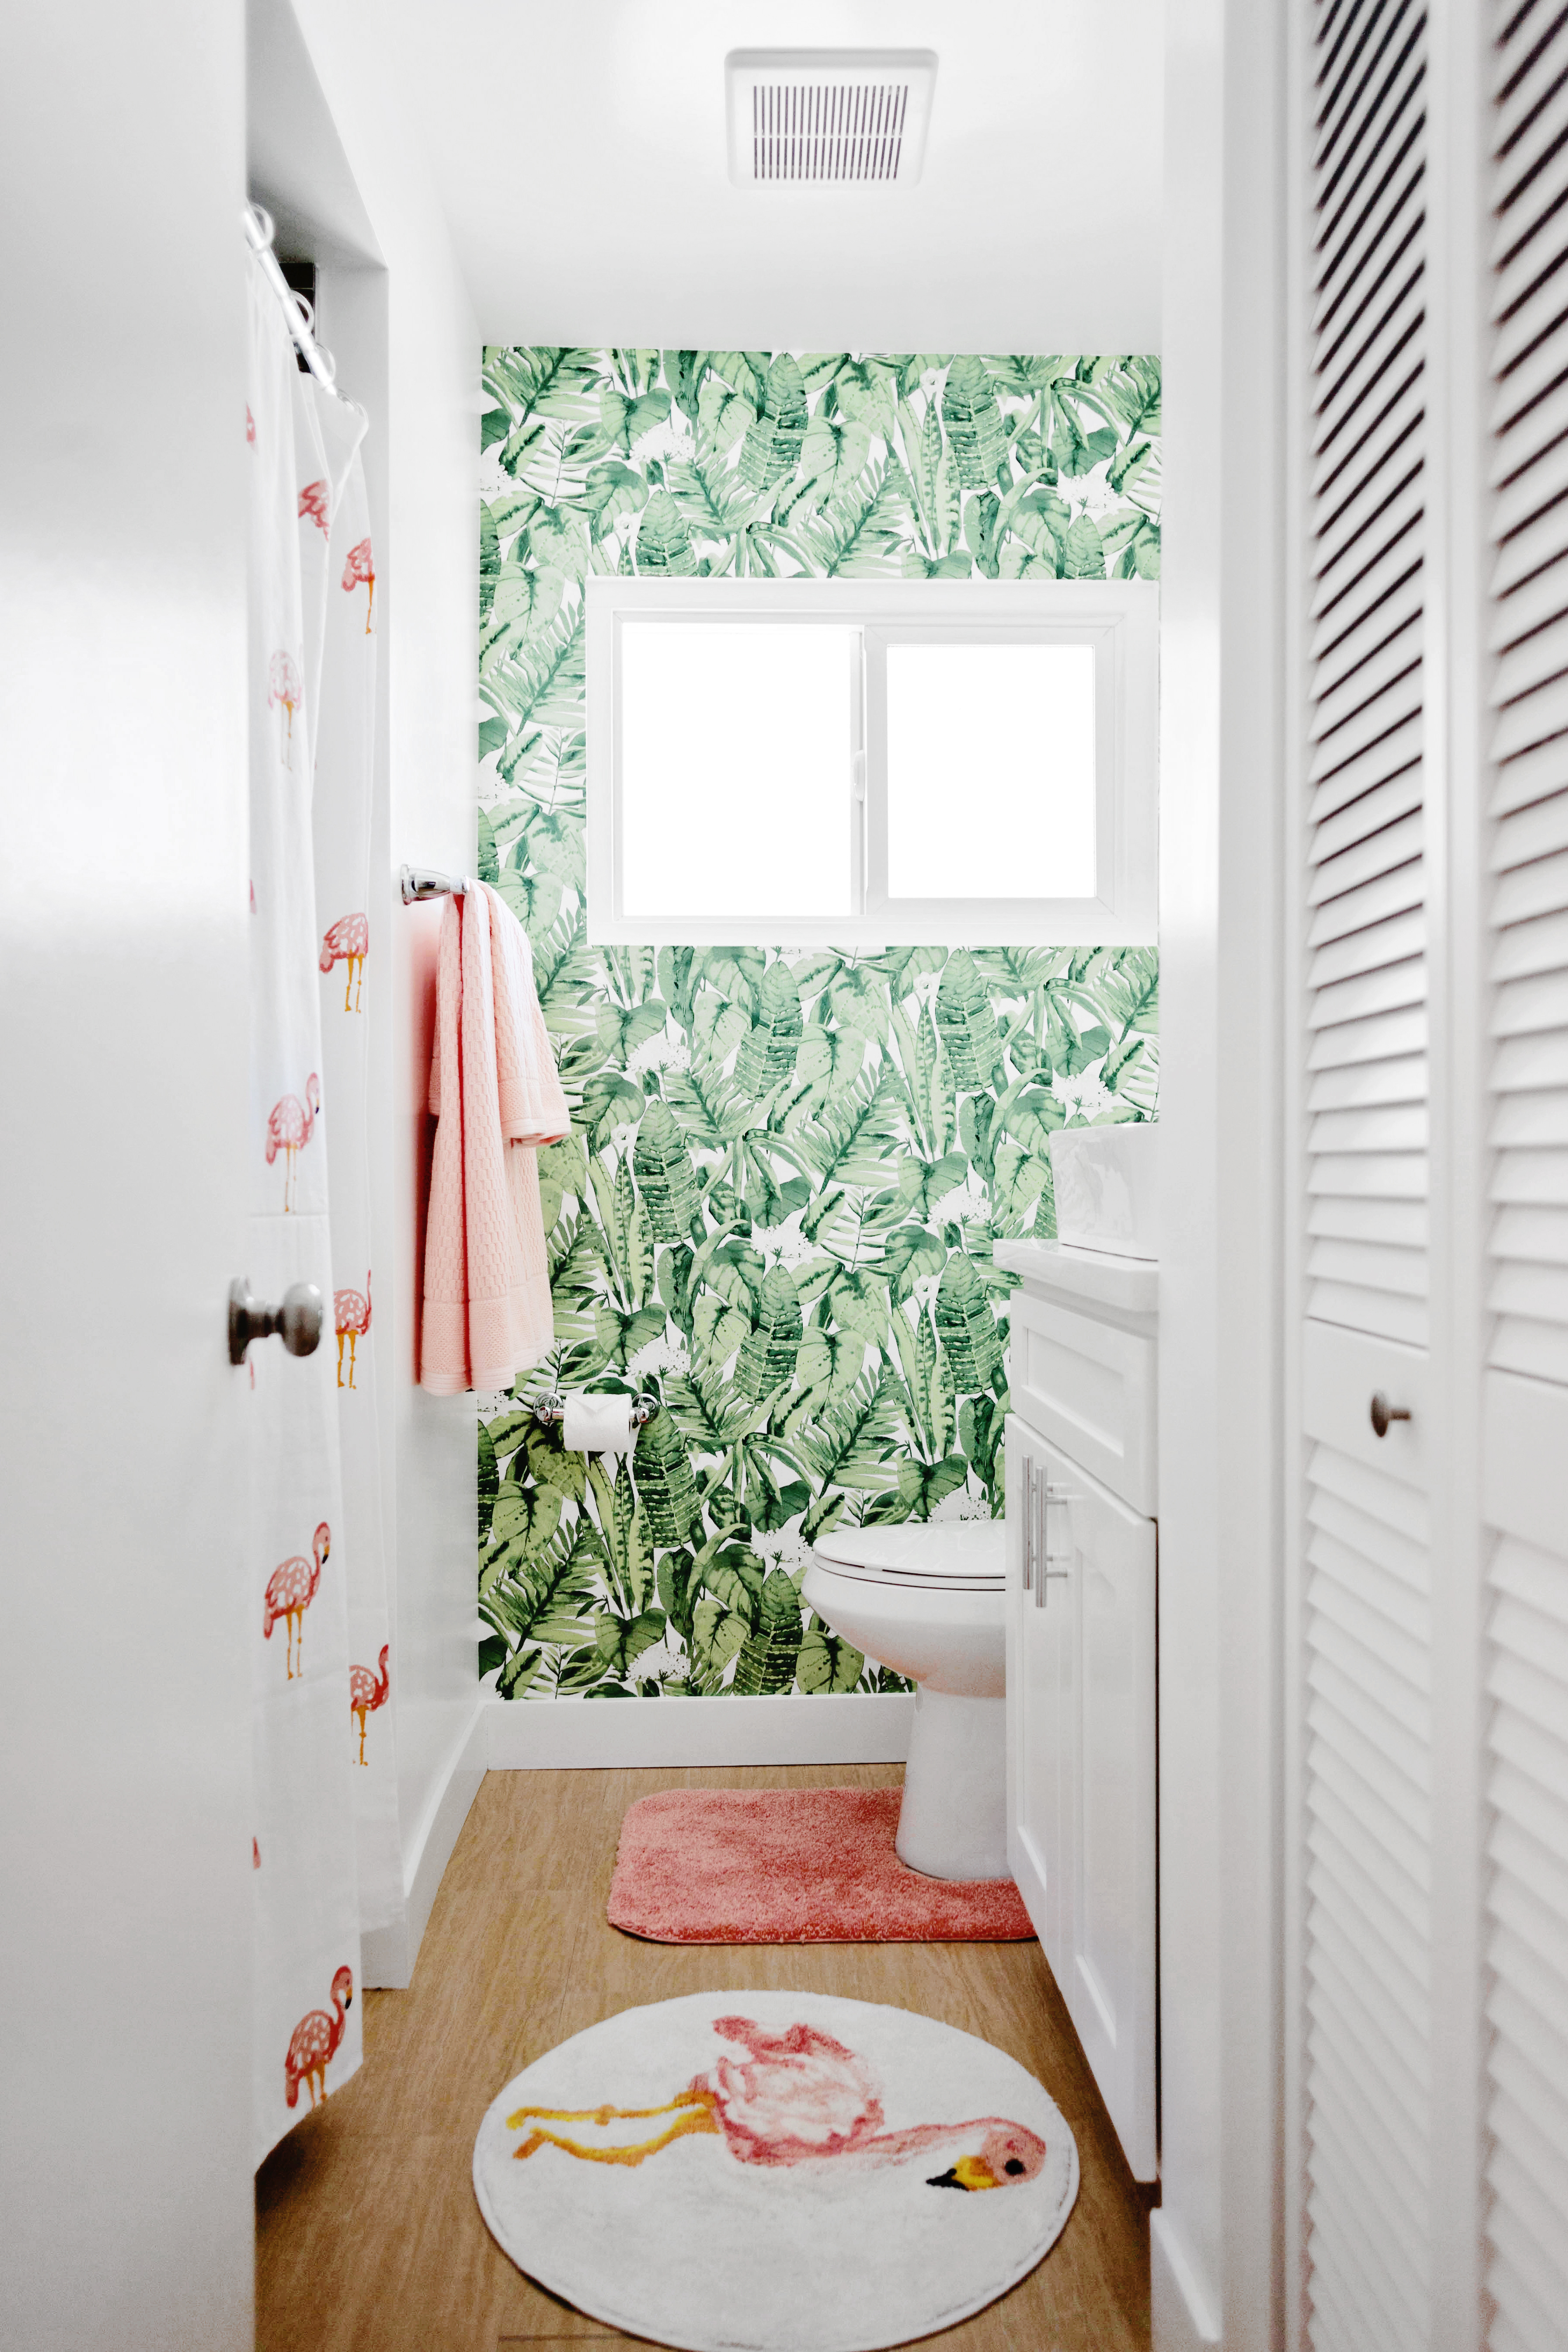
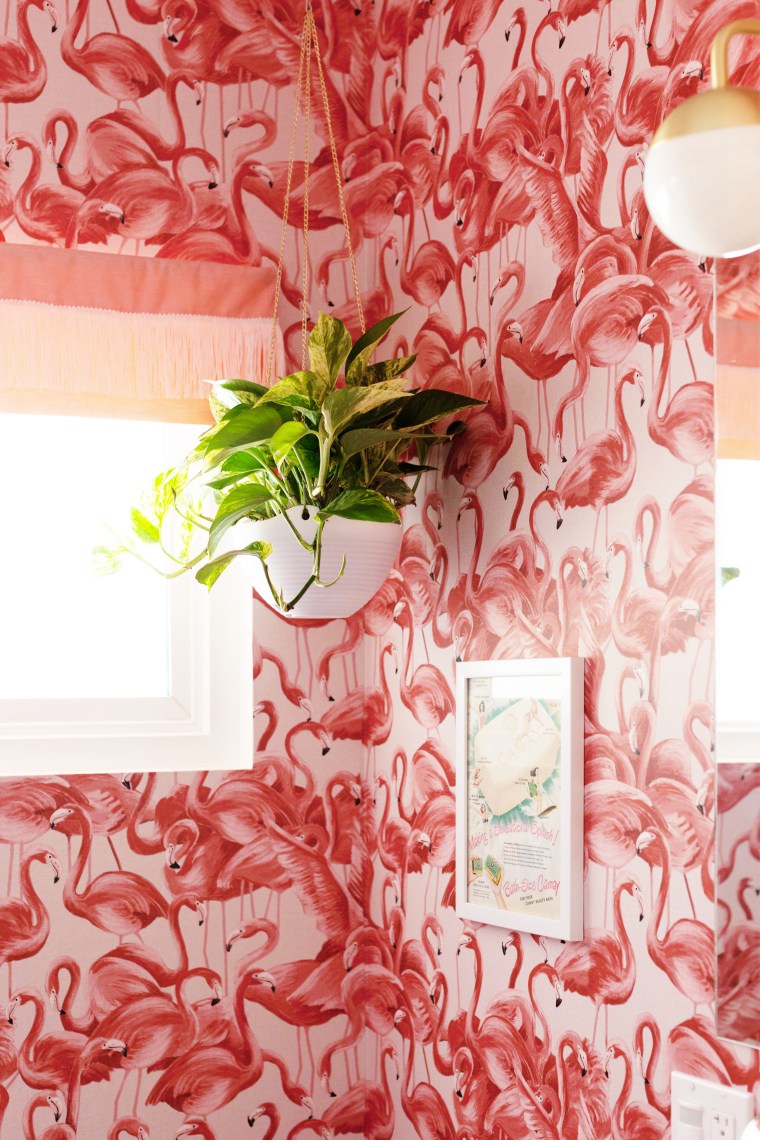 I got this hanging planter on Amazon and changed out the original chain with one from the jewelry making section at Jo-Ann.
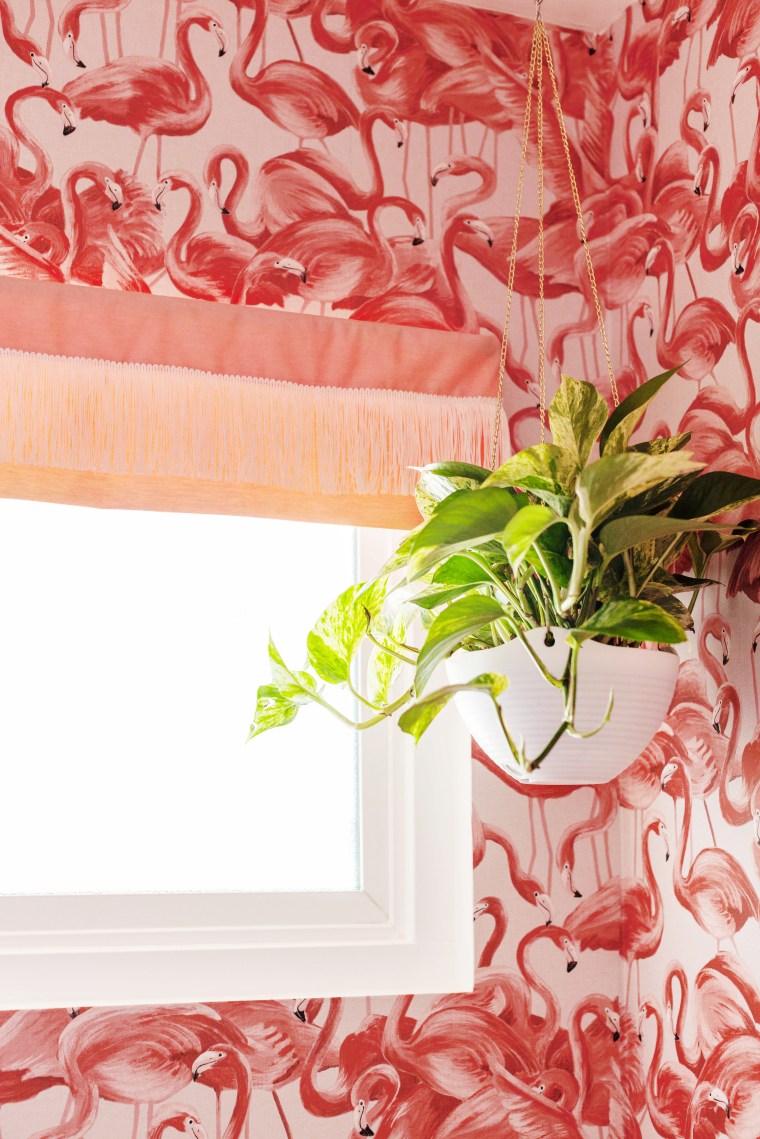 I kept the original window valance and shortened it in order to let more light in. I loved the fringe on the new towels and rug so I added some chainette fringe to tie it all together.
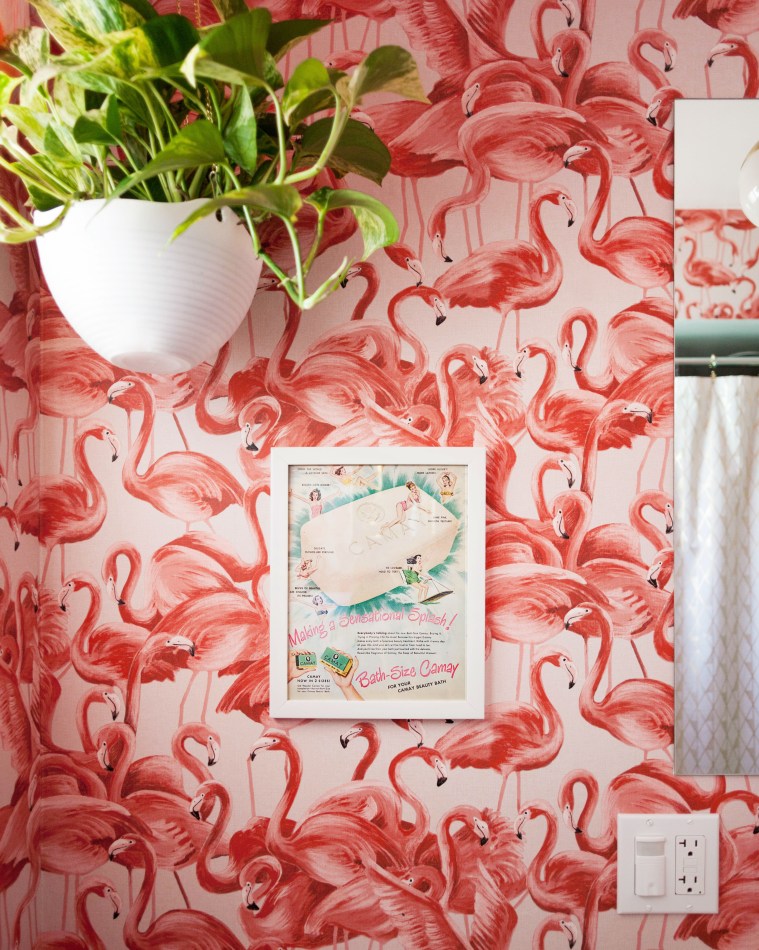 Above the toilet I removed a badly installed towel rack and replaced it with a cute framed vintage Camay Soap ad.
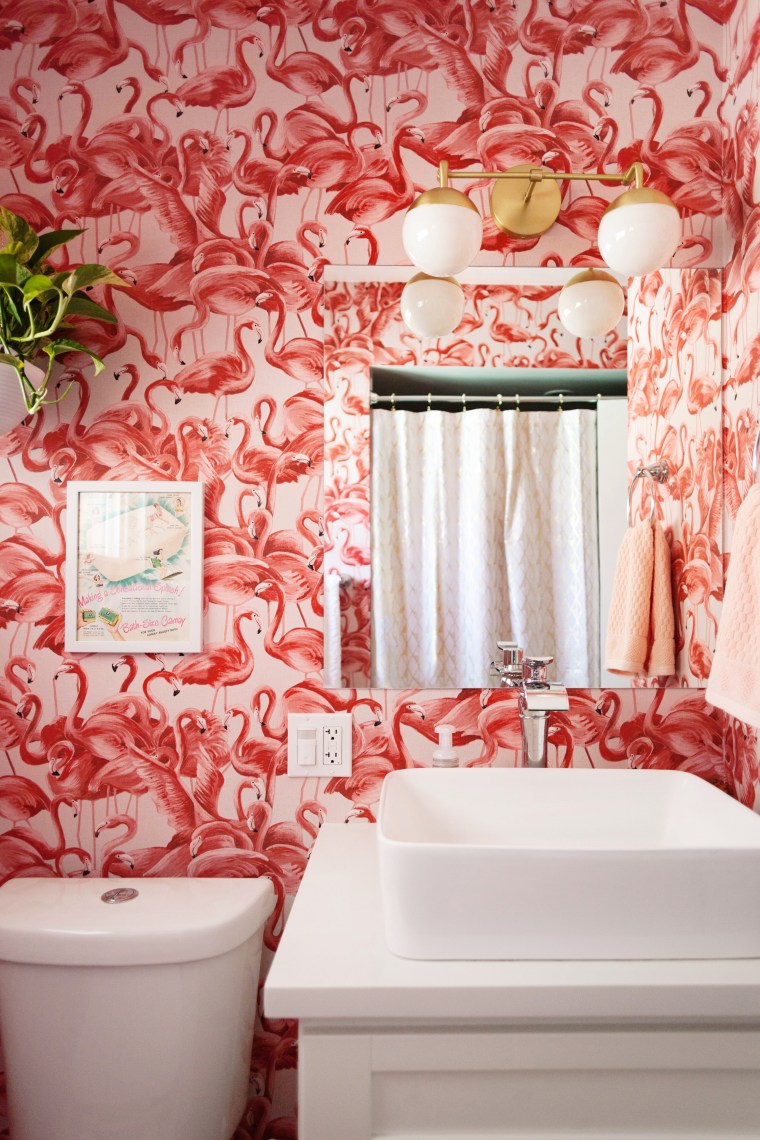 I replaced the light fixture with a new mid-century inspired two orb vanity light from Lucent Lightshop.
 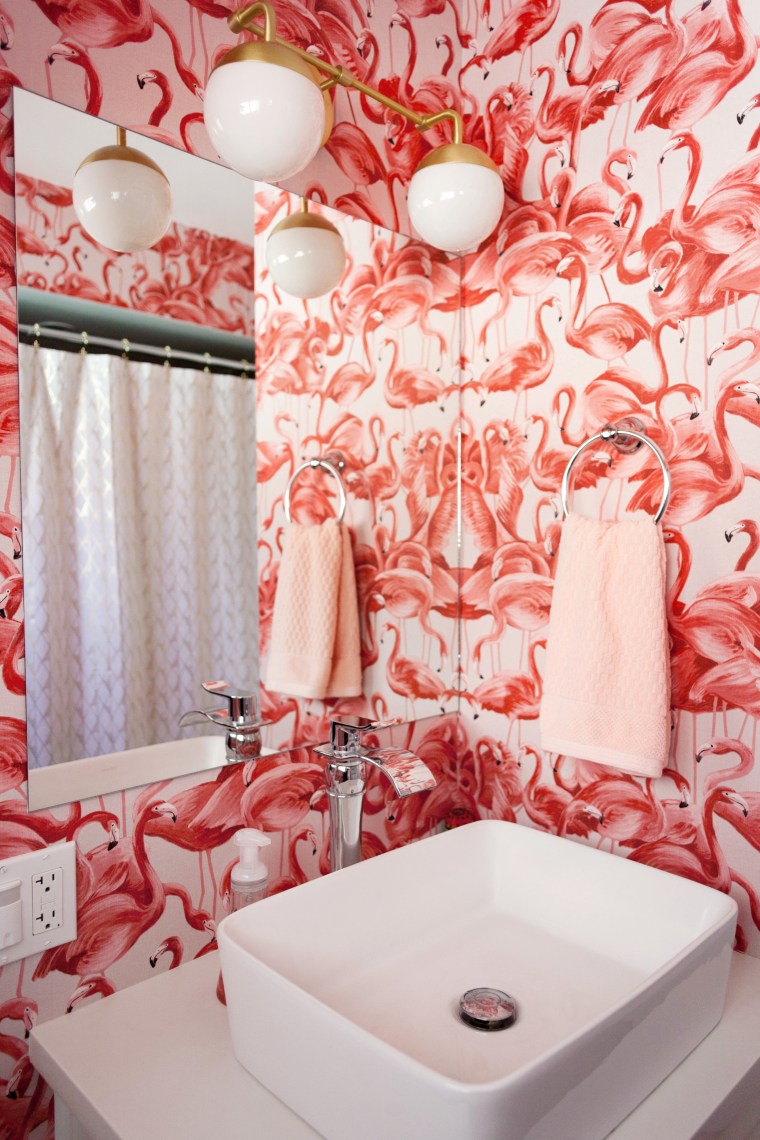 I personally like mixing metals so I went with brass, of course.
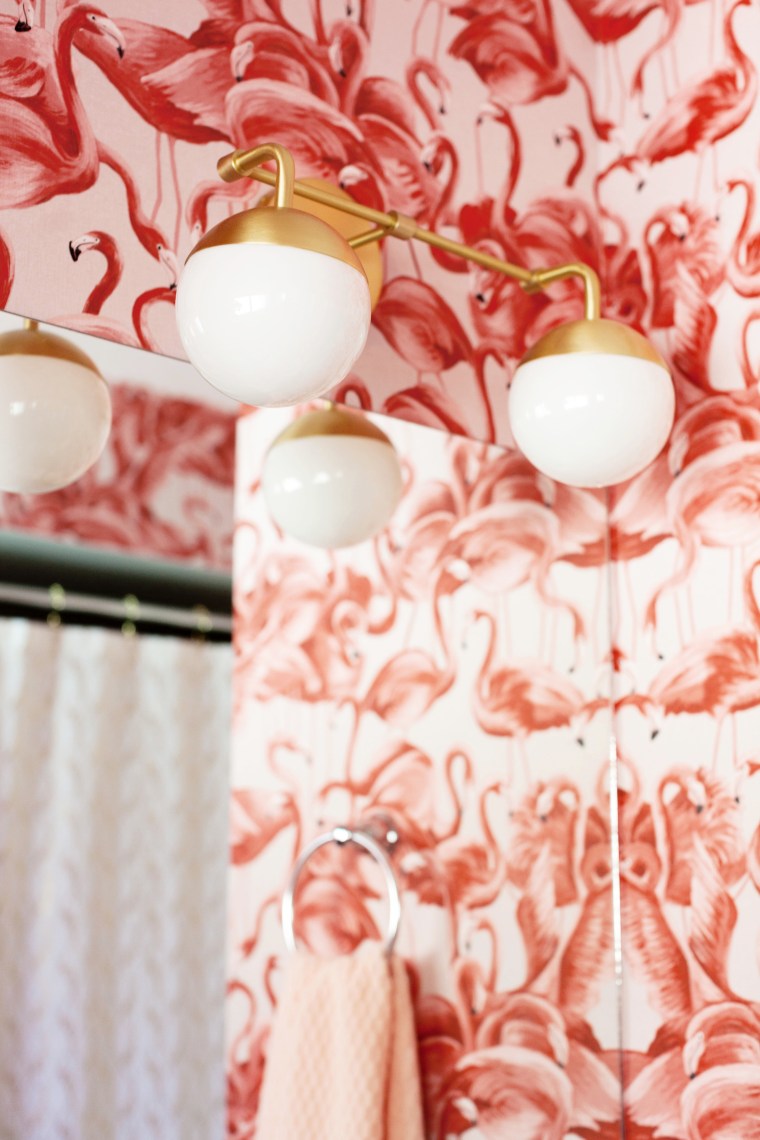
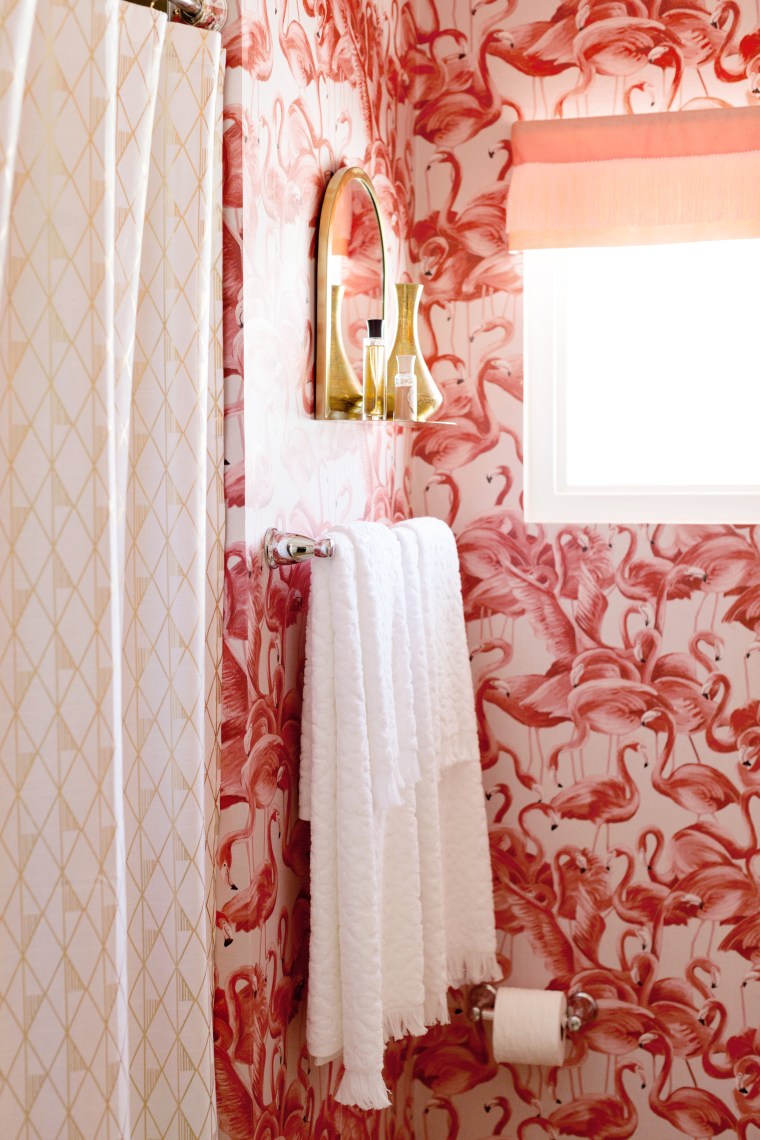 Over on the other wall I picked up a brass mirror/shelf from Target’s Project 62 line and a new metallic gold and white geometric shower curtain from Project 62 as well.
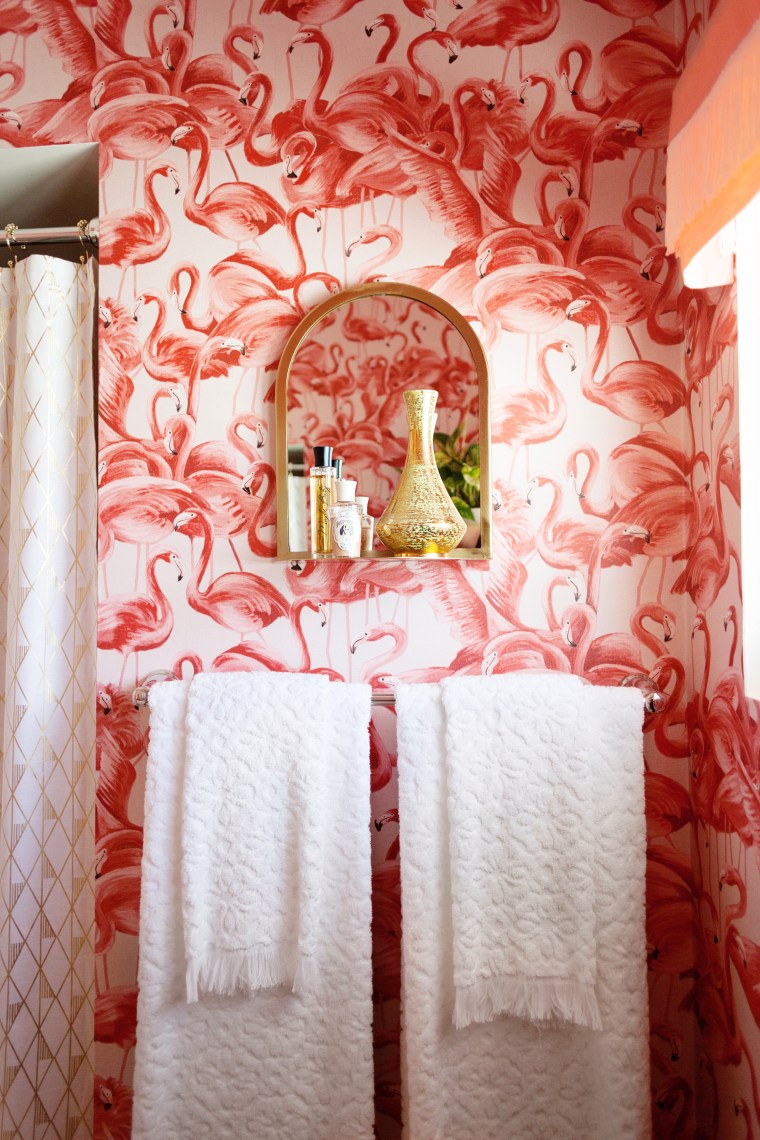 The new “fancy towels” (you know, the kind you’re not allowed to use), are from Target’s Opalhouse line. I love the texture and fringe.
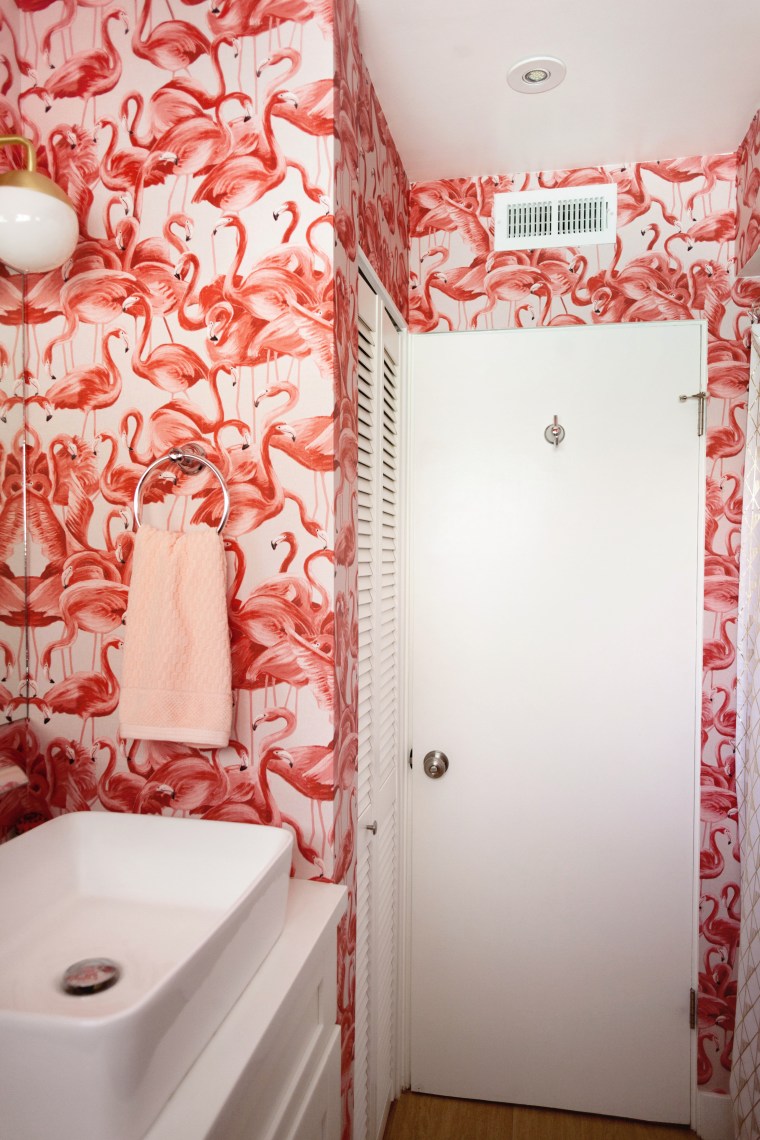 I followed the wallpaper all the way around the room, meeting the last seam in the most inconspicuous corner. Everything is reflected in the mirrors so it’s all pretty much visible from every view point, which was intentional and I’m glad it worked out.
 There it is! This year’s new bathroom look. I looooove the way it all came together. Yay!
Next up, the guest room and patio. Stay tuned!
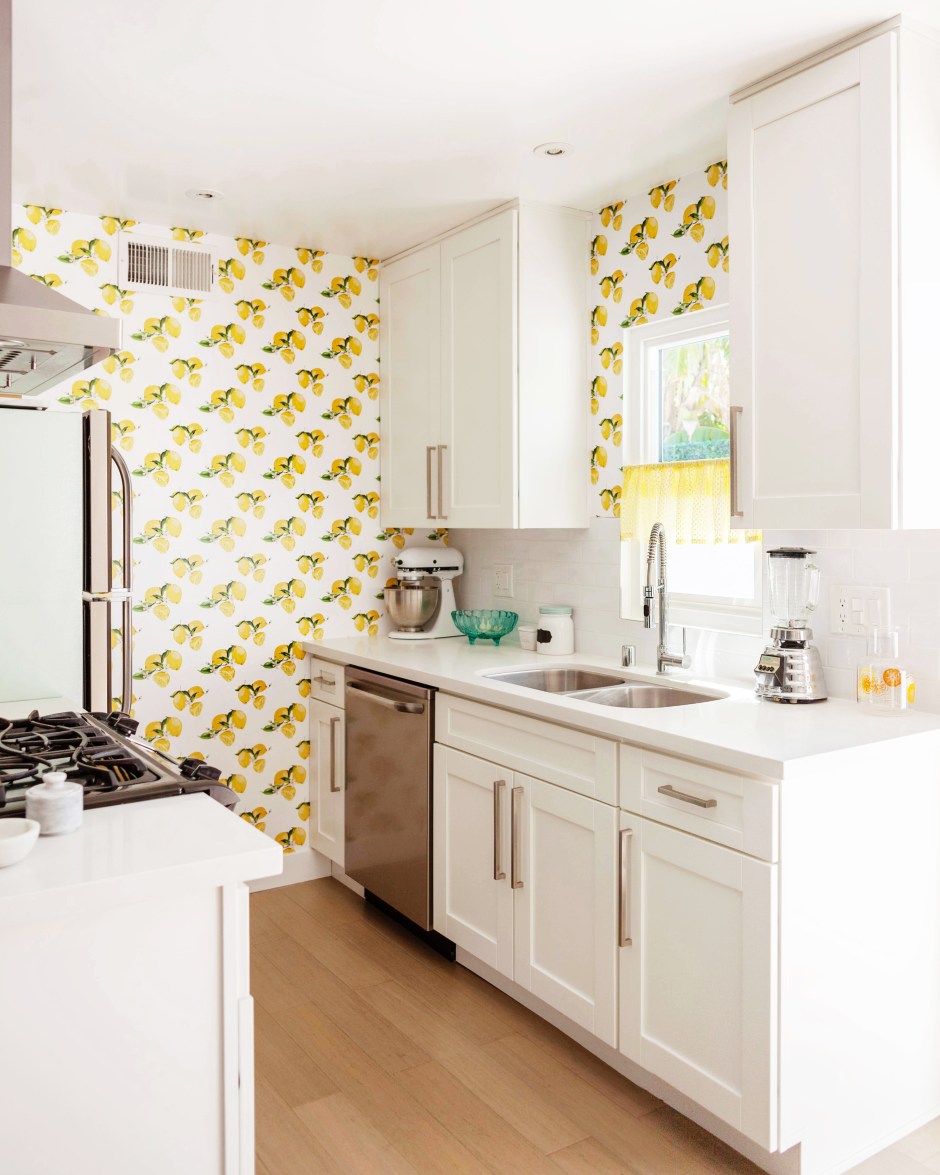
 Hello, there! I just wanted to share a little wallpaper update I made to our kitchen recently and talk about the process of ordering custom printed wallpaper through
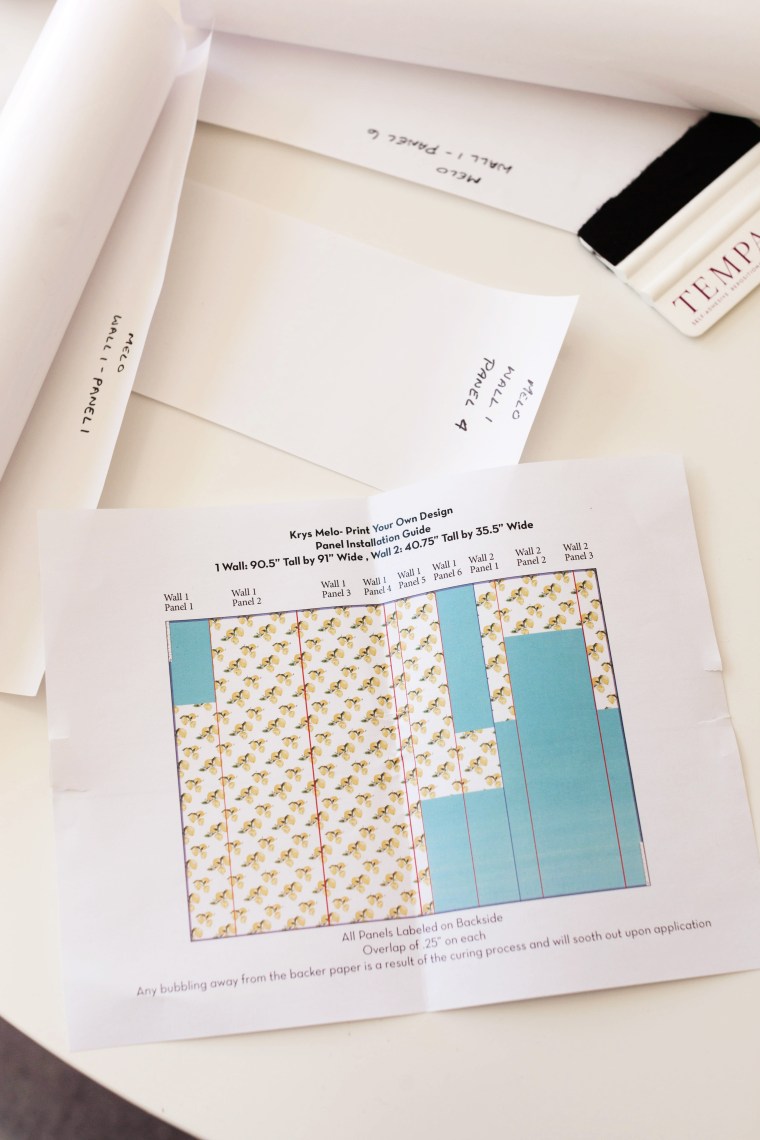 When the final product arrived it was pre-cut into manageable panels to fit each section of my walls. They sent over a little map and labeled each one. I barely even had to trim anything! It fit like a glove.
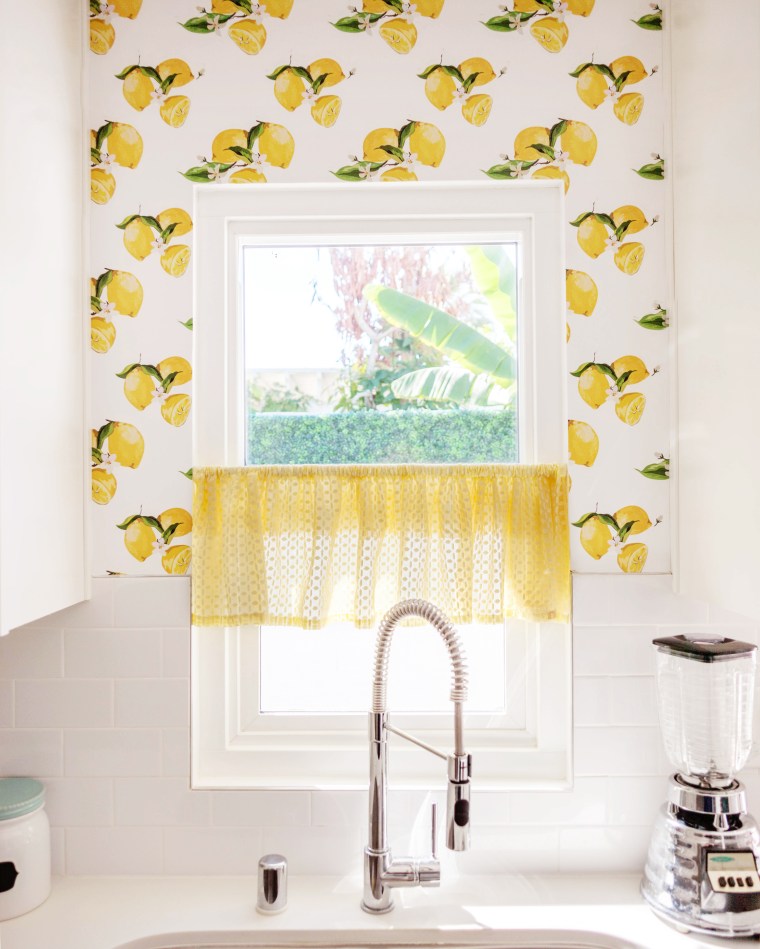
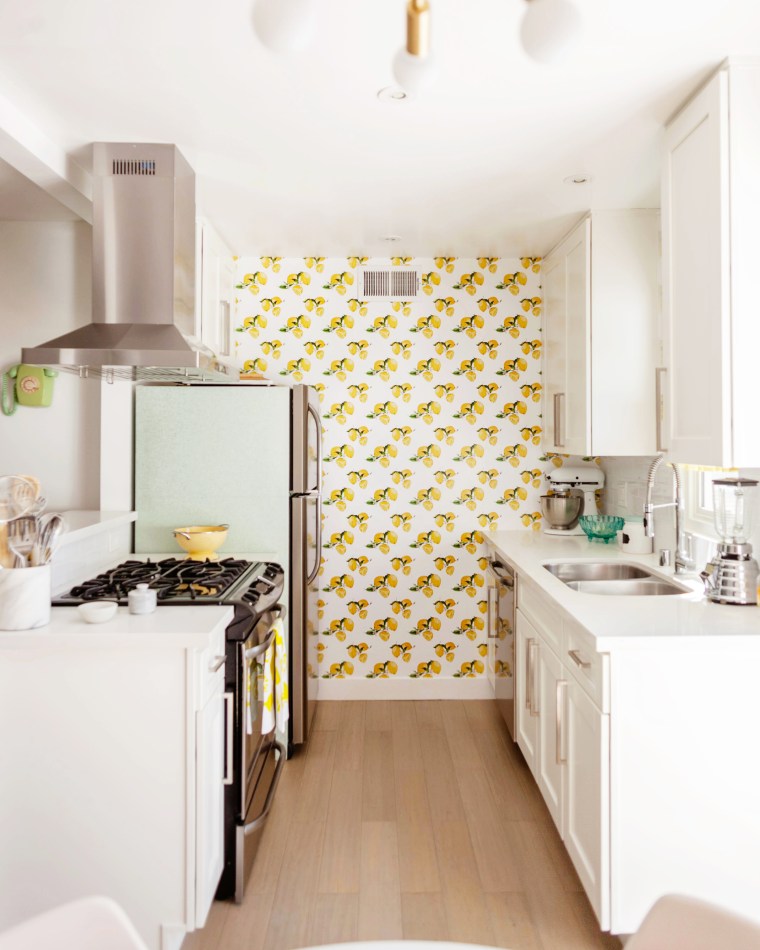
 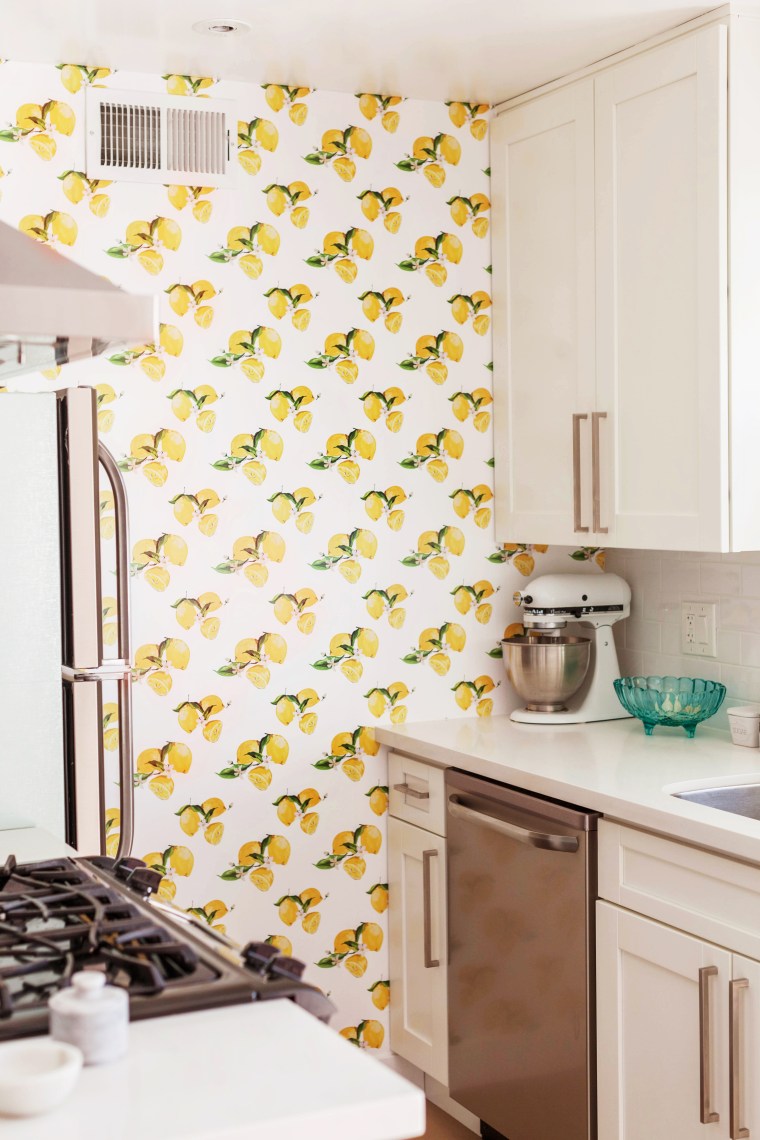 Seriously, those pre-cut panels made getting around all these nooks and cabinets a breeze. And you can barely see the overlapping seams unless you’re super up-close! I’m so picky about that and it doesn’t bother me at all. Overall the entire custom printing process was a breeze.
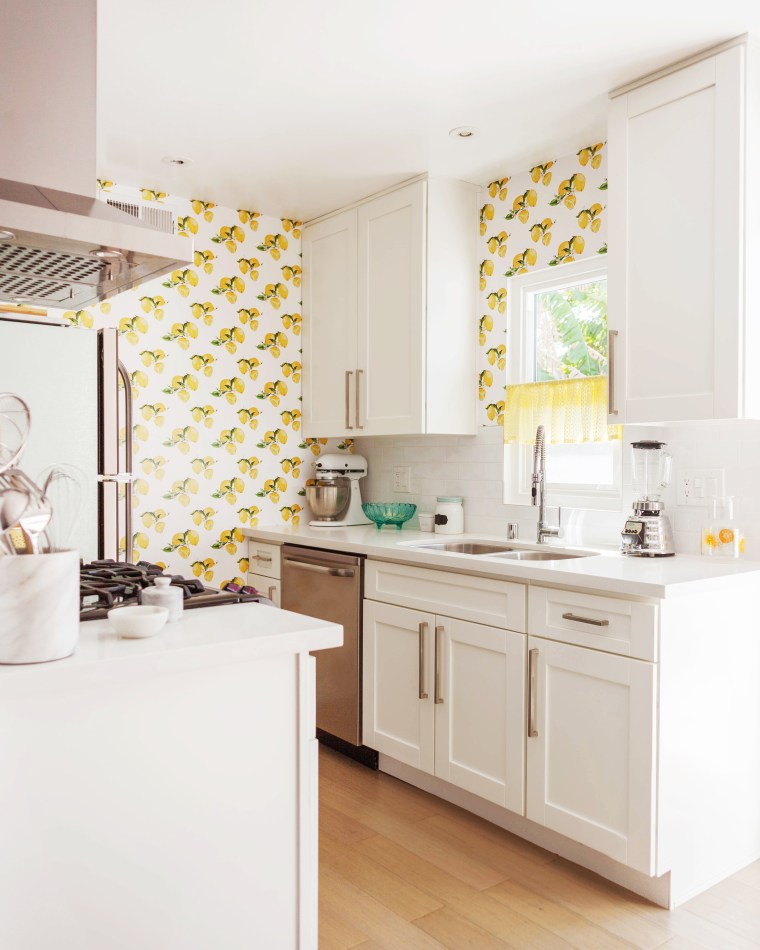 LOVEEE! Now I have exactly what I had in mind to begin with!


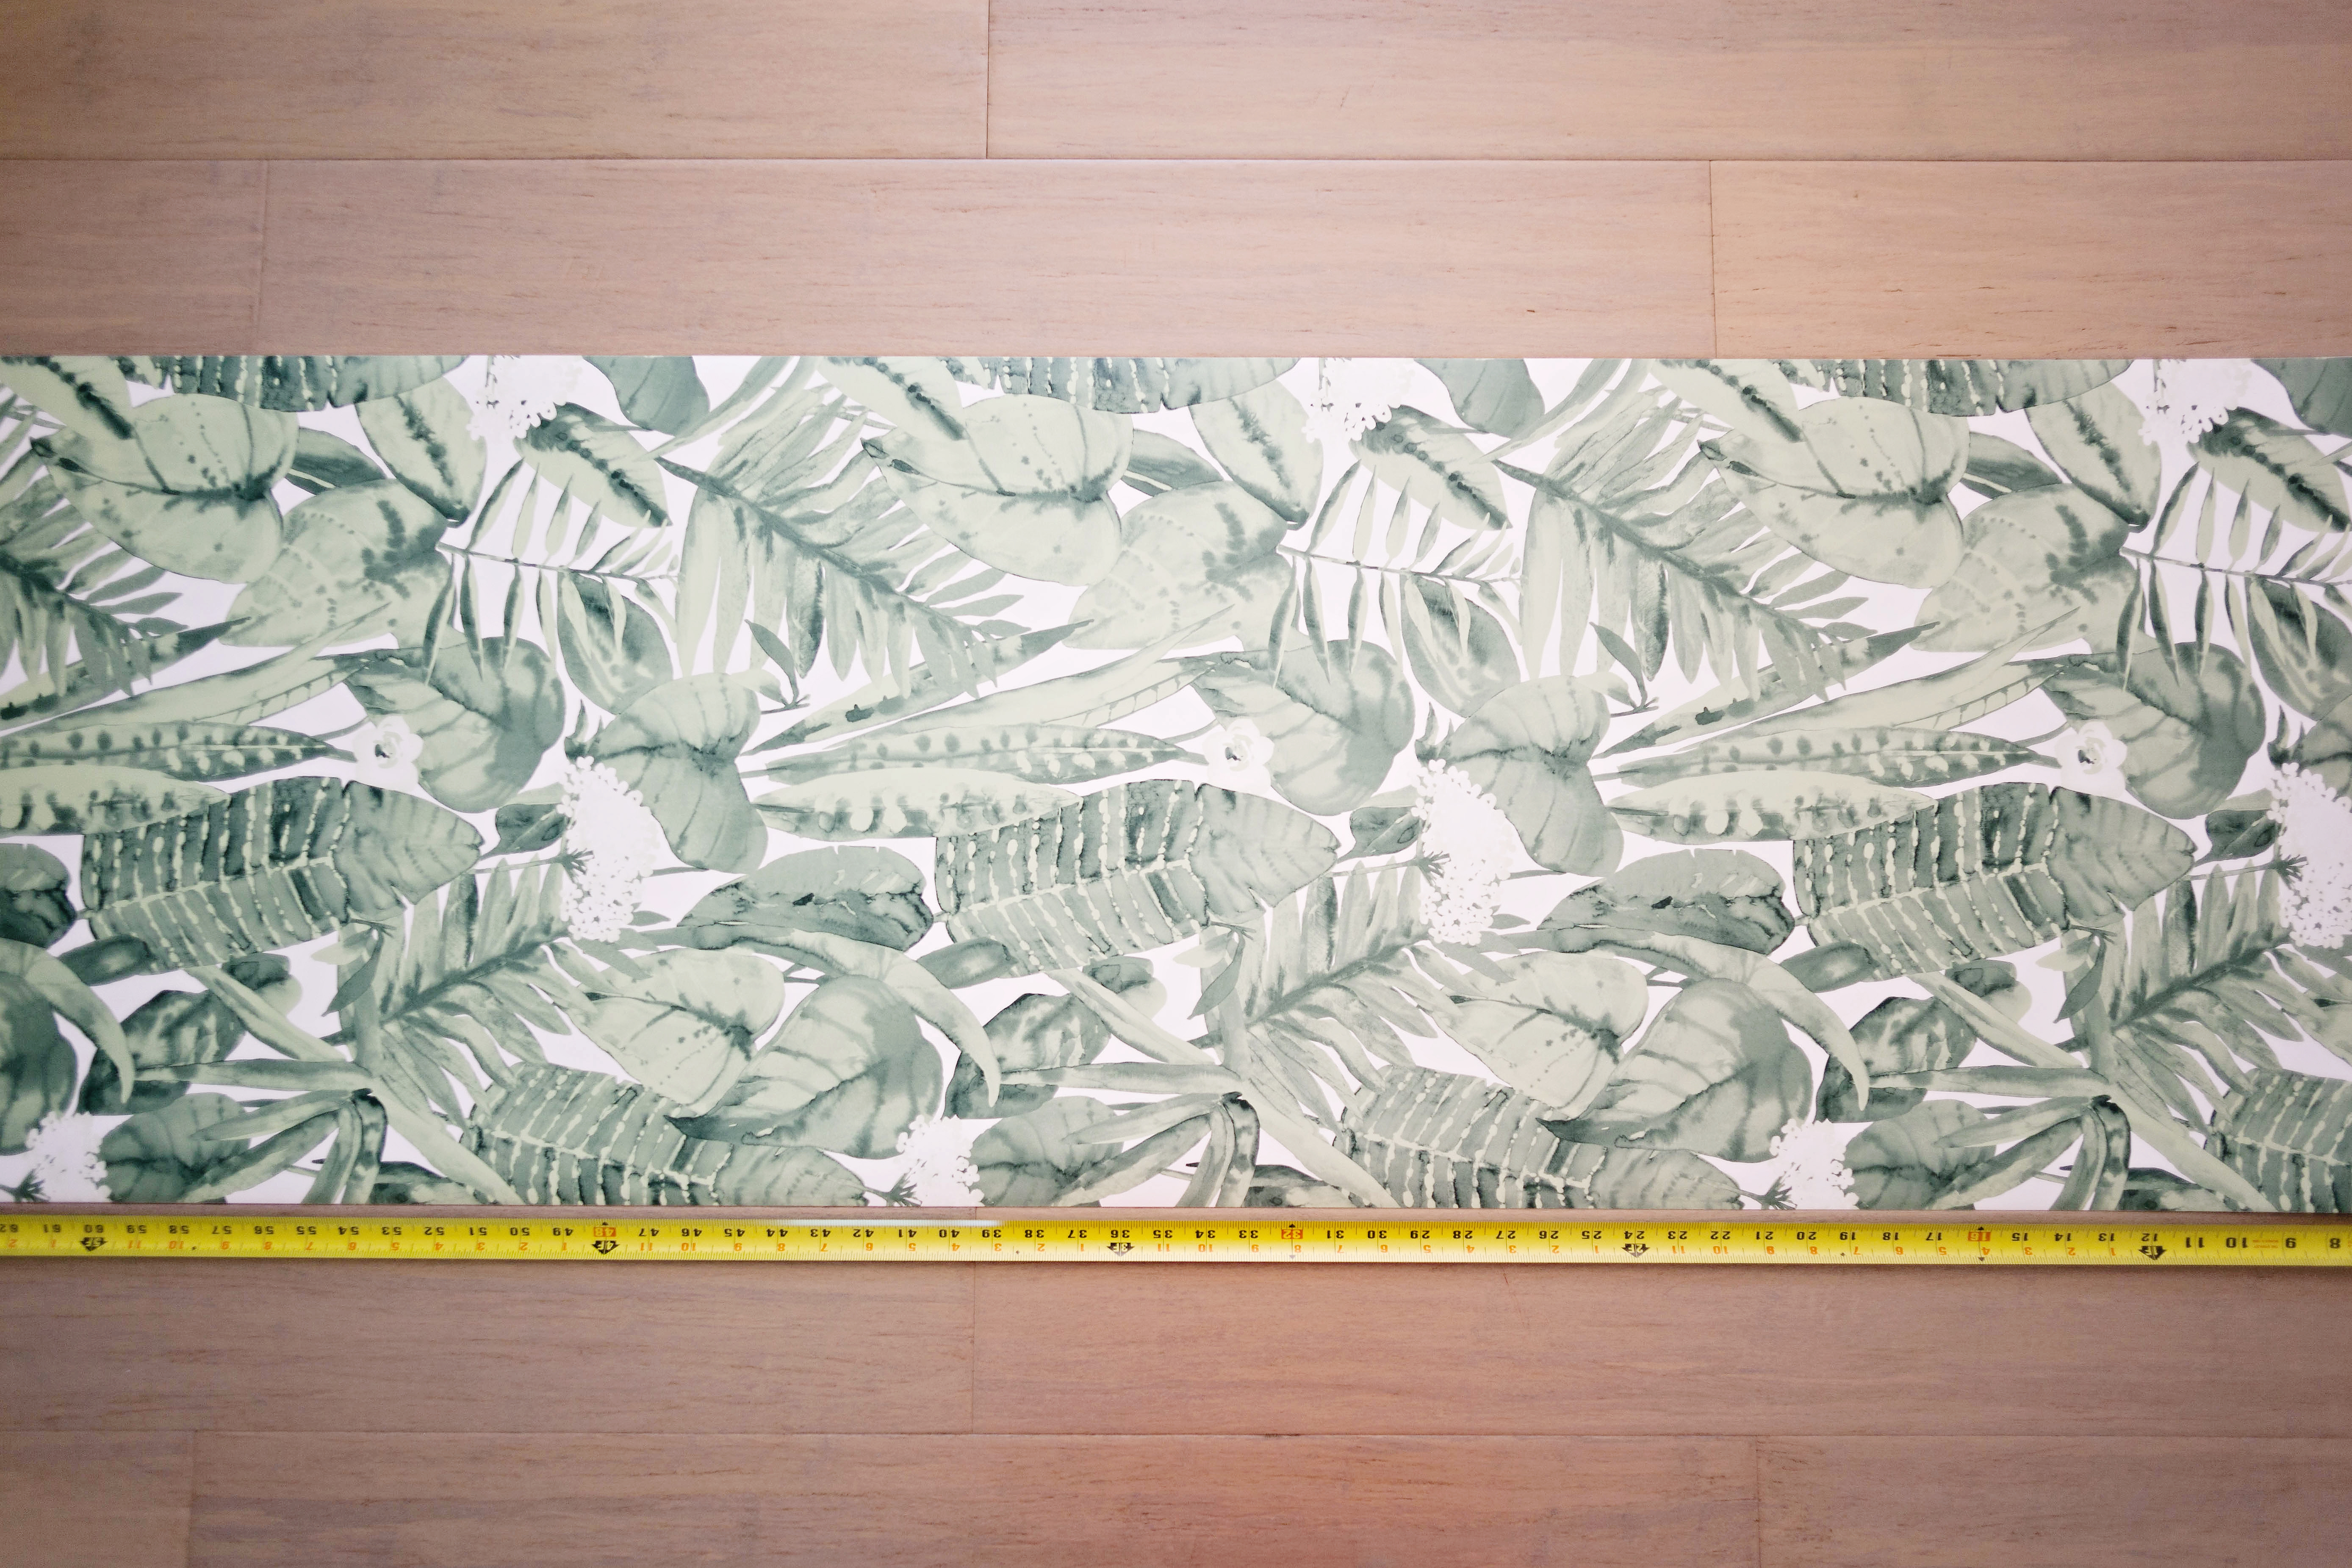 Next, pre-cut the lengths you need. This makes your life so much easier. Be sure to line up the pattern with each new piece you cut.
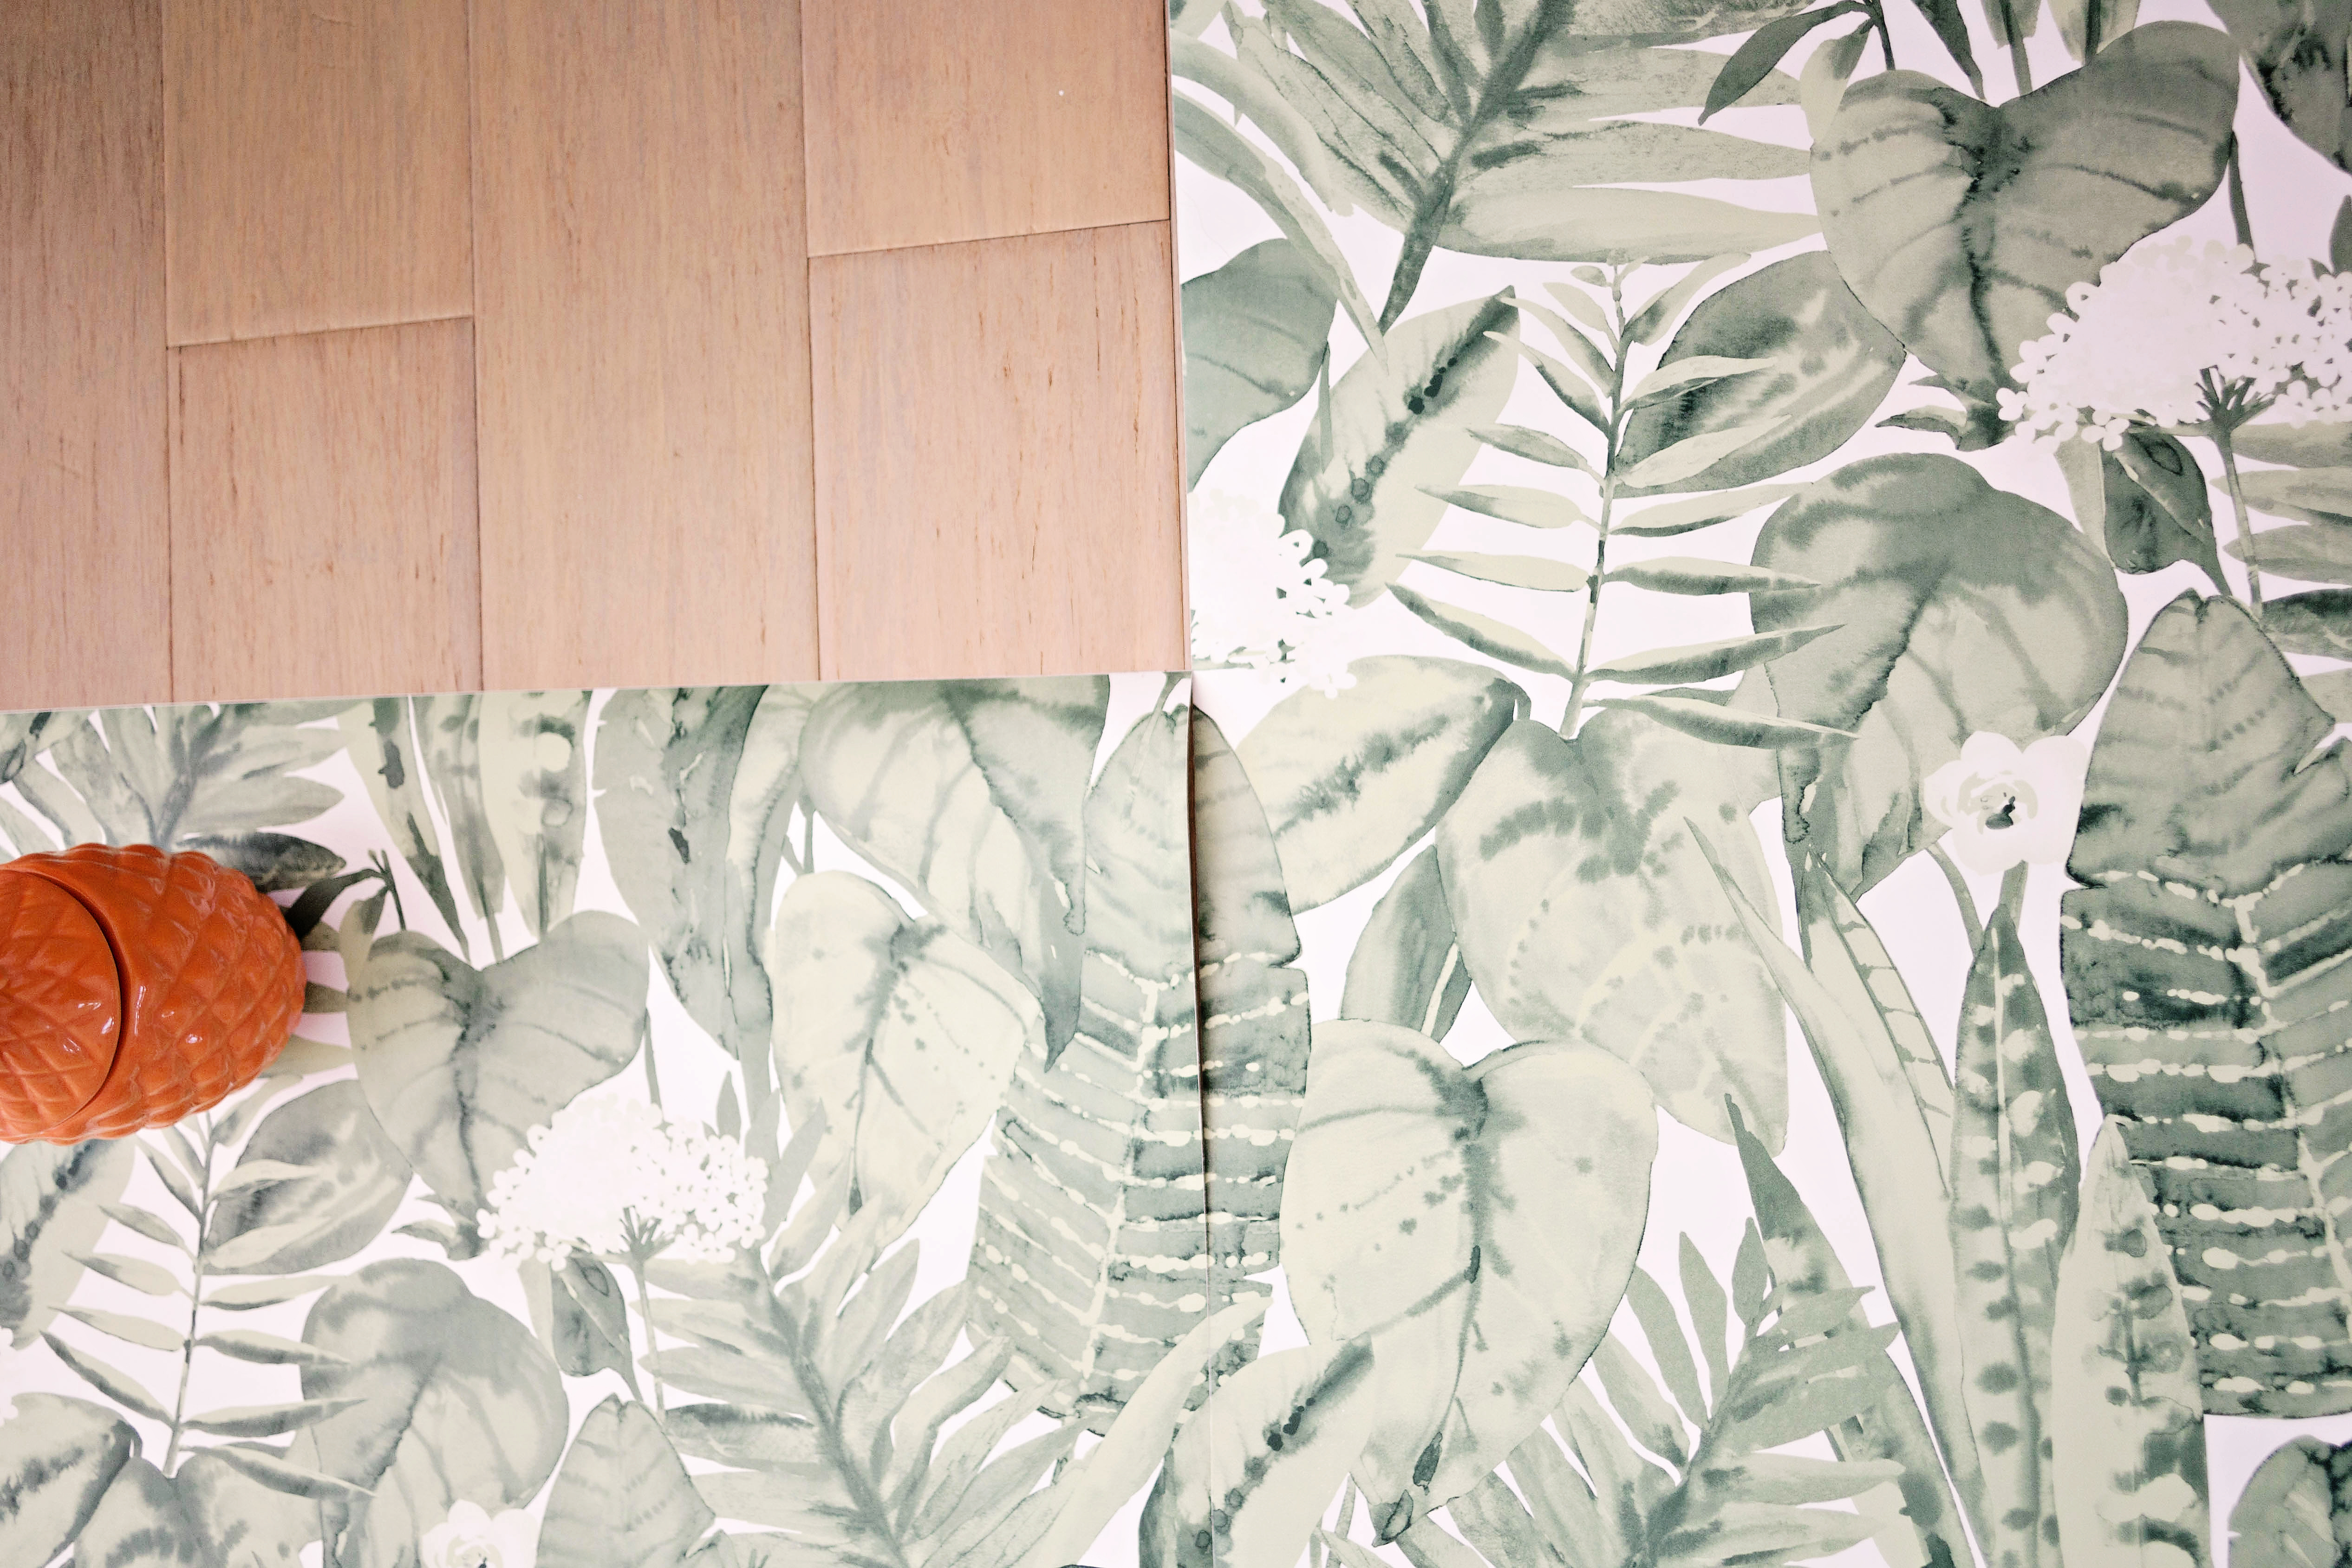
 And that’s it! If you’re wondering how well this paper might hold up in a bathroom, I’ll just say I took a steamy shower about an hour after I was done and no seams or edges came away from the wall. The paper is also non-porous, so it seems it’ll hold up to moisture well.