DIY Fabric Wall Treatment//How To Use Fabric As Temporary Wallpaper

Do you like the look of wallpaper but can’t commit to installing any? Same here. A lot of the projects I do in my apartment have to be temporary because I rent, so I’m always trying to find inexpensive and temporary solutions to my design problems.

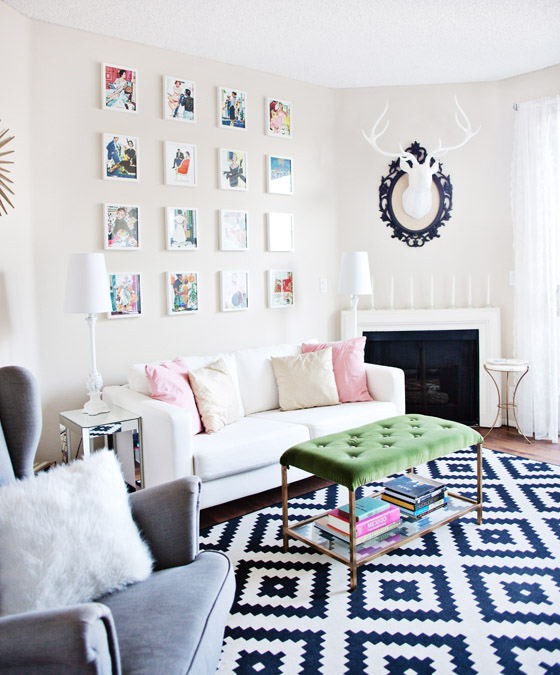
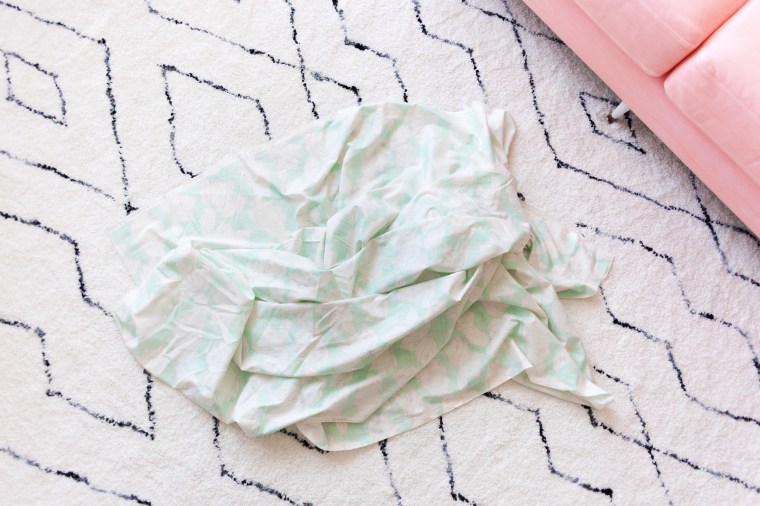
When I redecorated my living room earlier this year I knew I wanted to do an accent wall behind my sofa, and I knew I wanted it to be a pattern. I’d heard of people using fabric as temporary wallpaper before and decided I wanted to give it a whirl. I fell in love with a fabric that I ended up scoring for $6, and the other materials are really inexpensive, so it was no big loss if it didn’t work out.

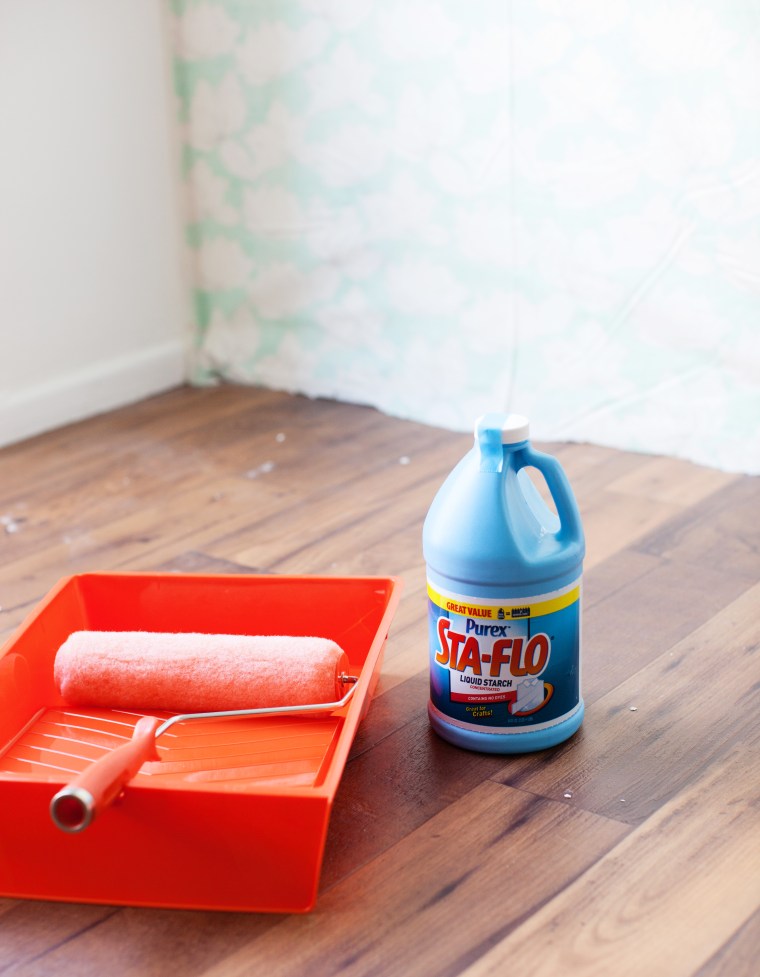
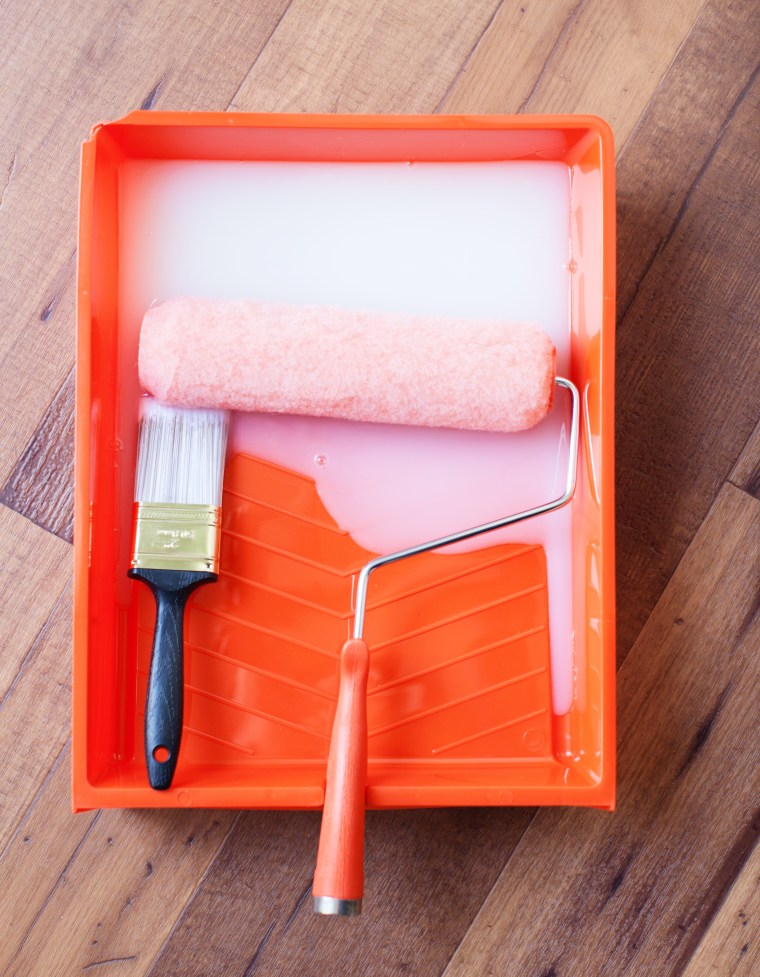
For this project you need fabric (I used a light weight cotton), liquid starch, push tacks, an exacto knife, and a paint roller. For everything I paid less than $20 total!

Side note: I did this project on the rainiest day of the year, so please excuse the lighting in some of the images!

DIY Fabric Wall Treatment (2).jpgDIY Fabric Wall Treatment.jpg

First, I used push tacks to hang the fabric up on the wall. I tacked at the ceiling line and sides.

DIY Fabric Wall Treatment (3).jpg

Then I used a paint roller to apply the liquid starch to the fabric.

DIY Fabric Wall Treatment (4).jpg

DIY Fabric Wall Treatment (5).jpg

I started at the top, smoothing out air bubbles and wrinkles as I worked my way down. Make sure you saturate the fabric thoroughly so it sticks to the wall very well. I repeated the process for each piece, matching up the edges on the sides. This fabric had a label on one of the selvage edges, so I cut that off before applying it to the wall.

DIY Fabric Wall Treatment (6).jpg

Let it dry thoroughly for several hours. I let mine dry over night.

DIY Fabric Wall Treatment (7).jpg

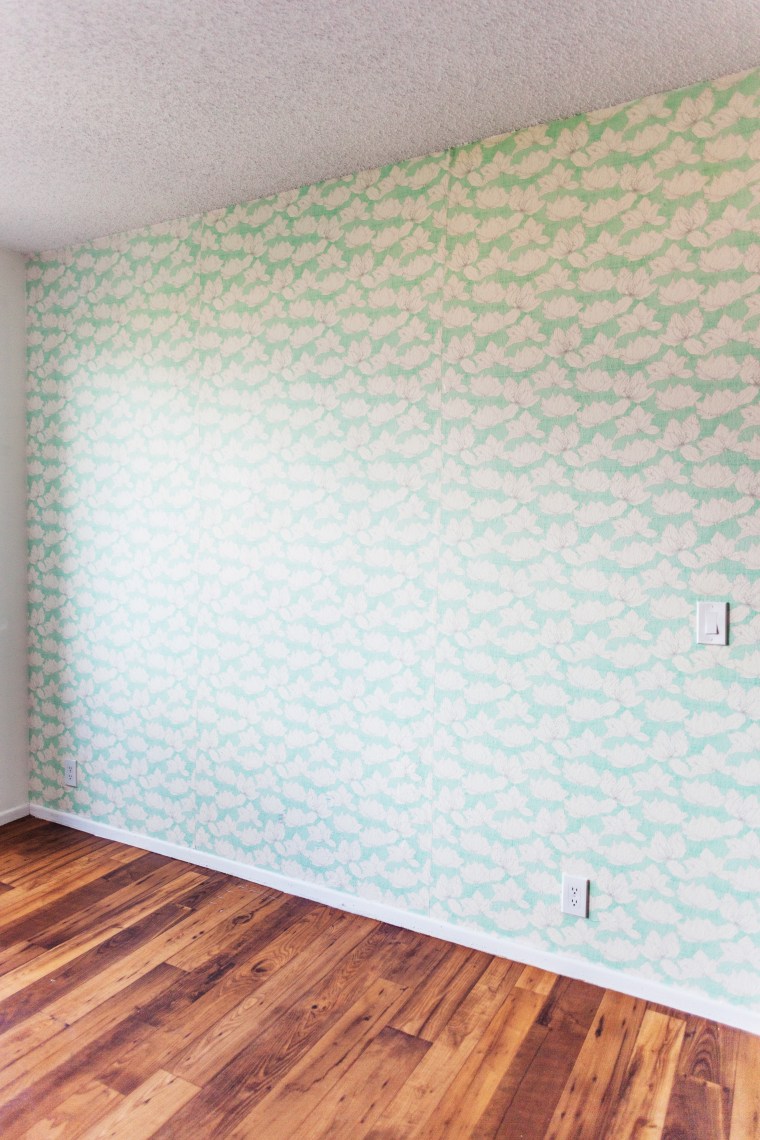
Next, I used an exacto-knife to cut around the edges of the wall and around any details like air vents and electrical sockets. For any left over air bubbles, I just sliced them and re-saturated, then pushed any air out. DIY Fabric Wall Treatment (9).jpg

DIY Fabric Wall Treatment (8).jpg

That it! I was actually shocked at how much easier it was to do than I imagined. It took me a few hours but wasn’t as labor intensive as I anticipated. Here’s how it turned out!
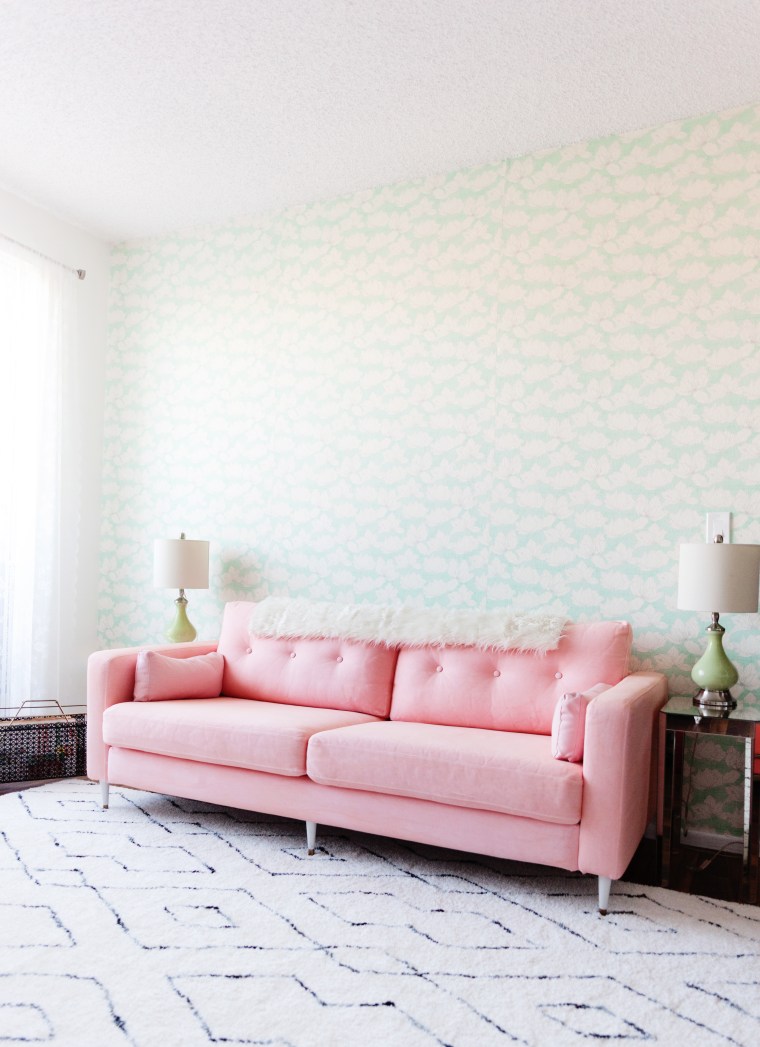
DIY Fabric Wall Treatment (12).jpgDIY Fabric Wall Treatment (11).jpg

IMG_5327-1.jpgDIY Fabric Wall Treatment (14).jpg

I love it! 

To remove it all you have to do is set a corner with warm water and peel it straight off the one in one piece. I actually removed a piece and put it back up on the wall because I didn’t like the placement. The best part is this fabric can be laundered and reused whenever I choose to remove it! 

Clean up is also a breeze. Just regular soap and water will do! 

Have fun! 

Home Decor: Colorful Vintage Illustration Gallery Wall // DIY Gallery Wall Tips

I’m always changing things up in this small, little apartment of mine. I was craving a little more color on my living room walls, so I planned on ditching the large abstract canvas and doing a gallery wall instead.

The LA Apartment of Melodrama blogger Krys MeloI’d been thinking about doing a gallery wall for awhile but art, even prints in the quantity I needed, were turning out to be too expensive for my project’s budget. I’m a big fan of vintage illustrations like the kind you’d find in The Saturday Evening Post, so when I came across a bunch from the 1950s, I ran to get frames immediately. Ok, more like power walked.

Framed vintage illustrations for gallery wallGallery walls can be scary! Whether you’re doing a random pattern or lining them up strategically, putting that first hole in the wall is scary business when you’re not sure if you’re going to like how it’s all laid out once it’s up there. I hate patching nail holes more than anything, and I don’t even know where the touchup paint is, so I had to get this right the first time.

Gallery wall tip - Use paper cutouts with nailholes marked first to get the right arrangement without putting unnecessary holes in your walls

One of my favorite tips for creating gallery walls is to cut pieces of paper to the size and shape of your wall decor. Mark where all of the nails should go, and tape the paper pieces up on the wall to get a better idea of where everything will go. I rearranged my pieces at least 4 times until I got a spacing I was happy with. Measuring is fine, but I like to actually see everything up on the wall before I start making holes. Once I was happy with it, all I needed to do was hammer the nails into the pre-marked paper.

Vintage Illustration Gallery Wall from Melodrama

I hung every picture up and used a level to make sure they were all straight and in line, because when one is out of place everything looks wacky. That’s something I’ll probably have to go back and do every once in awhile but it’s SO WORTH IT. If you have a problem with your pictures staying straight, try using a little piece of gum tack on the back corners of the frame.

Vintage Illustration Gallery WallThe illustrations add a lot of fun color and fun vintage character into the room. I’m definitely happy with it.

Vintage Gallery Wall from Melodrama blogger LA Apartment