Ohhhh man, you guys. I’m reallllly excited about this project. Bear with me because there’s a lot to cover (no pun intended).
A while back I posted about how I was on the hunt for a new sofa and narrowed down a few of my favorite contenders. One of the contenders was the KARLSTAD from IKEA because I knew I could save a lot of money by attempting a hack, and thanks to a pretty hefty tax audit (kill me) that’s what I ended up having to do. As luck would have it I found a perfect KARLSTAD at IKEA for $250 in the clearance section. A lot of you already know that I’m no stranger to IKEA Hacking, but it has been a while since I did one so I was feeling up to the challenge. Luckily it didn’t take long before I knew exactly what I wanted to do in order to make it come close to the couch of my dreams.
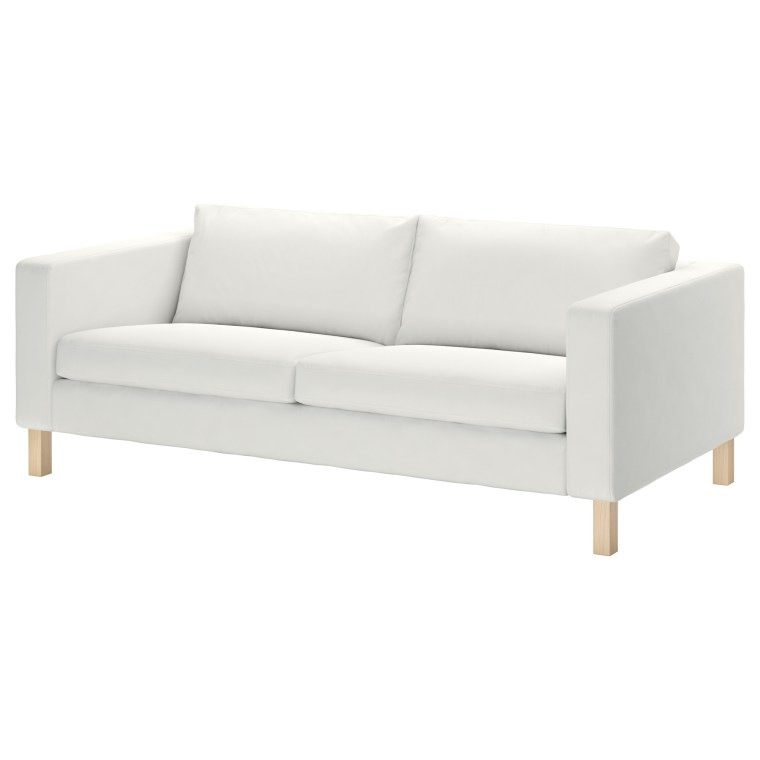
The KARLSTAD is pretty much an IKEA staple and I’m sure you’ve seen it in many homes. It has clean, modern lines and comes with an easily removable slip cover. Perfect for my hacking plan. The one I bought had a grey cover and my IKEA was sold out of the white slip cover, but luckily my best friend in Florida found one at her store and was able to send it to me. Since KARLSTADs have completely removable slip covers I knew I could dye it to be whatever color I wanted.

I picked up a few boxes of Rit dye in Petal Pink. I filled my bathtub with boiling water and dye and soaked the slip cover until it was saturated. Then I promptly had a minor freak out because it didn’t turn out the rosey/peachy/blush pink color that I wanted and that appeared on the box.
I took a deep breath, refusing to be defeated, and rushed to the fabric store to grab some Rit Color Remover, a magical powder that gently removes all of your regrets and gives you a clean start. If only I could bathe myself in it. Just kidding…!
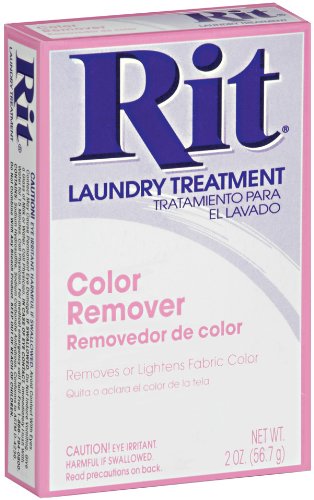

After a quick soak the slip cover was back to white. I knew at this point I was going to have to custom mix my own shade of pink so I threw the covers in the wash and went back to the fabric store for the 5th time to pick up more dye.
I can’t tell you the exact ratios of these colors that I used for my shade because I was constantly adjusting and testing the color. I want to say it was something like 4 parts pink, 1/2 part yellow, 1/8 part tan, but I’m not 100% sure so don’t come back yelling at me if yours turns out gross. I also diluted it a lot more than the first time so the color would be more pastel.
My husband and I worked nervously and quickly, scalding our hands and sweating over the boiling dye bath in our typical Melo-dramatic style, but it was worth it. It worked out perfectly!
Dying the slip cover was only the first step. I wanted new legs and pretty tufting, and dammit that’s what I would get. These steps were actually much easier and less annoying than the dye part.
I changed the legs on my last KARLSTAD Love Seat in the past, so I knew that wouldn’t be a big deal. I used mid-century style furniture legs that I got from Lowe’s for like $2 and spray painted them gold and white.
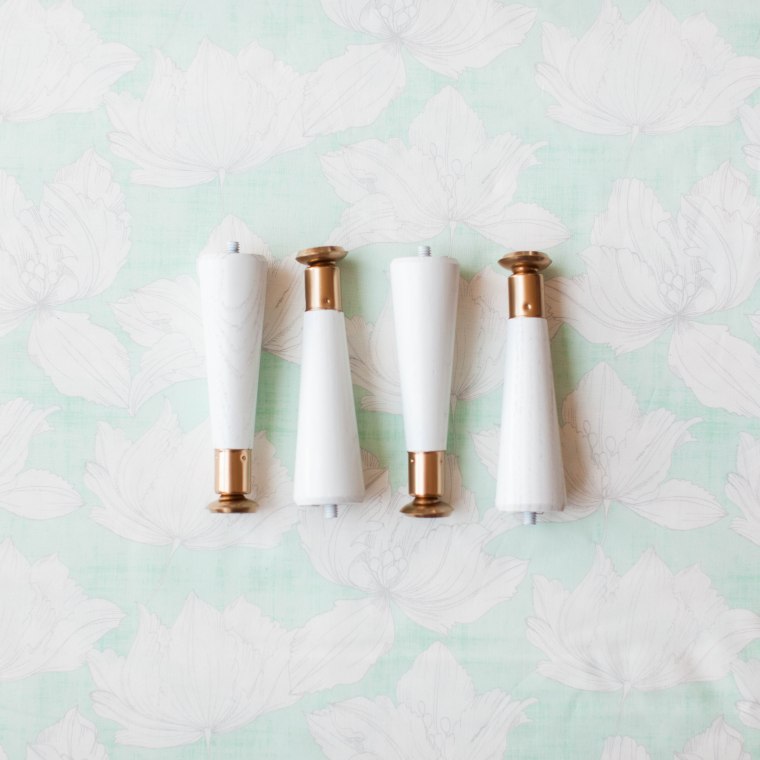
Then I installed a top plate and attached the legs to the corners of the sofa.
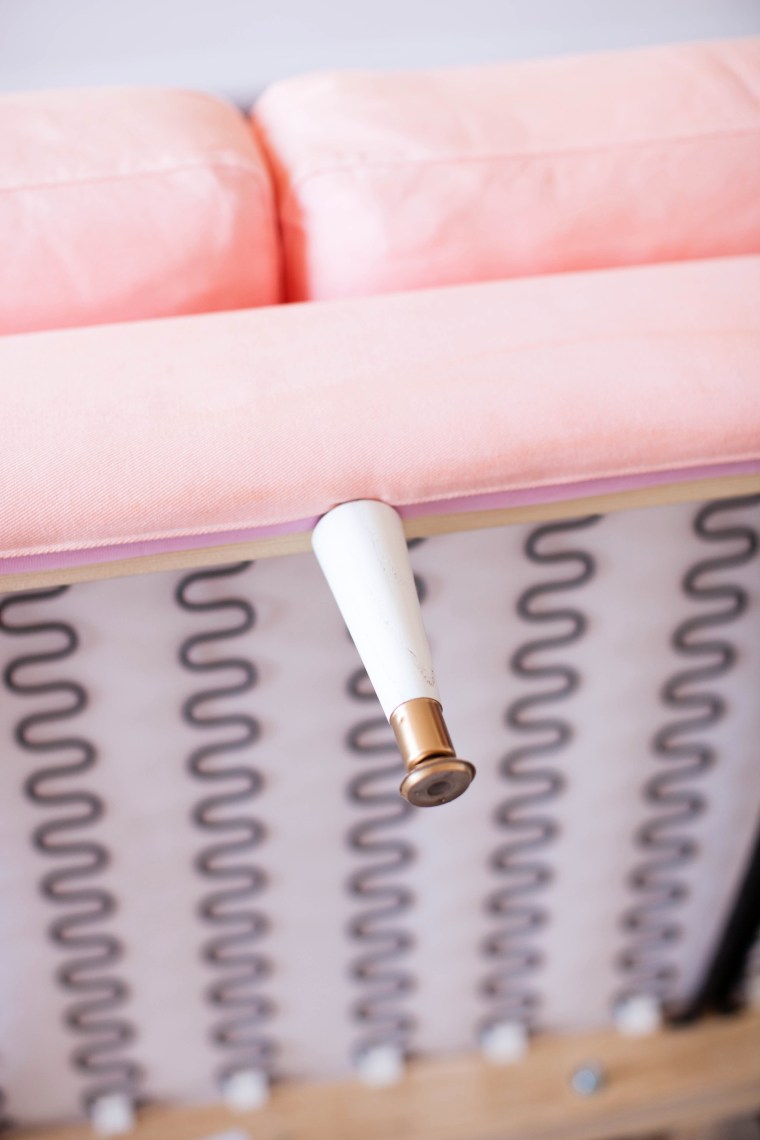
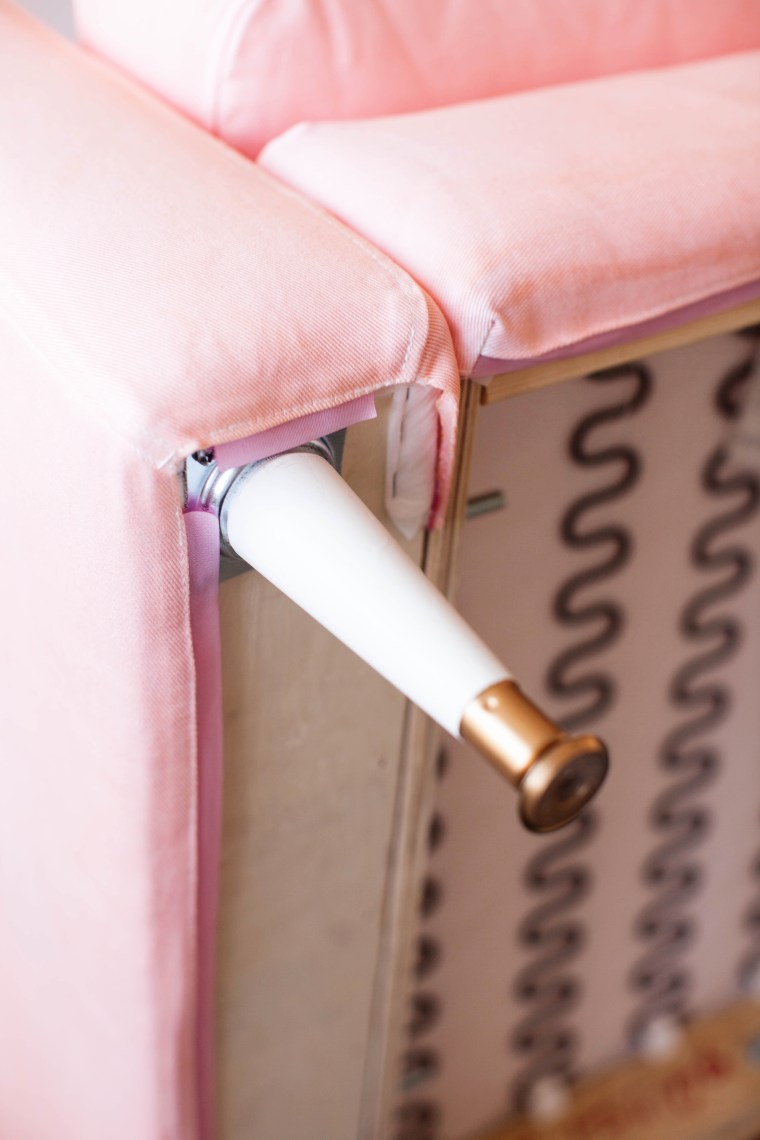 I wanted to have legs in the center of the sofa, too. Partly for more support, but mostly because I like the look of it.
For this I just drilled a hole and inserted the leg directly into the wood.
That would have looked great on it’s own but I wanted tufting. I had spare fabric from an extra piece of slip cover that I found in the clearance bin at IKEA. I used this for my color test strips and then dyed a piece with the plan of covering buttons for tufting.
I used 7/8″ button cover kit and thread to make my tufting buttons, much like I did in this past IKEA hack.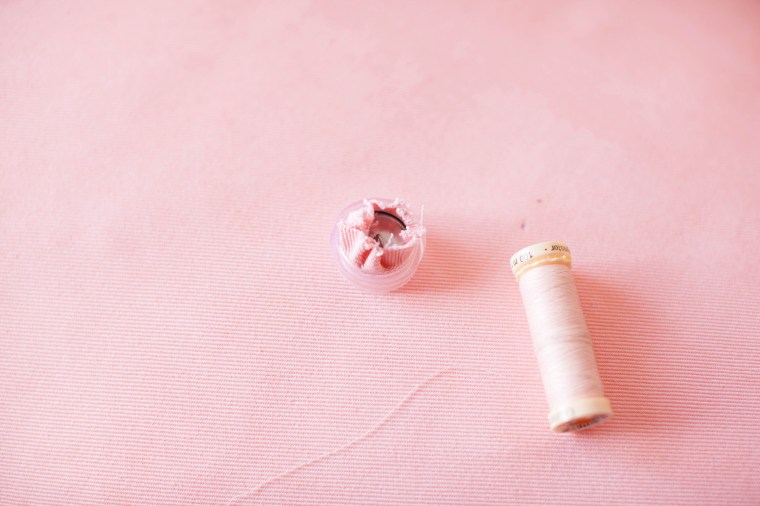
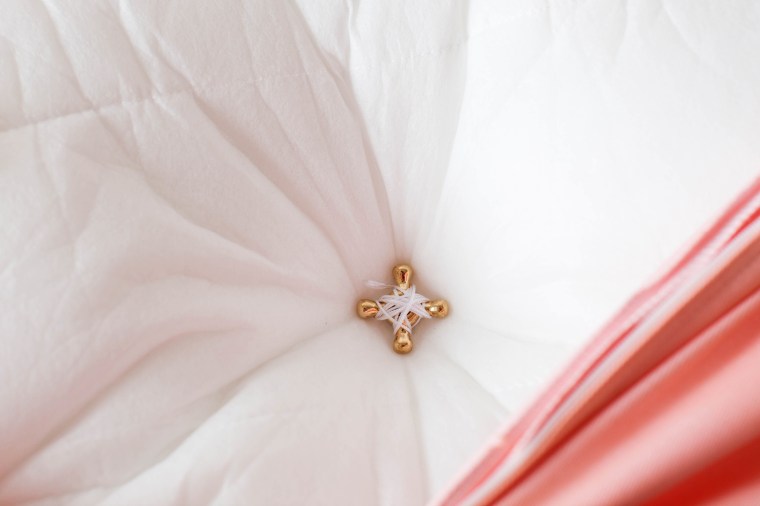
Then I attached the buttons to upholstery string and used a long upholstery needle to feed the string through the cushion. I pulled the string tight and used these decorative buttons to anchor the string on the back of cushion. I didn’t want to go through the back of the cushion cover, and a knot would have just pulled back through the cushion insert, so I used the decorative buttons to hold my tufting in place. Am I making any sense at this point? Hopefully these visuals help.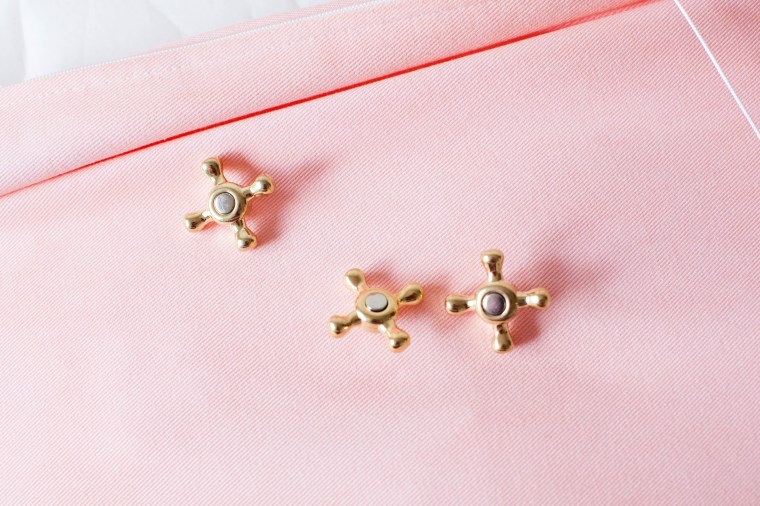
And voila!

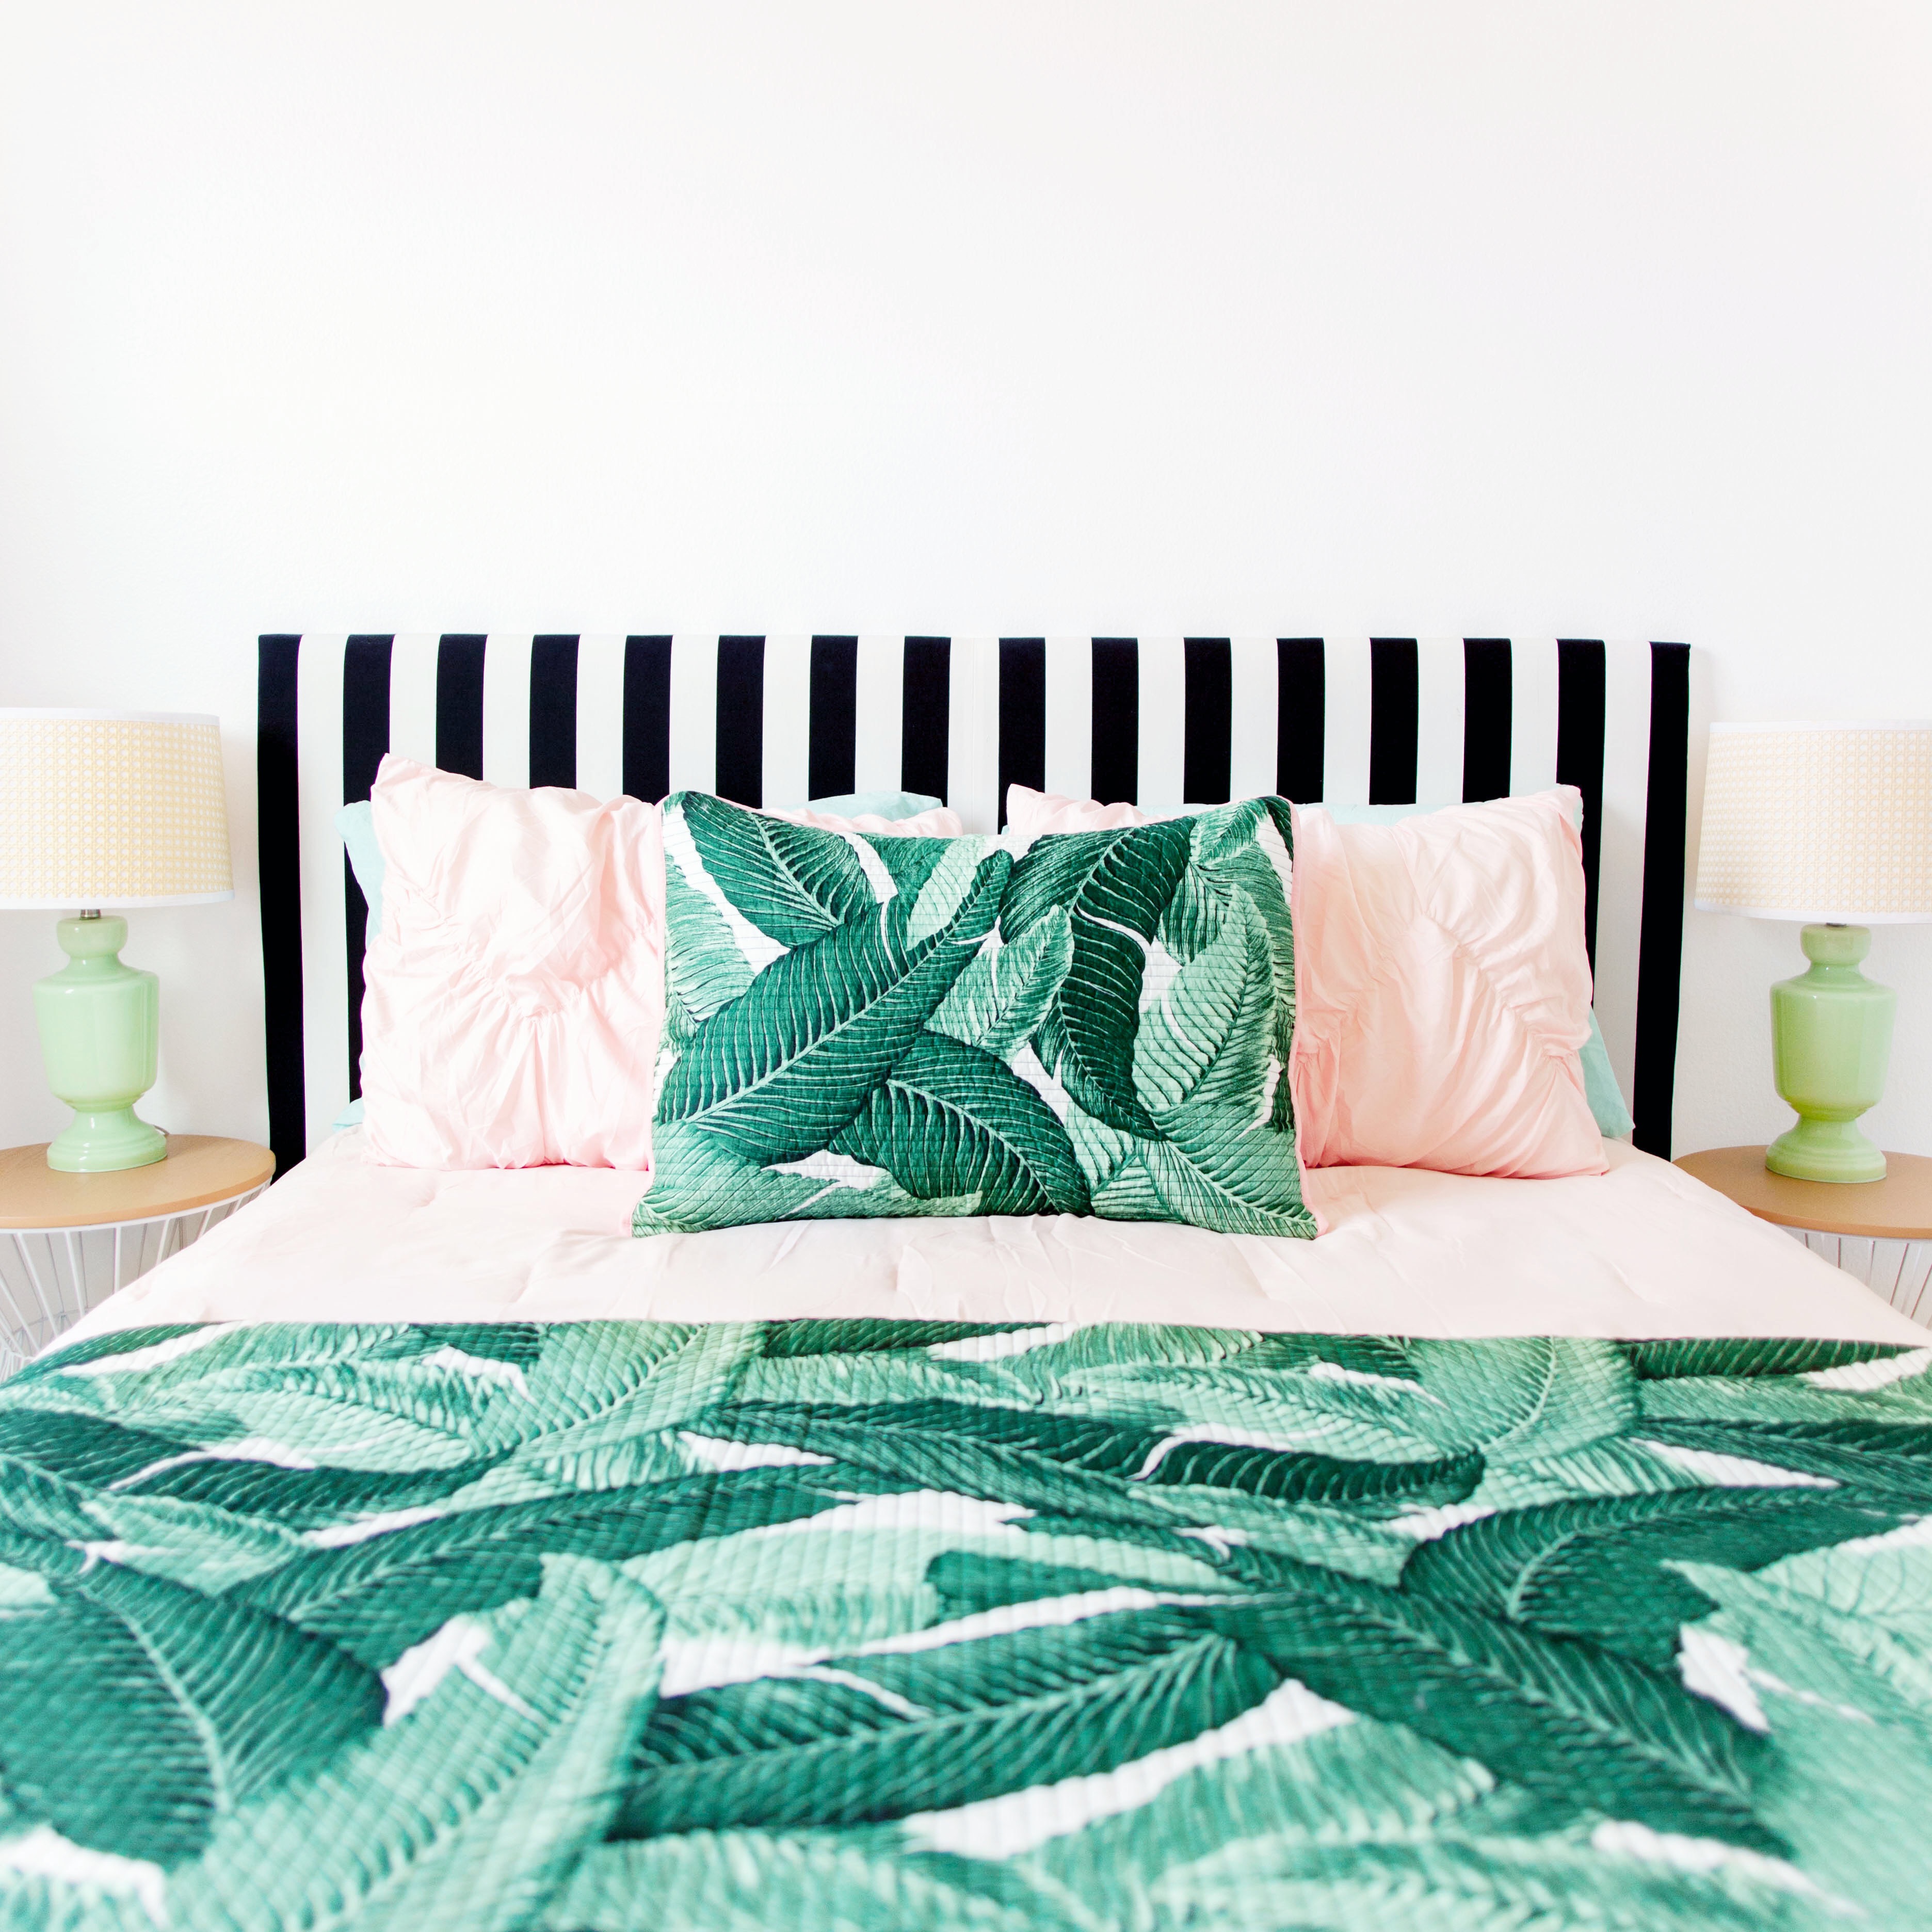
The decorative pillows are also from IKEA. I love the way the warm pink looks with the white and gold legs.
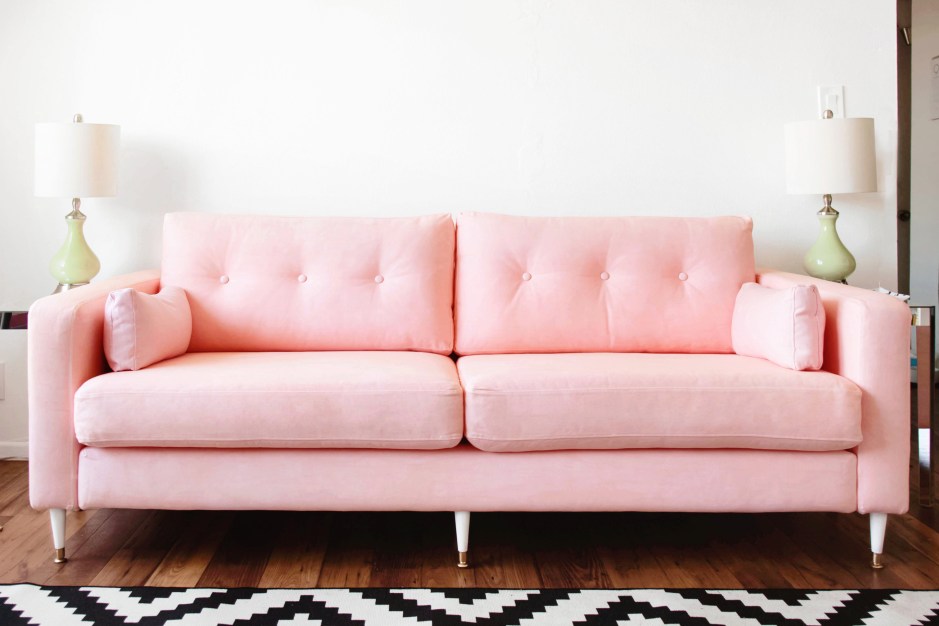
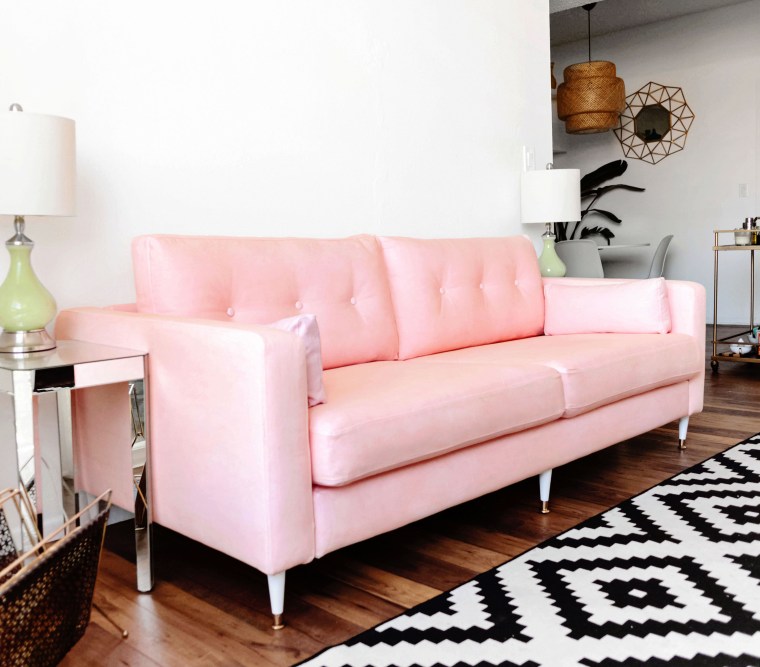 I’m so excited to finally have a dreamy pink couch! And for less than $300!
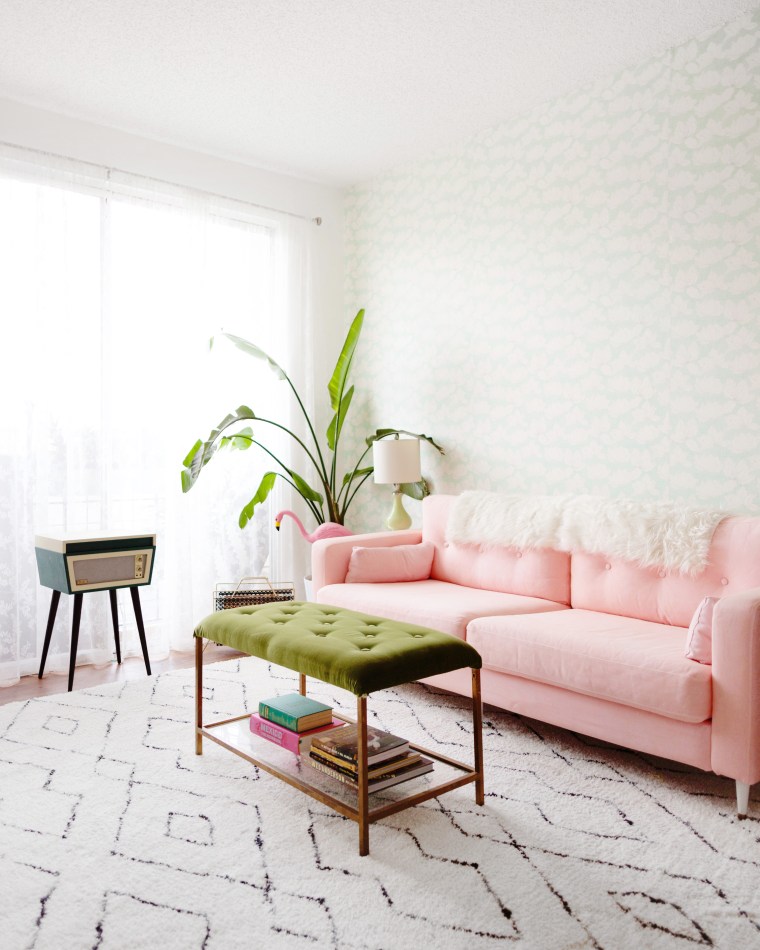
Update: Here it is in the finished room!

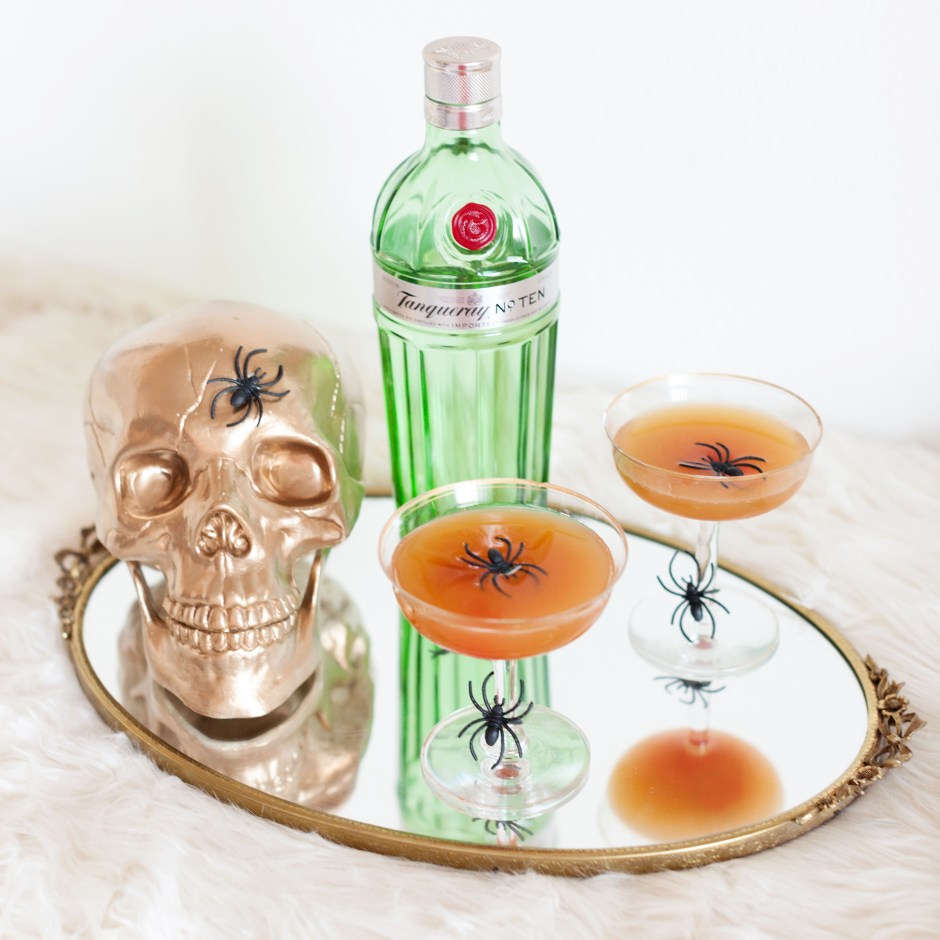
 Satan’s Whiskers Cocktail
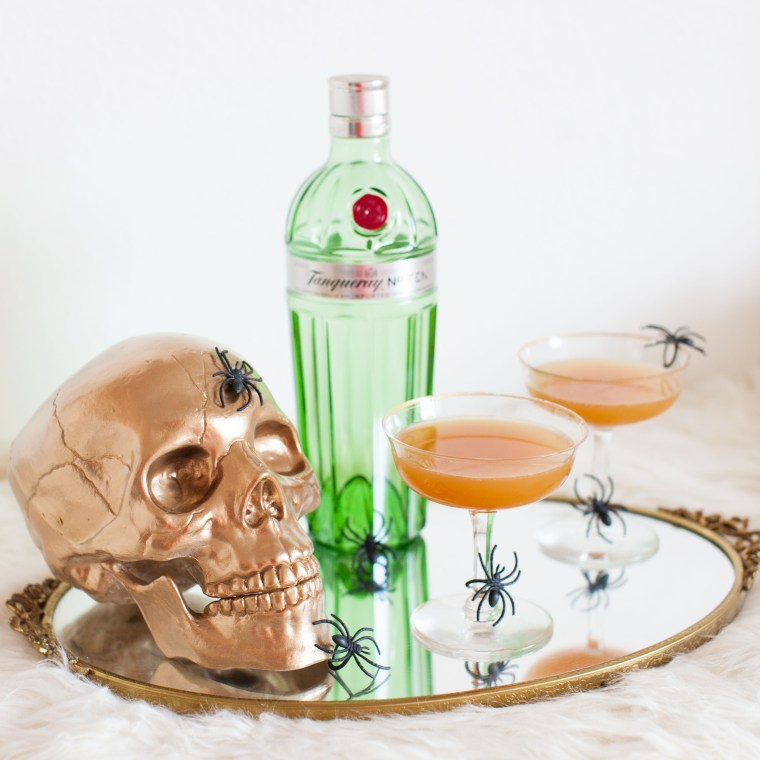 Recipe from The Official Mixers Manual by Patrick Gavin Duffy, 1934.
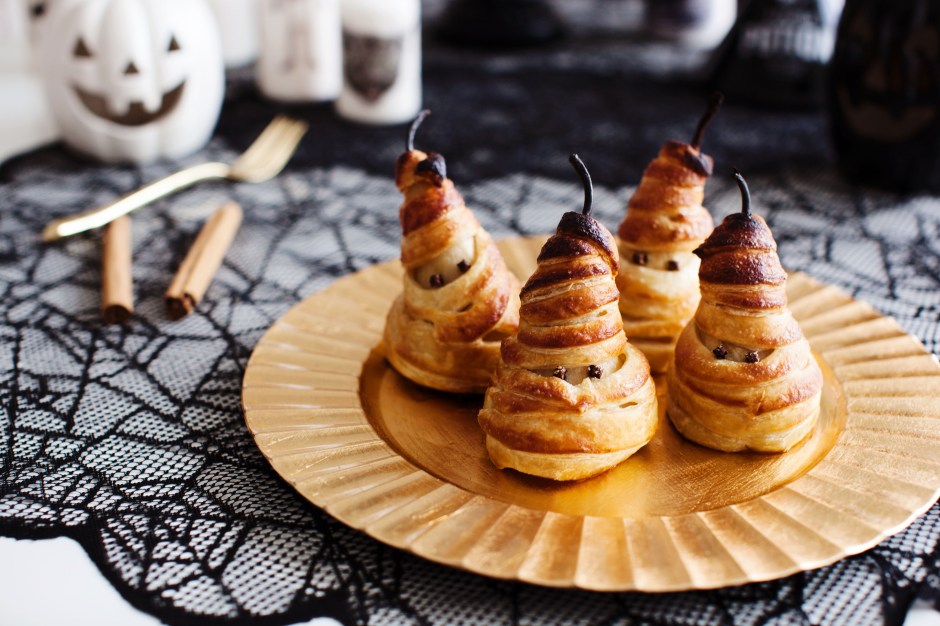
 This adorable dessert will take your Halloween shindig to the next level. Here’s how you make them.
 Add the pears to the pan. Bring back to the boil, reduce the heat to a simmer and cook for 15 minutes. Reserving the syrup, remove the pears from the pan with a slotted spoon and set aside to cool on kitchen paper. Use a melon baller or small teaspoon remove the core from the pears.
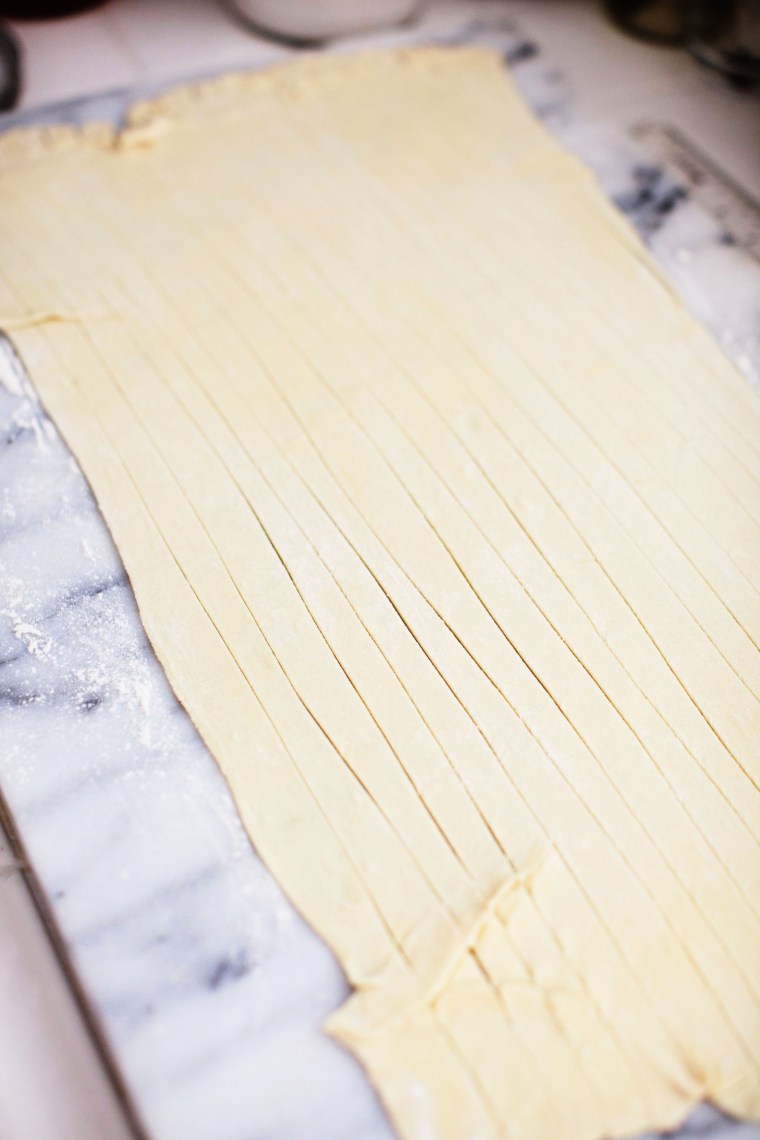 Brush the pears with the cooled sugar syrup and starting from the bottom, wrap the pastry strips around the pears. When you come to the end of the pastry strip, brush the end lightly with syrup and press to adhere to the next pastry strip. Leave an opening near the center of the pear for the eyes. Continue wrapping until you reach the top of the pear. Place two cloves into the pear where you want the eyes to be.
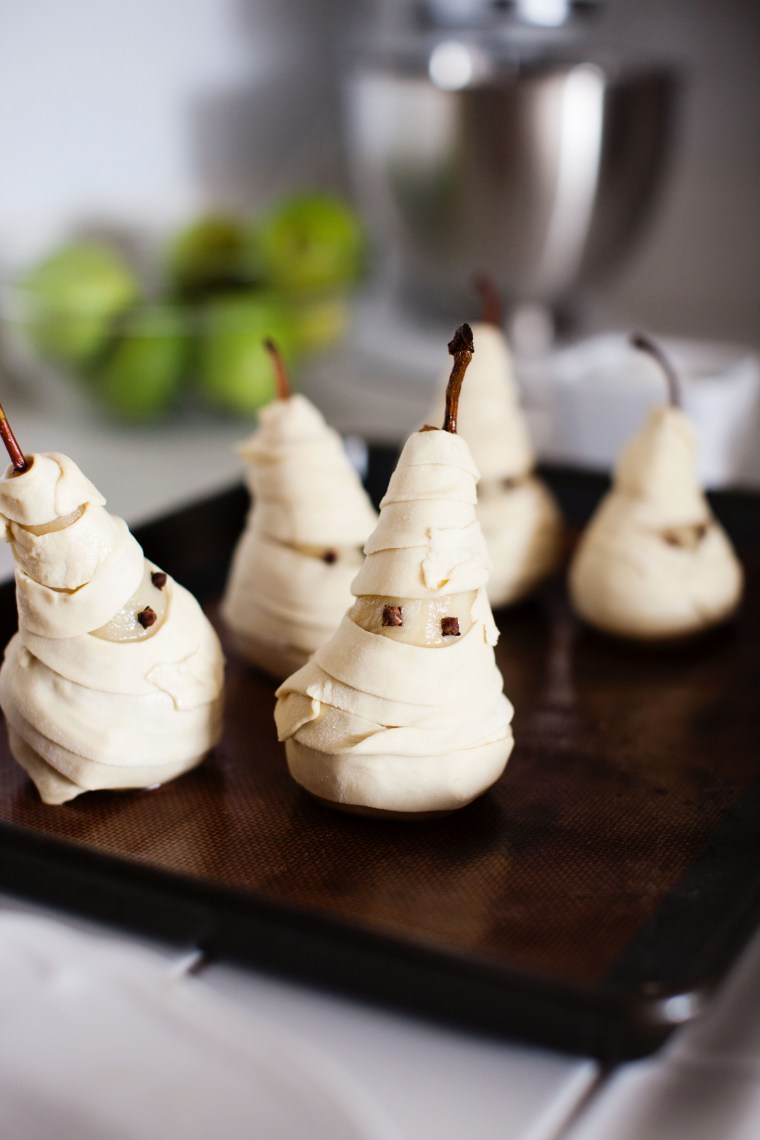 Preheat the oven to 400F. Place the pastry covered pears on a baking tray. Brush the pastry with beaten egg and sprinkle with granulated sugar. Bake for 25-30 minutes.
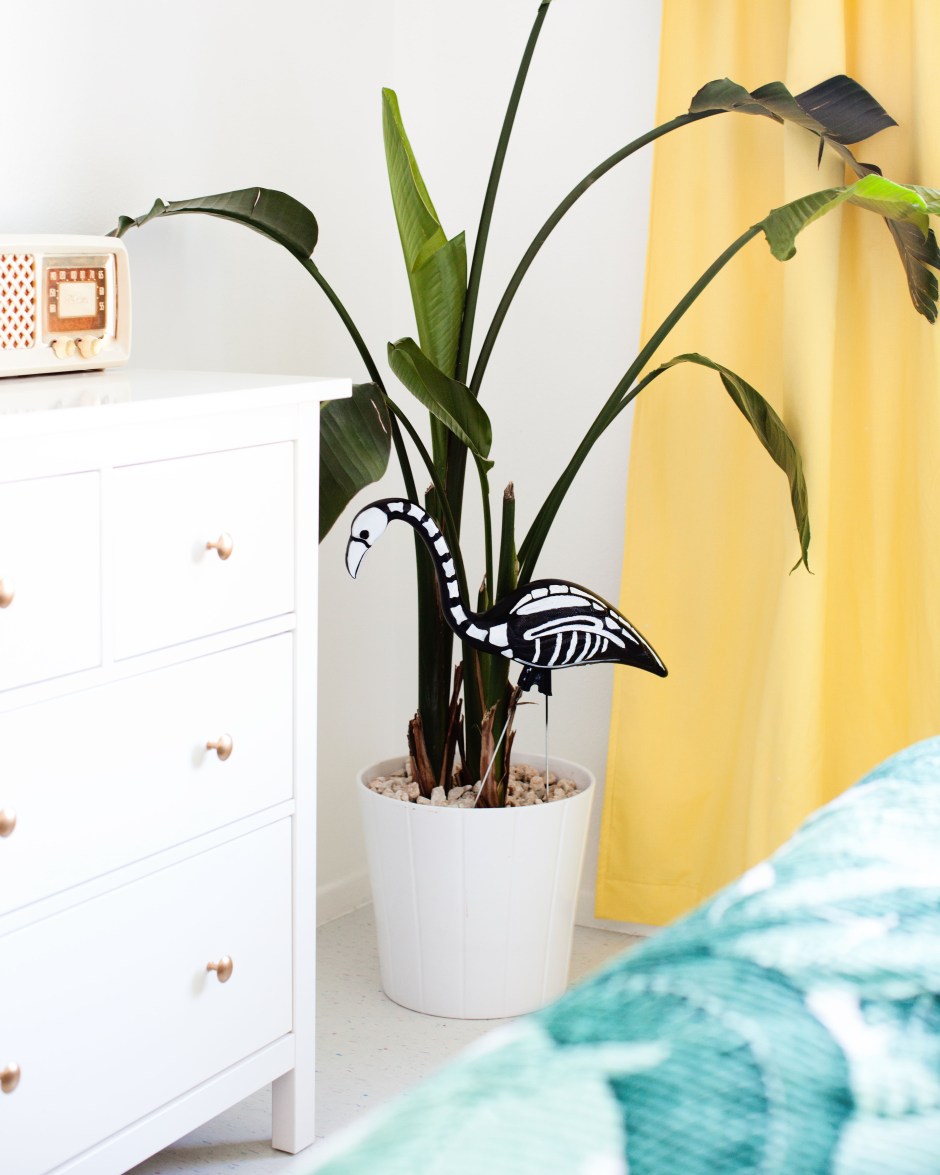
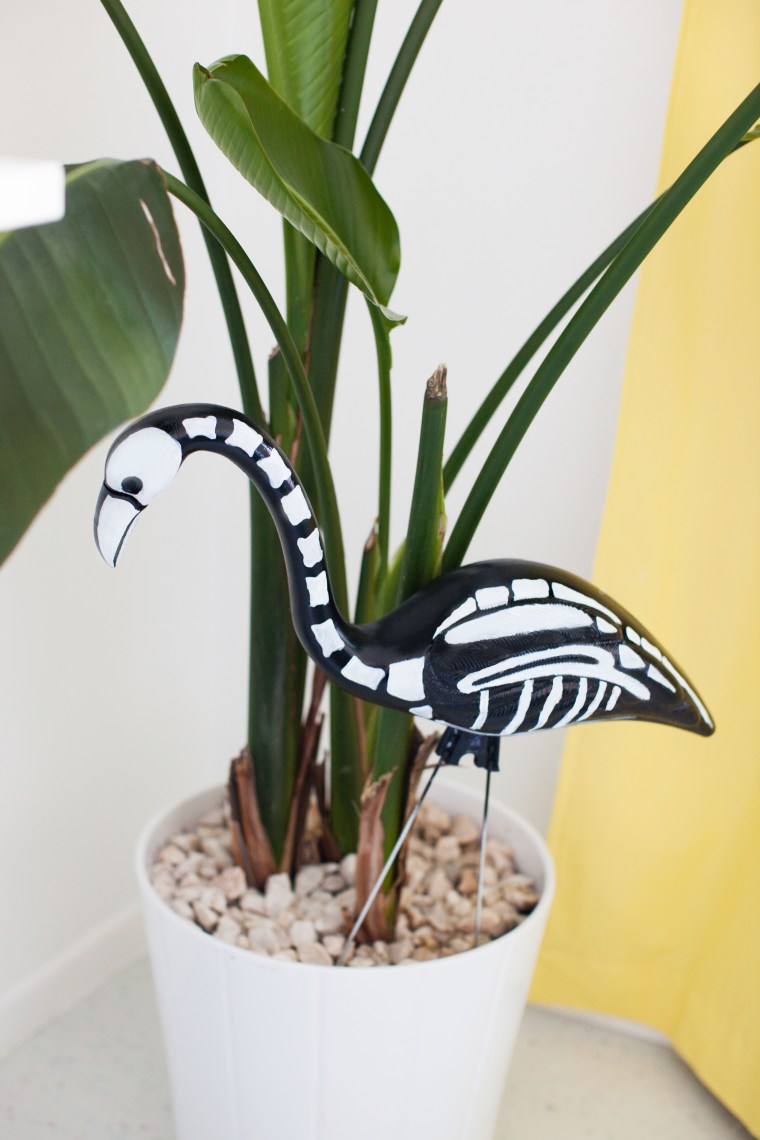 I’m not an expert on bird anatomy so you’ll have to forgive my crude interpretation of a flamingo skeleton. Listen, I did my best!

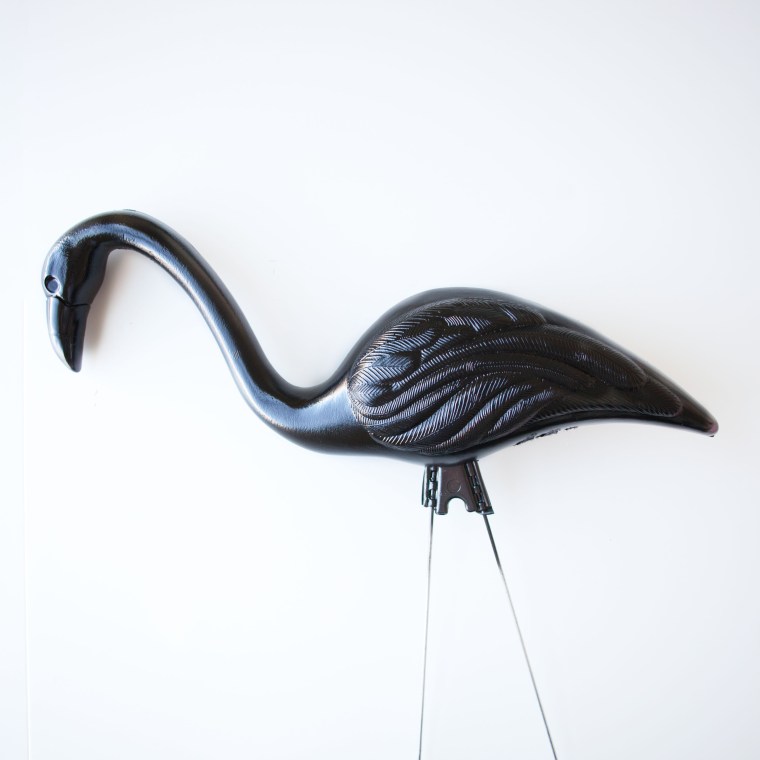
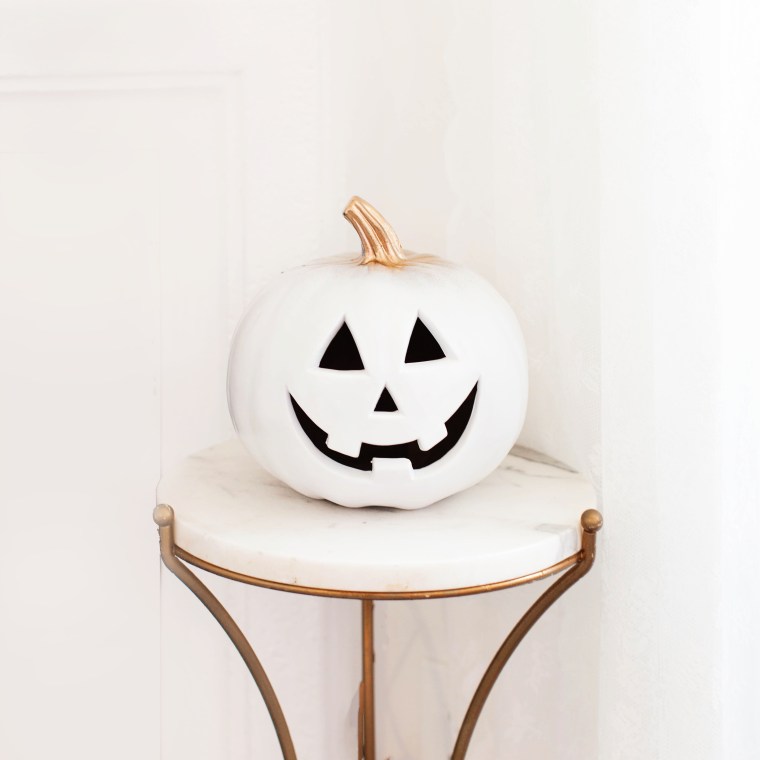
 Spray paint. That’s all you need. I went with gold and white of course.
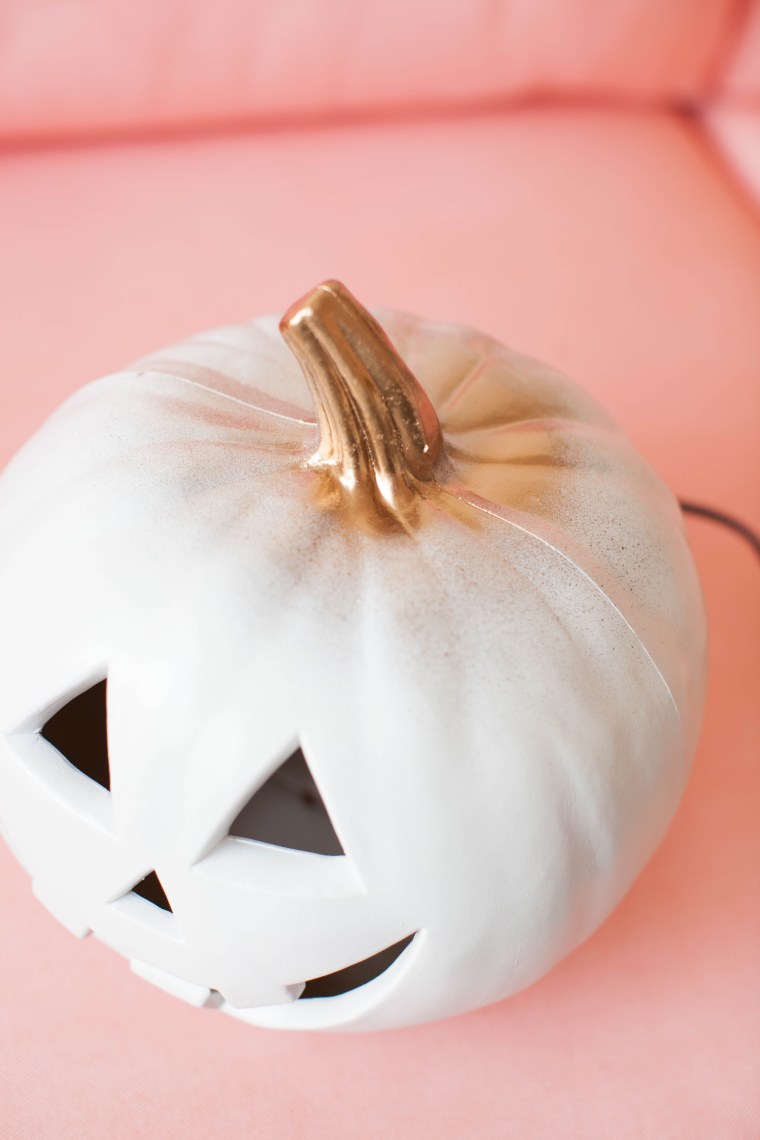 I painted the entire pumpkin with white satin paint (satin or gloss work best) and then sprayed the stem gold. I didn’t use tape or anything around the stem because I like the way the gold over-spray looks on the top of the pumpkin.


")
")
")
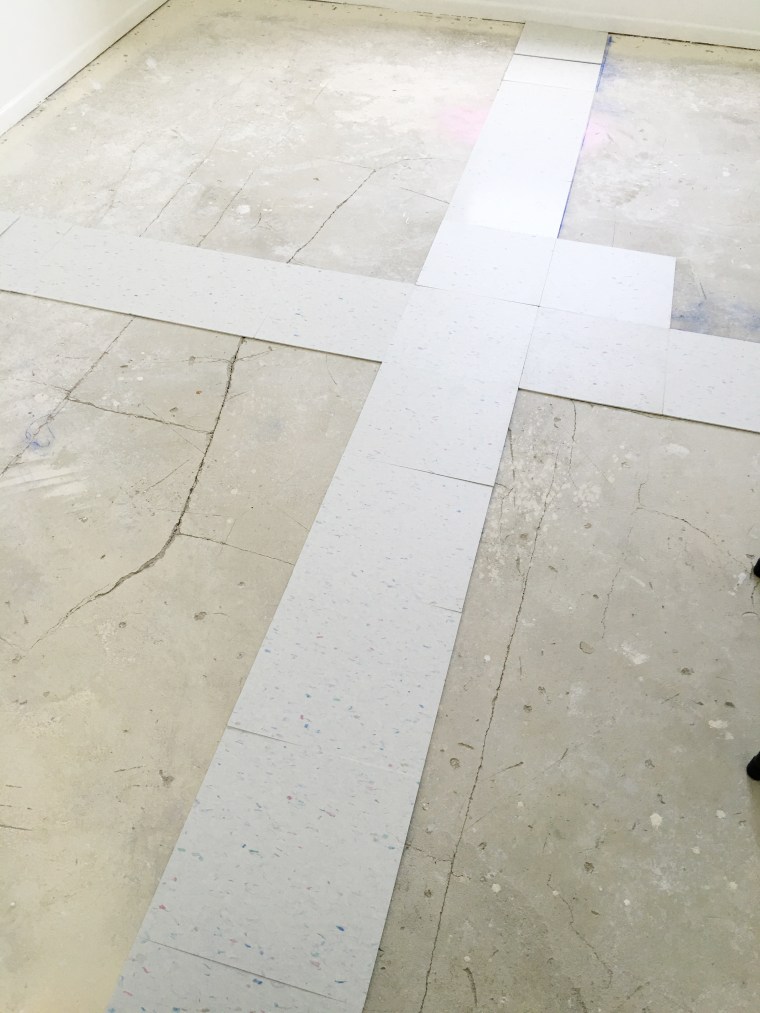
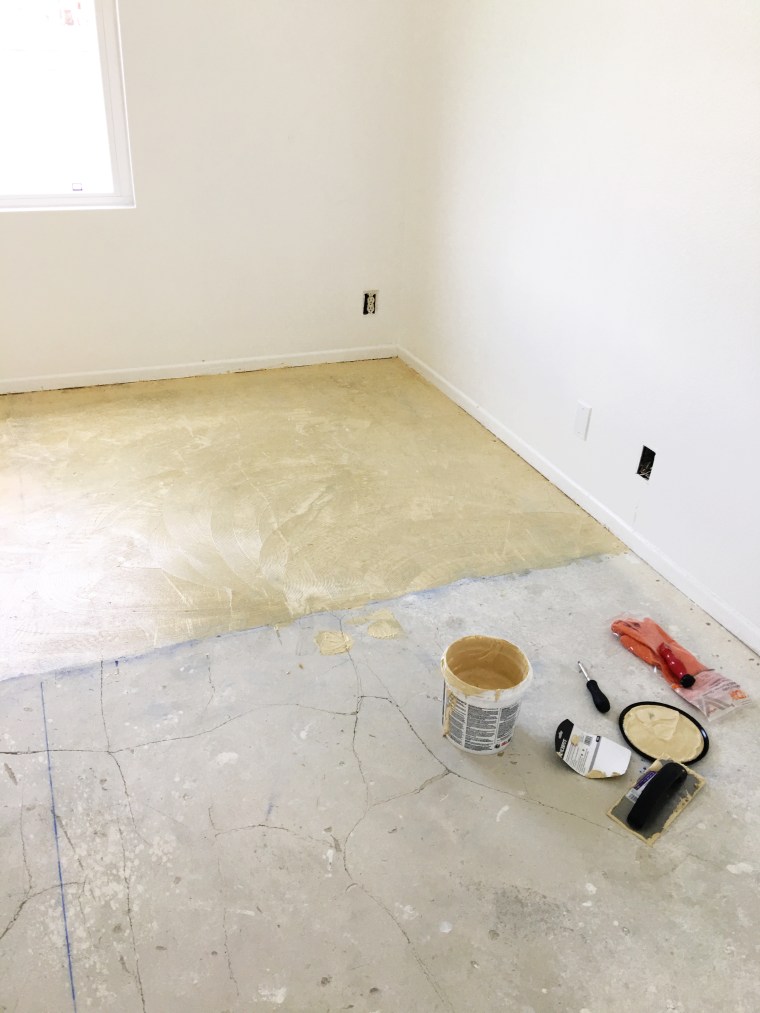
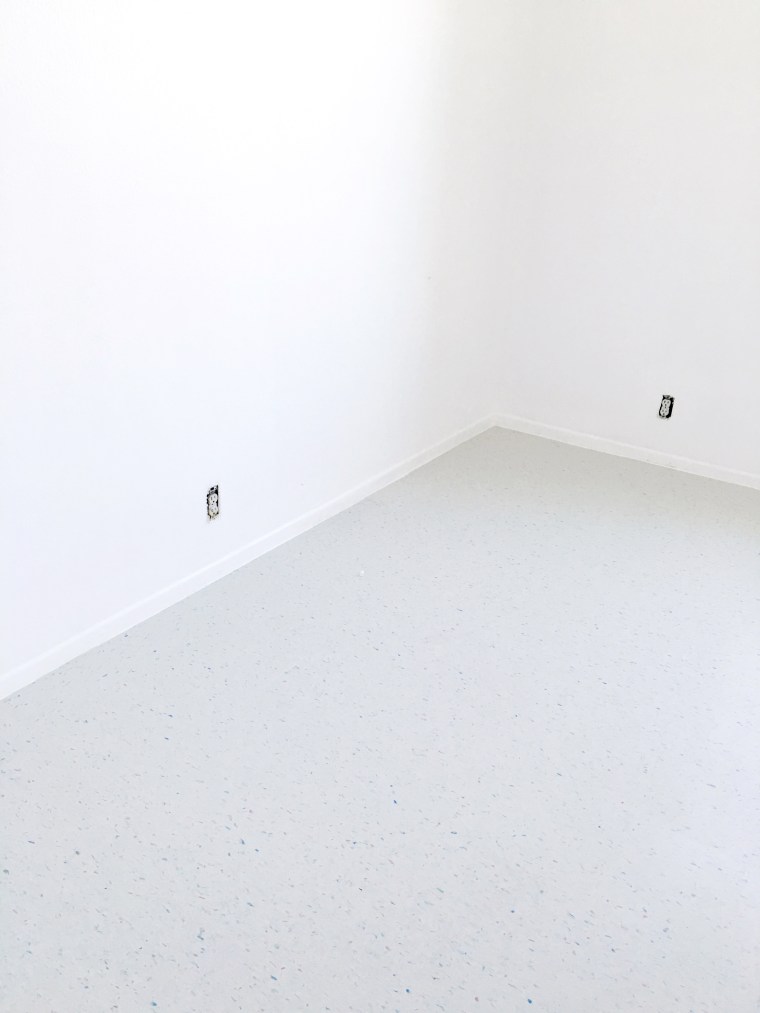
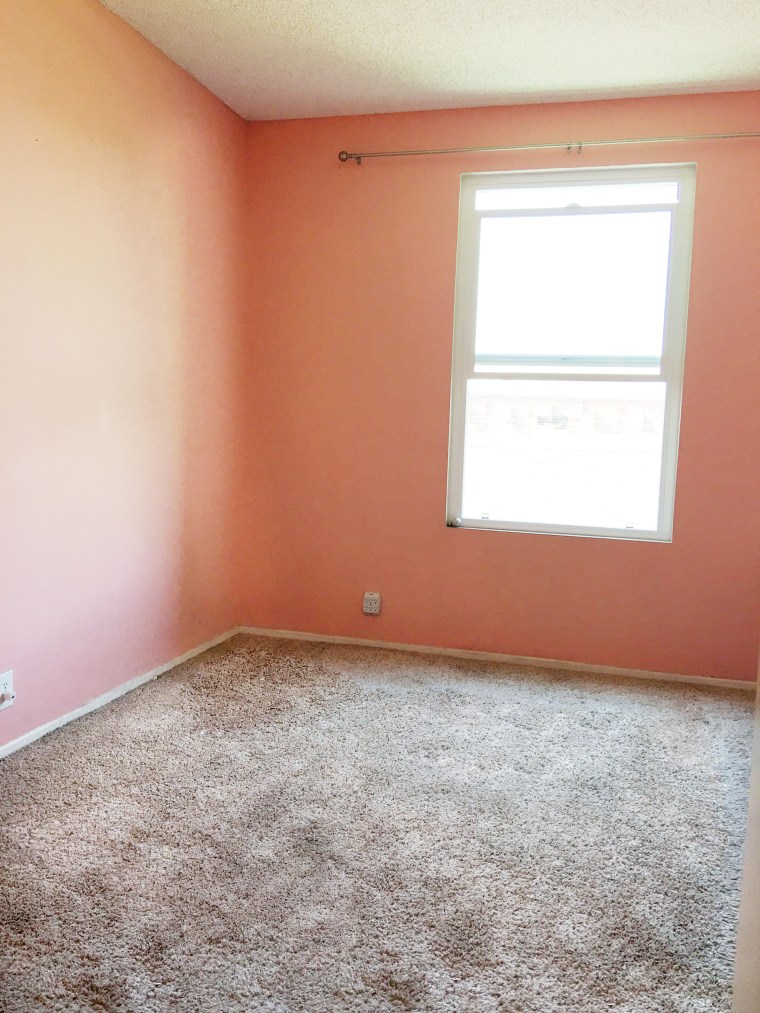 Here’s a terrible picture of what I started with. As you can see the dark beige carpet and old pink paint absorbed most of the light in the room. The first thing I had to do was remove the old carpet. That was a lot easier than expected and I was able to do it all in one piece. After that I pried up the tack strips and used pliers to remove any stray staples in the floor.
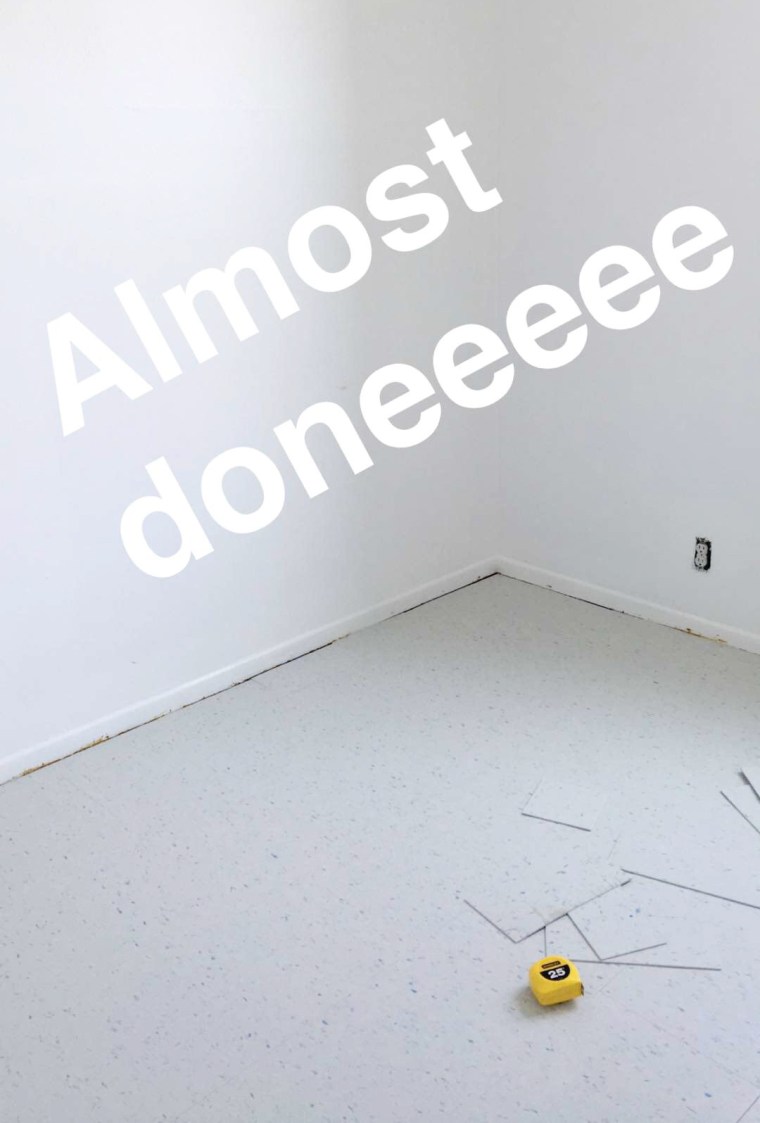
 I let the tile set for about a day and then mopped it and applied four coats of floor polish with a microfiber mop.
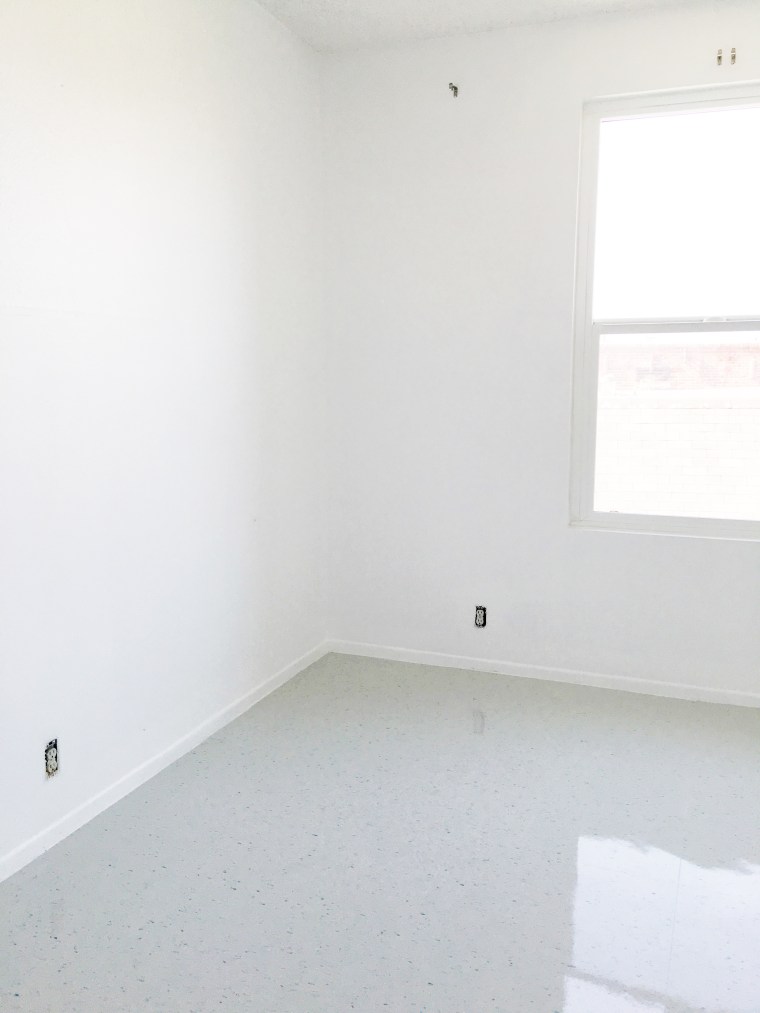

 For some extra flair I added a strip of vintage looking rope fringe to the top.
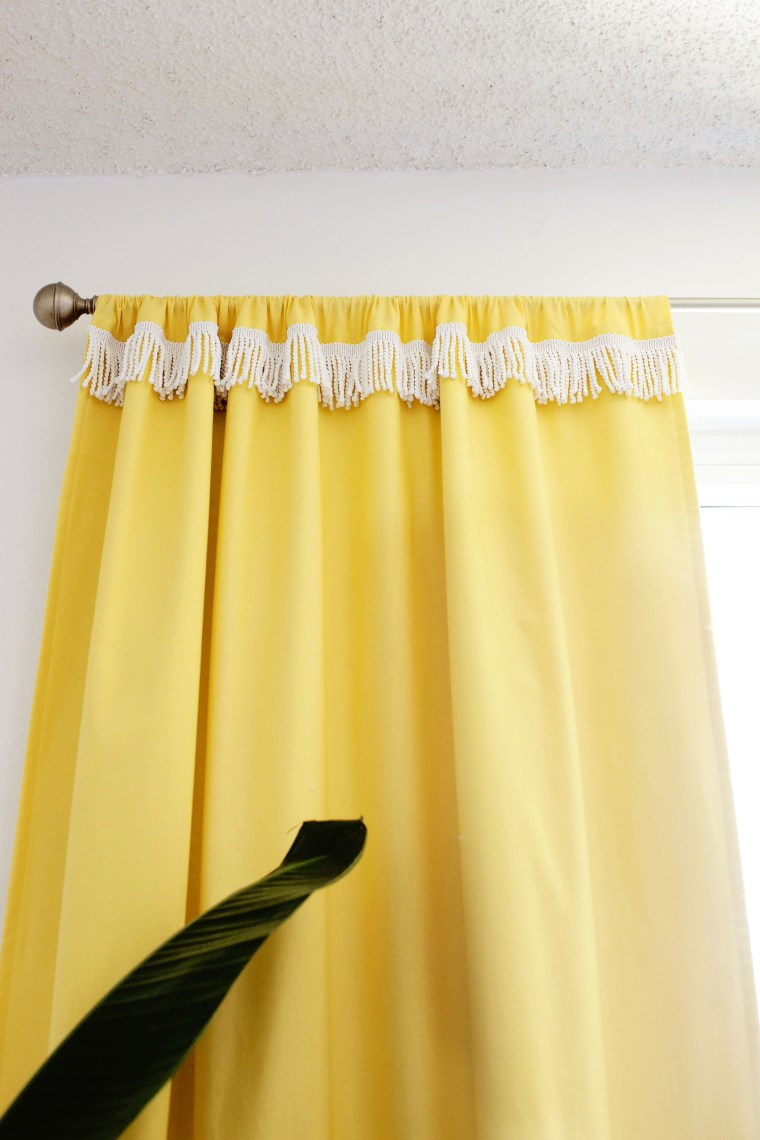
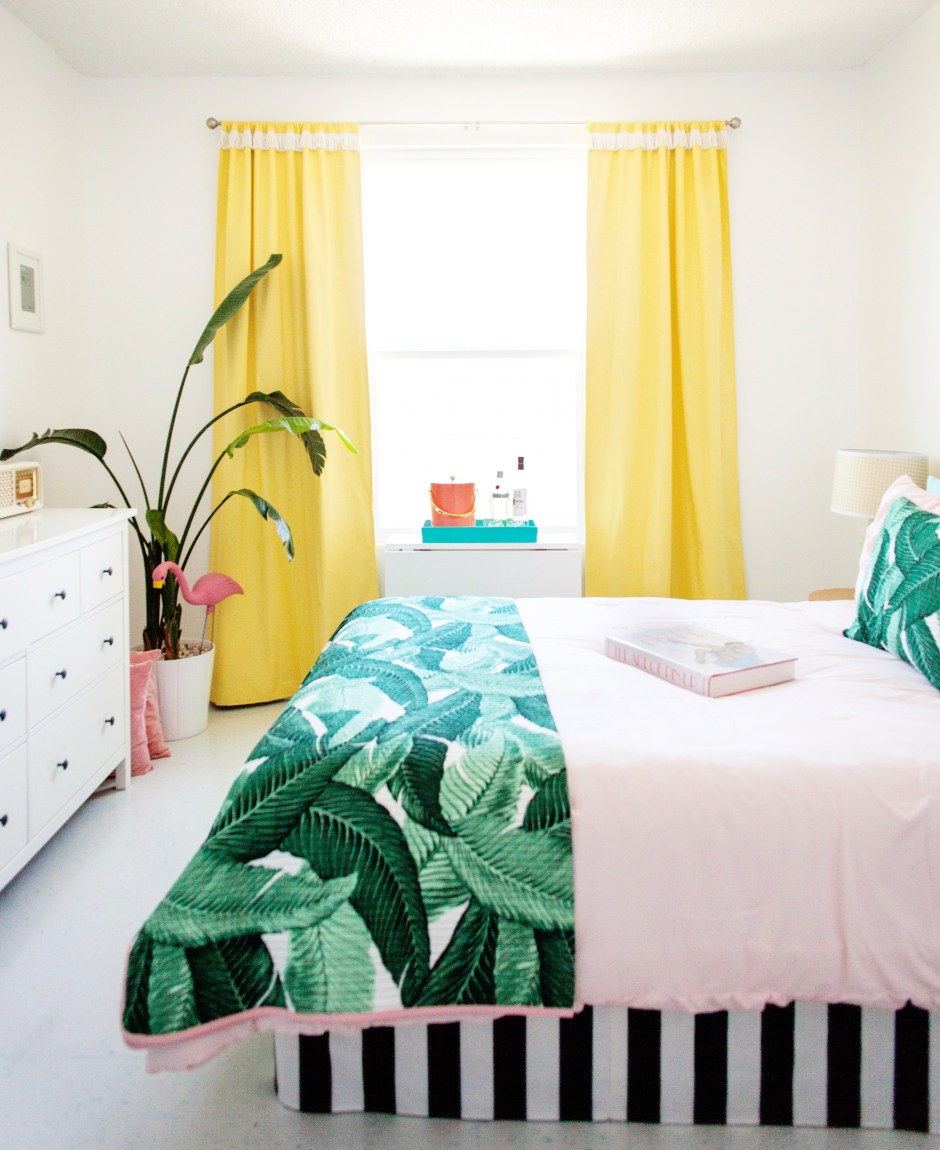
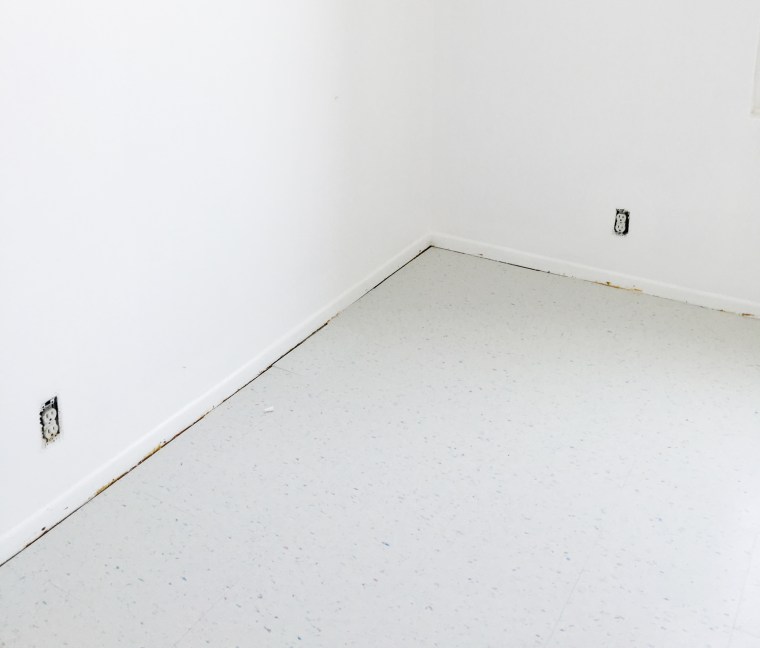
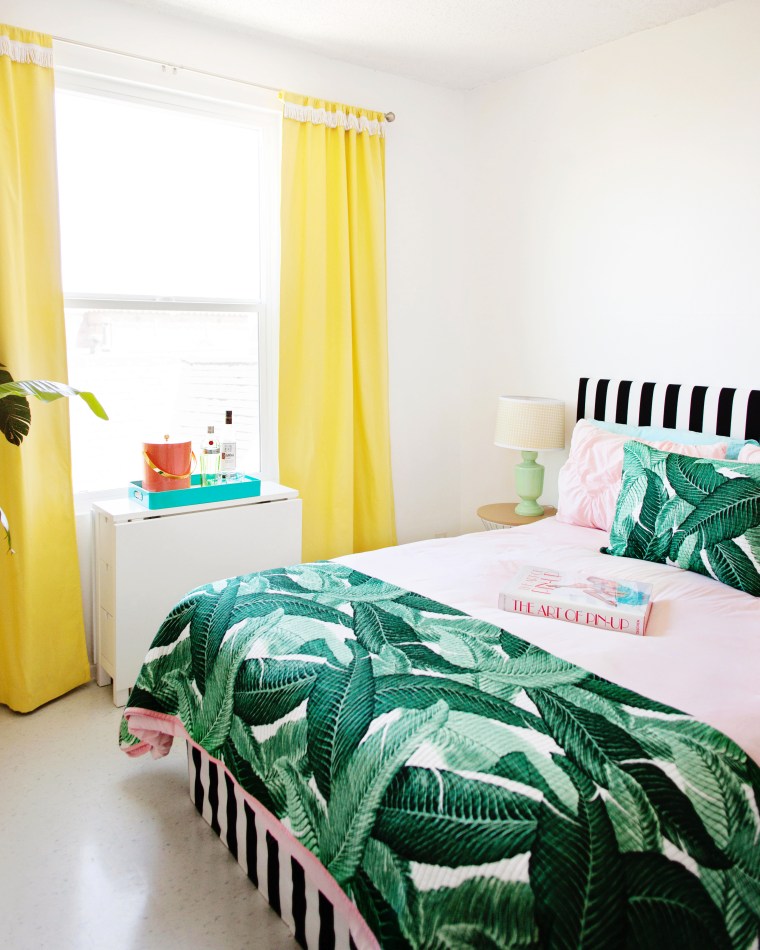
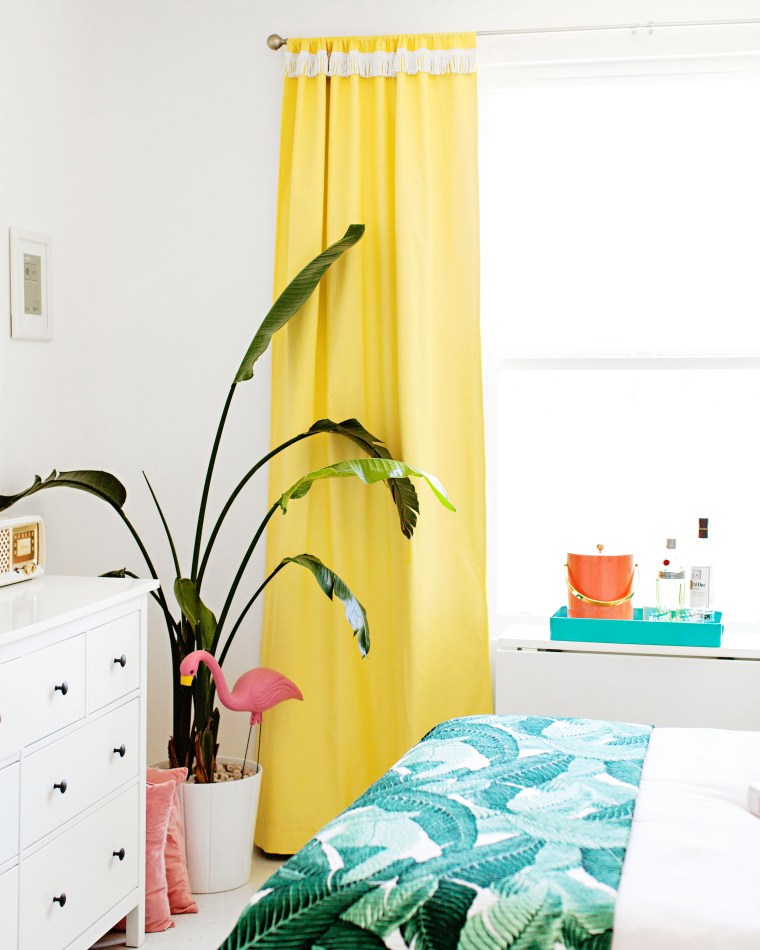 Tada! Stay tuned for more bedroom decor updates and be sure to follow along on
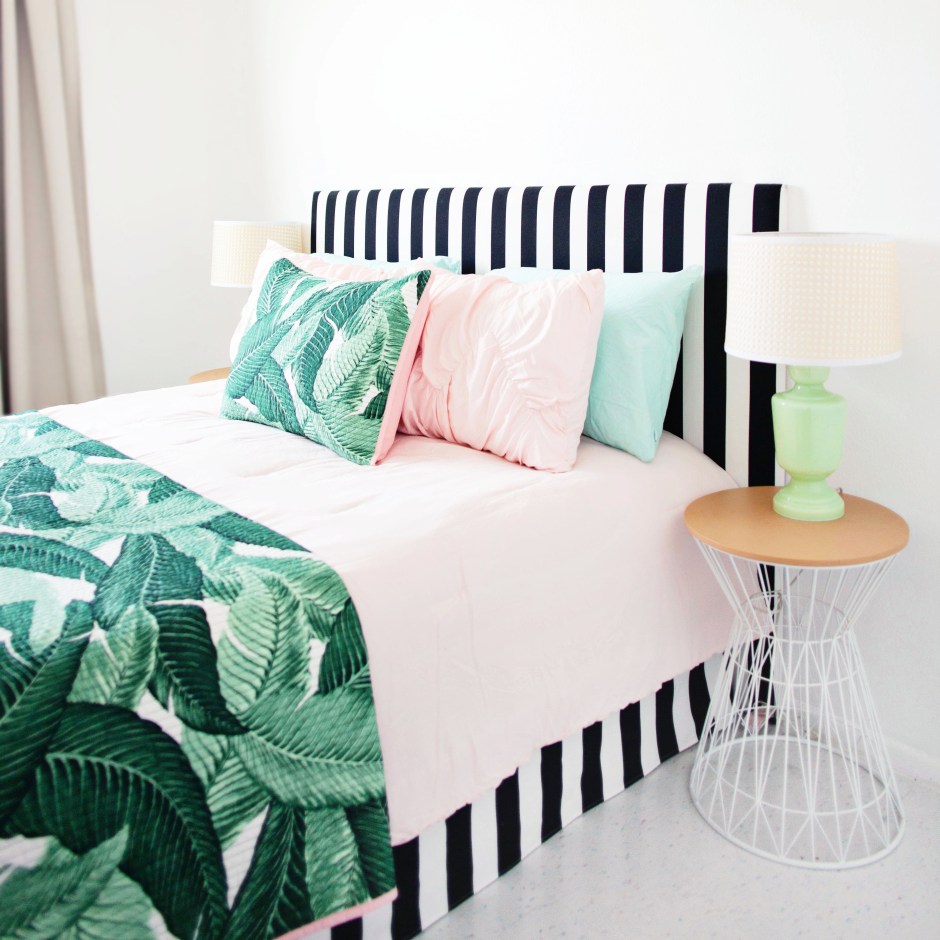
 The first thing you need to do is figure out how long your skirt needs to be. Measure the distance from the top of your box spring to the floor. Then add 3-4 inches for seam and stapling allowance.
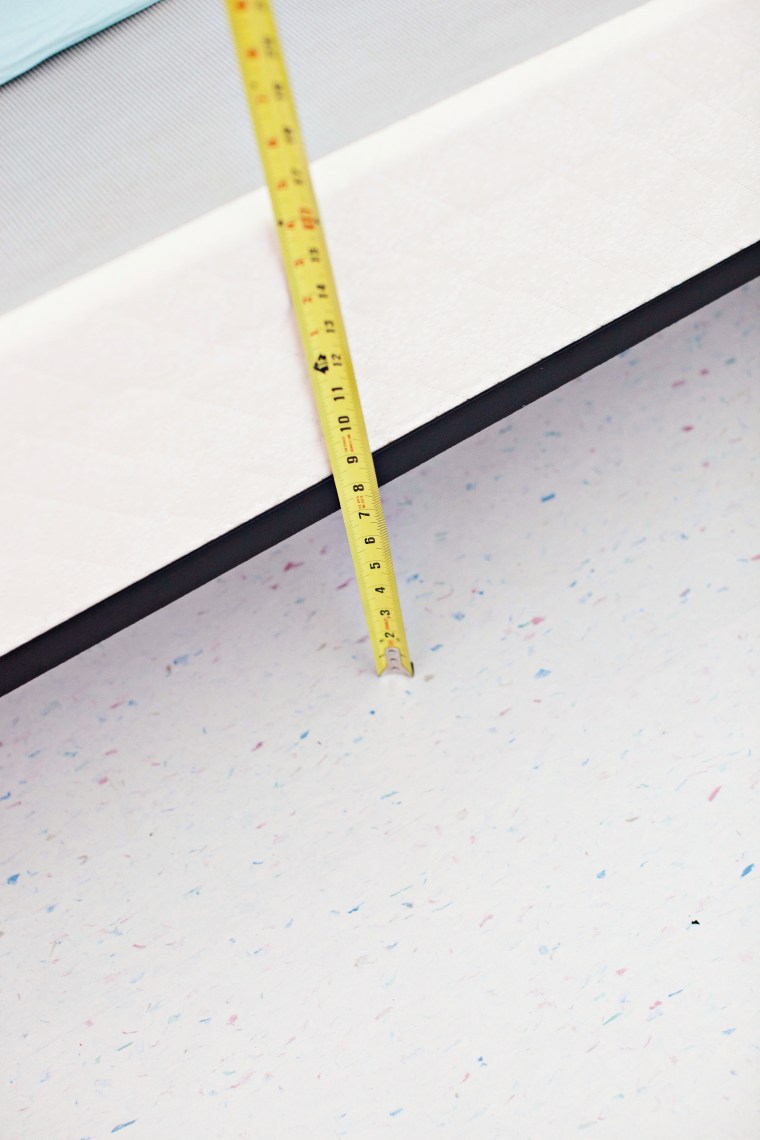 Mine was at 16 inches, so I cut 20 inch long strips of fabric. The fabric is 58 inches wide, so I needed 3 of these strips in order to cover 3 sides of my box spring.
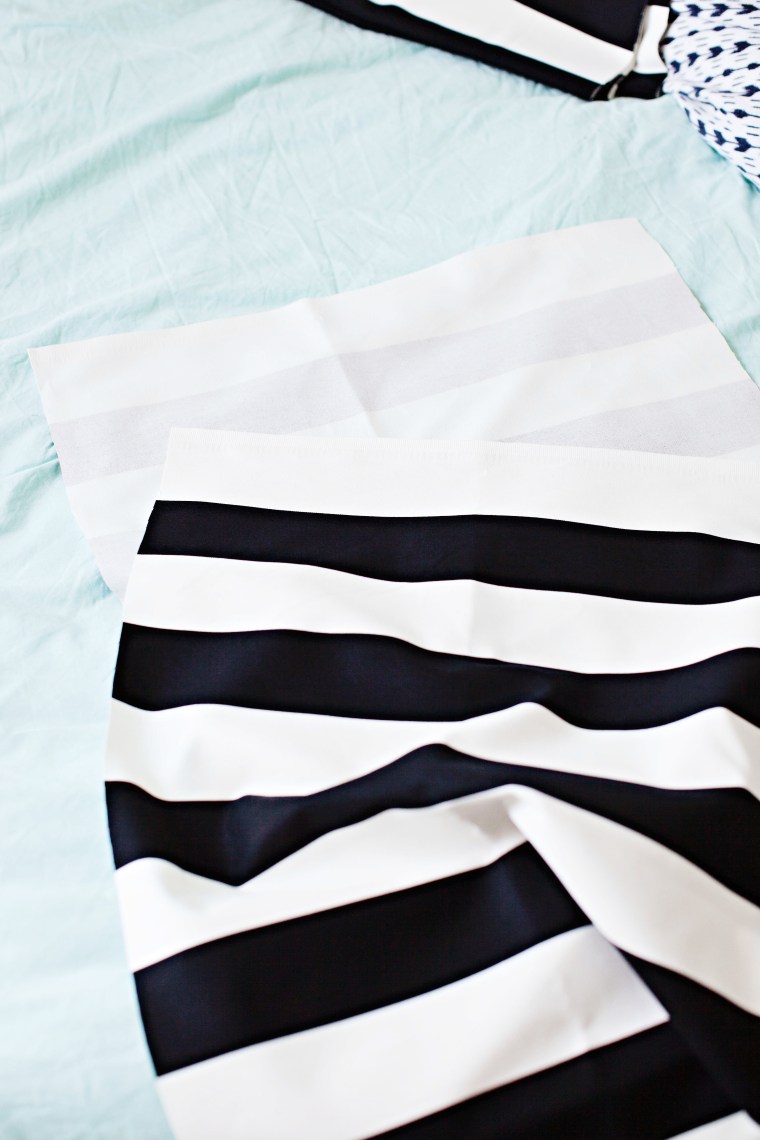 Next you need to make the hem. Fold over the long edge at 5/8″ and press.
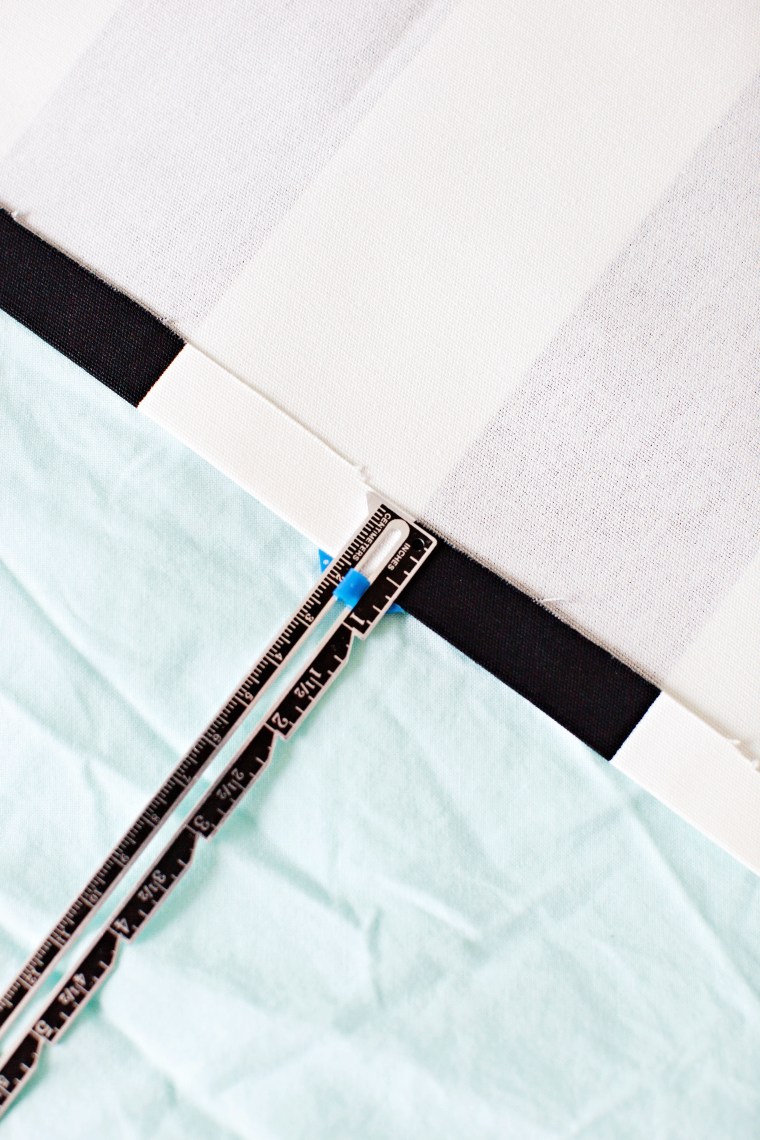
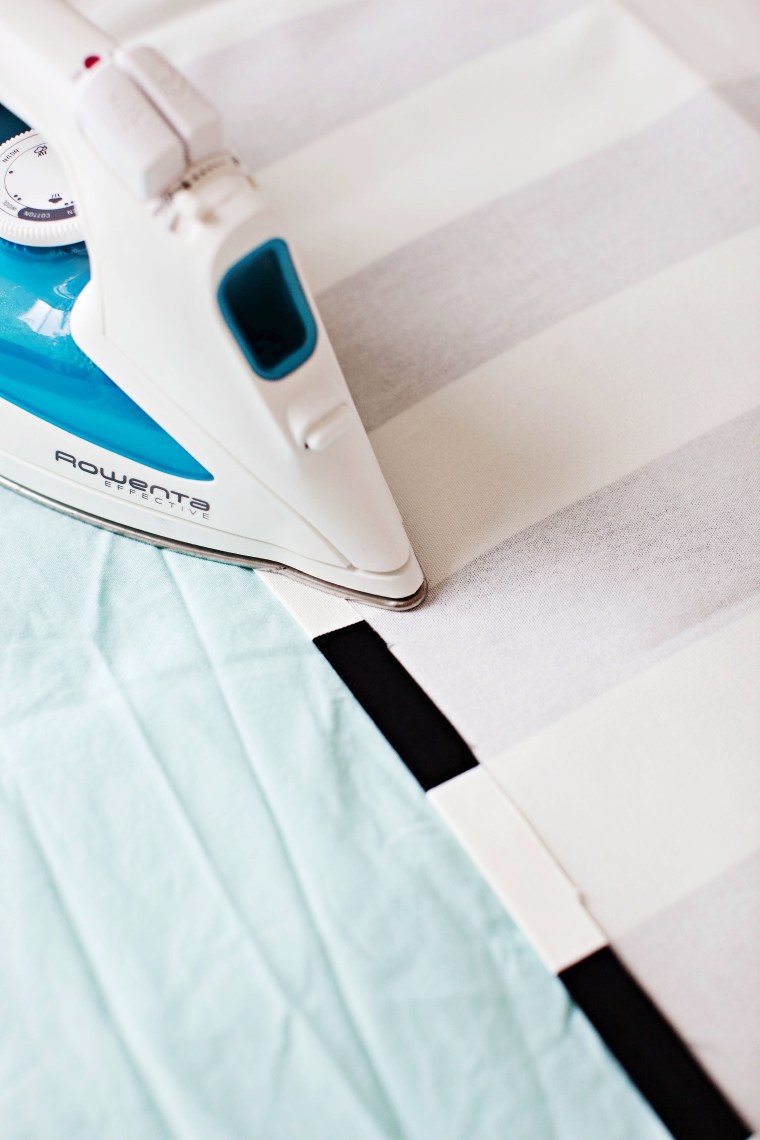 Then fold the raw edge under itself and press again.
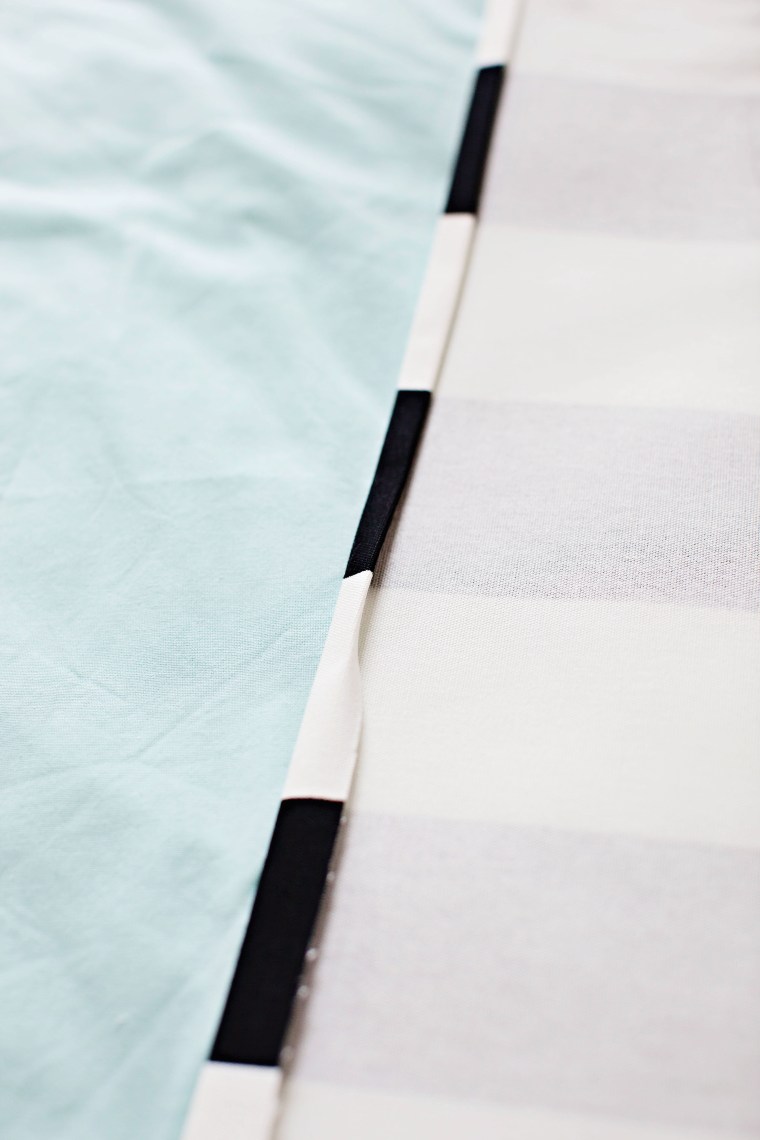 This creates a nice clean hem. Stitch at 3/8″. If you don’t have a sewing machine you can use iron-on hem tape.
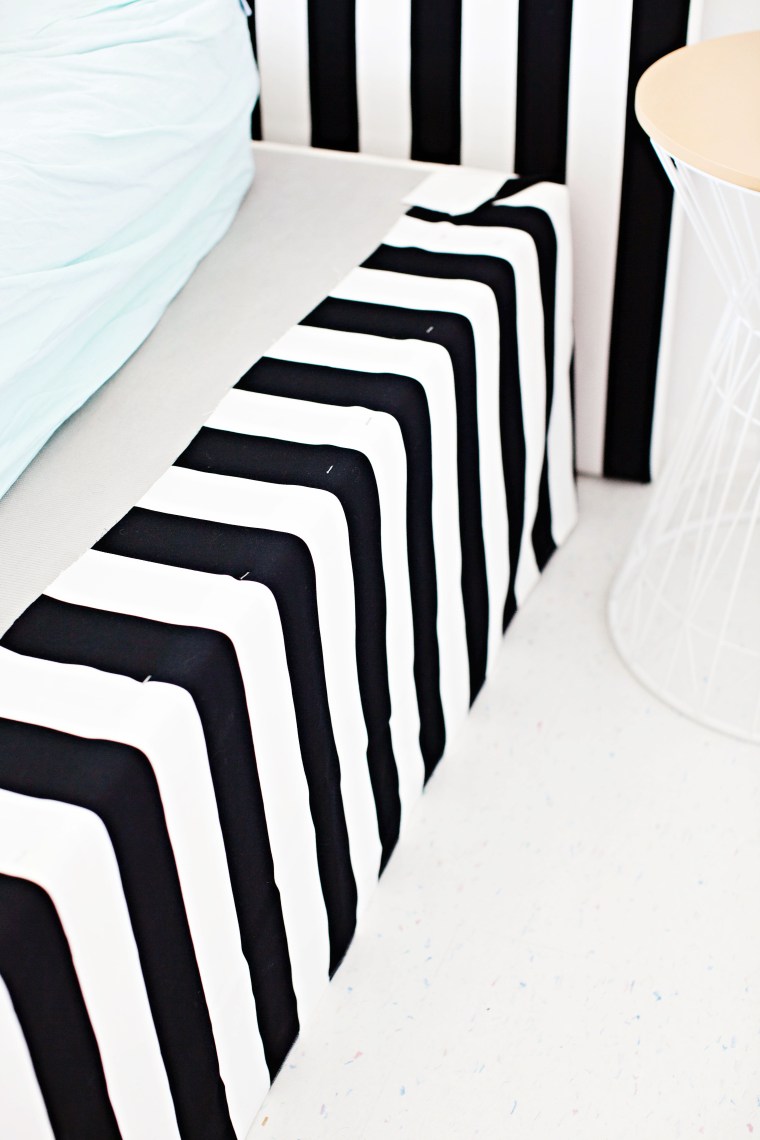
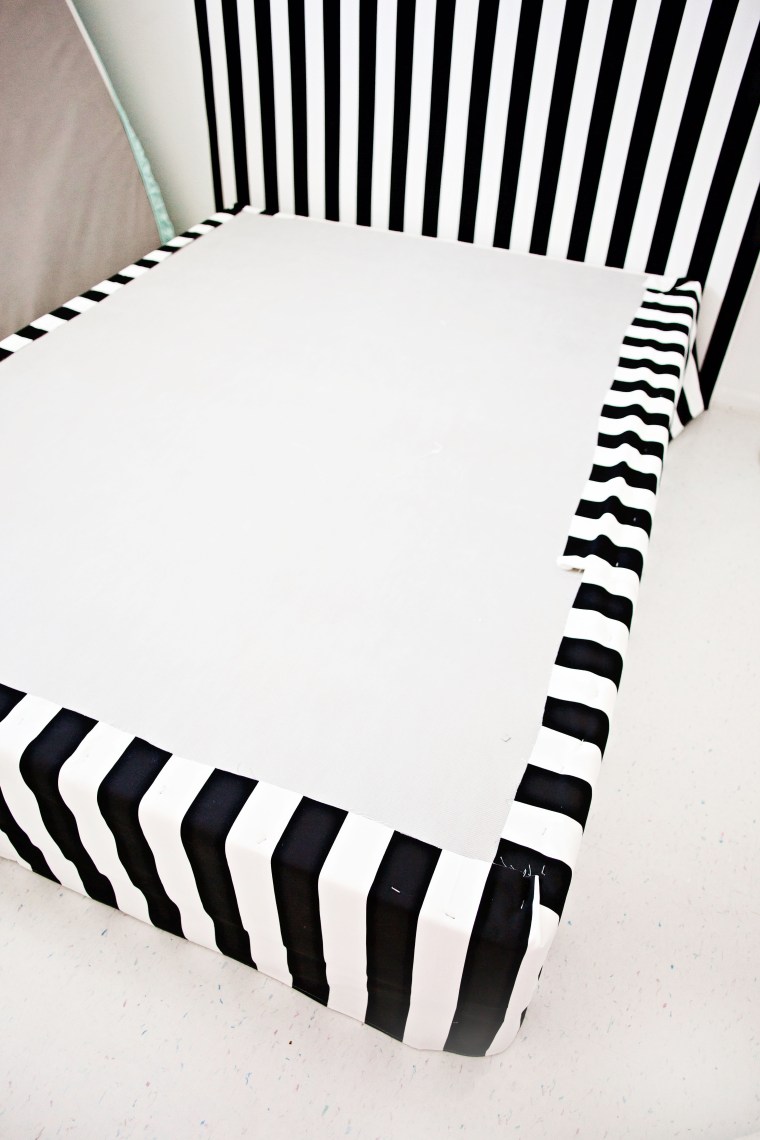 Continue all around the box spring. The mattress should cover the staples and it’ll look like a normal bed skirt!
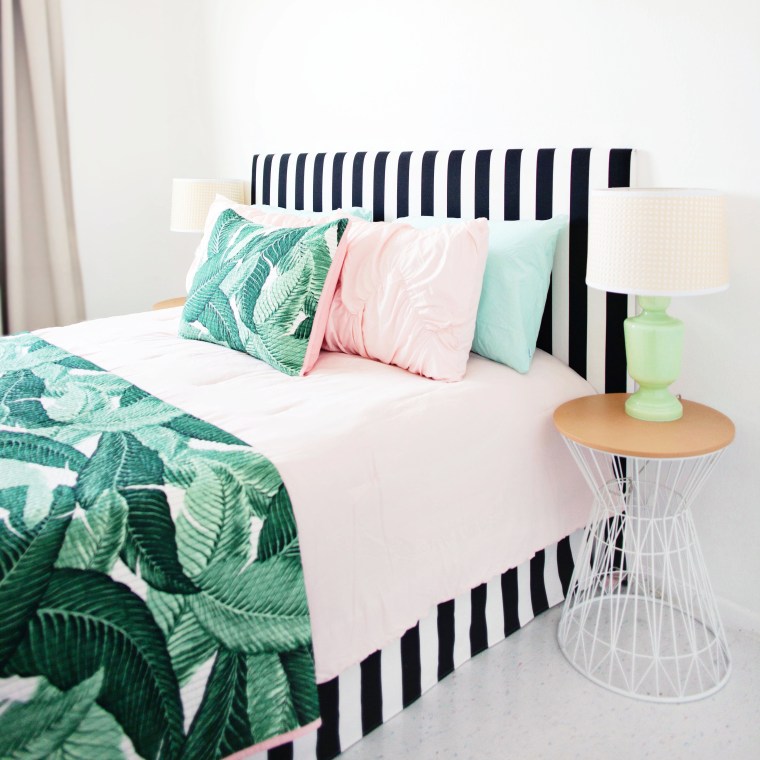 Finally, make your bed as usual and reward yourself with a nice nap.